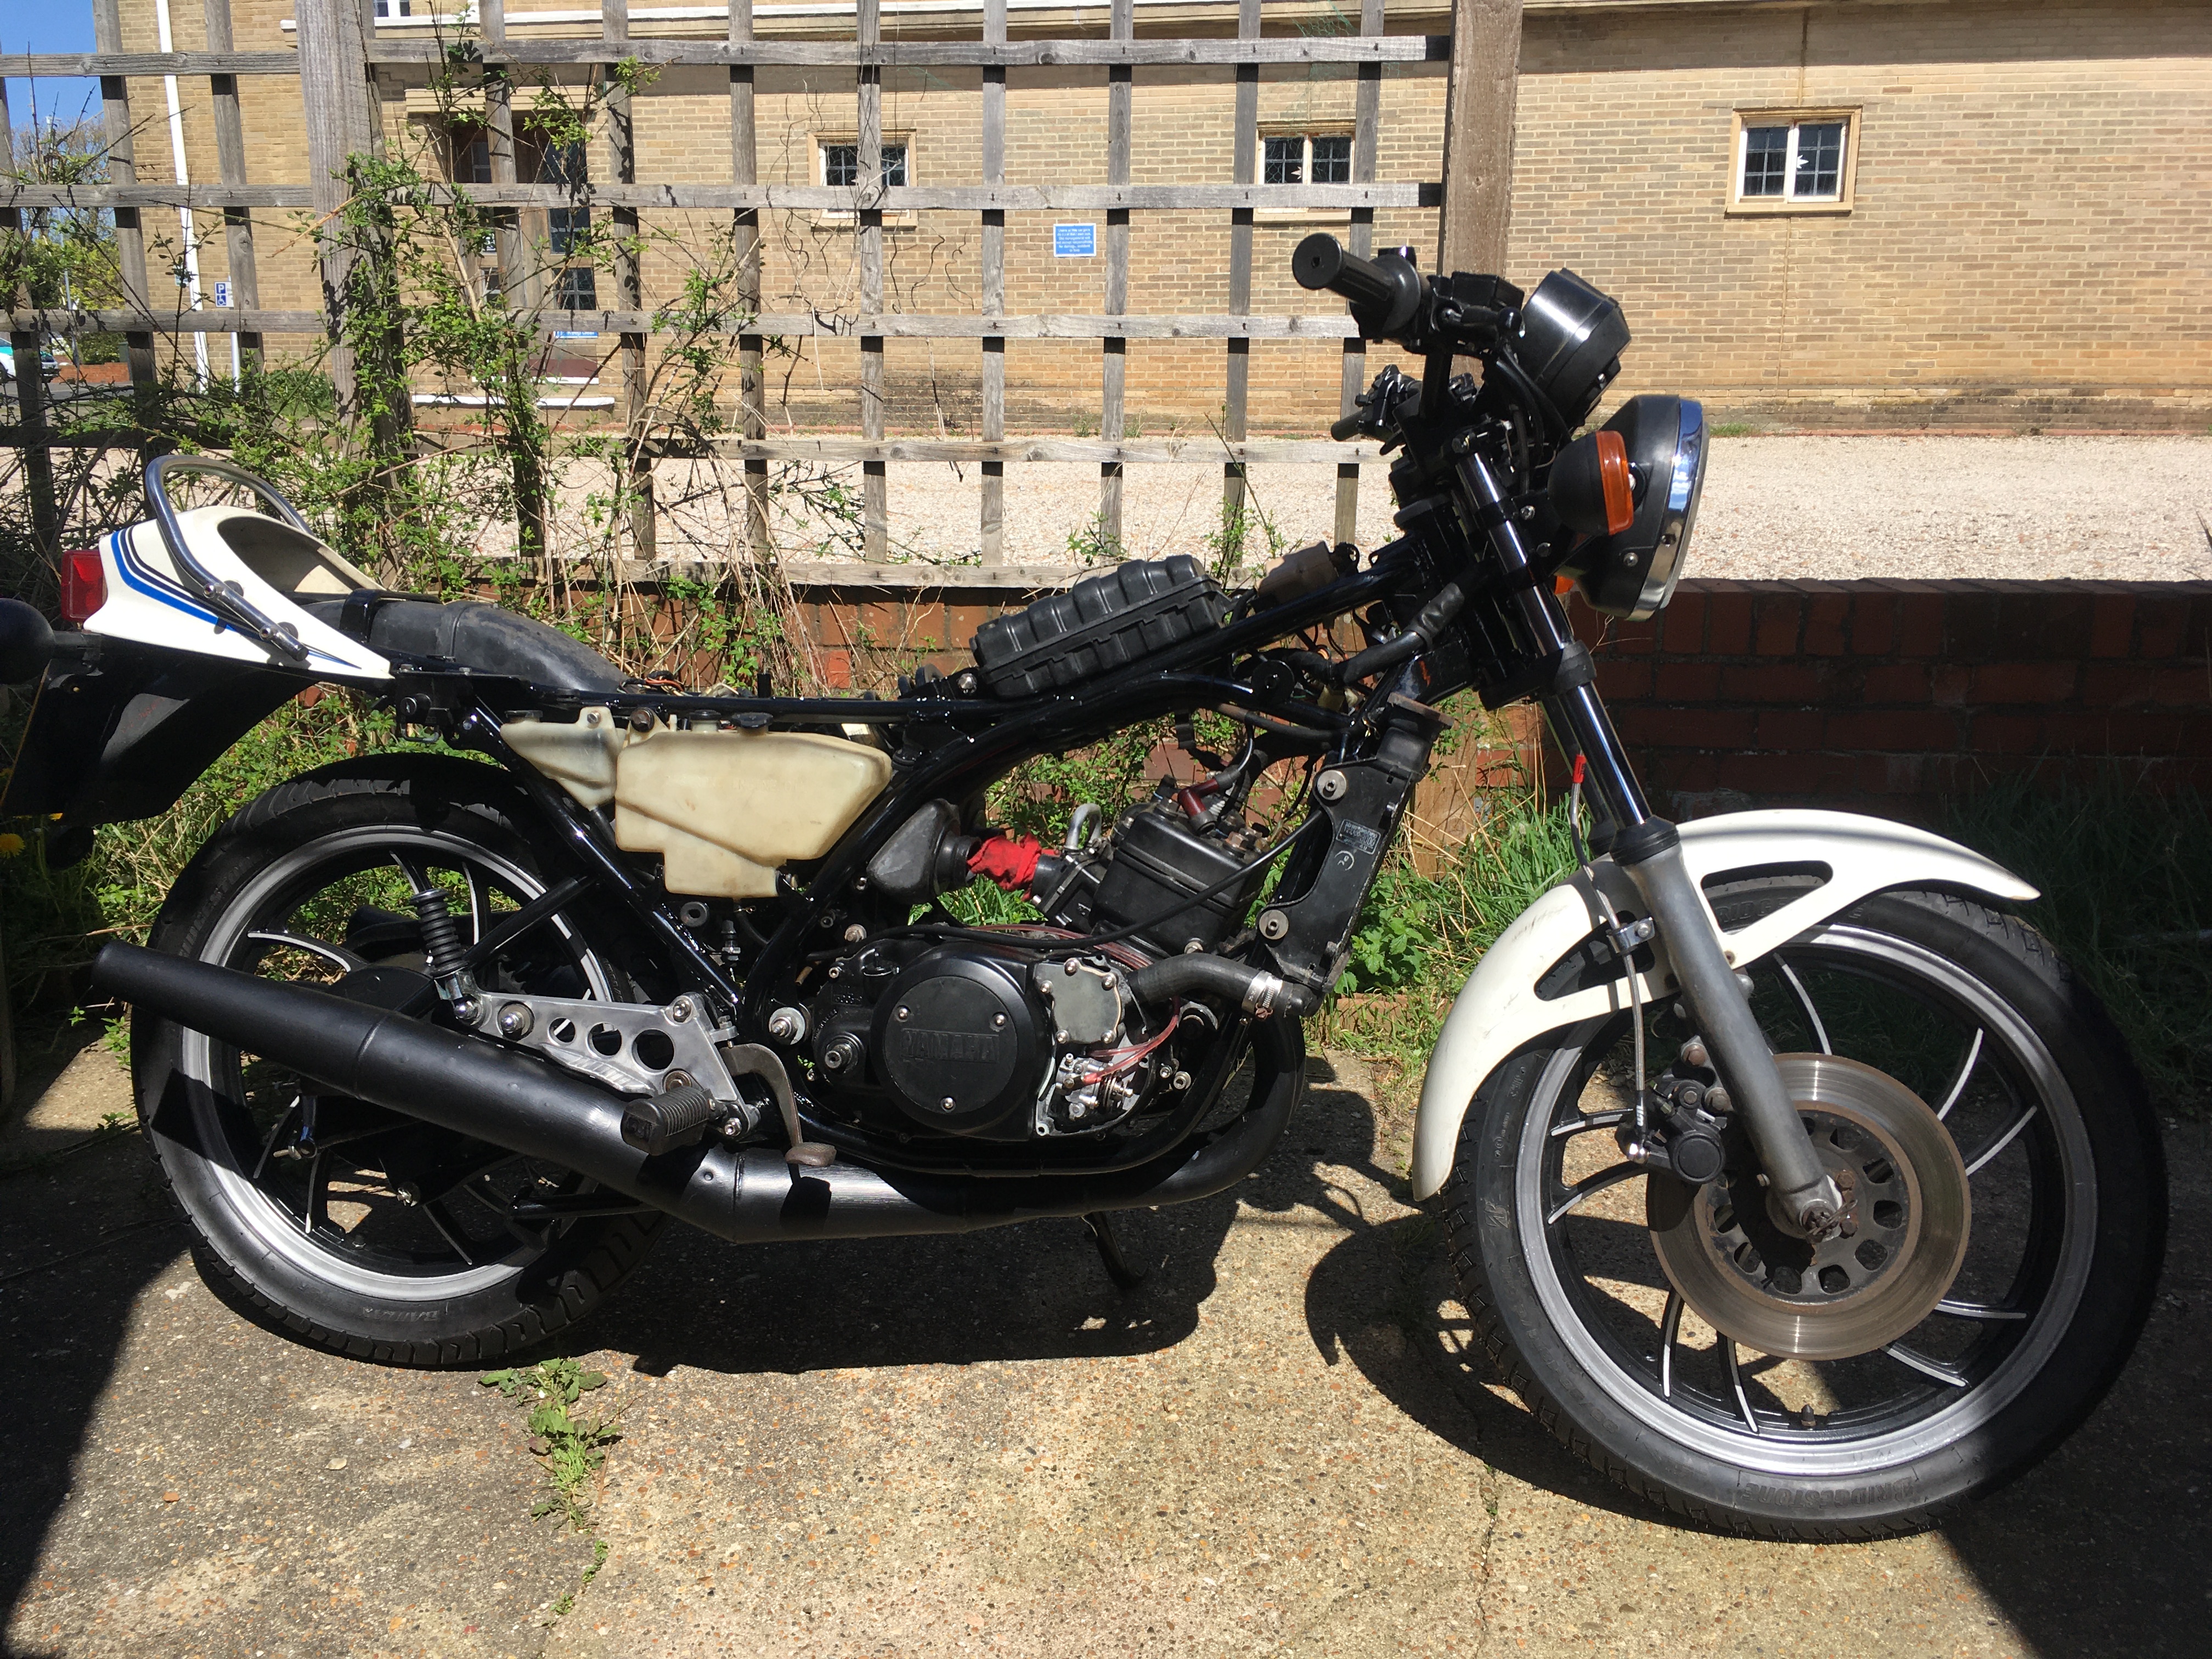
All that’s left now is some tidying up, and fitting the original donor bike bodywork to give it a ride around the block and ensure I haven’t cocked anything up.
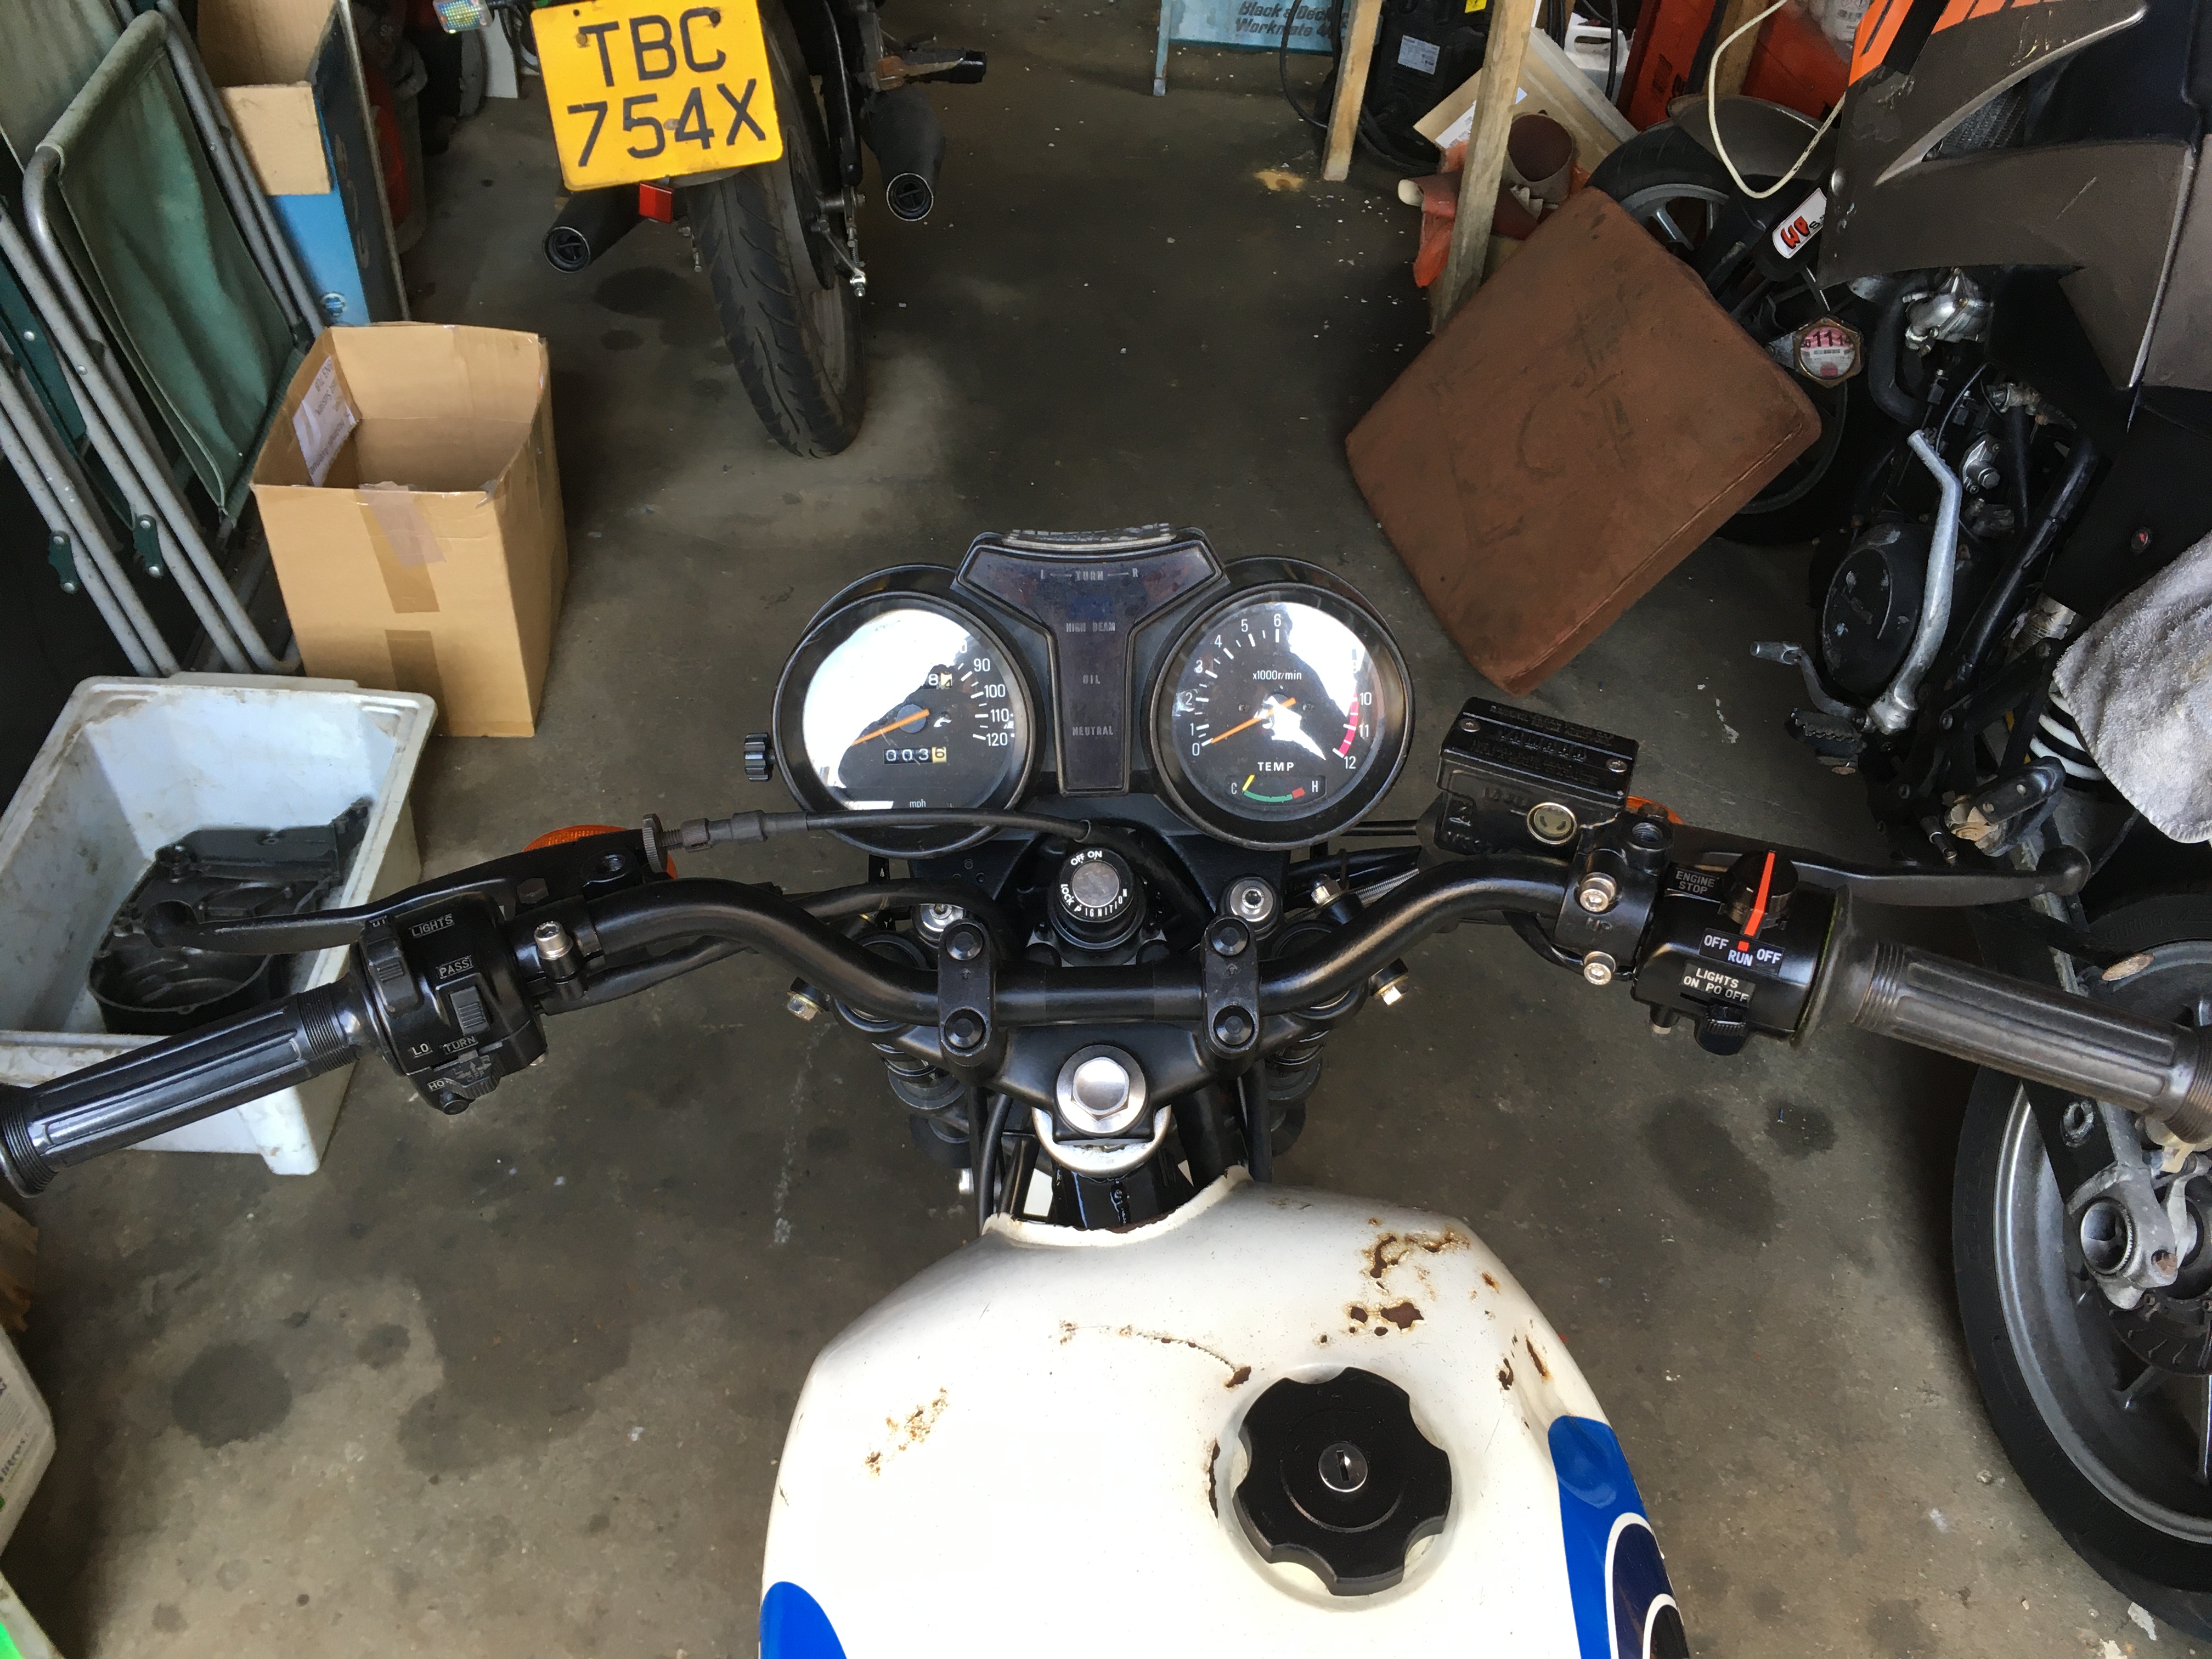
I was a little concerned that with the frame and the engine mounting plates powder coated, there would not be a route to earth for the engine. this would affect the spark, and also the neutral light, which is easier to test. so testing the wiring is on todays list.
- Test wiring – Does neutral work? or will I need an earth to the engine?
- Tighten bolts holding battery box in
- Fit 250 chain and adjust, tighten rear wheel.
- My Shiny new 14mm x 1.25 pitch stainless rear wheel nuts DONT FIT. The bolt is 14mm x 1.5 pitch! Use the scruffy old one.
- Adjust rear brake, and brake light switch.
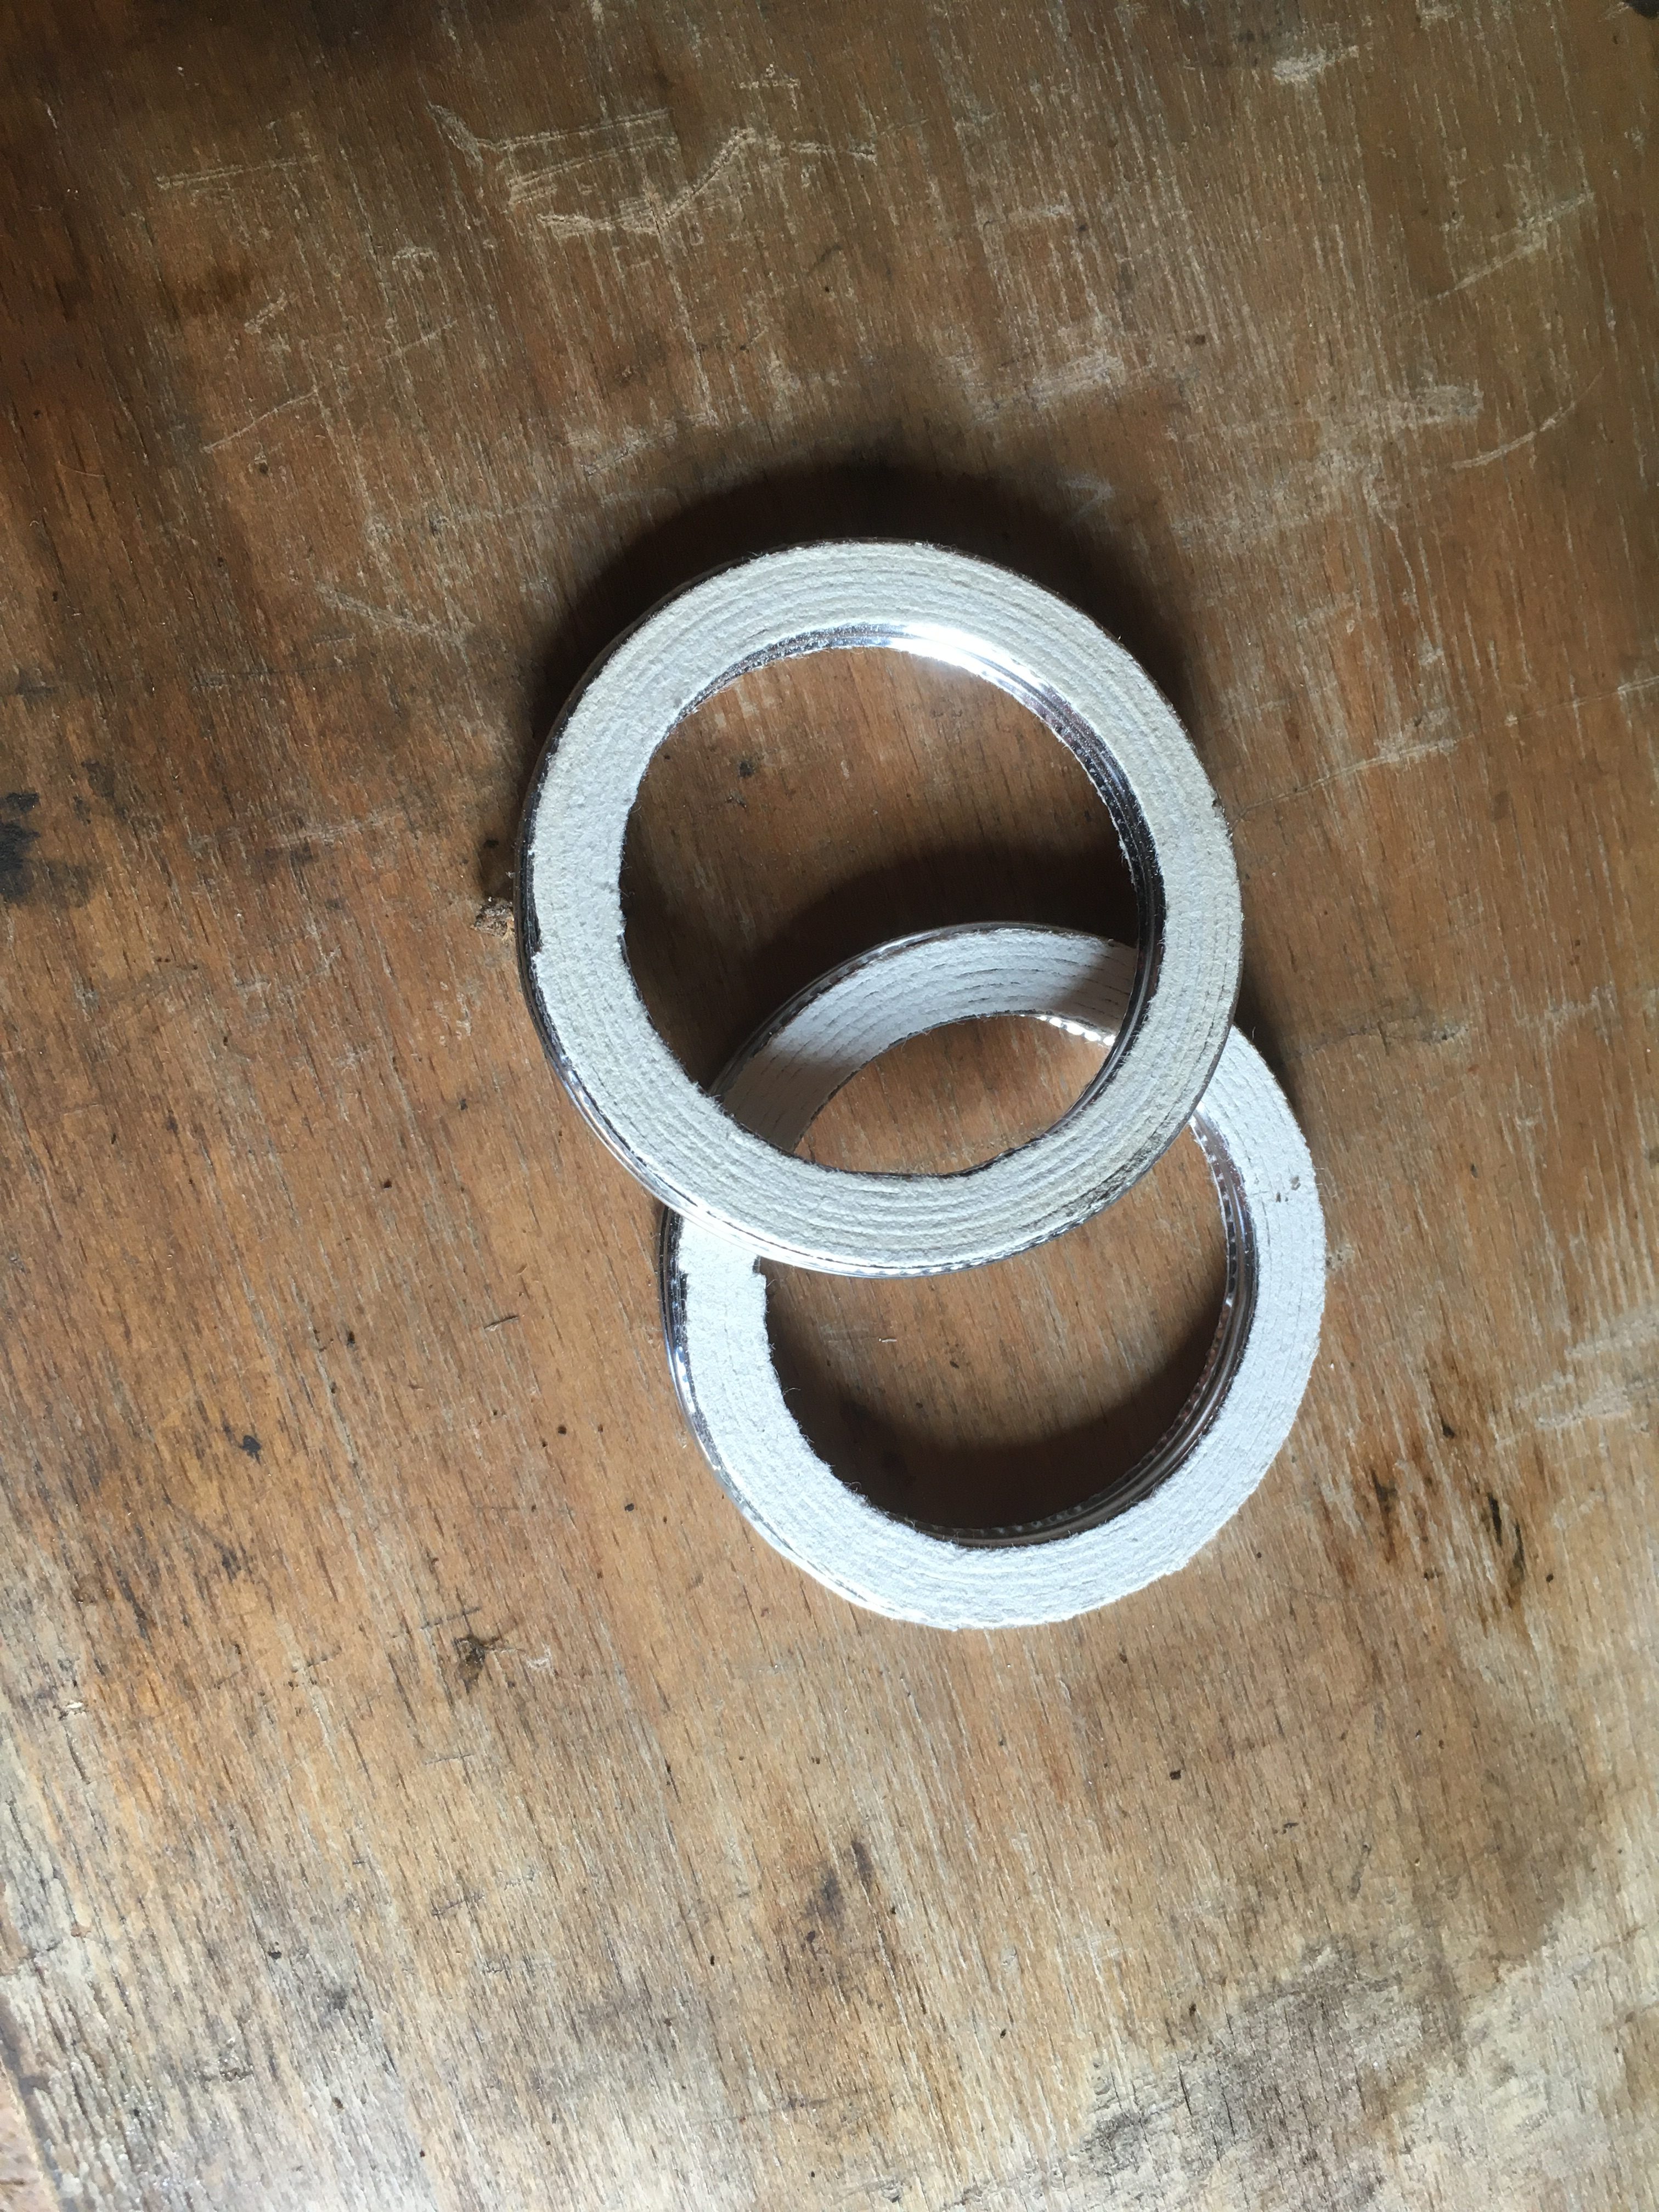
- Fit Exhausts Fashion a ring to go round pipe between flange and flange from coat hanger wire, so as not to have to use 2x exhaust washers. Needed 2x loops of coat hangar each side
- Clean up exhaust bolts and assemble washers required.
- Bolt pipes on with PTFE Paste on the single gaskets.
Ever since the mid 1980s, I have been using 2 exhaust gaskets to seal the exhaust pipes to the barrels.
Yamaha really fouled up with the design, and even with the heath Robinson torsion bars fitted, the exhausts work themselves loose with engine vibration. Using 2 exhaust gaskets and a smear of plumbers PTFE paste to hold it all together has been a decent workaround for me, but I recently read that putting a spacer ring between the exhaust collar and the flange, allows the use of a single gasket, and a better fitting. coat hanger wire is suggested to fashion the spacer, unless you have access to some particularly thick copper wire.
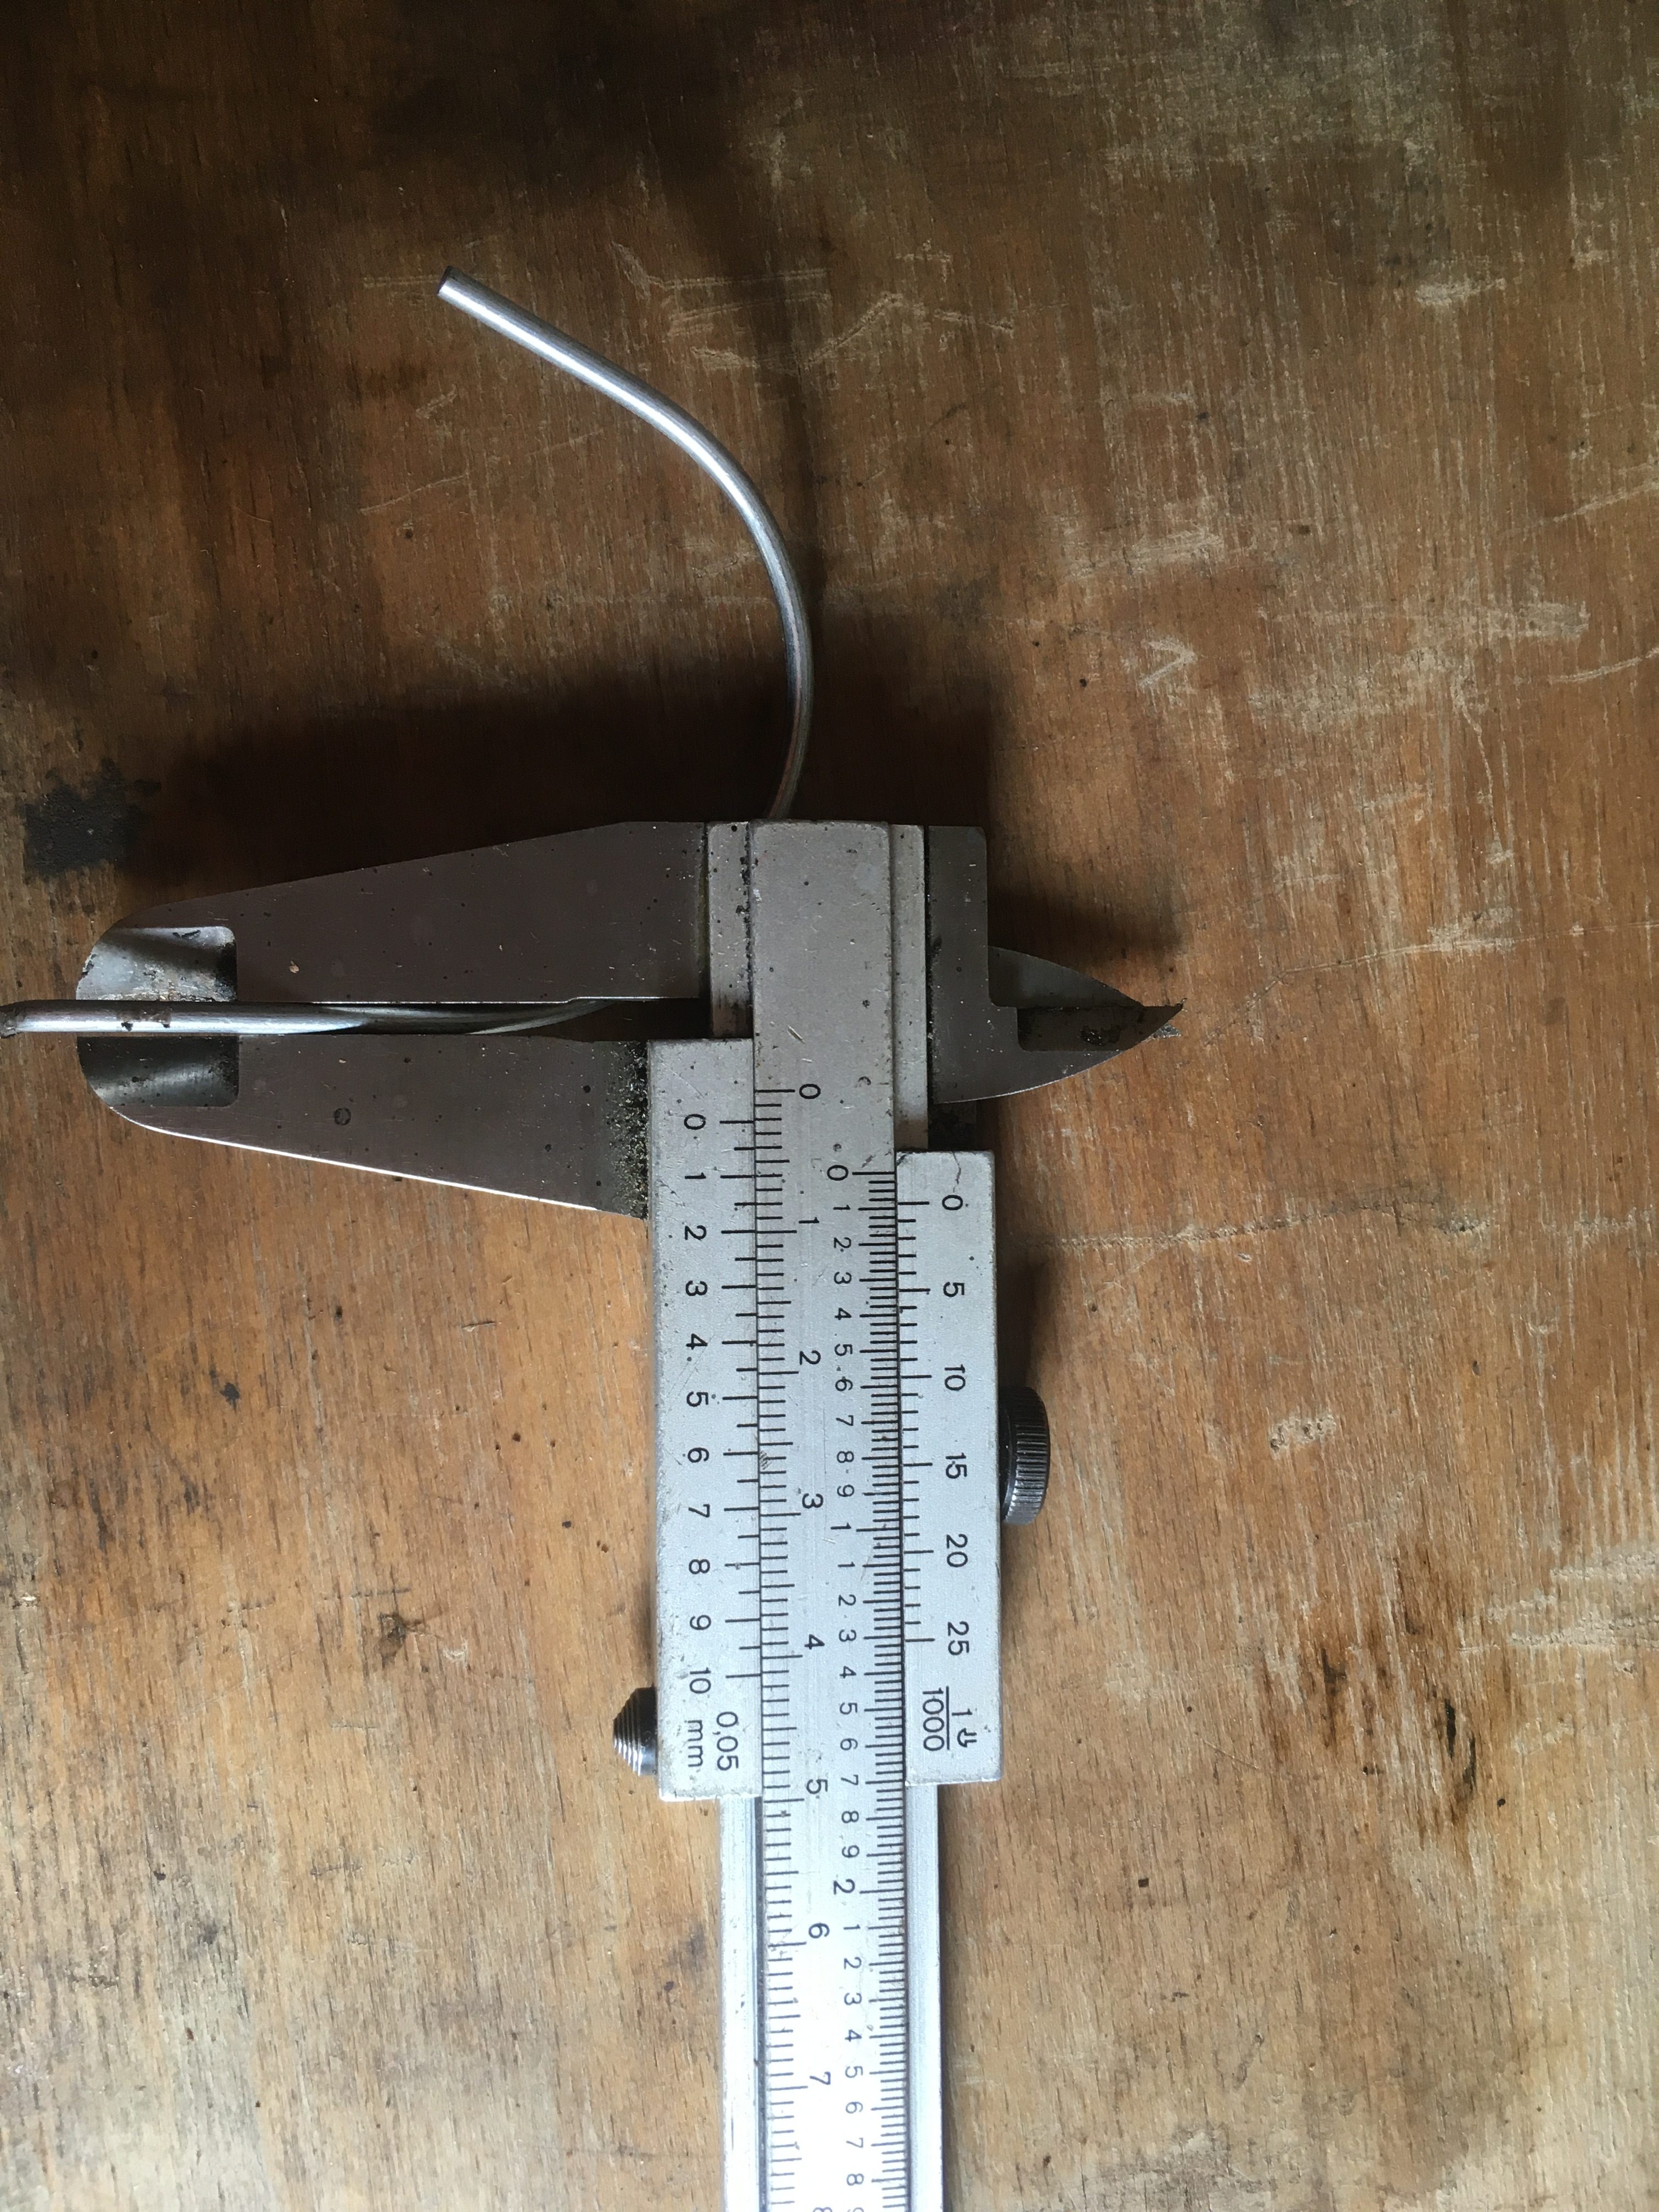
The coat hanger wire I have is circa 2mm in diameter, which was not enough to seal the single gasket. Using two loops of the wire was satisfactory.
The other ruse i use to stop the exhausts from coming loose, is a tip from my racing days. Drill and wire the exhaust bolts, (or nuts), which provides just enough tension to stop them working loose. (And if they should work loose… stops them falling off the bike!)
Now I can move on to all the myriad other items needing to be bolted on and adjusted.
- Replace temporary cable ties for loom with permanent ones
- Gearchange lever pivot circlip is bent – need a new one 93410-12003 (9900912400), 12mm (shaft size) x 1mm thick (ebay generic 10x pack @ £2.39)… Ordered.
- Oil tank to pump hose is too long – replace with one the right length.
- Speedo cable
- Tacho cable
- Lockwire exhaust bolts
- Fit Carbs
- Throttle cable (Route to the left of headstock, over wire clump, under tank mount crossbar)
- Balance Carbs
- Fill the 2T tank; bleed and adjust the oil pump
- Fit fuel tap to old tank. Need some 6mm fibre washers. (have 2 dodgy ones for now) buy ebay pack of 10 @ £1.95
- Put about a litre of 40:1 premix in tank
- Cut oil feed hoses to the correct length at the carb end and fit with new clips
- Run the bike for a few minutes until there are no bubbles left in the oil feed pipes.
- Replace fuel in tank with straight petrol from fuel cans I filled when bike disassembled.
- Fit oil pump cover
- Fit a seat, side-panels
- Fit clutch worm drive to newly painted Generator LHS engine cover.
- Fit LHS engine cover and clutch cable… Adjust.
- Tighten all bolts around handlebars, forks, wheels… everything I can find.
- Fill Radiator with water
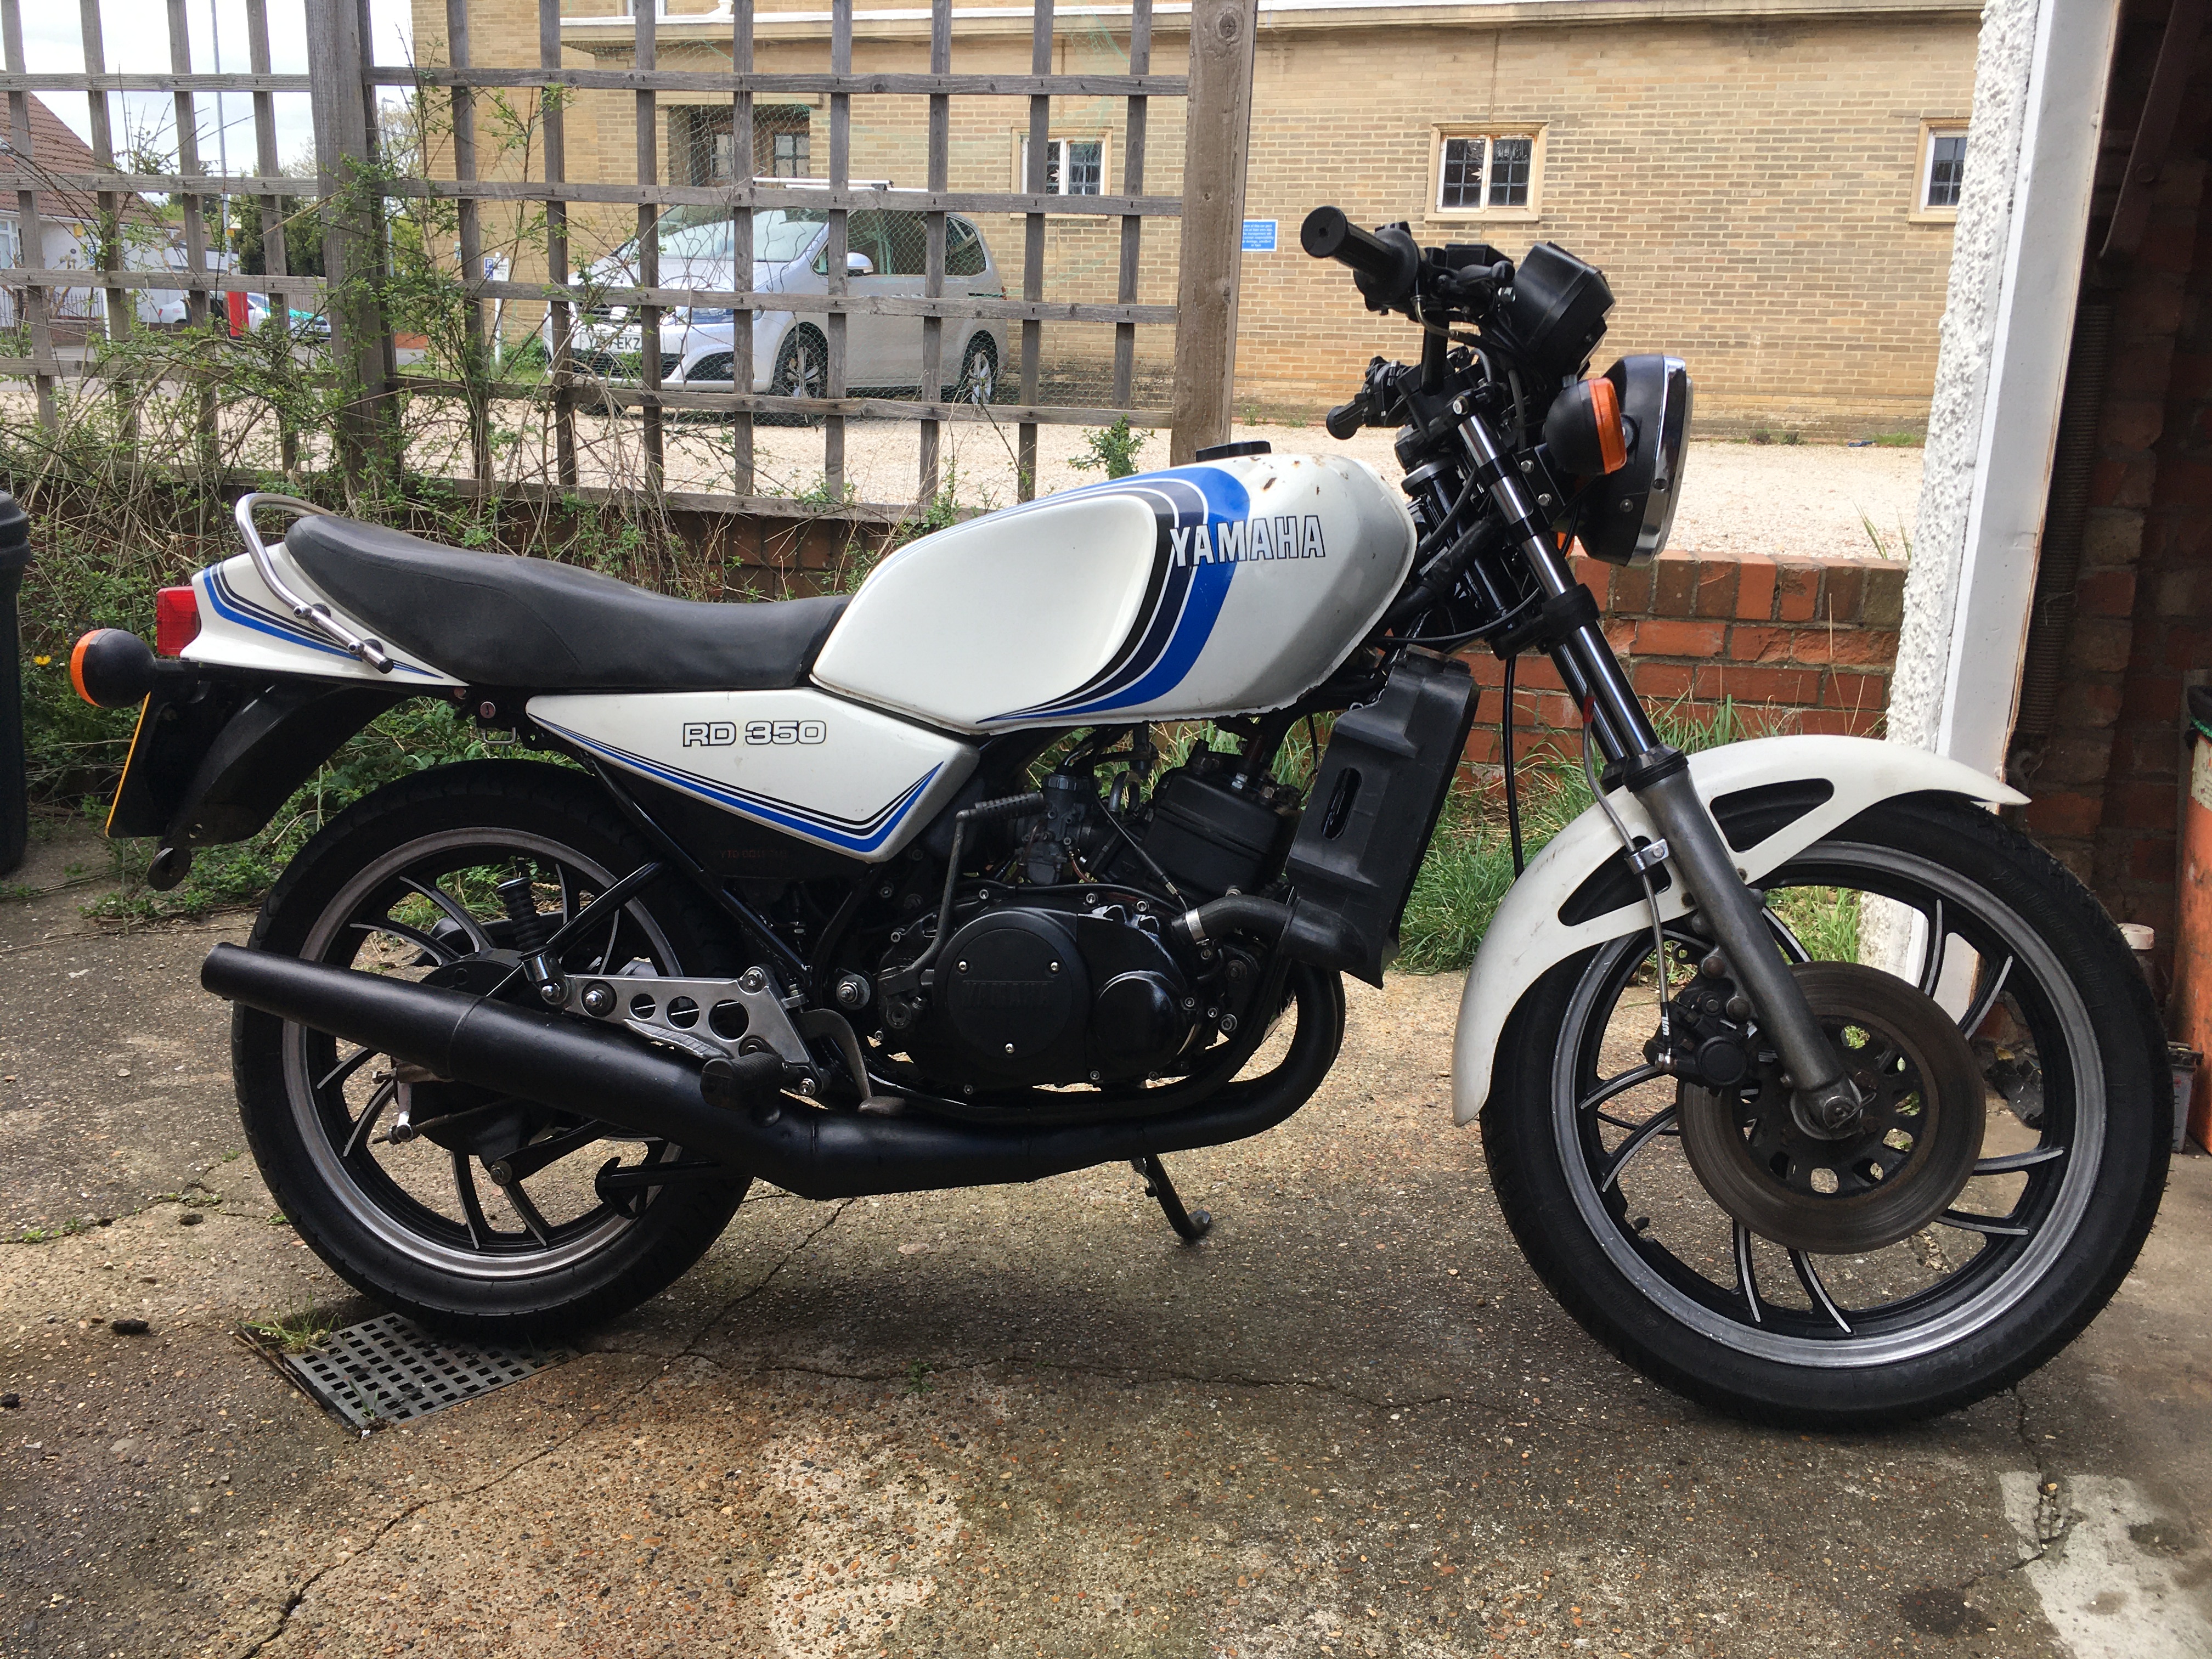
Everything is back together.
Take her for a short, 2 mile ride around the block.