The wait for engine parts, and for a wheel to be sent off, skimmed, and returned, provides opportunity for another “meanwhile” blog post.
I had earlier in the build looked into sending off my nuts and bolts to be nickel and zinc plated to match original Yamaha specifications.
In the end, I couldn’t justify the cost on a bike which was never going to be, (or intended to be) concourse.
Having purchased a number of chemicals for cleaning the interior of petrol tanks, and experimenting with rust removal, I went one step further and researched DIY electroplating. I started with Nickel plating.
Kits can be bought for several hundreds of pounds which didn’t appeal to me on cost grounds, but I found several write ups and instructables offering a low cost way to dabble in the art.
In essence it reduces to…
1) Make your own electrolyte
2) Clean your candidate item
3) Clean it again
4) repeat step 3 until clean
Put item in electrolyte and run some current through it.
For the above steps you need…
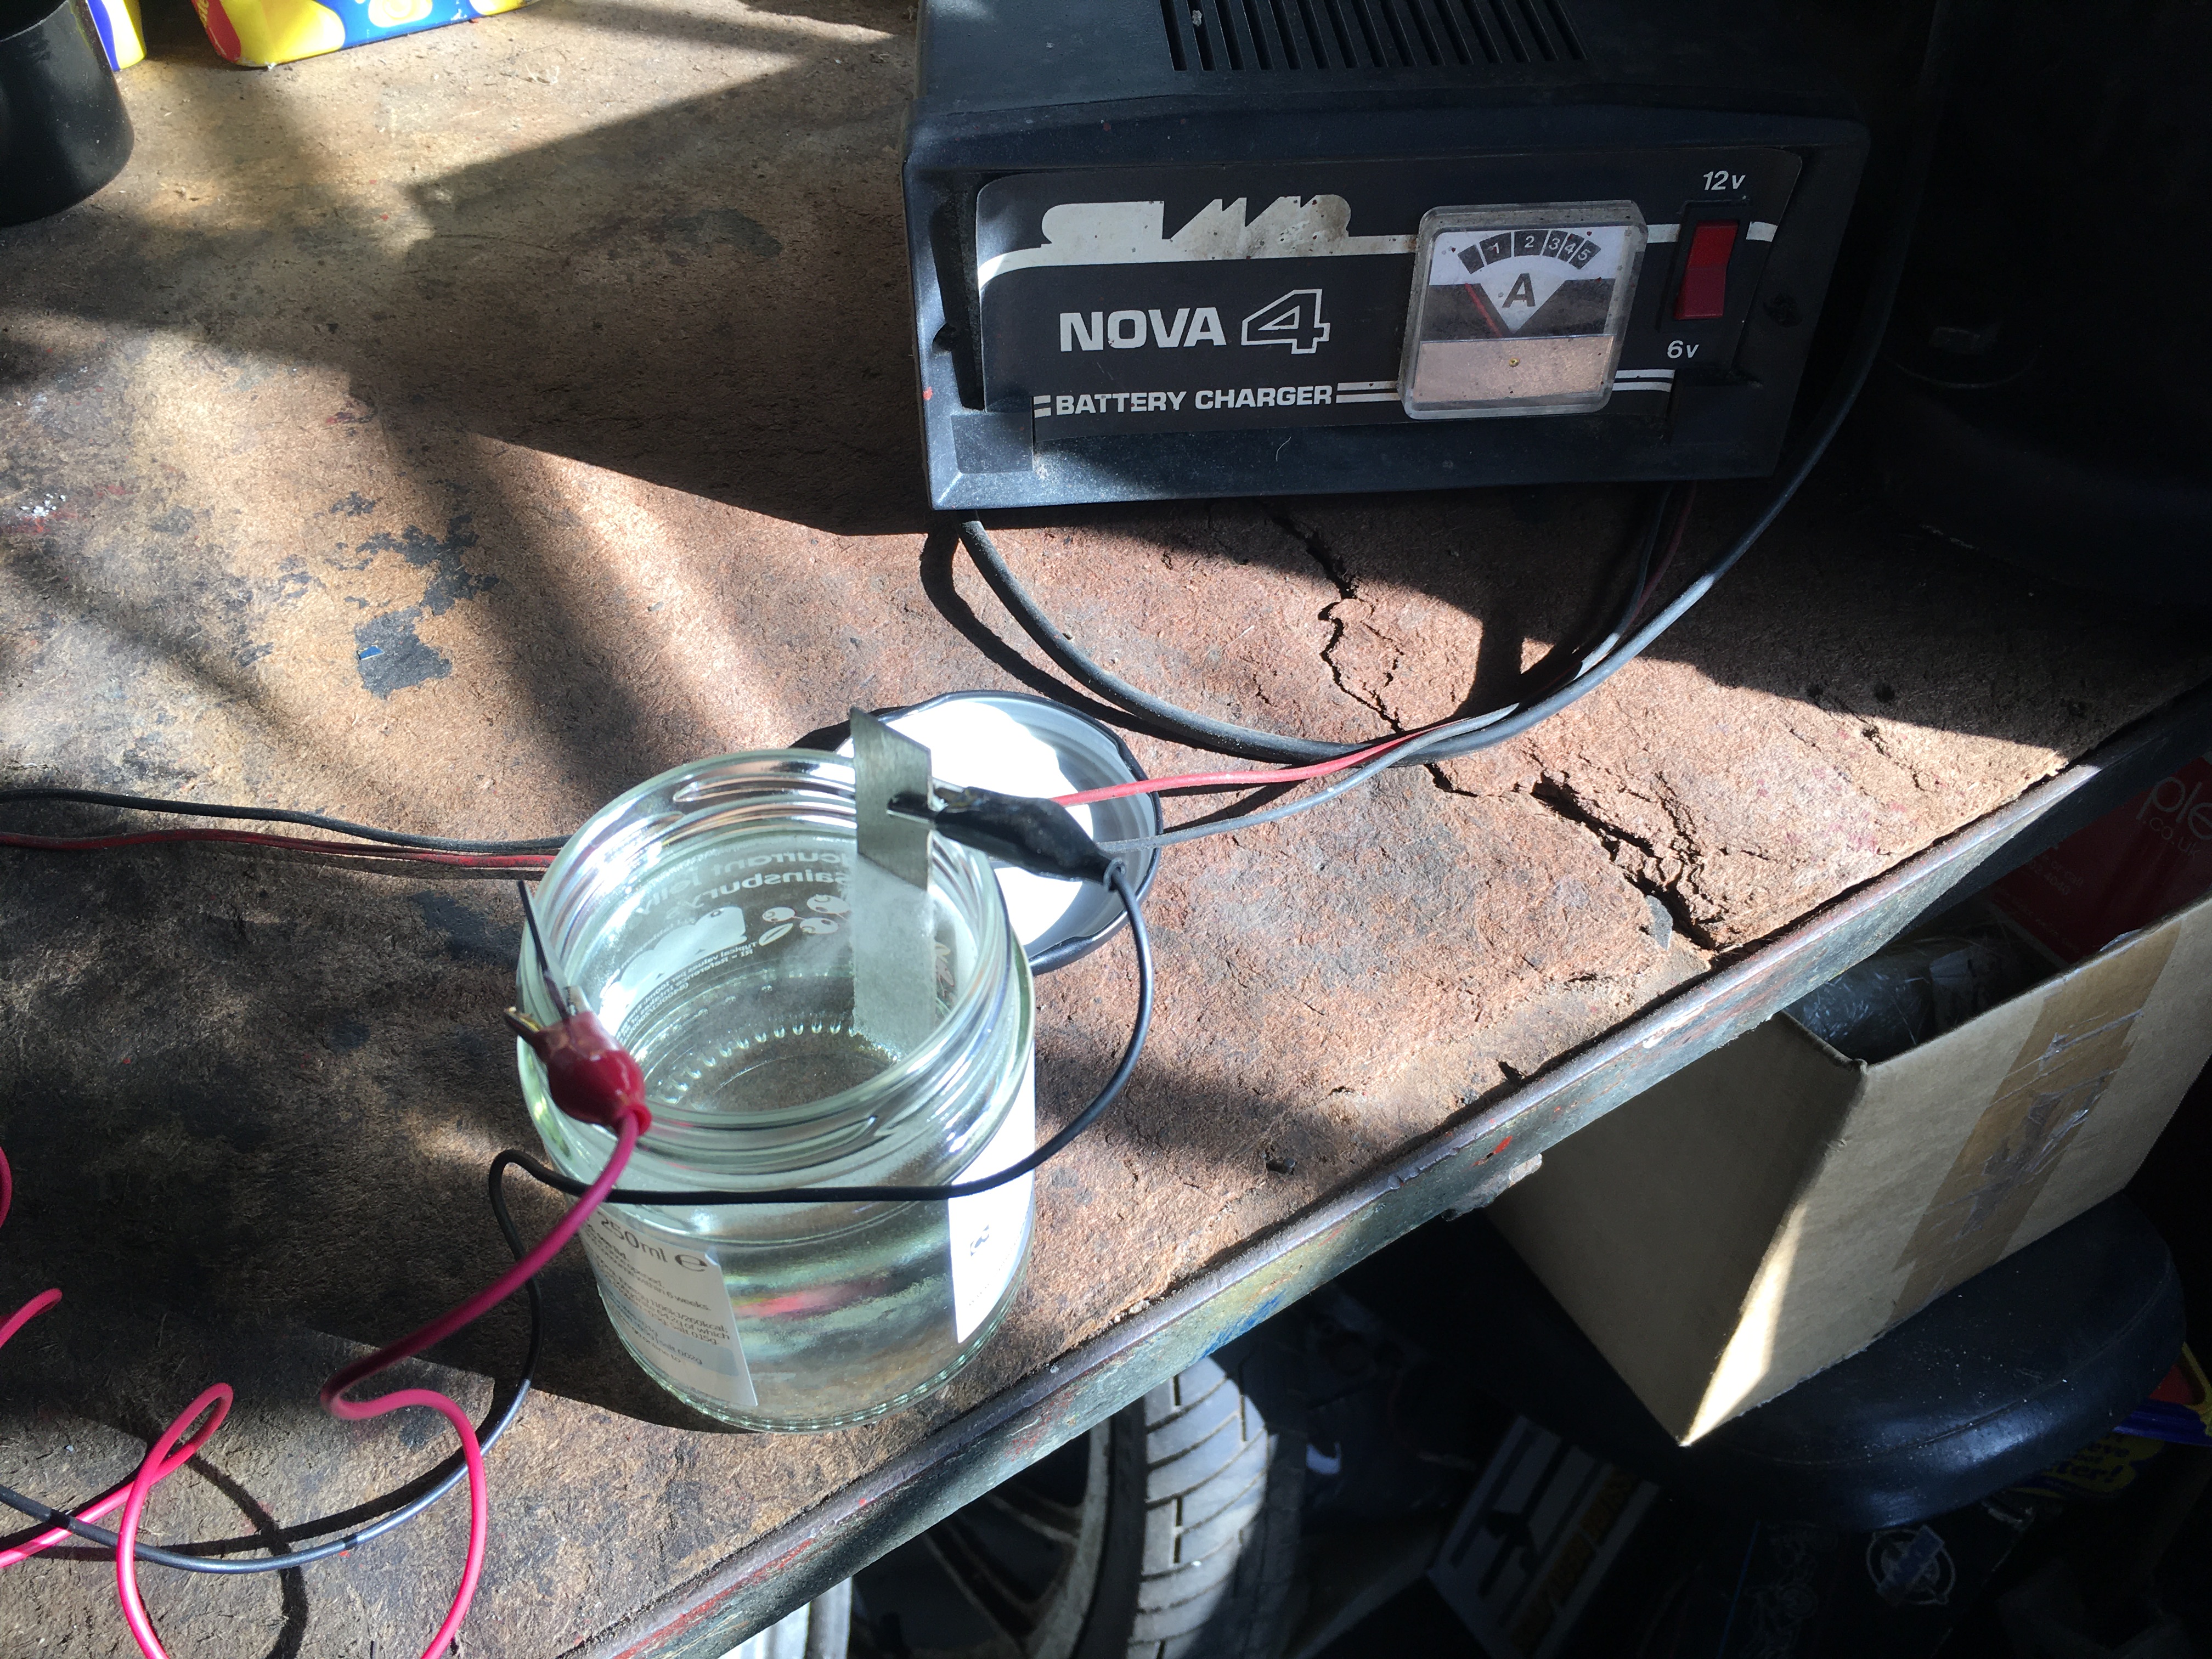
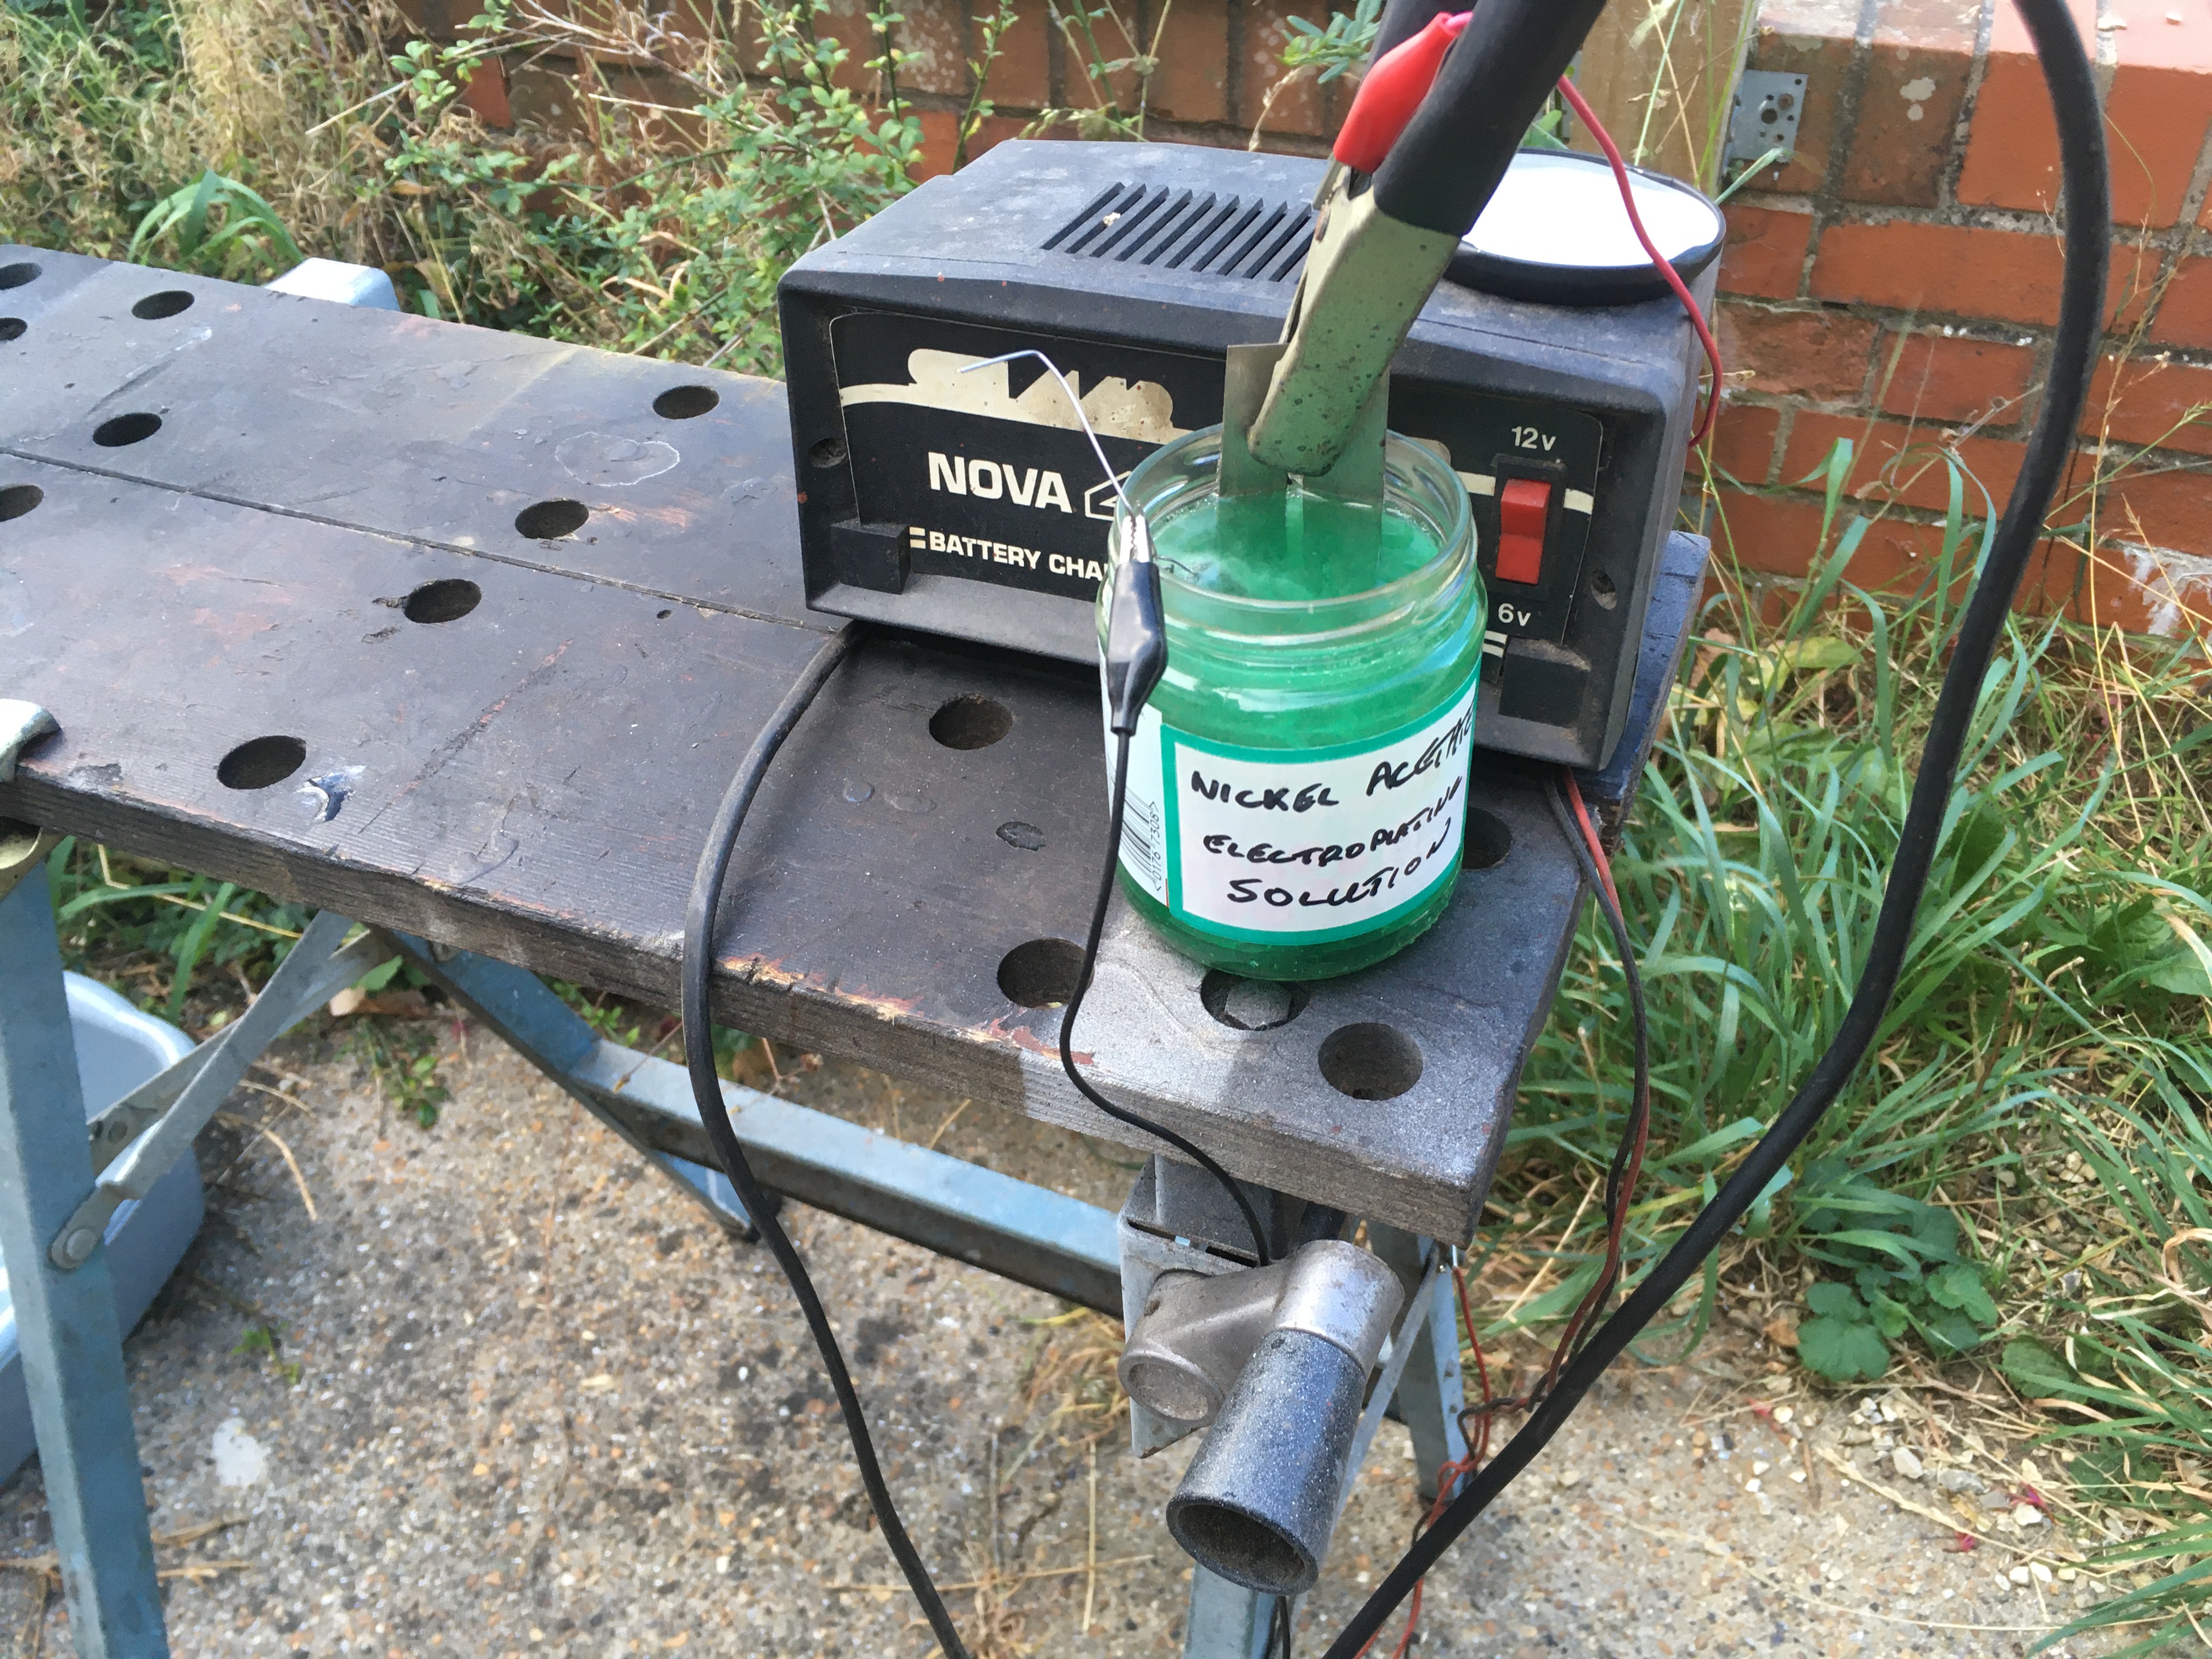
1) A power source. (I used an ancient 6/12V battery charger)
2) Some Nickel (I bought a 100mm x 100mm square piece of plate from ebay for £10)
3) Some white vinegar (5 Litres for £8)
I went down the rabbit hole of research for a couple of days, and got caught up in voltage and current variations, surface area calculations, critical timings, and other variables which were starting to make my head spin.
When the Vinegar and the nickel plate arrived in the post, I threw caution to the wind and Just Did It.
Refinements can come later.
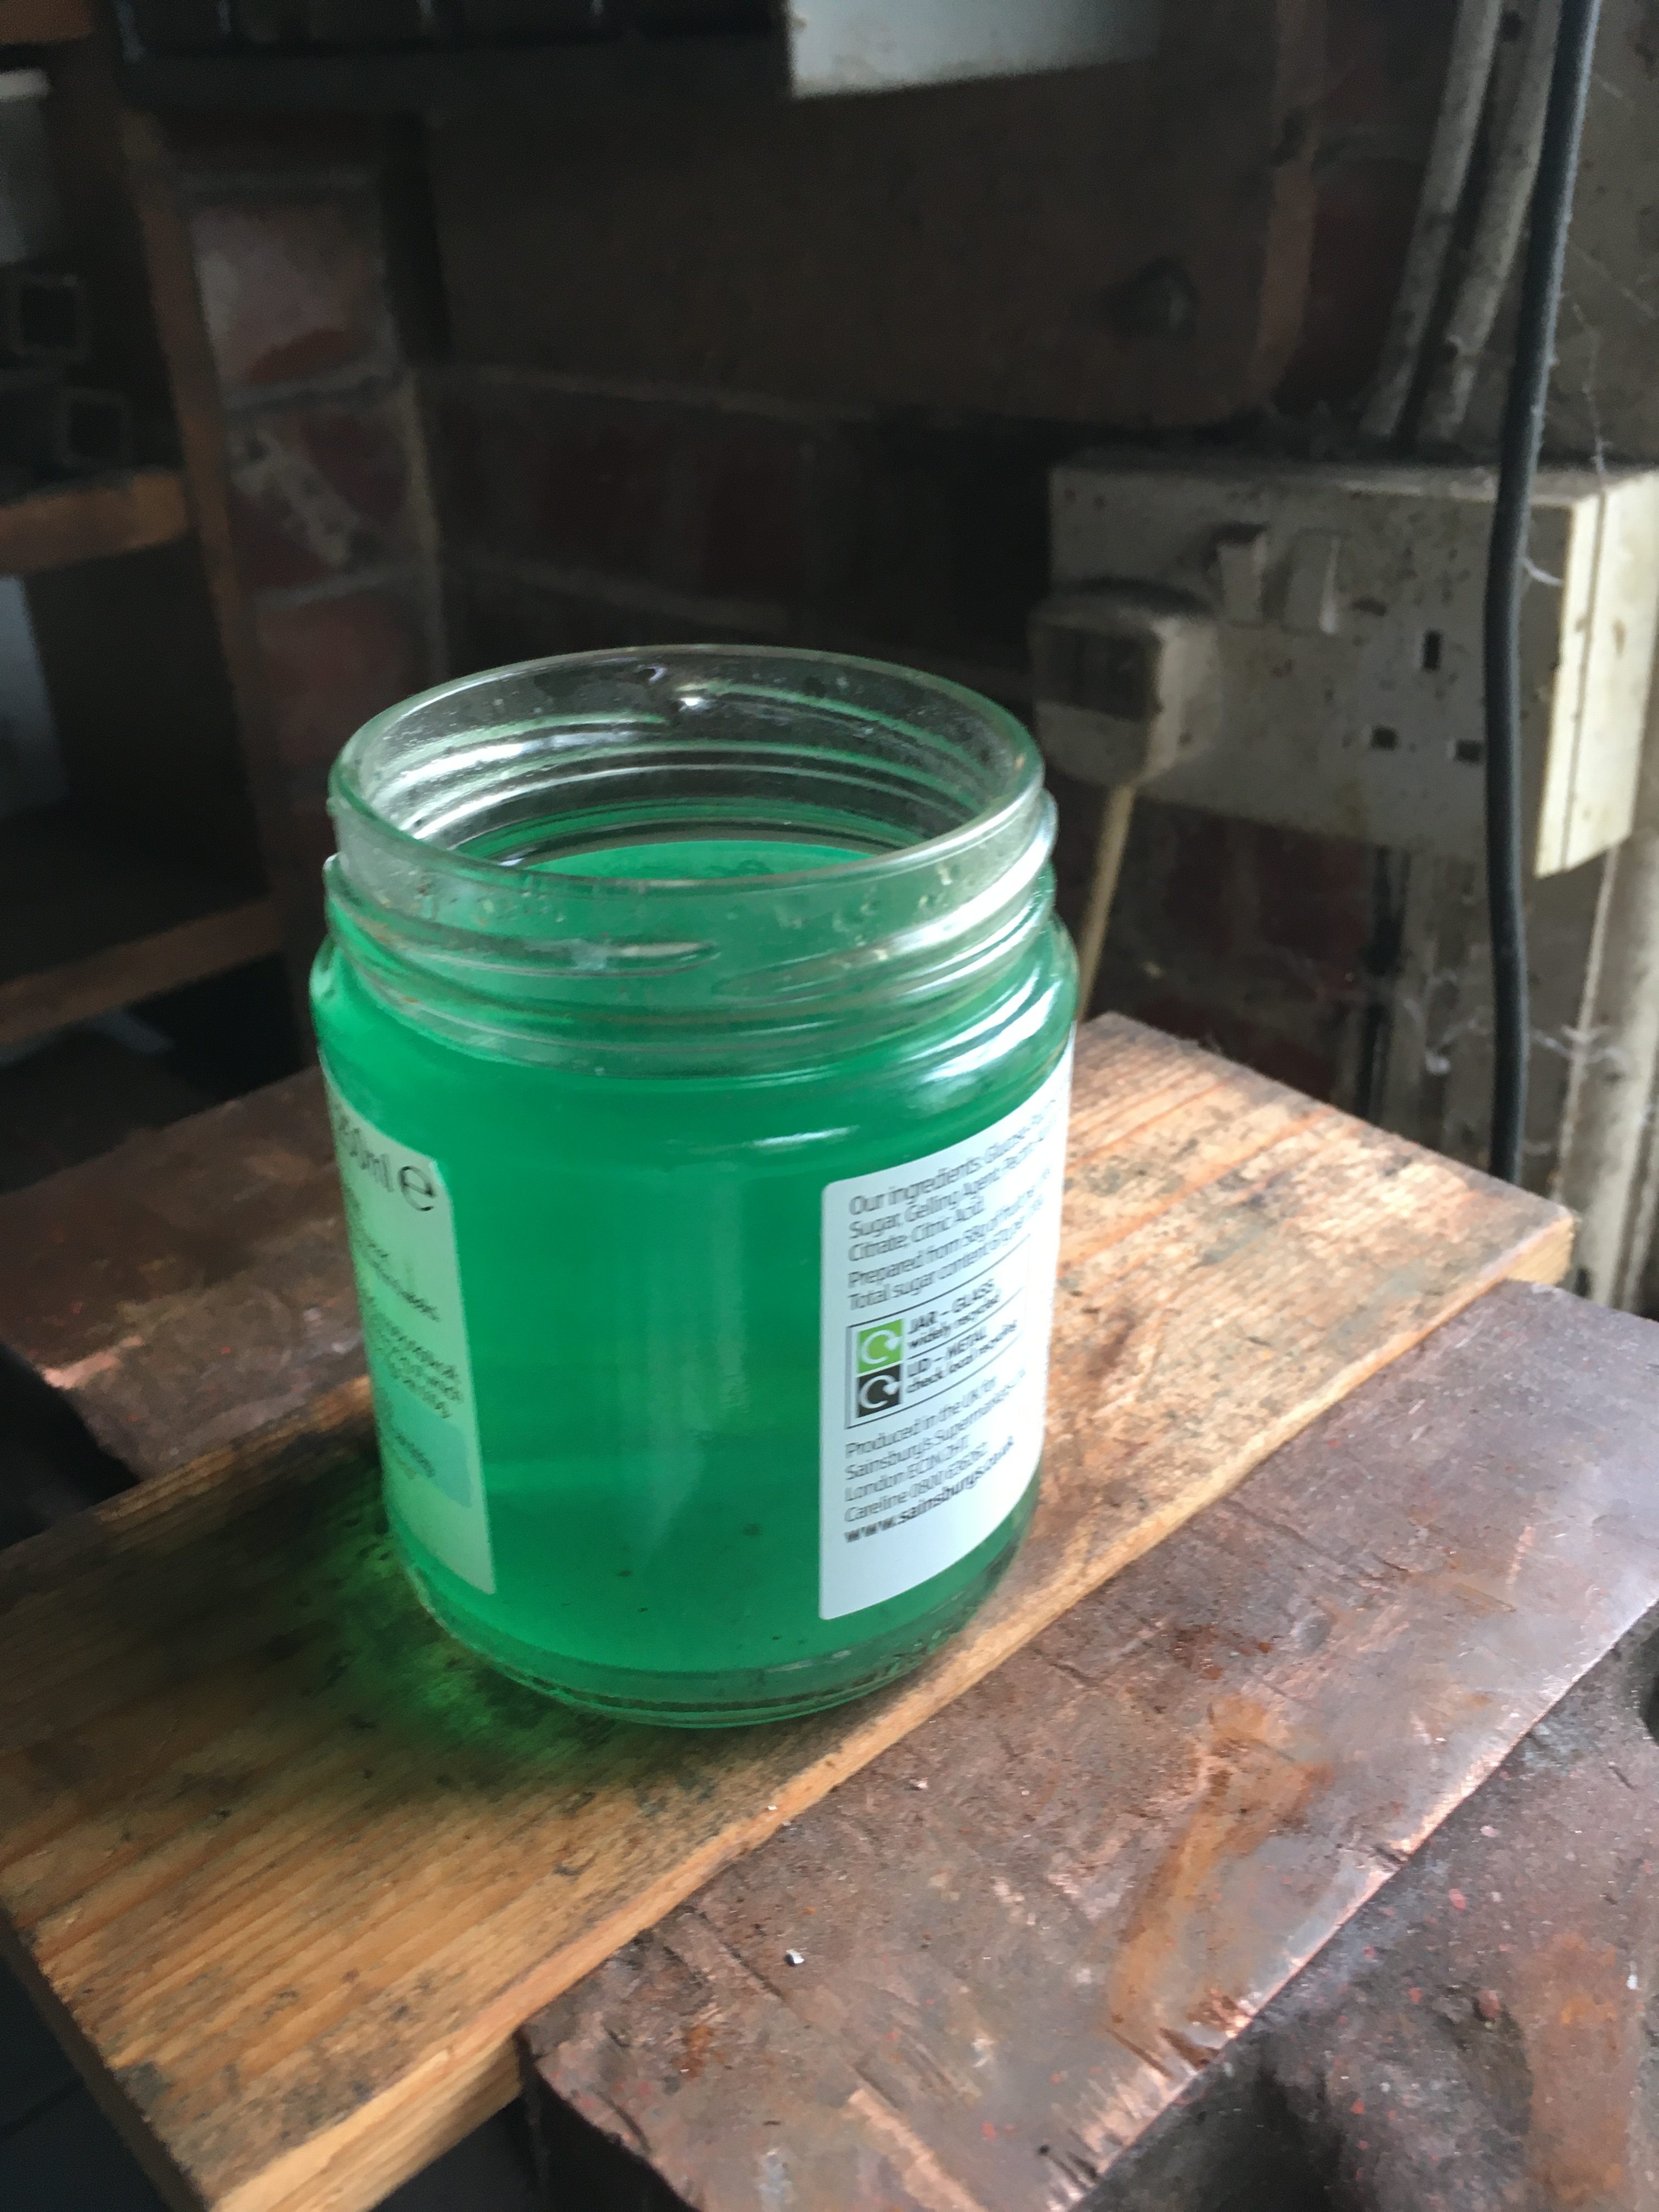
First I made my electrolyte by pouring white vinegar into a jam jar, (with a pinch of common cooking salt to aid conductivity), cutting 2 x 1cm(ish) strips from my nickel plate, and connecting them to the positive and negative of a 12V power source for 2 hours, until it went a delightful shade of teal blue/green.
Note, both positive, (anode), and negative, (cathode), are strips of Nickel for this step.
My first attempt at plating involved using a rusted old shock mount bolt.
I didn’t take any before pictures, as at this stage I was just bimbling around the garage on autopilot.
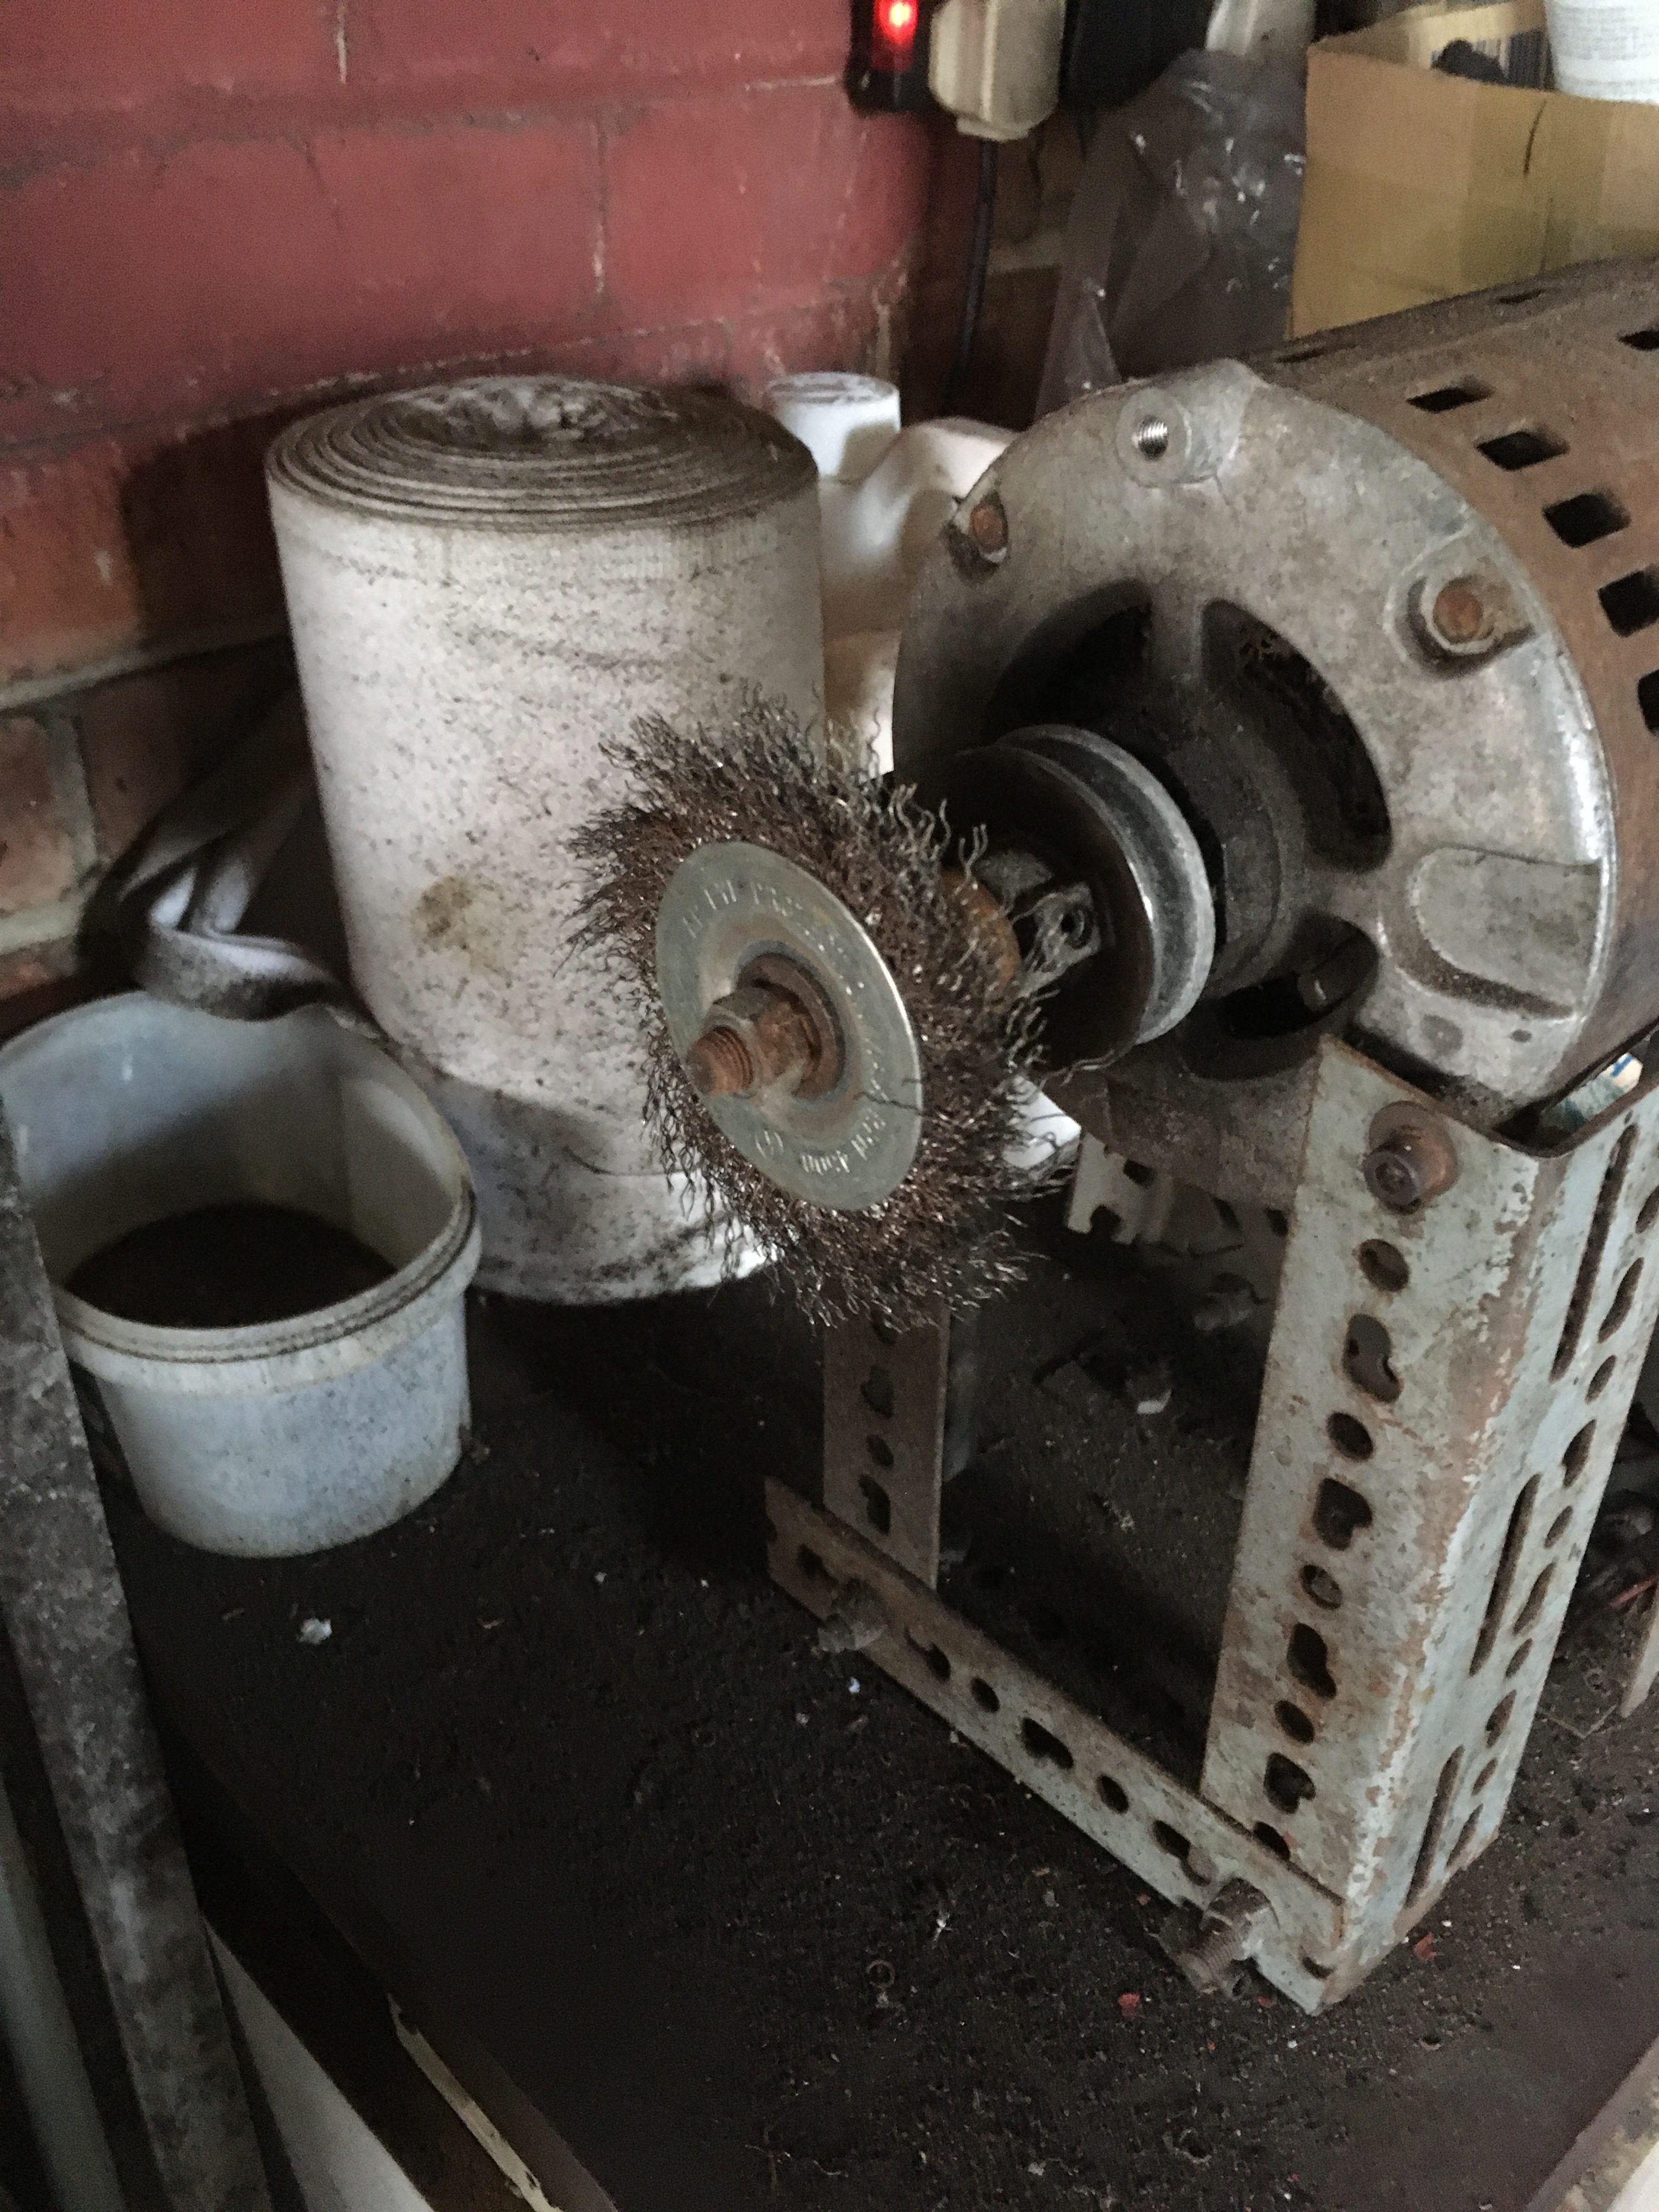
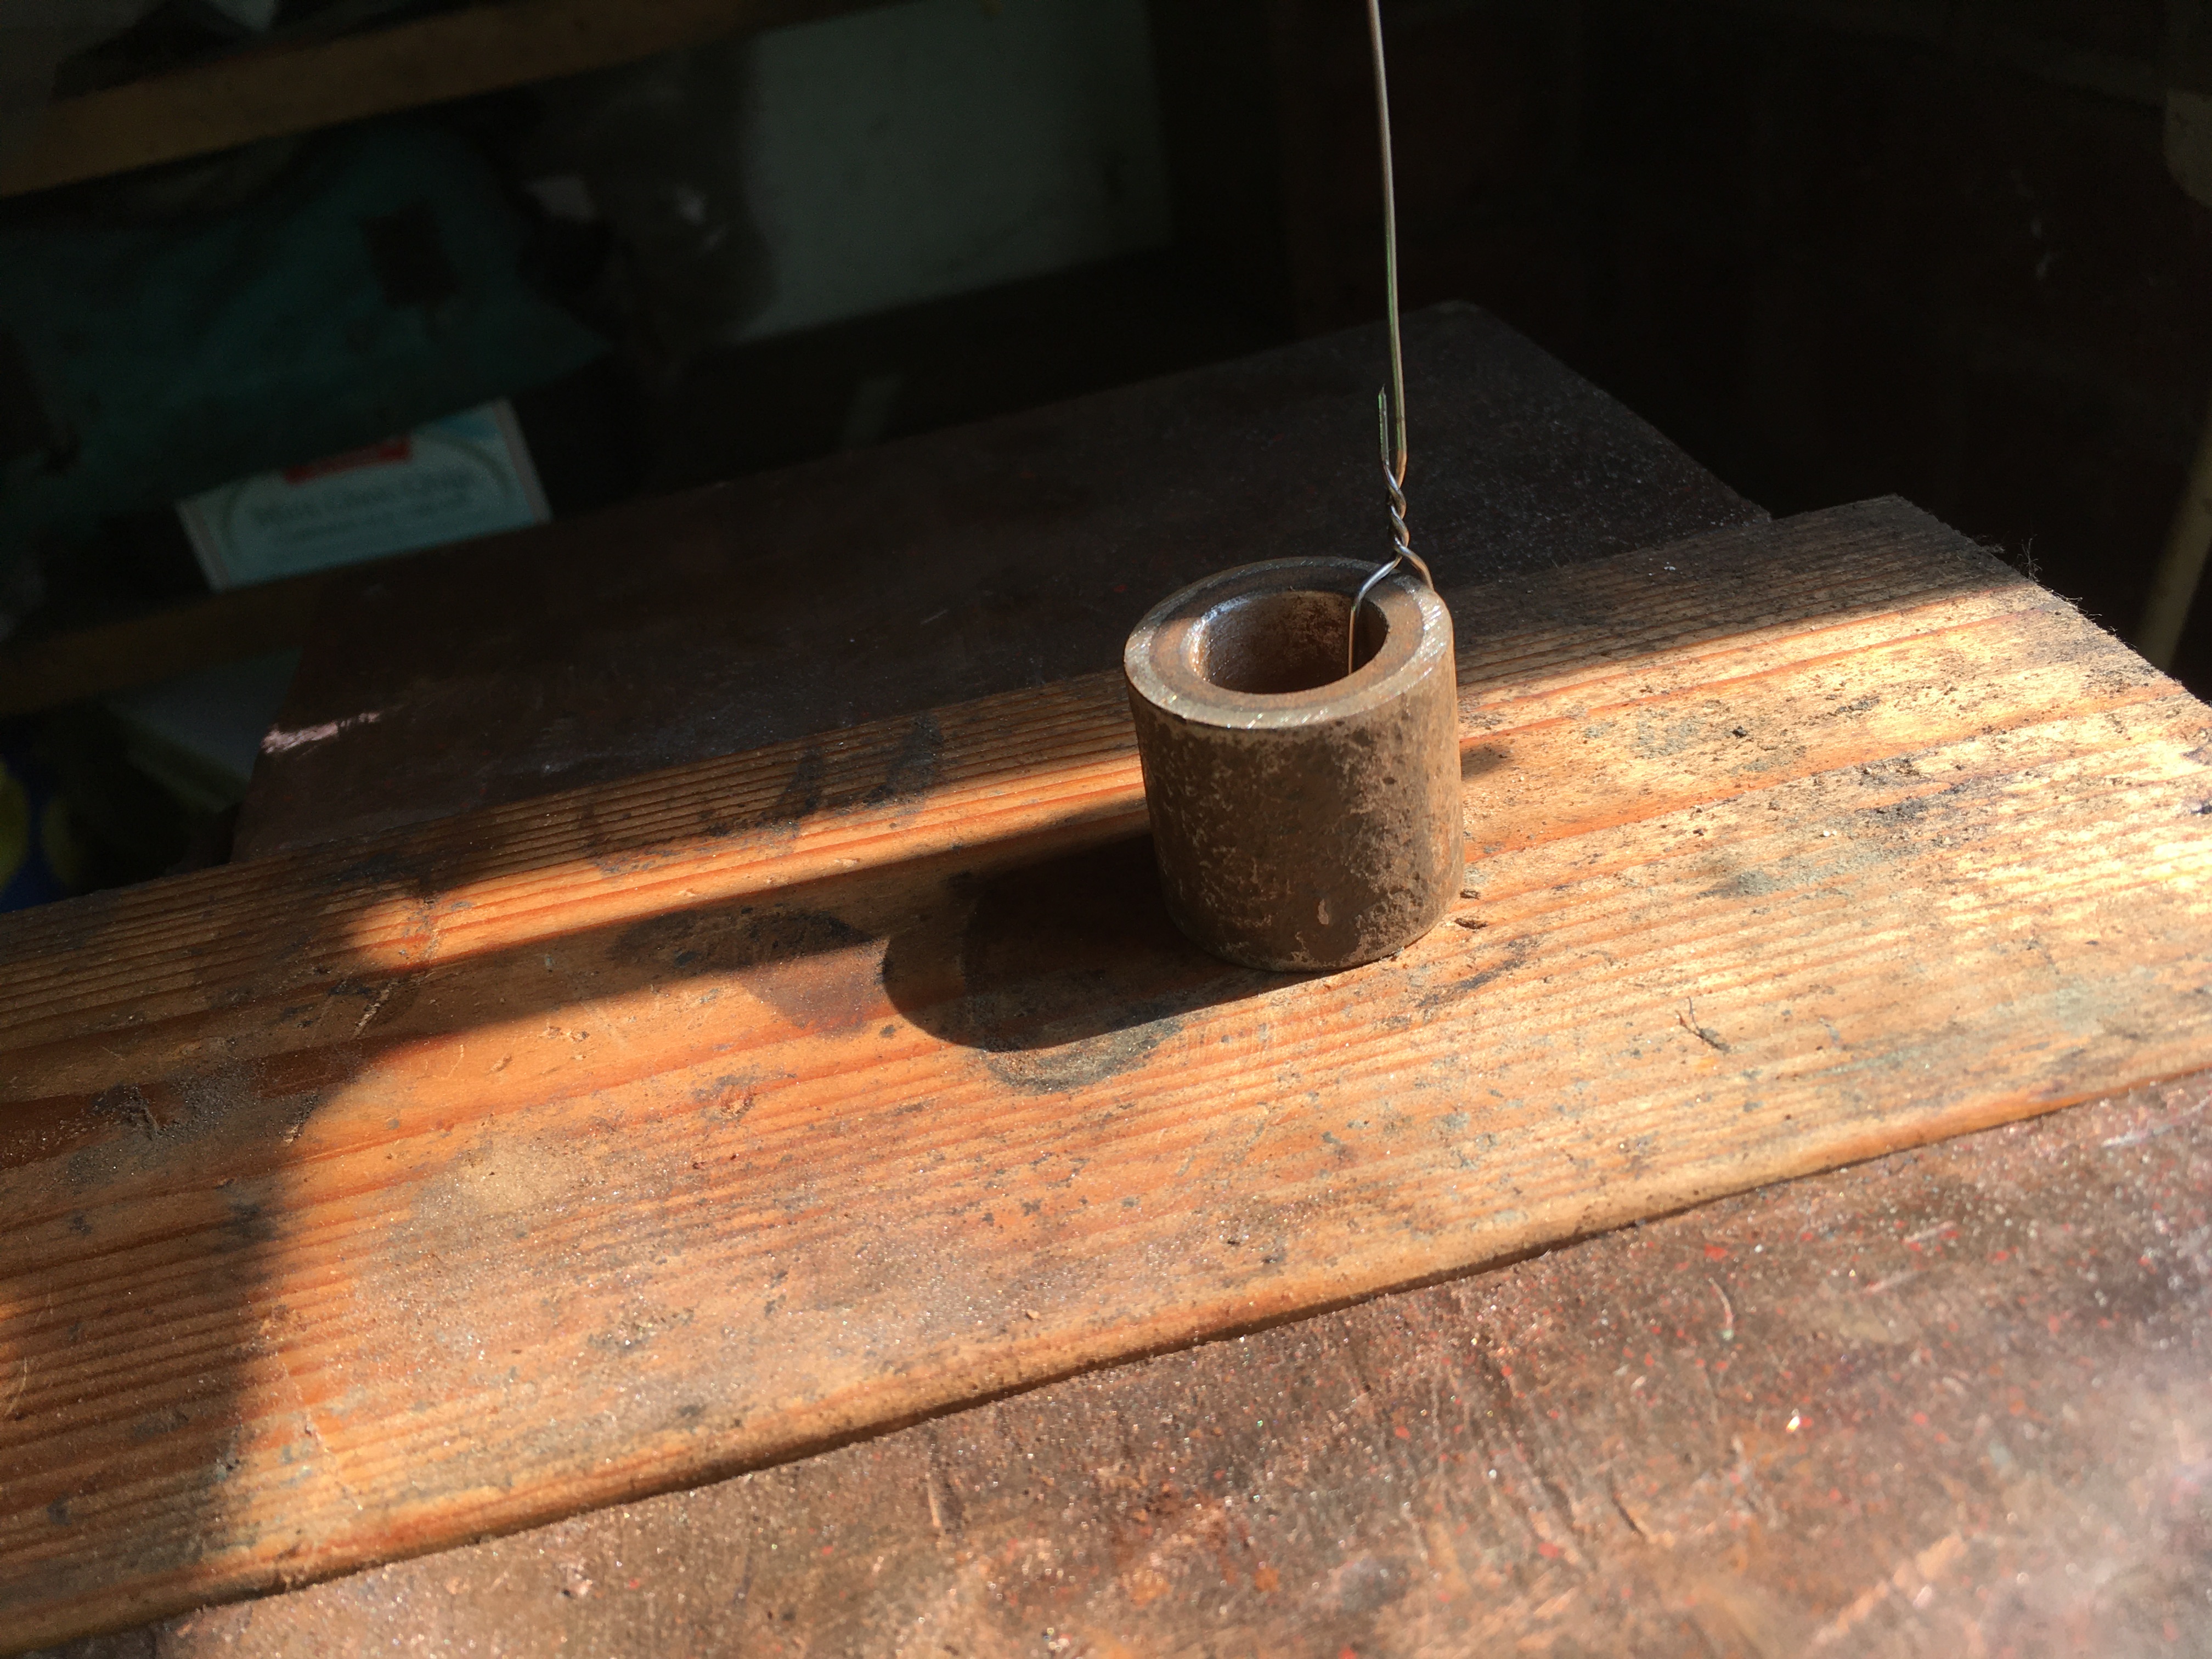
I just cleaned off the rust with the wire wheel, gave it a wipe down with a cloth soaked in brake cleaner and popped it into the electrolyte on the end of a length of titanium lockwire.
I used the 6 volt setting on the charger for the plating process, as lower voltages are said to produce a better finish.
The work piece is connected to the Negative, Cathode, and a piece of pure Nickel is connected to the Positive, the anode. Try not to get the crocodile clips in the electrolyte. Over time they will contaminate the purity of the nickel solution.
Note: Titanium wire is apparently good for this because it does not react with the electrolyte. in fact, I have noted that after a plating, the titanium wire does attract nickel ions to it, but it doesn’t plate onto the titanium and flakes off as tiny shards of pure nickel as soon as you touch it.
This first attempt instructed me in the importance of cleanliness, clean clean, clean. The work object cannot be clean enough. The merest traces of any oils or surface corrosion is enough to interrupt the plating process and cause spears and holes in the finish.
The second lesson from this piece ought to have been obvious, but for some reason wasn’t to me initially.
The plating is only a few atoms thick, it will not fill in any irregularities in the surface.
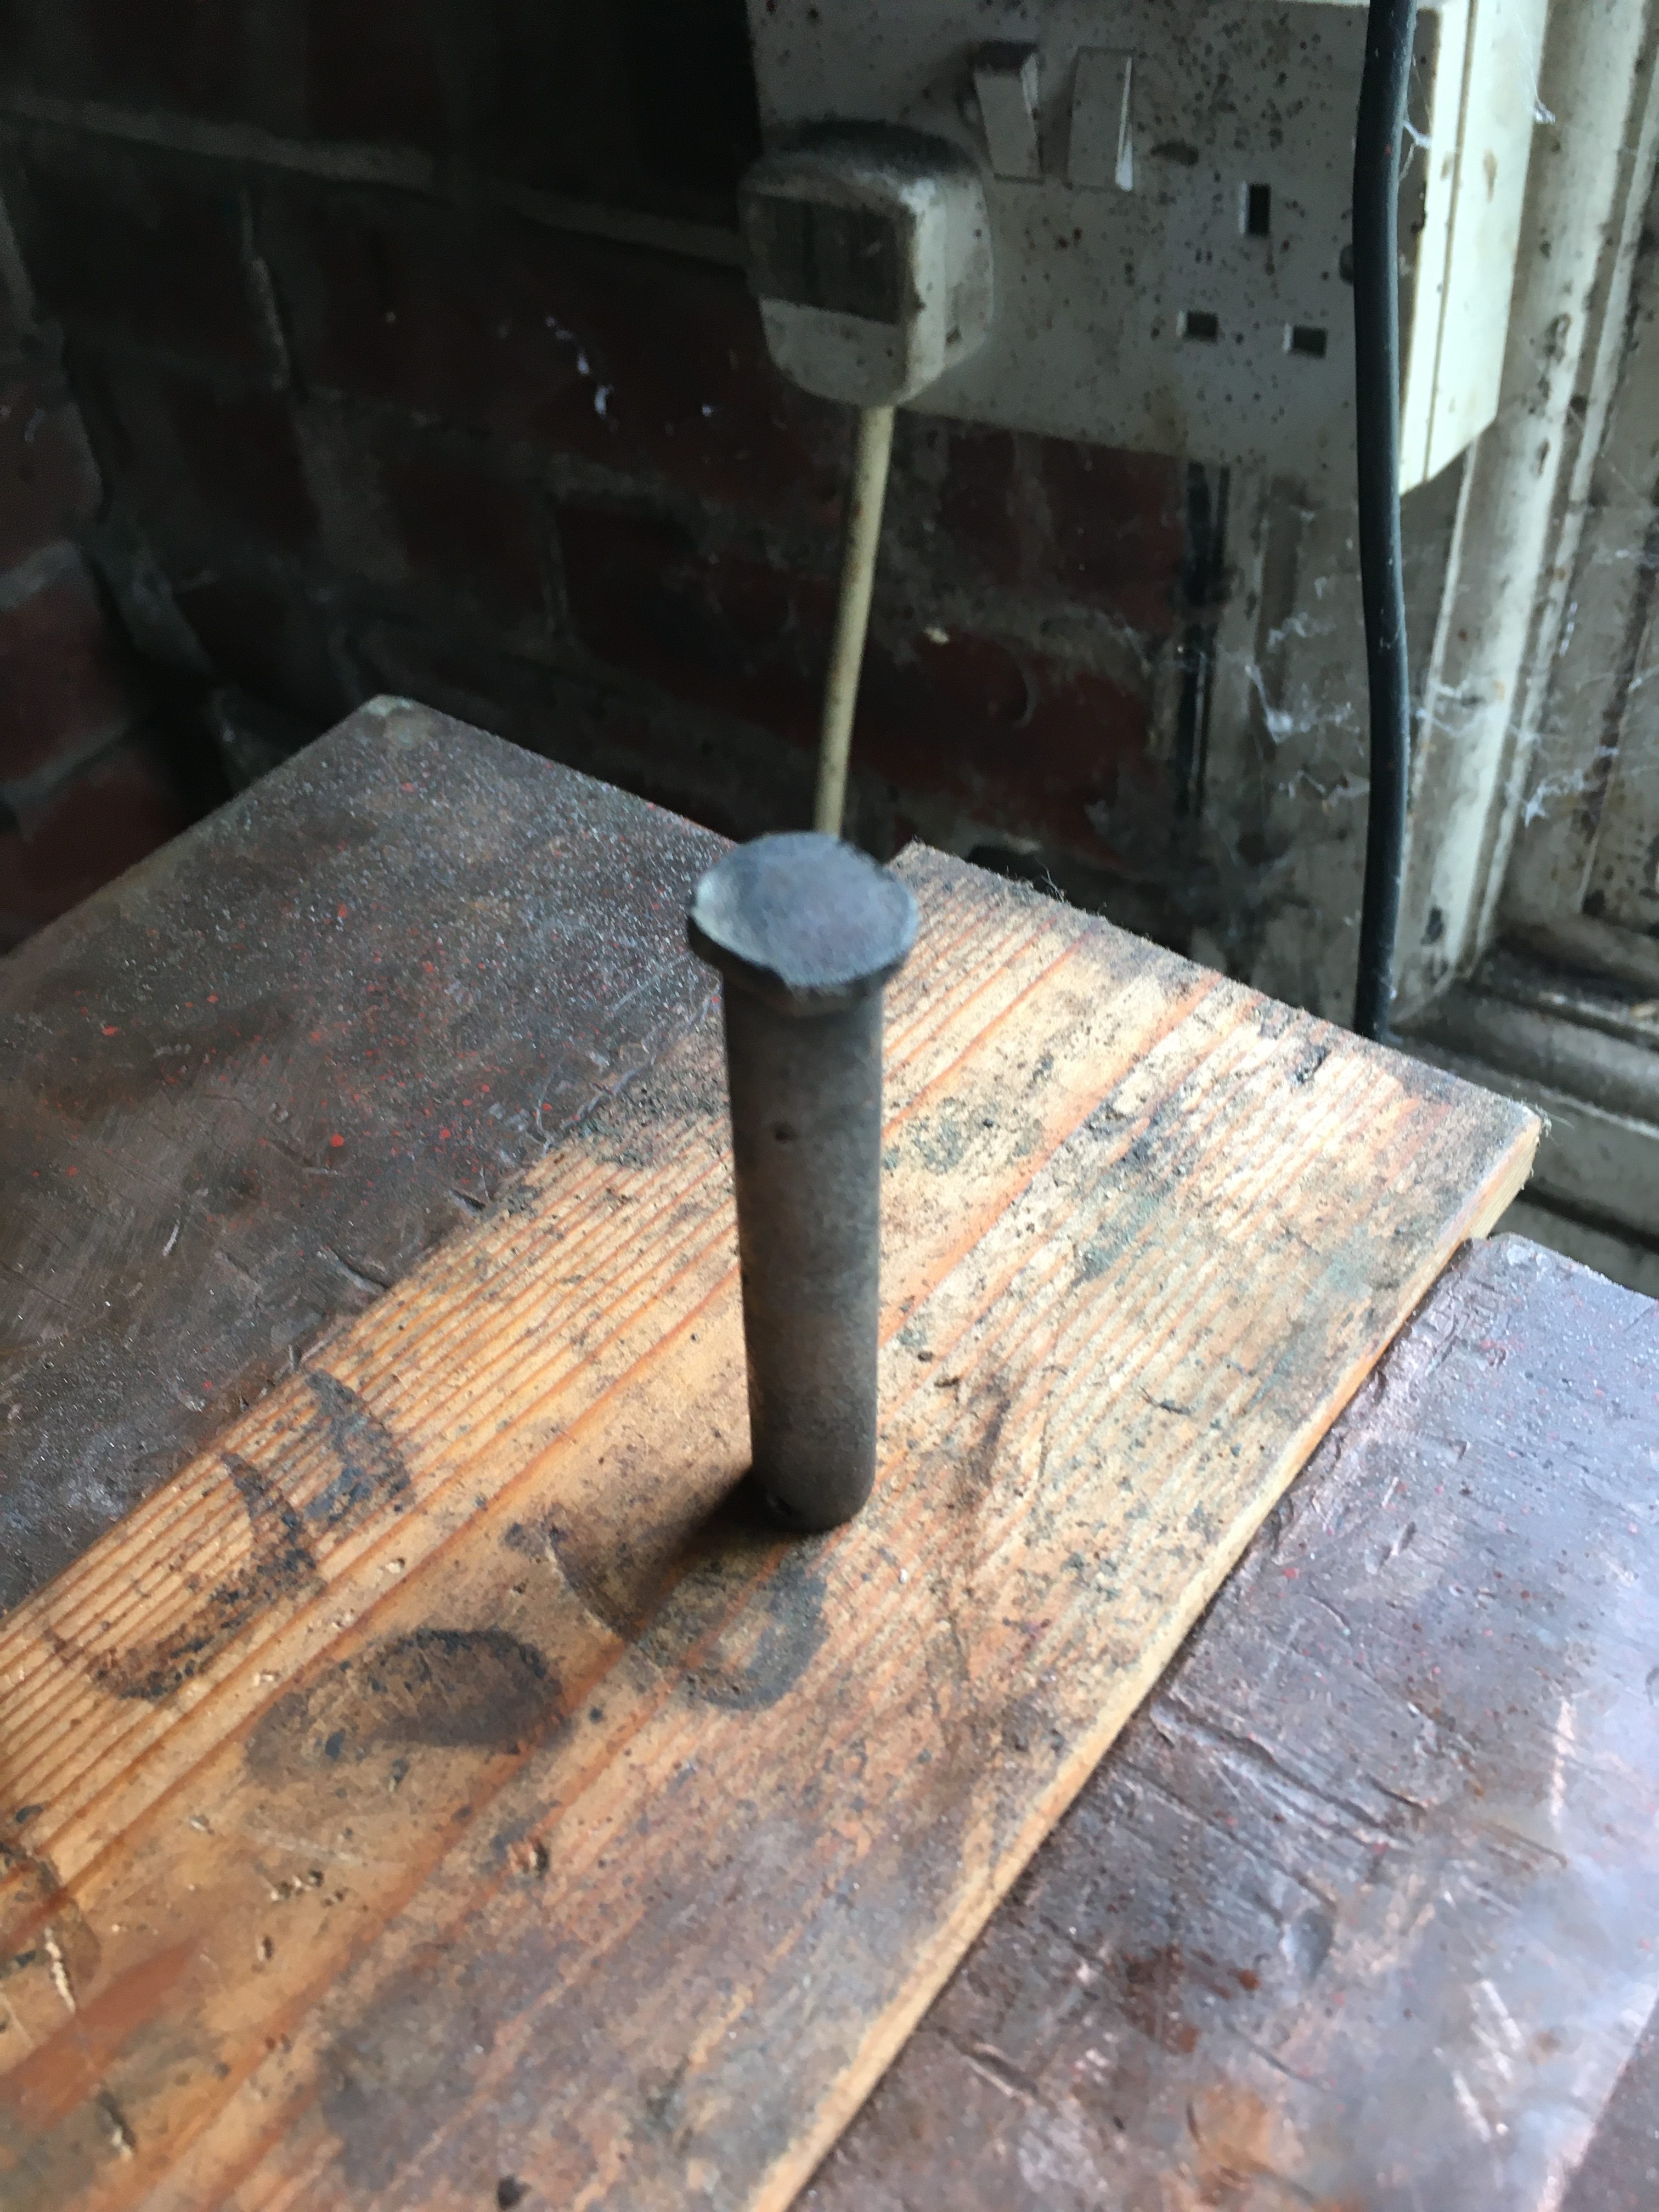
While not a great success, the pin was transformed from something i would have thrown in the bin without a moments thought, into something which I would actually use if push came to shove.
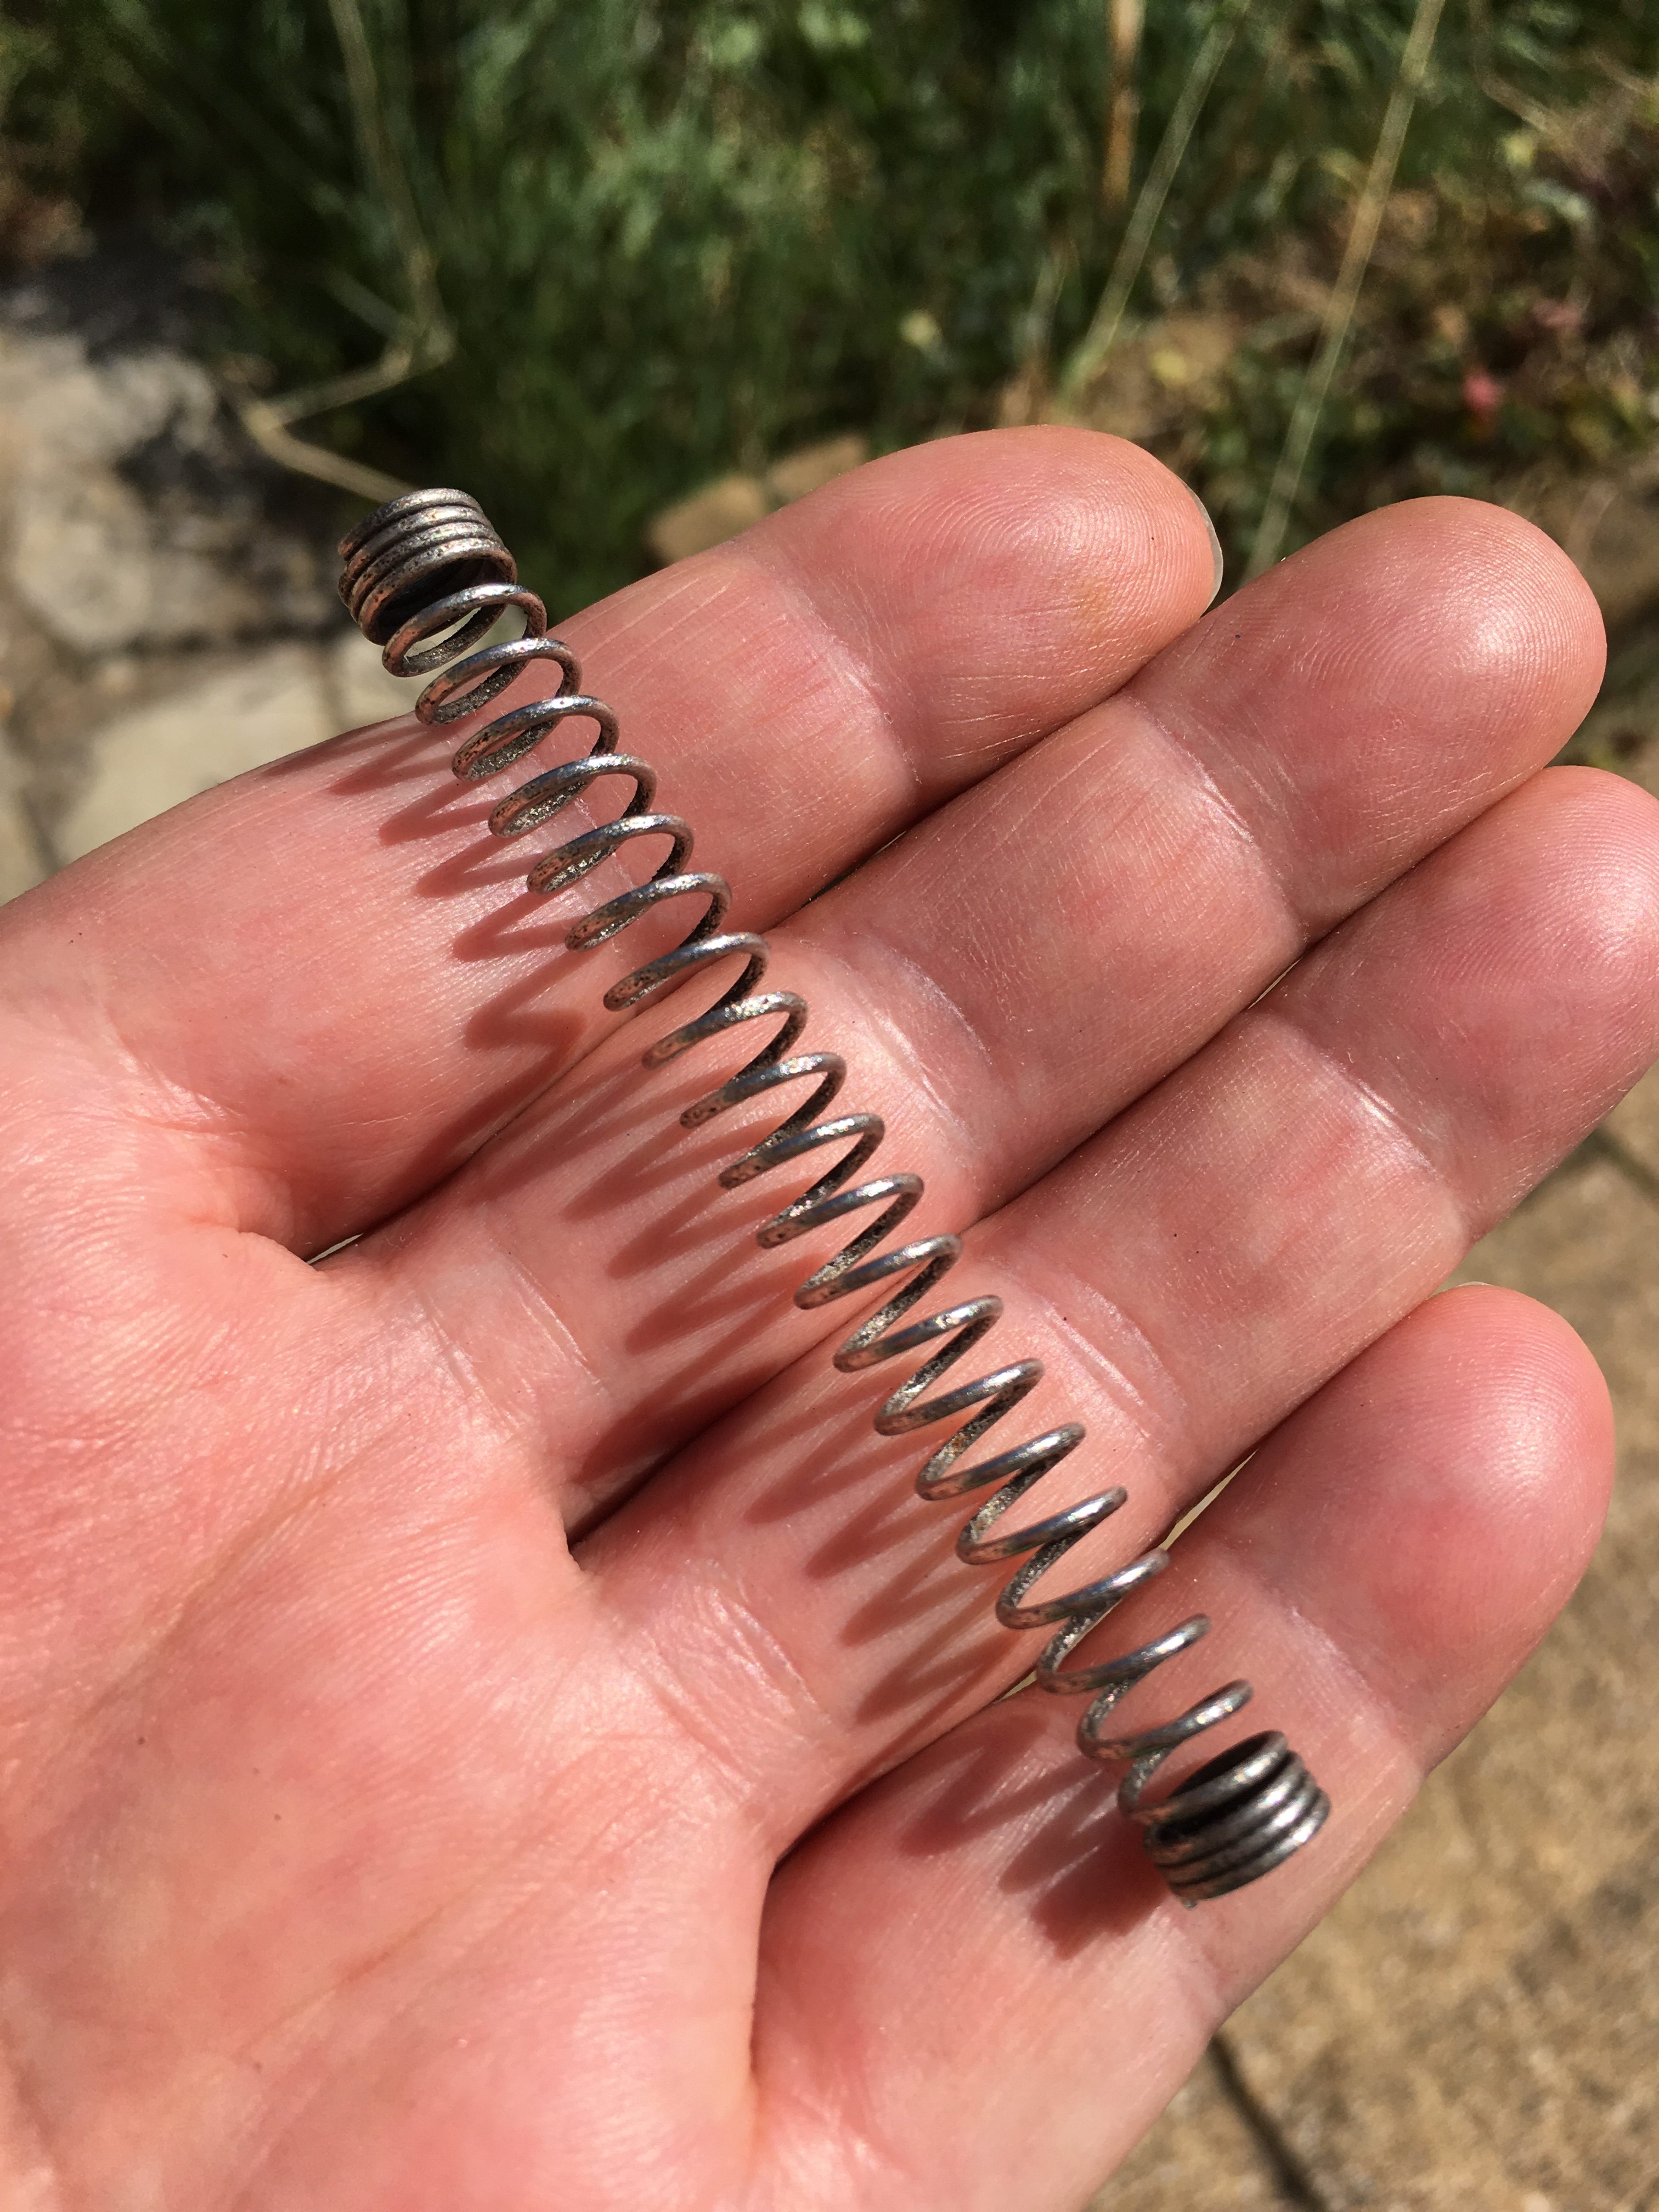
My second attempt was an old and very rusty rear brake rod spring from the parts box.
Again, a candidate for the bin, and no “before” pictures.
Learning from the previous experience, the cleaning process was.
1) Rotary wire brush
2) Soak in brake cleaner
3) Bath in Hydrochloric acid for an hour, then rinse in copious amounts of water.
4) More rotary wire brush
5) A final blast of brake cleaner
The surface was visibly pitted, but the outside of the spring was clean. Less so the inner surface of the spring, but it was difficult to get an abrasive inside it.
The result was better. Especially considering the state of the spring to start with.
Now I felt confident enough to have a go with things that I’m actually going to use.
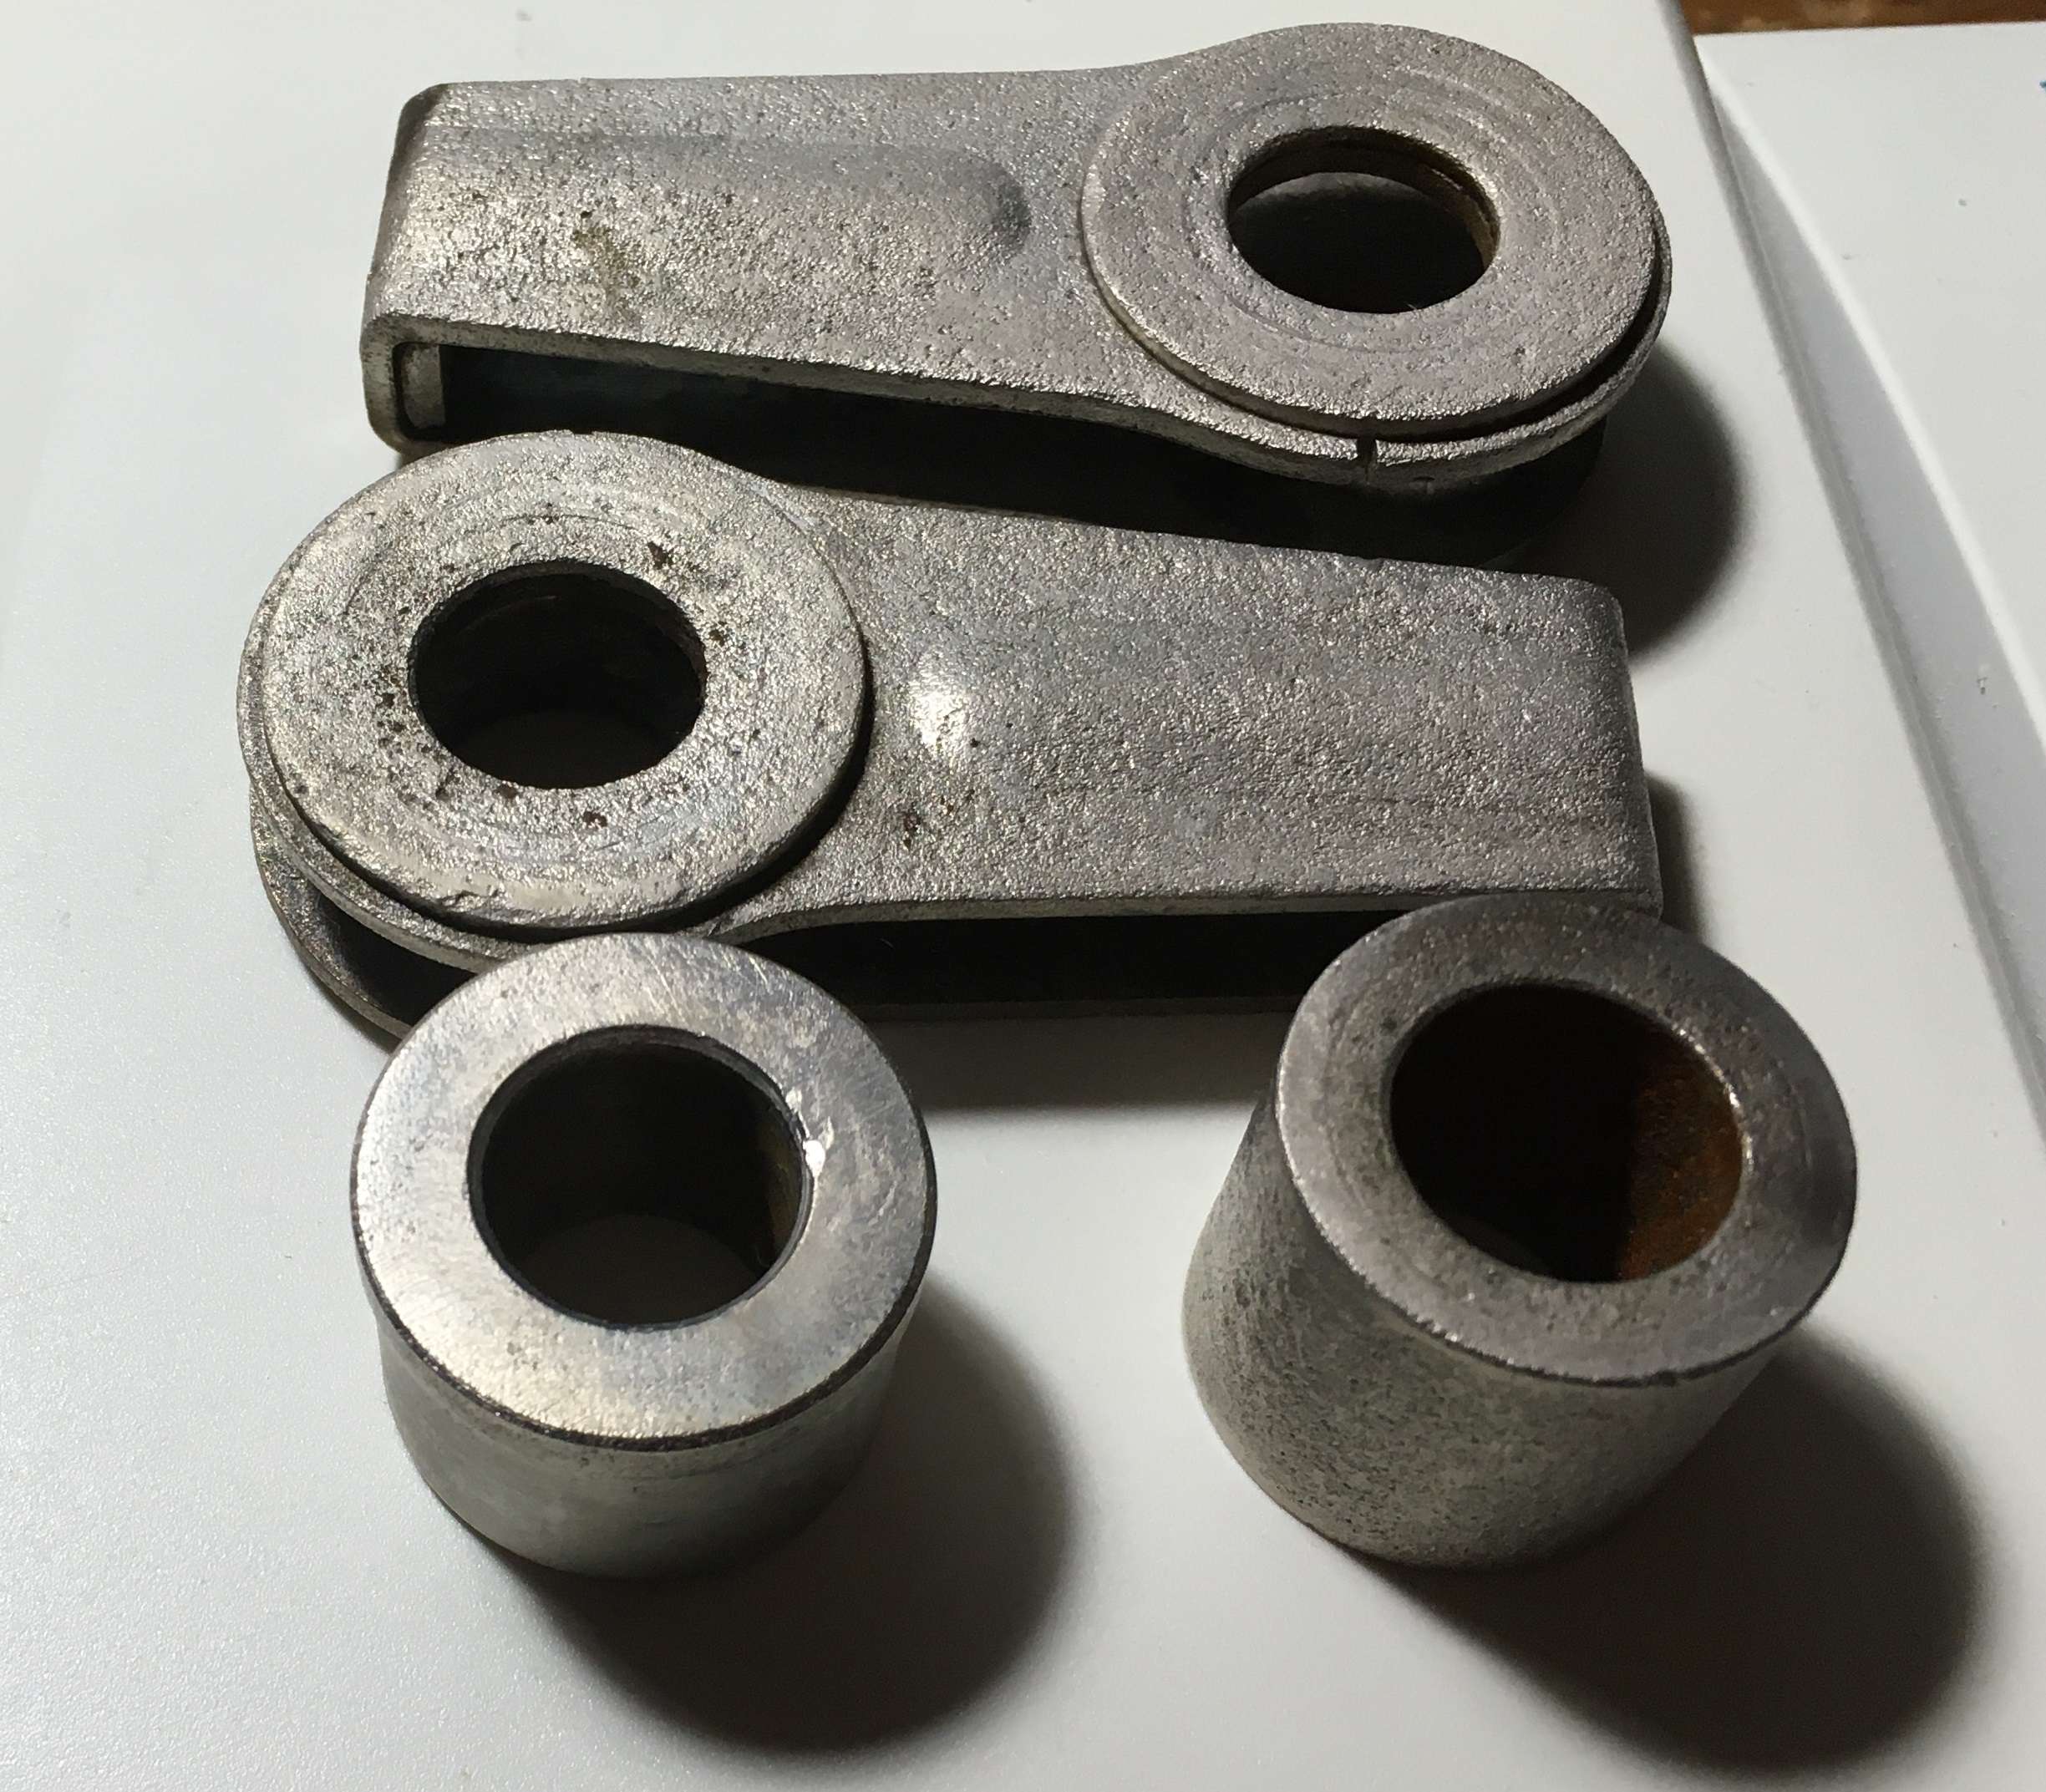
The lack of a back wheel fitted to Kevin provided the opportunity to address the sad state of the fittings and spacers.
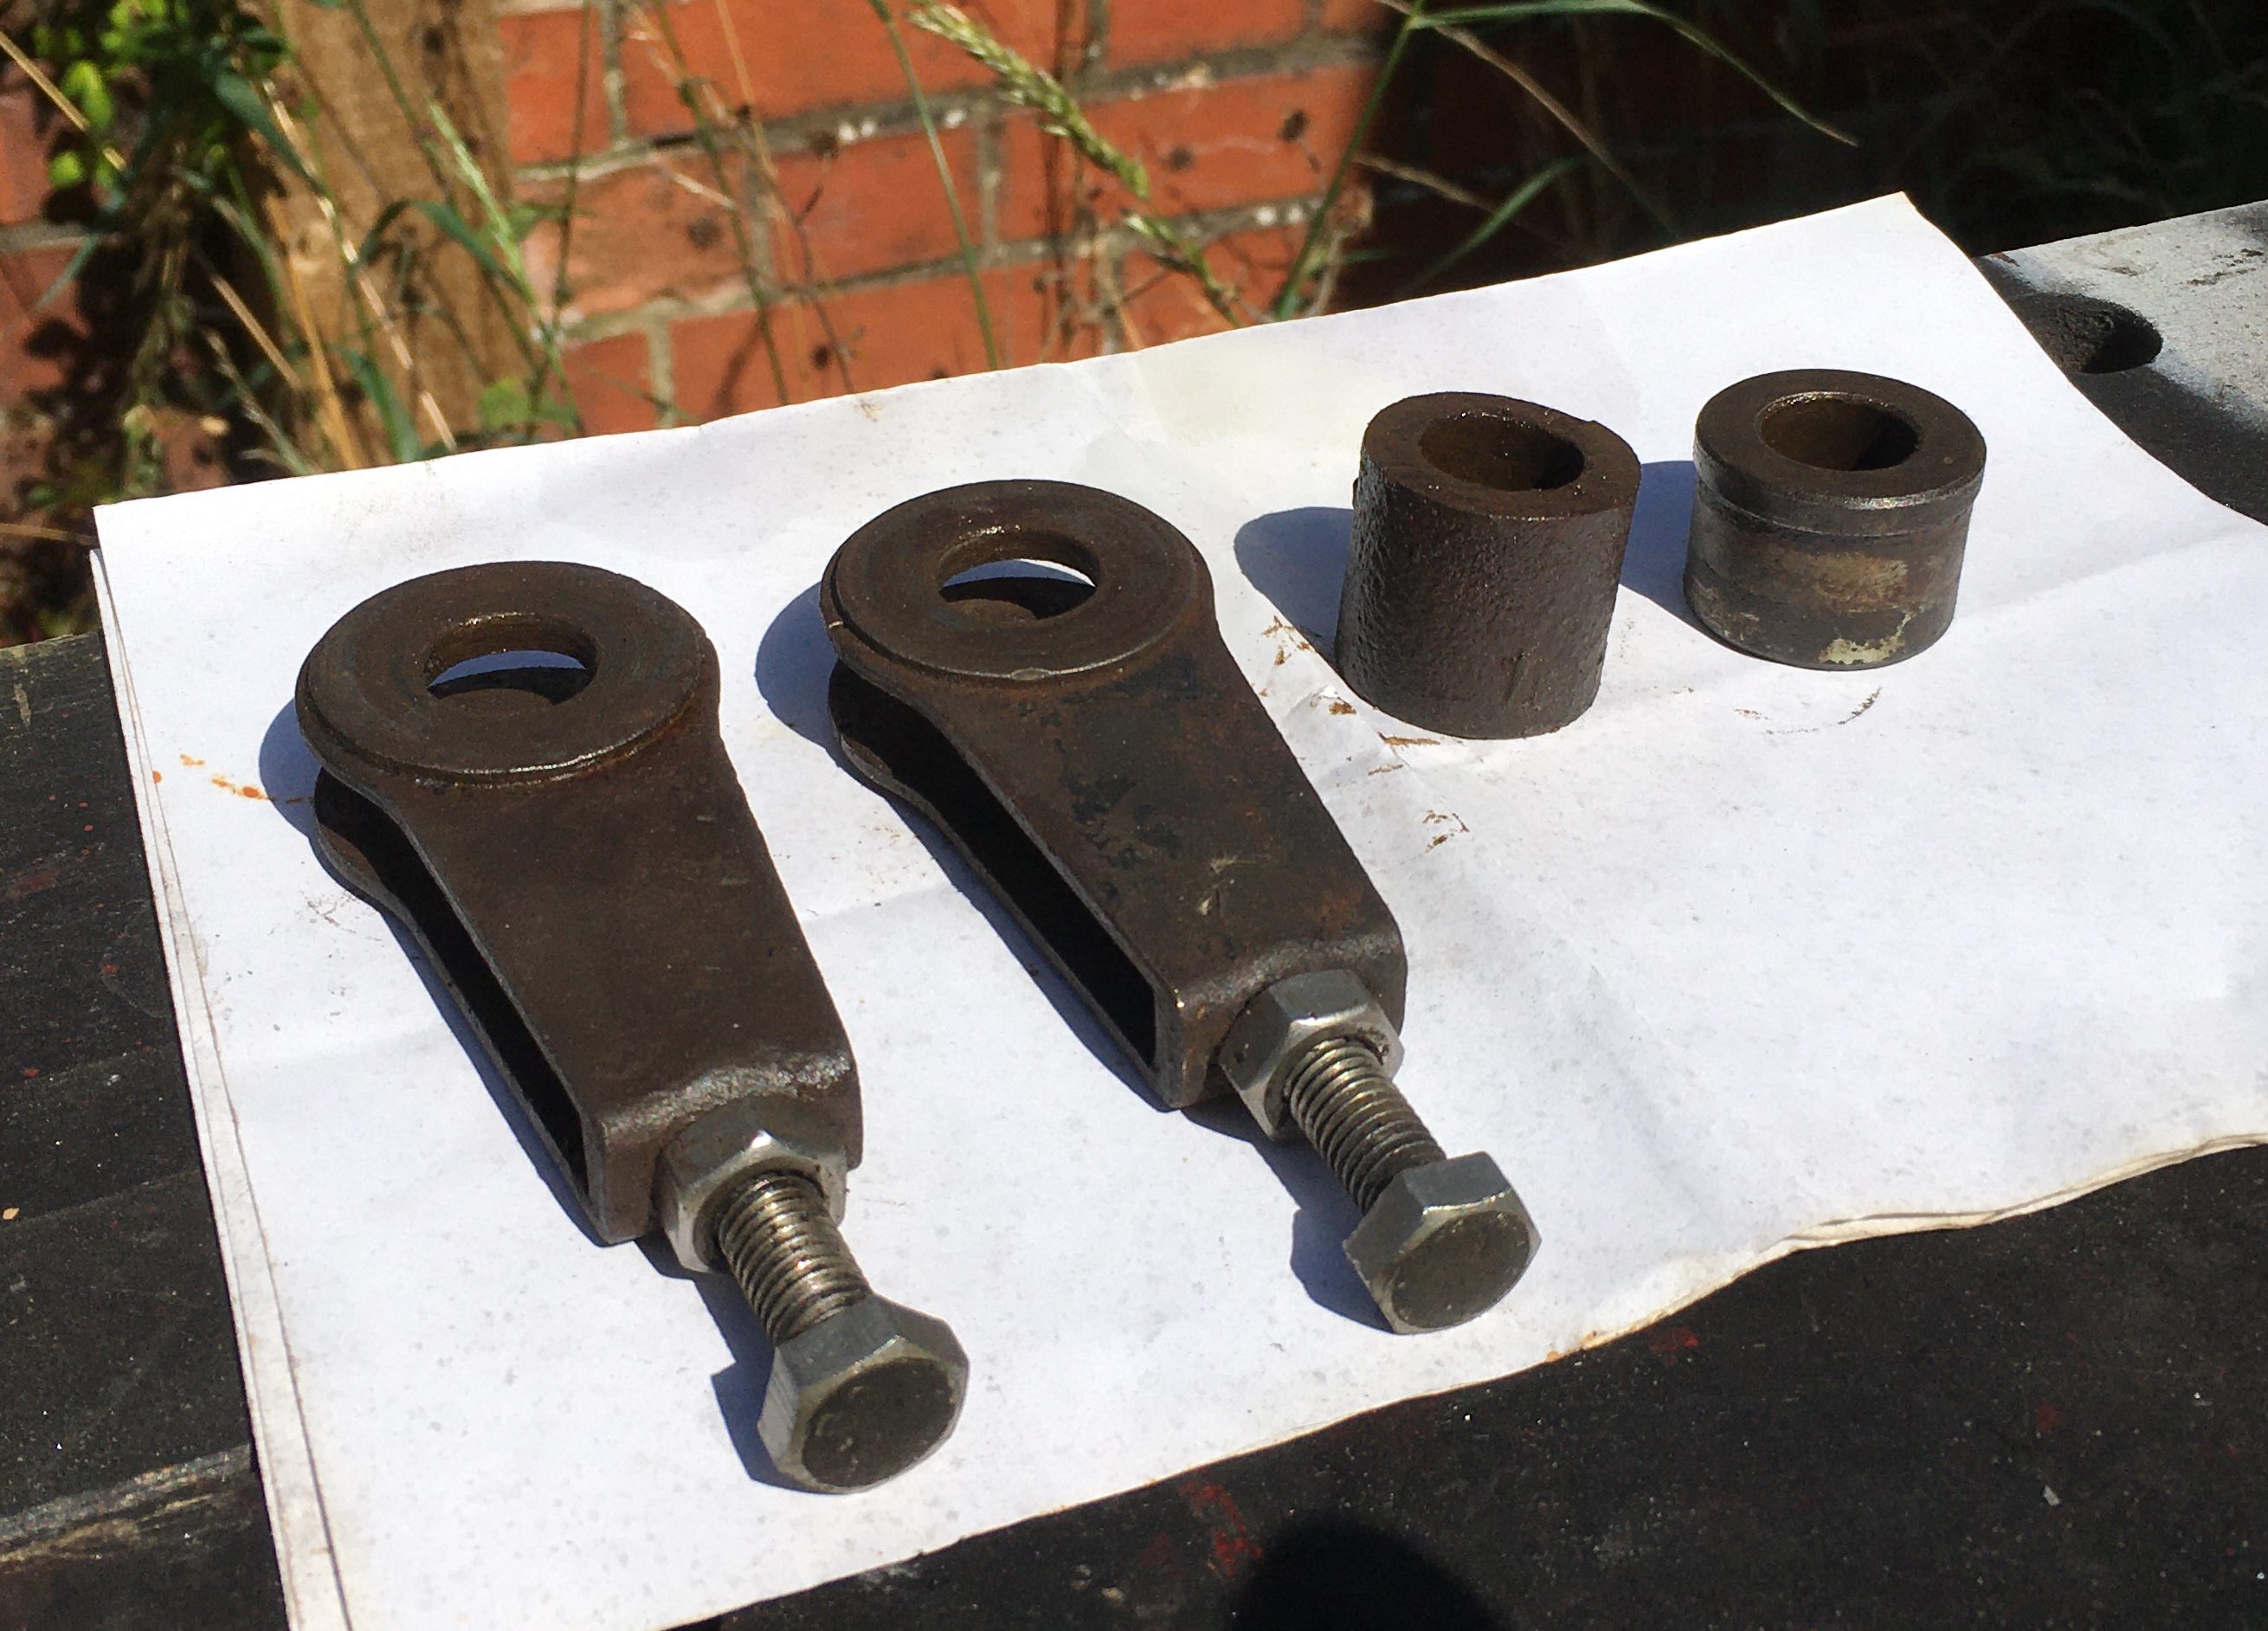
The cleaning of the items proceeded with wire brushing, filing, abrasive paper, more wire brushing, and even then, it was clear that I was attempting to plate a moonscape of pits and rust.
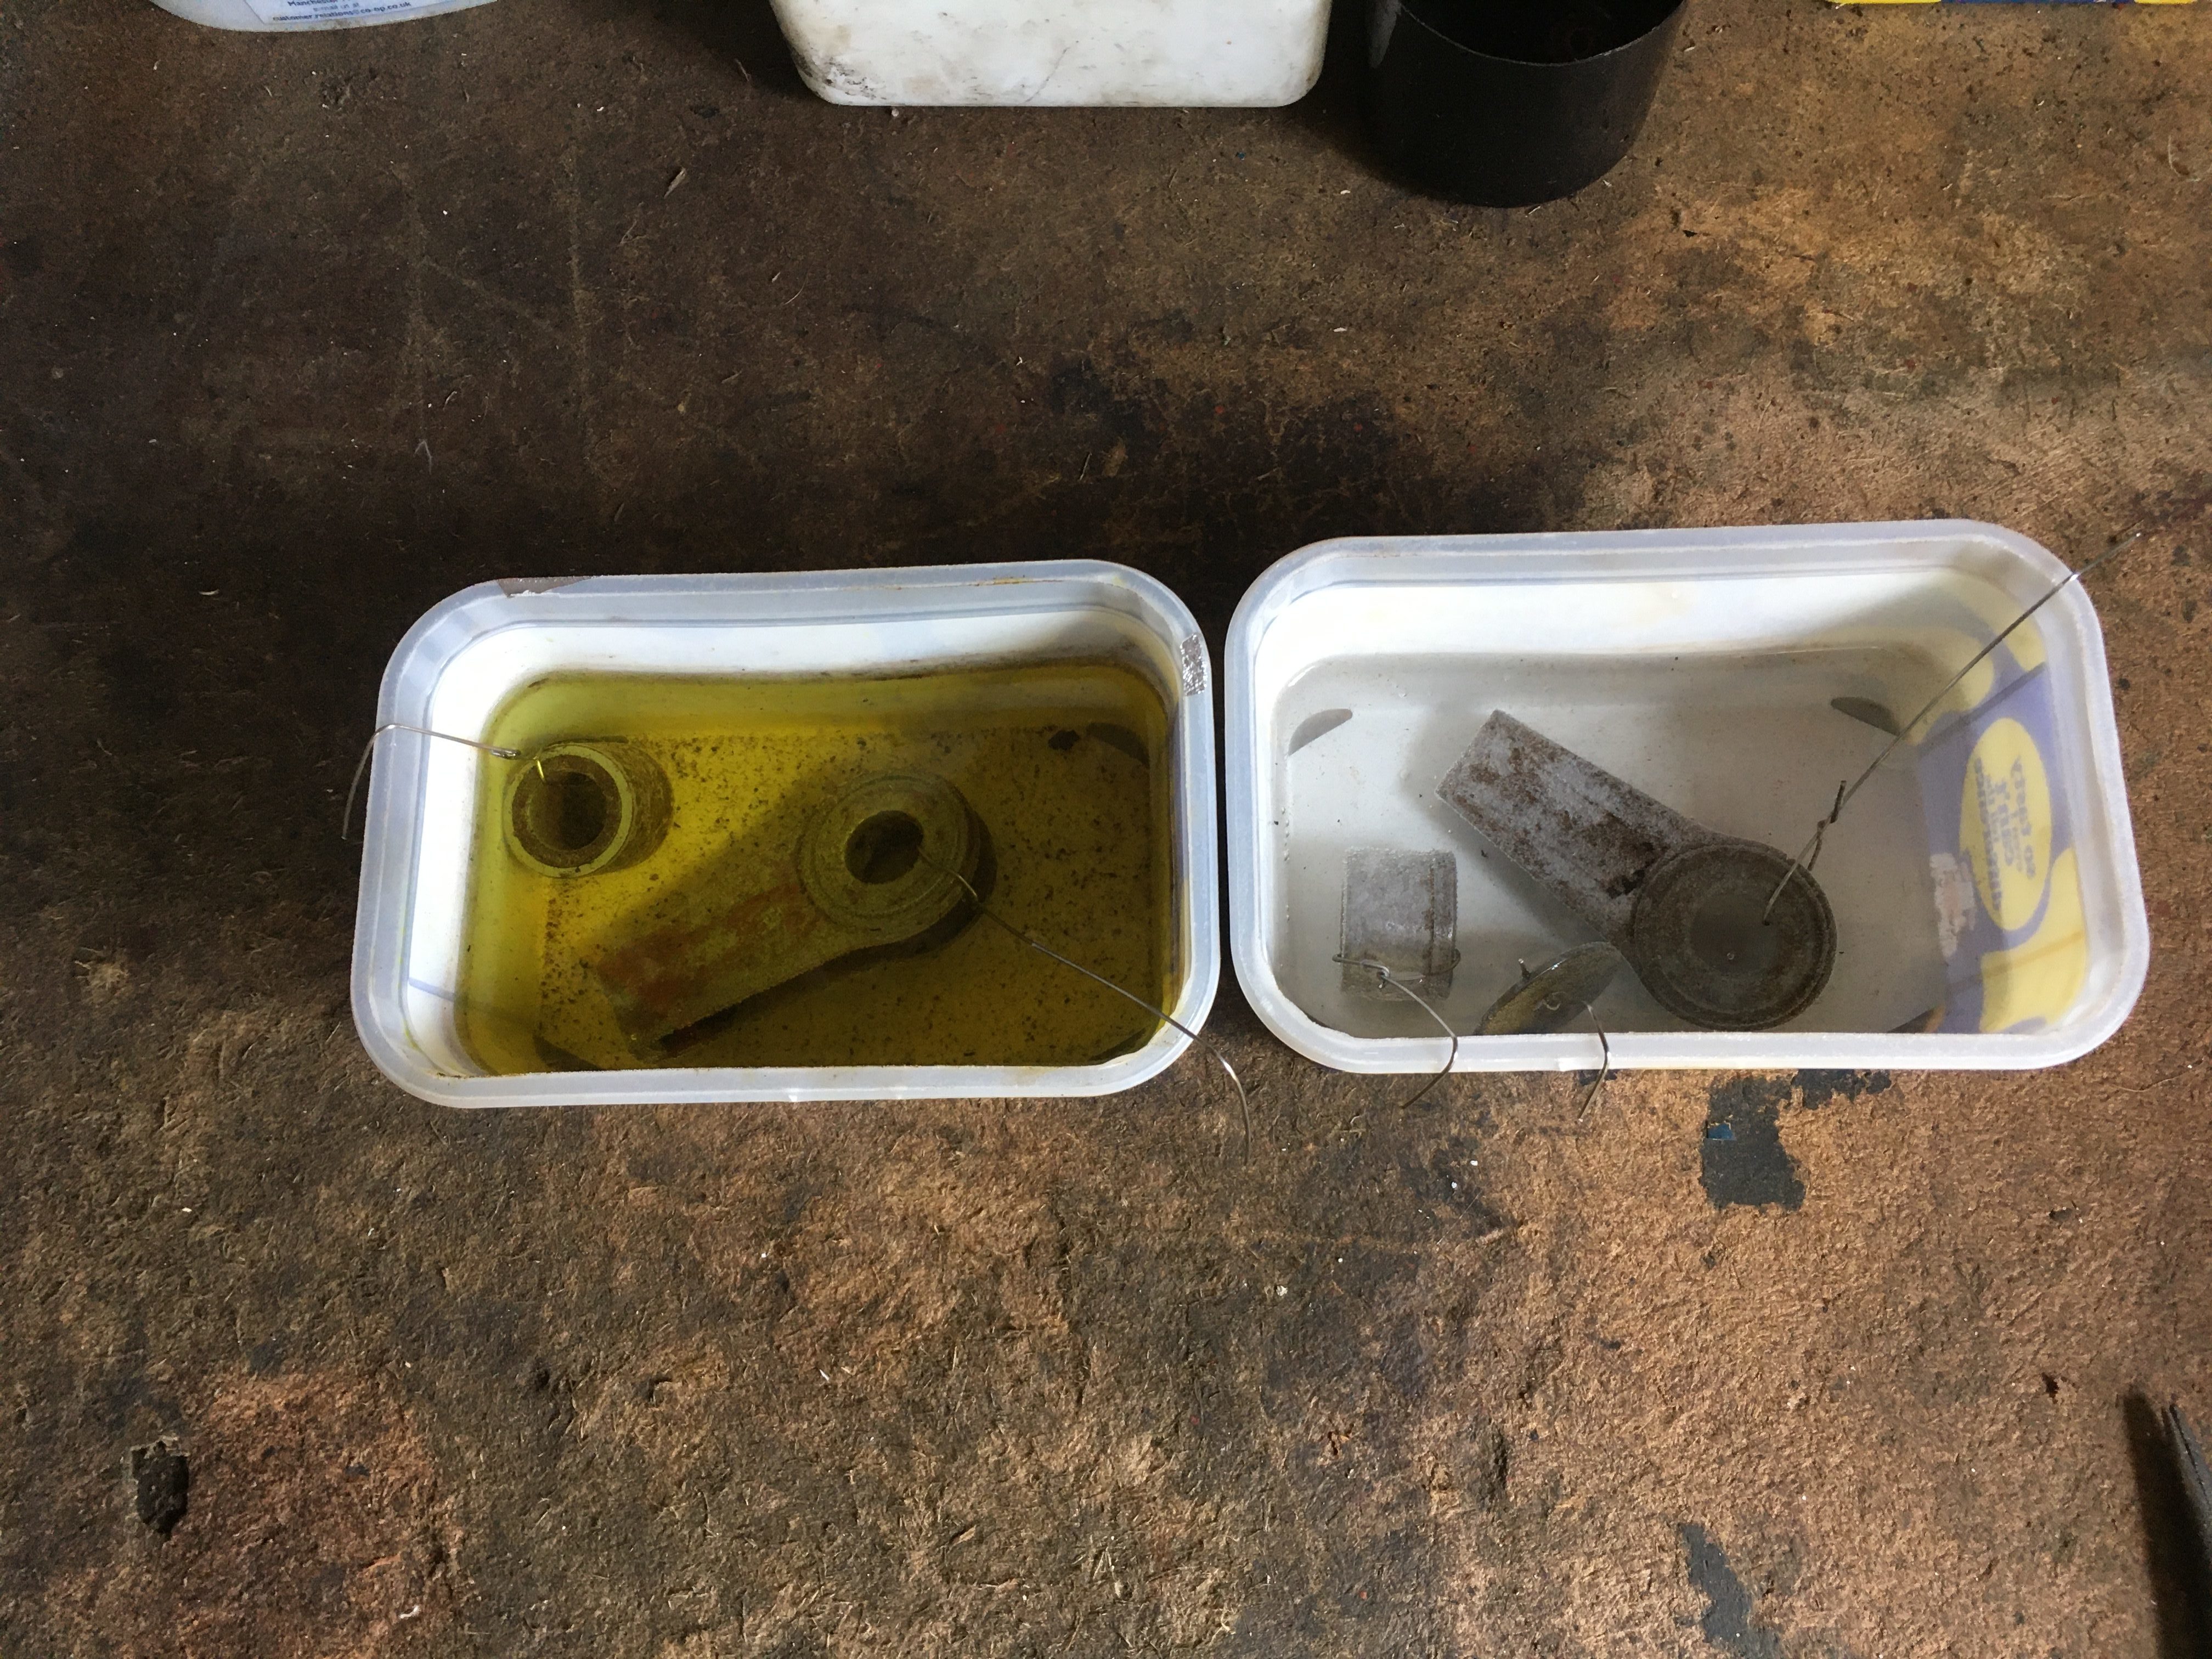
Into the acid bath. I tried Hydrochloric acid, (the yellow fluid on the left of the picture), and Phosphoric acid, (on the right of the photo.)
Extensive bathing for a couple of hours removed the rust. Both acids were equally effective in rust removal, but the items cleaned in phosphoric acid did not plate as well. The phosphoric acid really does leave some sort of “plating” of its own on the surface of the work.
More wire brushing after their baths, (Rinse first, obviously), and then back into the acid until every piece was scrupulously clean.
Then one piece at a time into the electrolyte for between 30 minutes and an hour each.
A fine mist of bubbles should be observed around the work piece being plated.
After a full day of “Playing around”, experimenting and learning lessons, I wasn’t expecting much.
Given the state of the initial pieces and my “Chuck it in” attitude to the day, I was almost expecting to have to go and buy some new parts 🙂
As it turned out though, I’m quite pleased with the results, which will be fitted back onto the bike.
While not perfect, they are shinier than they were, and will doubtless be a little more rust resistant… at least for a while.