While I’m waiting on a new crankshaft to arrive, I sorted out the bodywork I’m going to put on the bike for an interim measure, until I get to the beautification stage.
I have an old broken tailpiece painted blue, a red mudguard, the RHS sidepanel from the donor bike and I had sorted out a LHS sidepanel from the parts box which I had prepped for painting over 20 years ago.
The tank is from the donor bike with rusty bits and a dent in the top, but I have tested it for integrity, and it holds petrol with no leaks.
It was going to look multicoloured mint!
Then I took a long hard look, and decided that I should at least attempt to make it look less like a patchwork quilt.
The mudguard, I cleaned the oil and grime of long storage from, and rubbed down to look at the condition. I had repaired it with fibreglass and pug, and it had a crack in it, but was fundamentally sound.
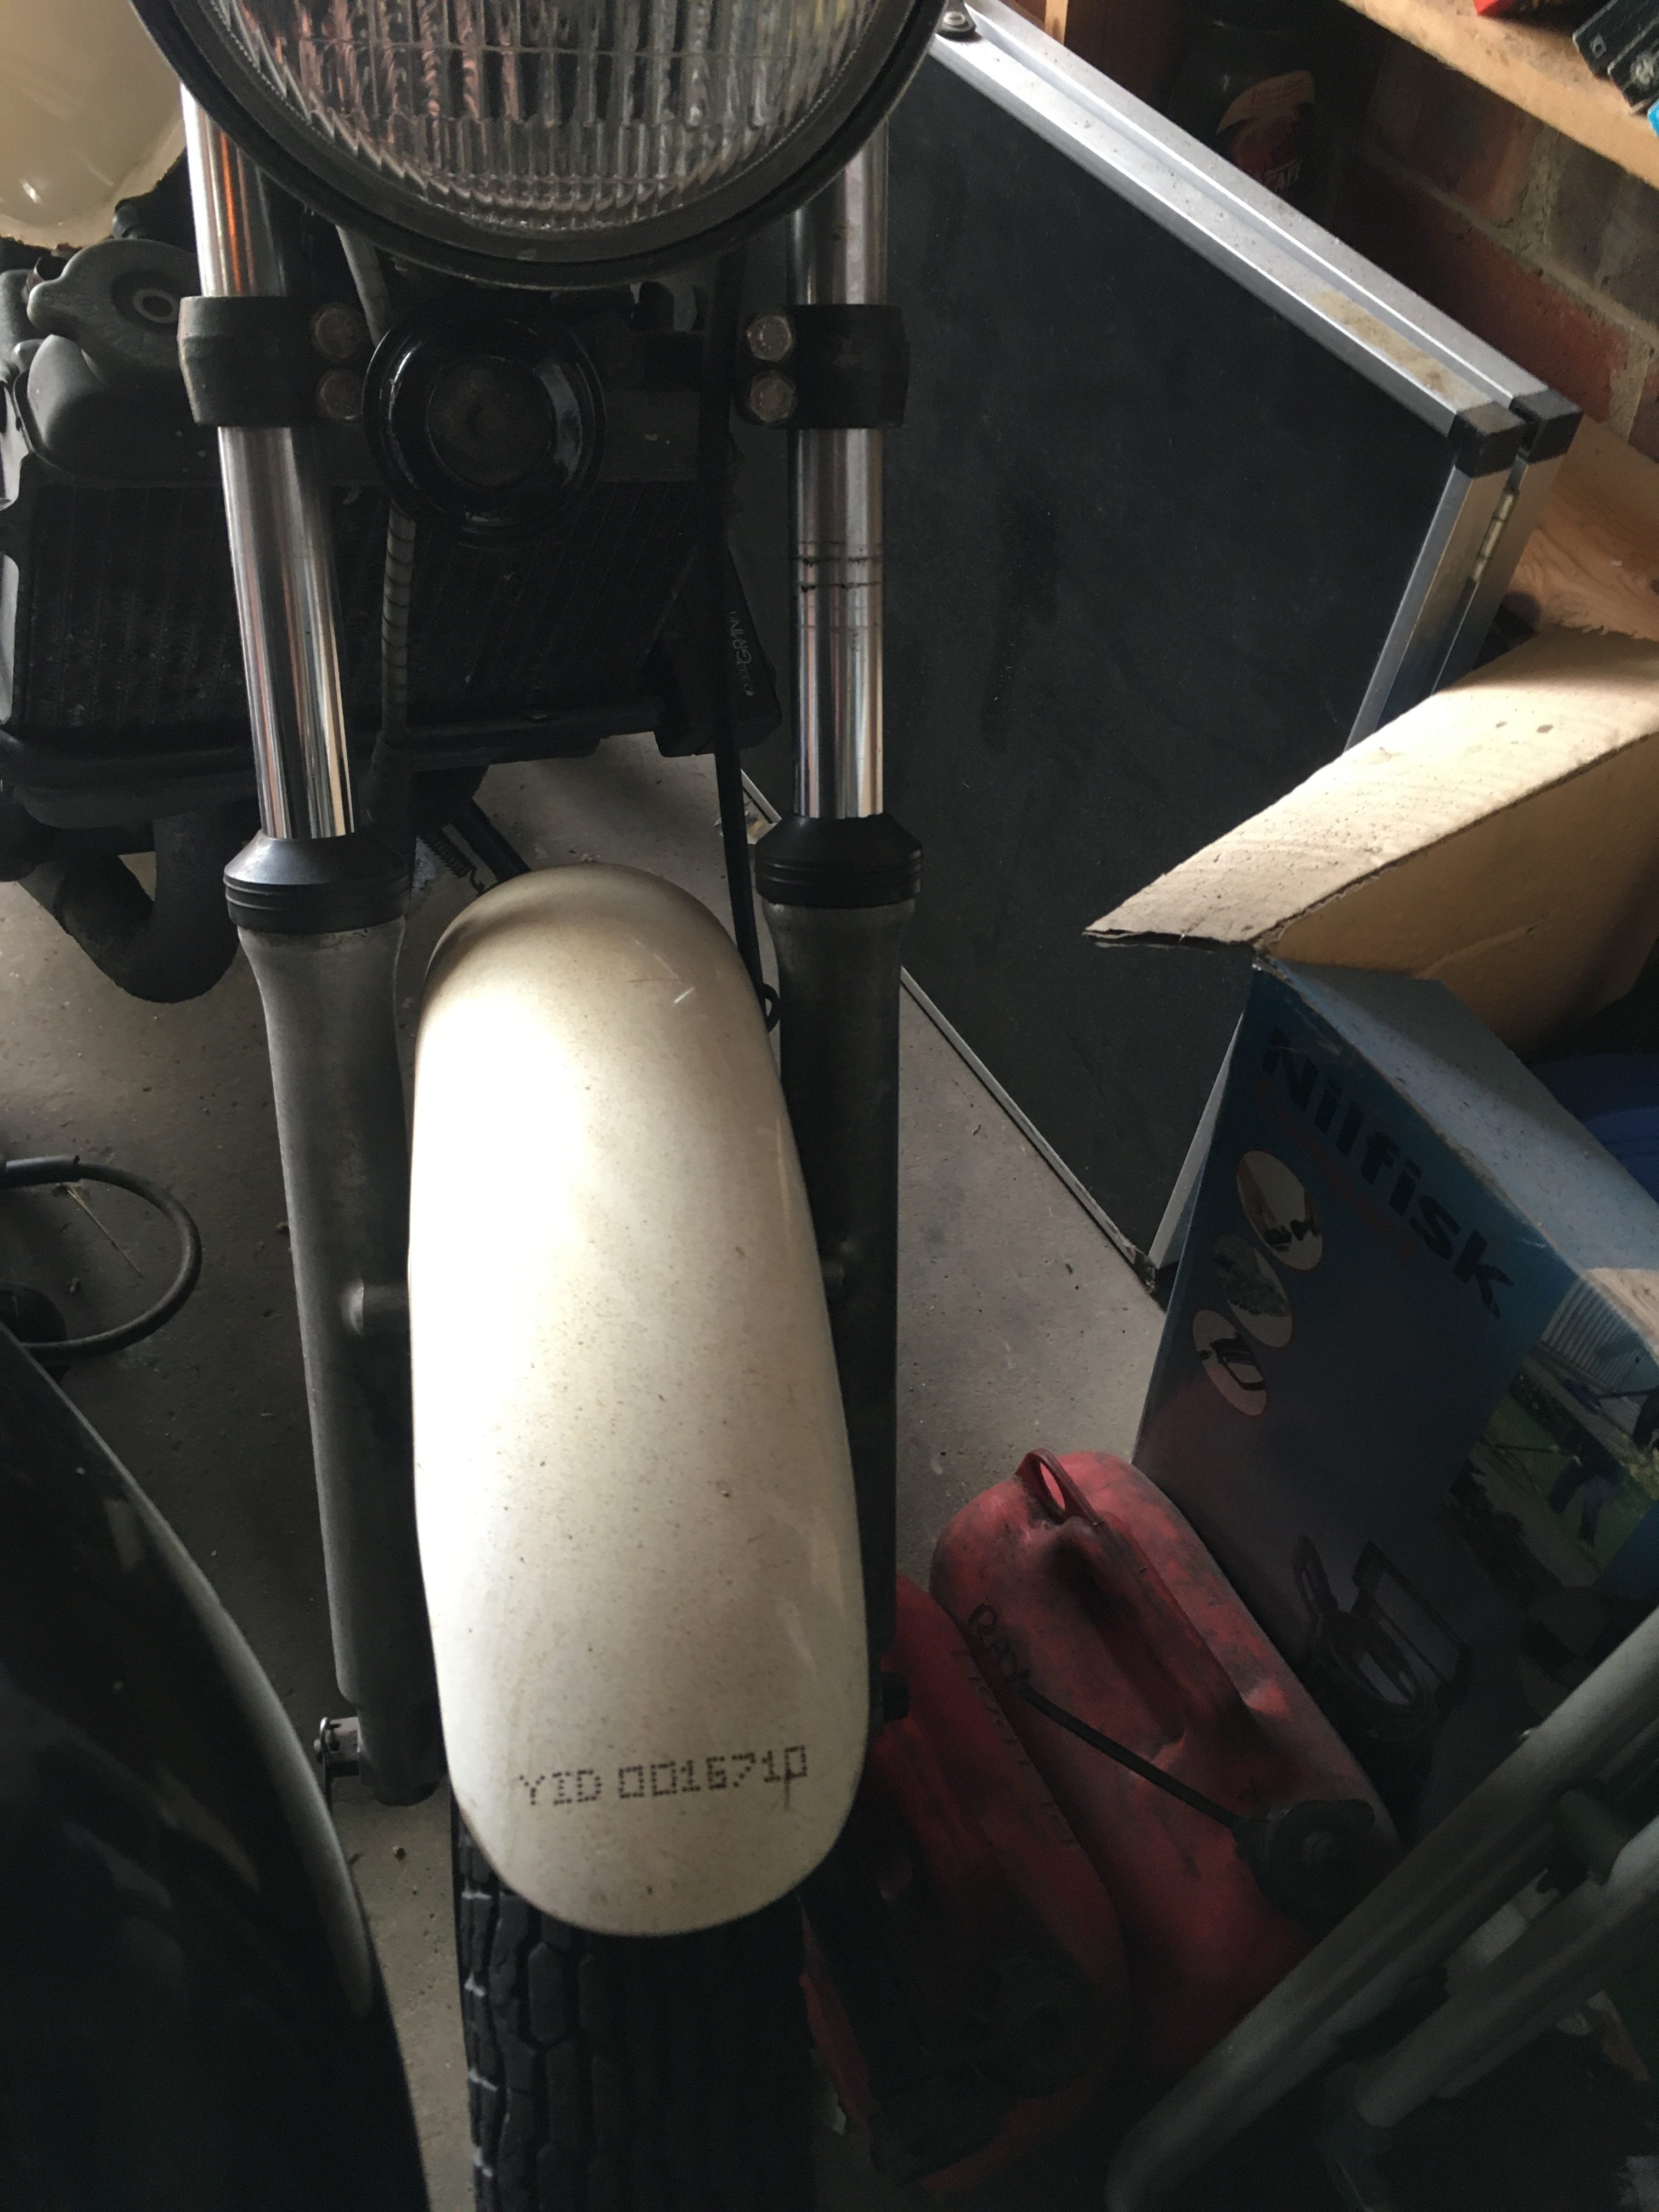
The actual mudguard from the Donor bike is on MY Elsie, transfered with the rest of the front end some years ago. It still has the Datatag etching on it, so that will go on Kevin… but I will need a replacement on my Elsie, so I’ll paint up the old red mudguard in white.
A coat of filler-primer to cover up the worst of the cracks and scratches, rub back with wet’n’dry, then a coat of Hycoat gloss white… Repeat until imperfections are acceptable, and then seal with a few coats of clear lacquer.

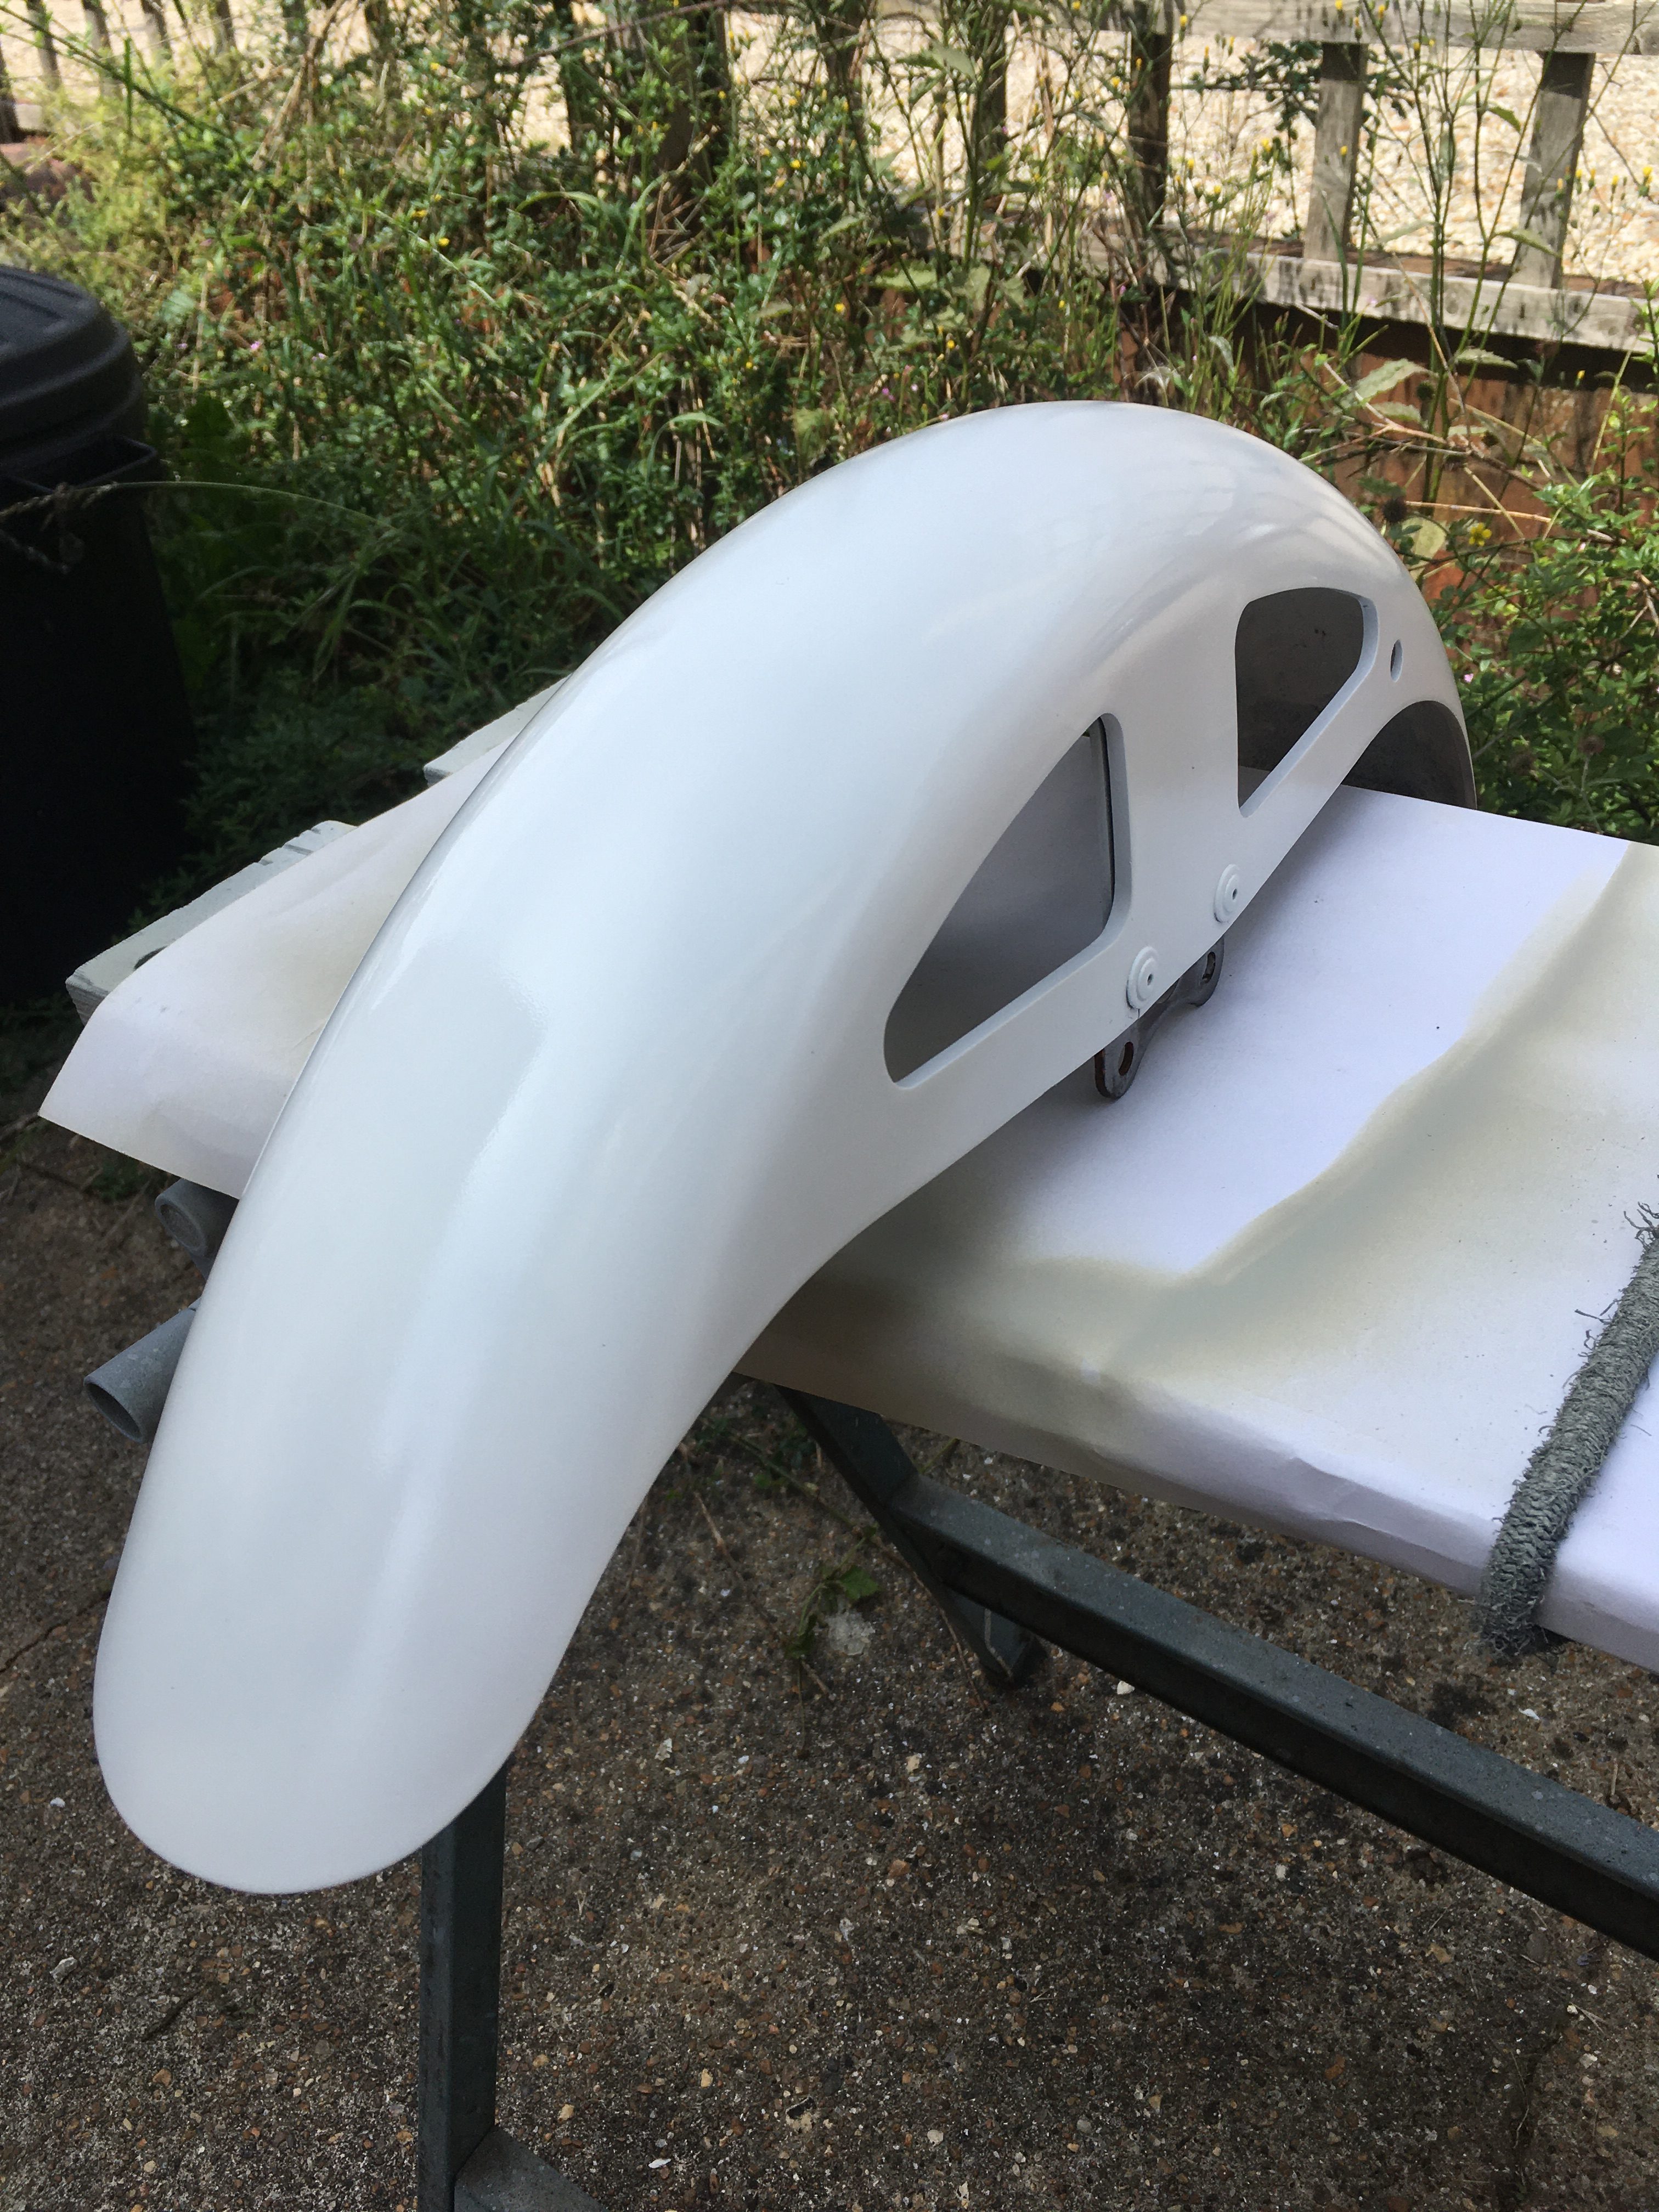
Finished 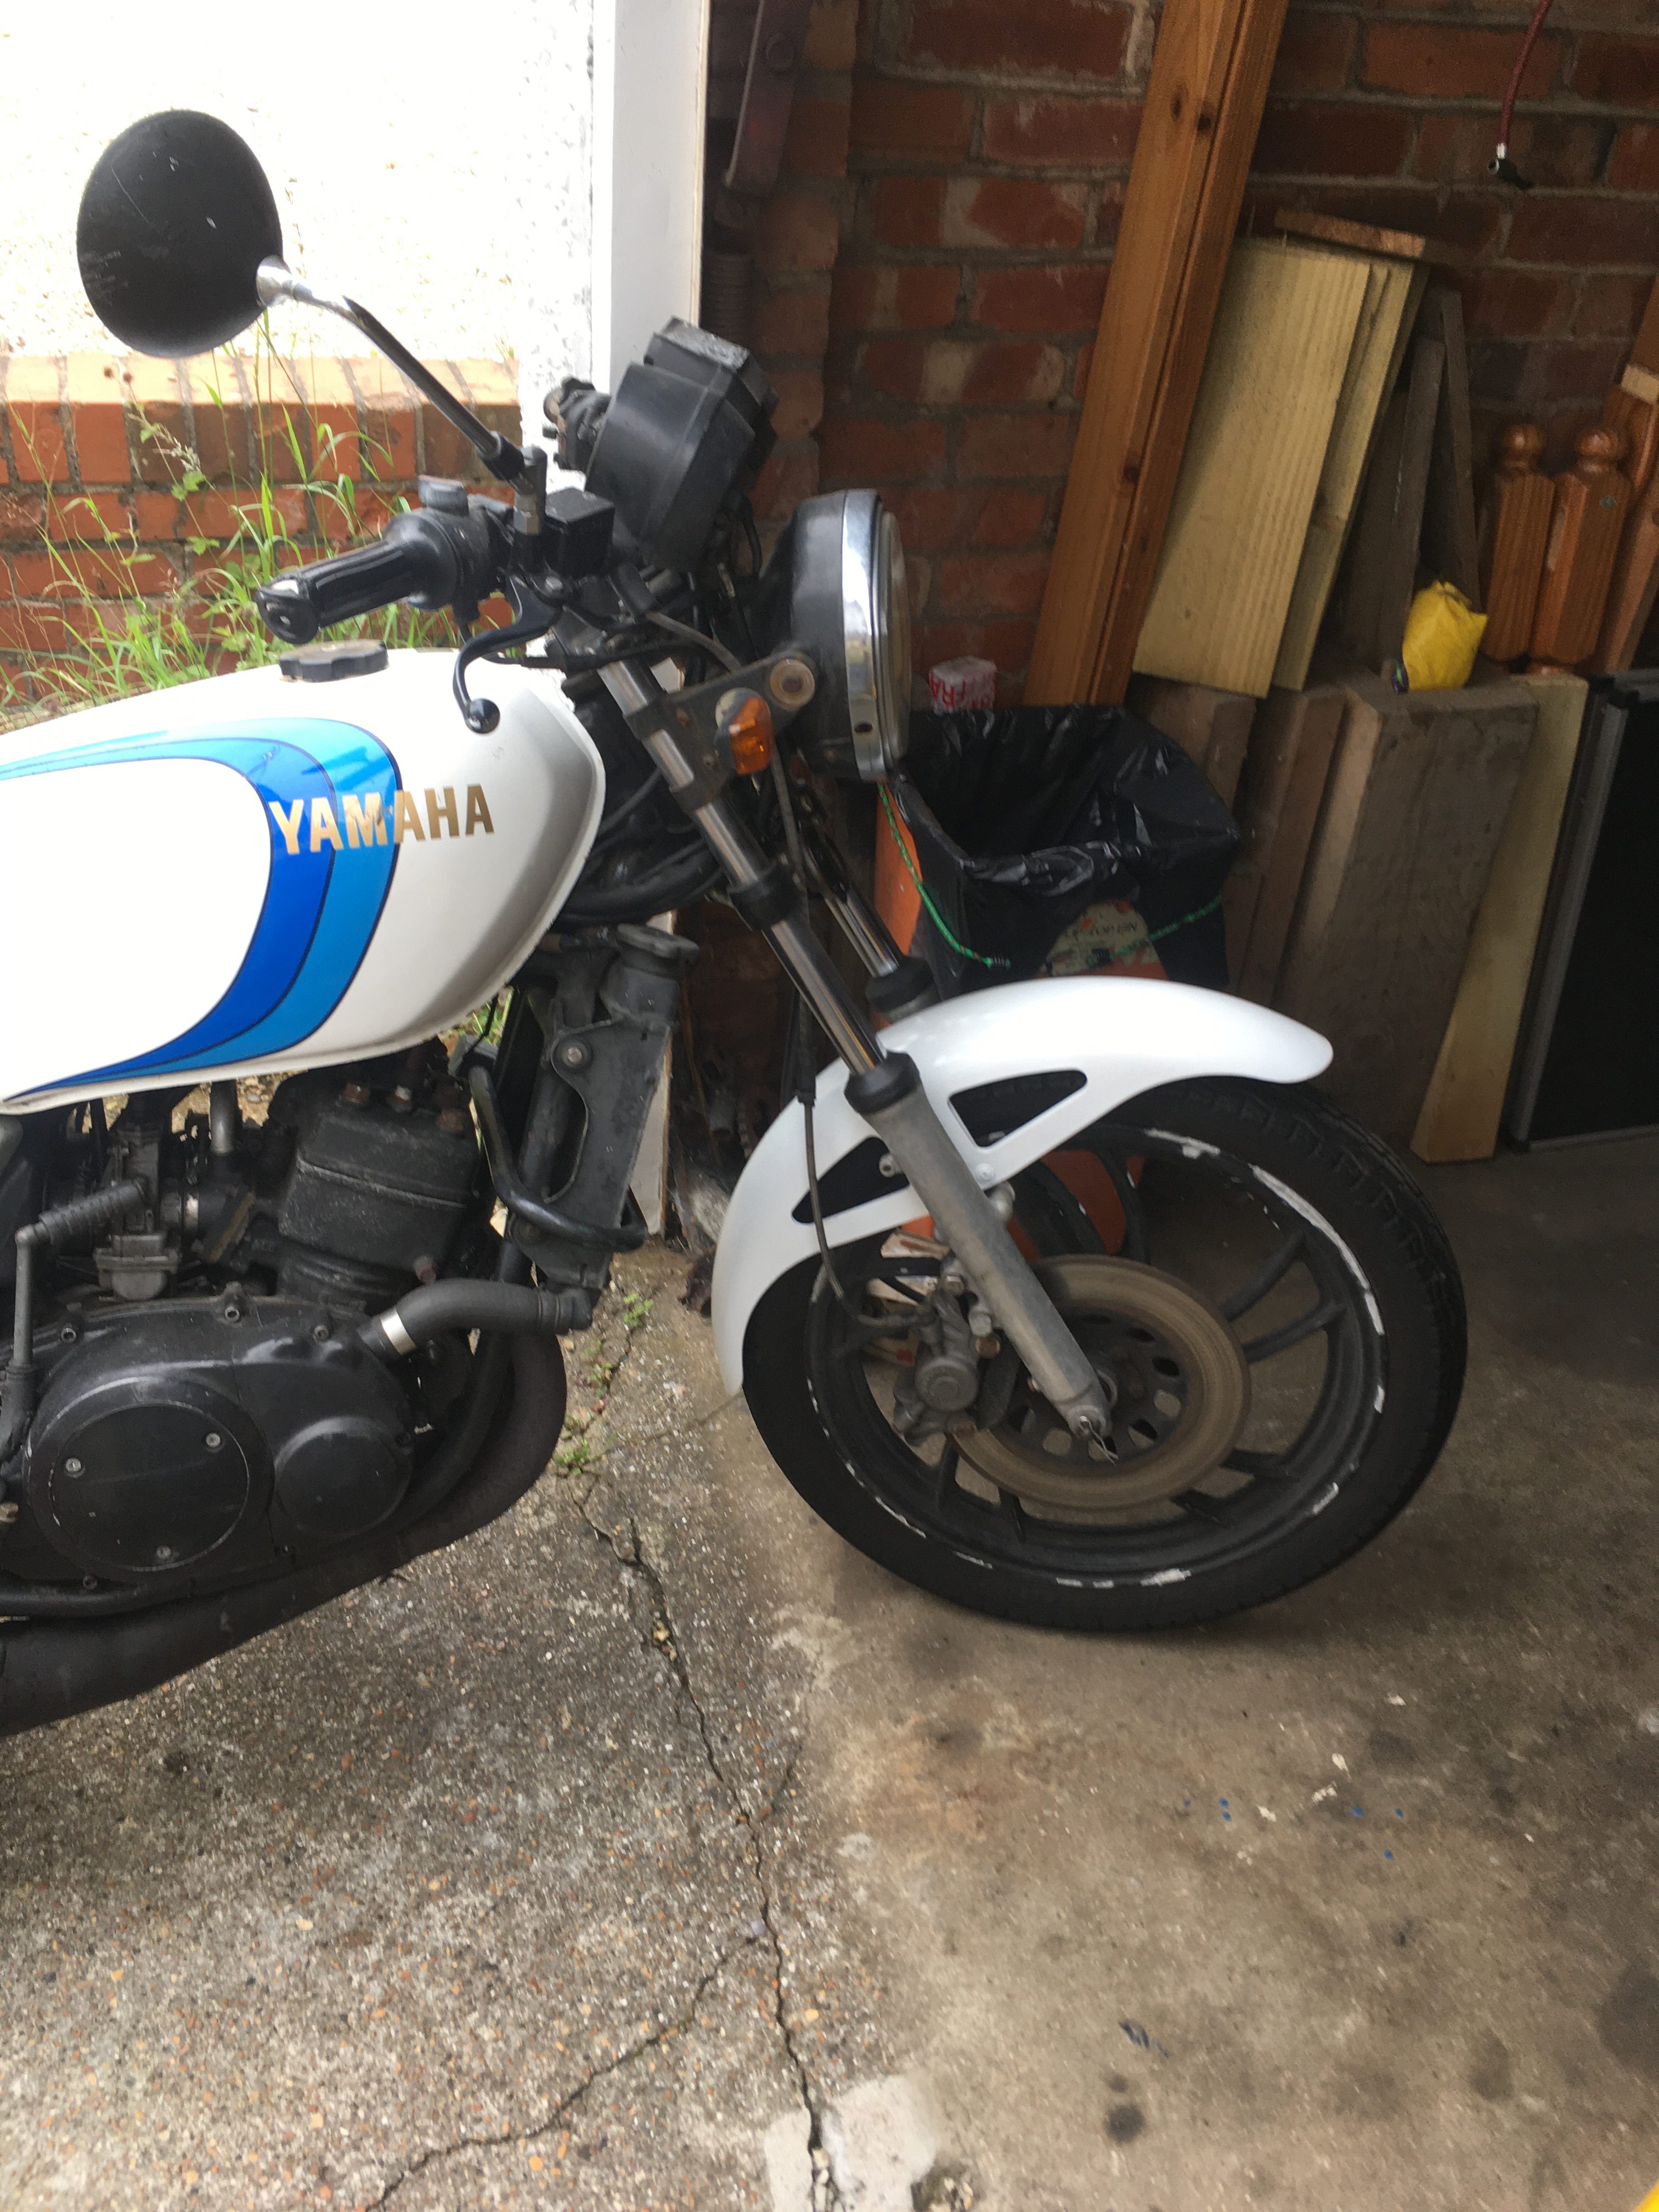
…and fitted 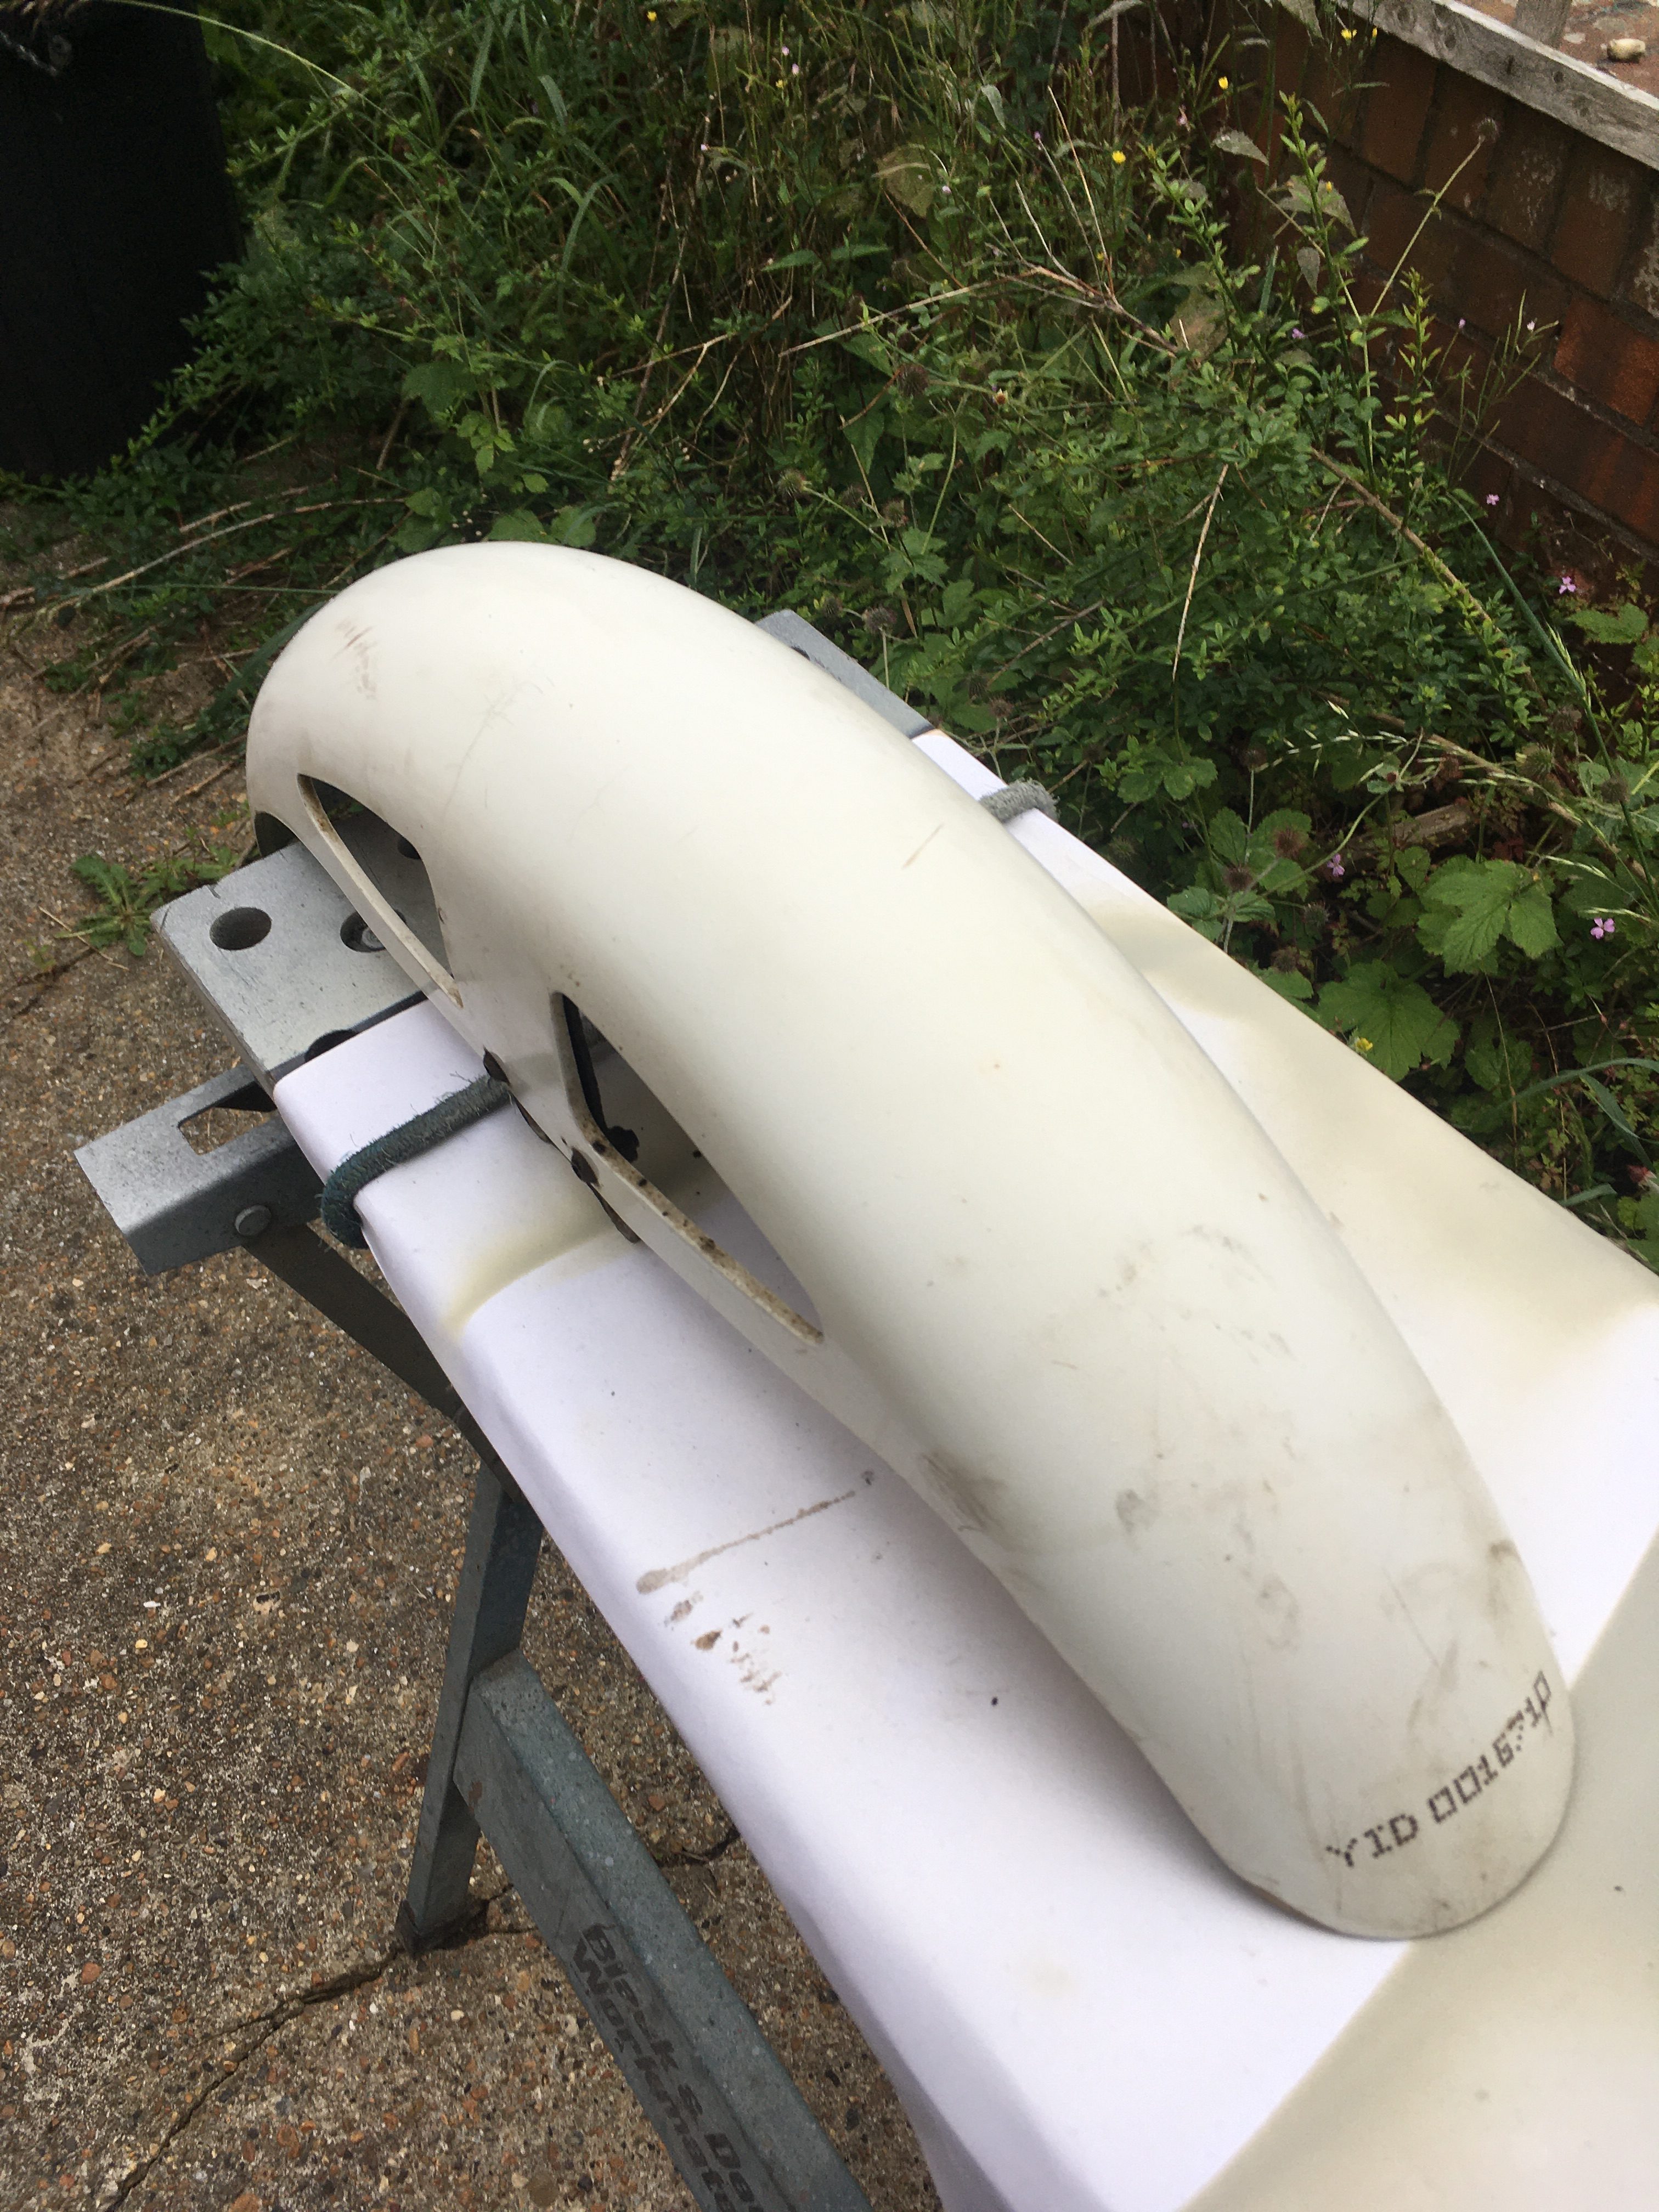
Leaving this one for Kevin

The sidepanel was one of a pair prepped a long time ago for a rebuild which never happened. It was sitting there in grey primer all ready to go, still masked up.
There were a couple of cracks which I had repaired with glass fibre, but nothing too serious.
The masking tape had solidified over time and was peeing away, so I removed t an remasked after removing all the gooey adhesive with brake cleaner.
Three coats of Hycote gloss white and 3 coats of clear laquer, and it’s come out alright.
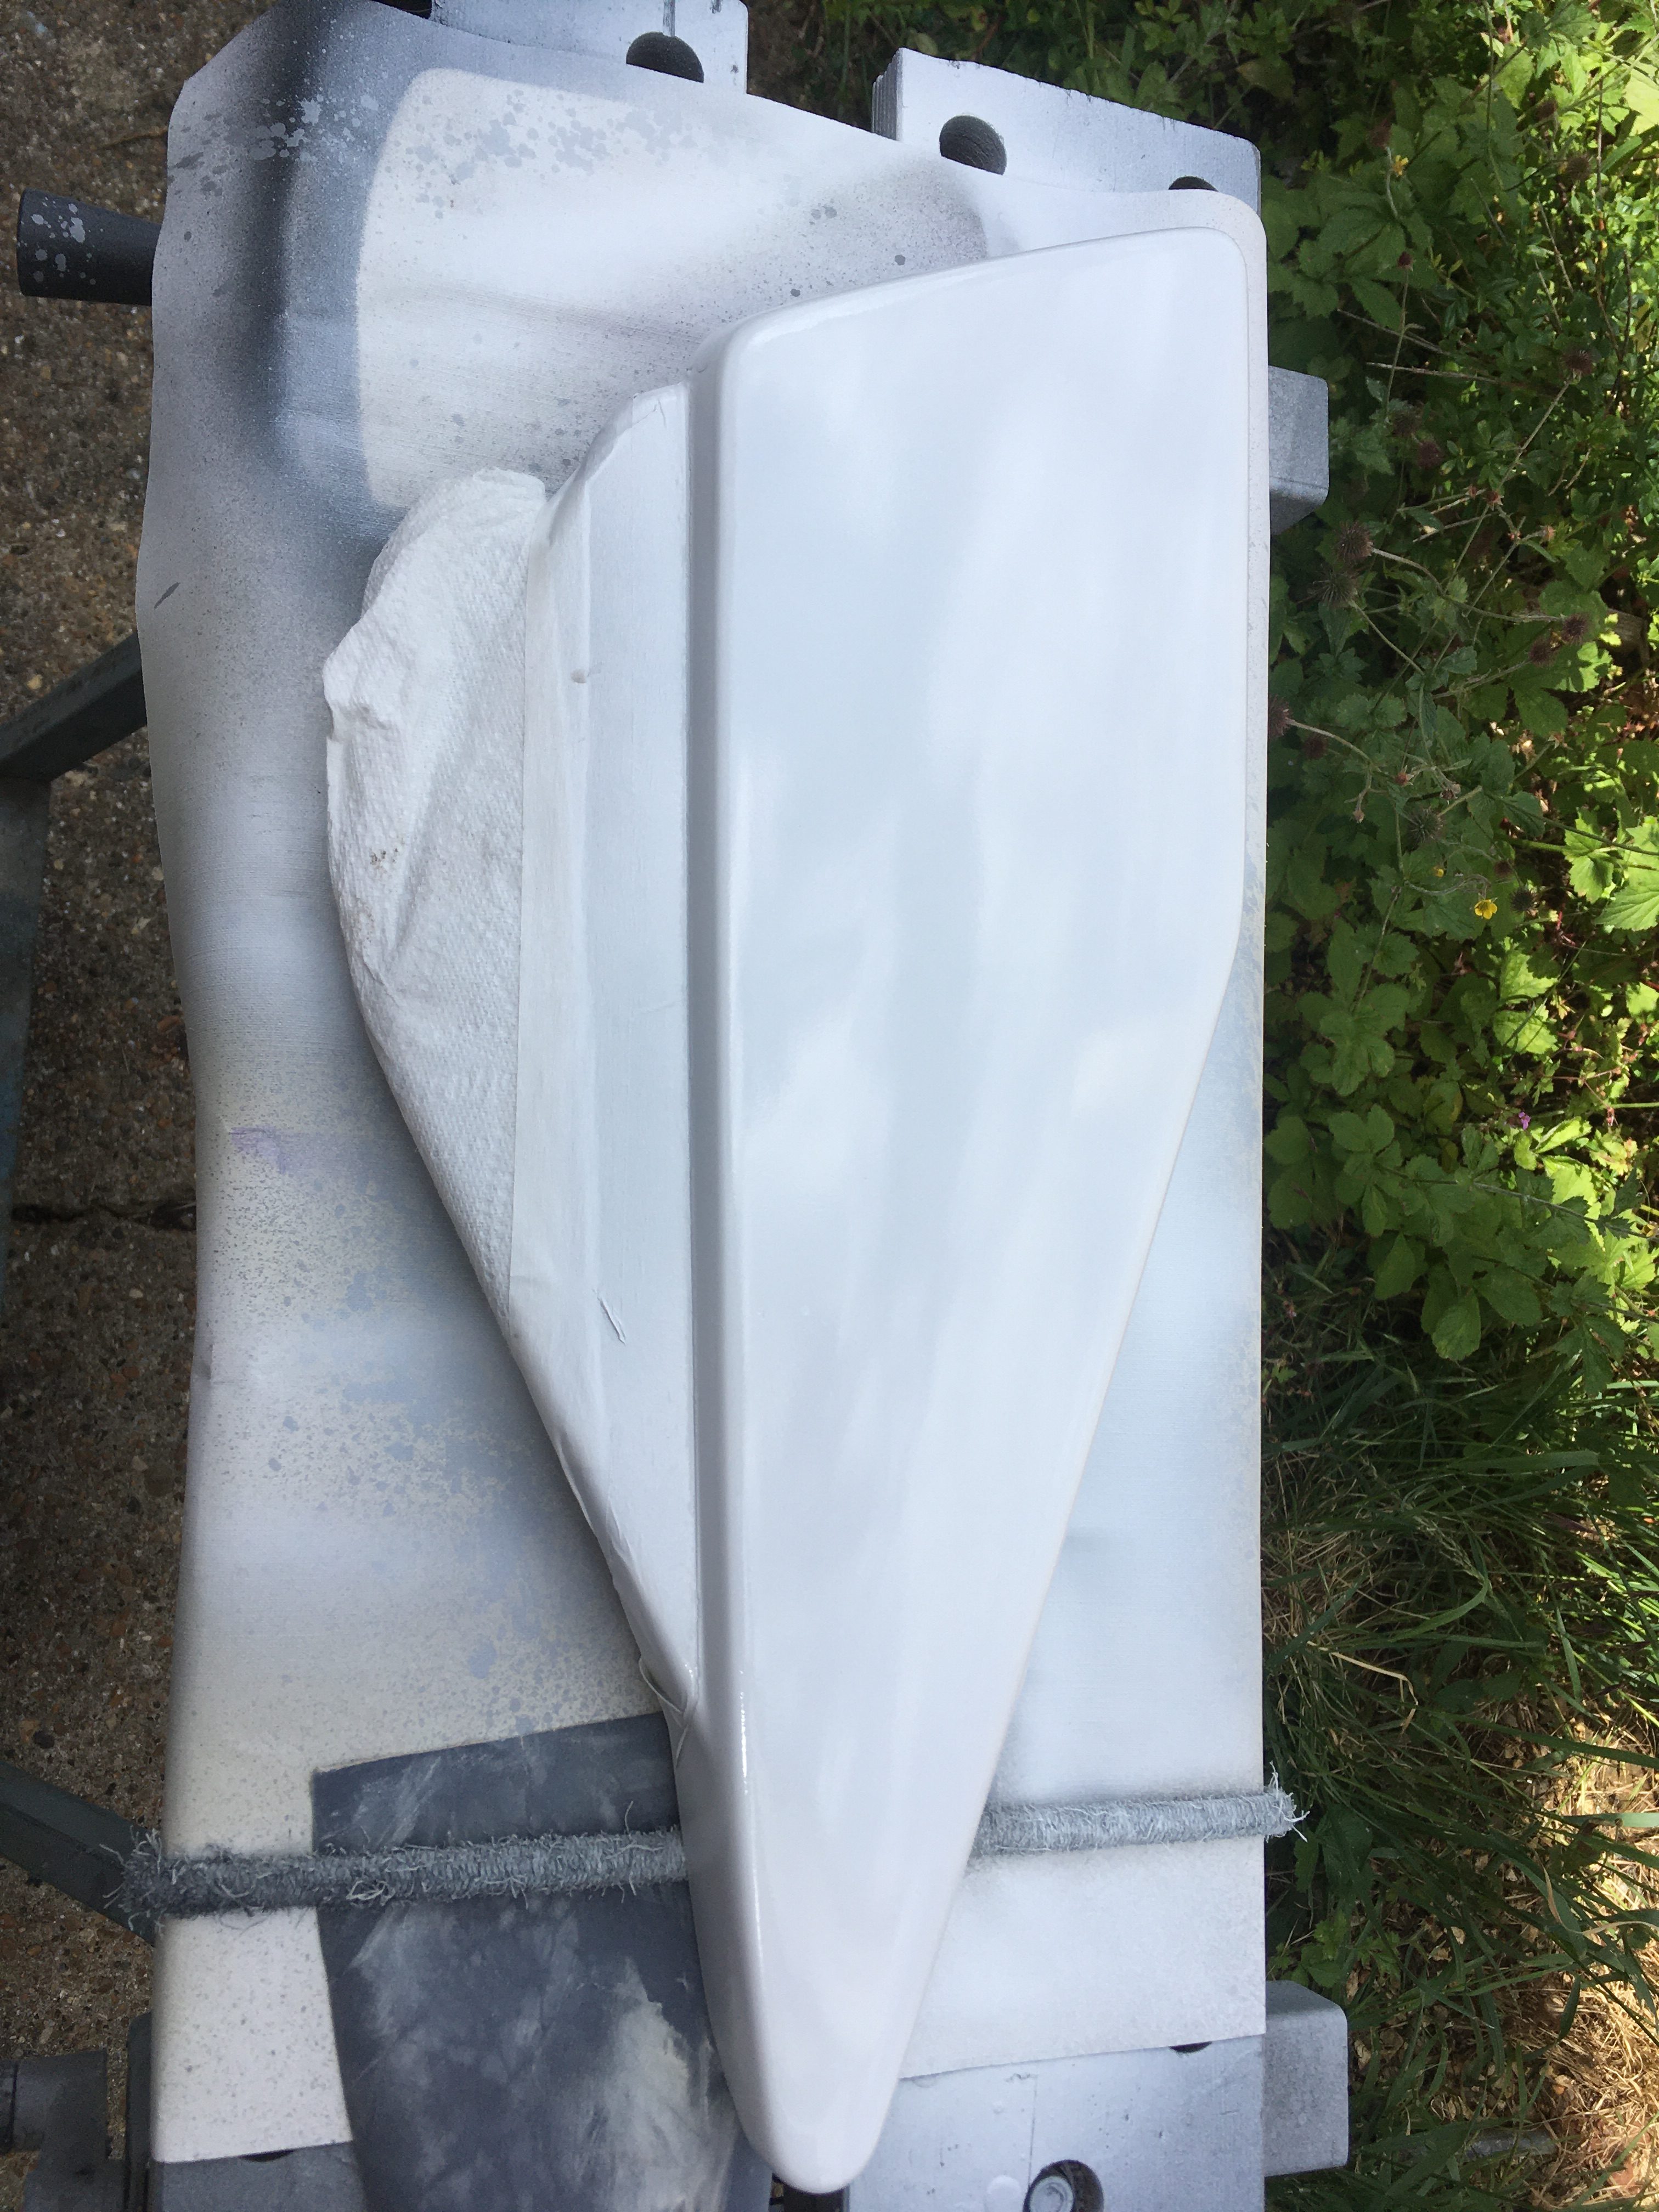
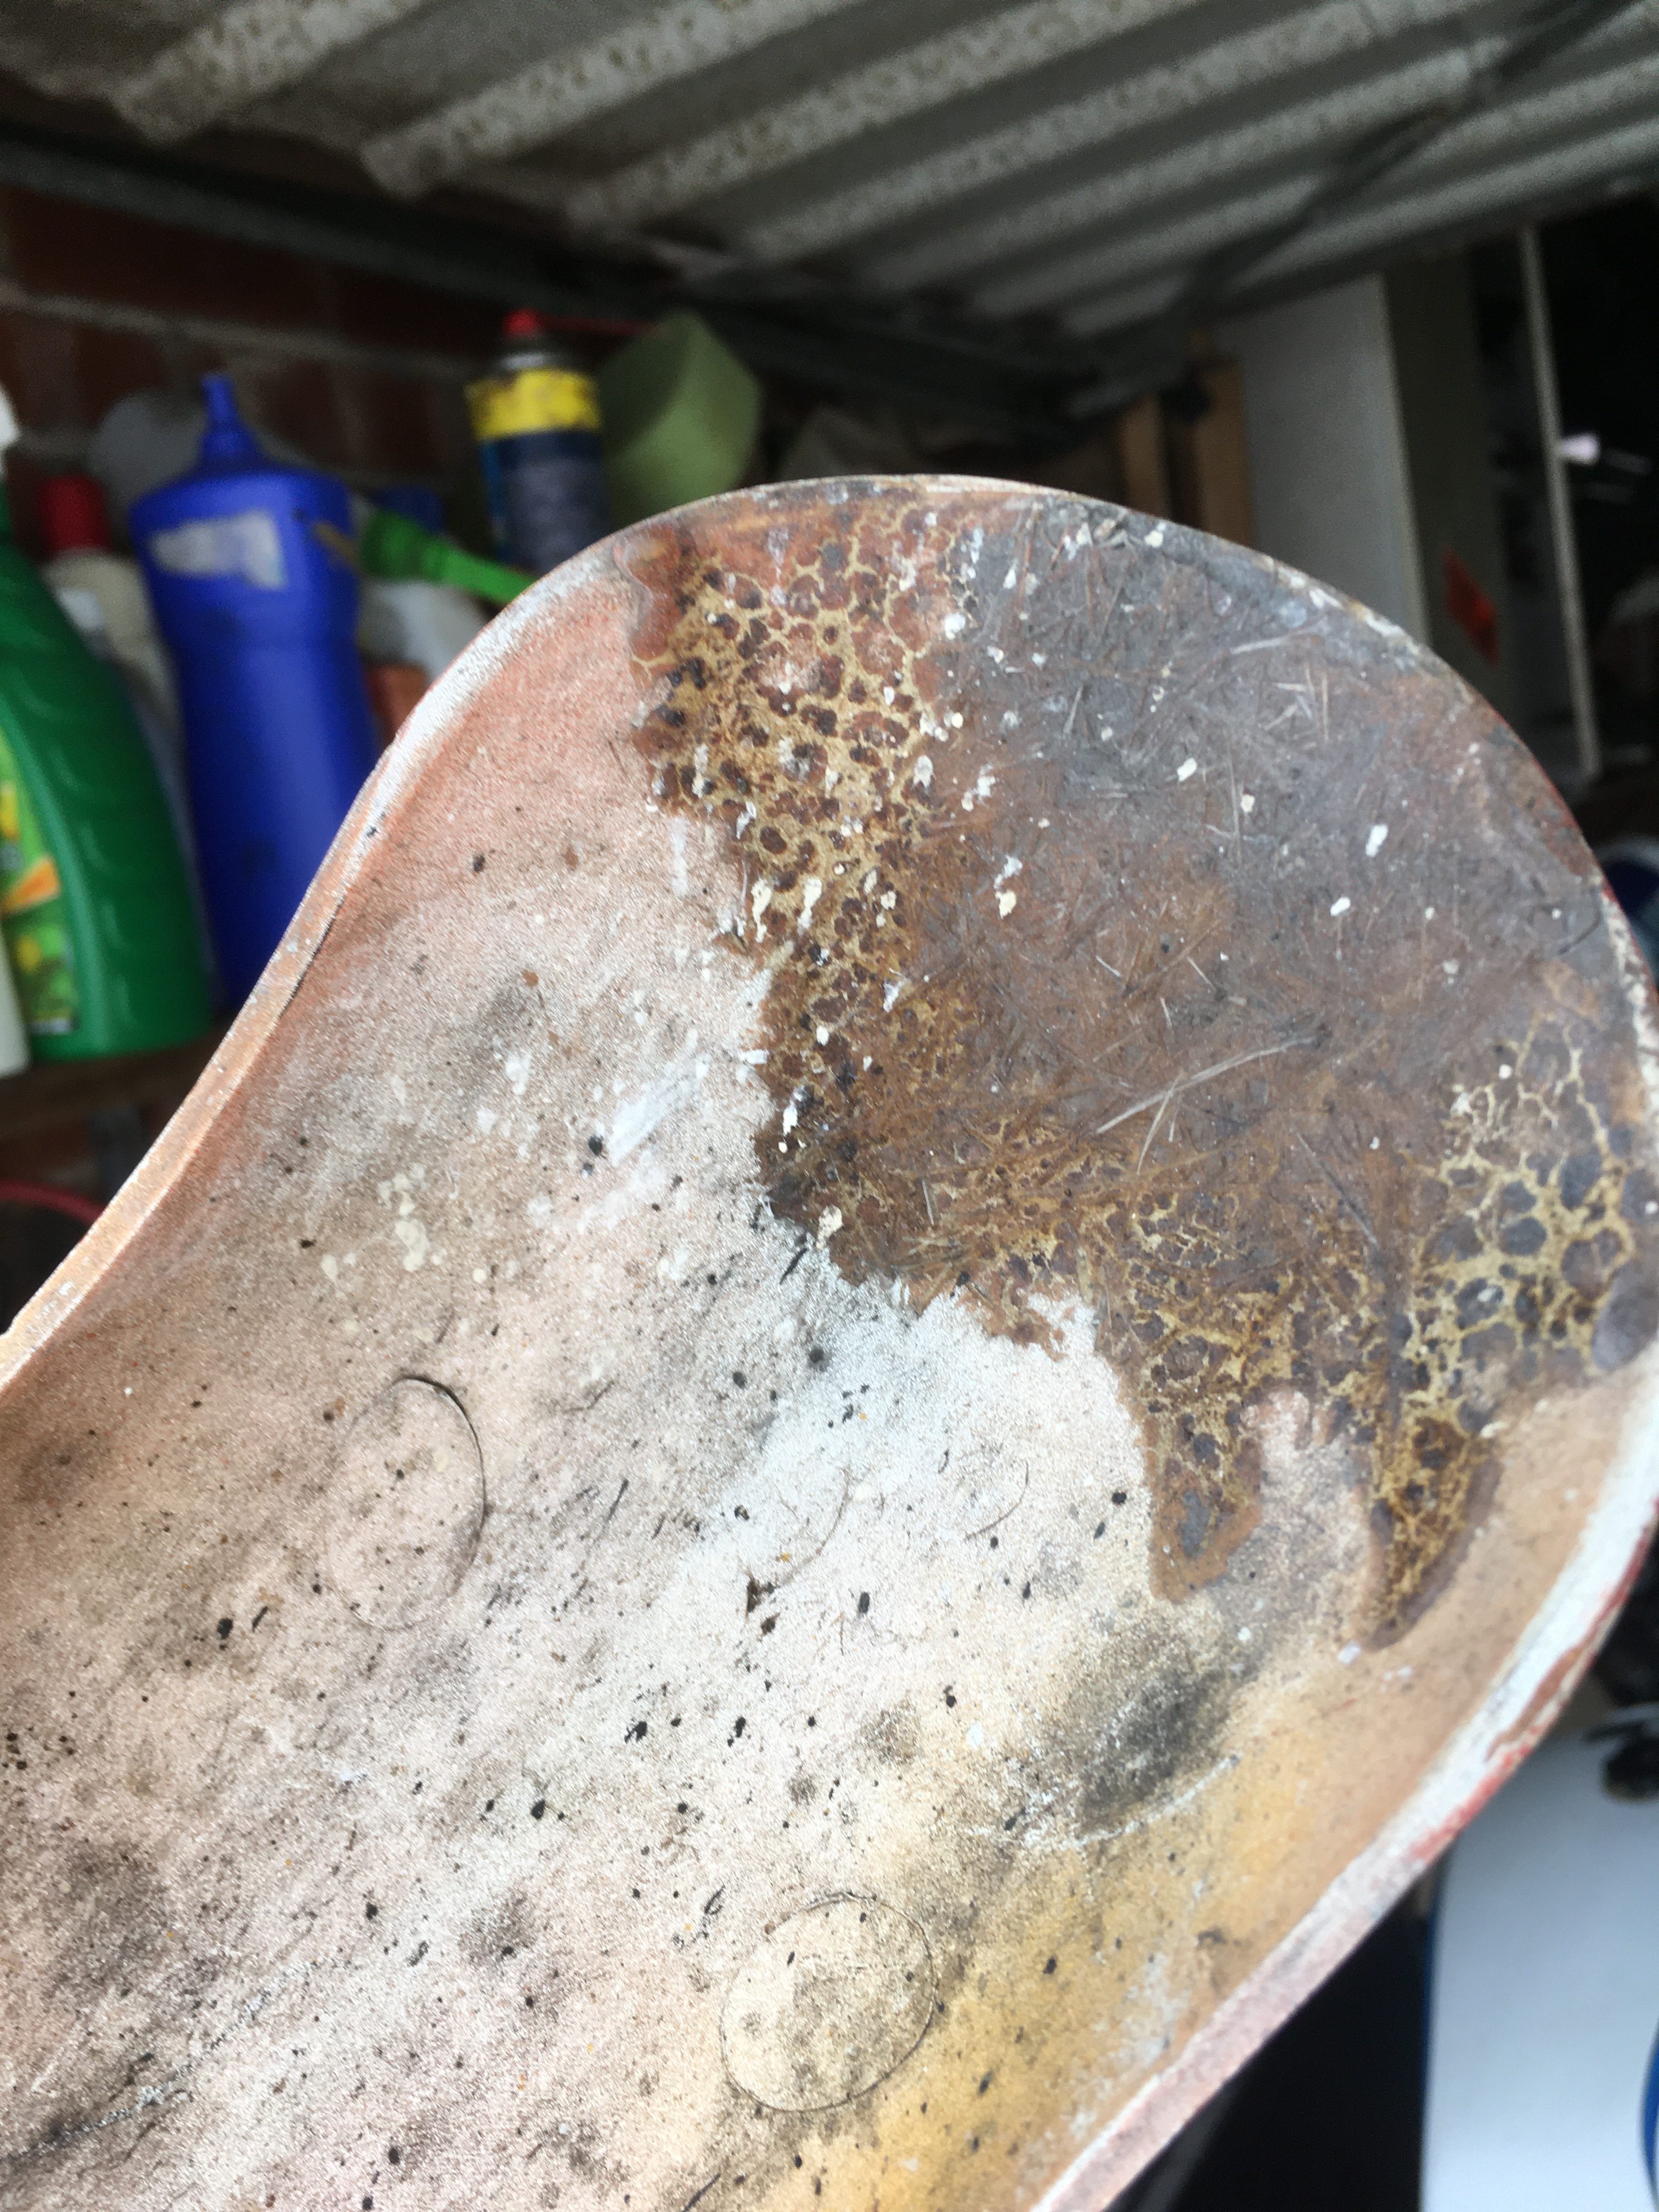
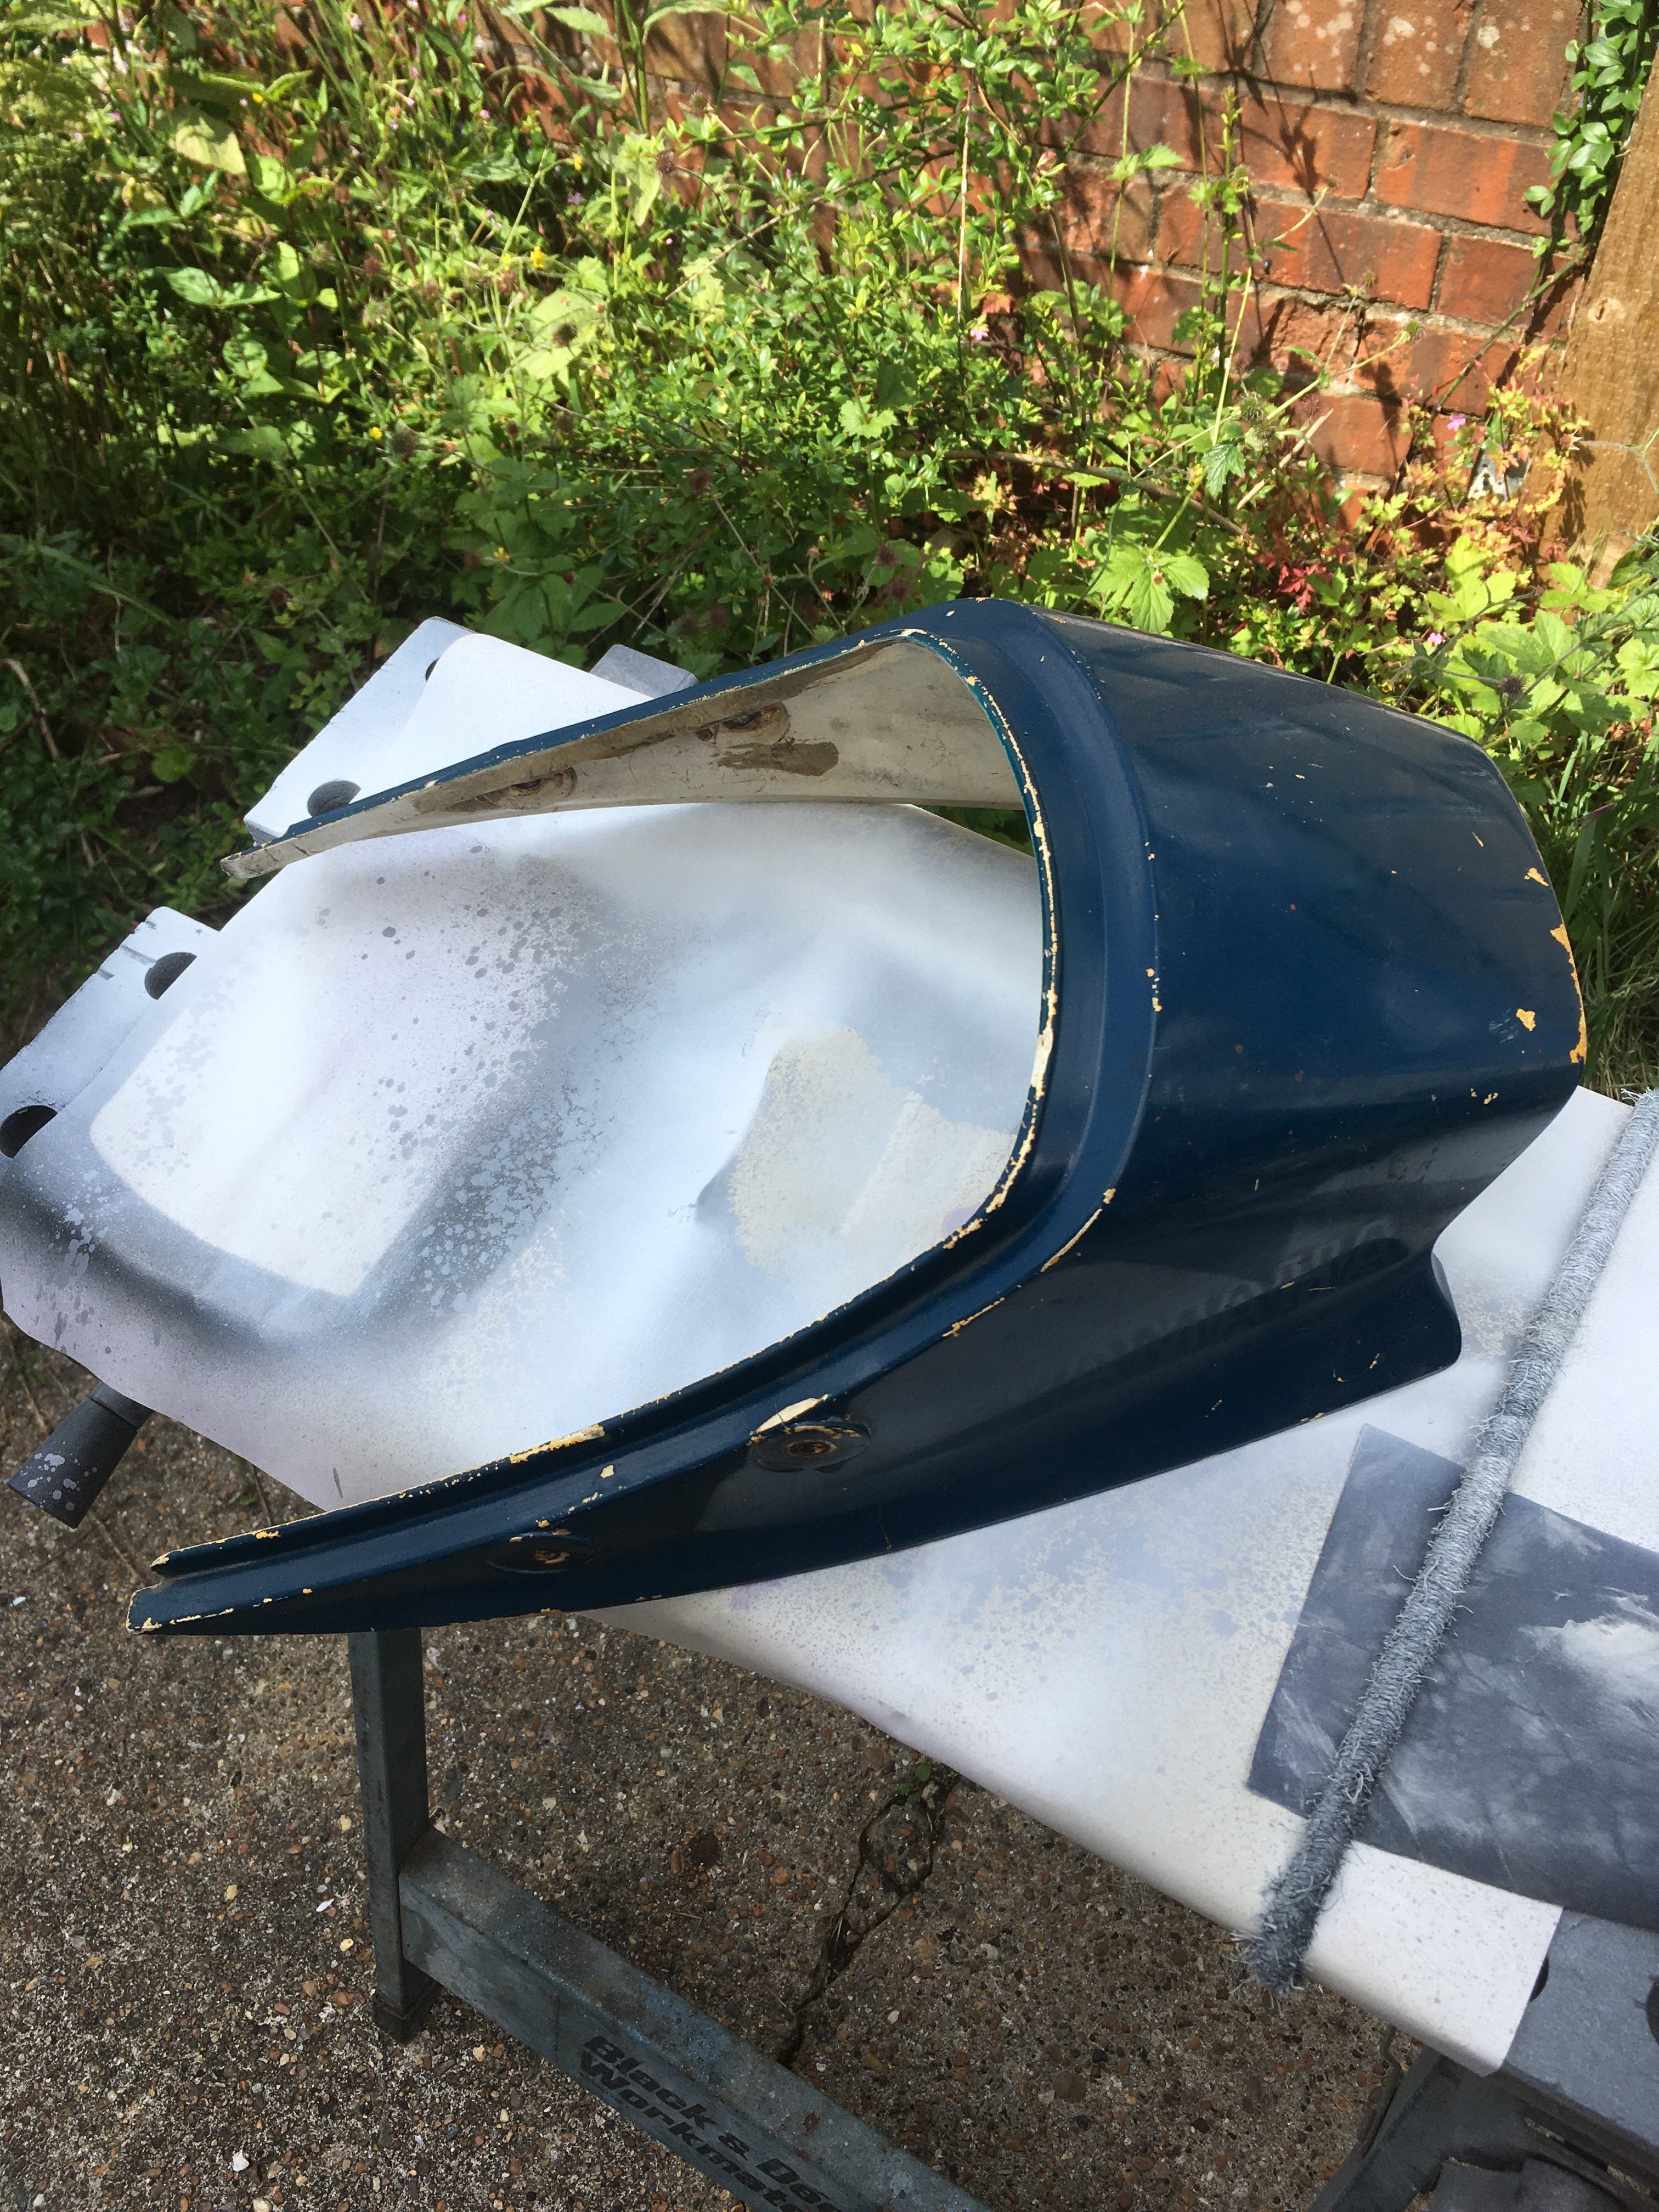
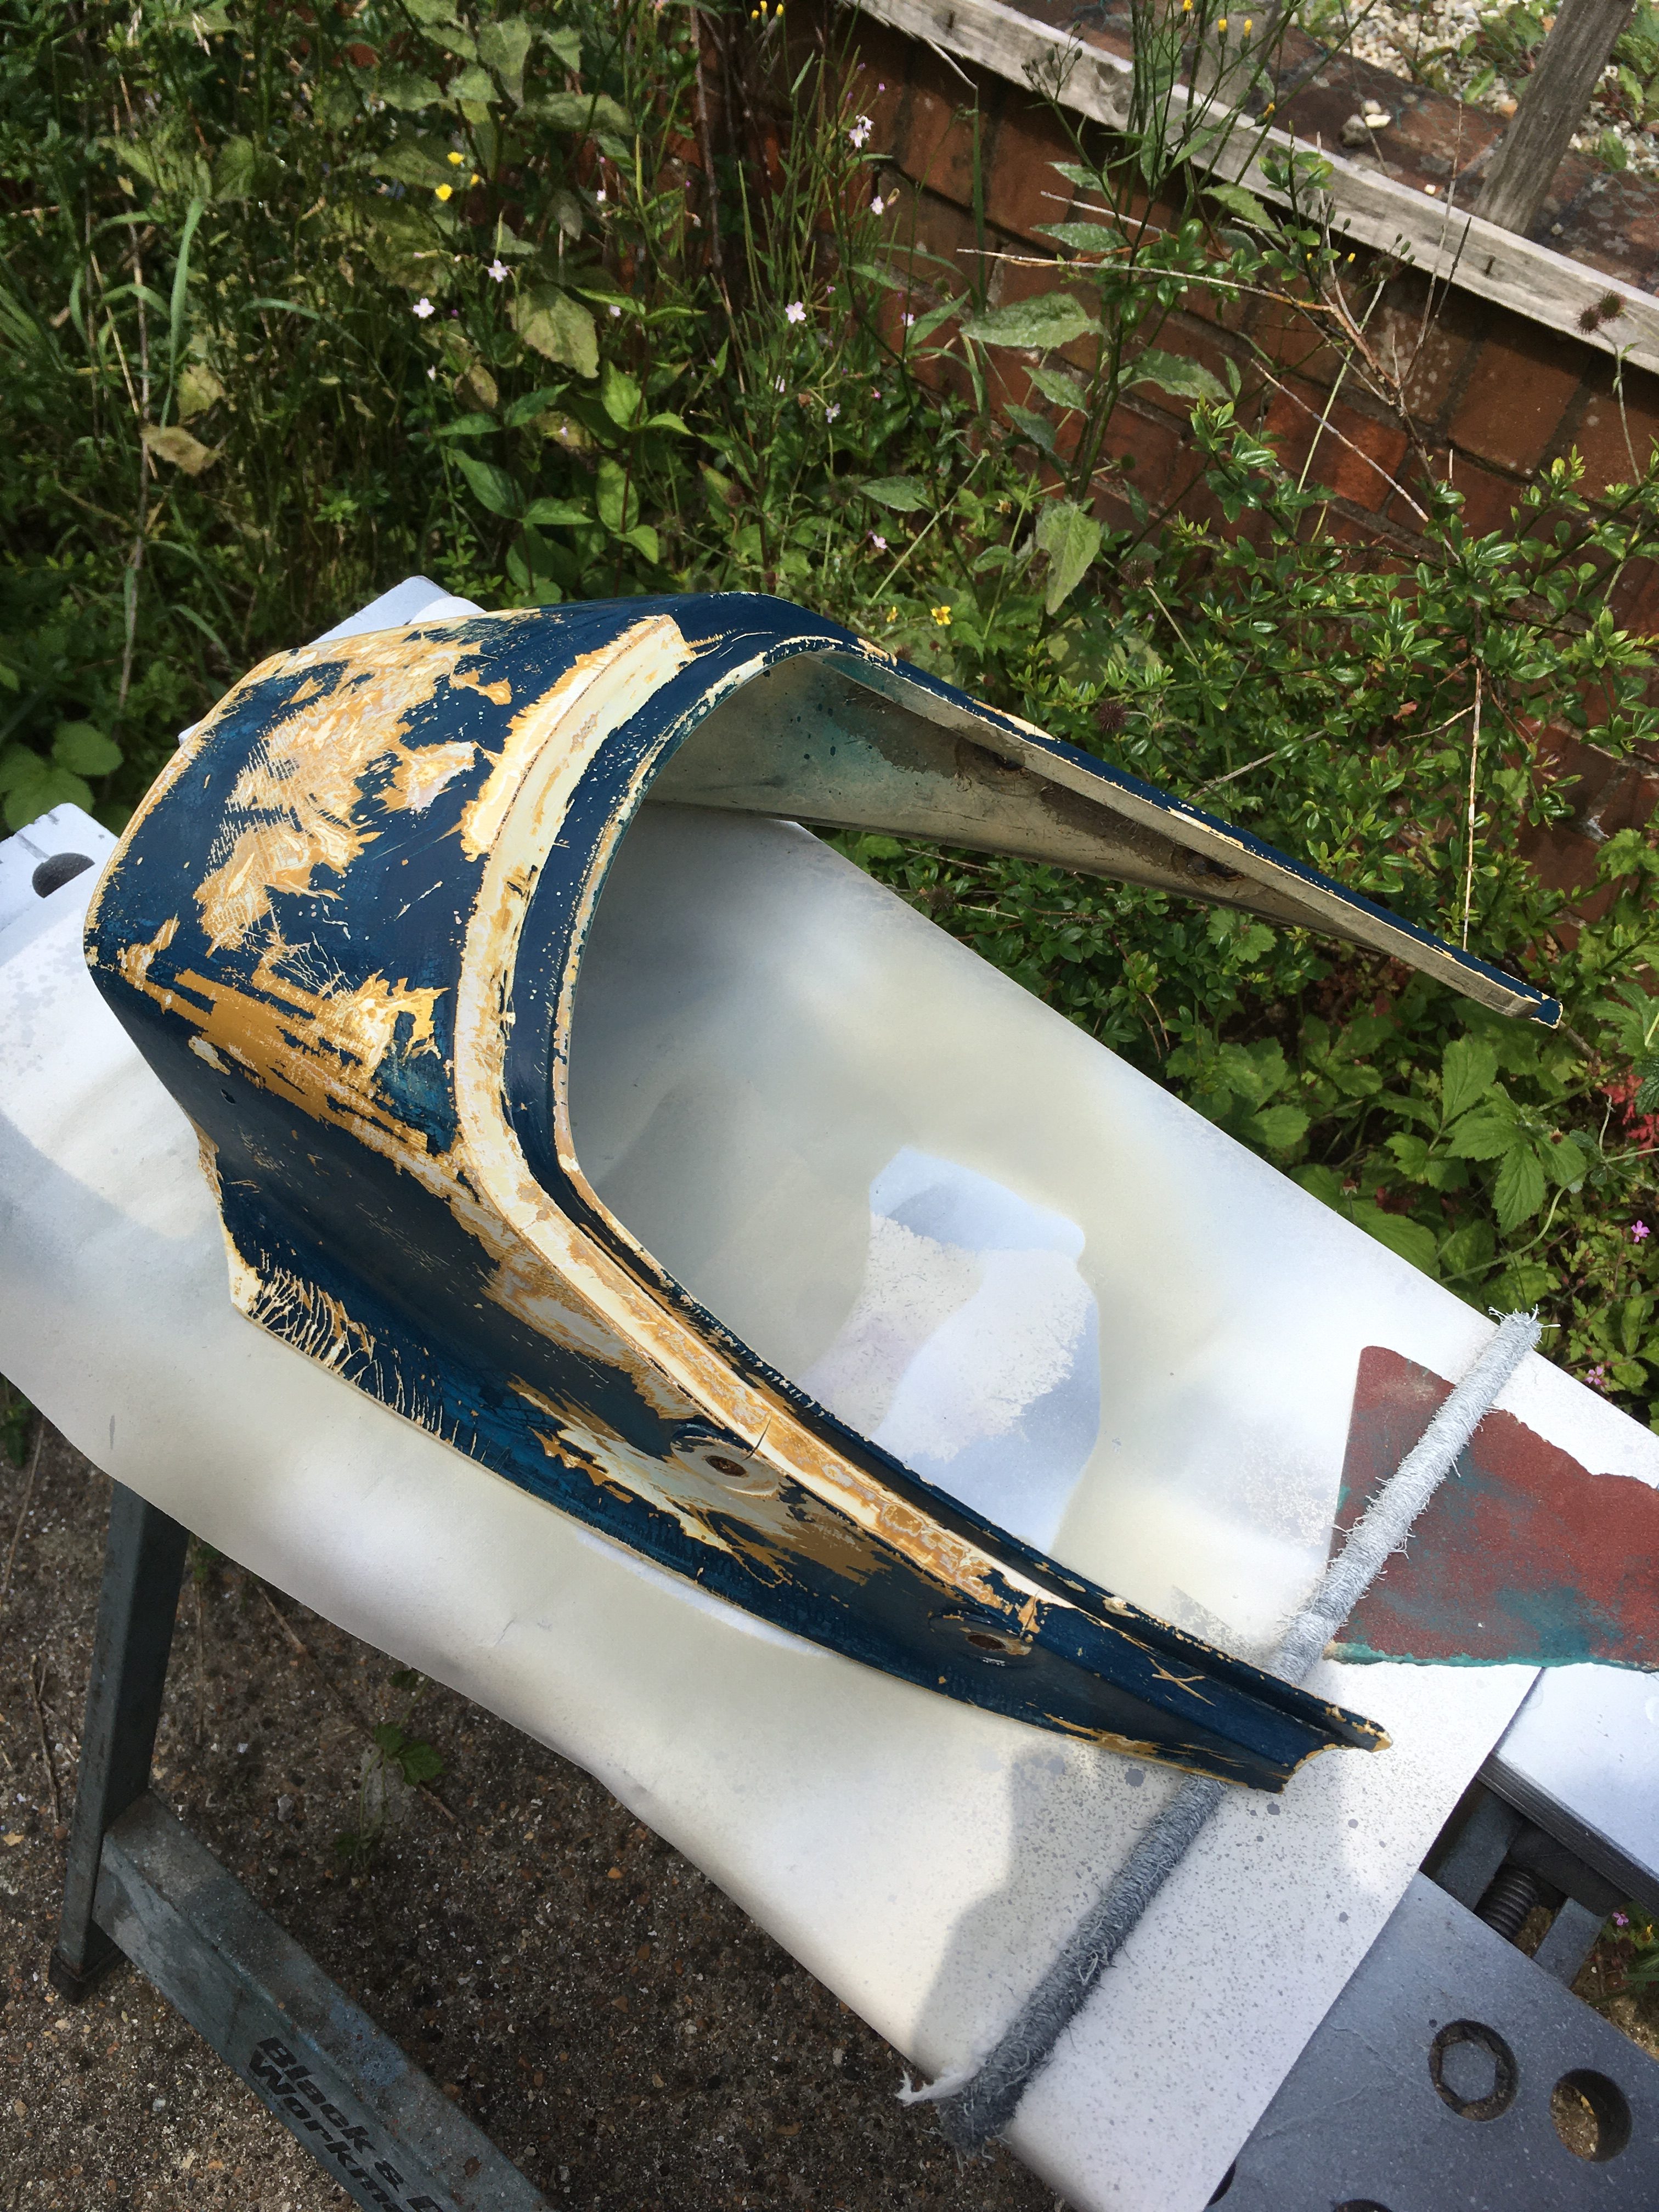
The tailpiece has at least 5 coats, and probably more, of ancient paint. It is chipped cracked and repaired, so I think of it as a sacrificial piece, and if it gets ruined, then so be it… I have another 🙂
So. How to remove the paint?
The only paint stripper I have on the shelf is Nitromors, which specifically says not to use on plastic. In fact, a quick look at paint strippers on the market uncovers none which are recommended for use on plastic.
The second picture below shows the result of an overnight soaking under brake fluid covered rags.
The paint softened but still required a great deal of scraping effort. This method may be viable if you have a valuable piece of irreplaceable plastic and a lot of available time.
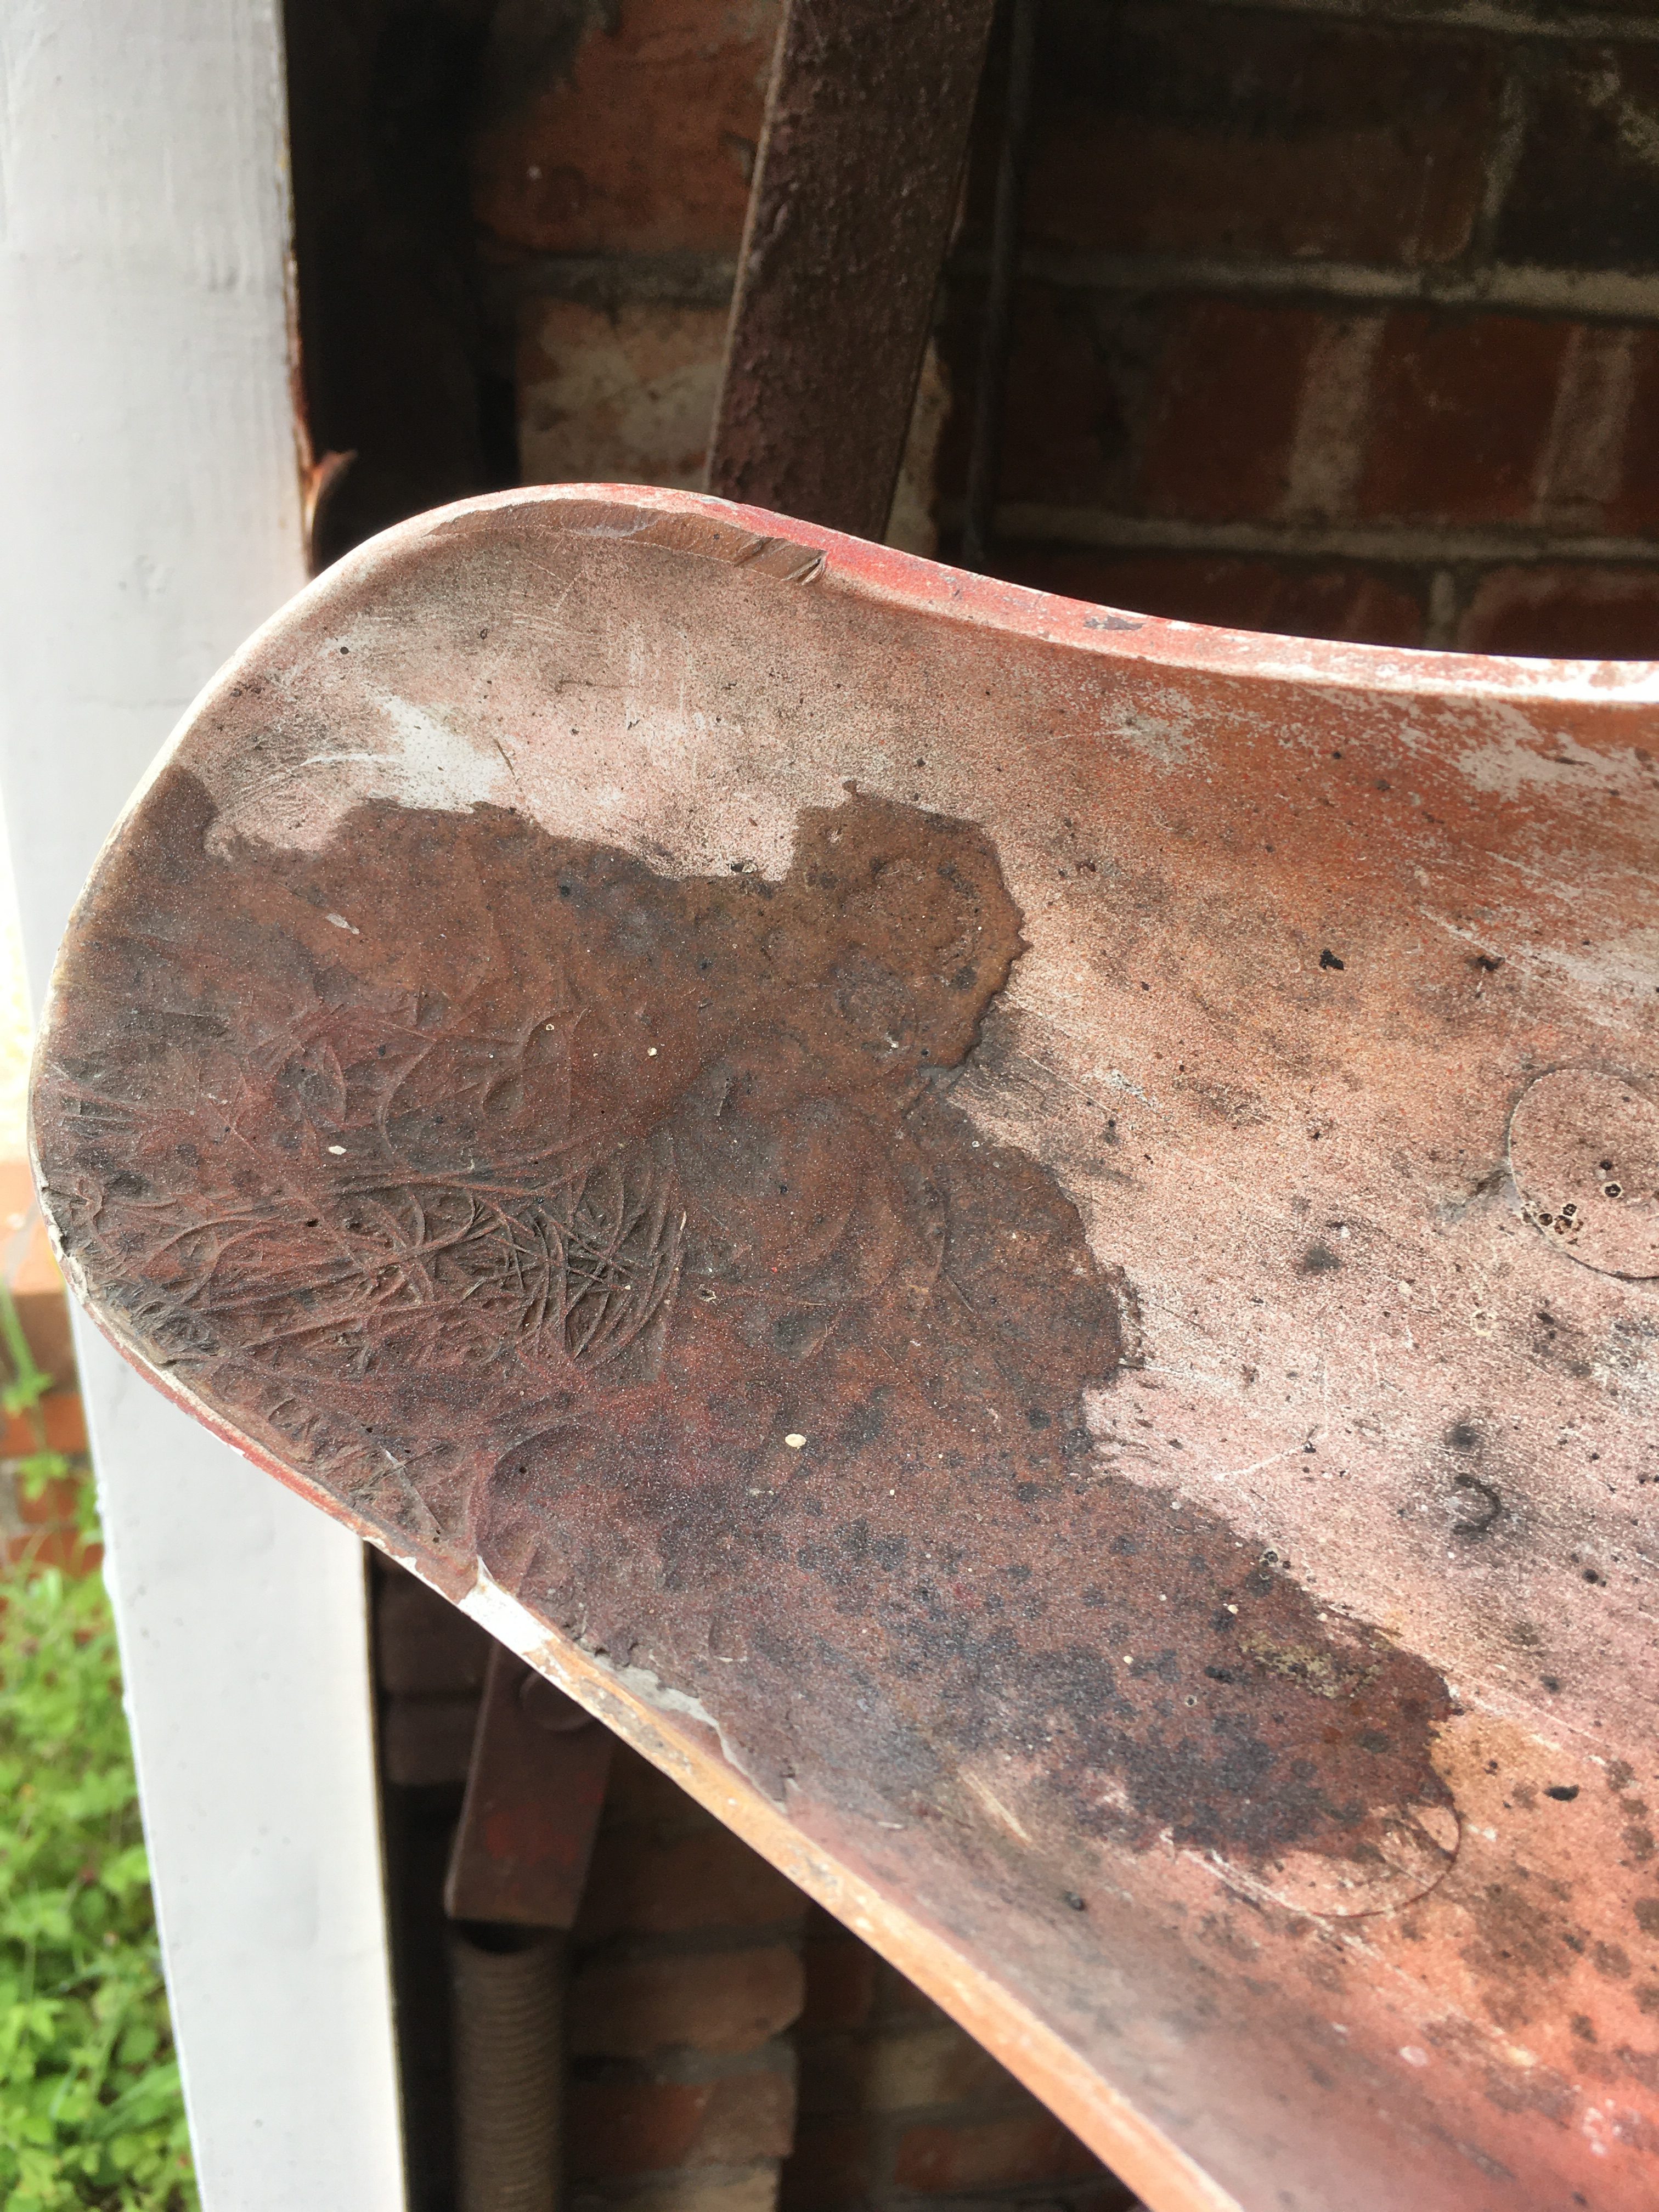
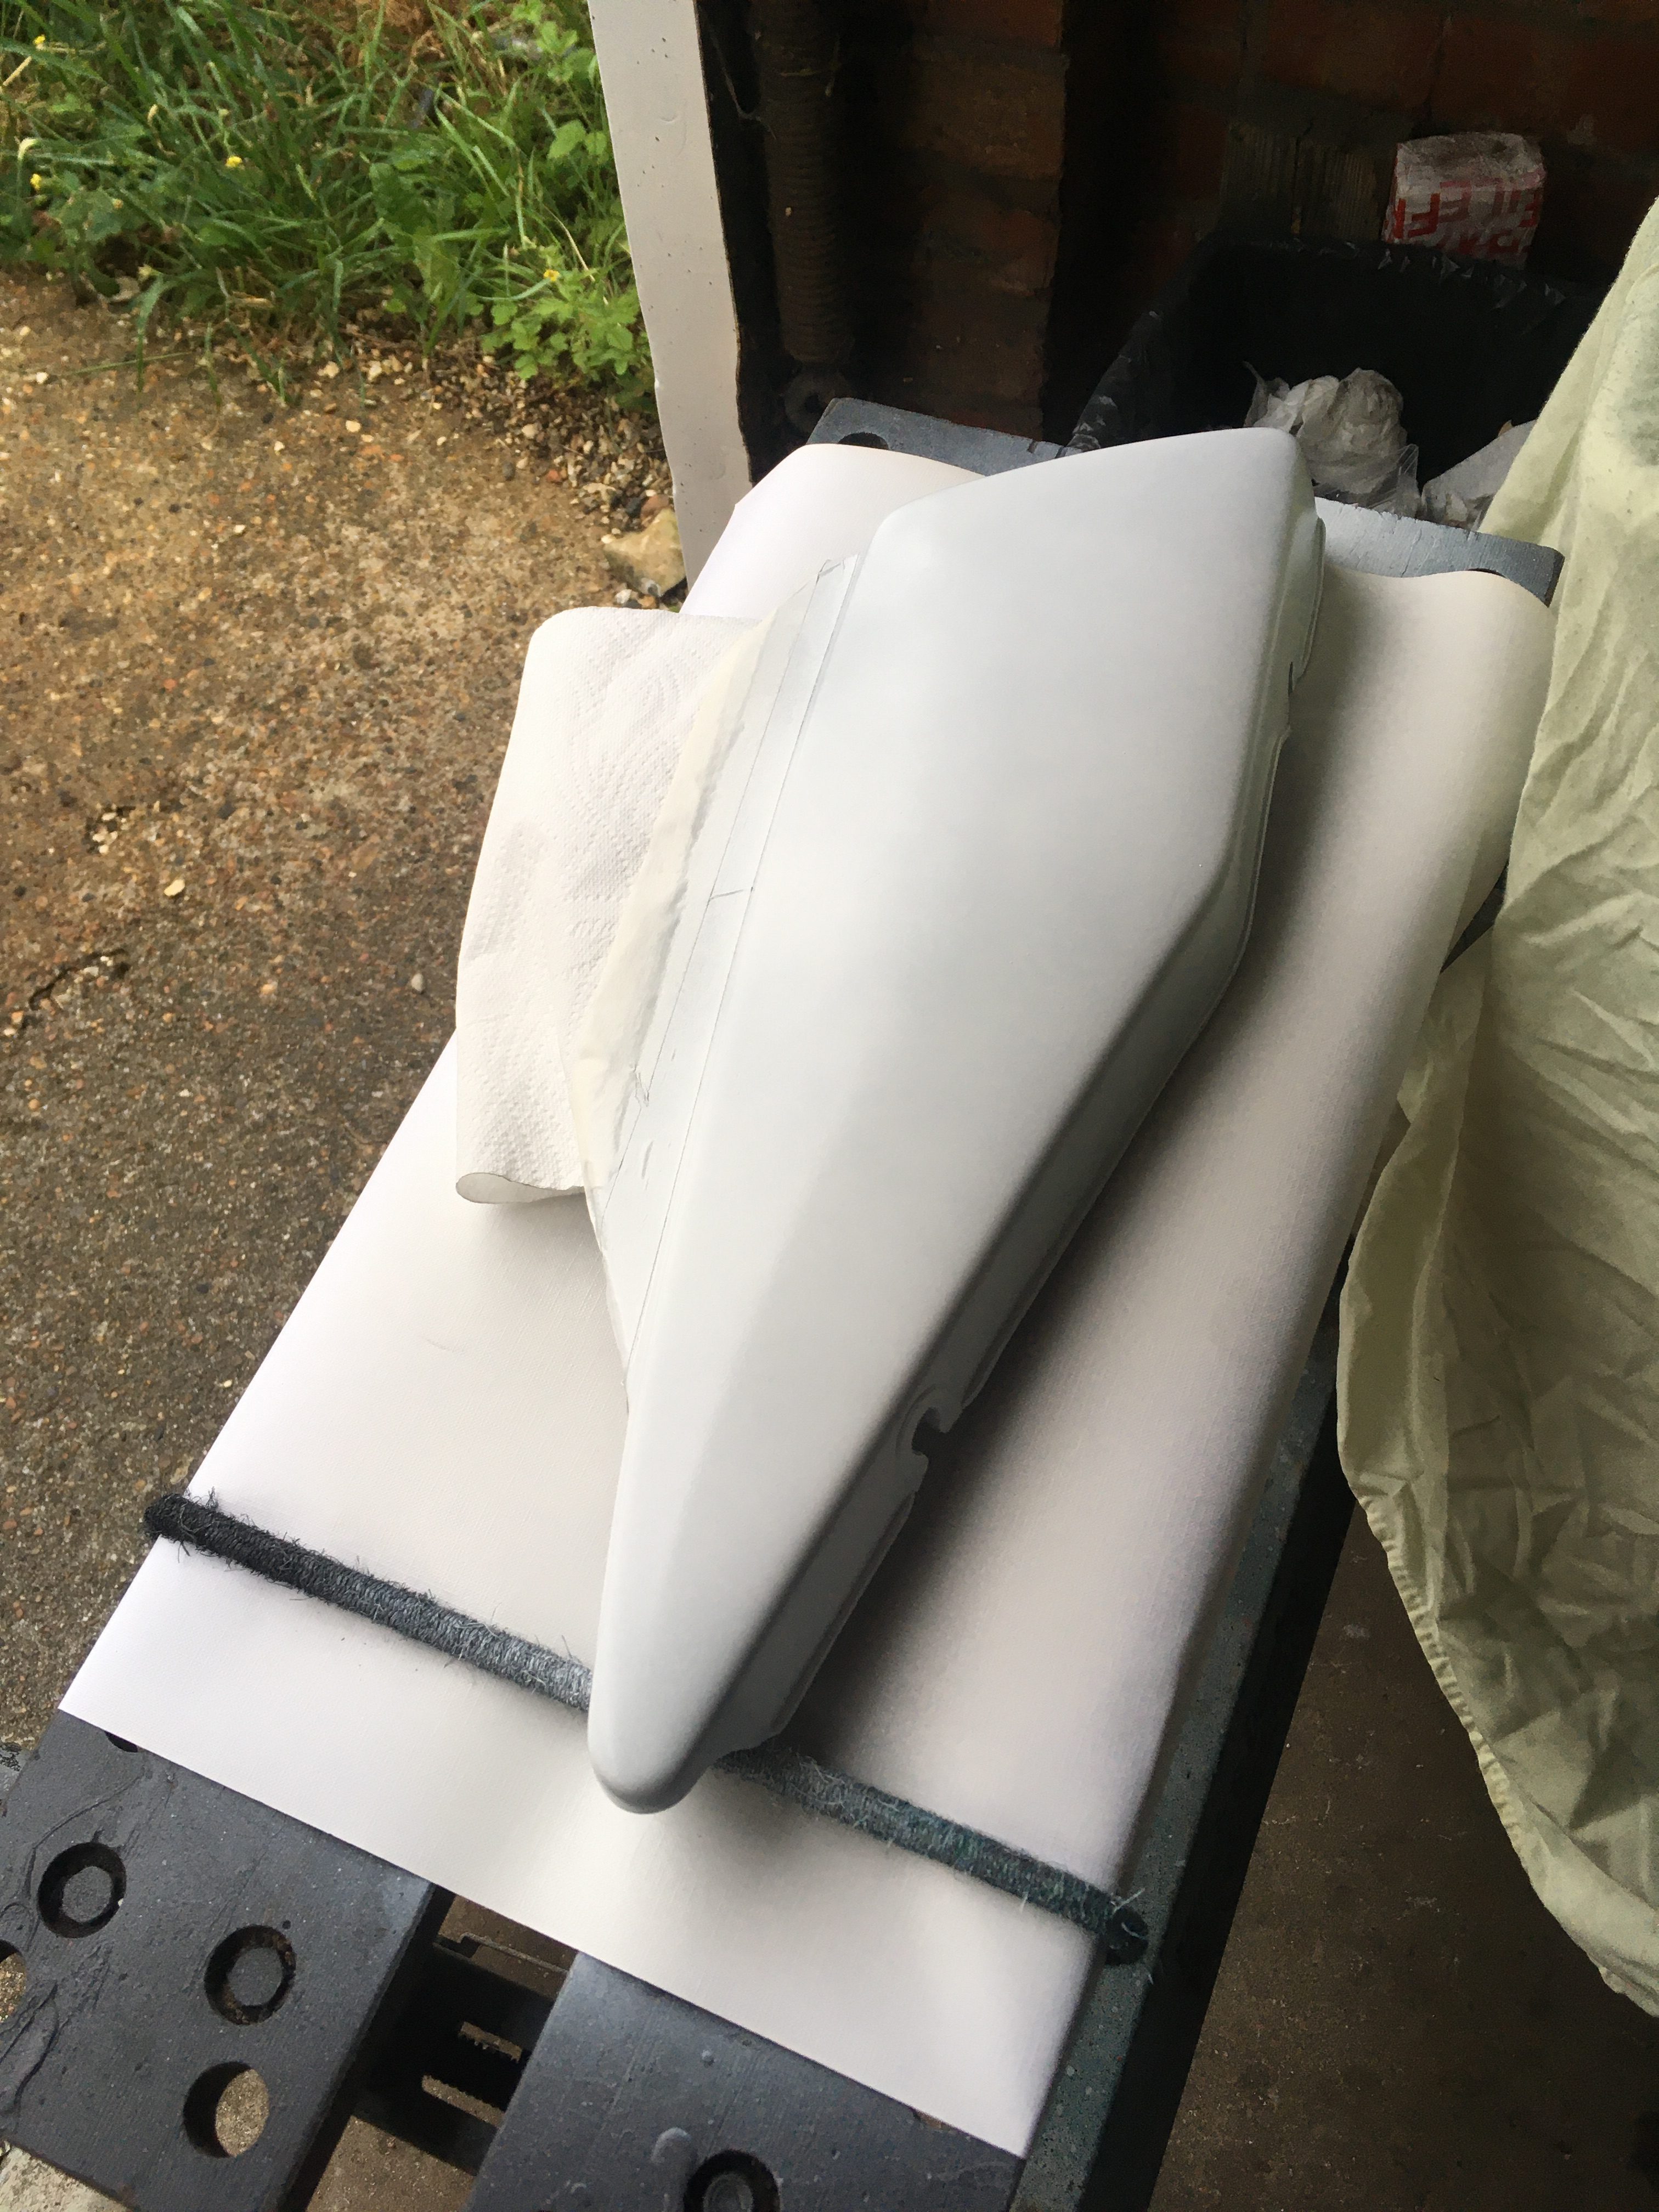
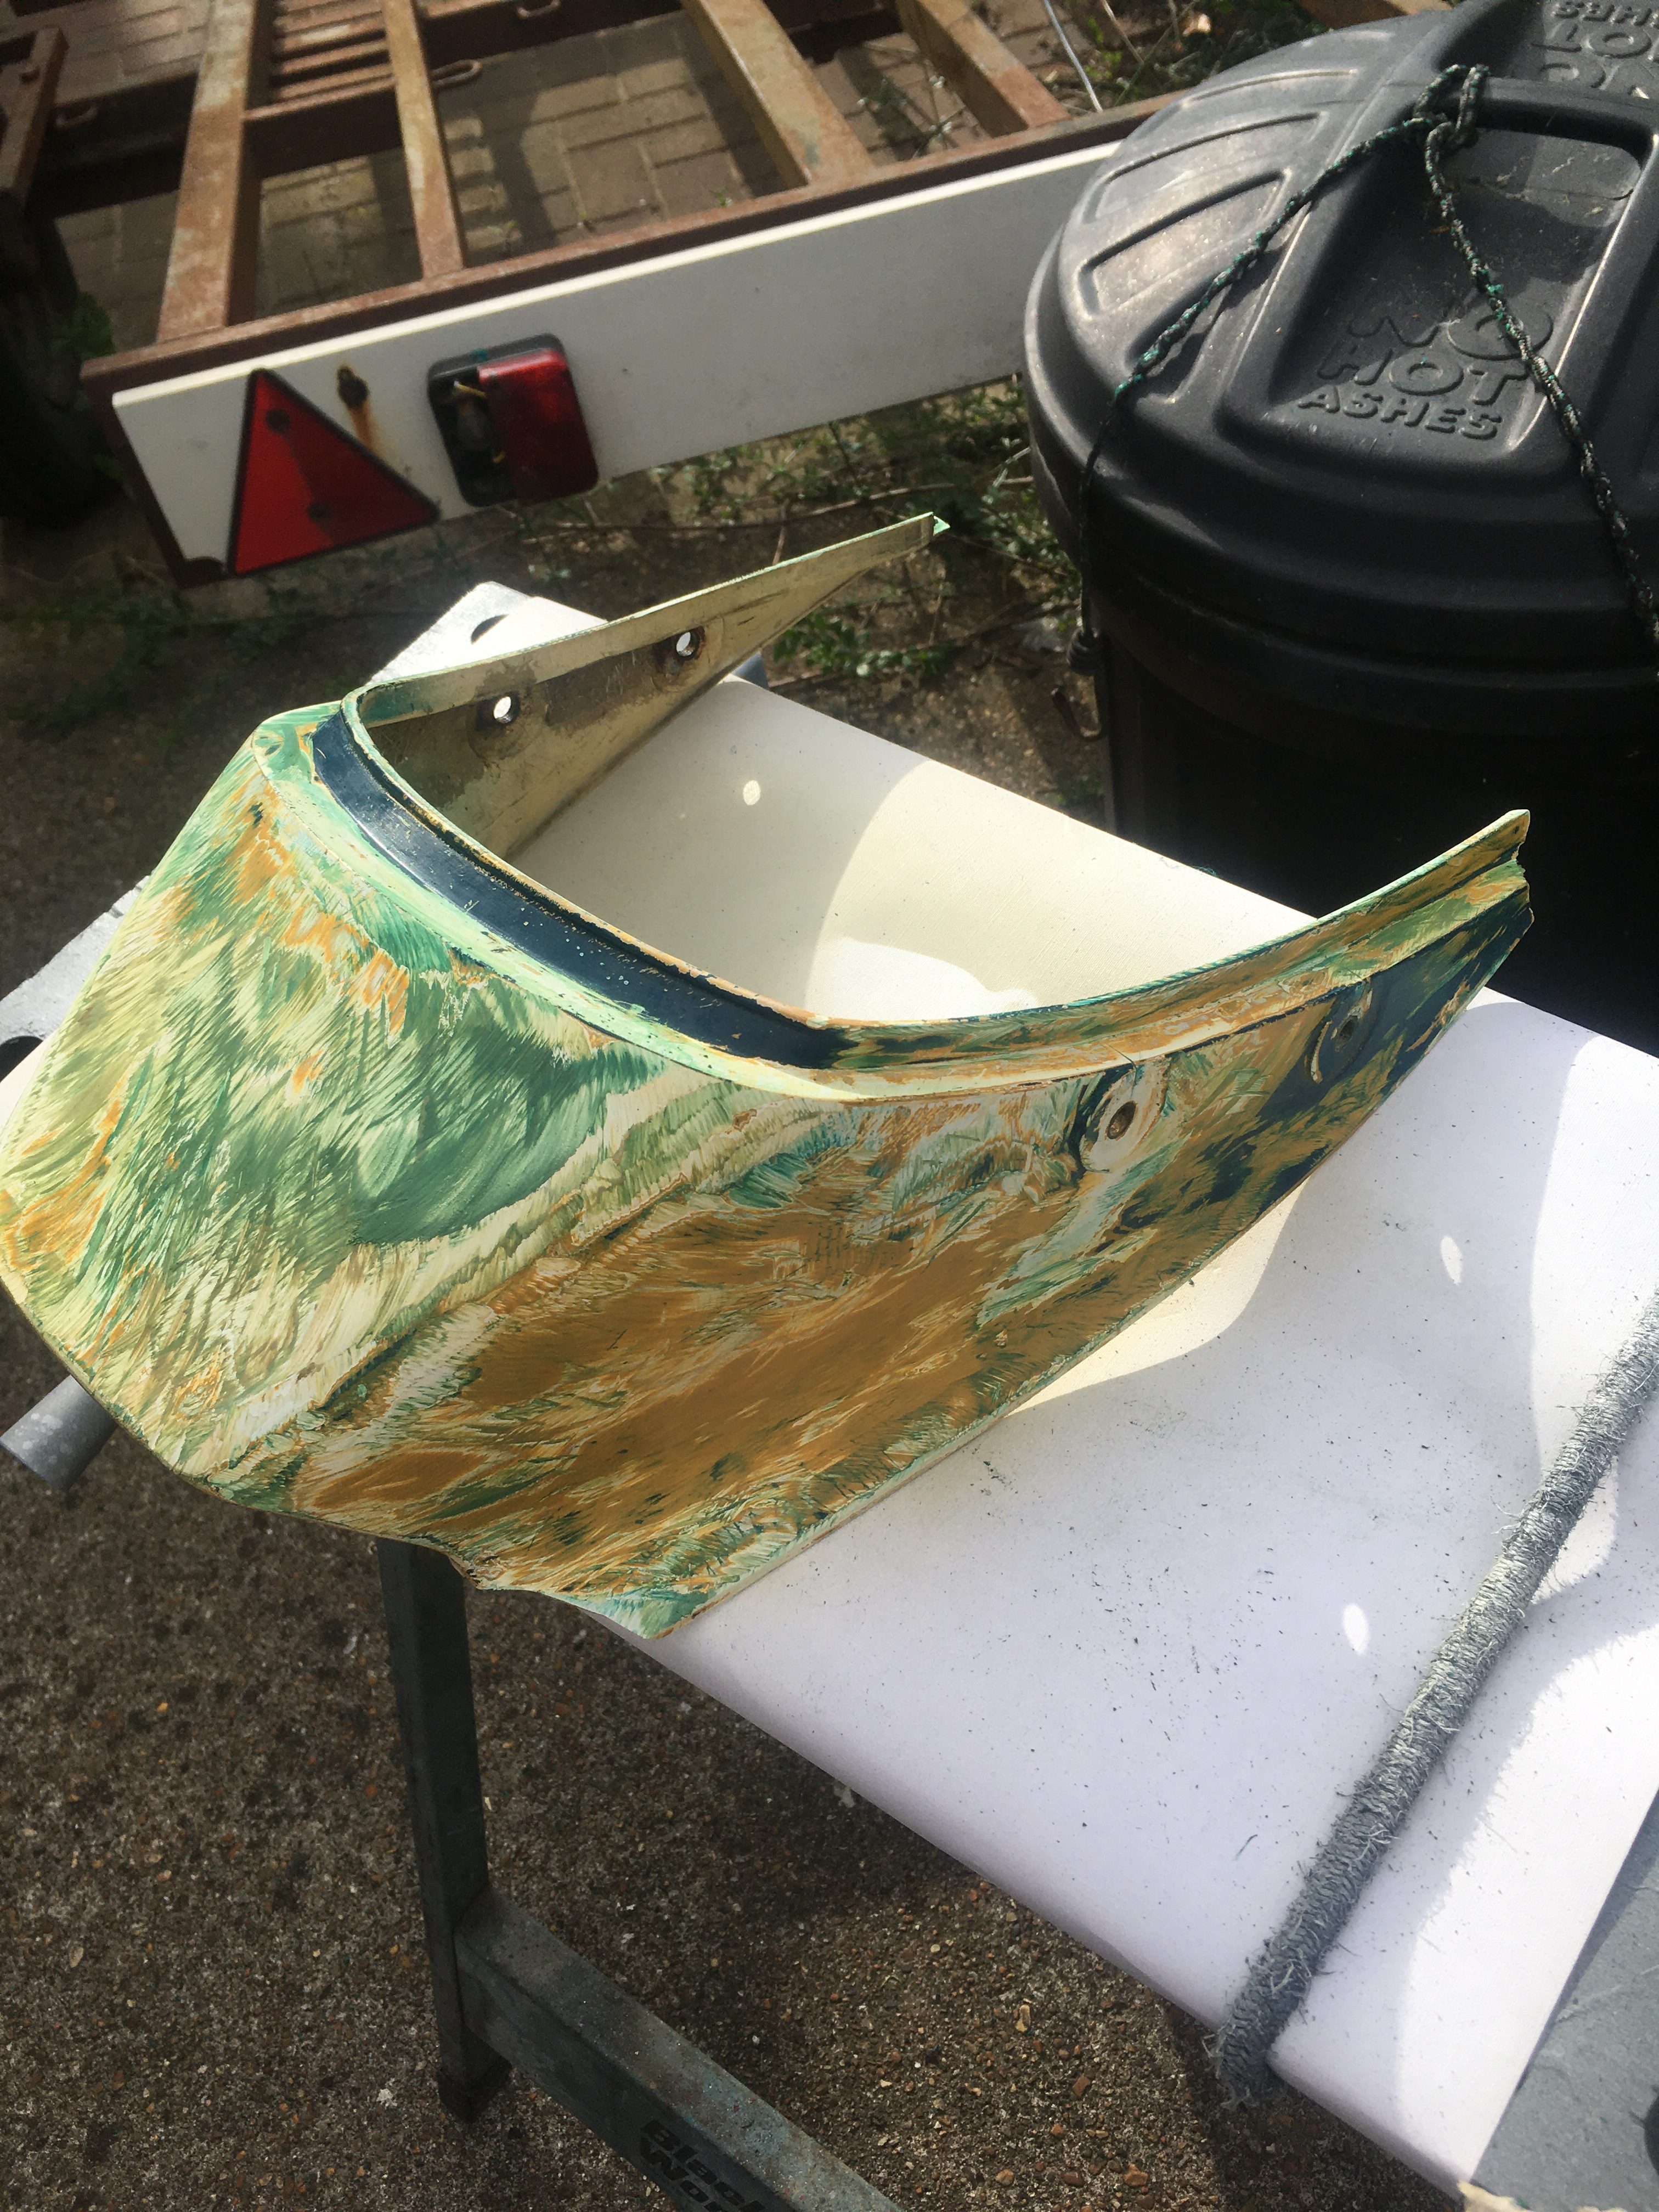
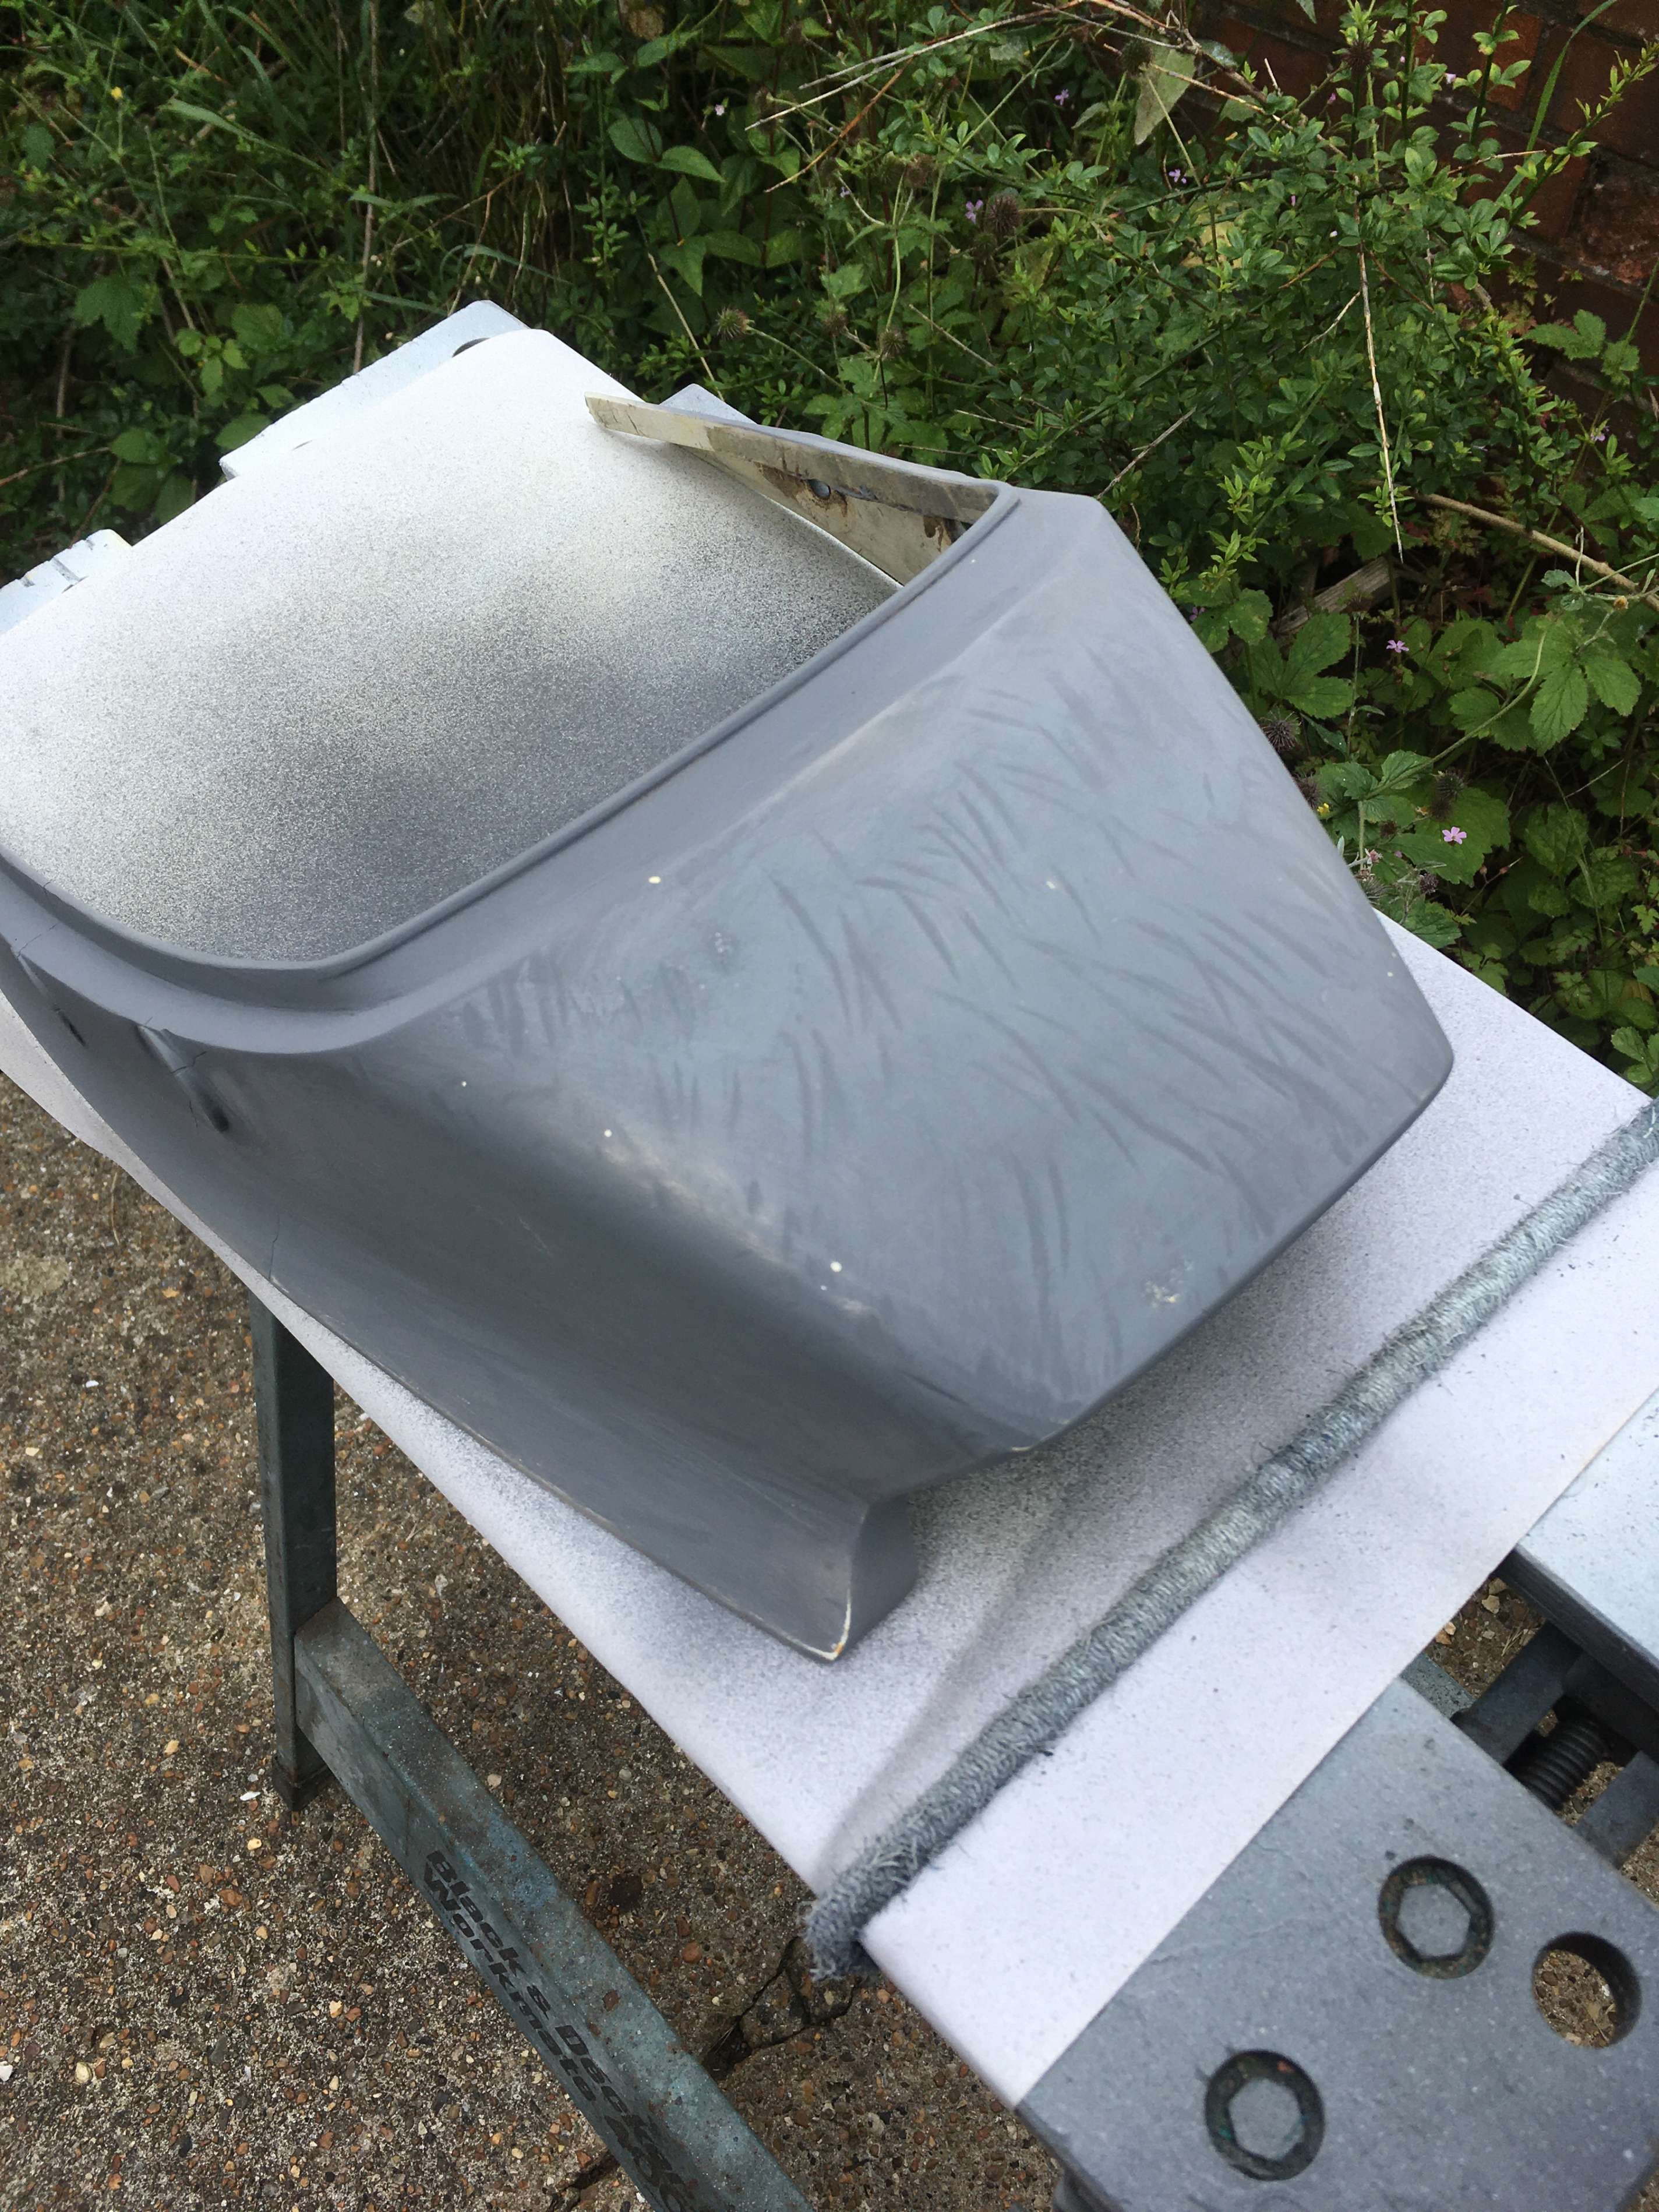
I decided life is too short to spend hours on a piece of junk plastic and broke out the angle grinder, with a rotary sanding attachment, and a “fine” sanding disc.
The result is in Picture 3 below.
Some observations on the angle grinder method…
1) The disc rotates so fast that where the paint doesn’t chip off and fly into your hair, up your nose, into your mug of tea half way across the yard… it melts the paint into the surface of the plastic.
2) No matter how careful you think you are, you will catch an edge and gouge a groove into the plastic. (This may possibly happen fewer times with a flat, or convex surface… or more care… or a slower angle grinder). I now have many shallow grooves in the surface, which will either be eradicated with filler primer, or become a “feature”.
3) It is much quicker than any other paint removal method available to me at home.
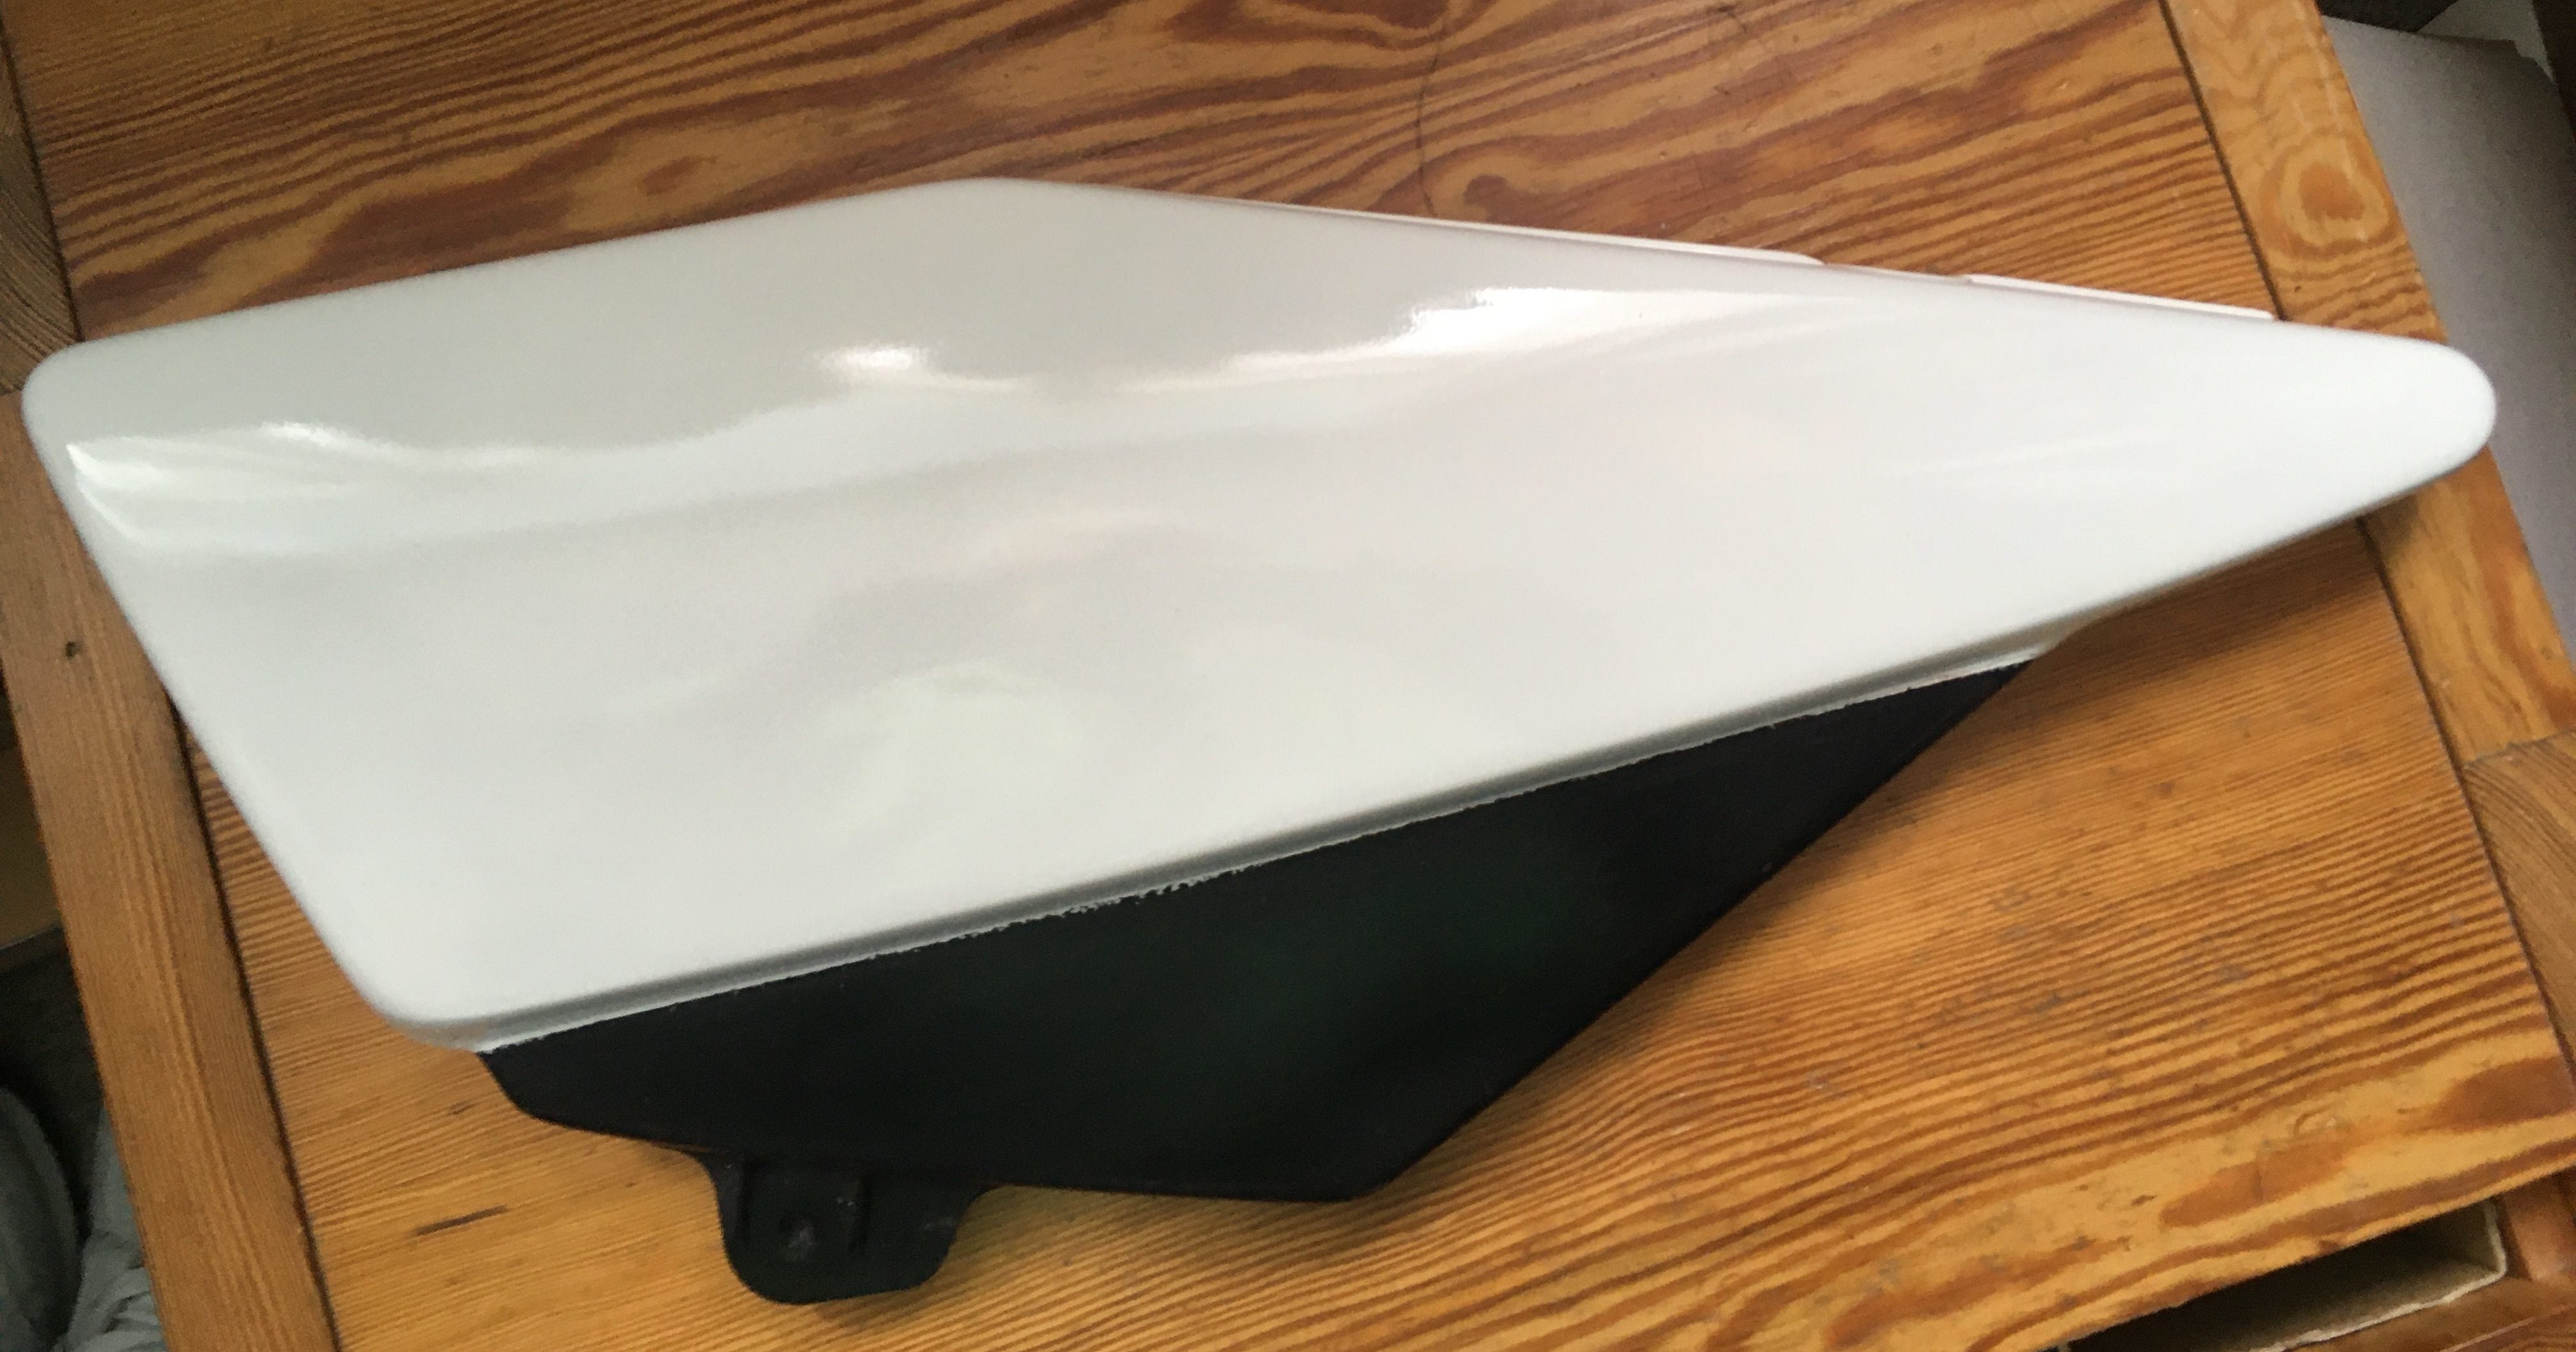
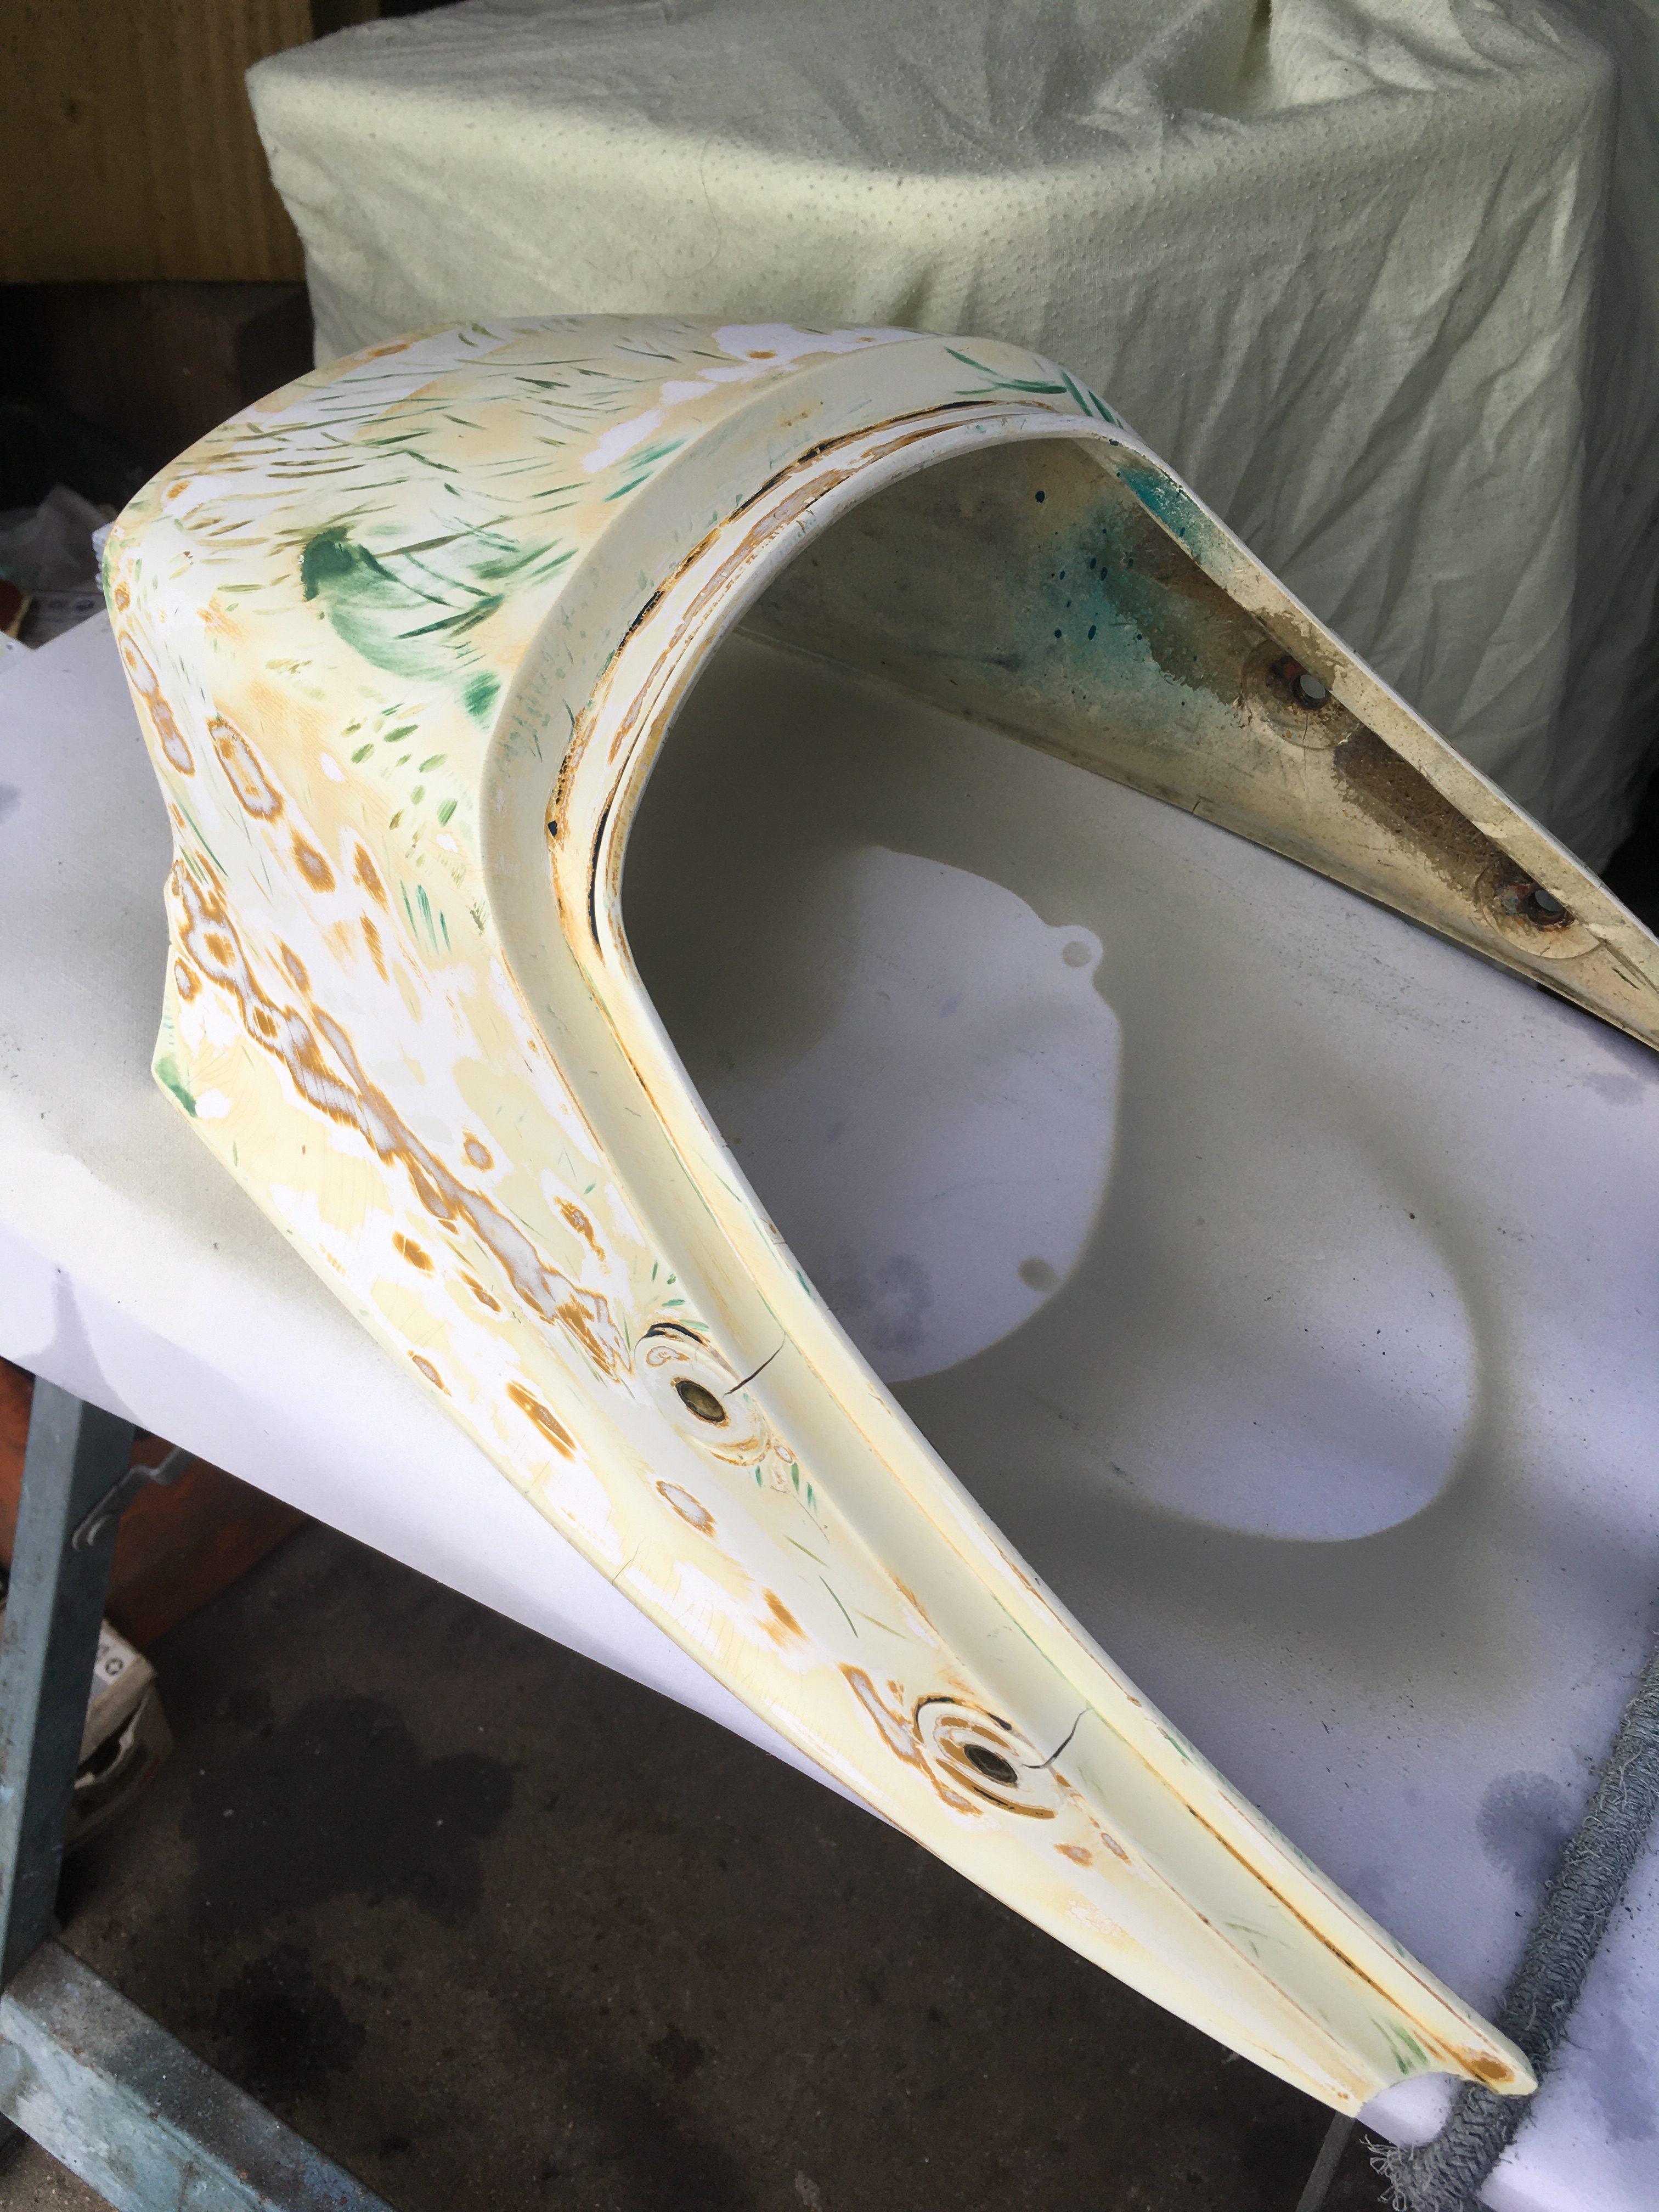
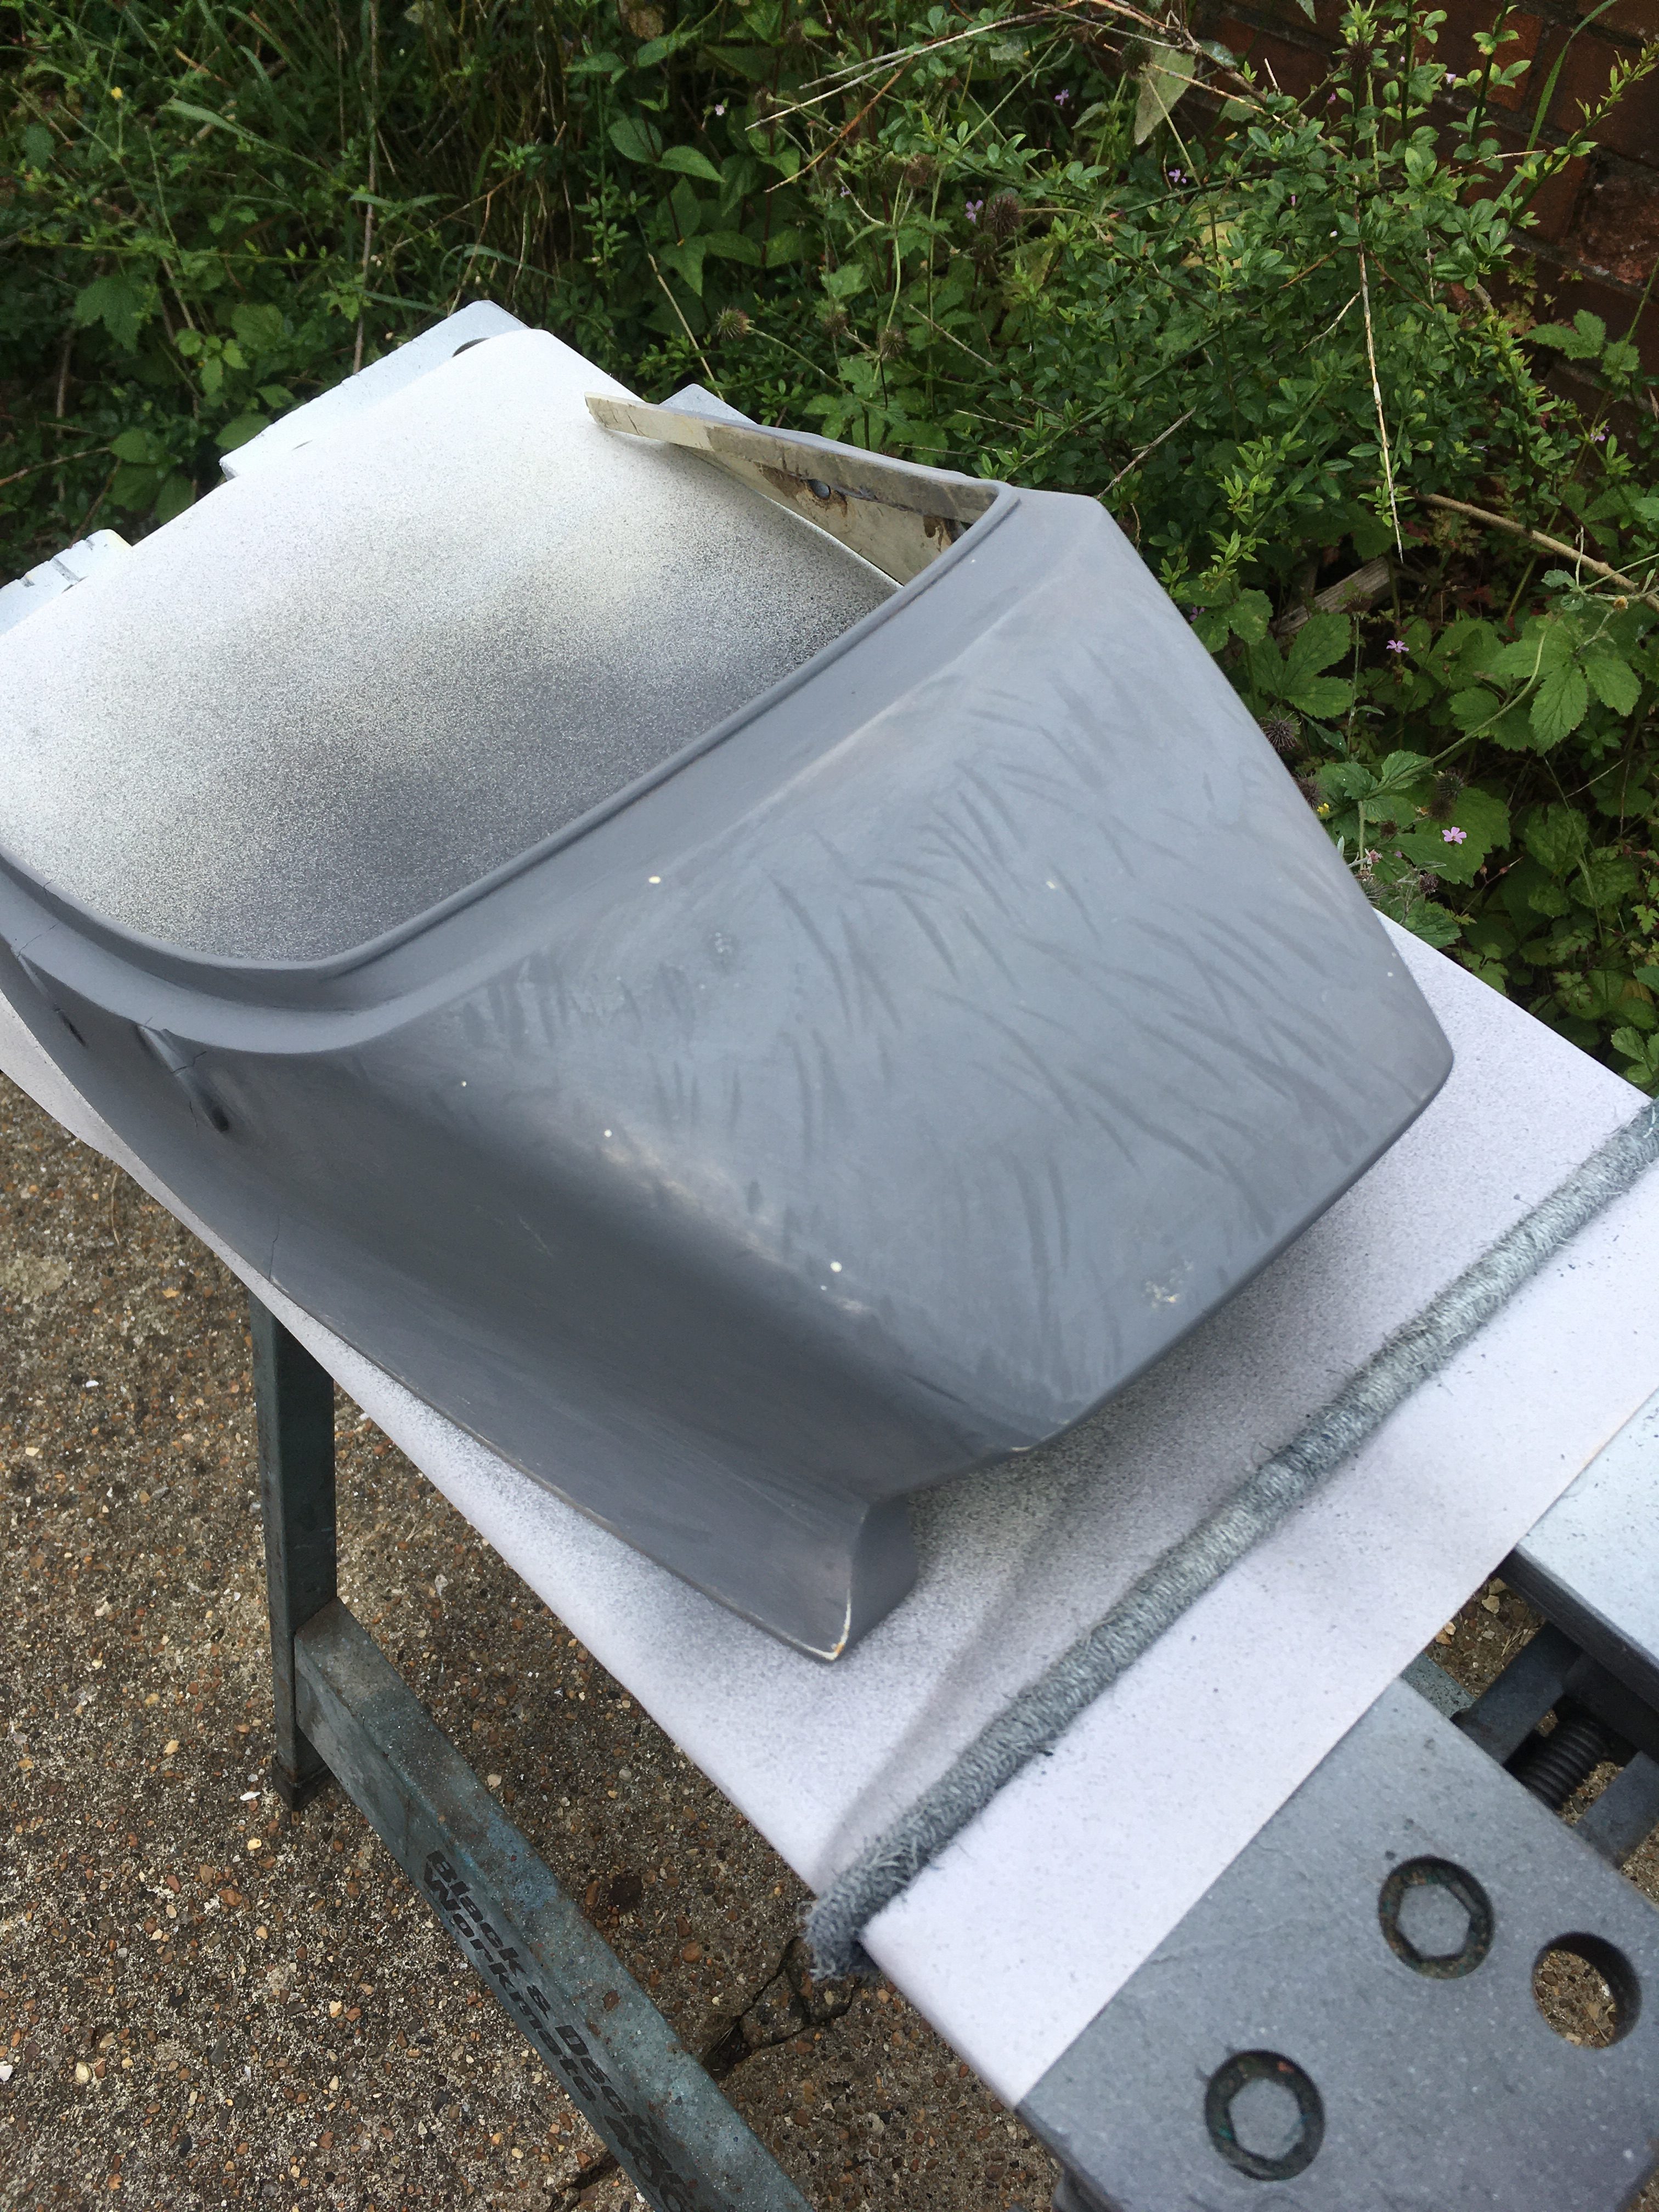
Following the angle grinder method, I resumed the attack armed with copious quantities of 120 grade Wet’n’dry, and an hour later had this.
When regarded from a distance it looks quite pretty, and is in some way representative of the life of a 40 year old LC, with 5 layers of paint still visible.
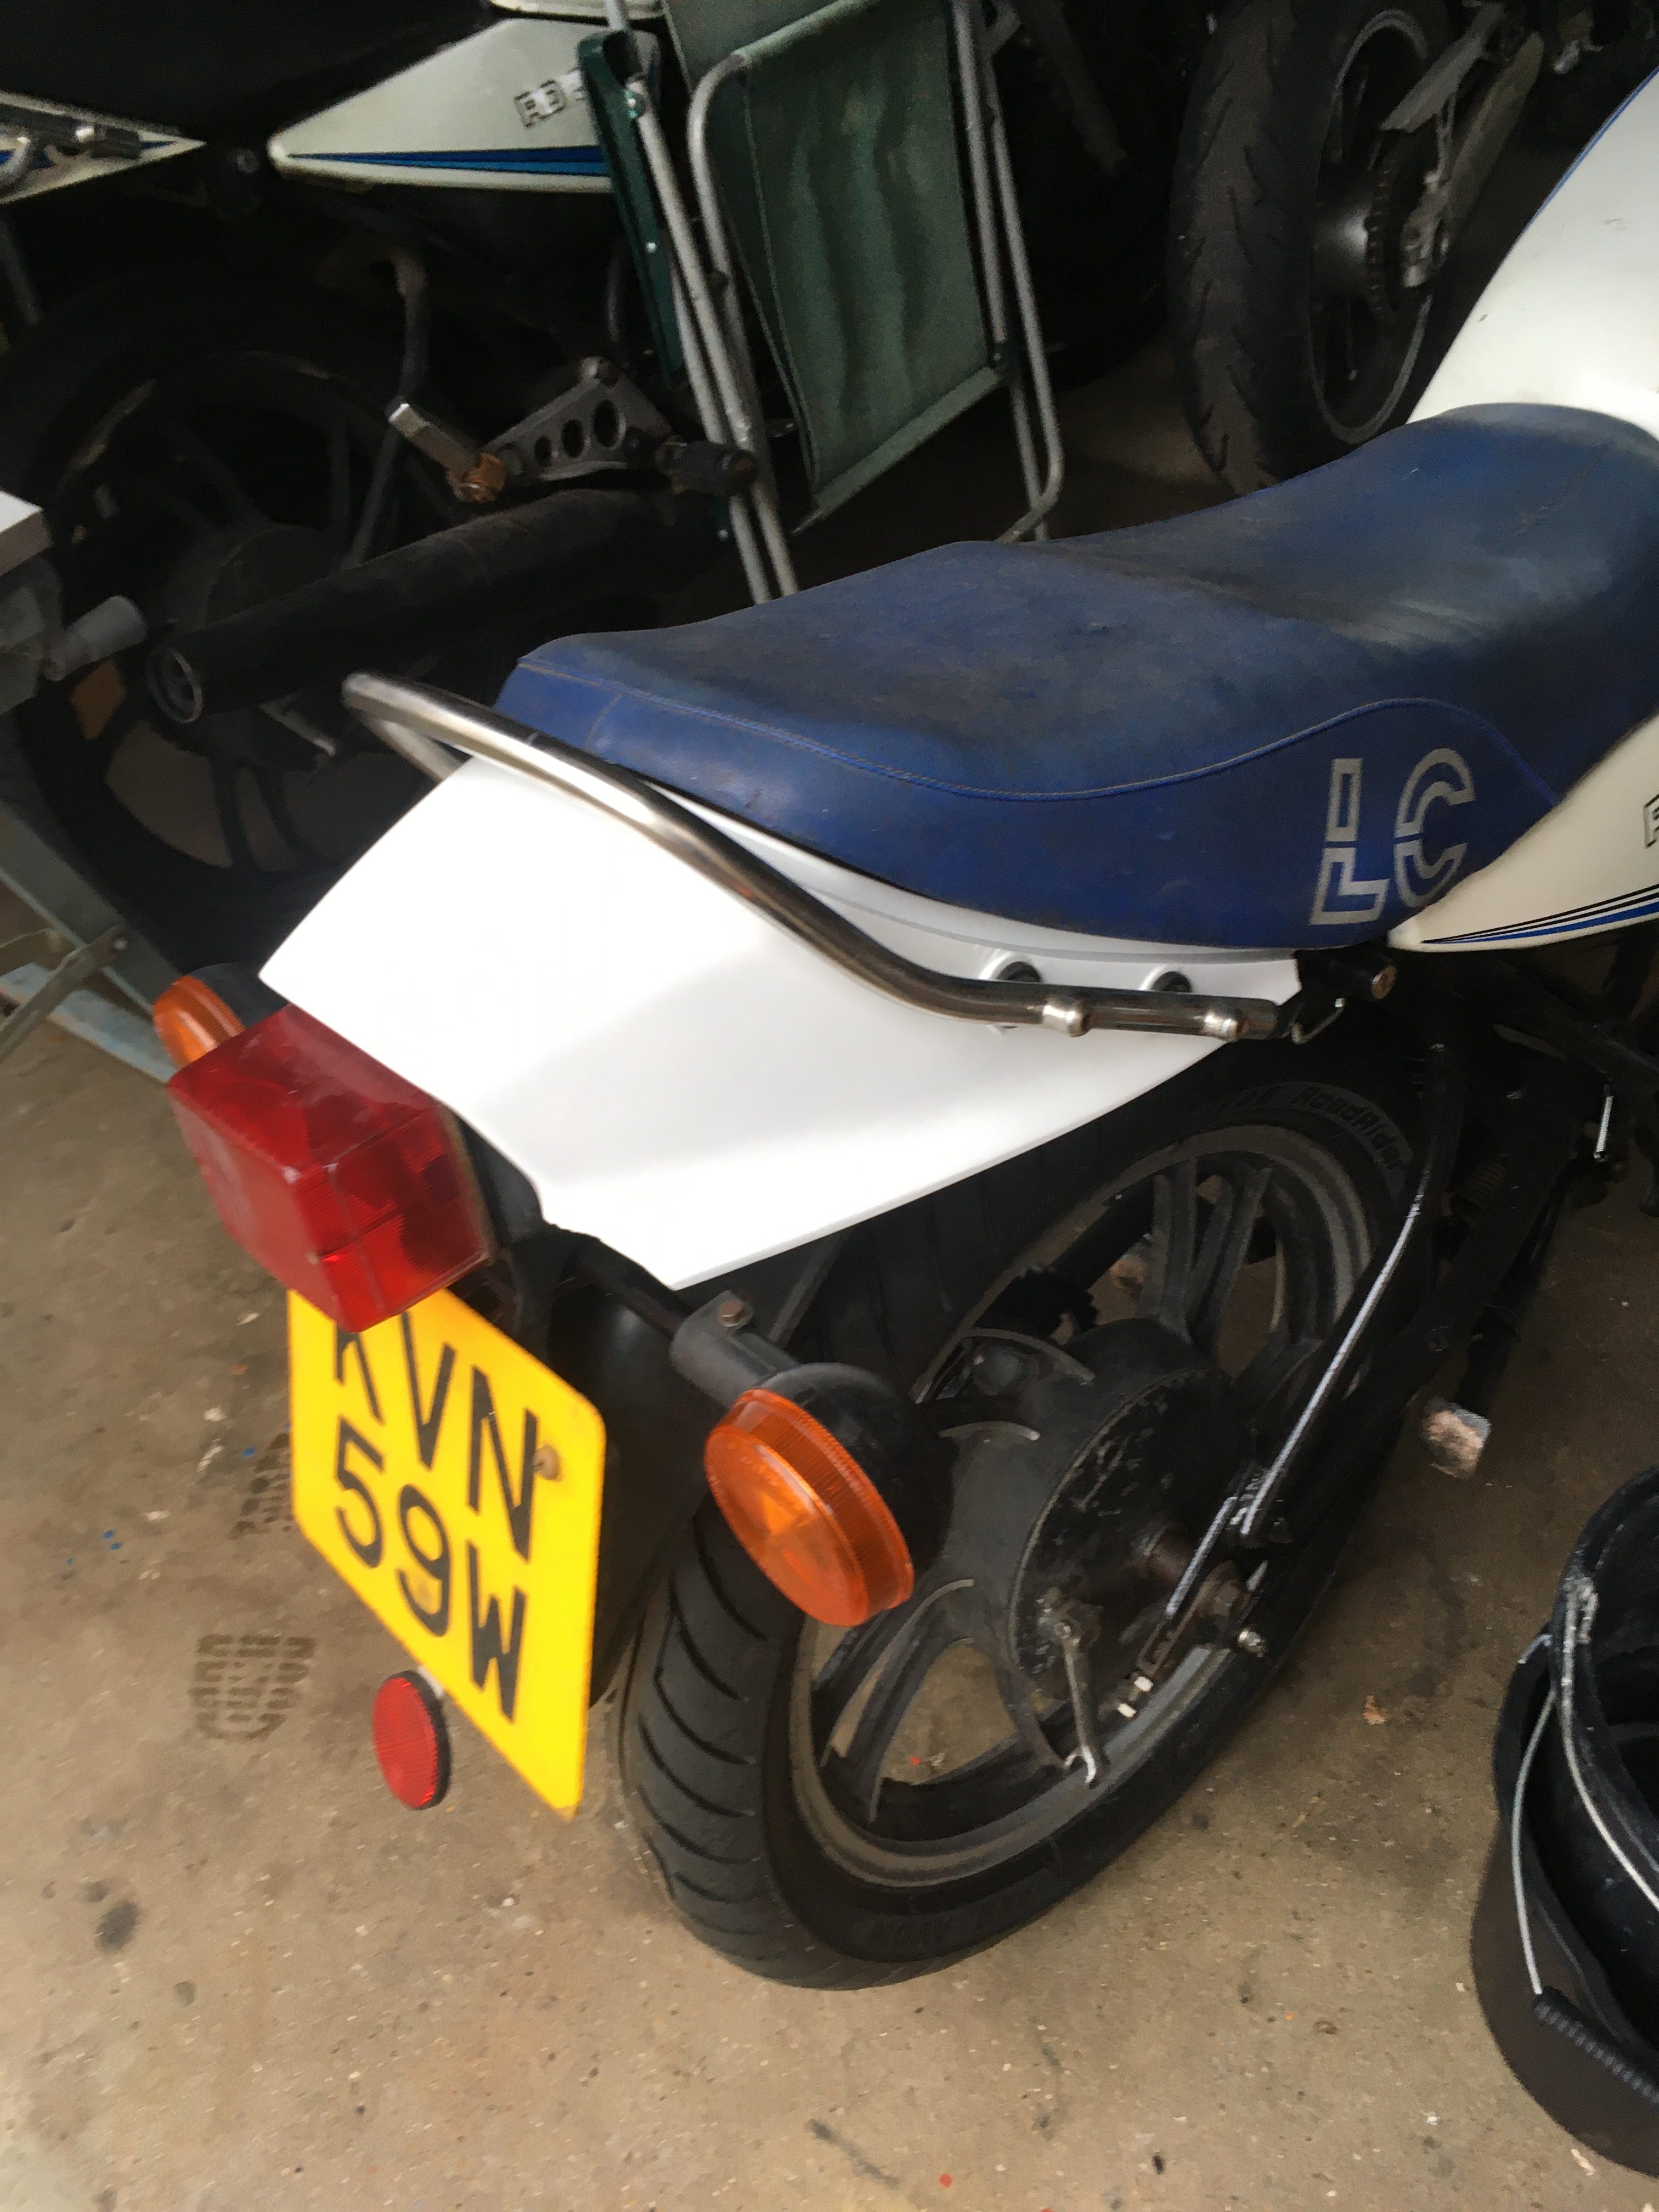
I placed it on the bike and for a brief moment considered just clear lacquering it as is…
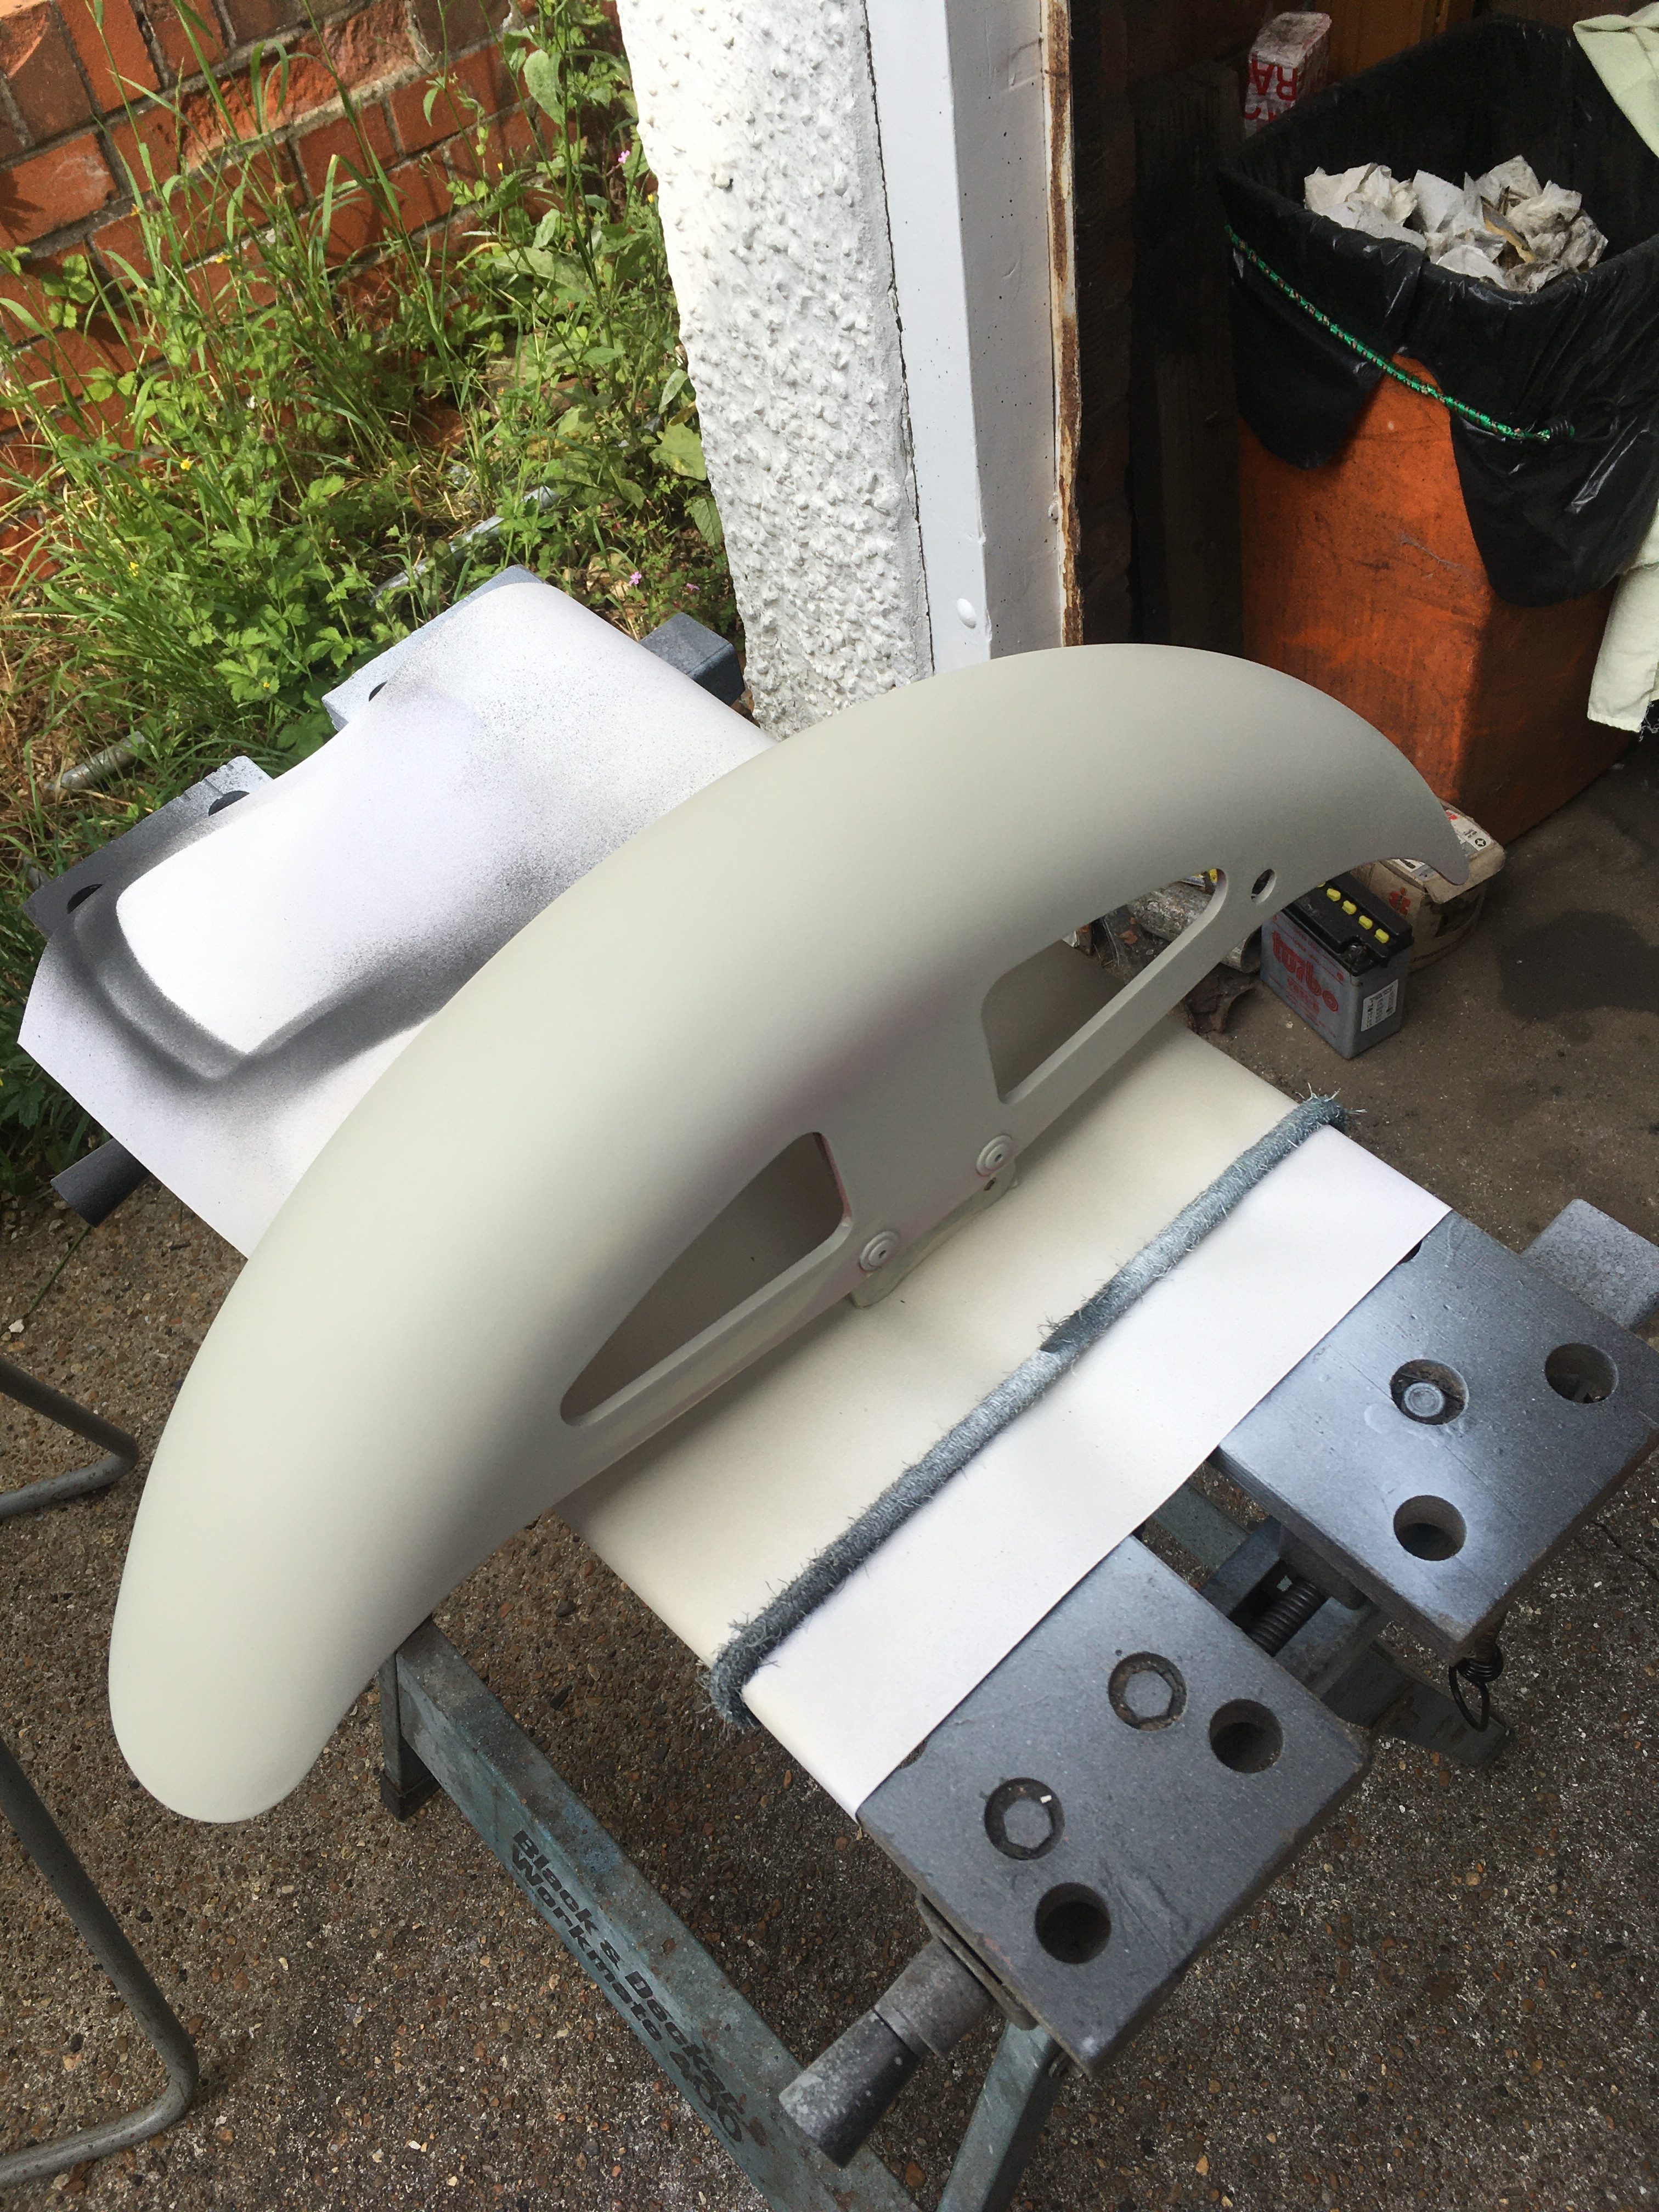
… Then decided to give it a coat of grey primer to see where the major damage is.
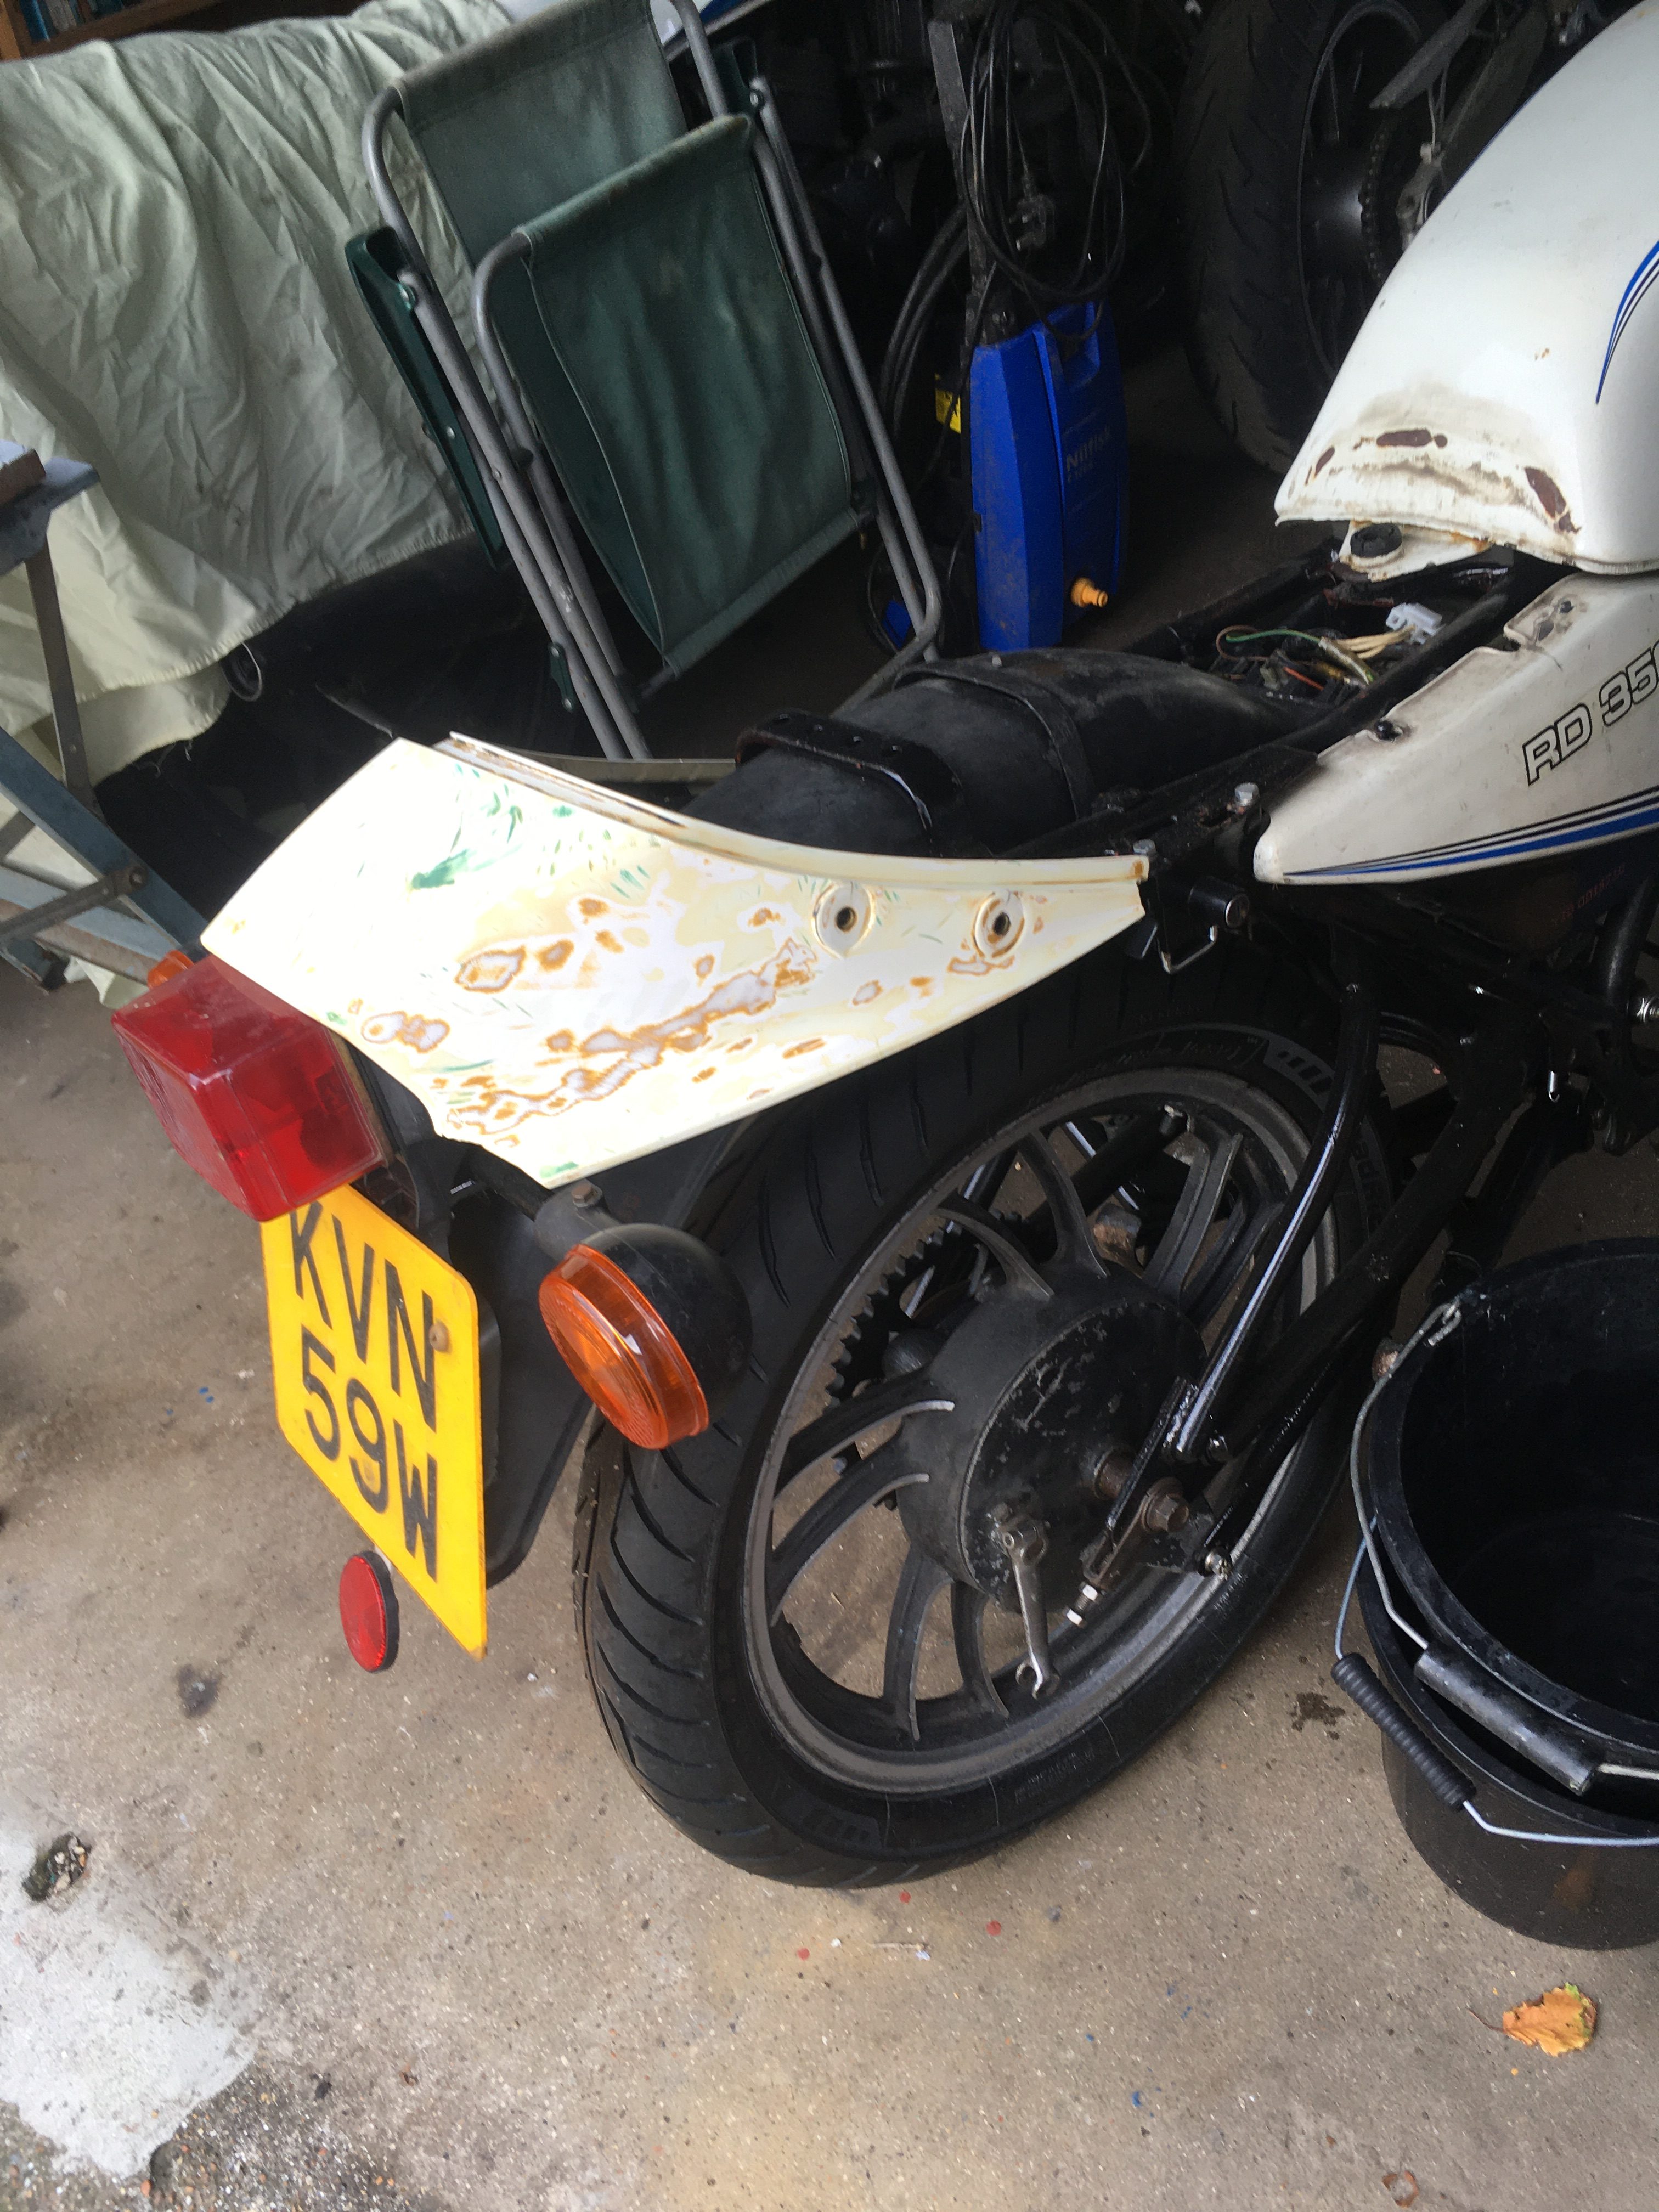
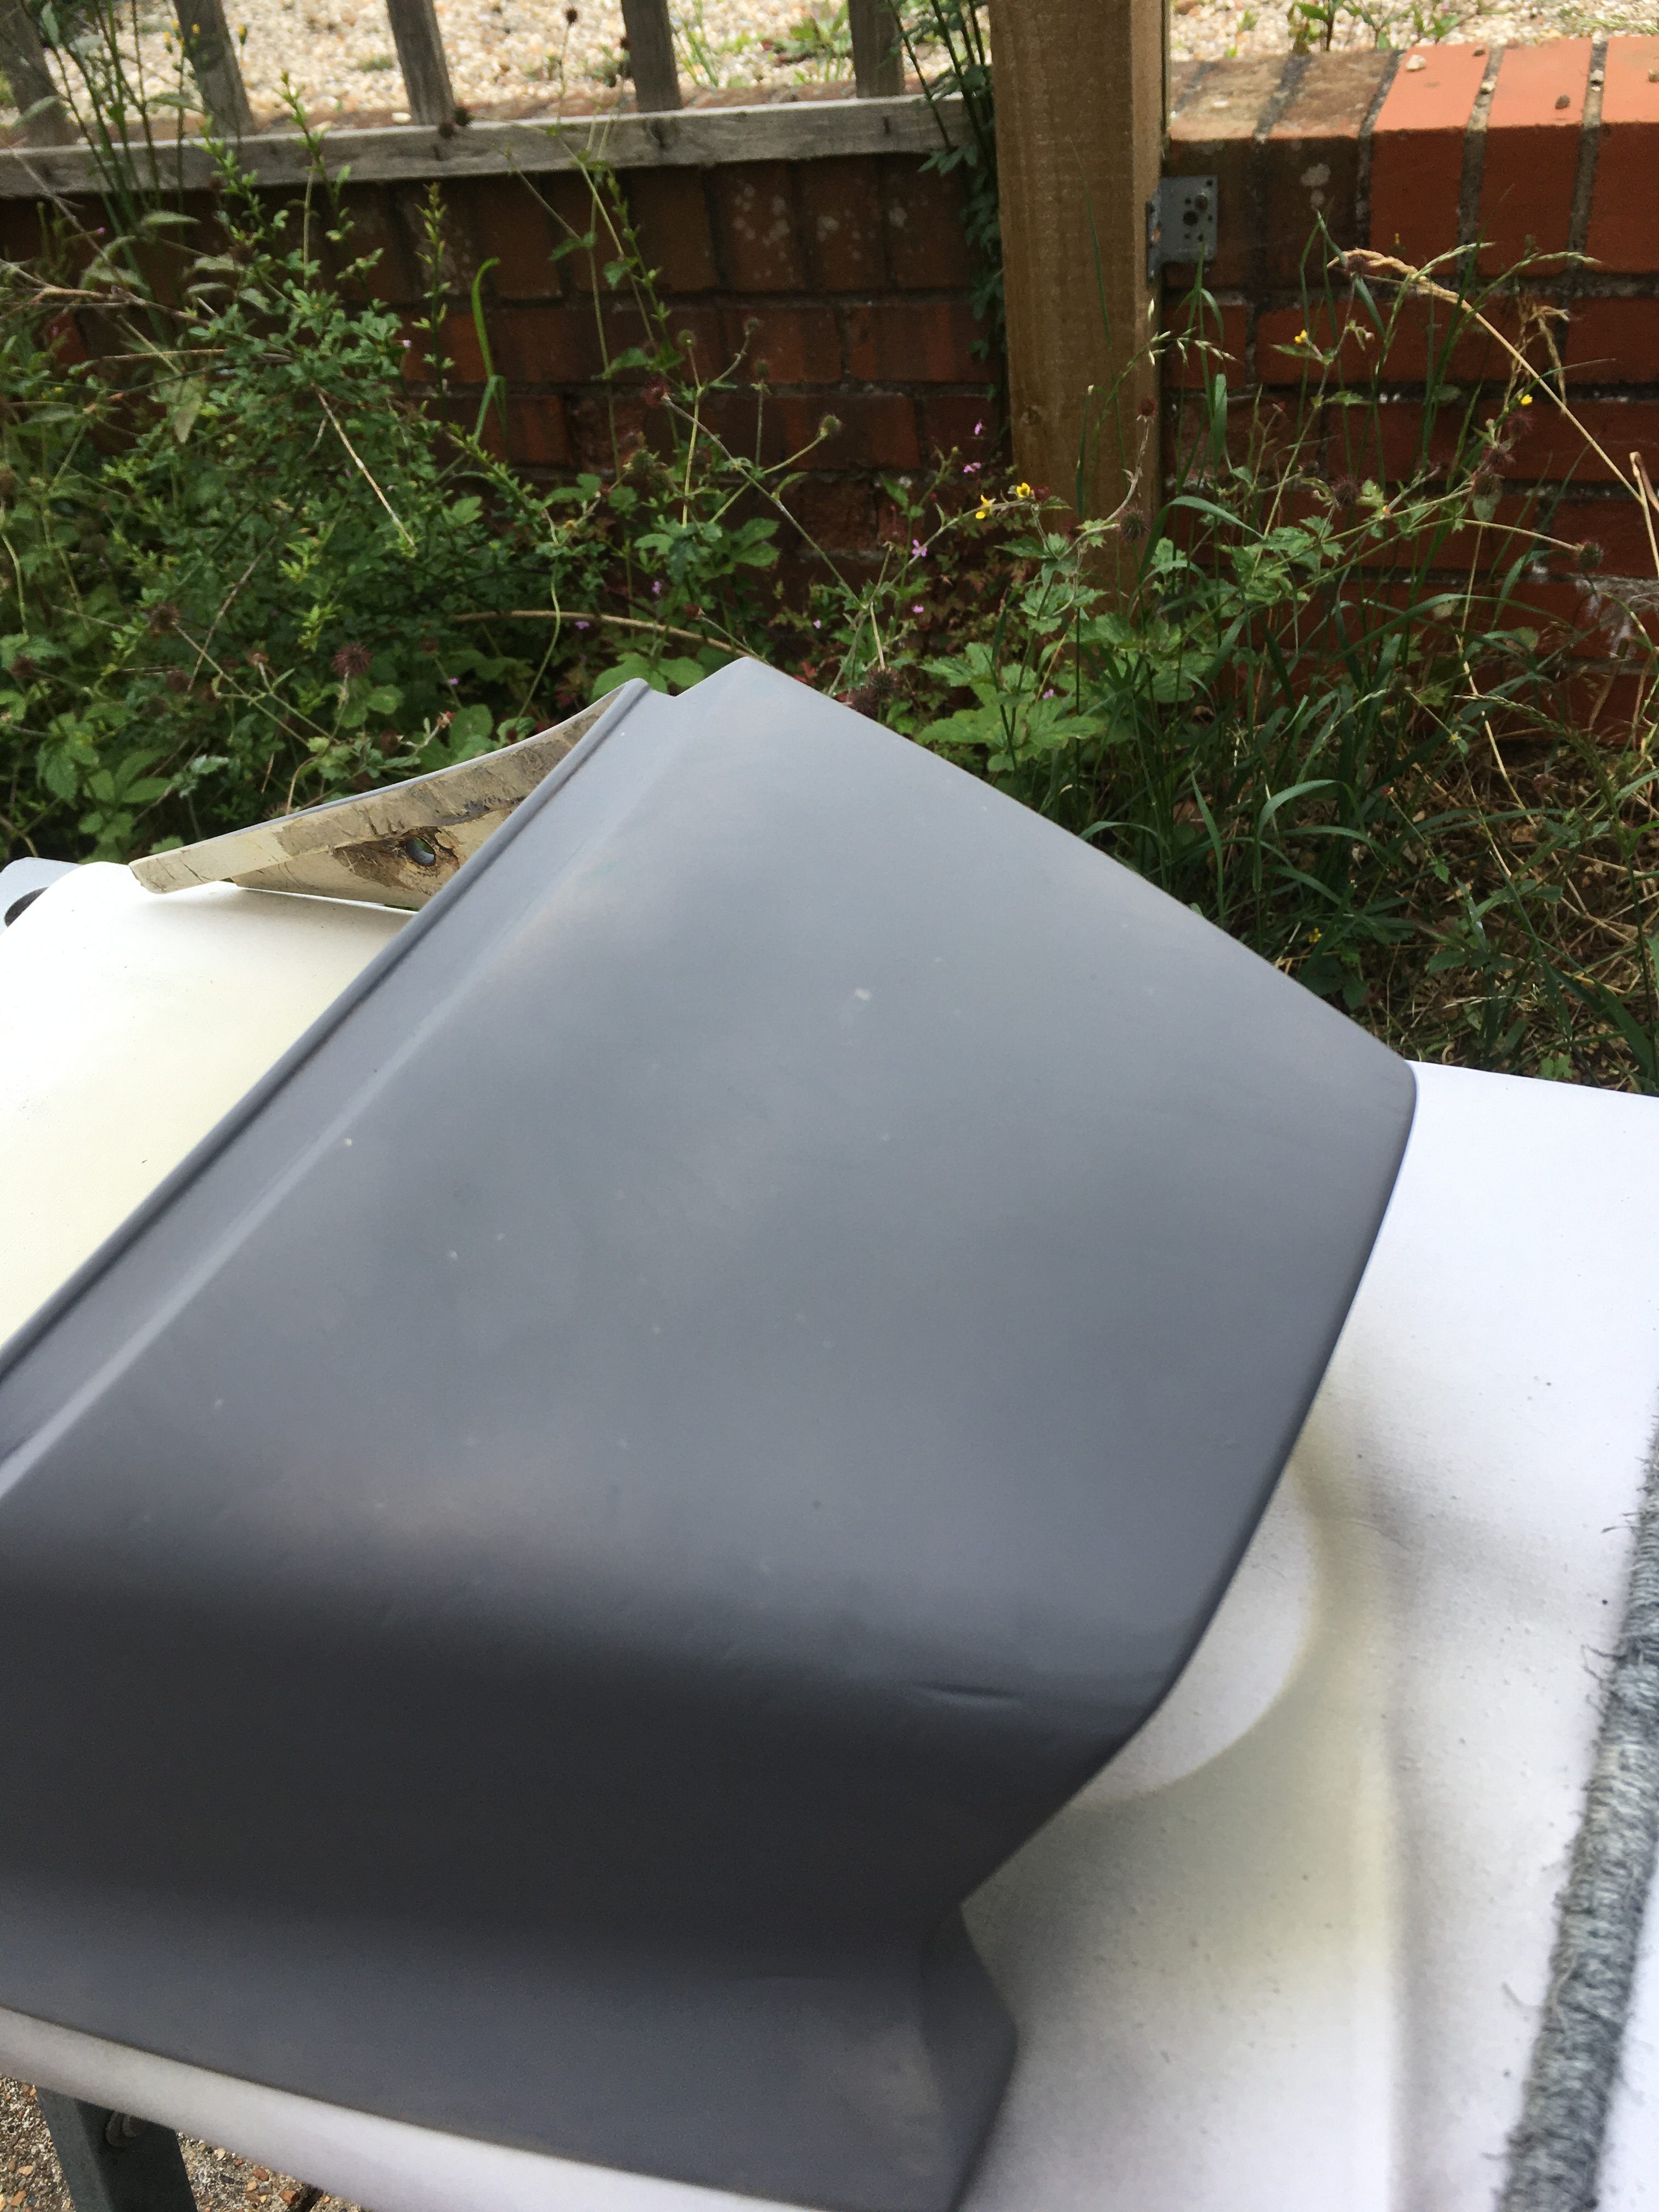
Well, there’s quite a lot.
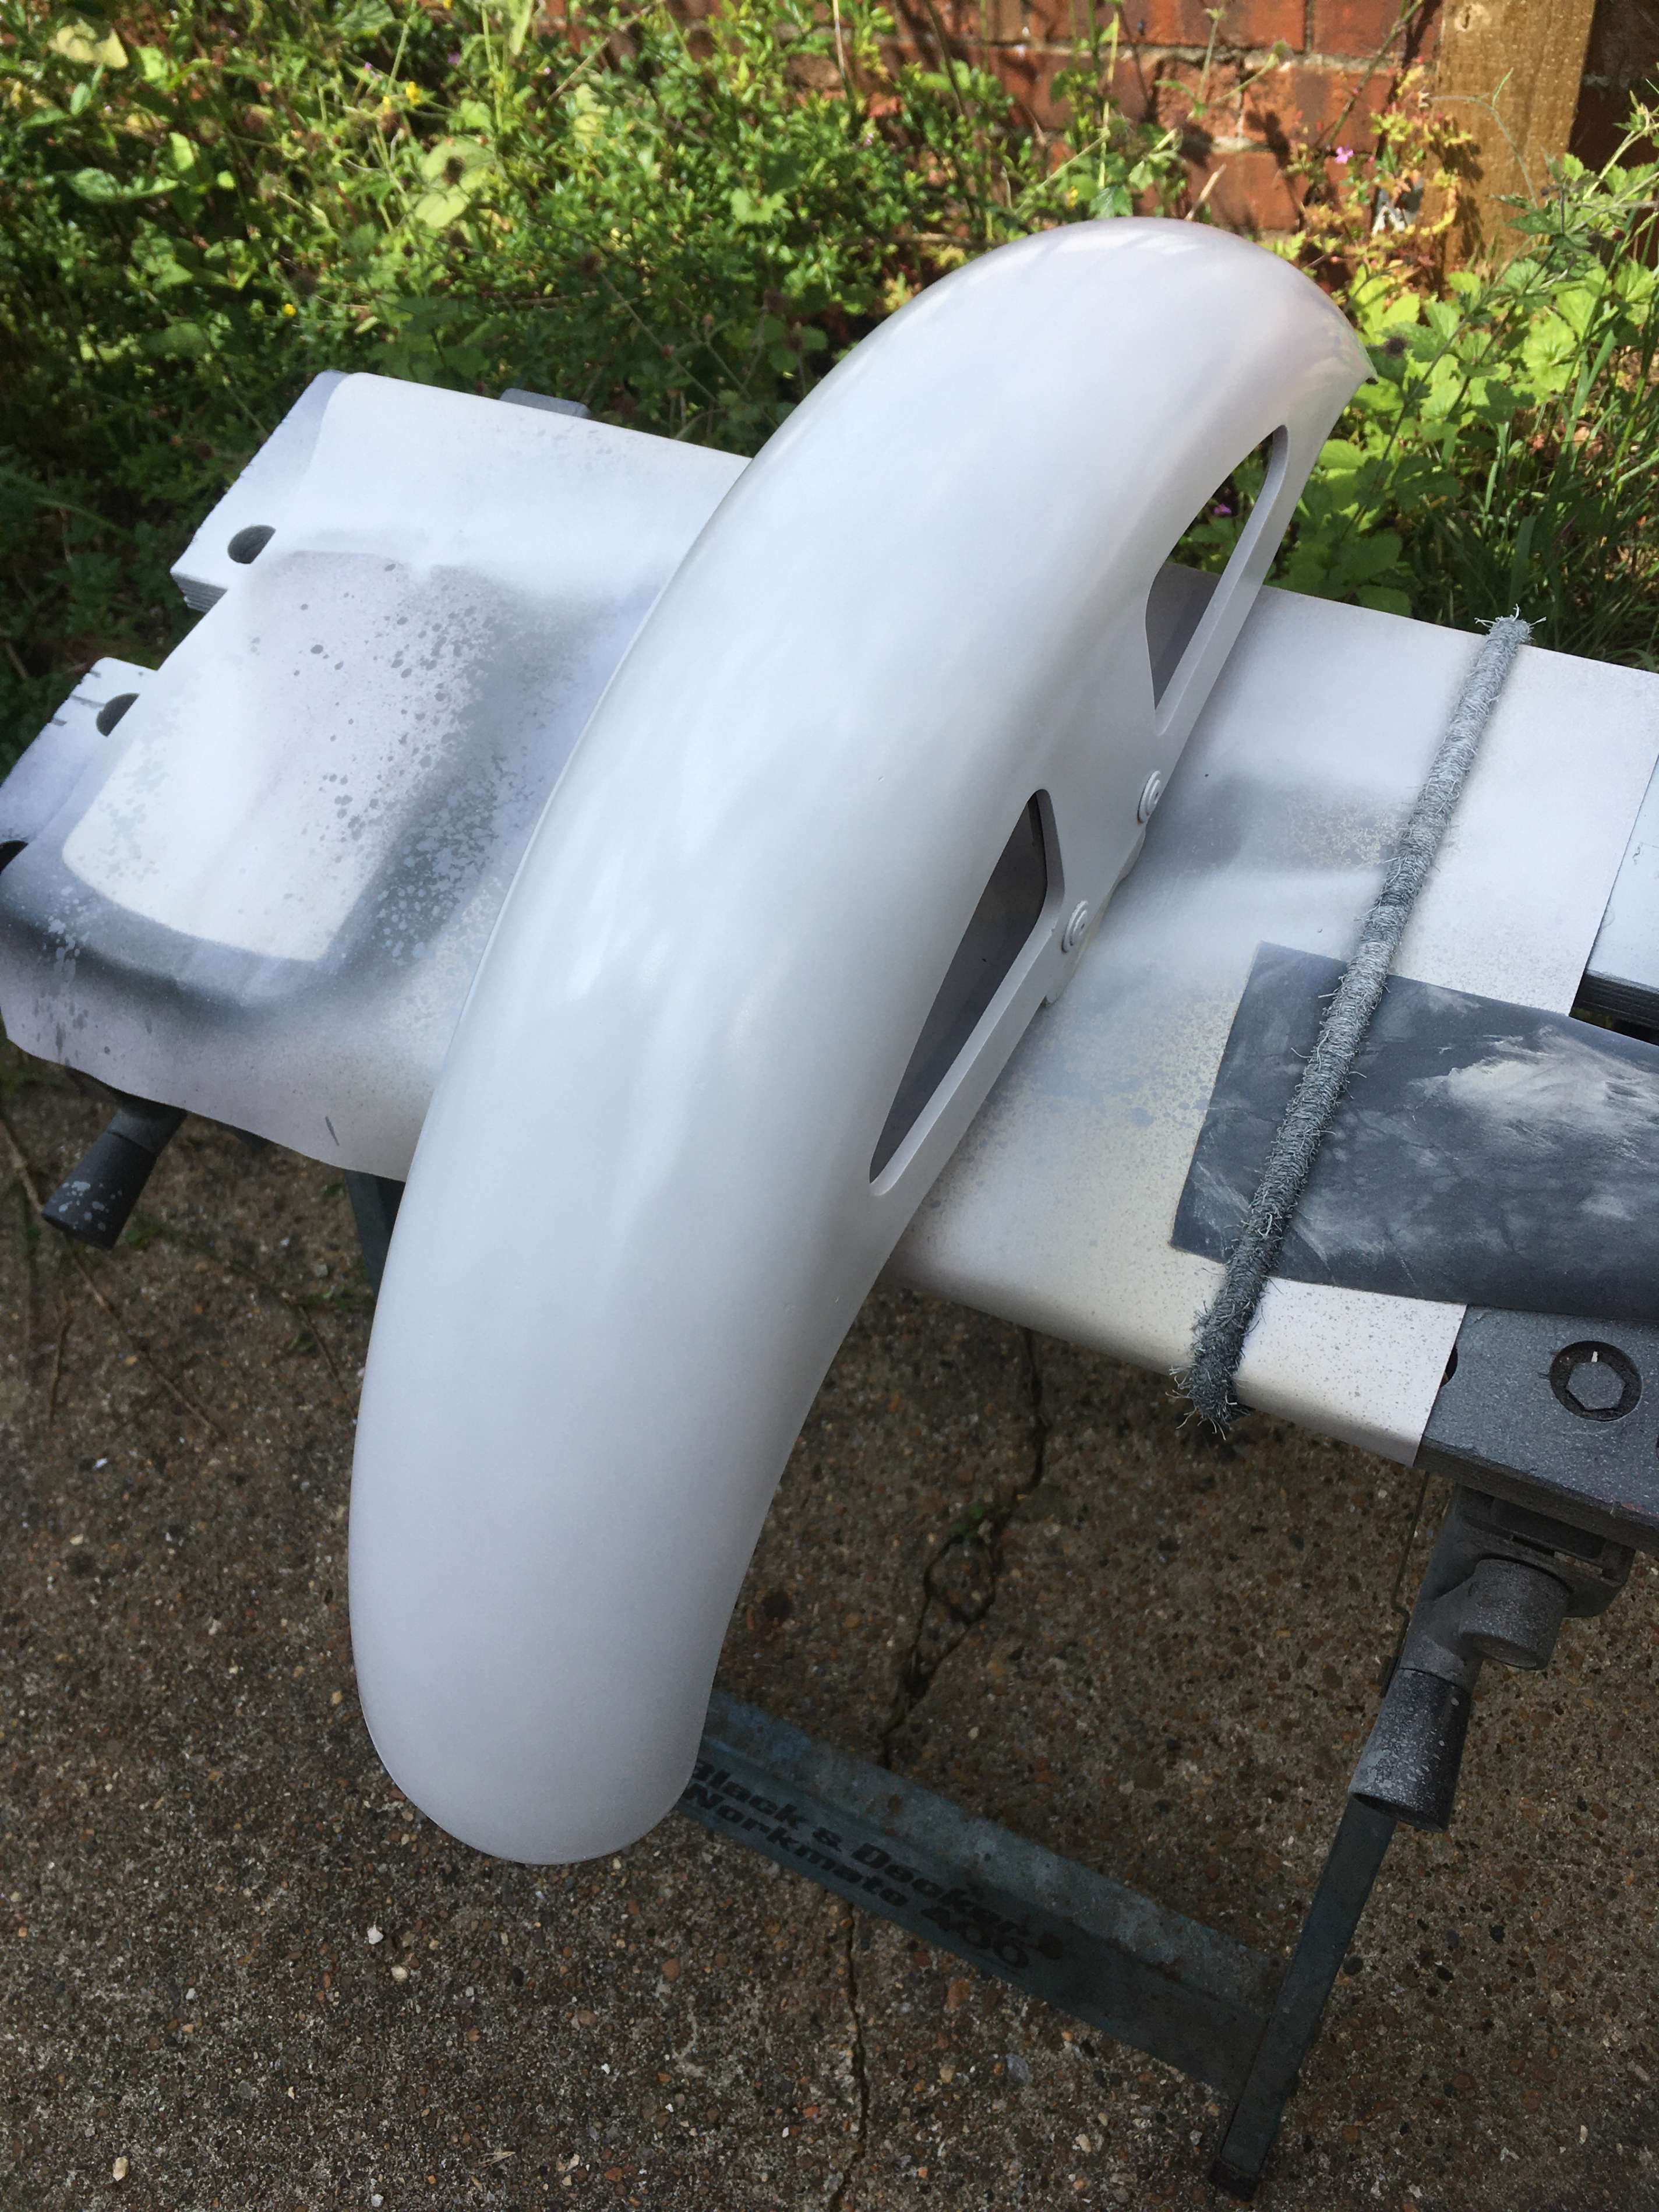
Now I’m into a cycle of spray with filler Primer, or spray putty as it says on this particular can, rub back, and repeat until the blemishes are acceptable.
i’m not sure why I’m persevering with this piece of junk. It’s cracked repaired, cracked again, and now I’ve put deep gouges in it!
I think I’m just exploring the art of the possible at this point, and lauding the magical properties of filler primer.
Besides, there’s not much else to do while I’m waiting for the new crank to arrive.
rubbed back 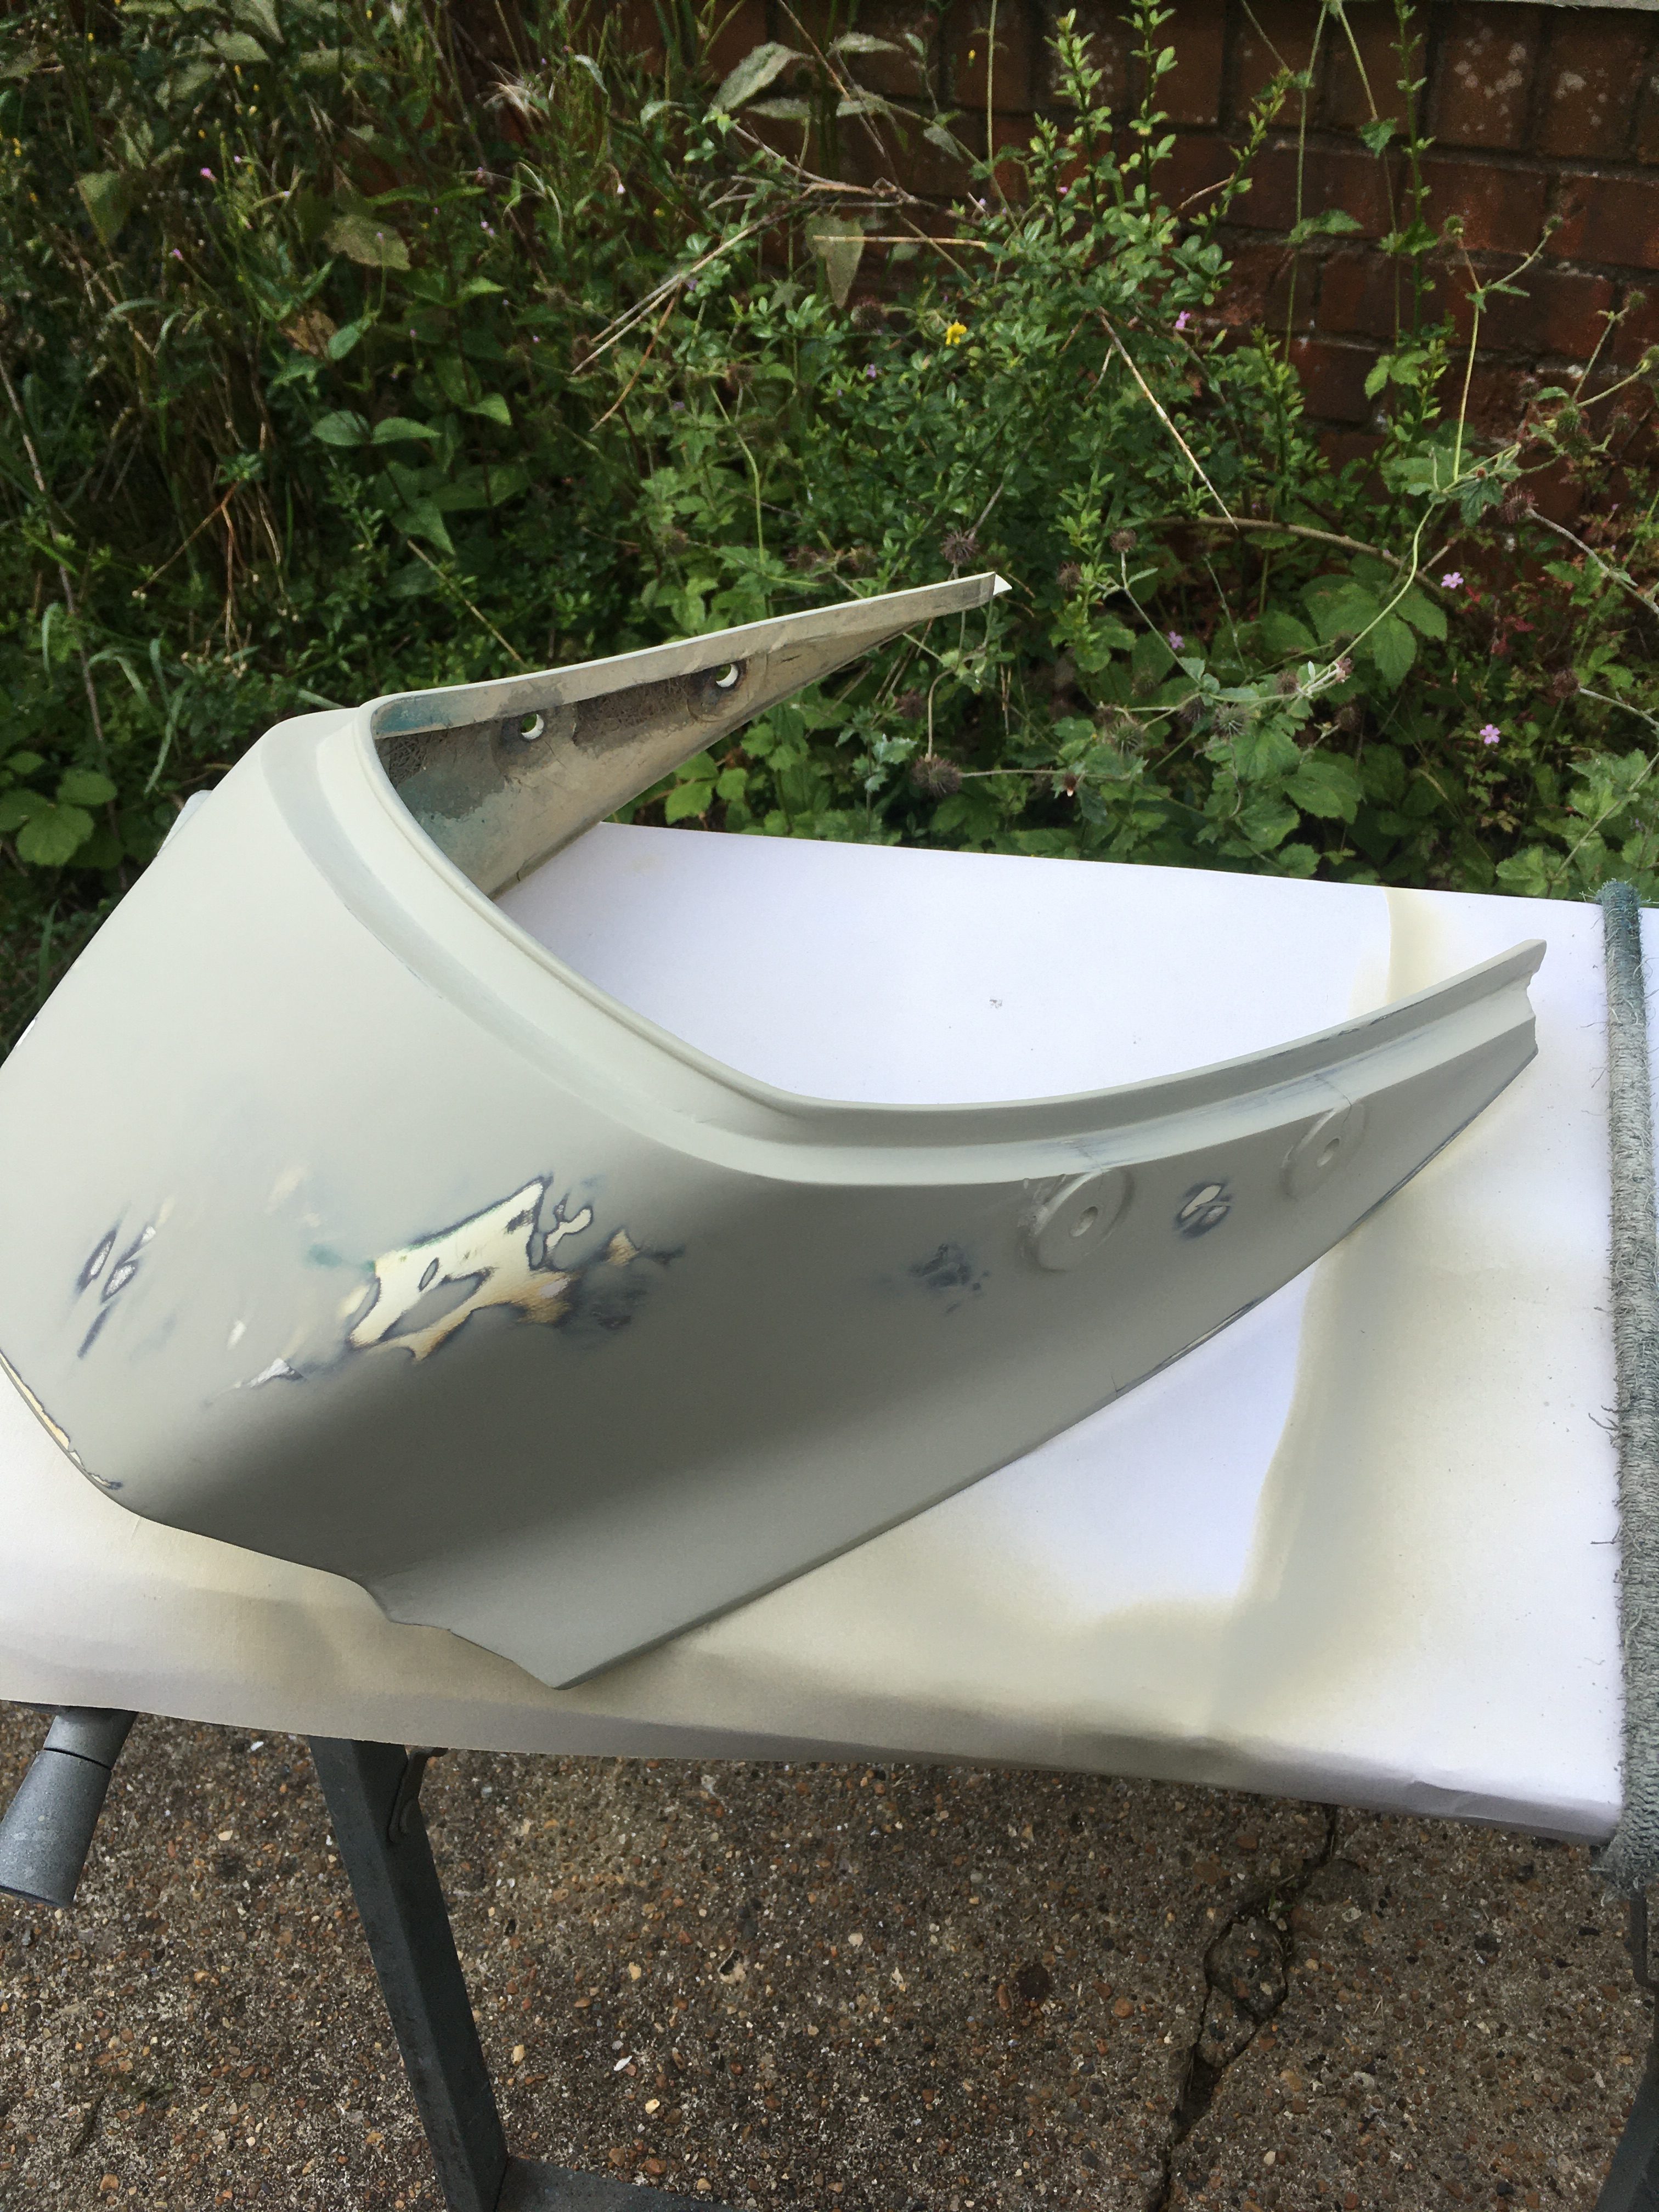
…and repeat 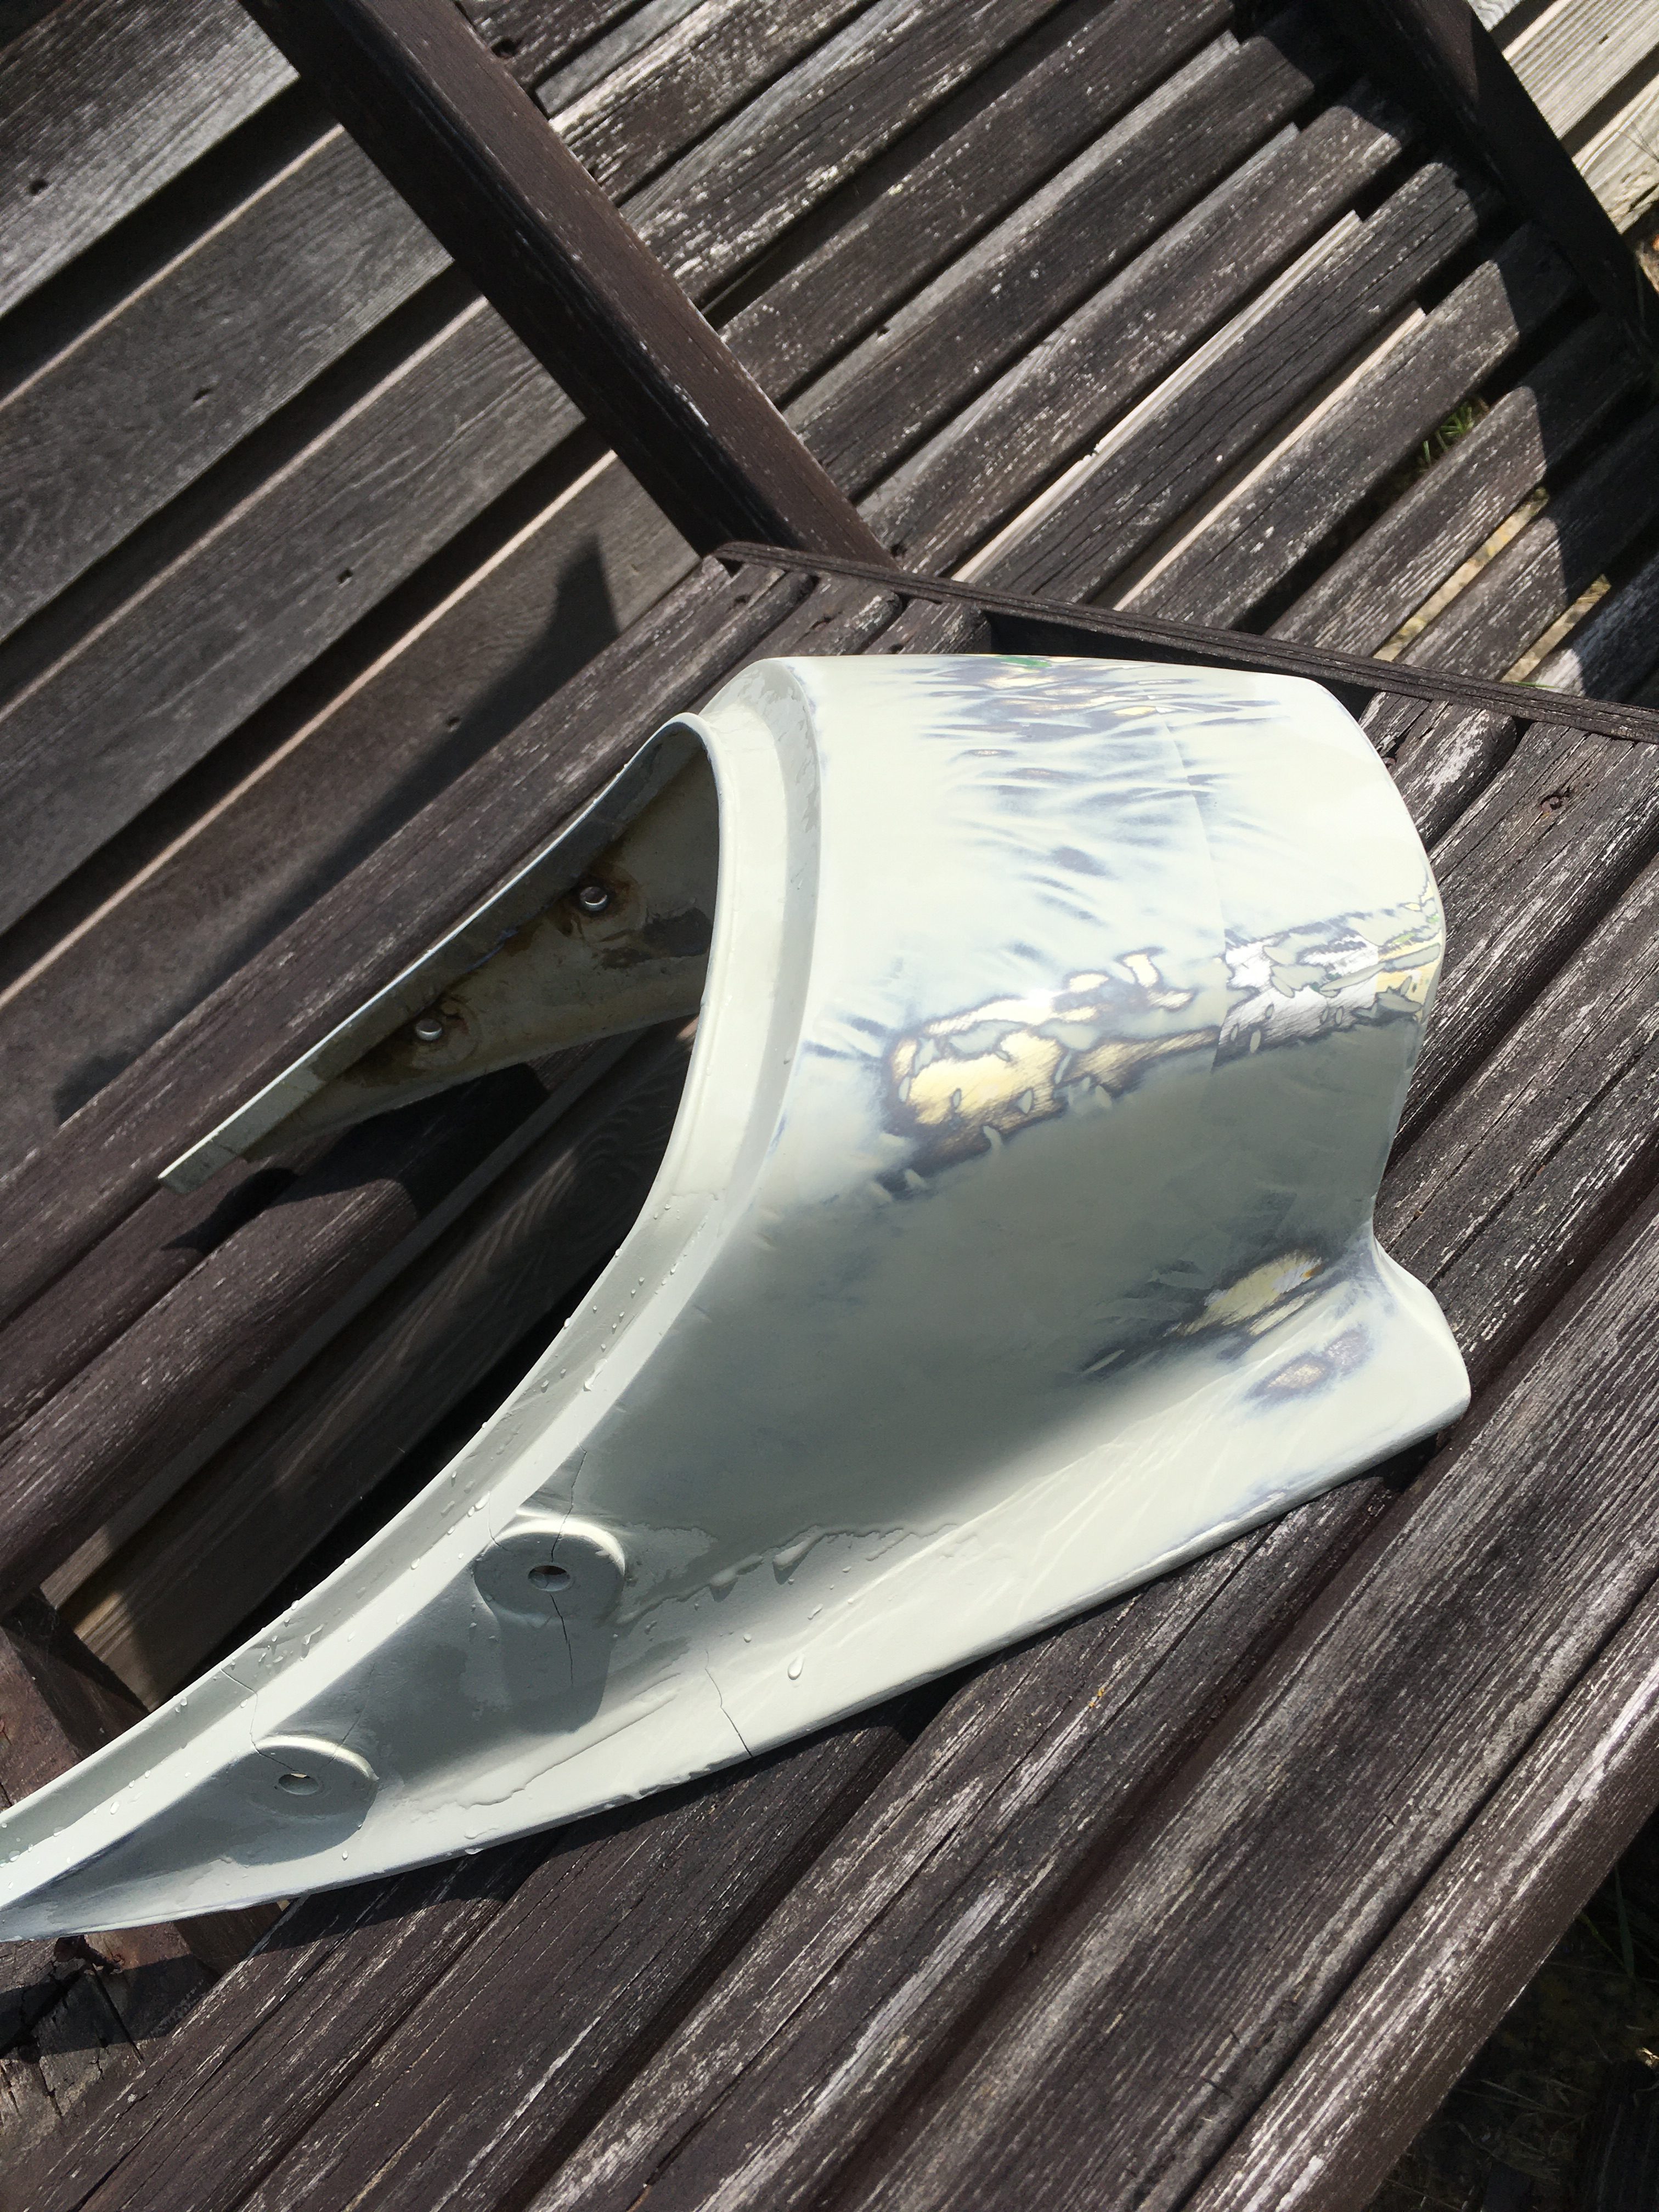
rubbed back 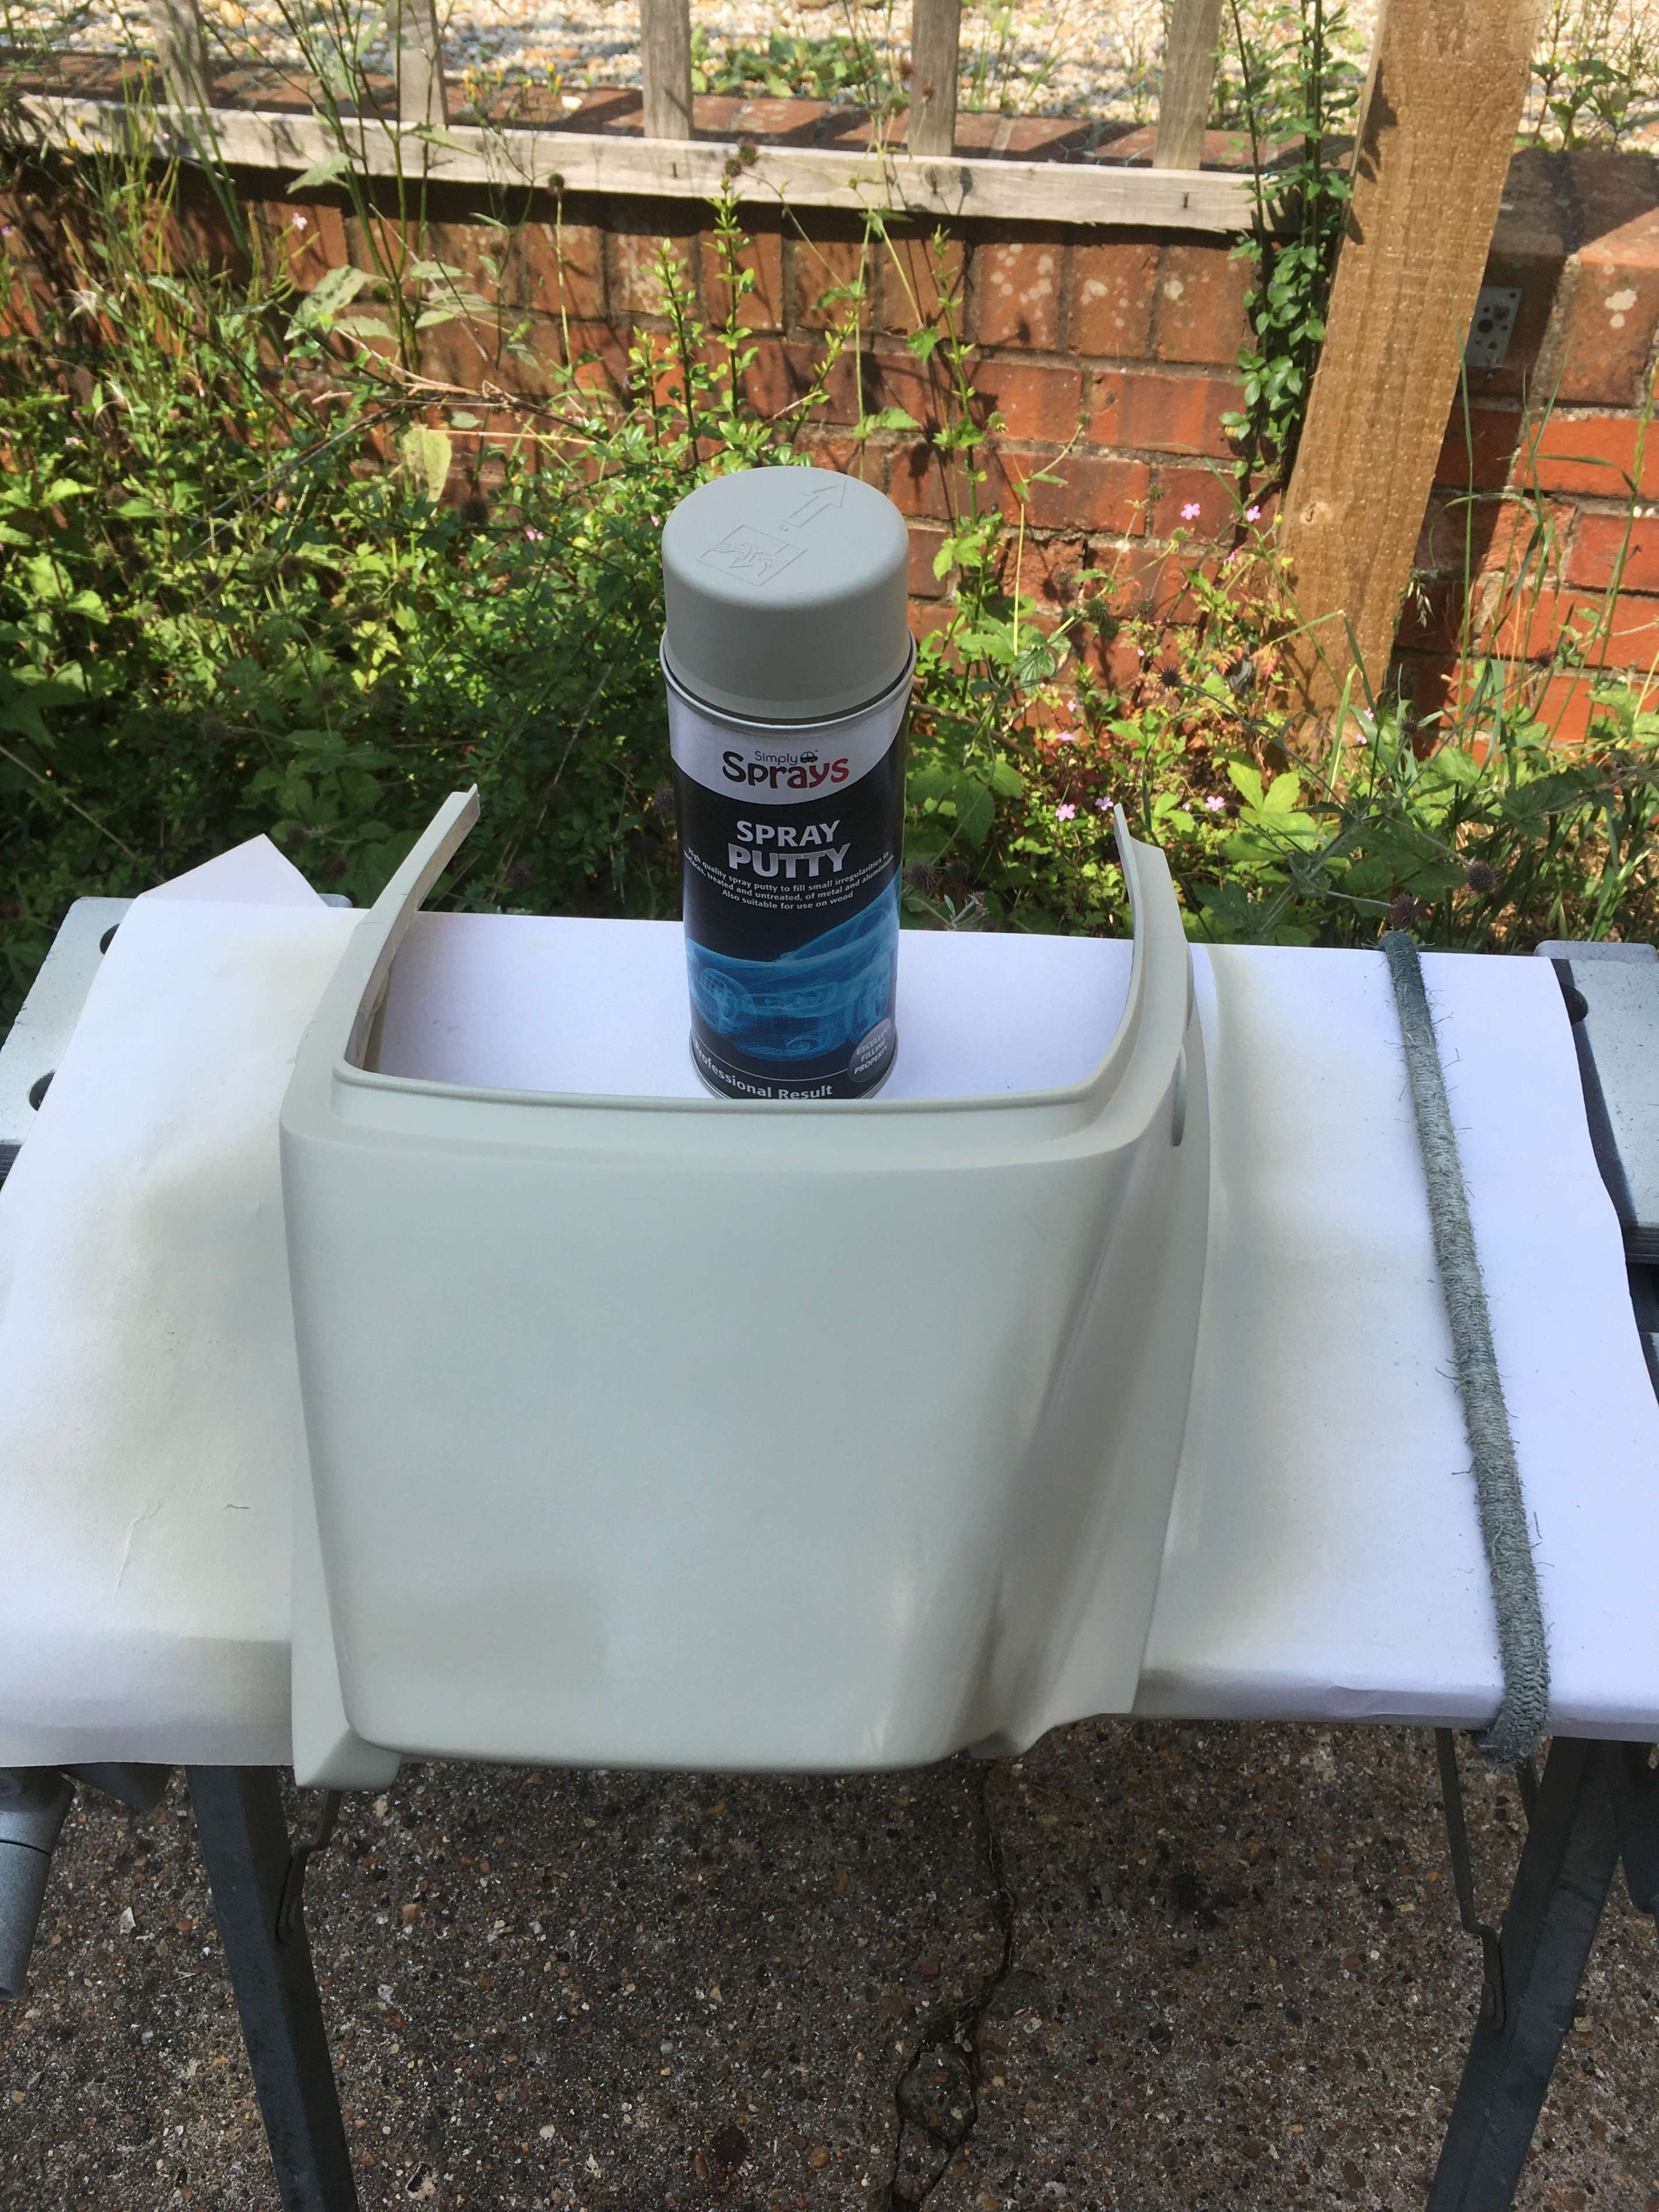
more filler 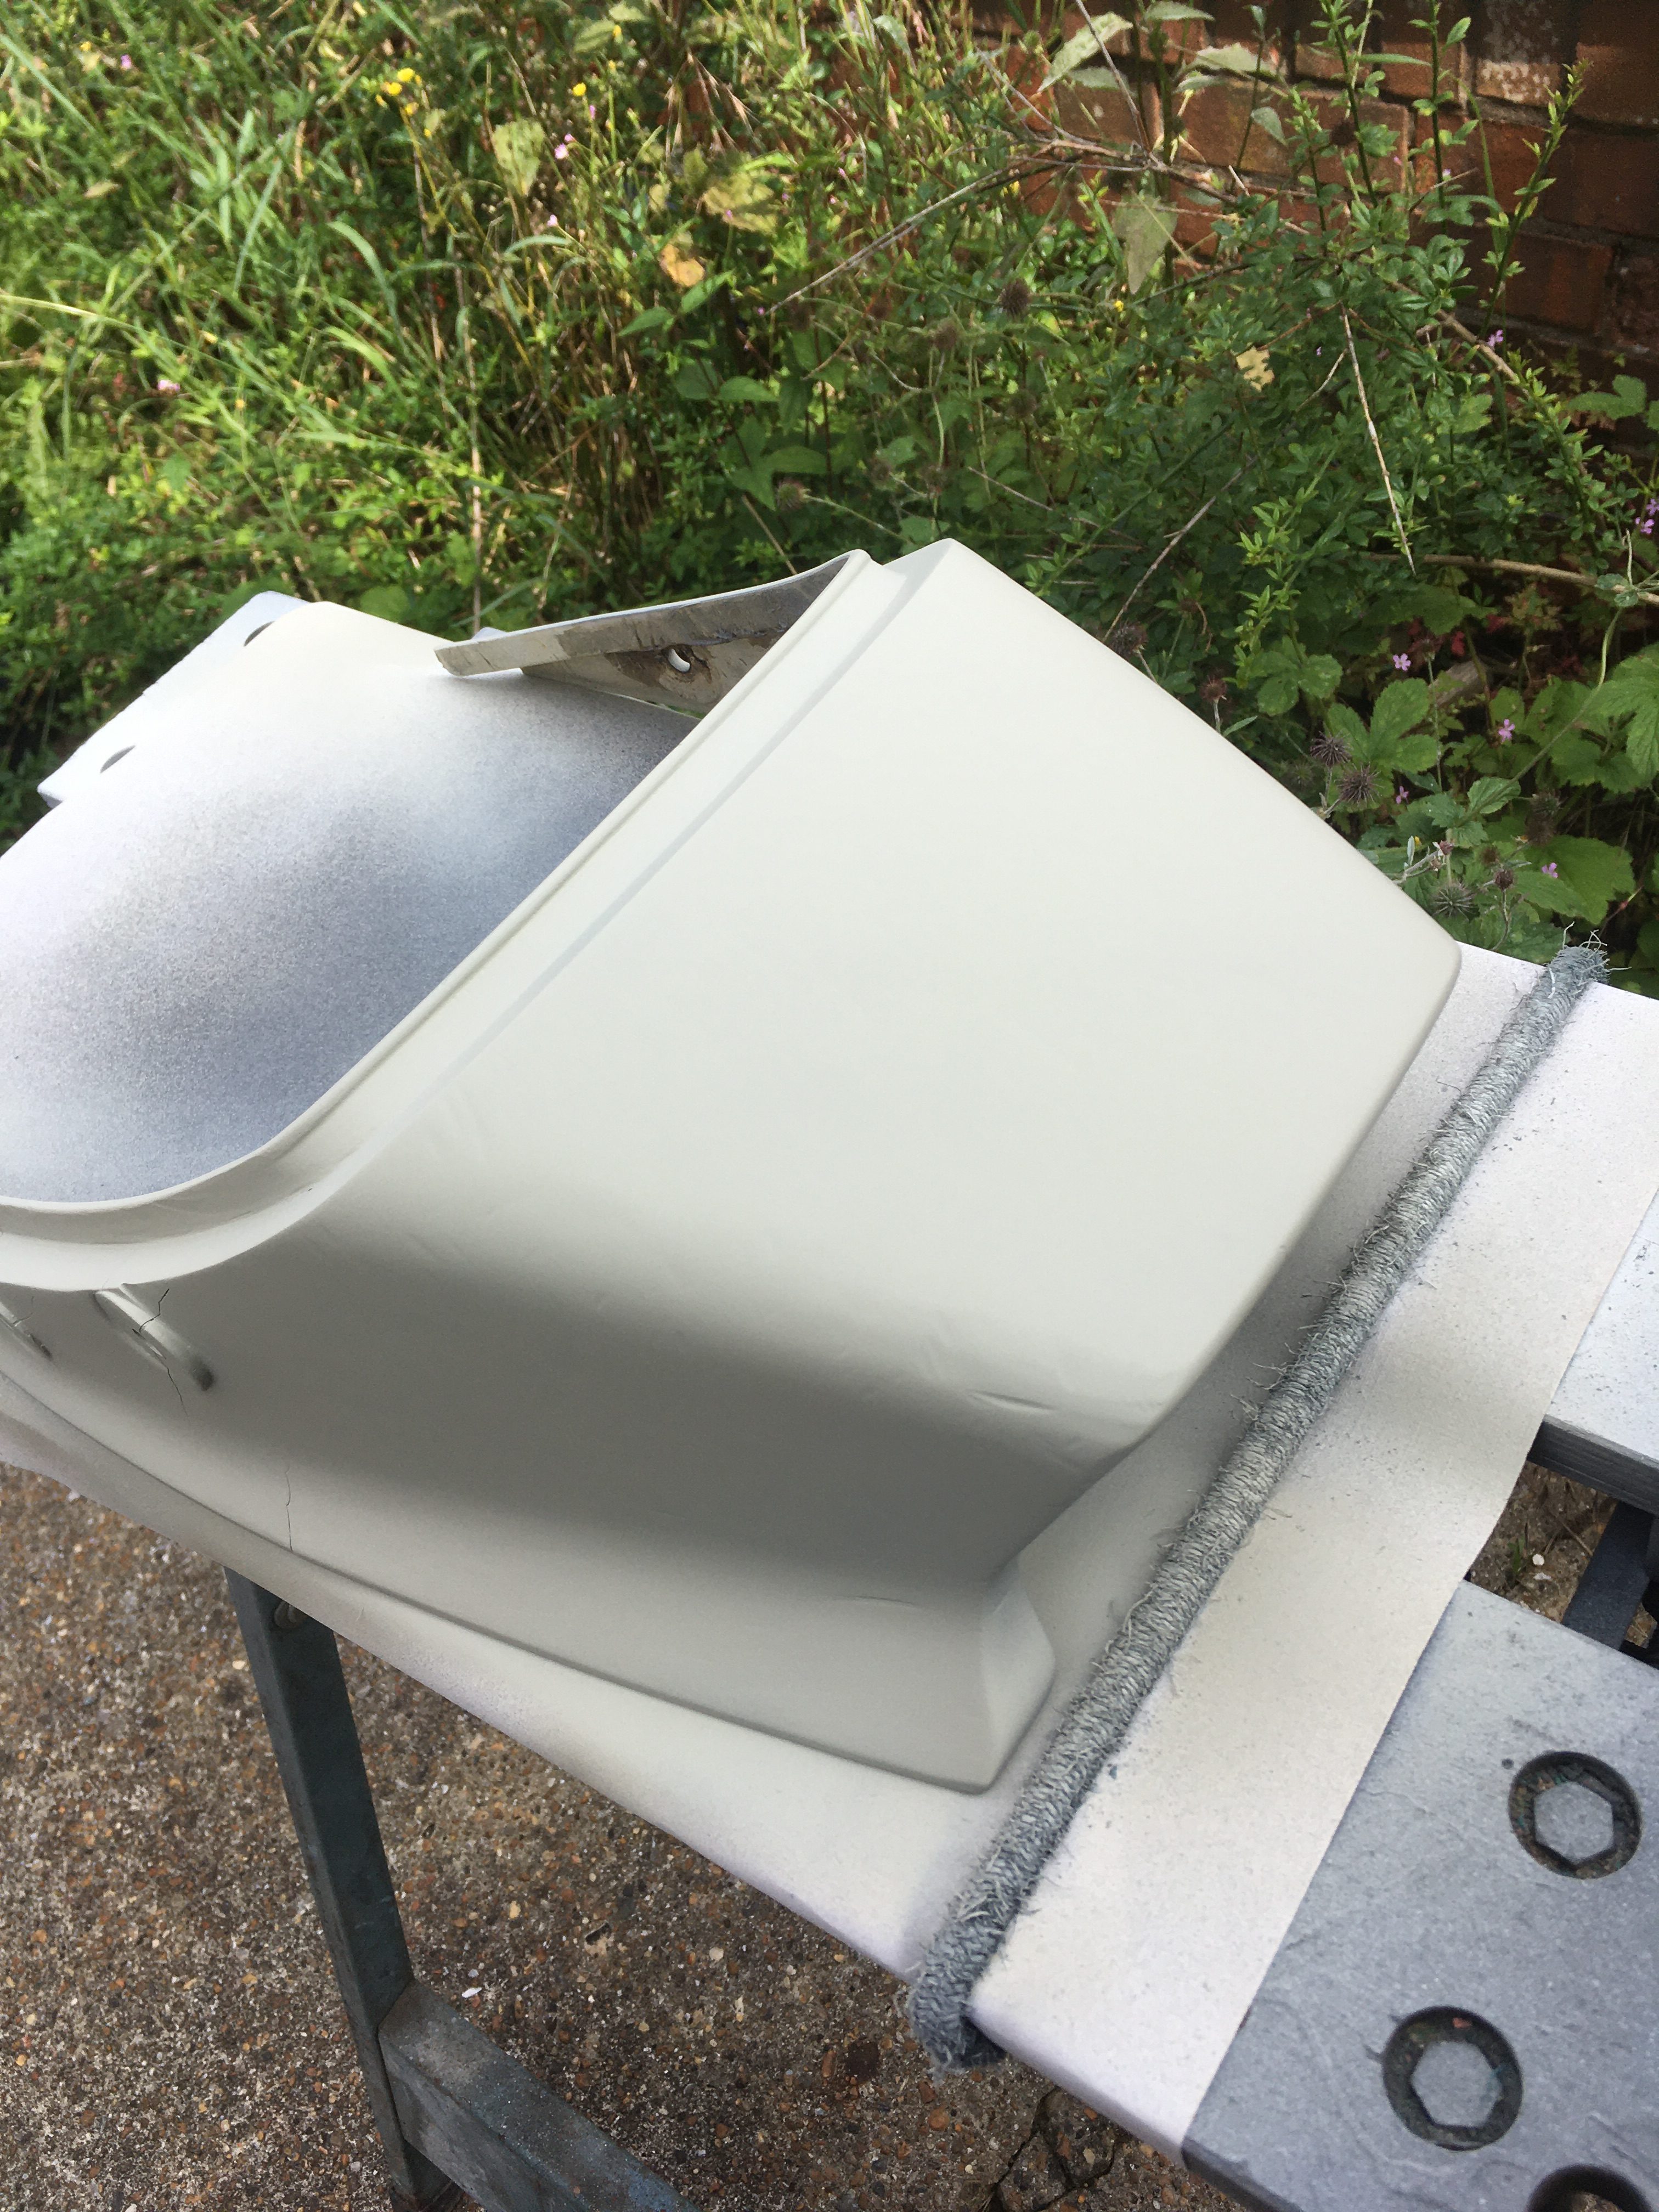

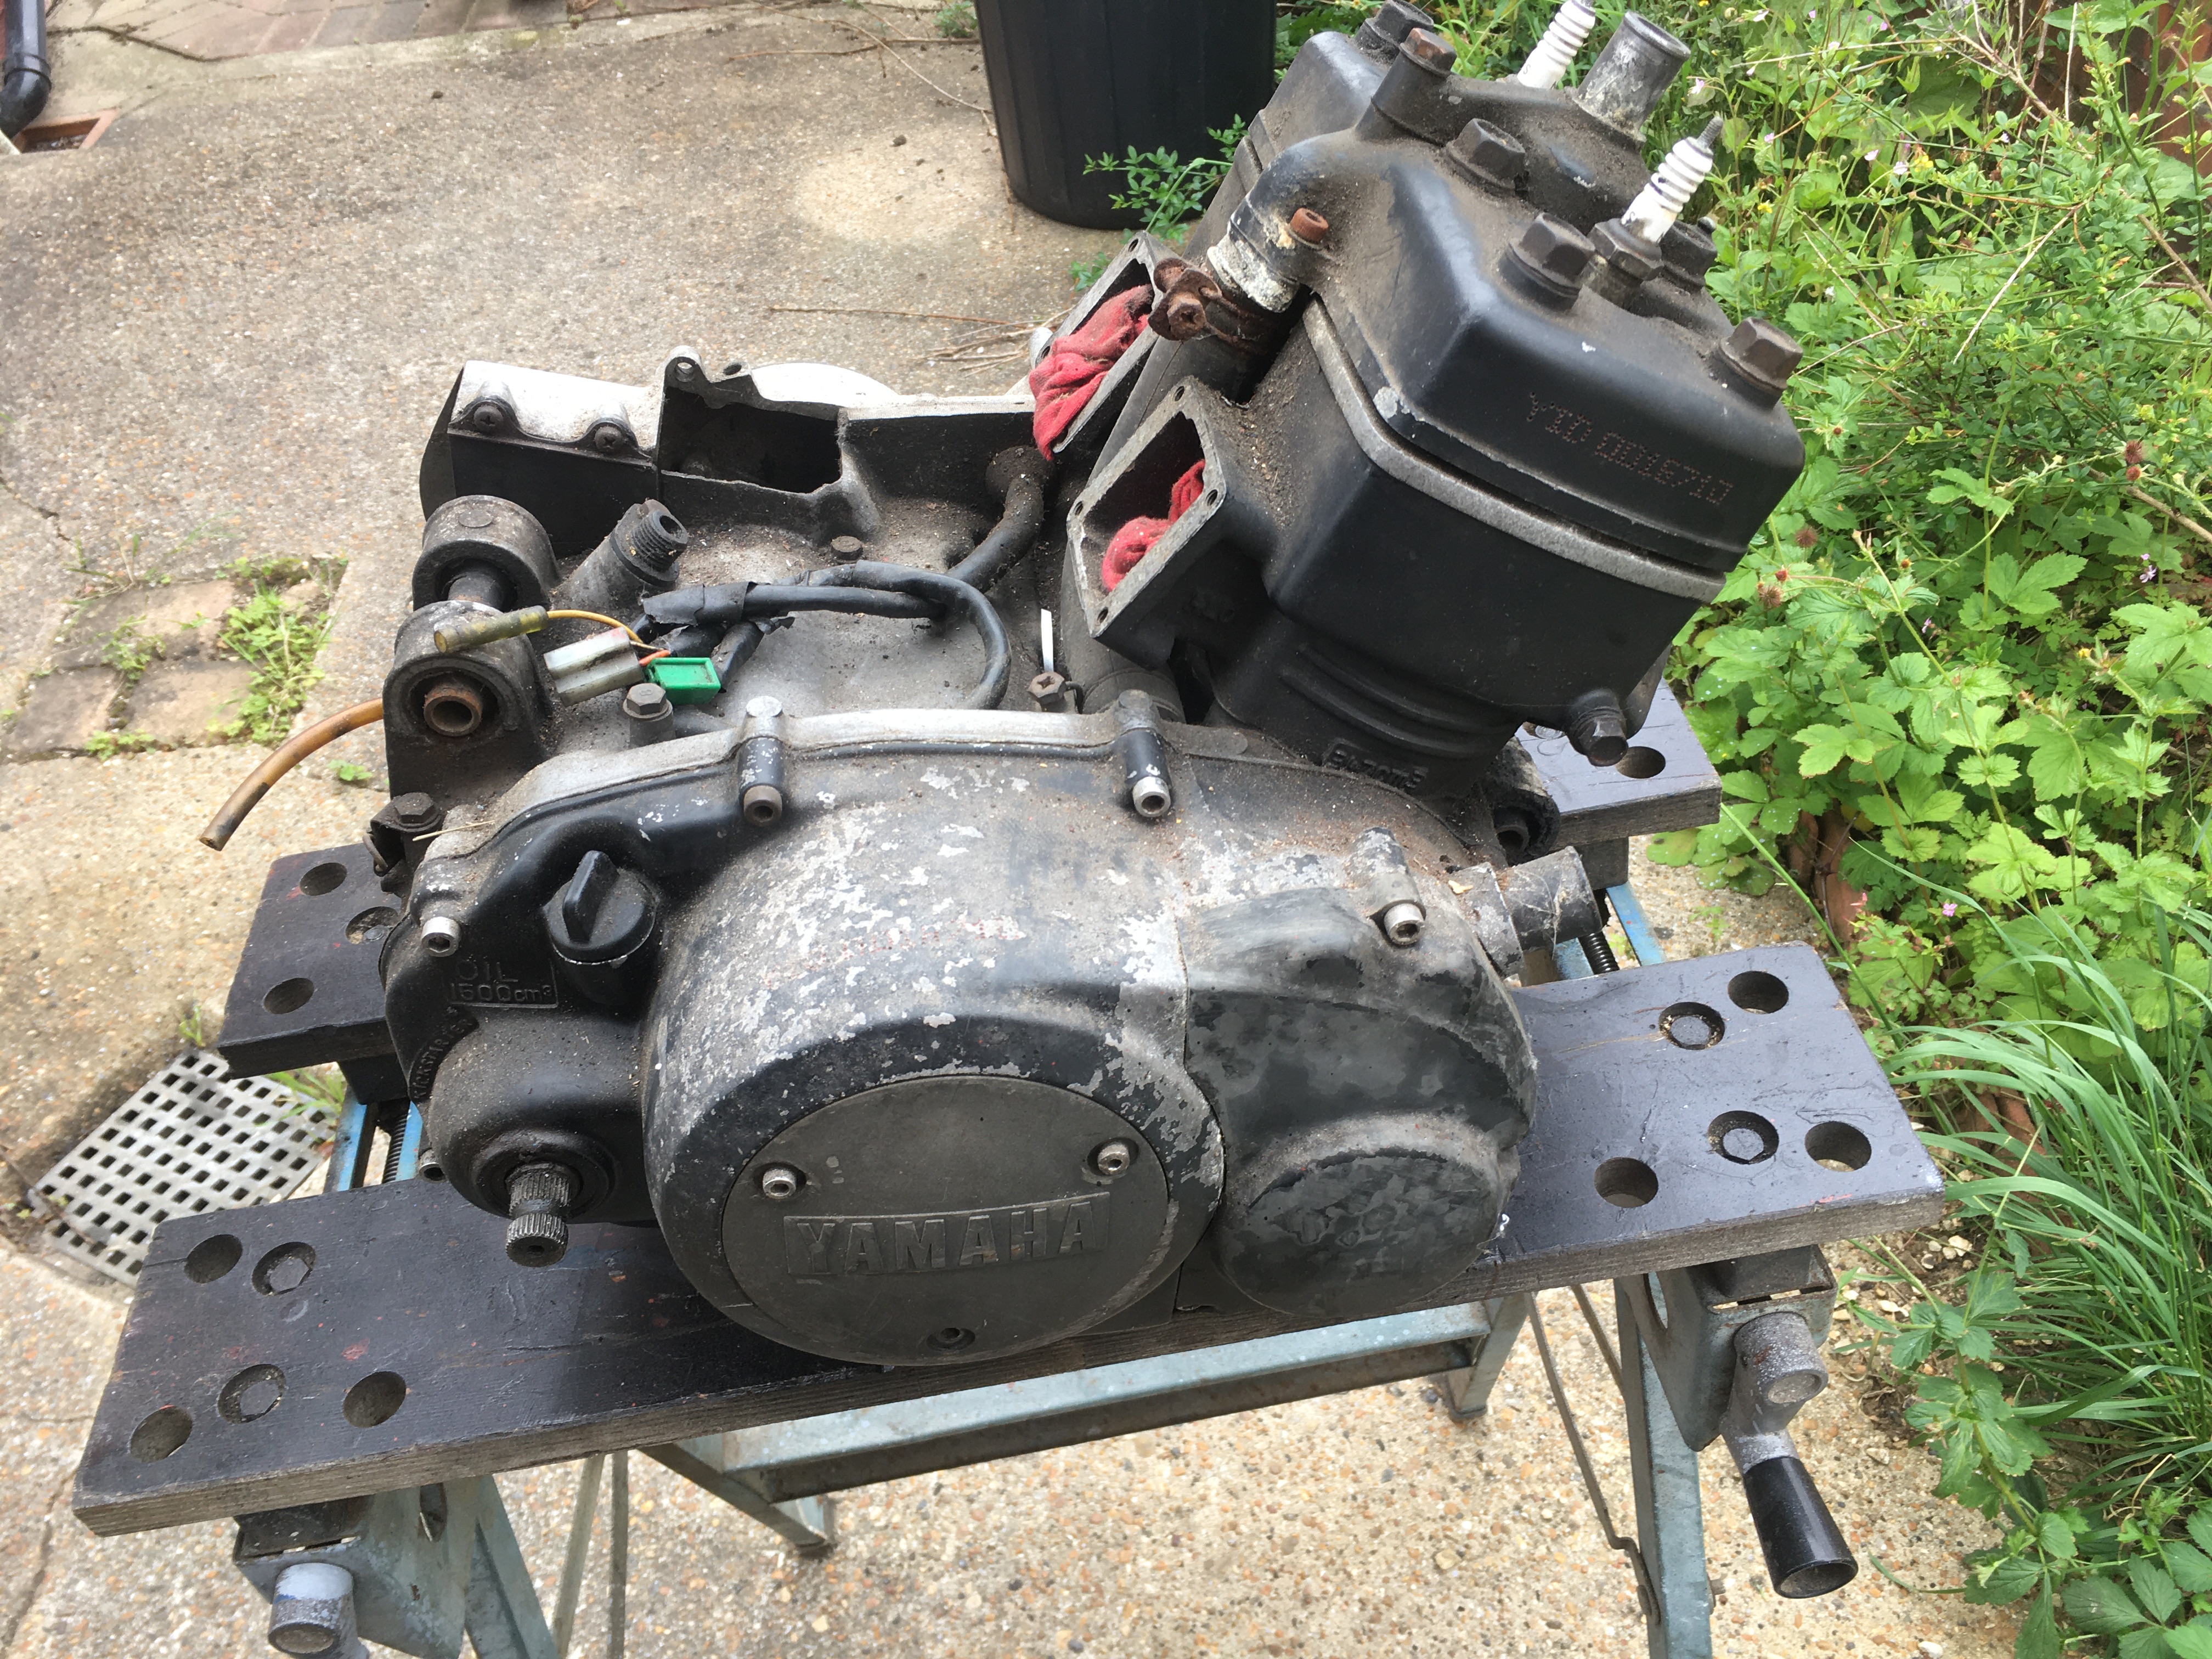
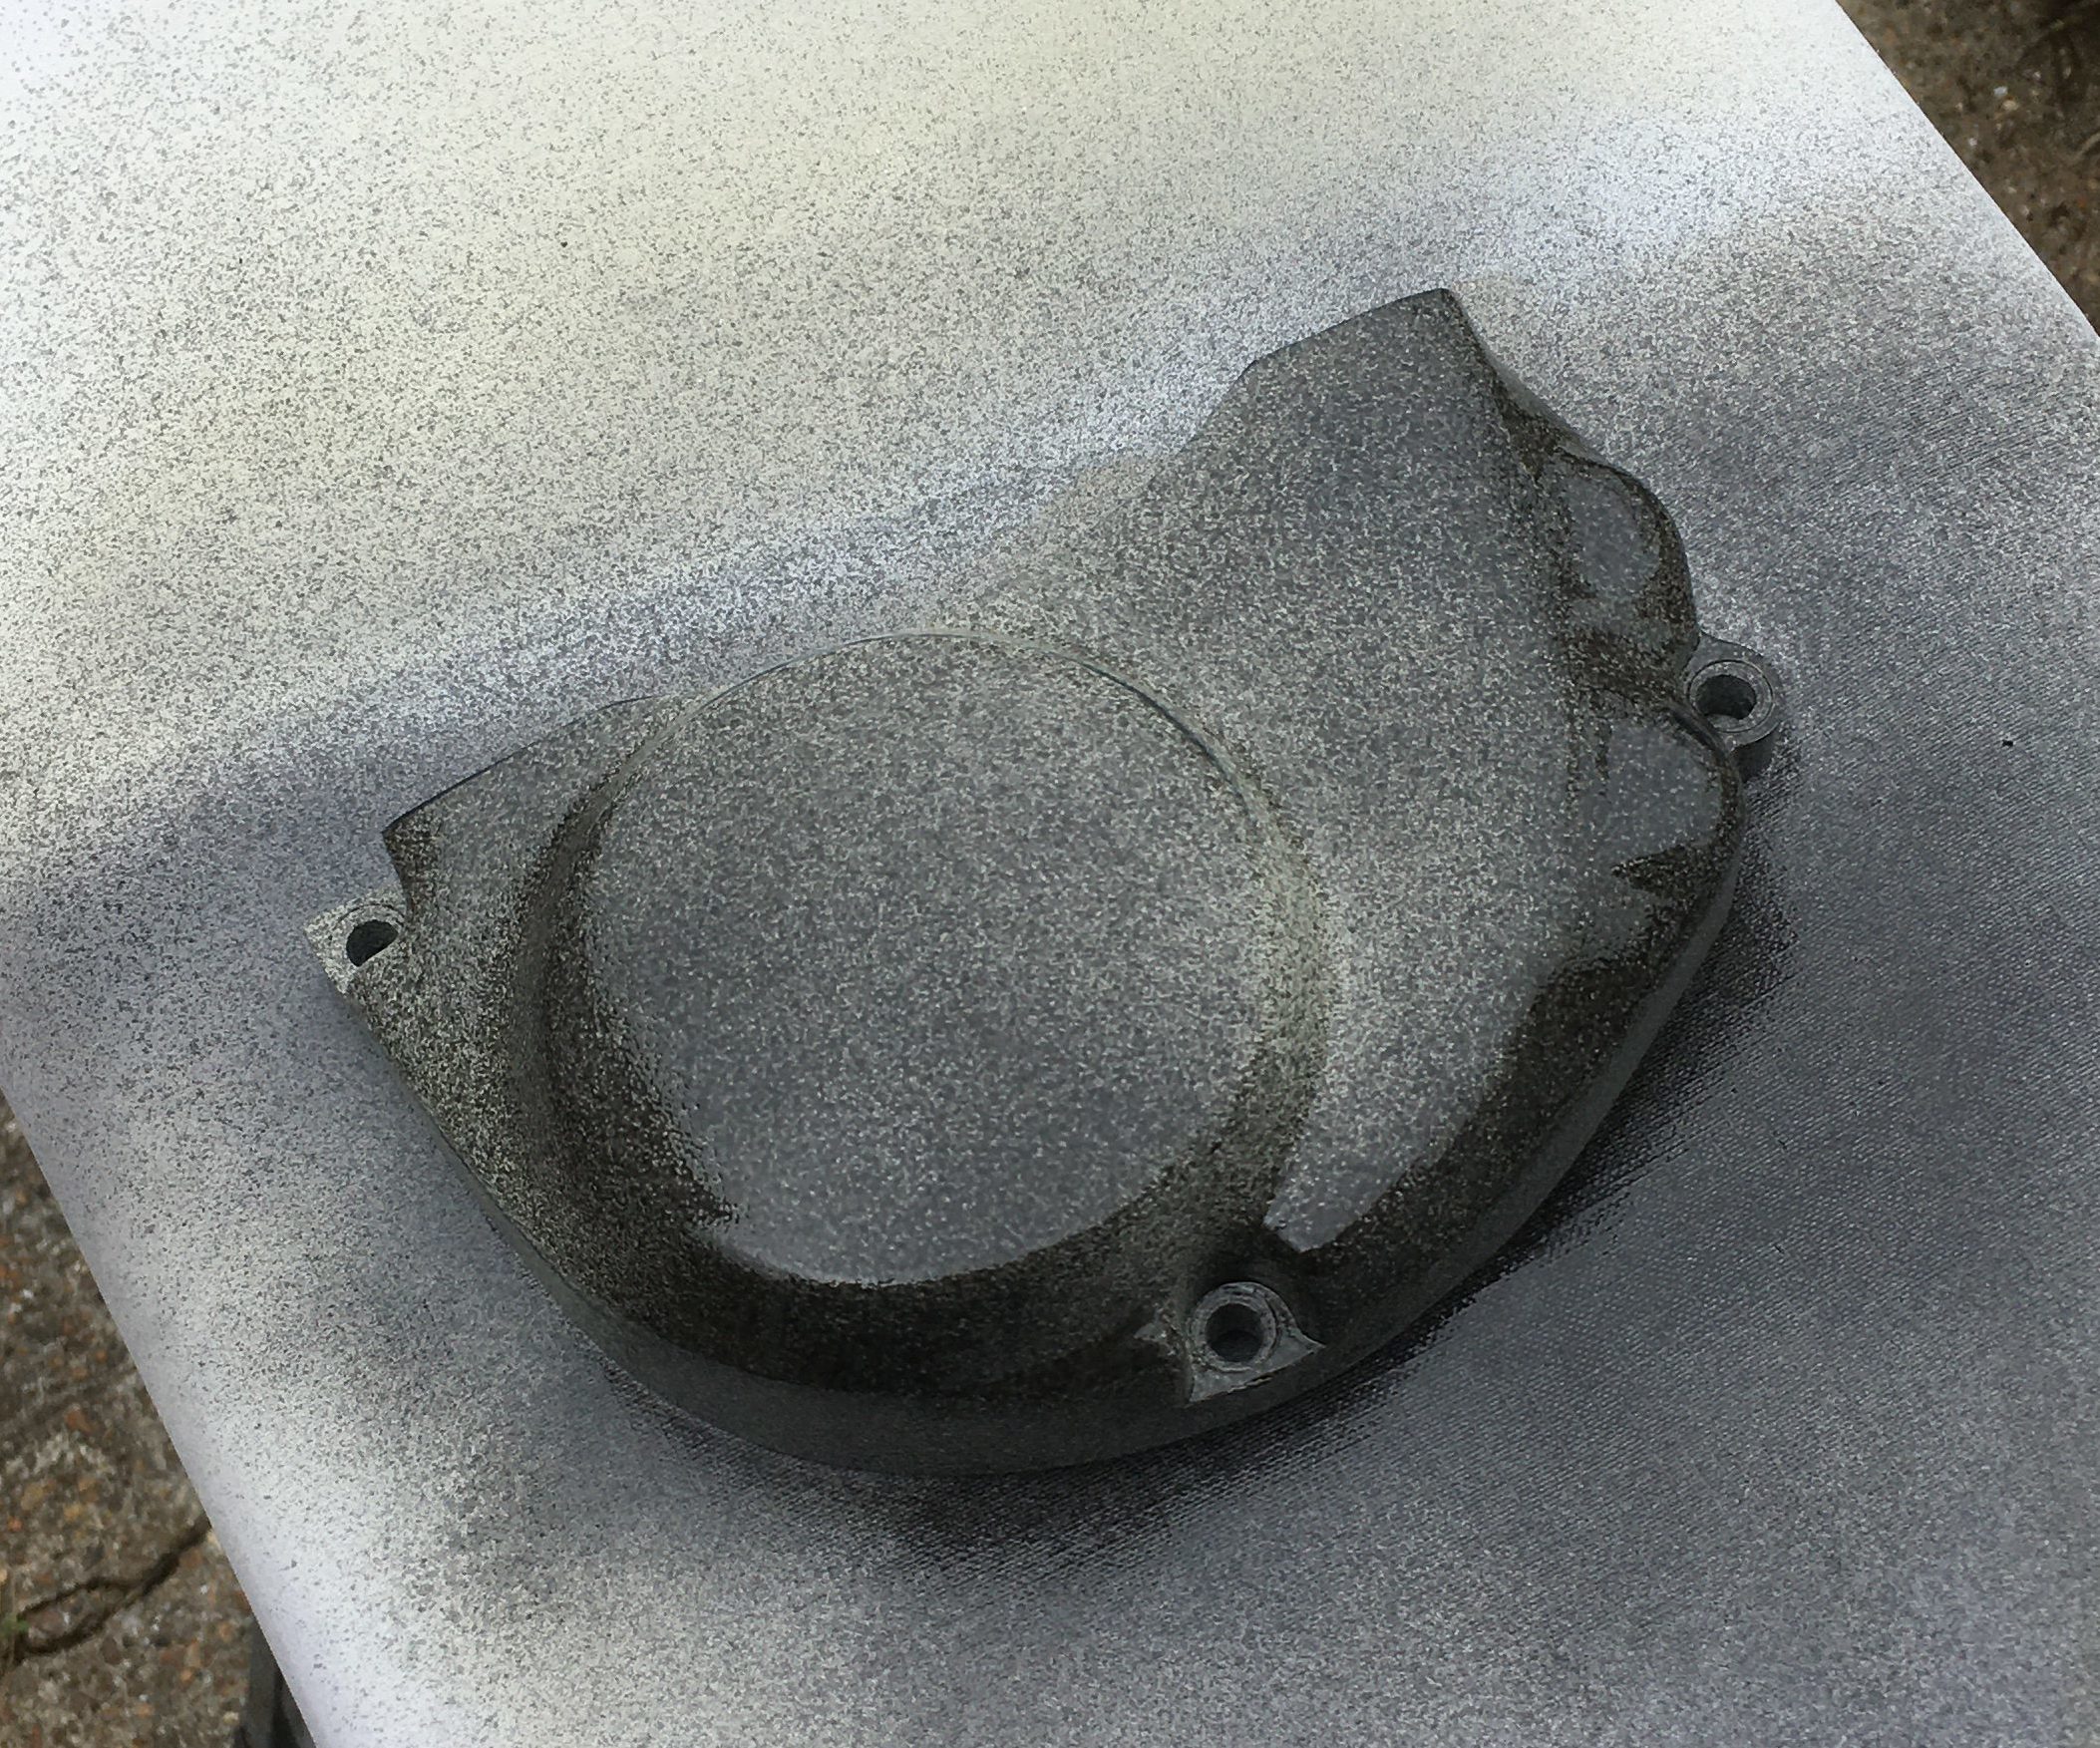
While painting the bodywork, I inspected the plastics from the engine sidecases.
The oil and water pump cover looked terrible. It had clearly been painted before, but with no undercoat, and nearly all of the paint had flaked of leaving a mottled grey plastic surface underneath.
No problem… I’ll buy another… how much can an itty bitty piece of plastic cost?
SIXTY QUID? You’re having a giraffe!
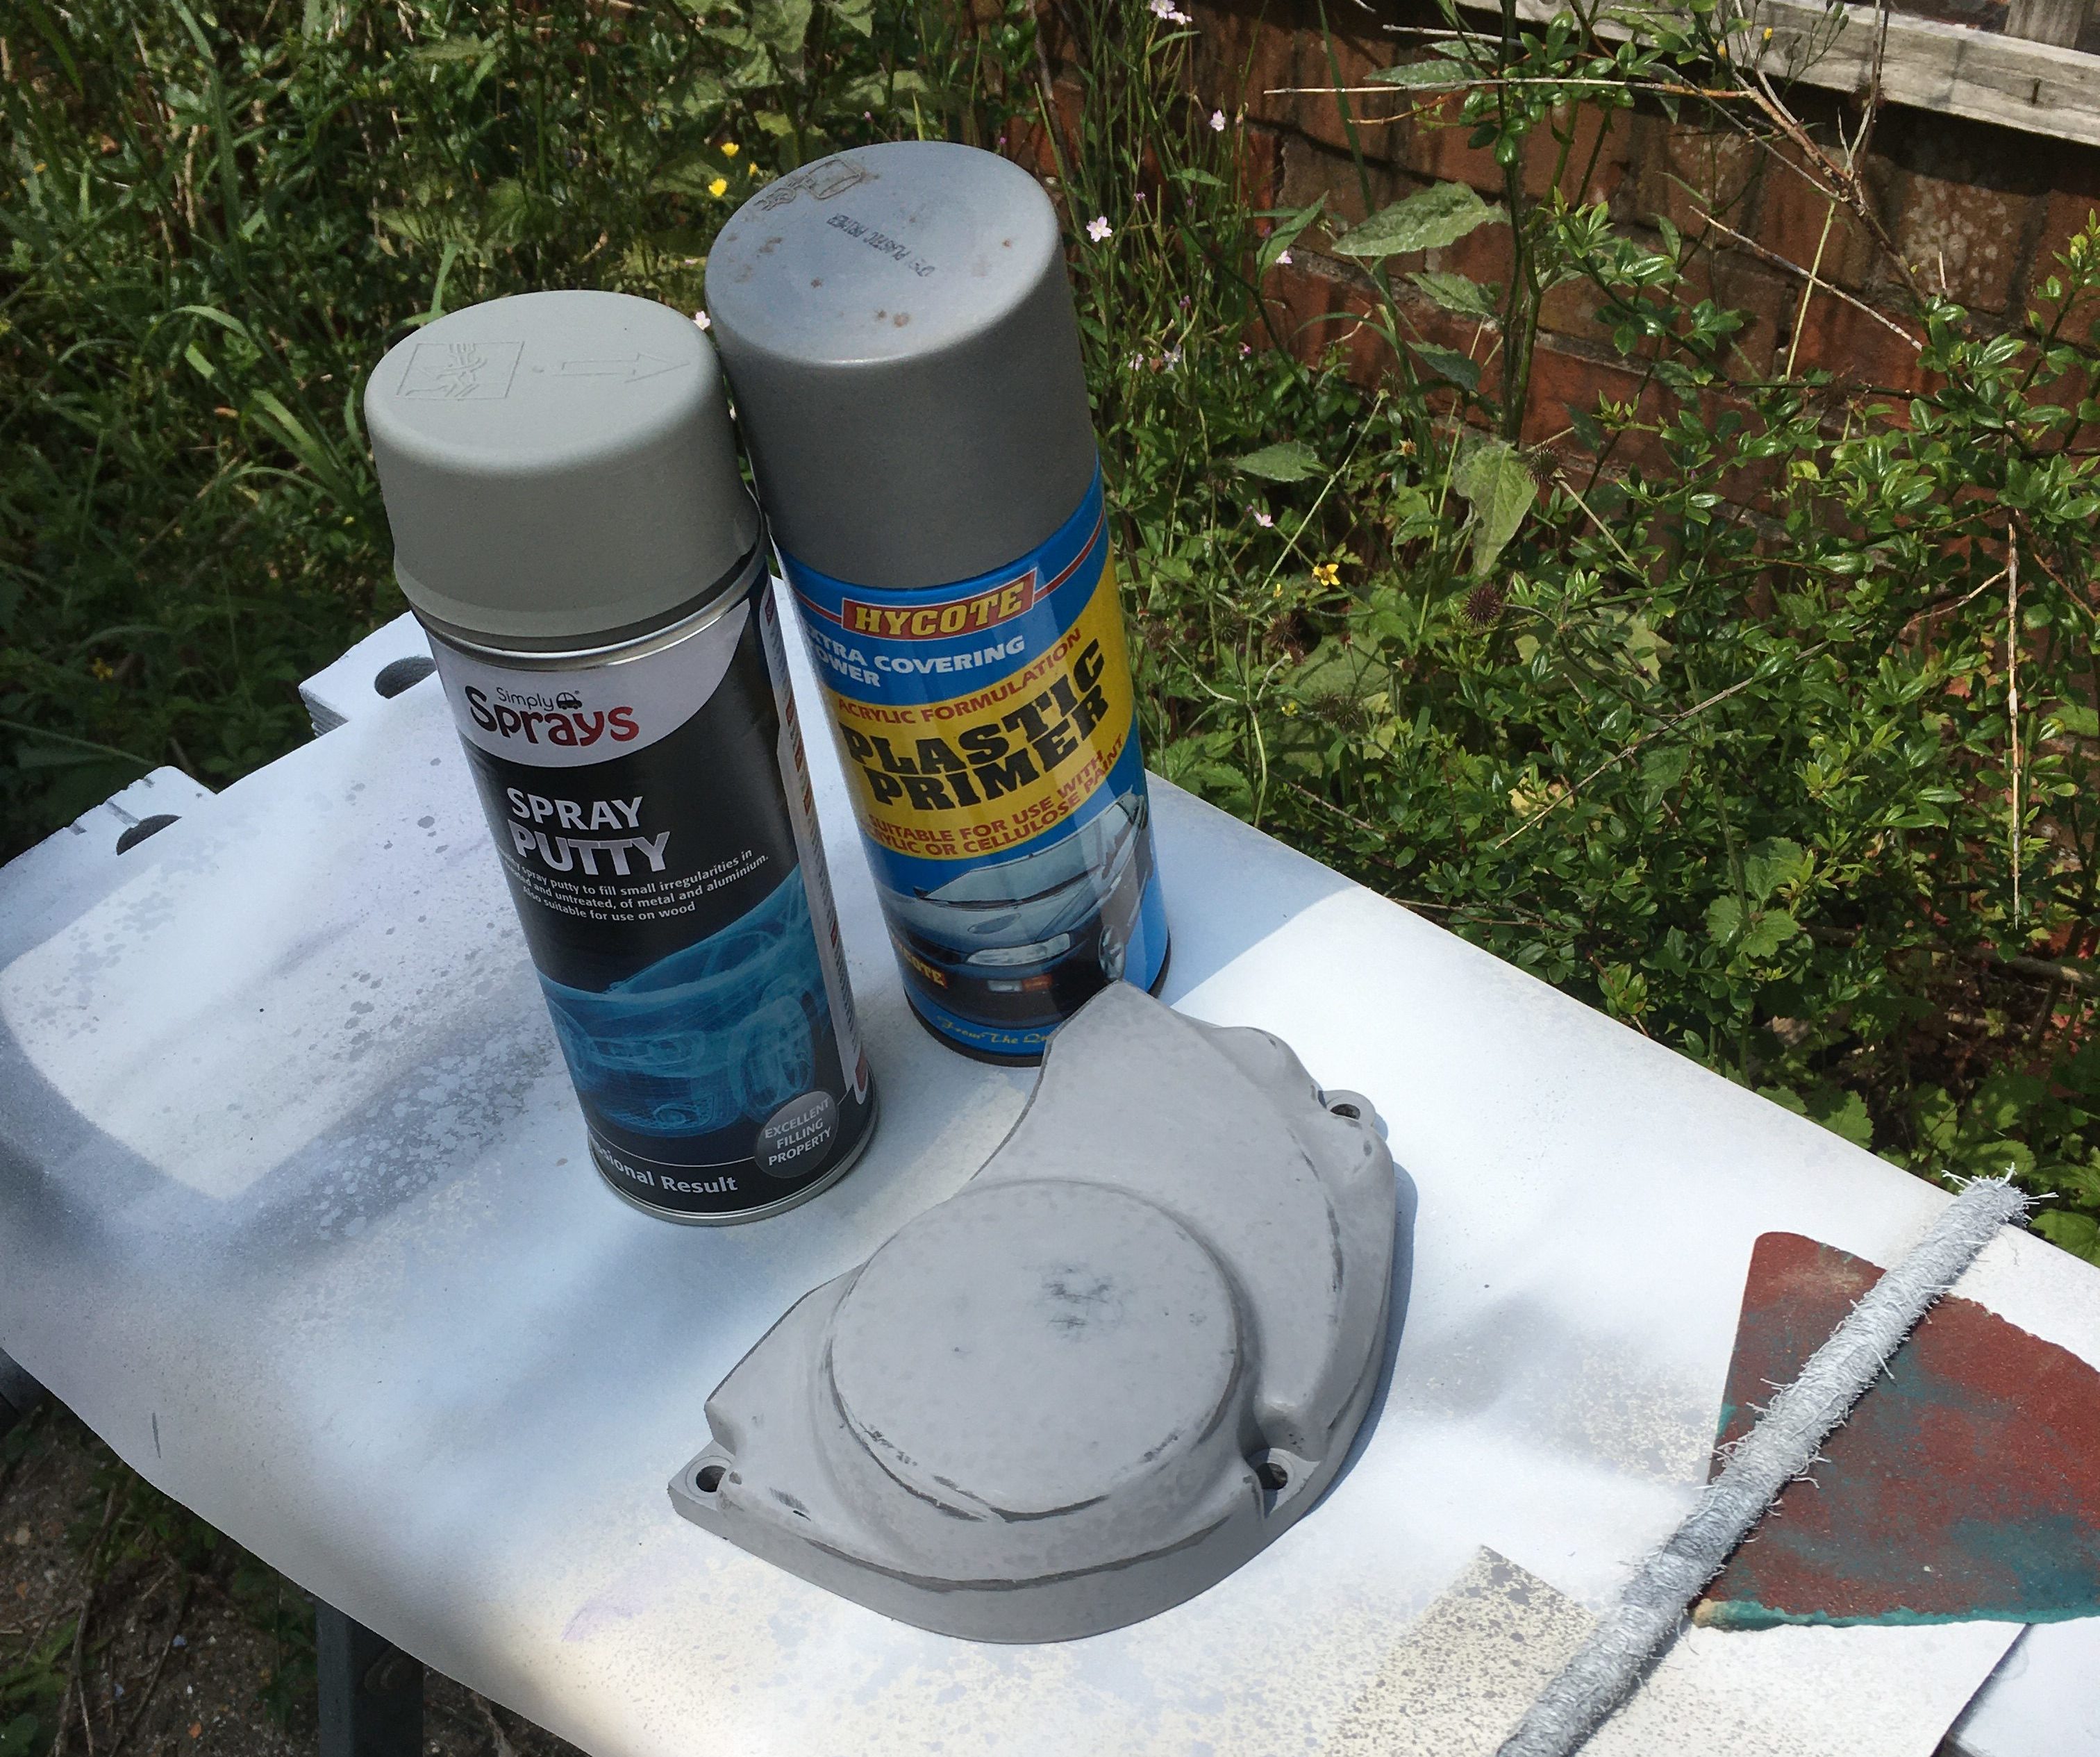
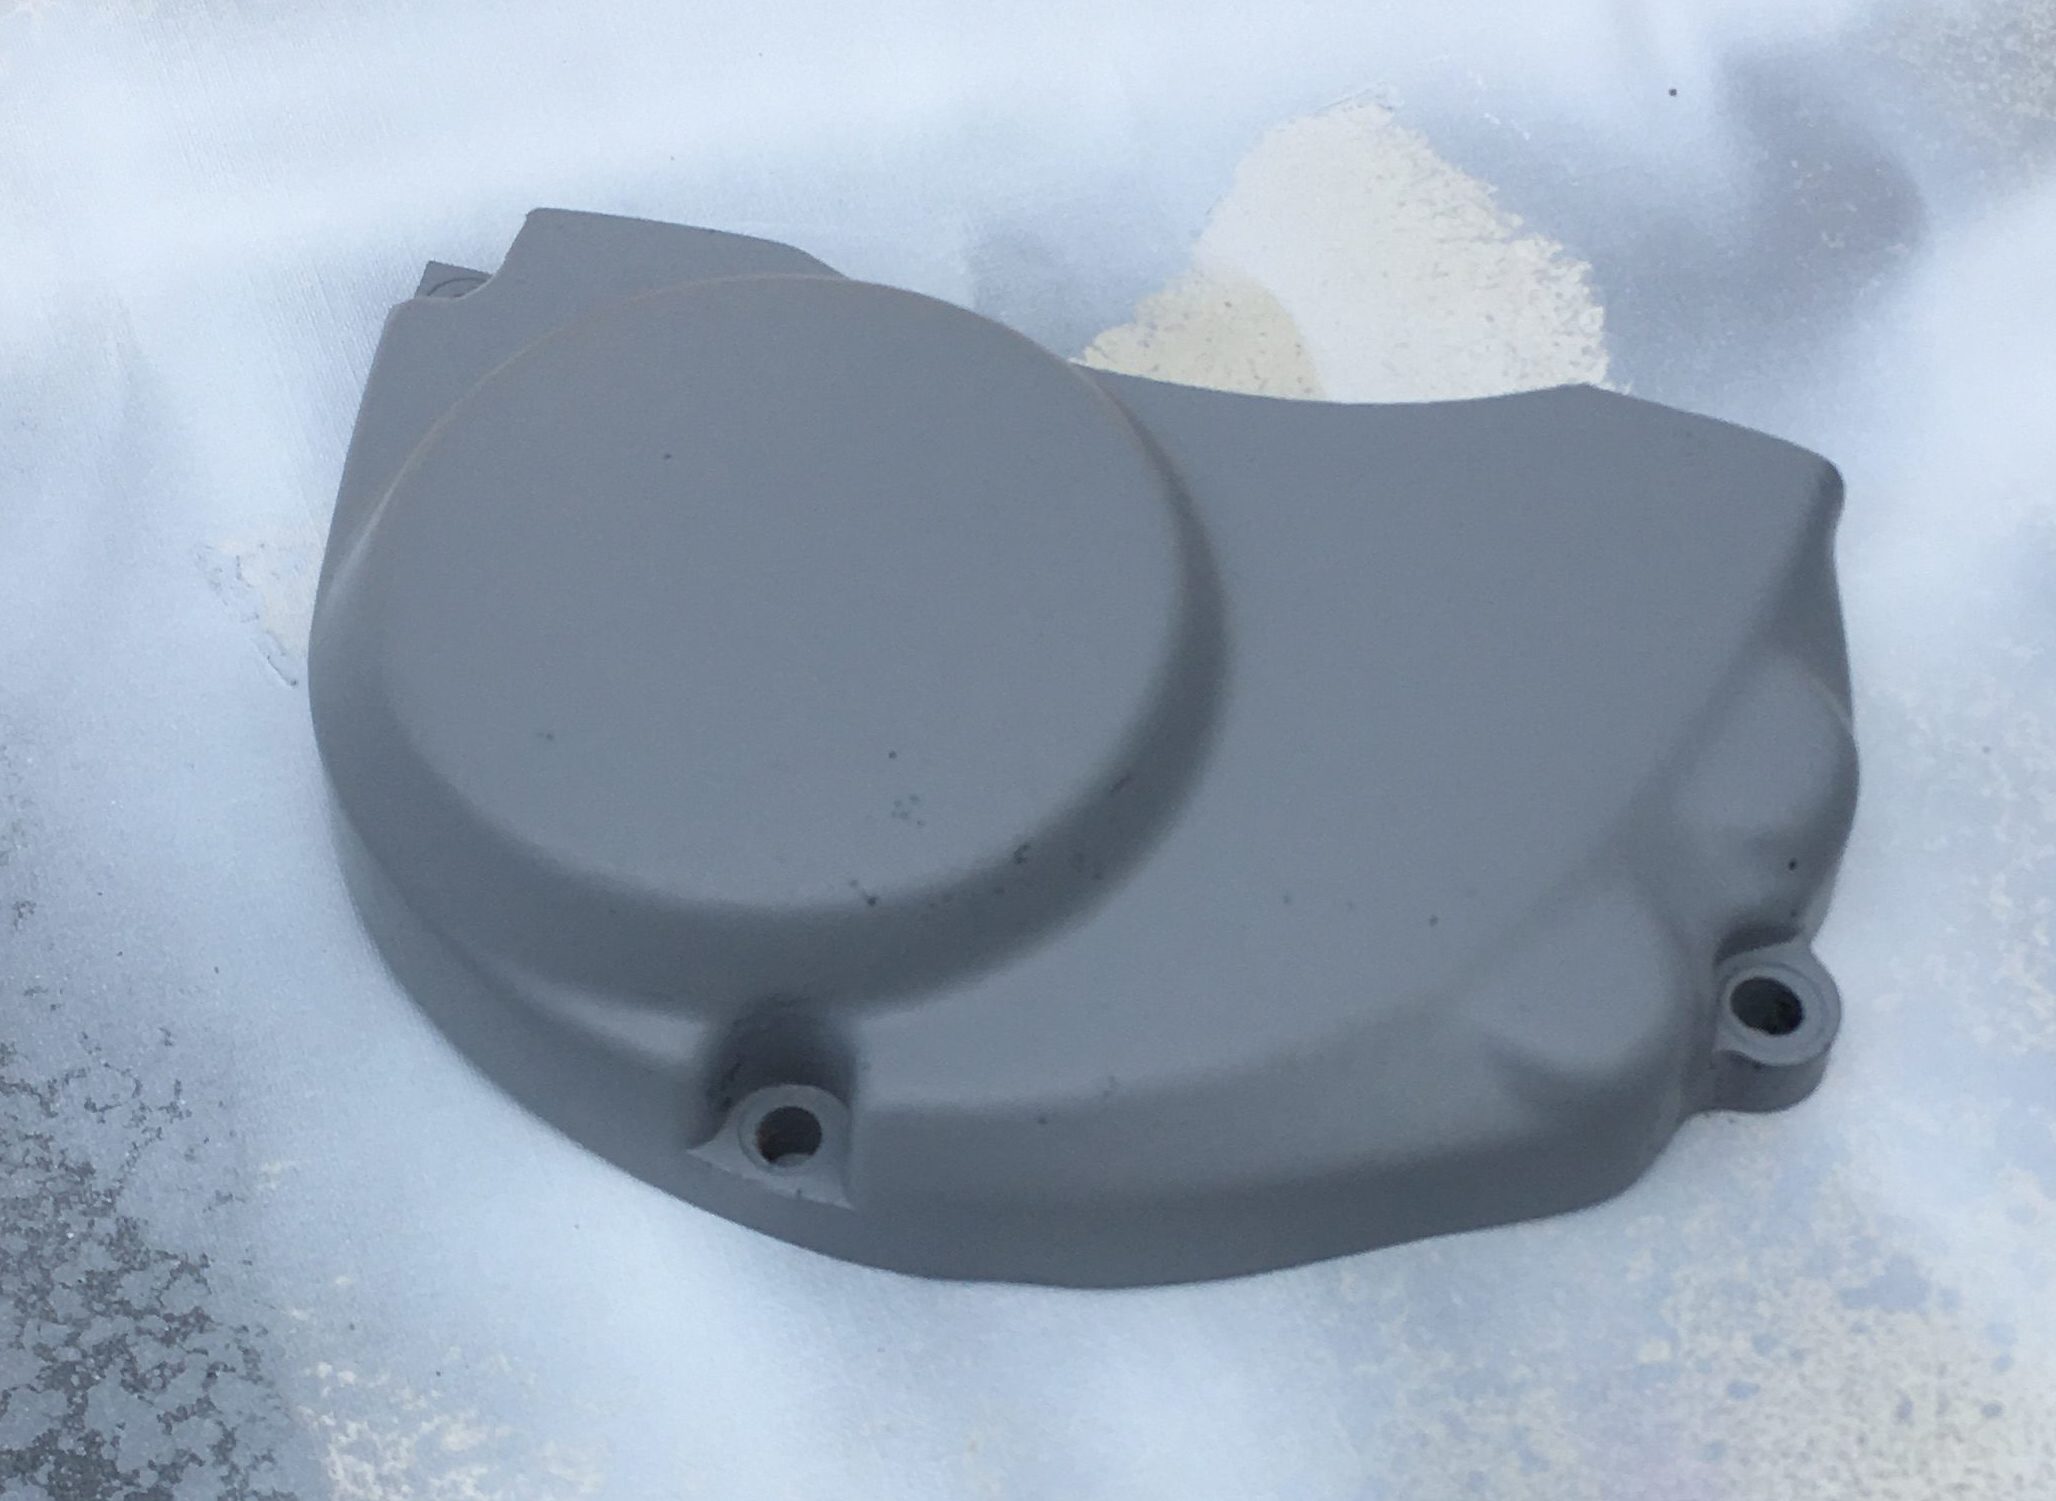
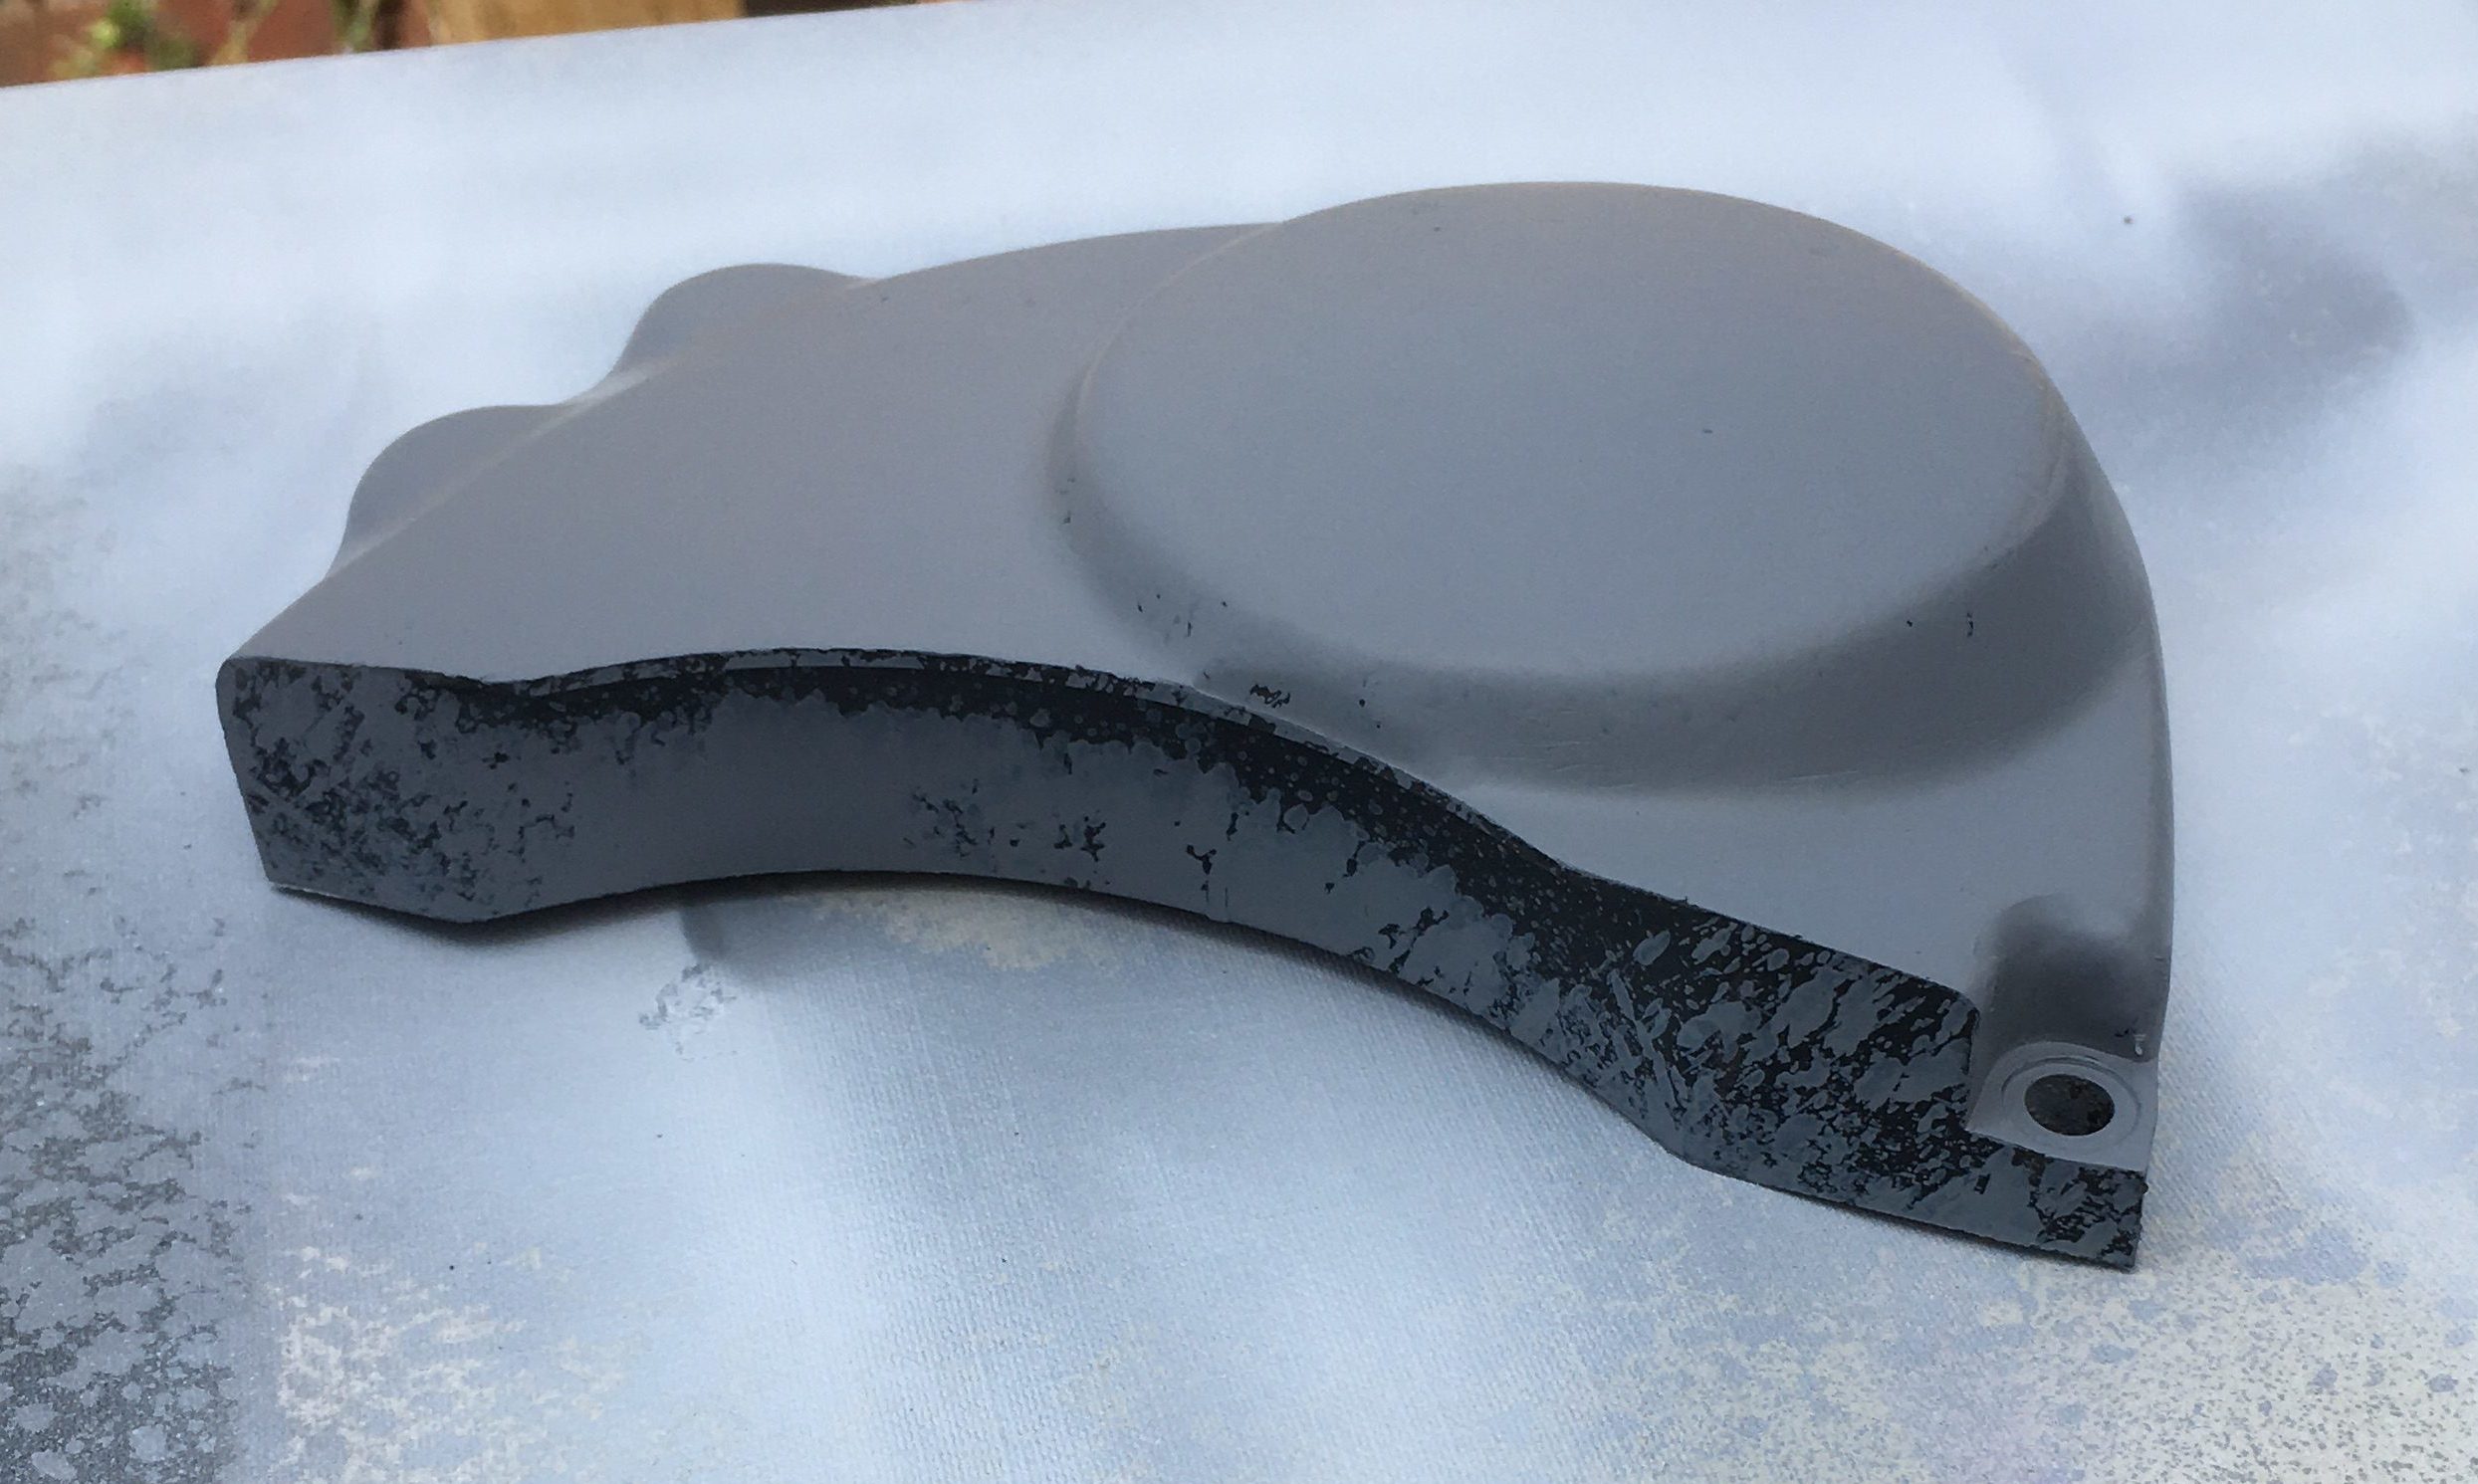
So, onwards with the wet’n’dry, plastic primer, filler primer to erase the big area of road-rash, and some of the Simoniz gloss black engine enamel.

1 thought on “Meanwhile: Bodywork”
Comments are closed.