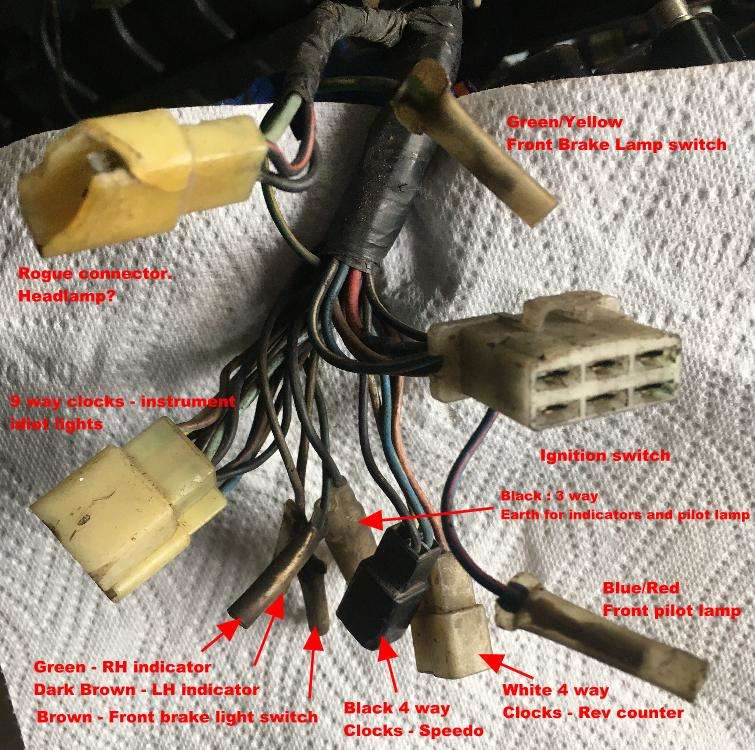
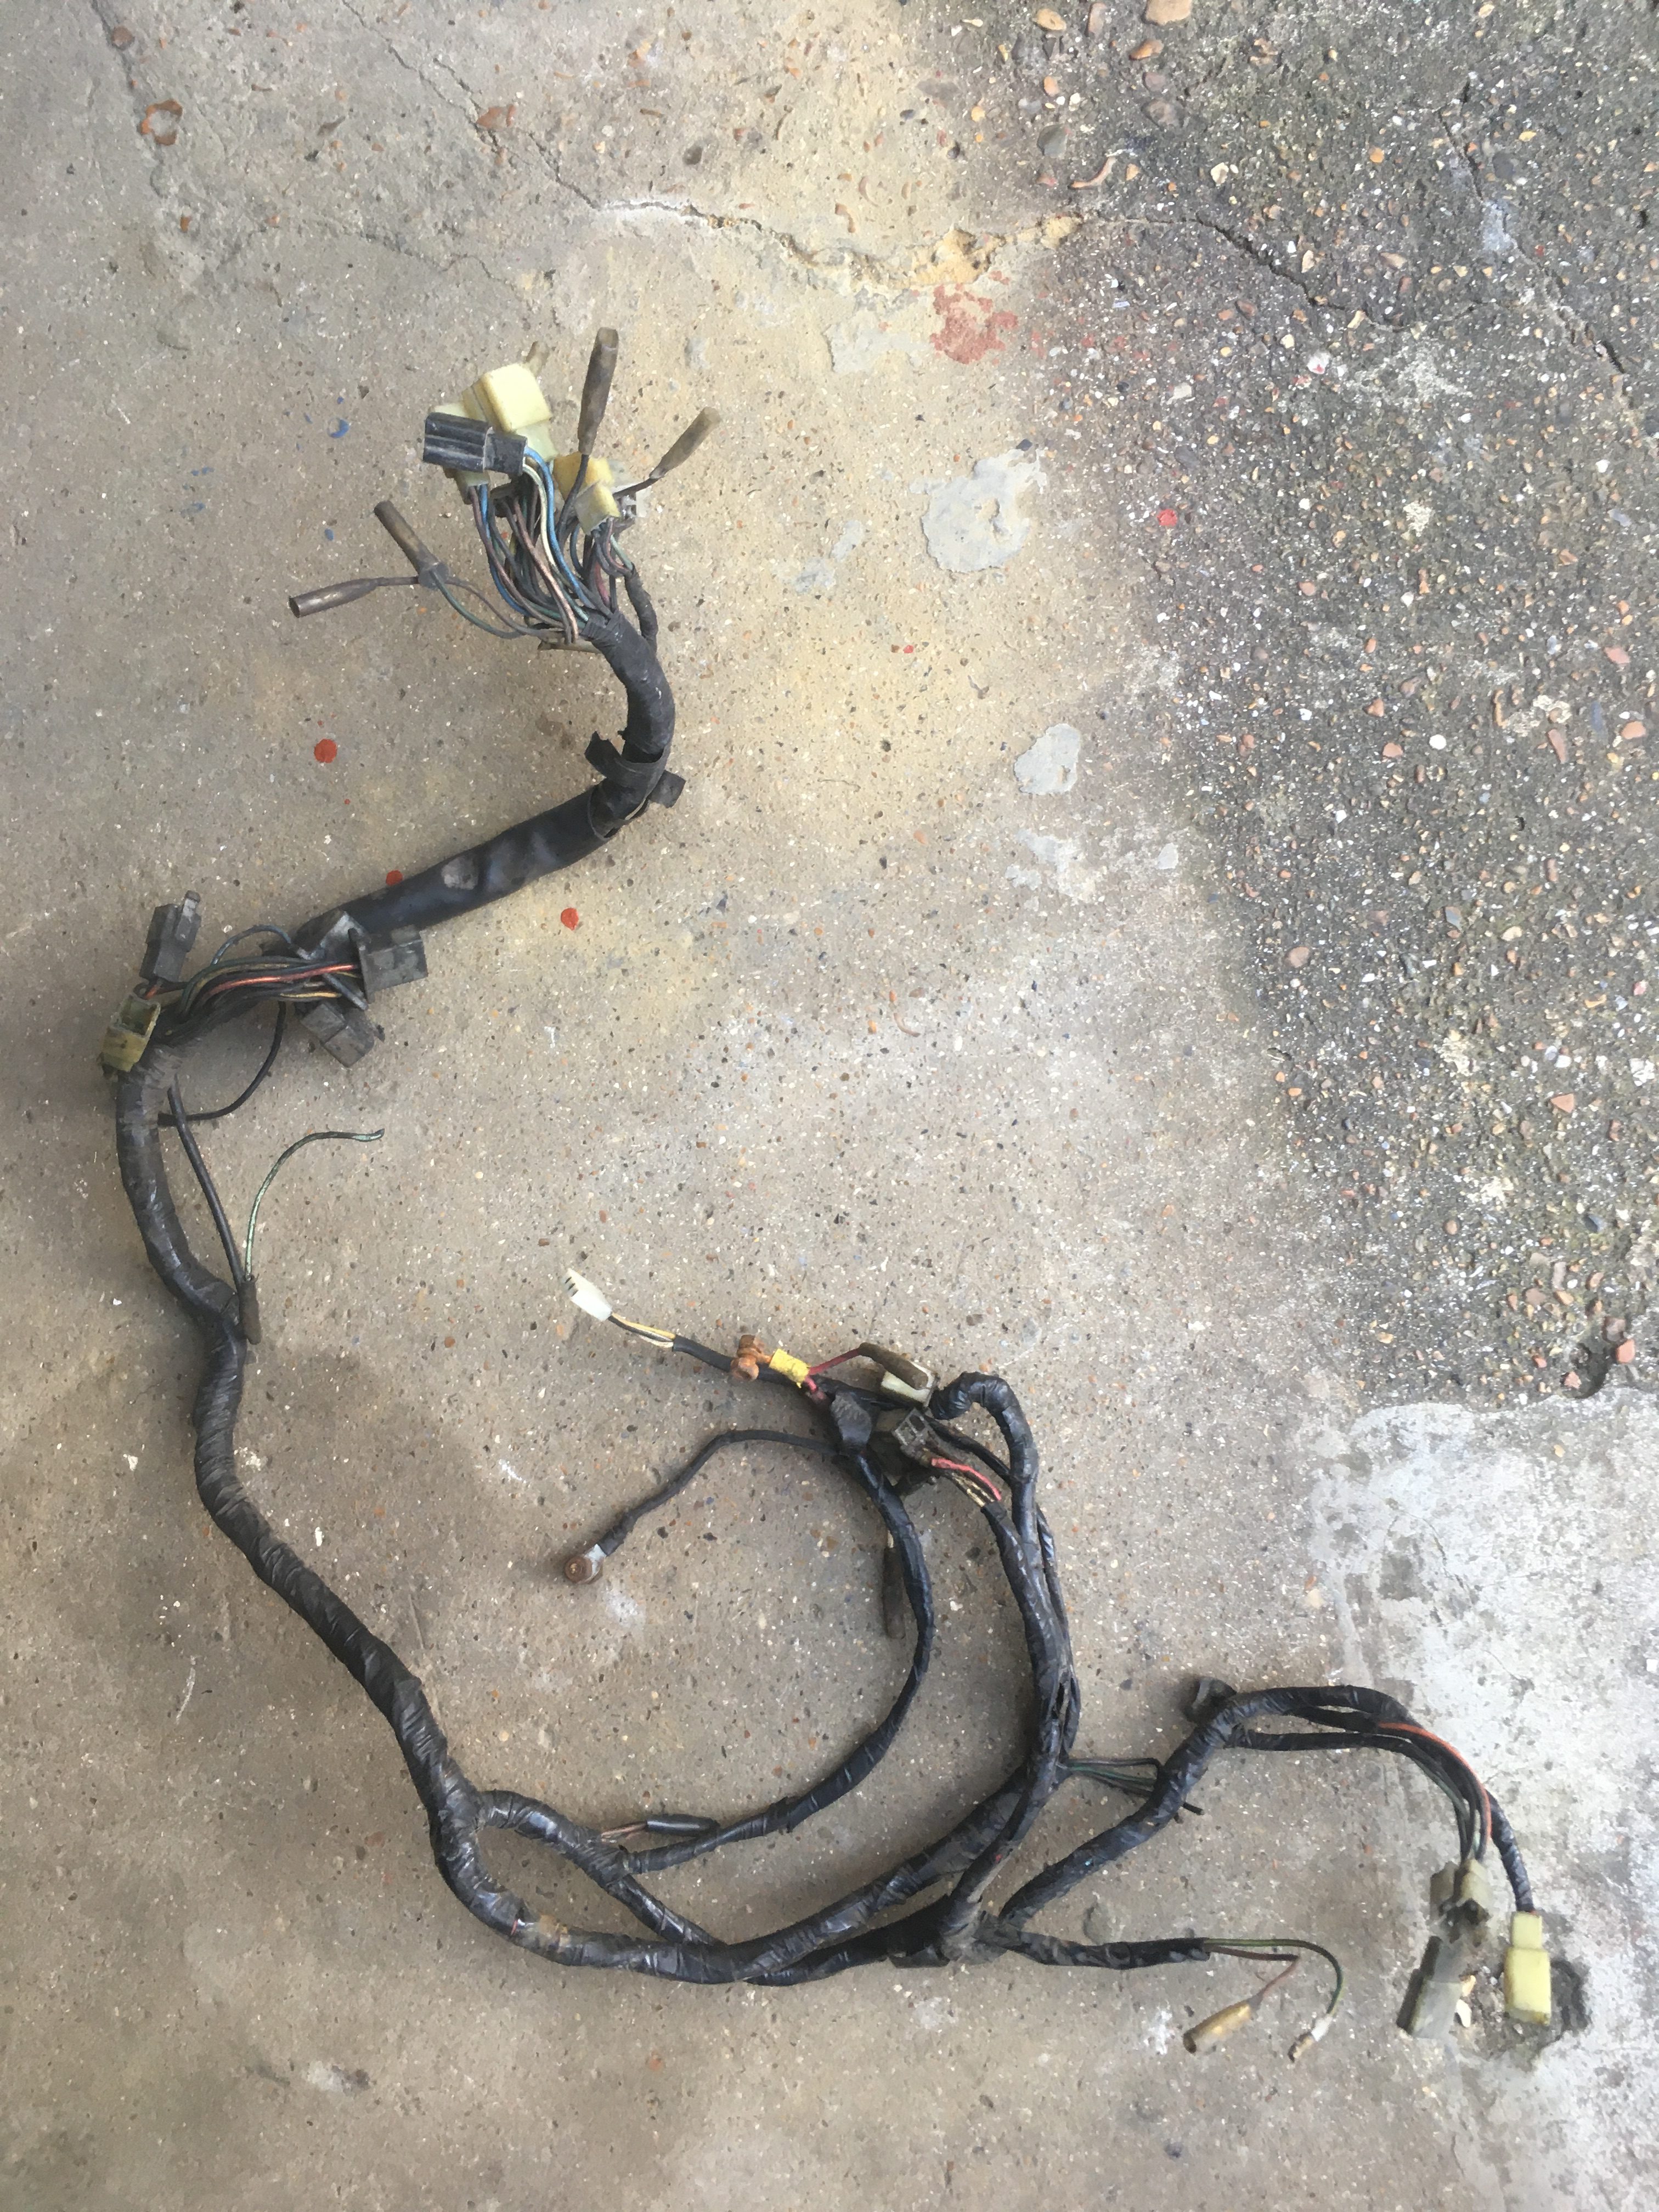
Notable work needing to be addressed on the donor bike loom.
- The fusebox is missing
- There is an extraneous connector for the imposter fusebox
- There are no connectors for the headlamp
- There is an extra rogue connector at the front (for the headlamp?)
- Rear indicator wires are cut short
- Indicator flasher unit connector has been cut off
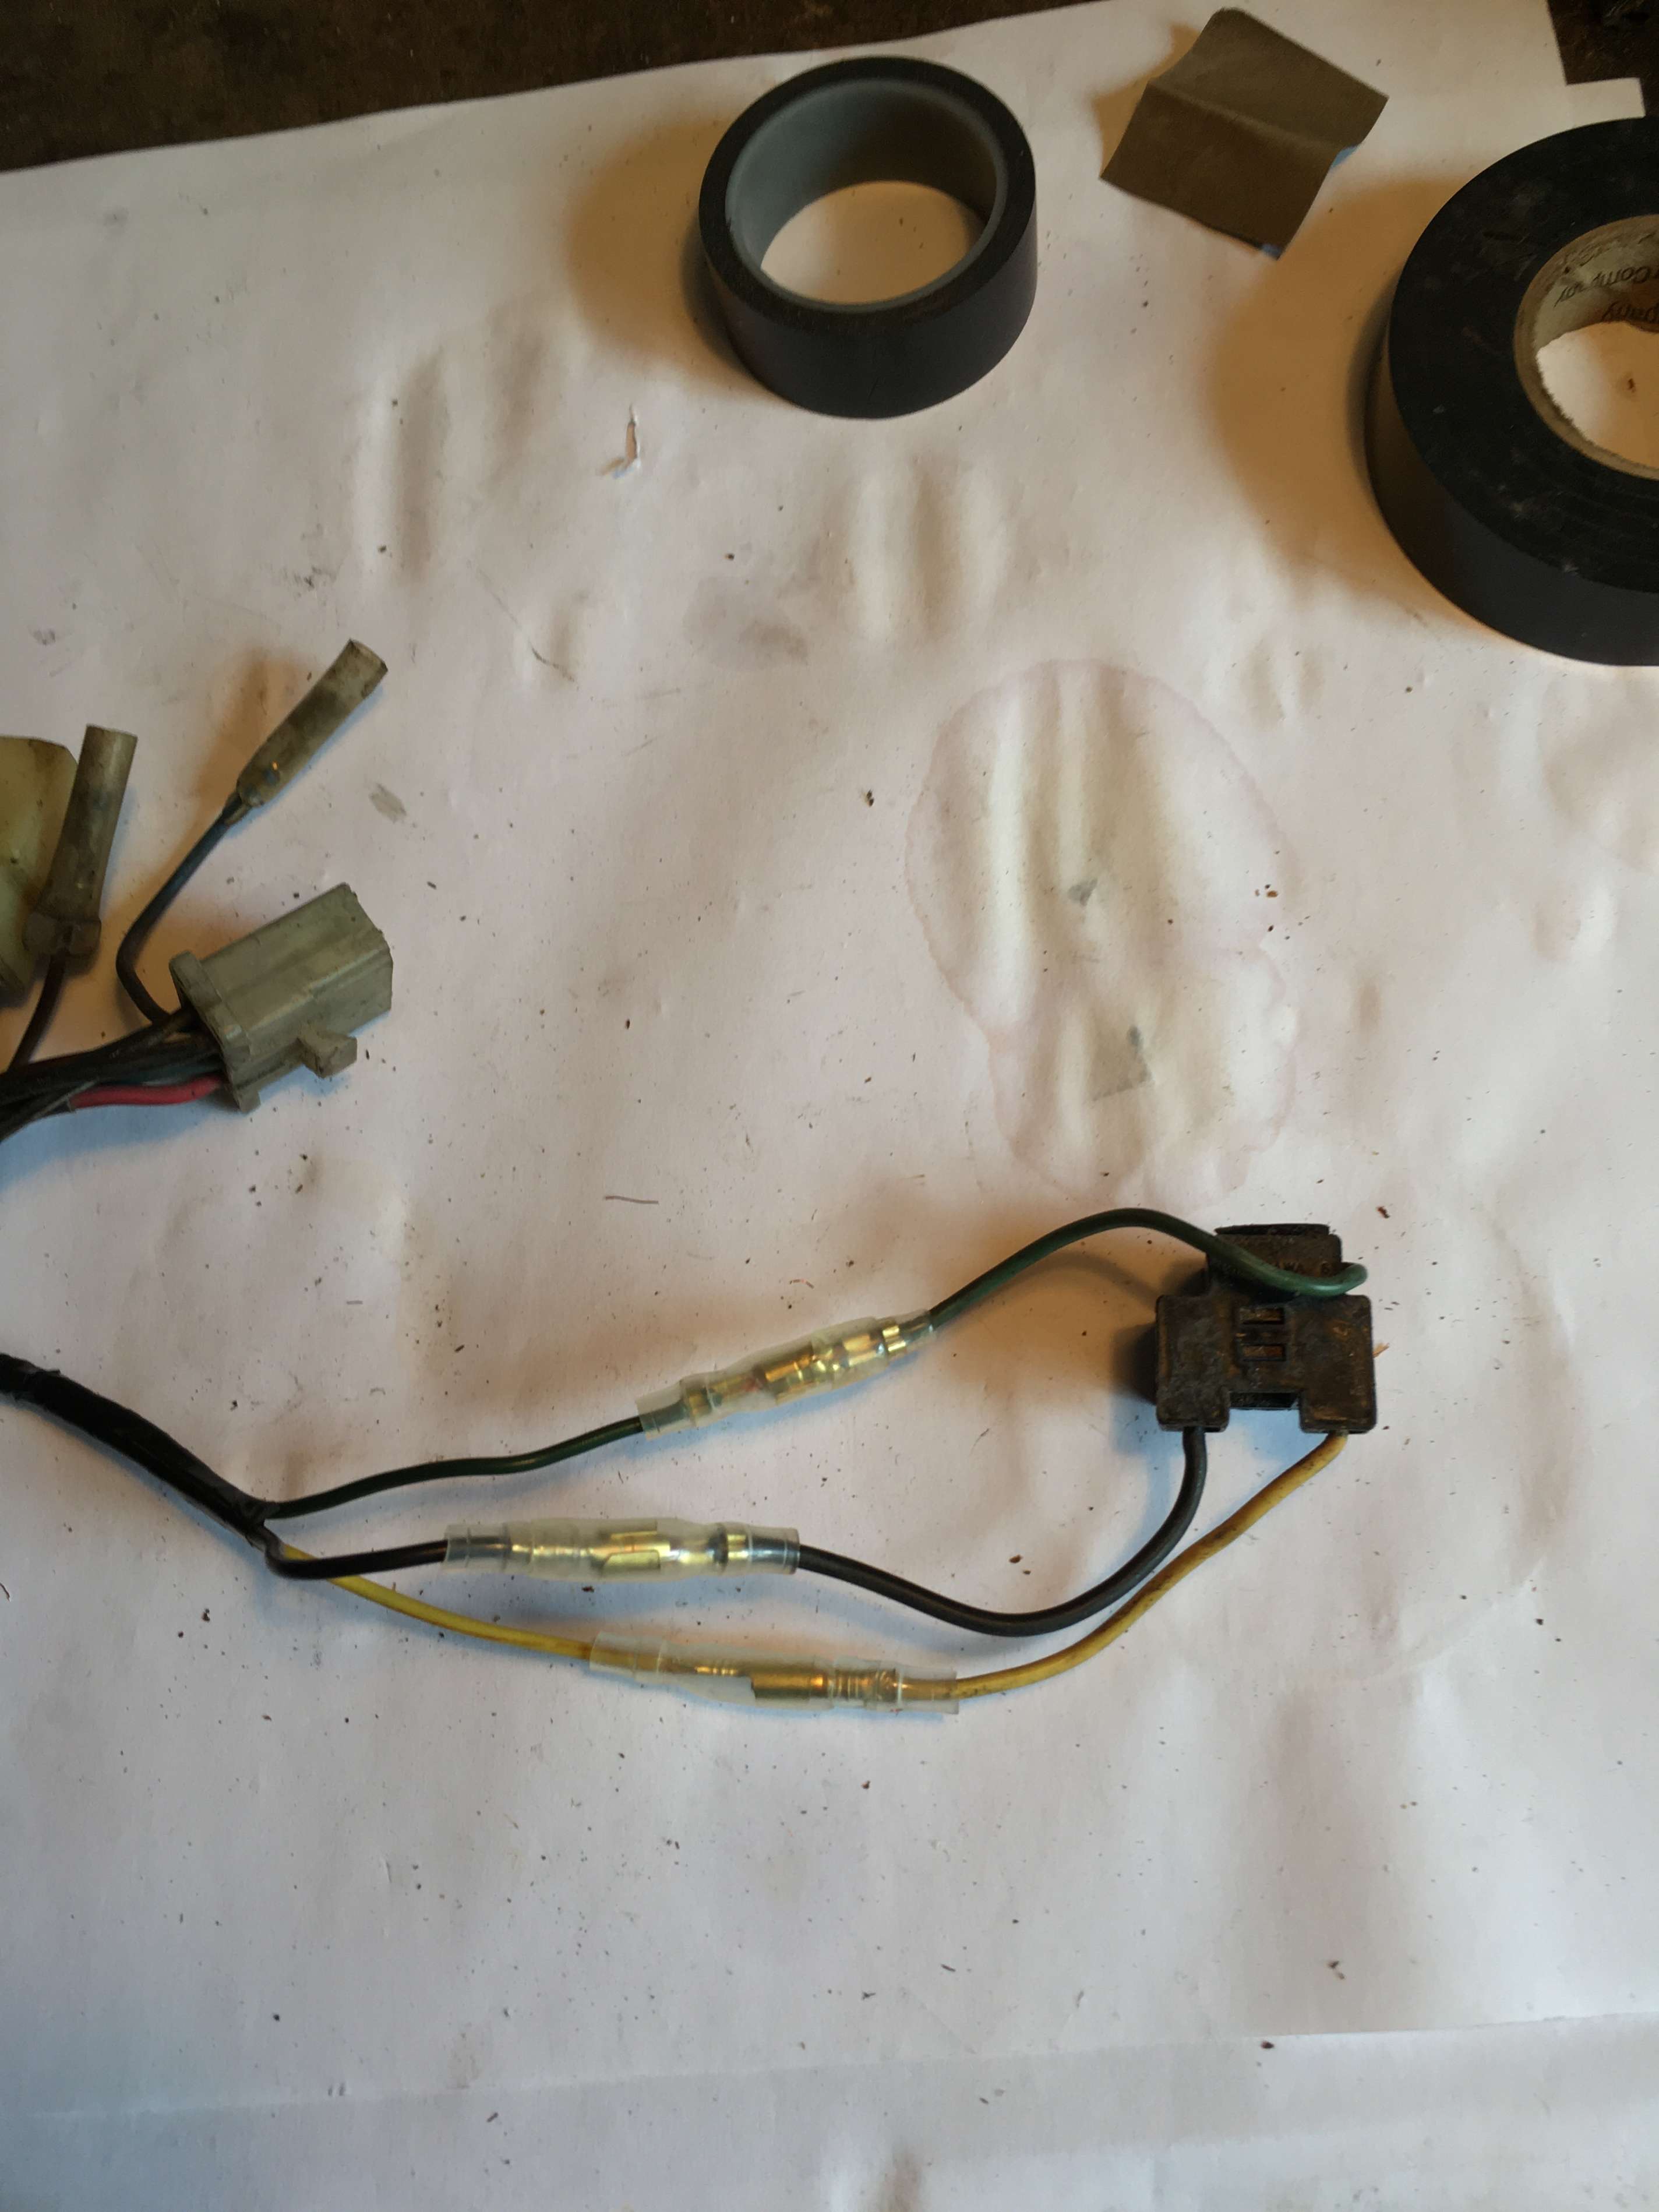
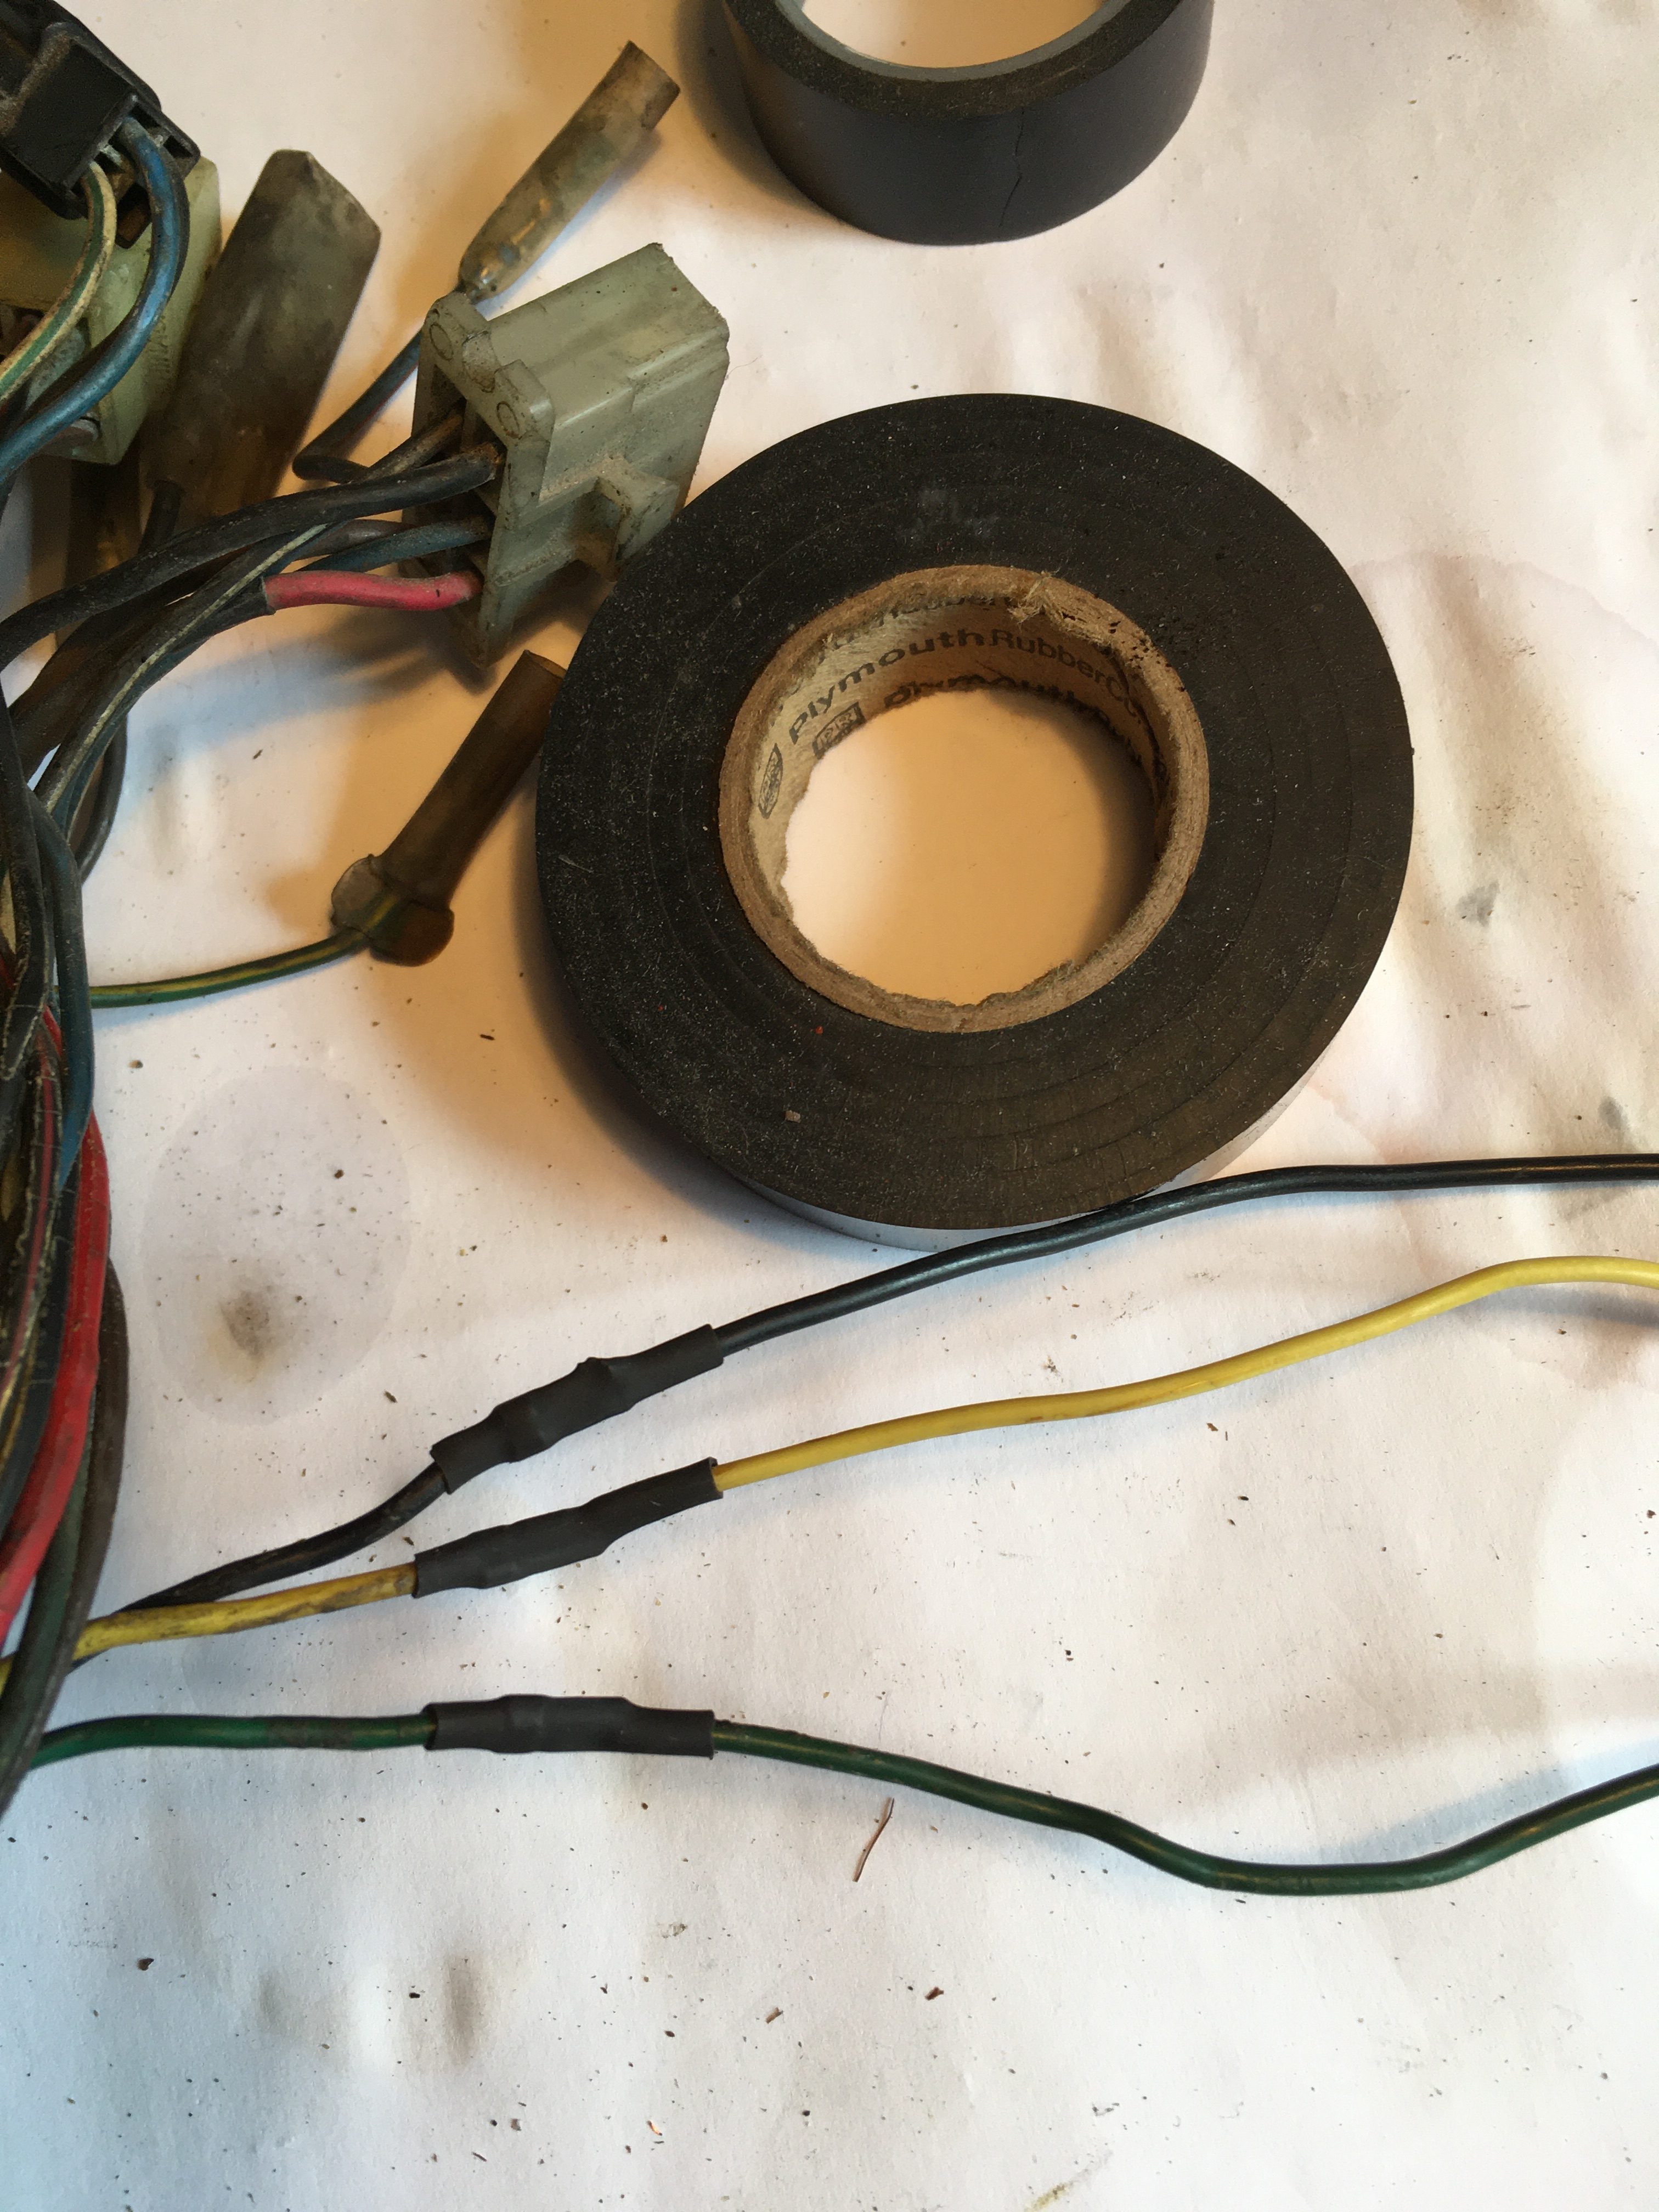
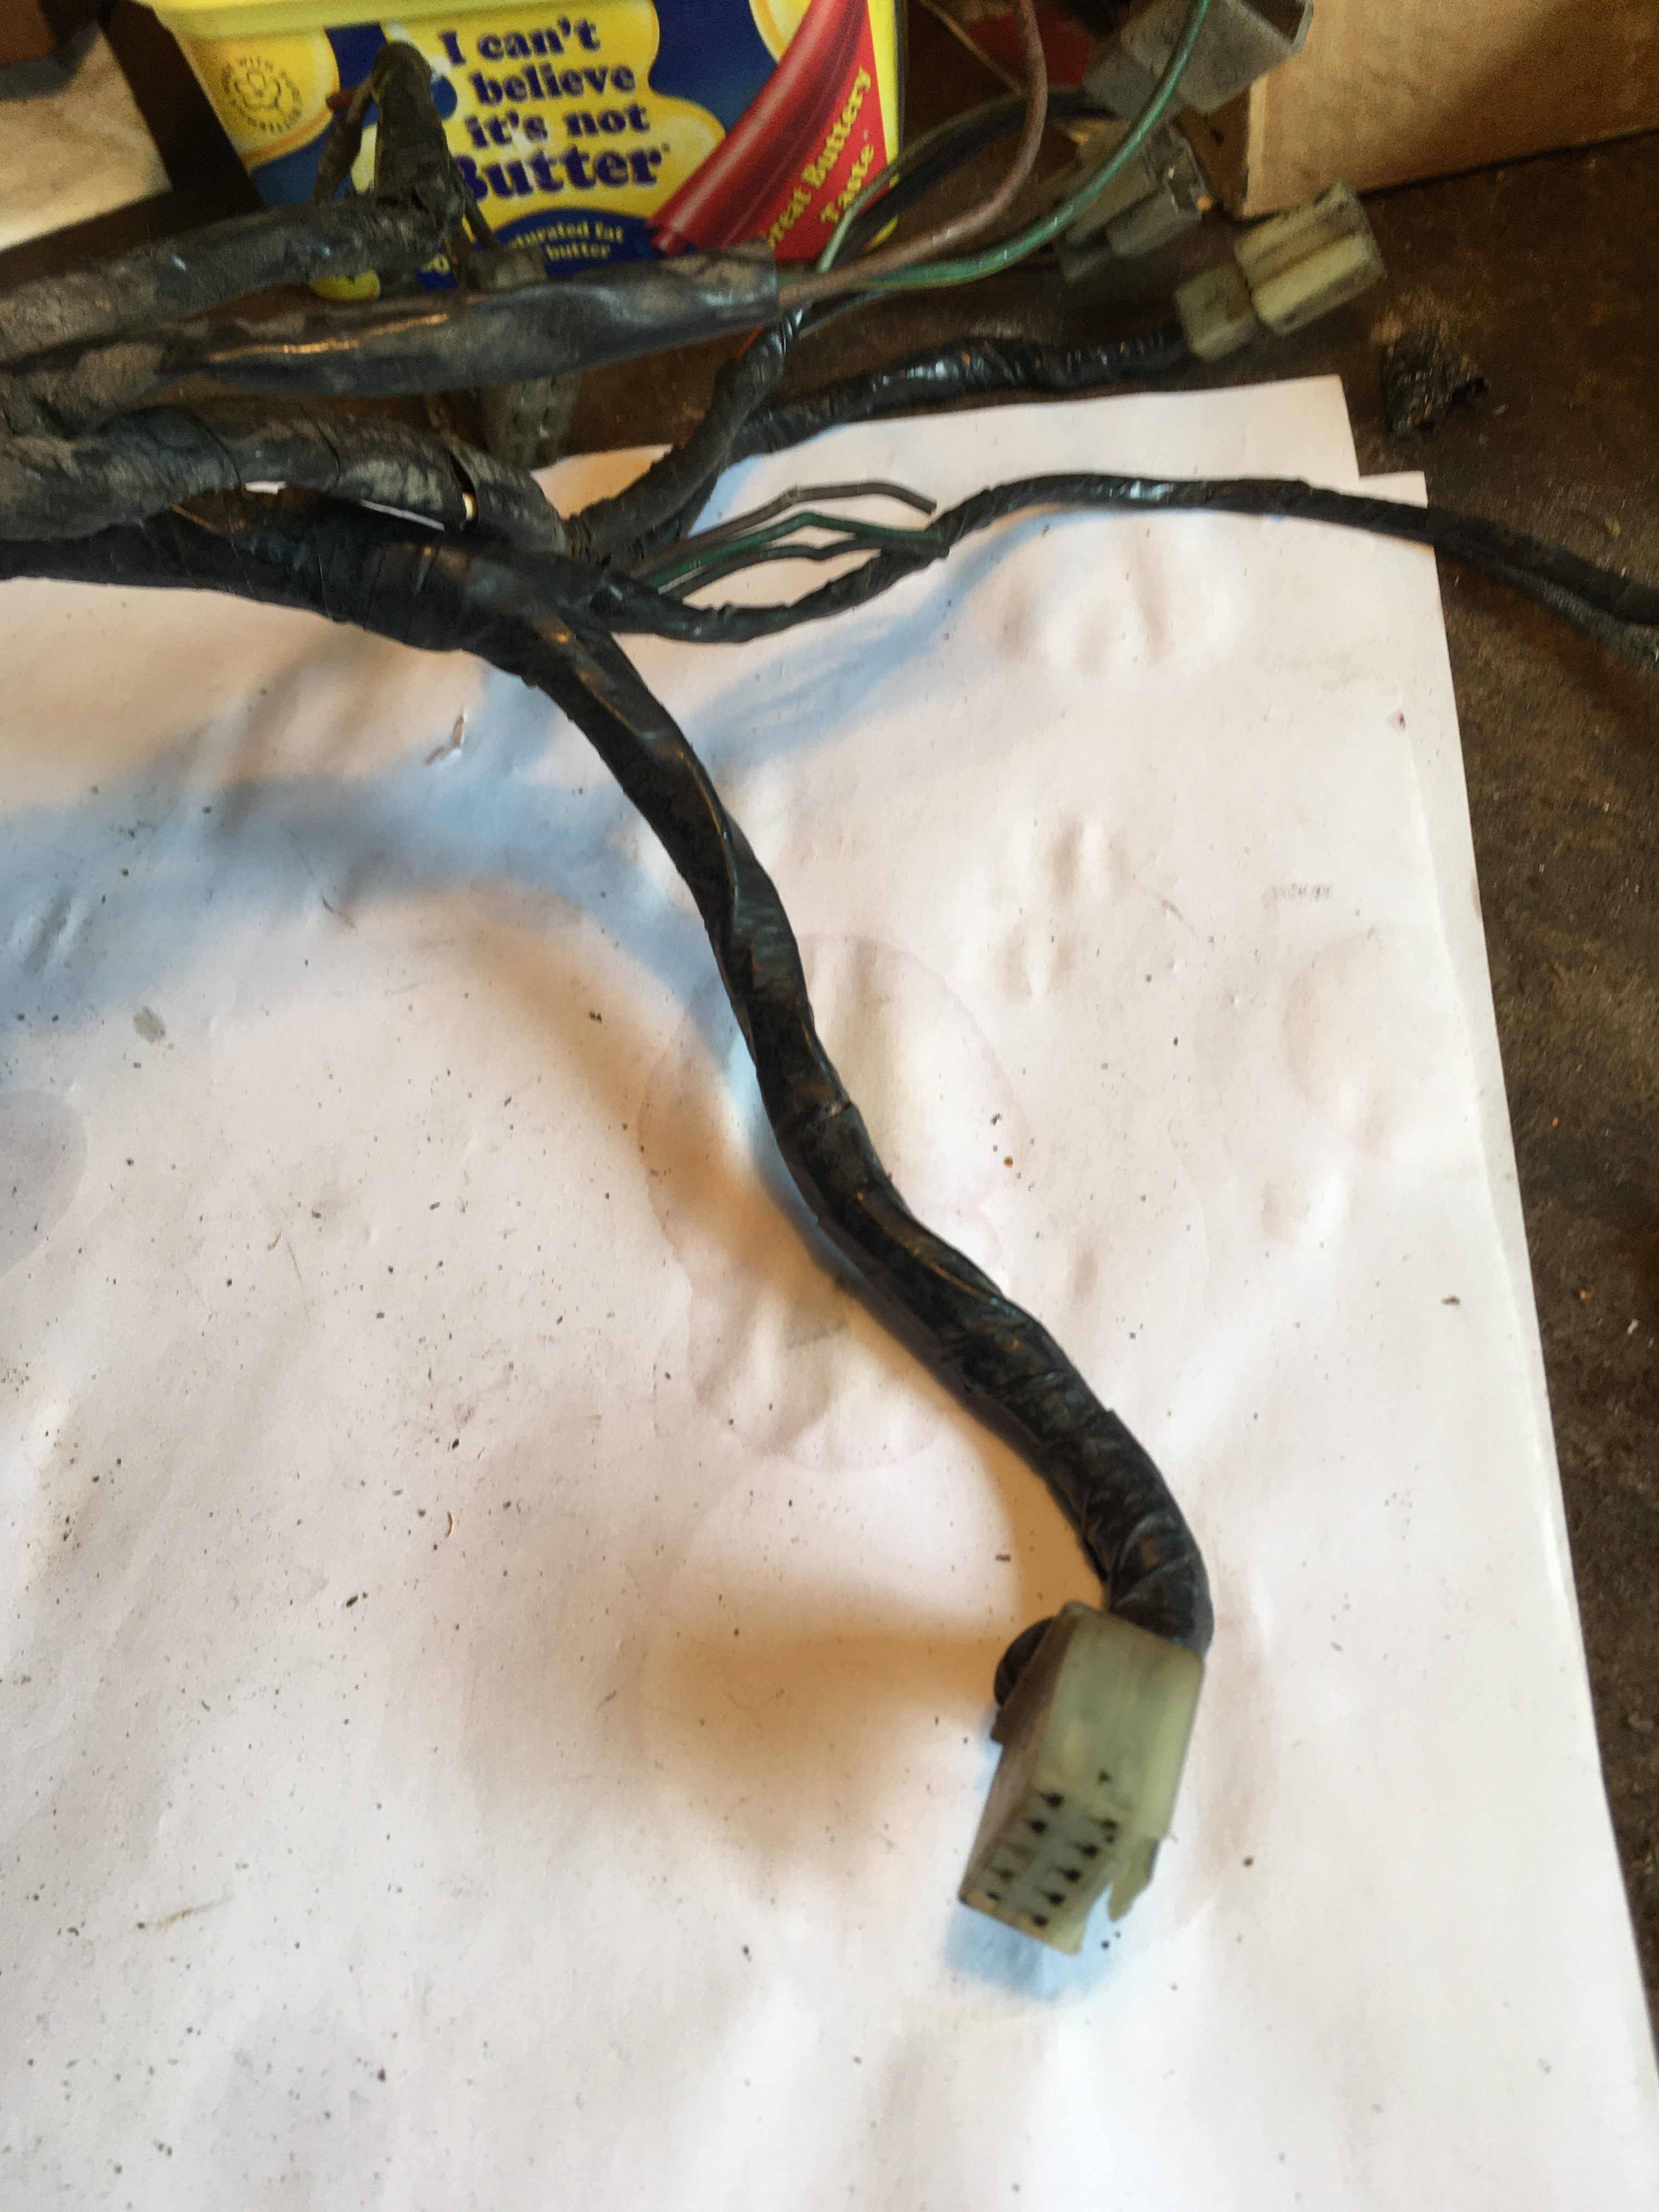
Clump #1 : Headlight
First bit of unwrapping shows that the rogue connector is attached to yellow, green and black wires. This is the headlamp connector for sure.
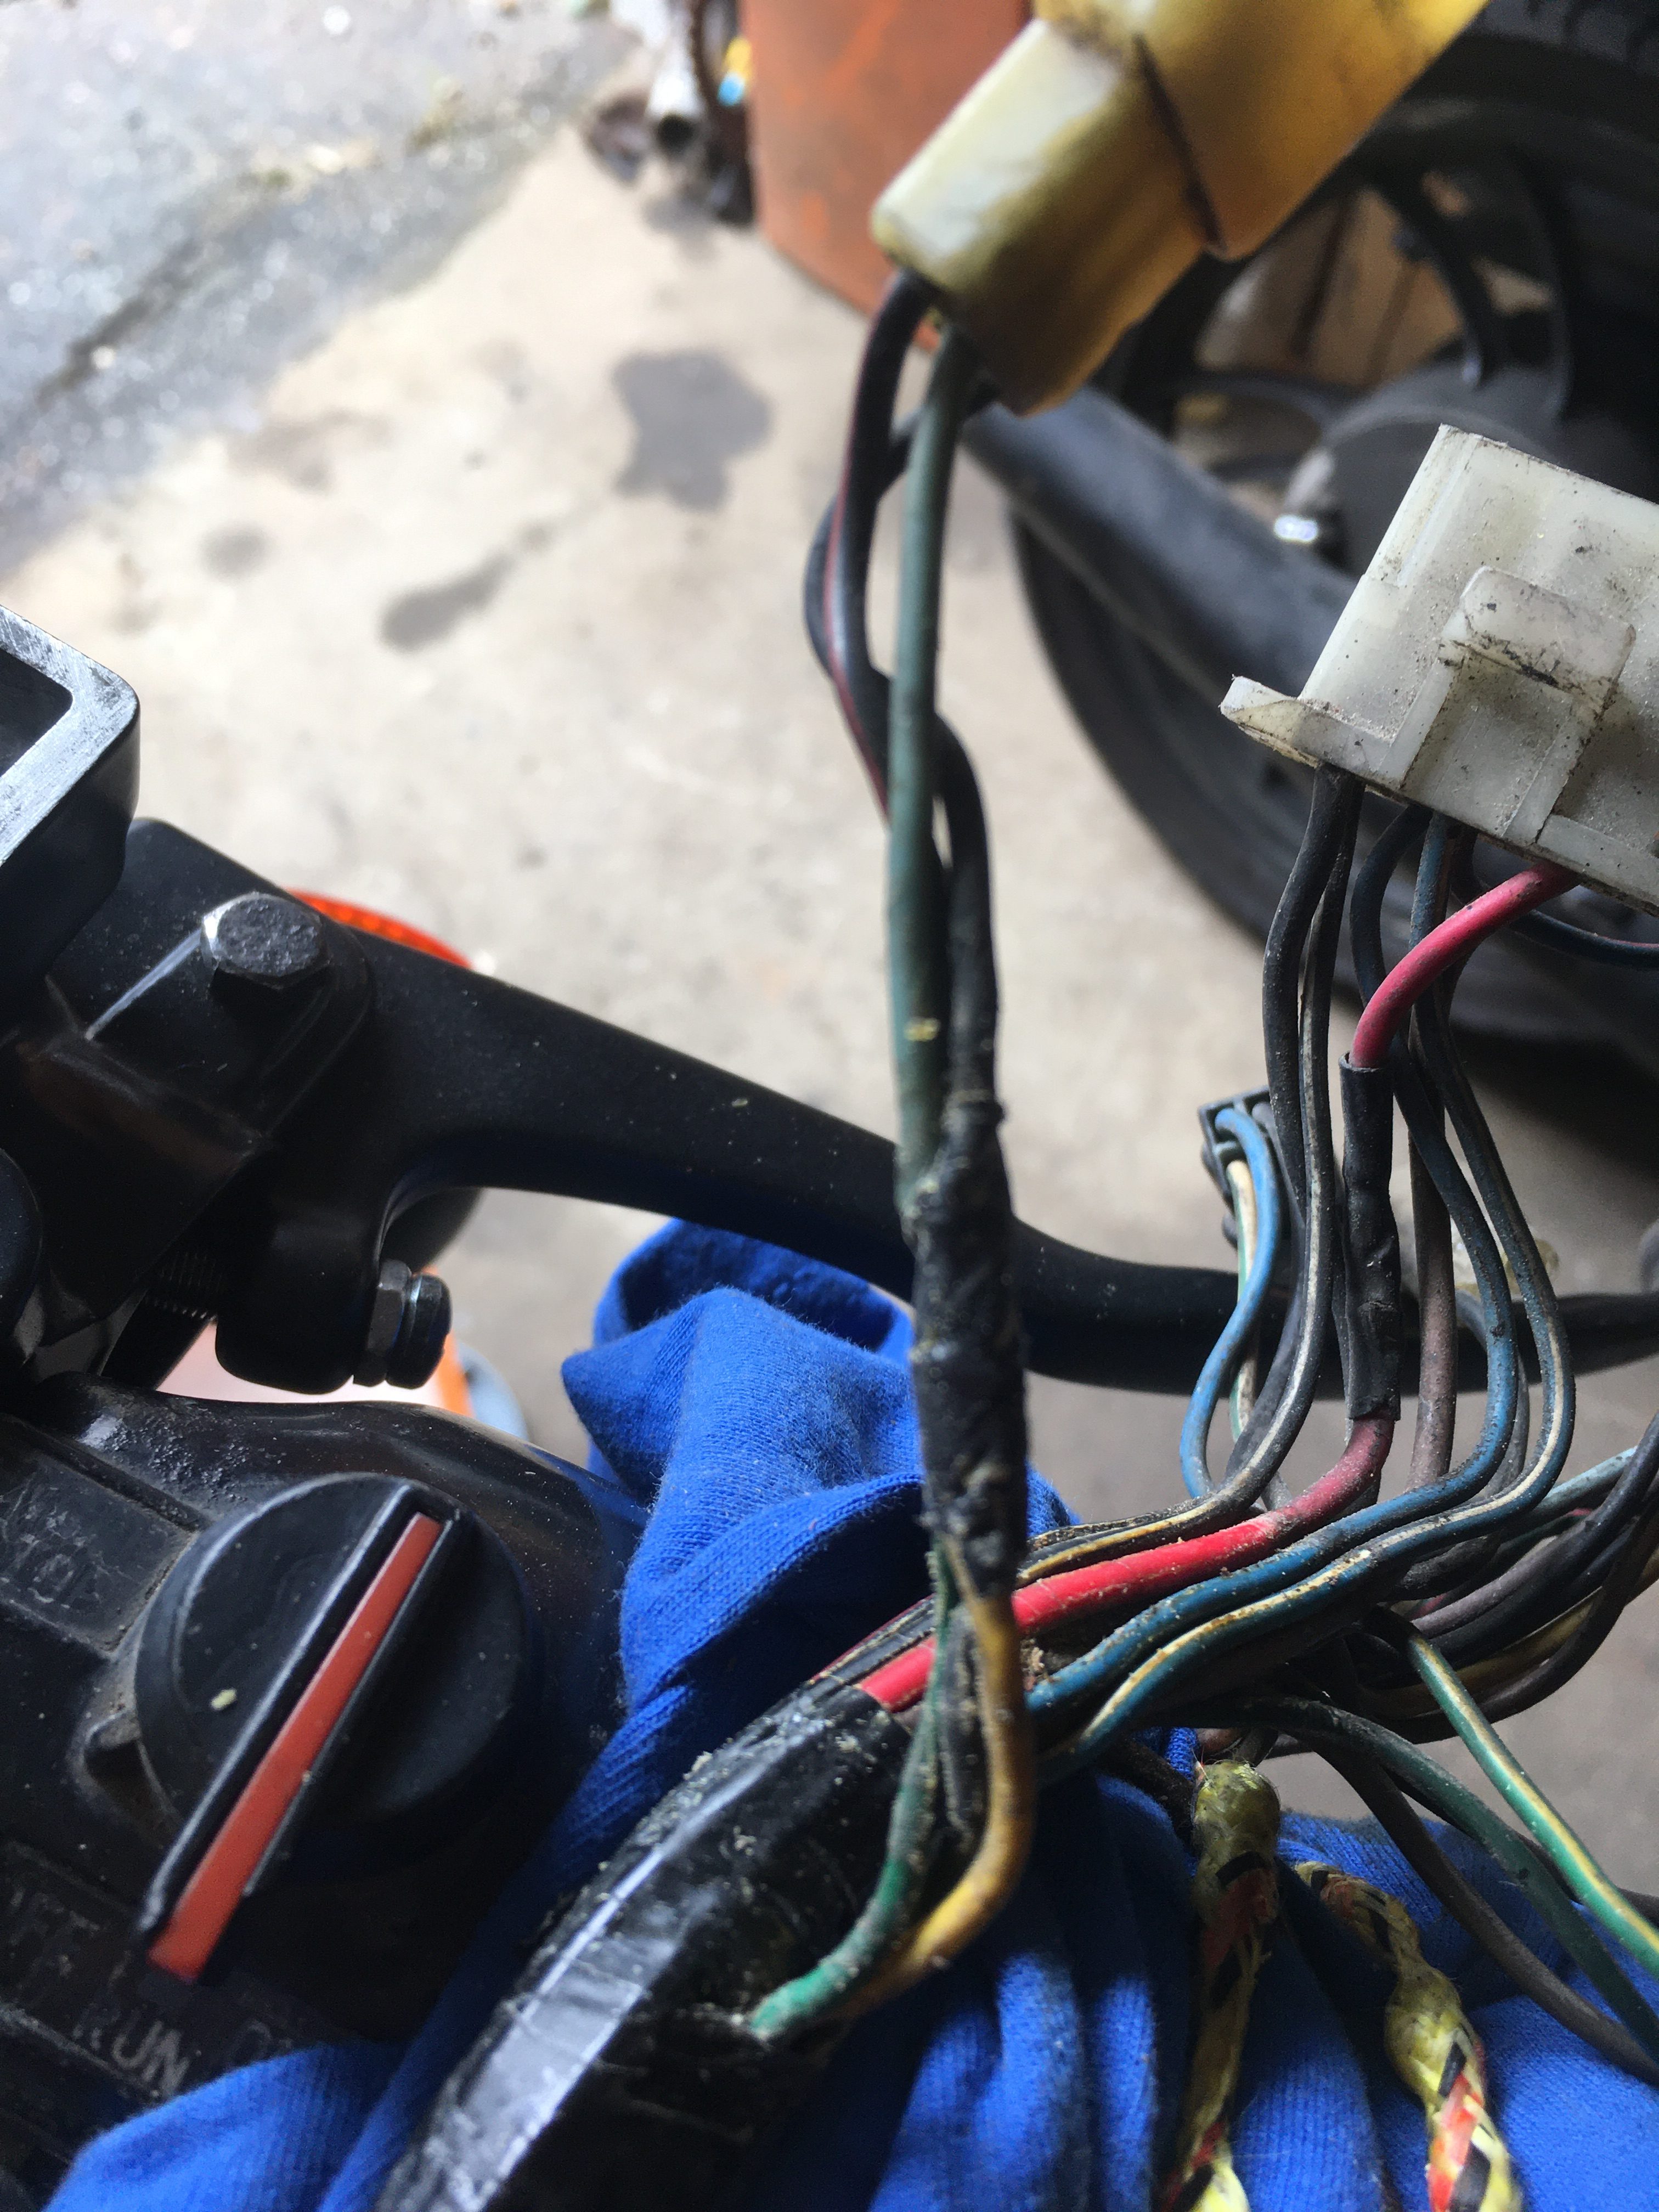
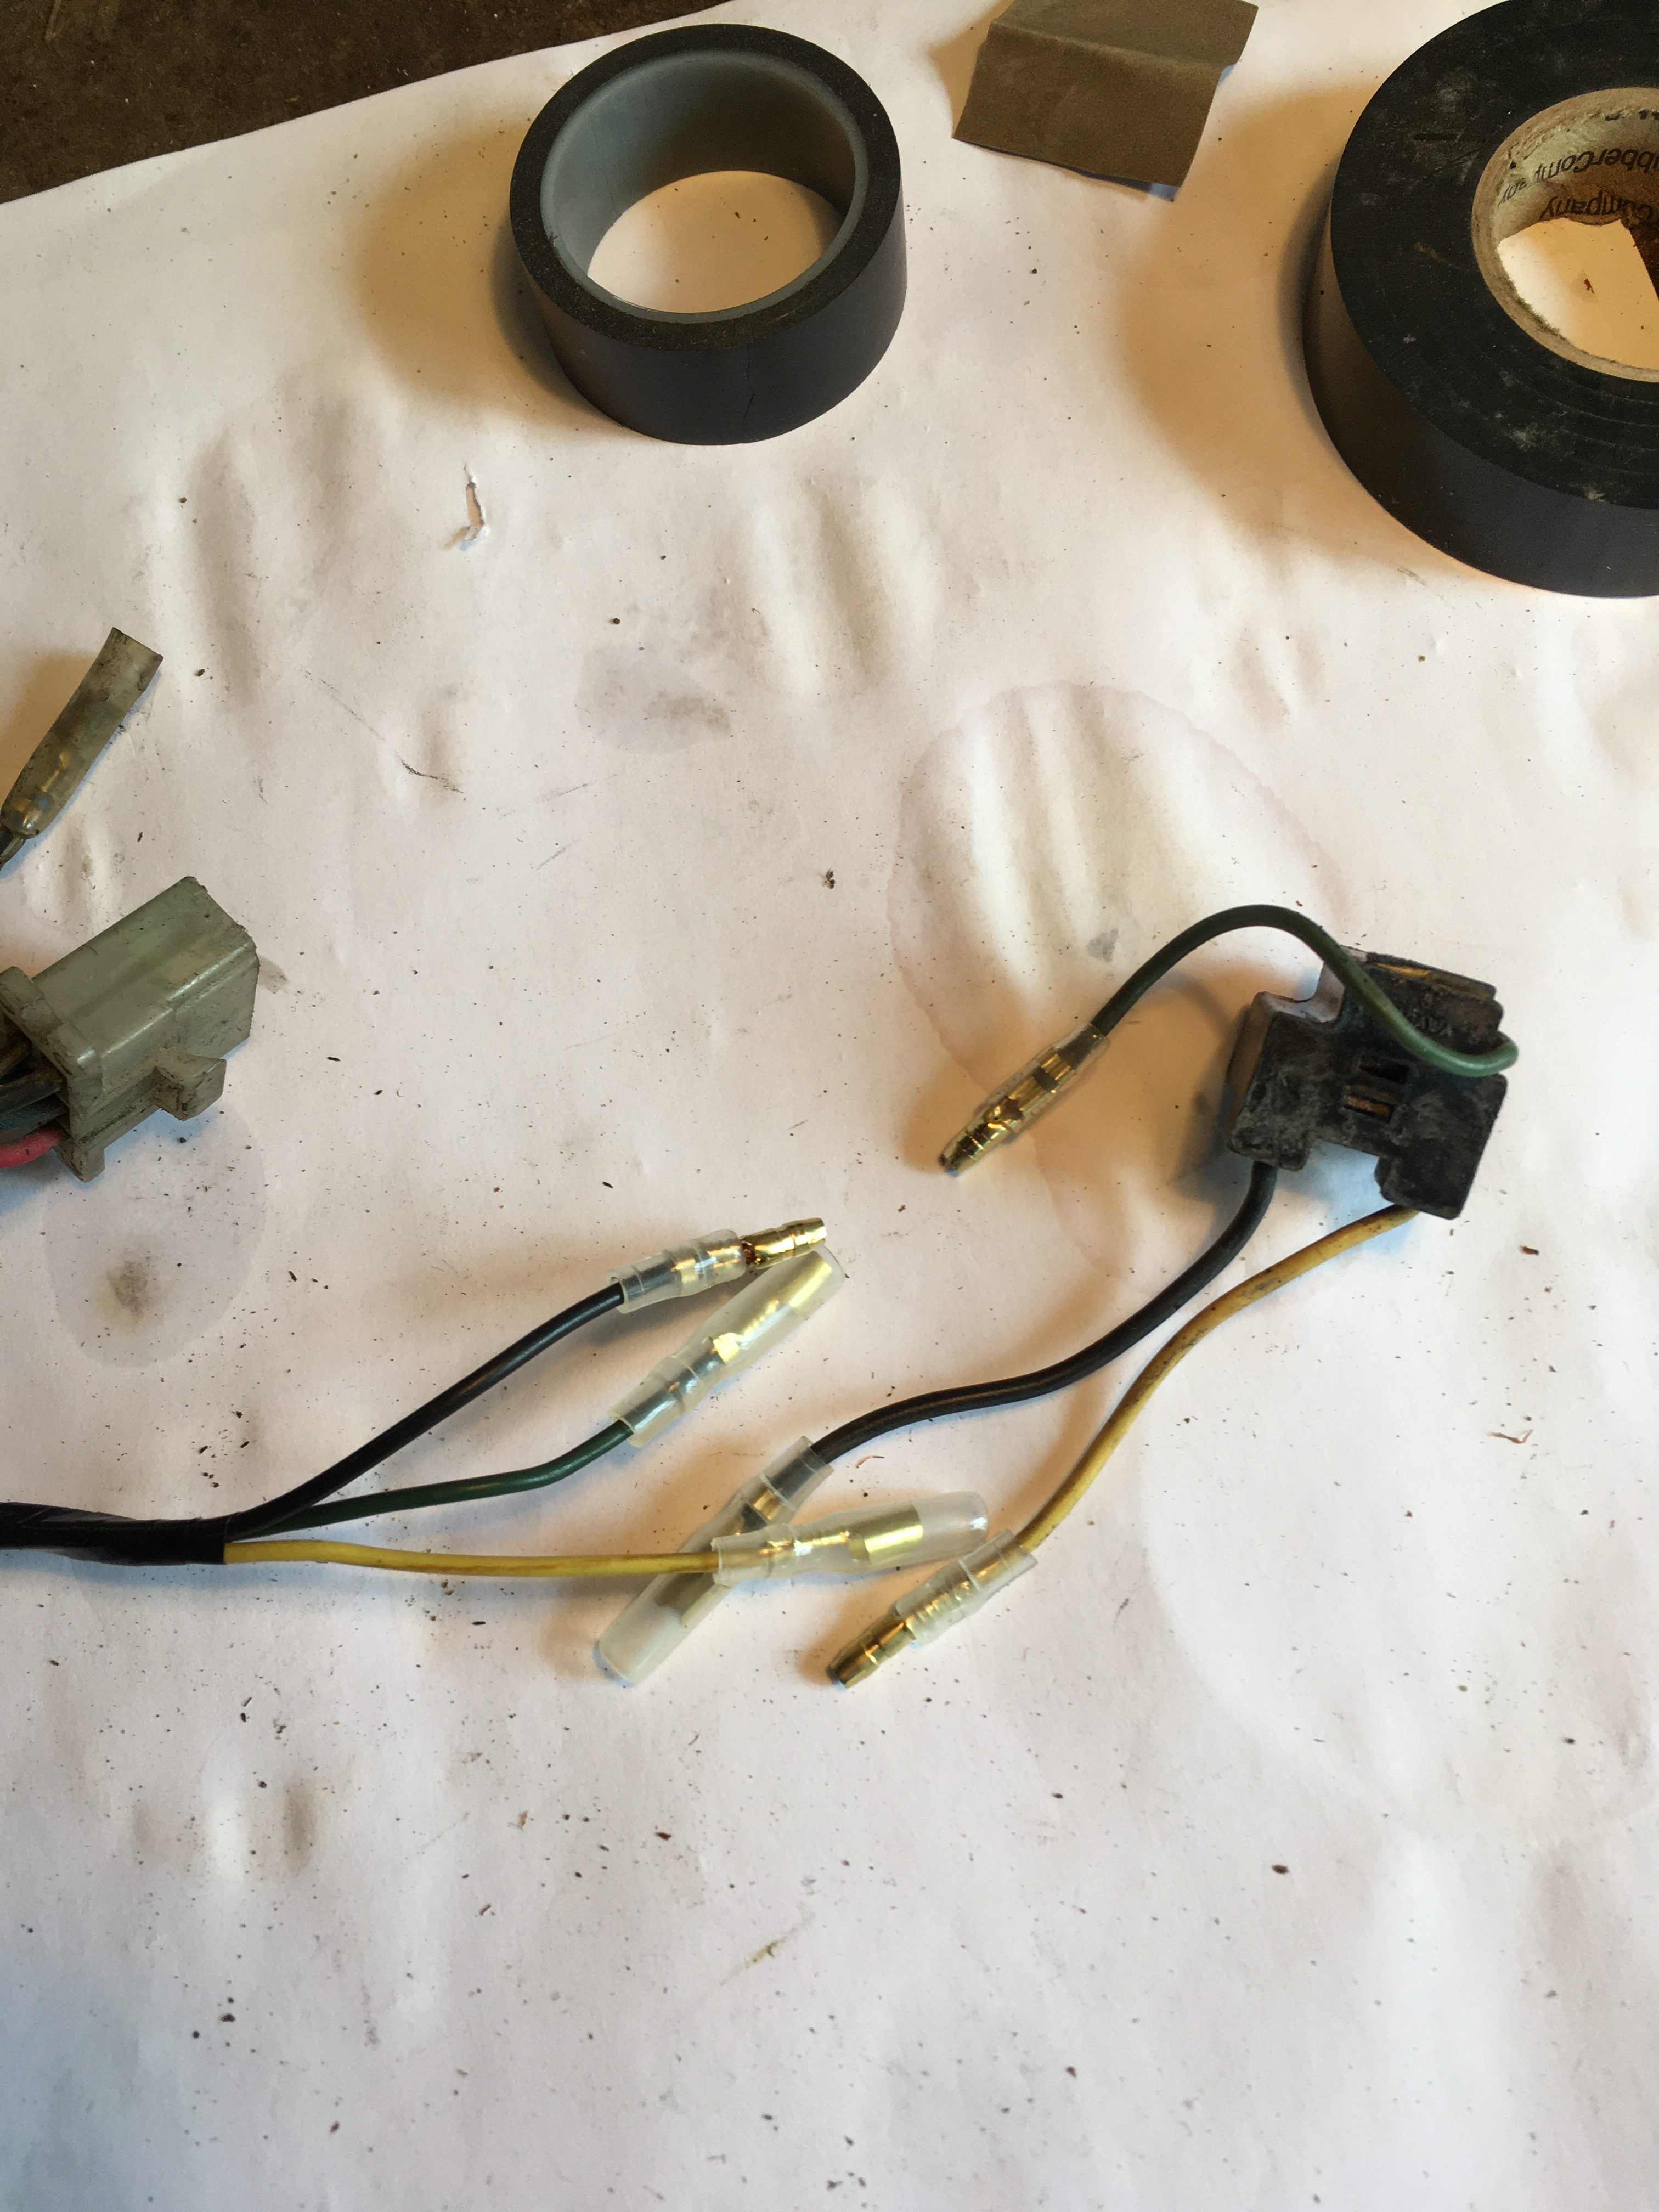
Rather than wiring the connector directly into the loom, (as shown in the wiring diagram), I think I’ll use bullet connectors to give a bit of flexibility.
I need to extend the yellow, green and black wires and crimp on female bullets to the yellow and green, and a male bullet to the black.
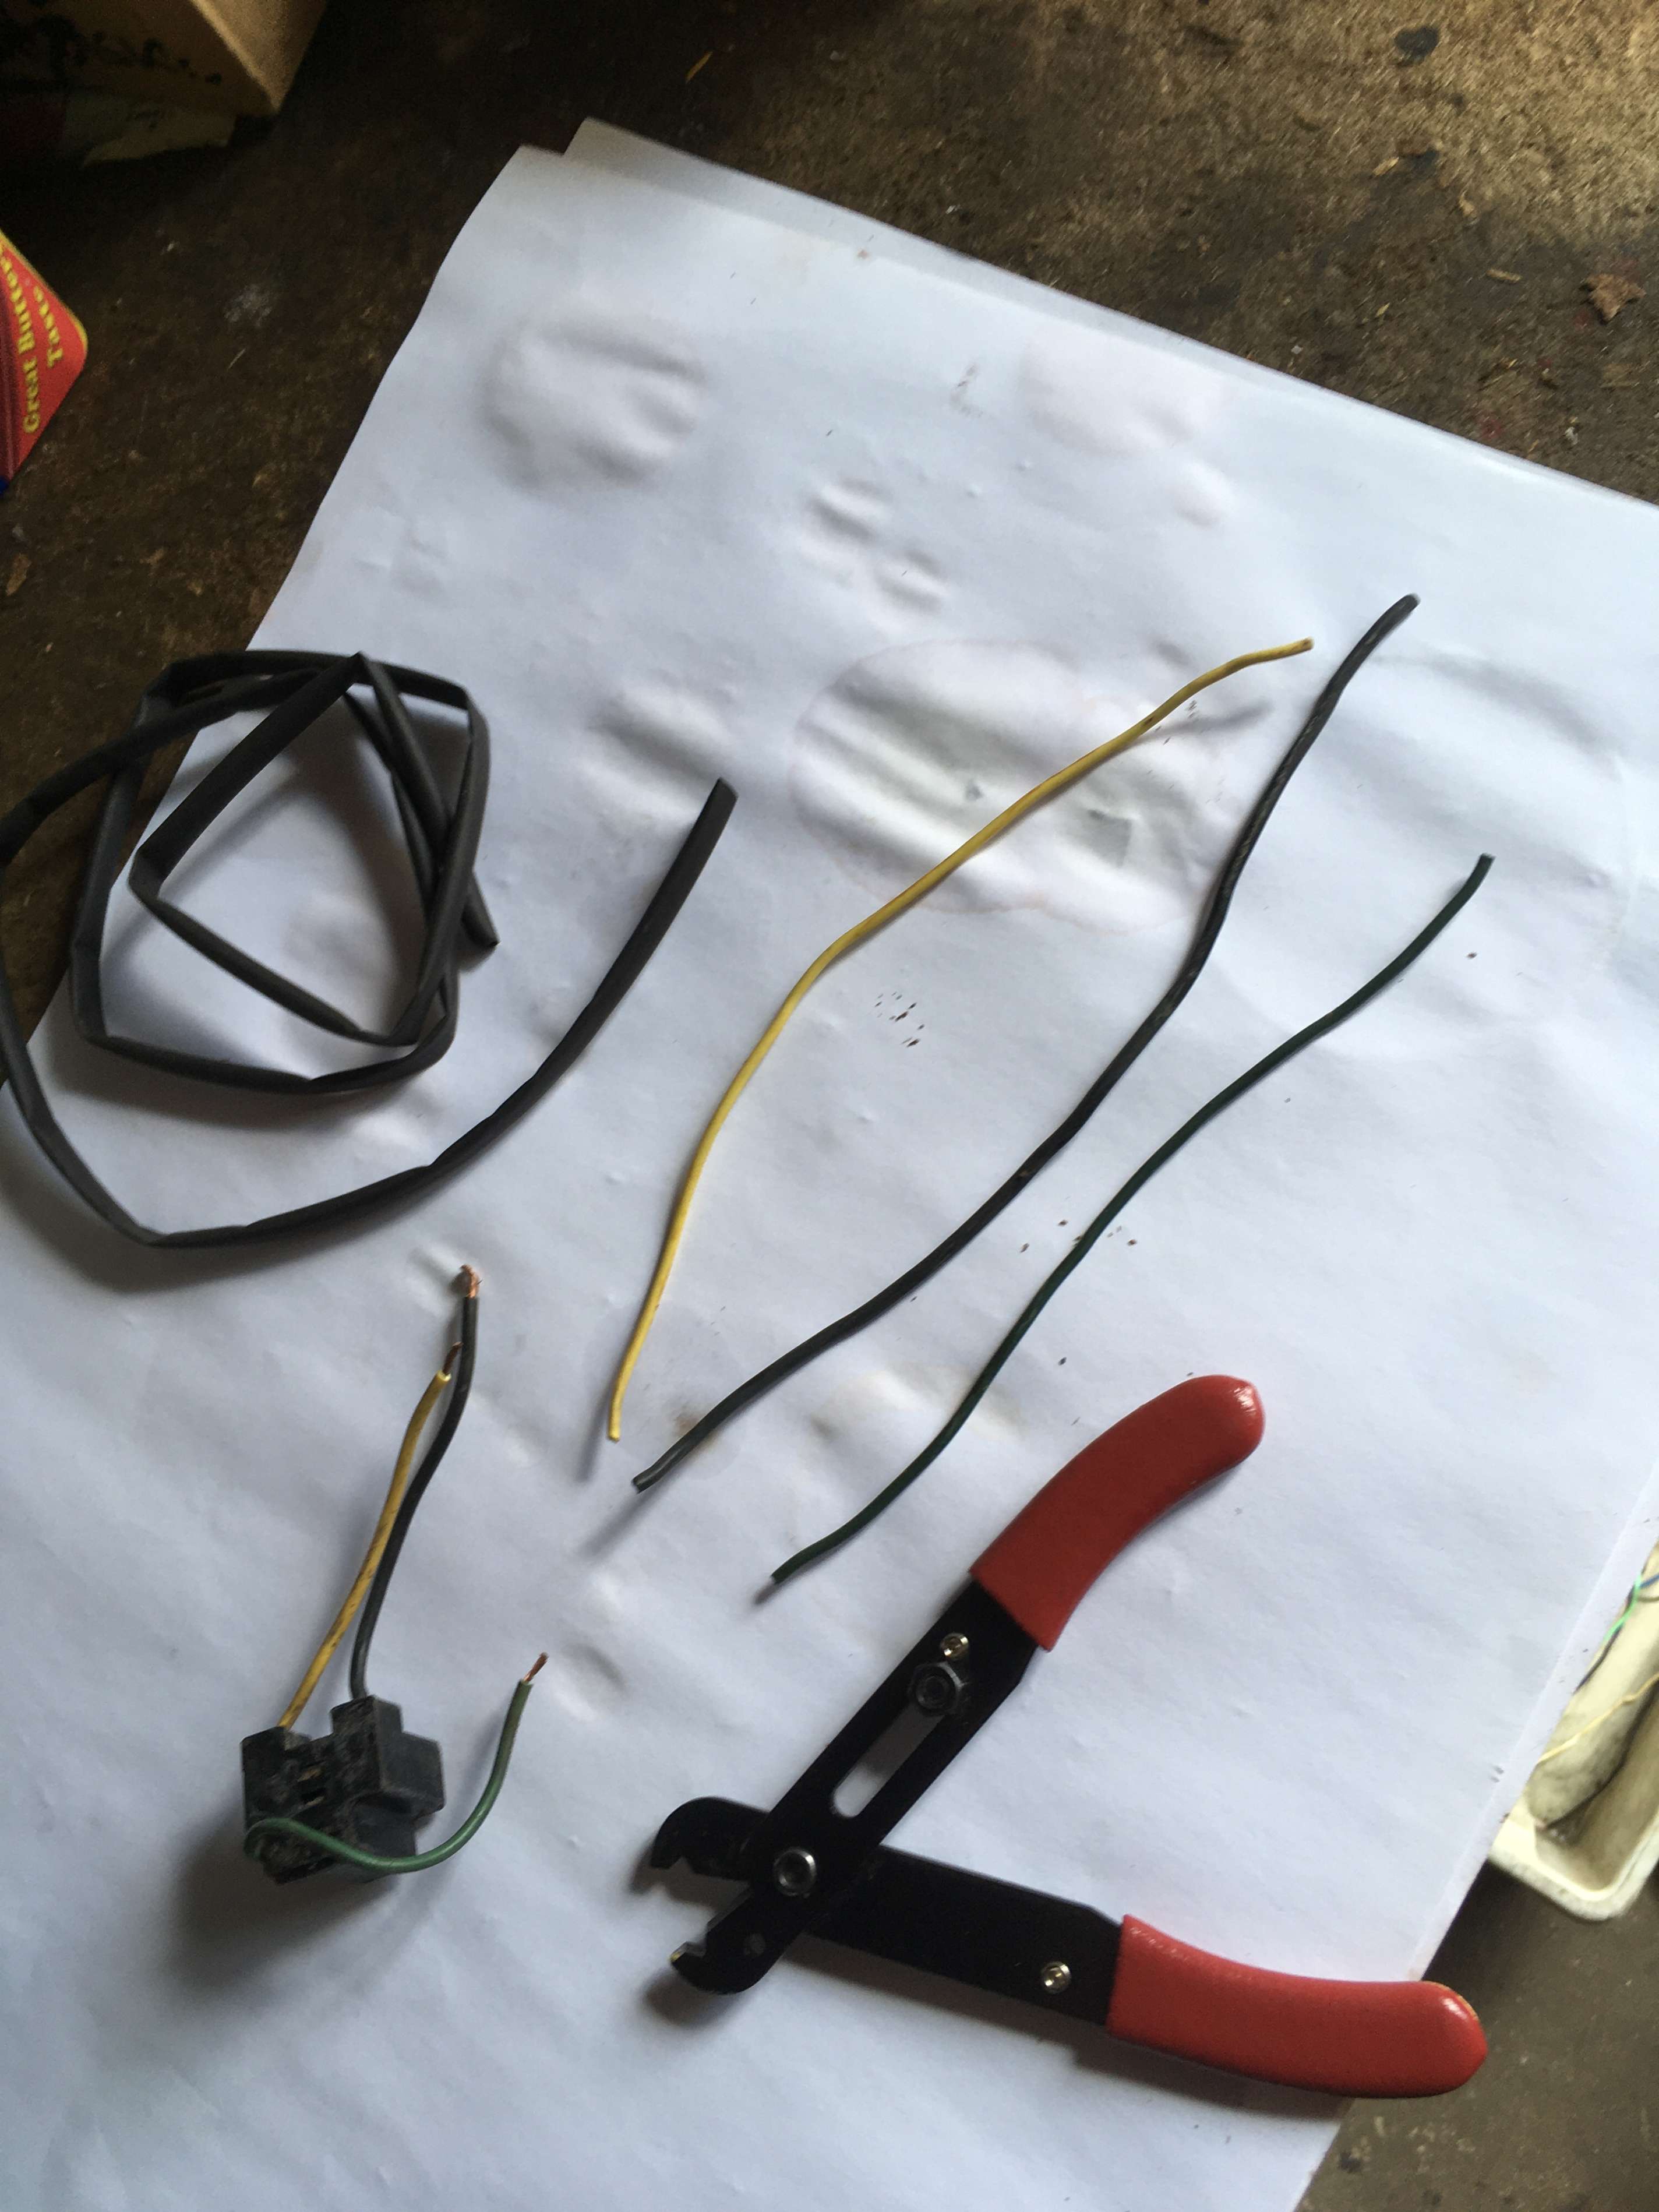
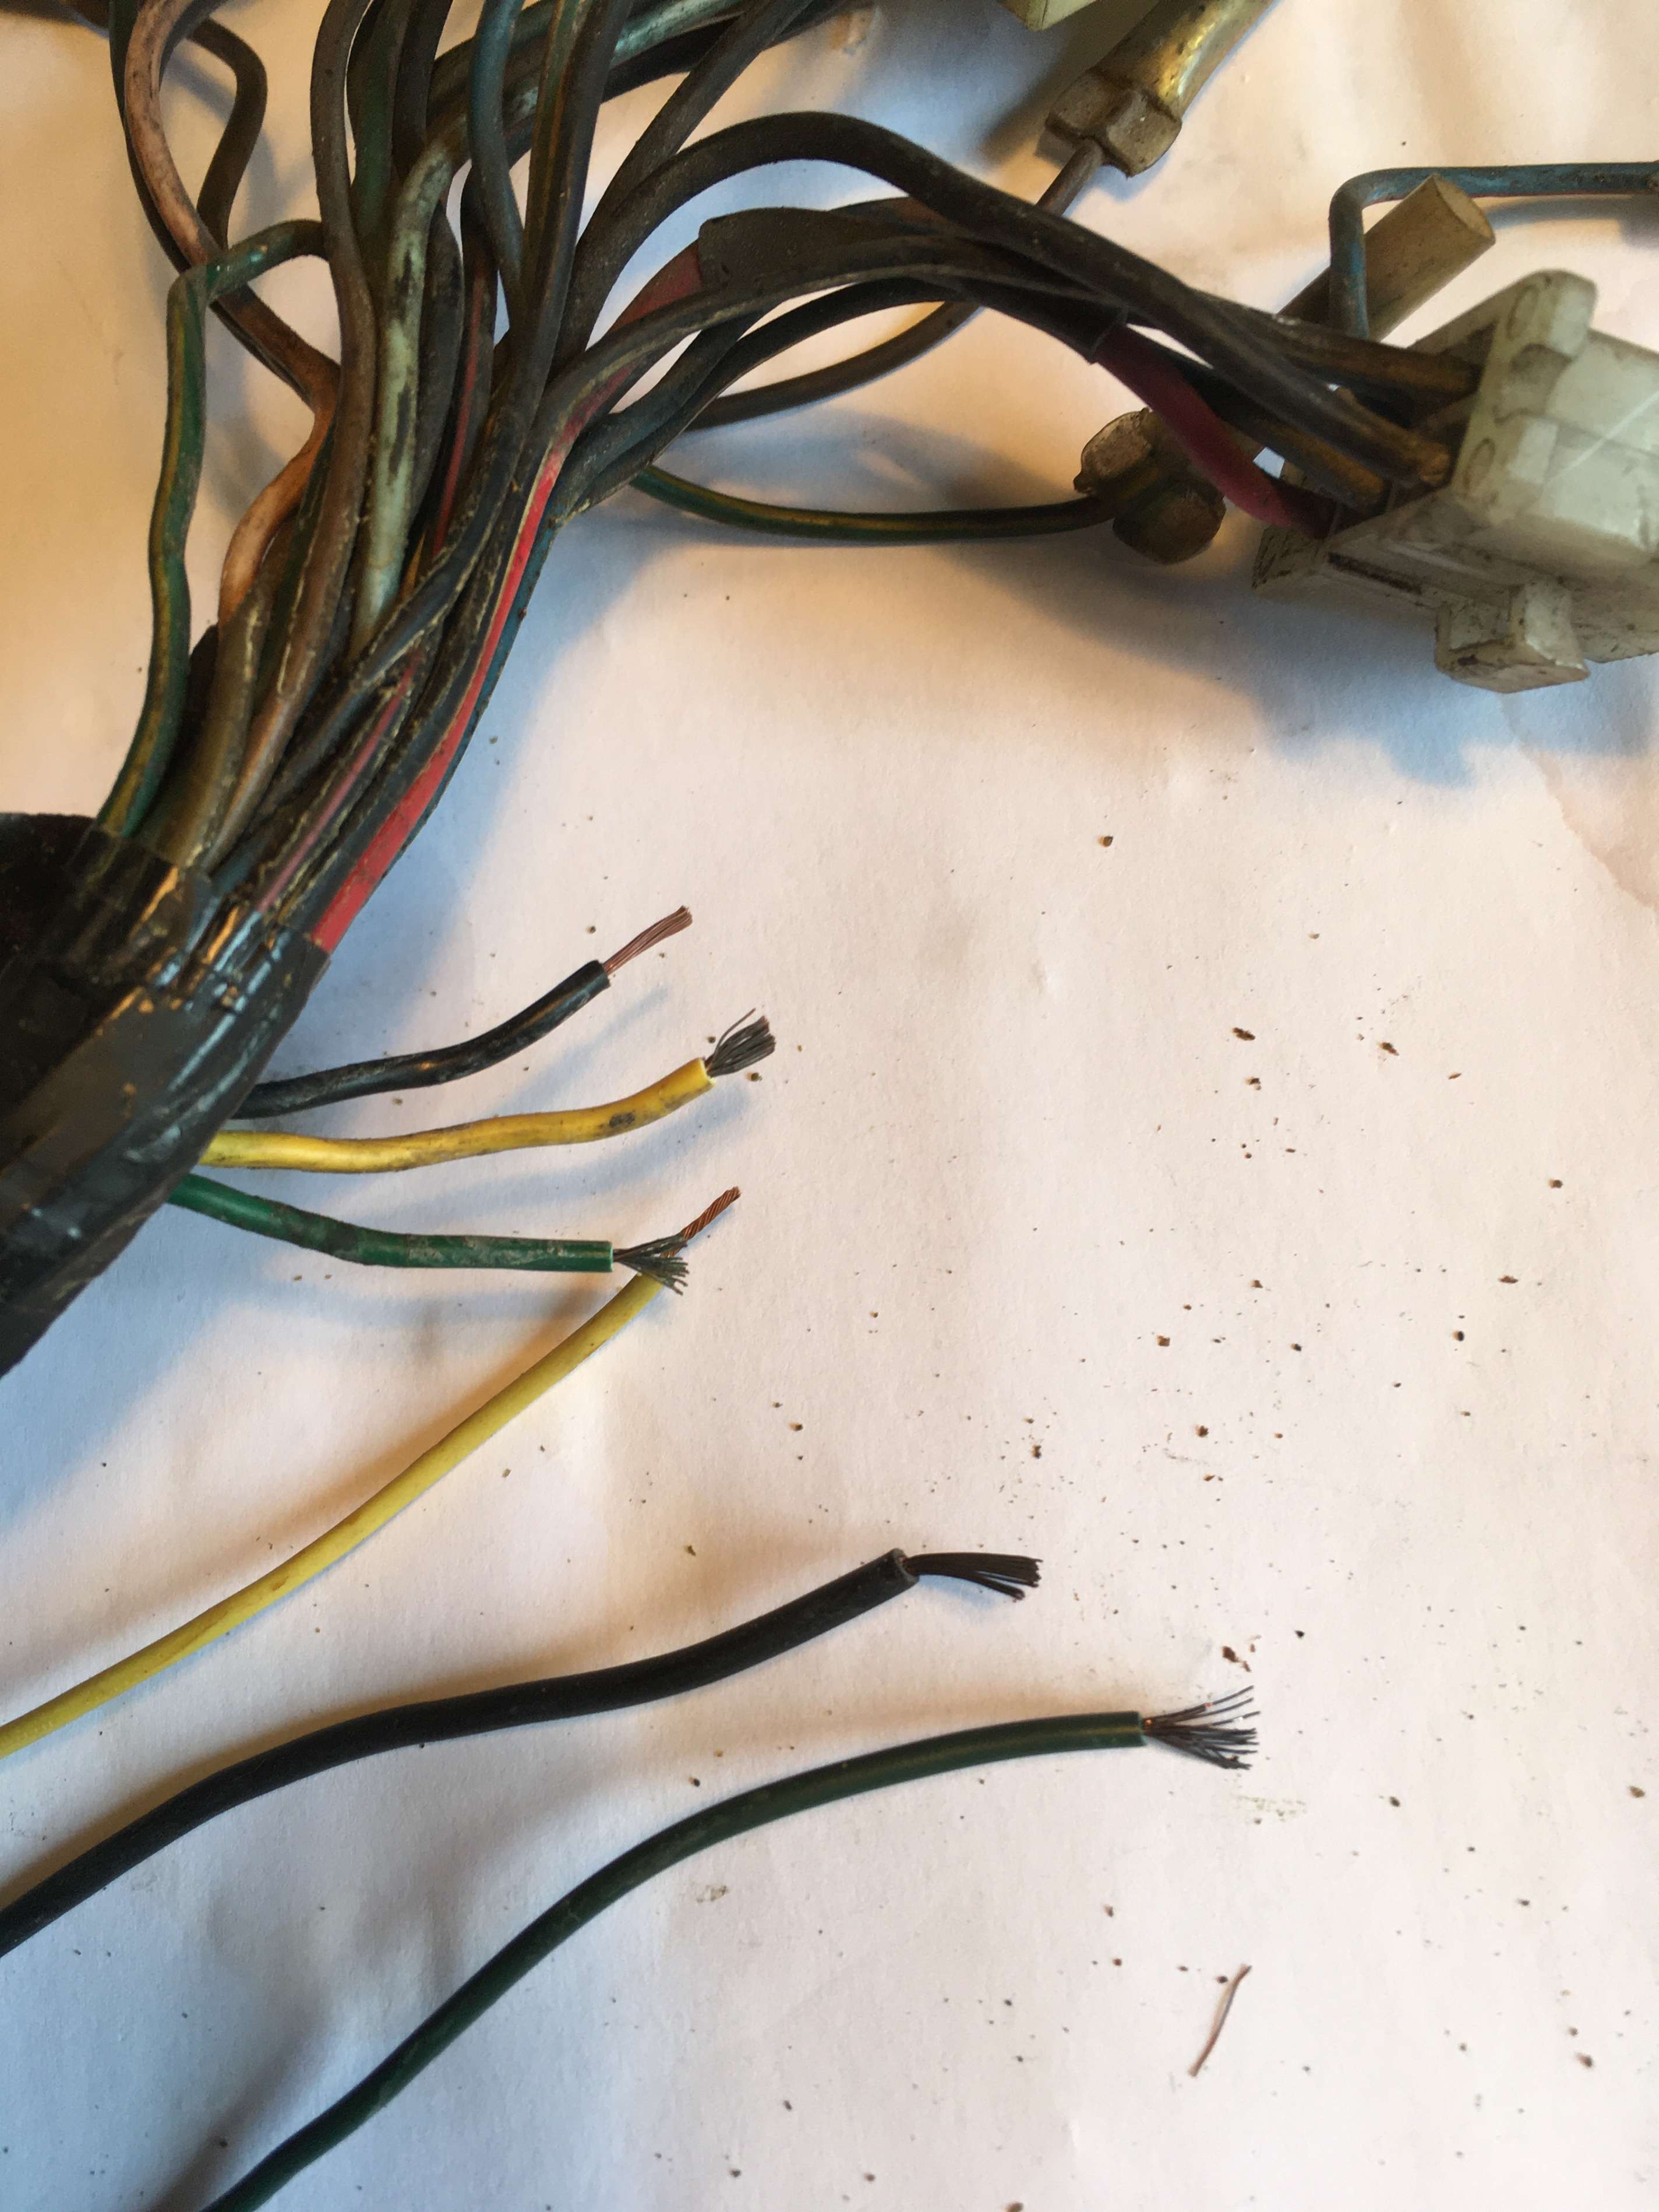
Stripping back the insulation on both the loom wires and the reclaimed wires shows black oxidisation of the copper.
I can source better lengths of reclaimed wires, but the loom wires will have to be cleaned up with some 1200 wet ‘n’ dry before crimping.
now I can crimp the wires end to end, and then cut off the double barrelled female connector leaving a neat connection.
cover it with heat shrink and it ready for re-wrapping.
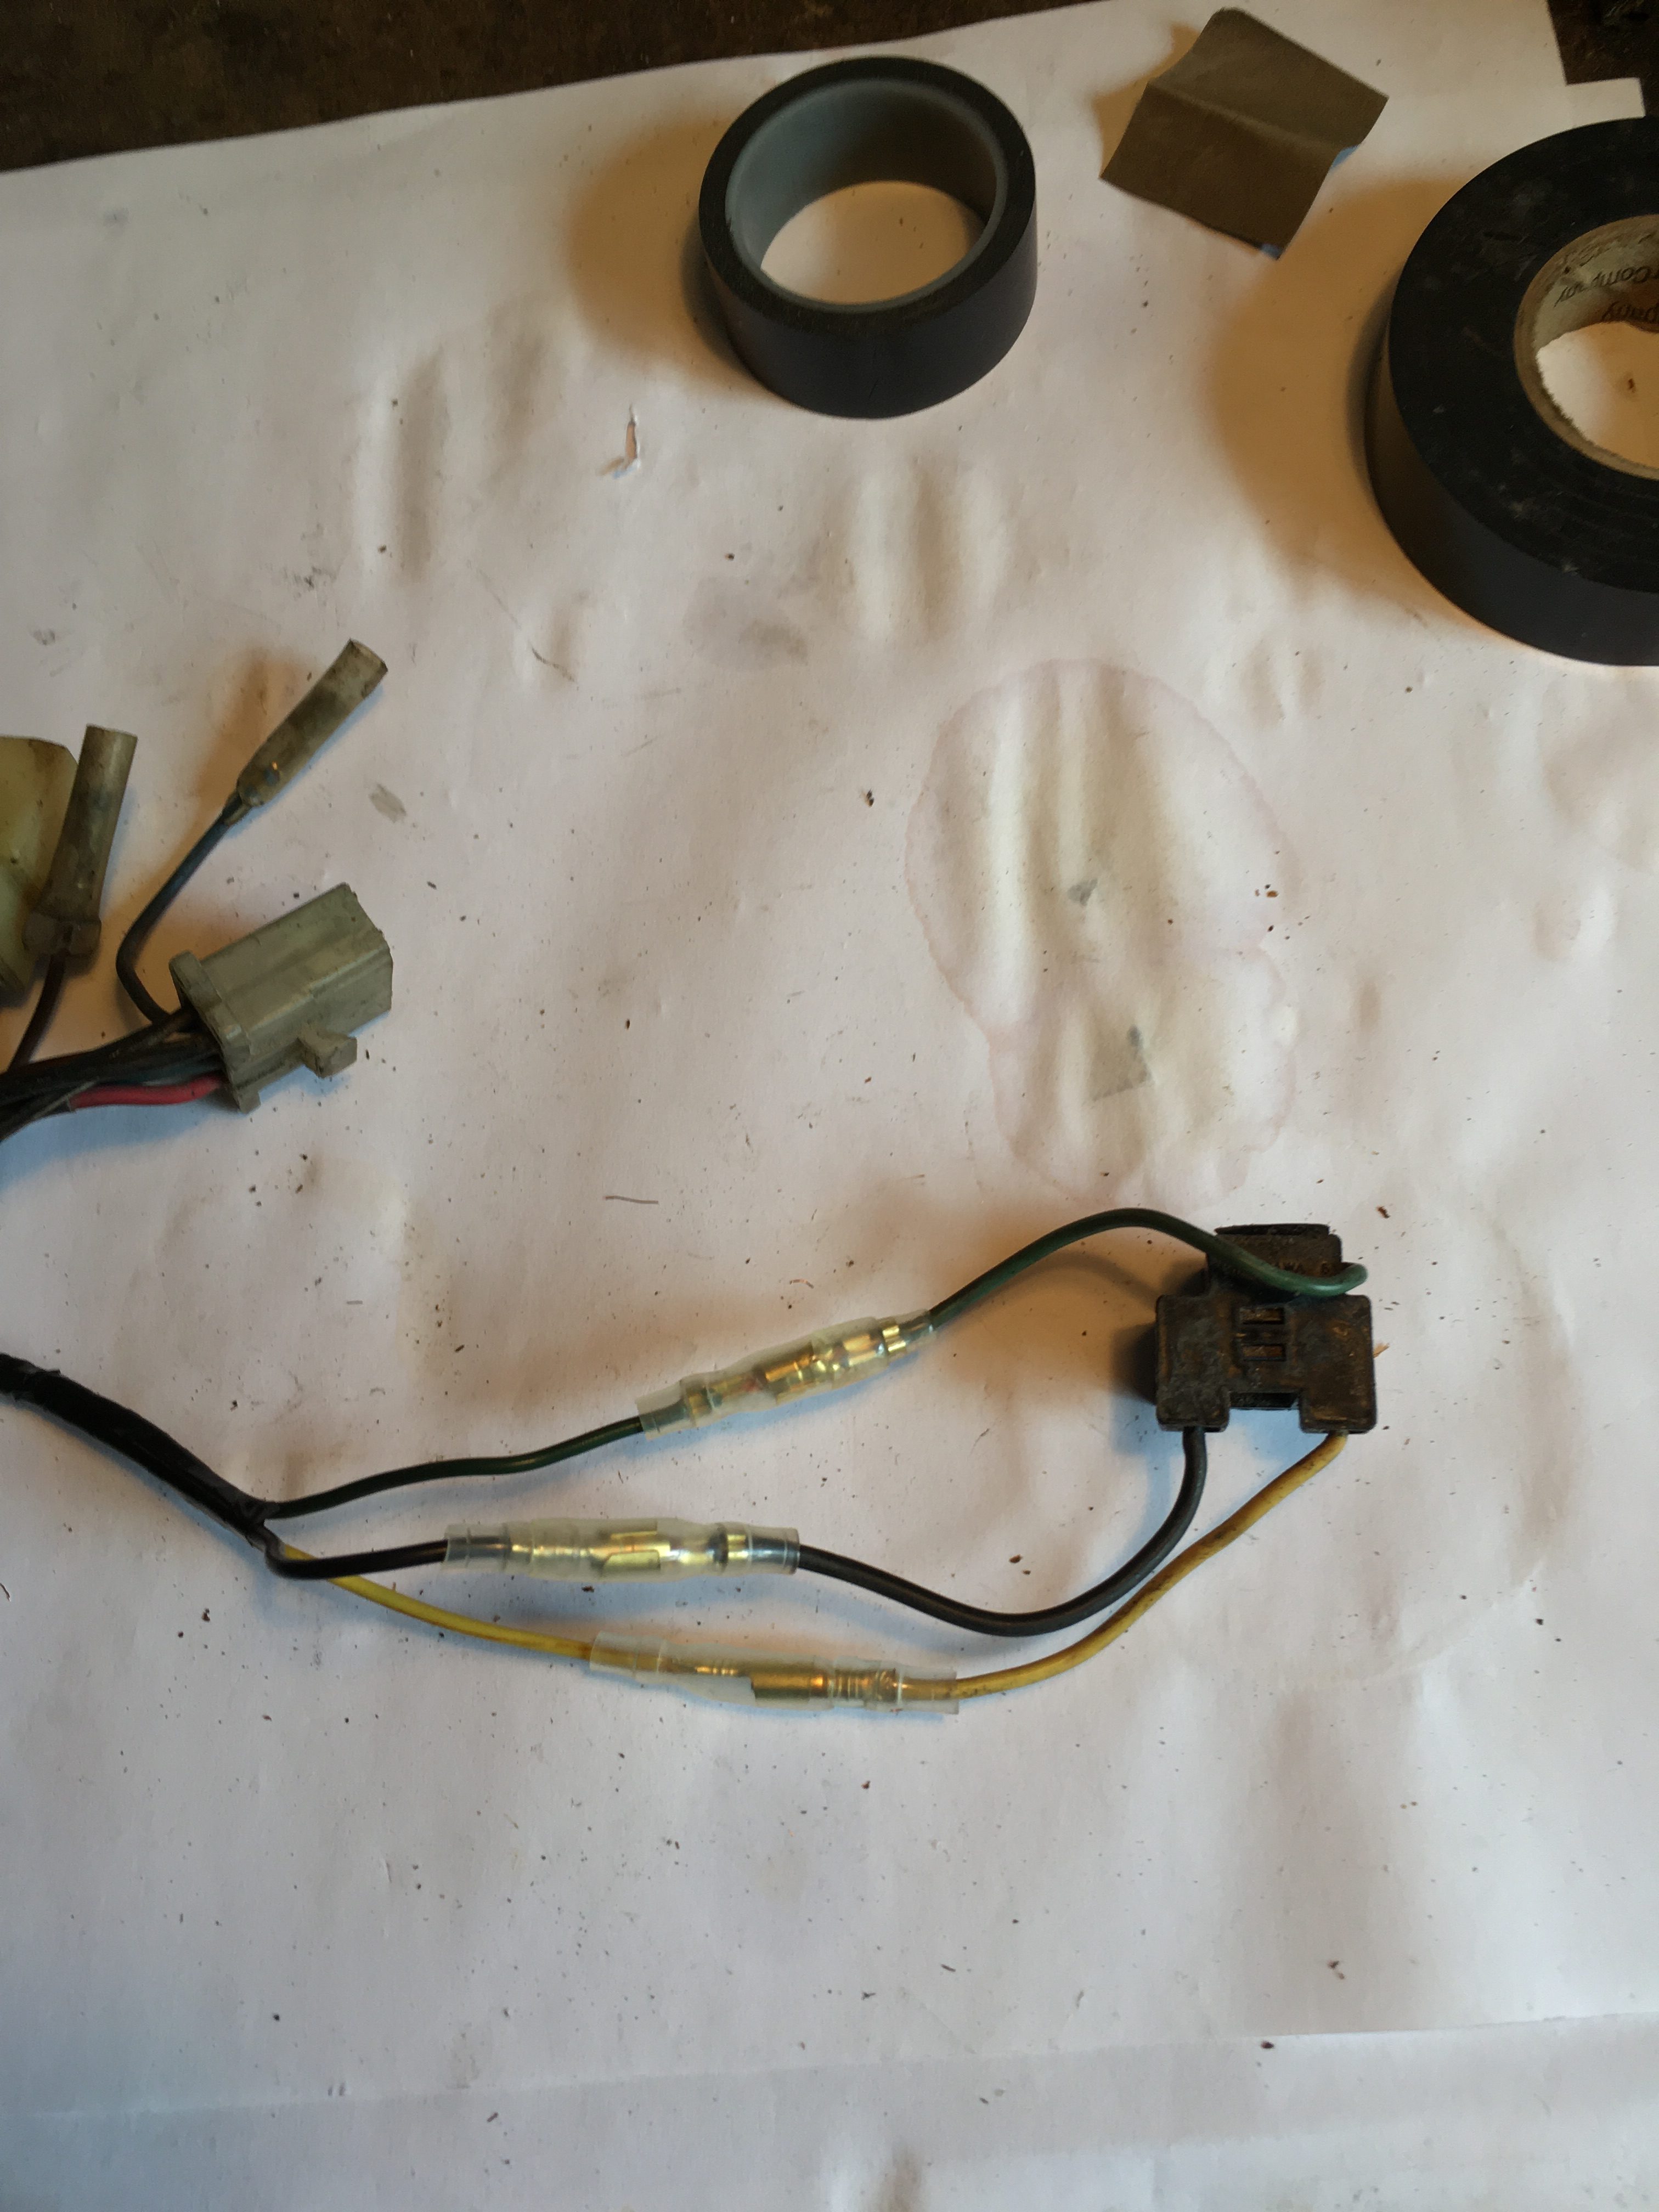
Add the bullet males and females and the headlamp connector is on.
One last addition is the provision of a horn harness which plugs in inside the headlamp shell.
i sourced lengths of pink and brown wire from a spare loom, and the plug connector (with the wrong coloured wires), from another. Crimped together and covered with tape, it looks good.
The spade connectors drop out of the bottom hole in the headshell and connect to the horn.
…and this clump is finished.

Corrosion 
Ensure wires are clean and shiny 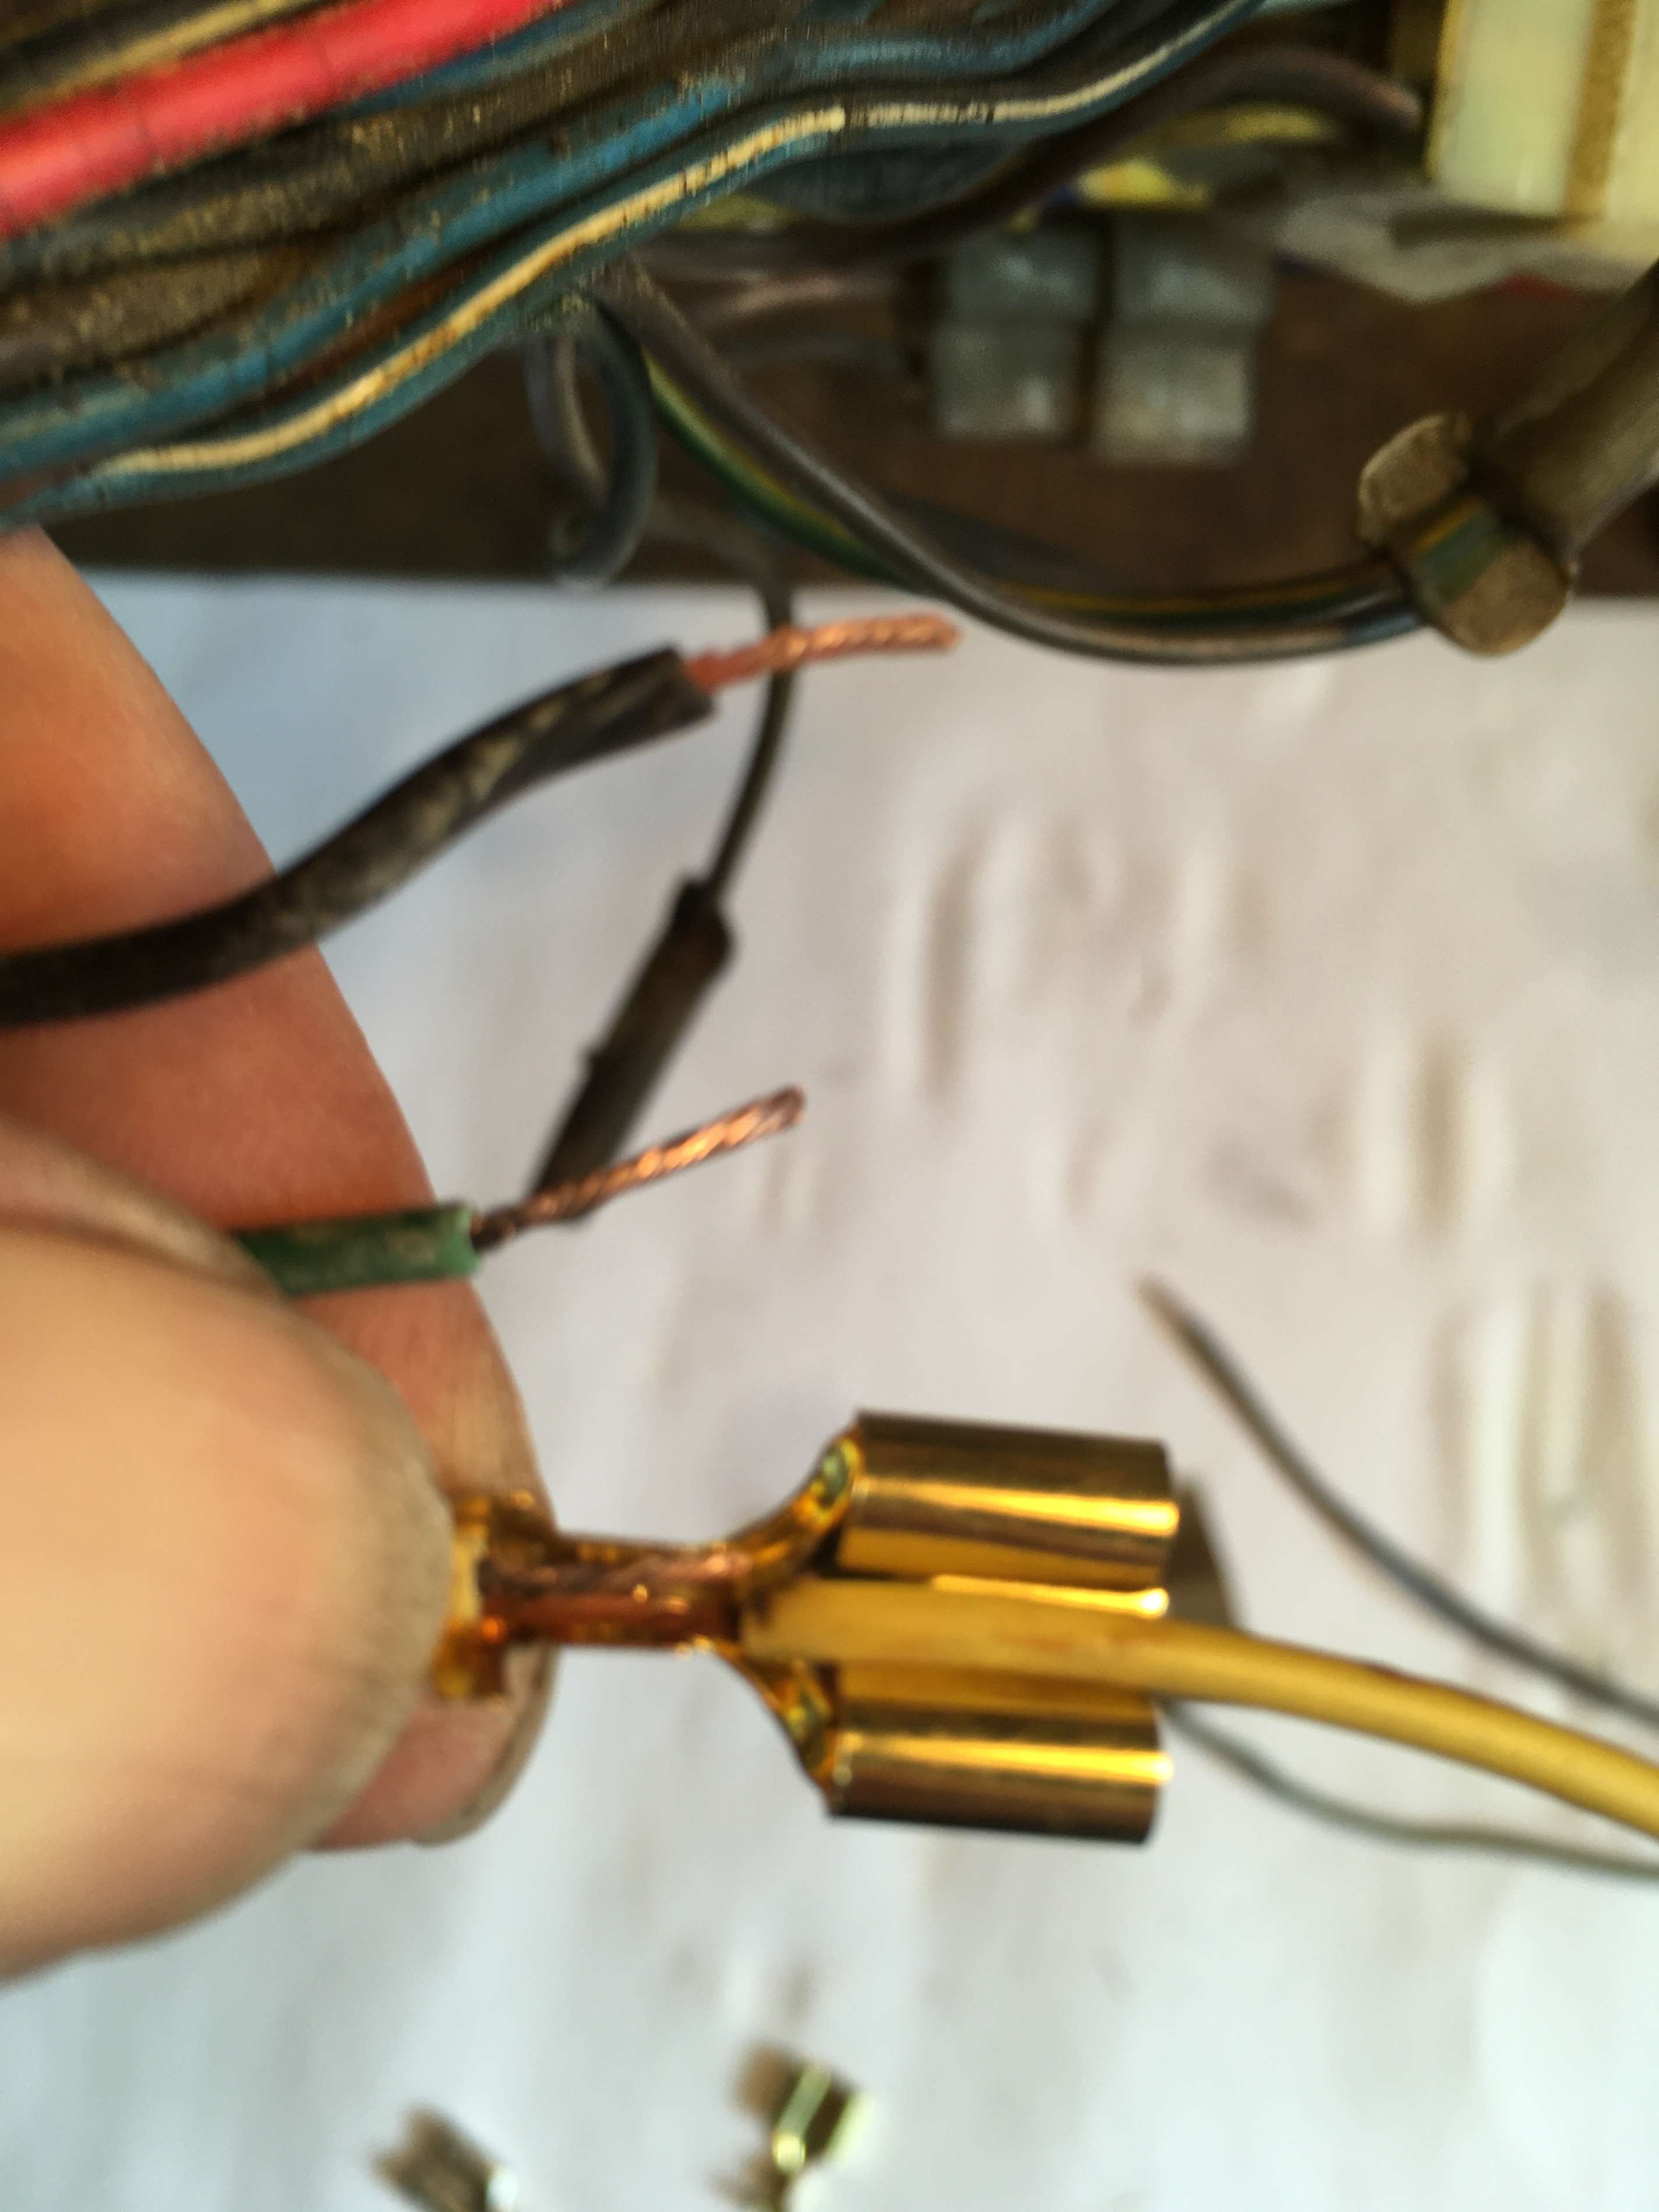
Hold wires in place end to end 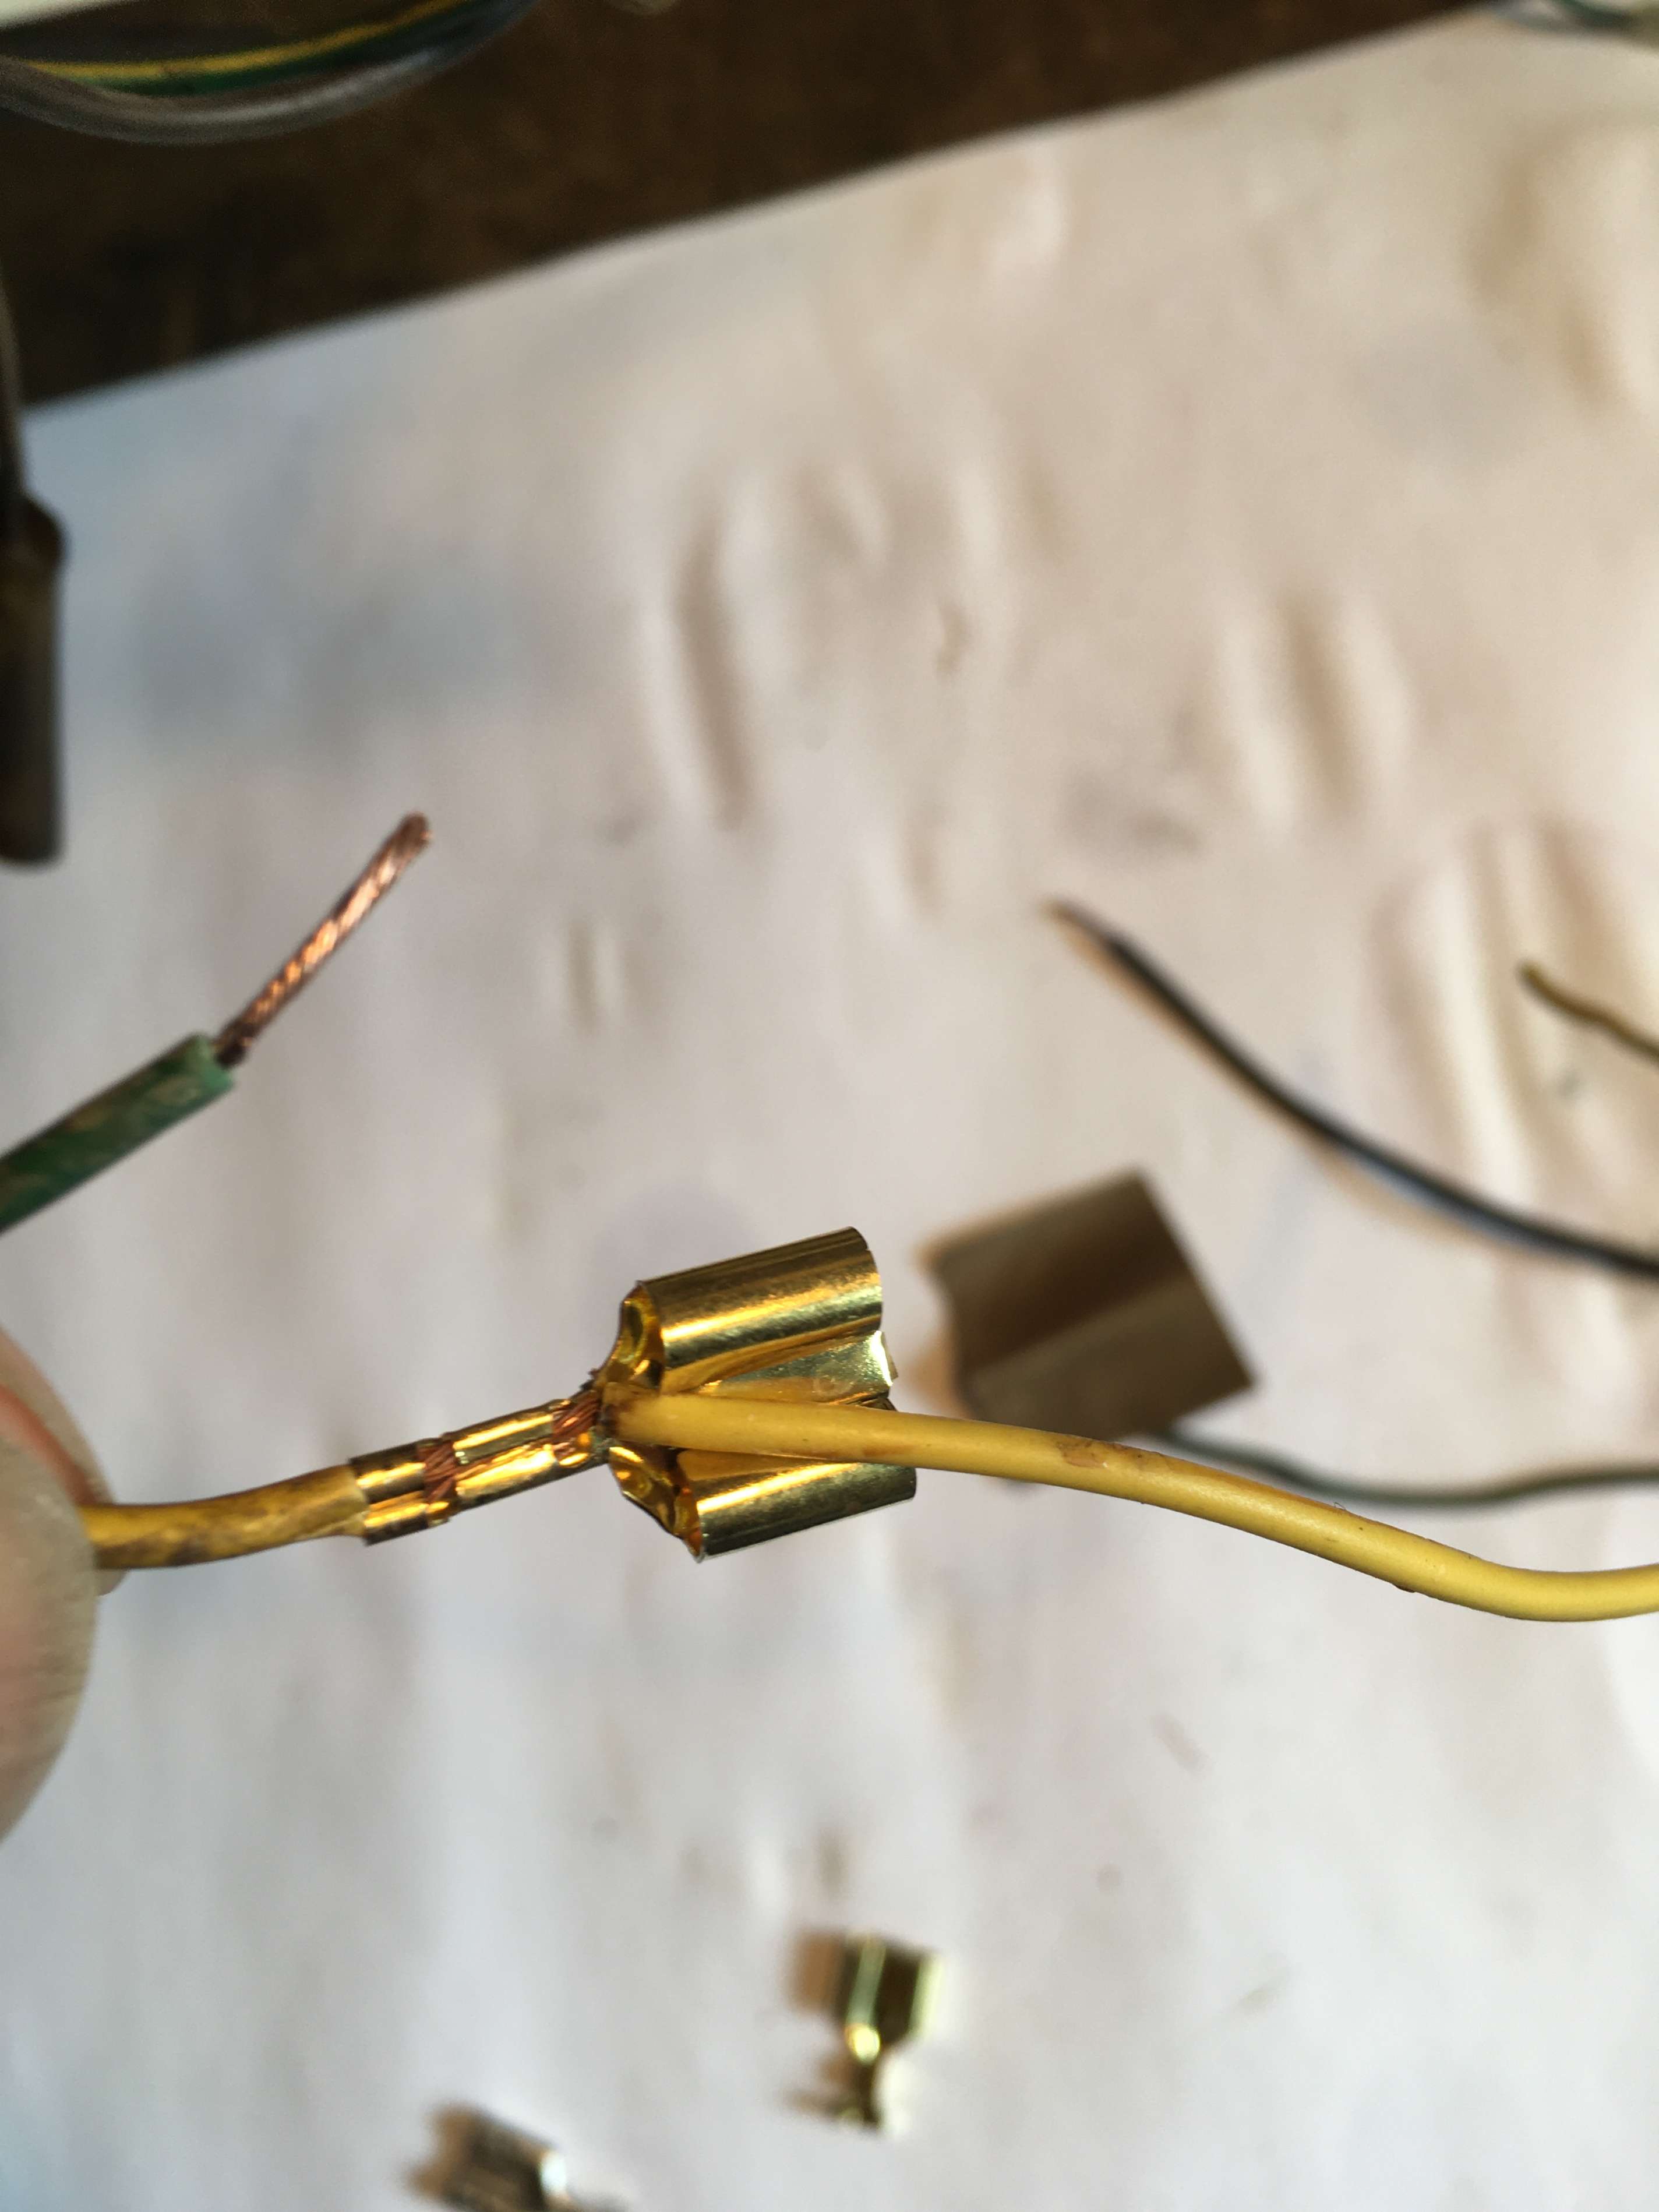
…and crimp together 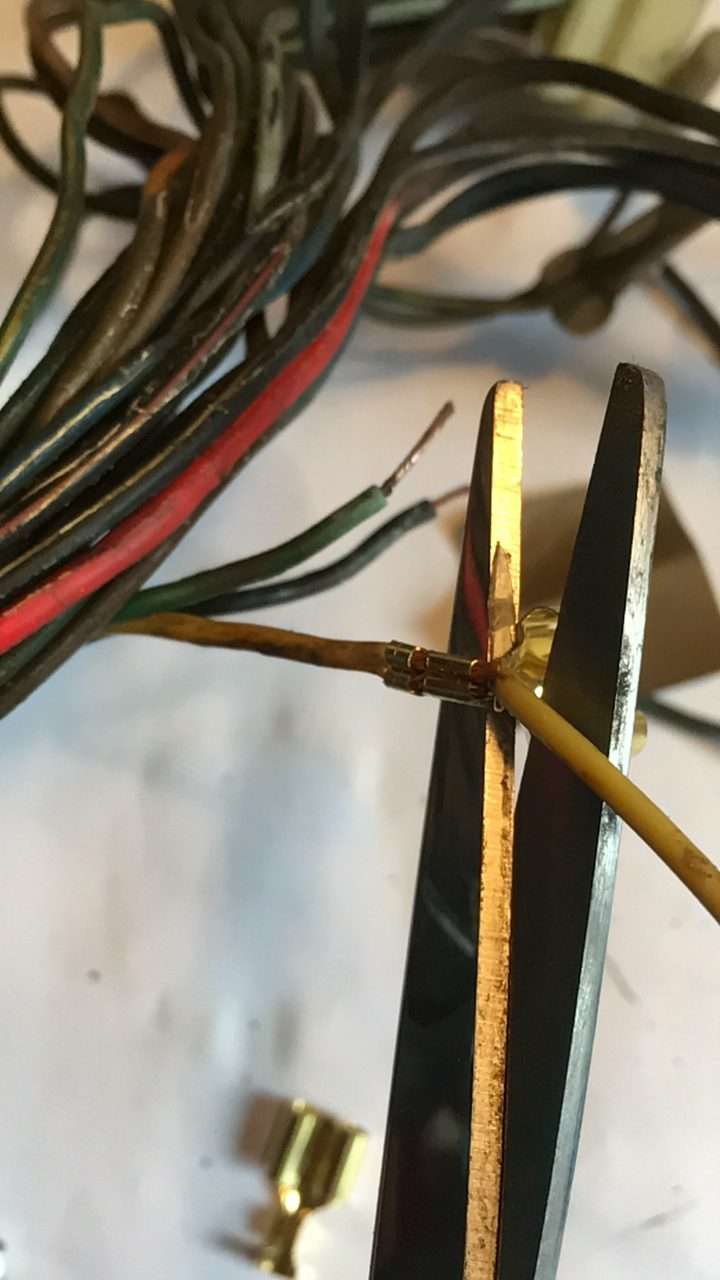
Snip off the bit I don’t need 
I should have offset these more! 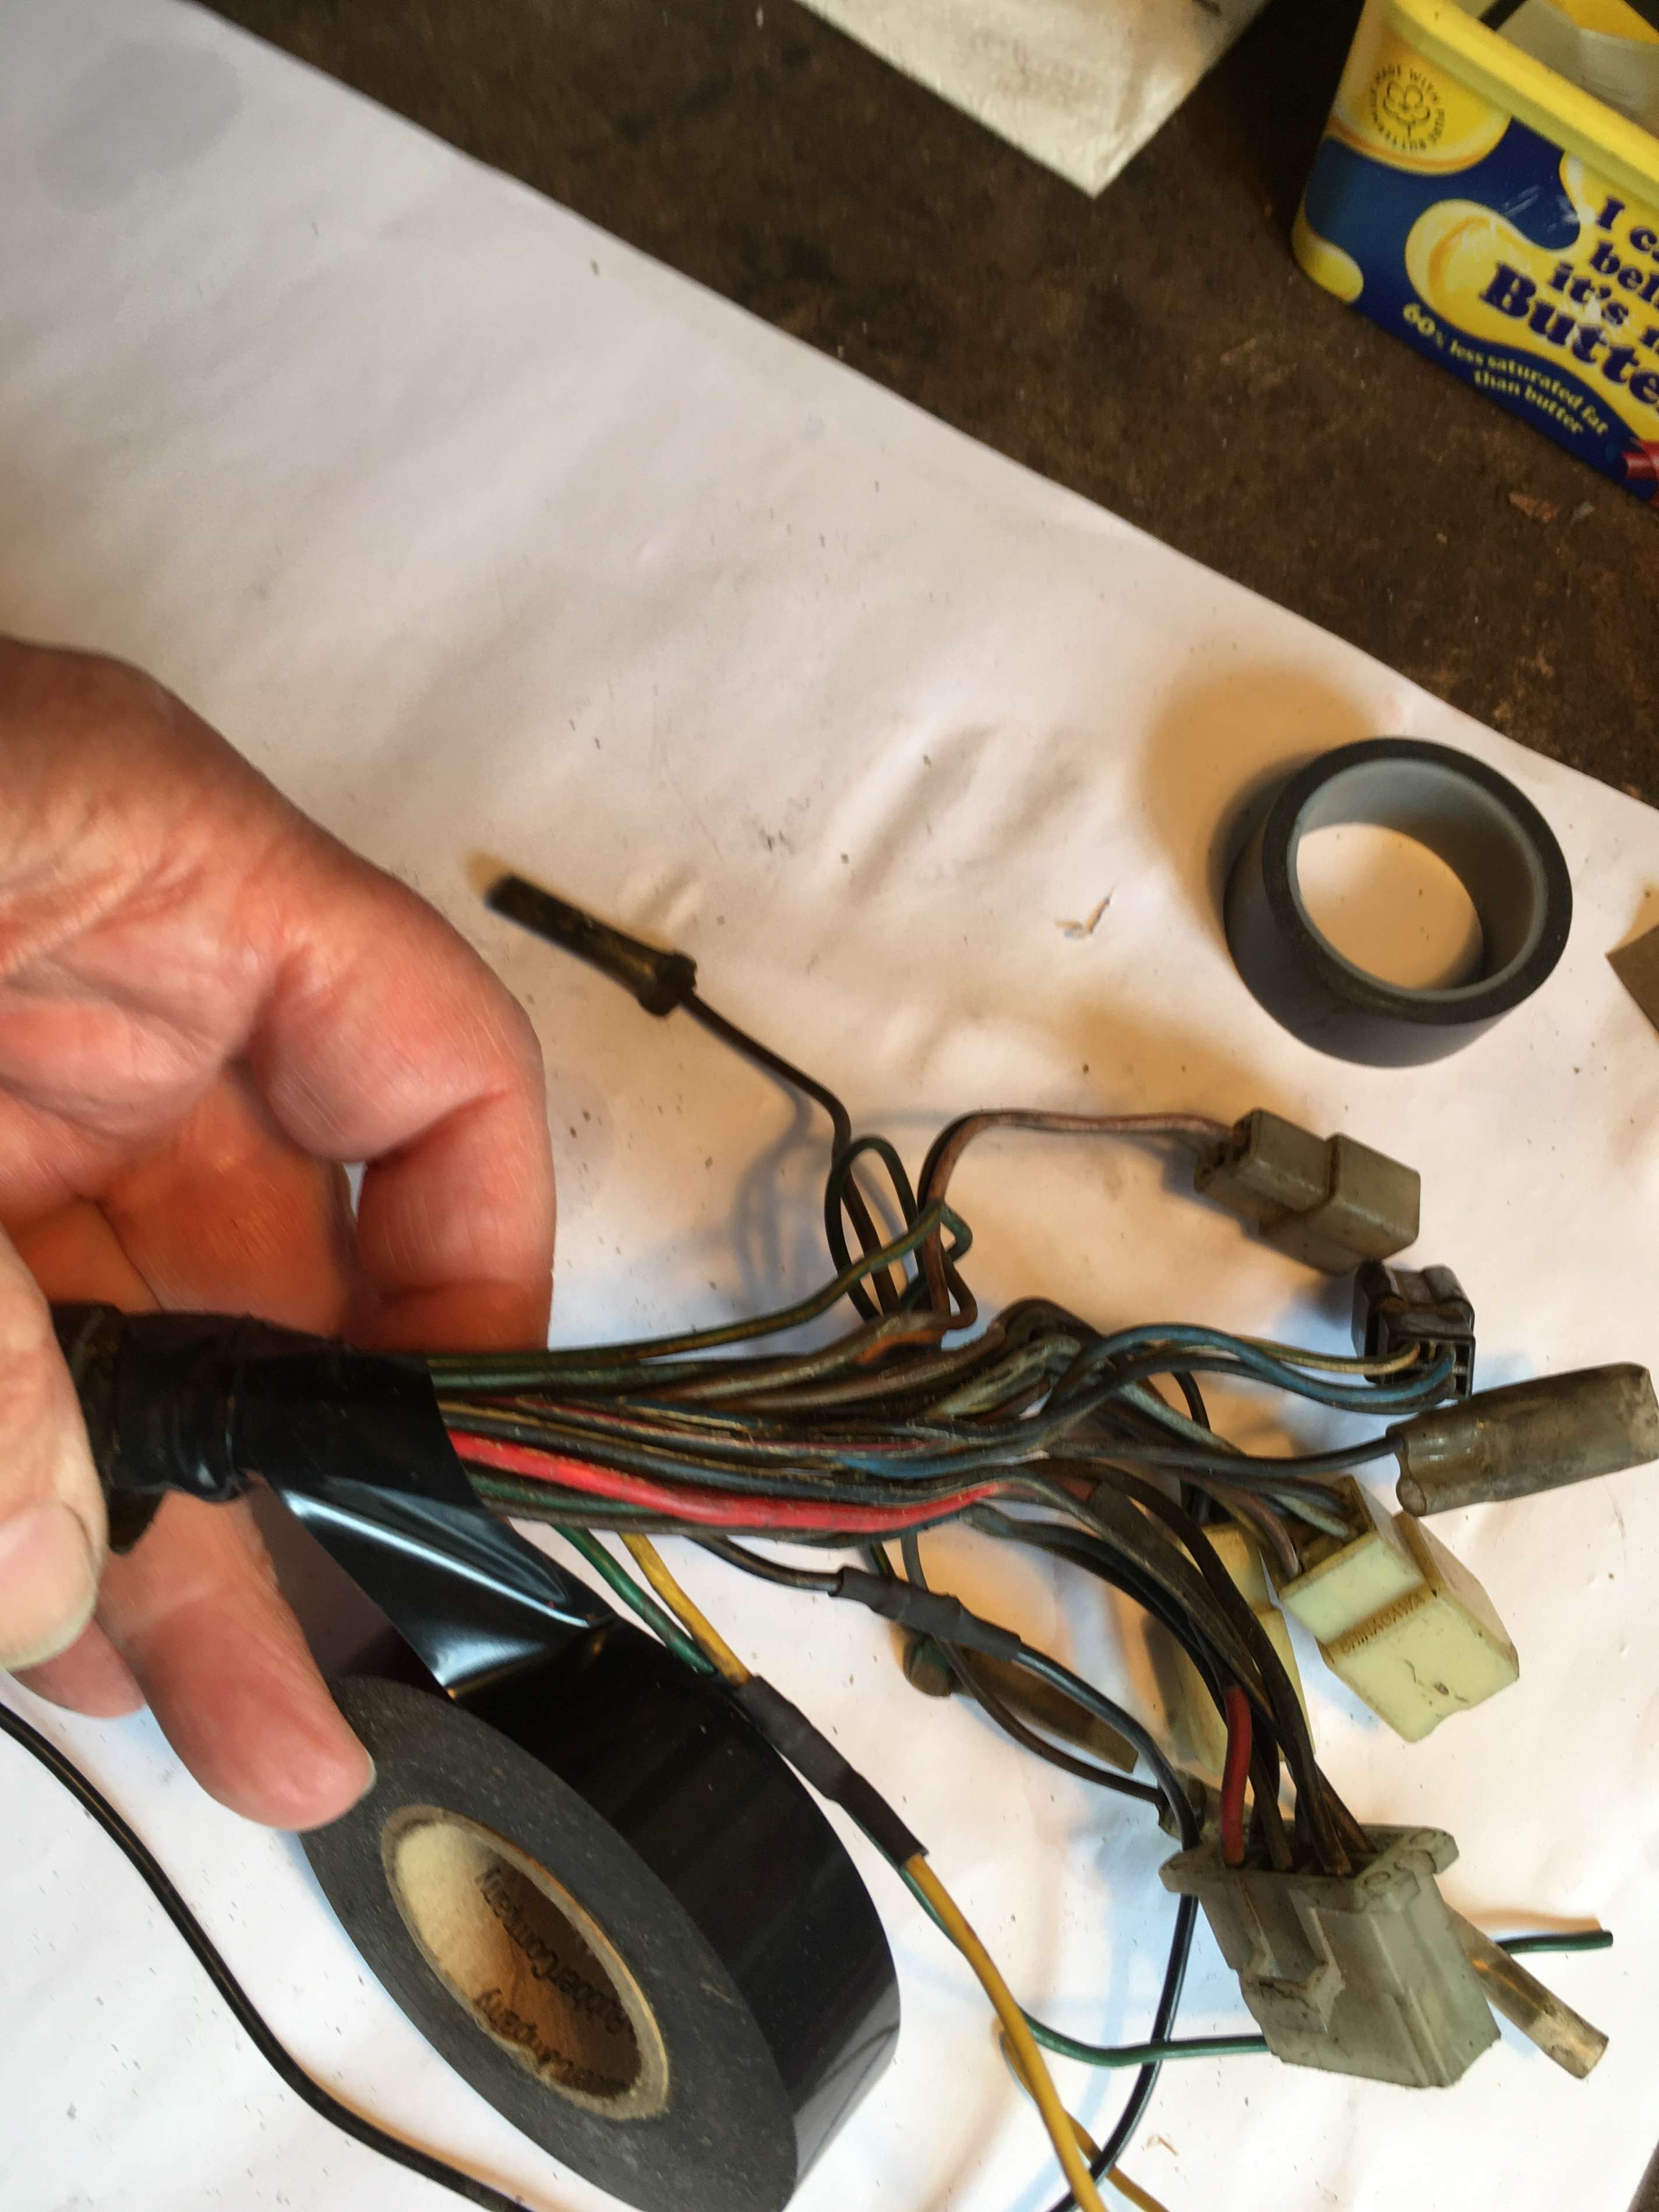
Wrapping tape 


Clump #2 : Under Tank
All the connectors seem to be present and mostly correct here. the temperature sender wire terminates in a male bullet, so I made up a female bullet to female spade extension.
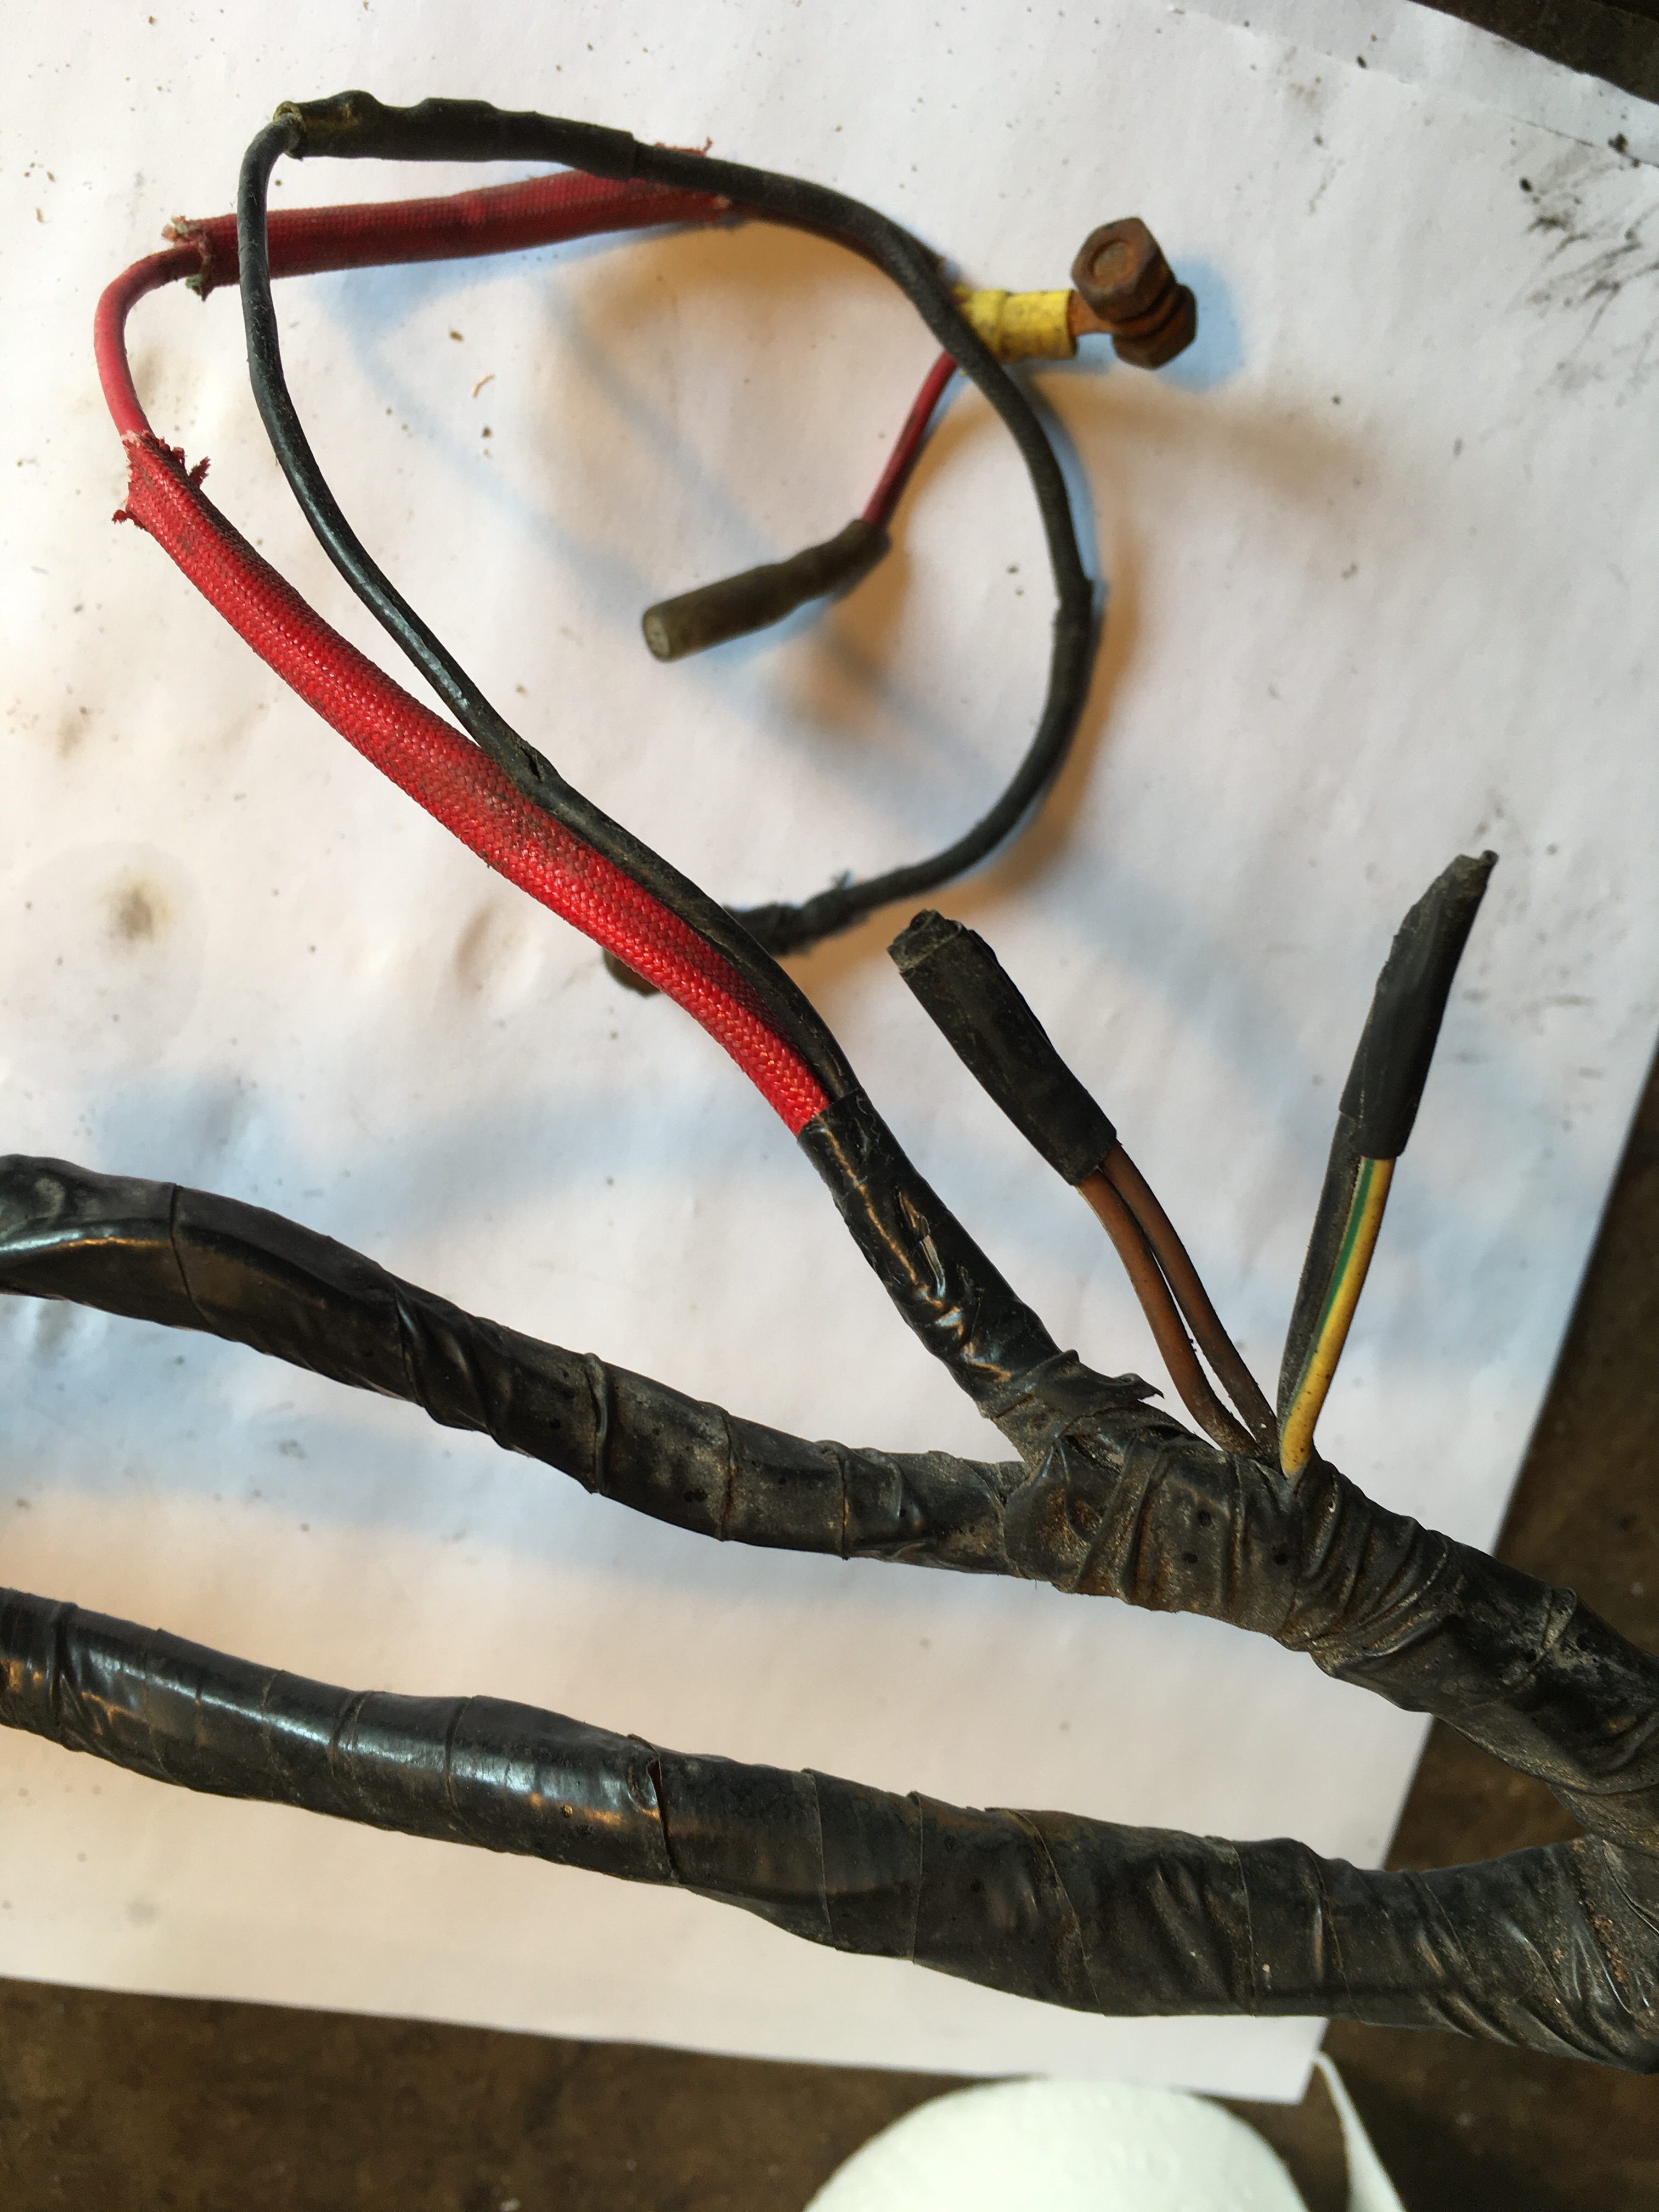
Clump #3 : Battery Box
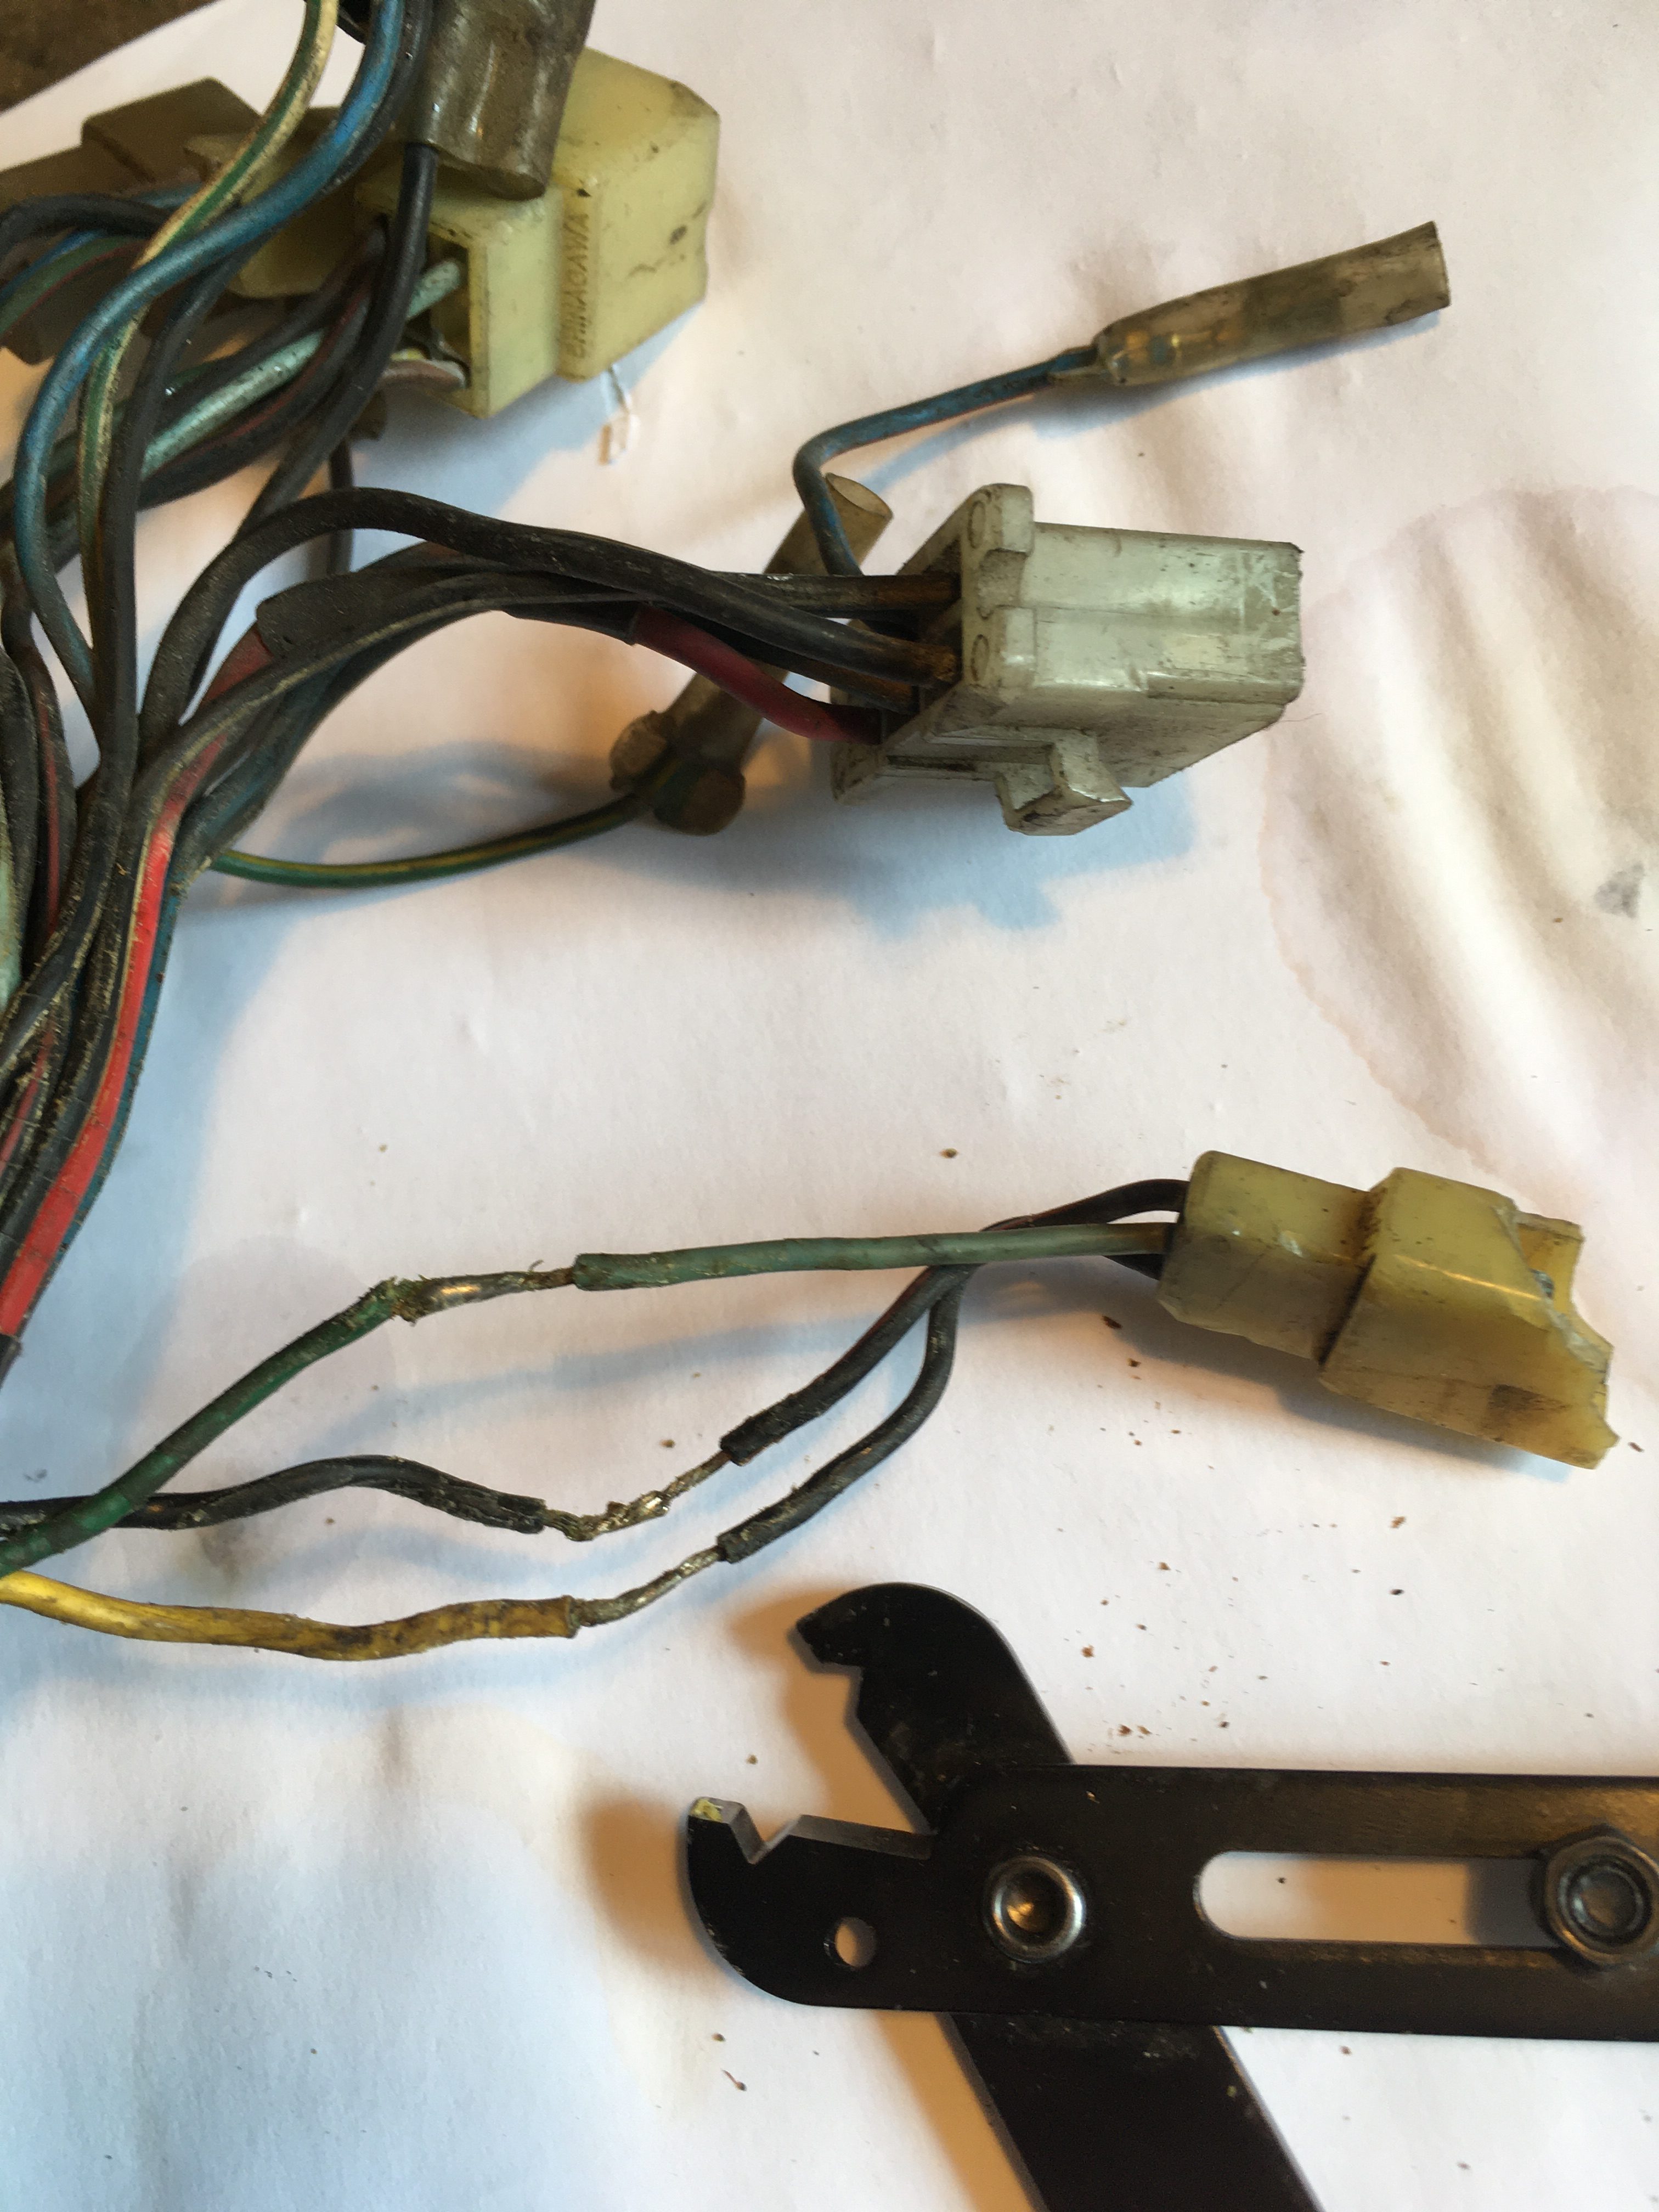
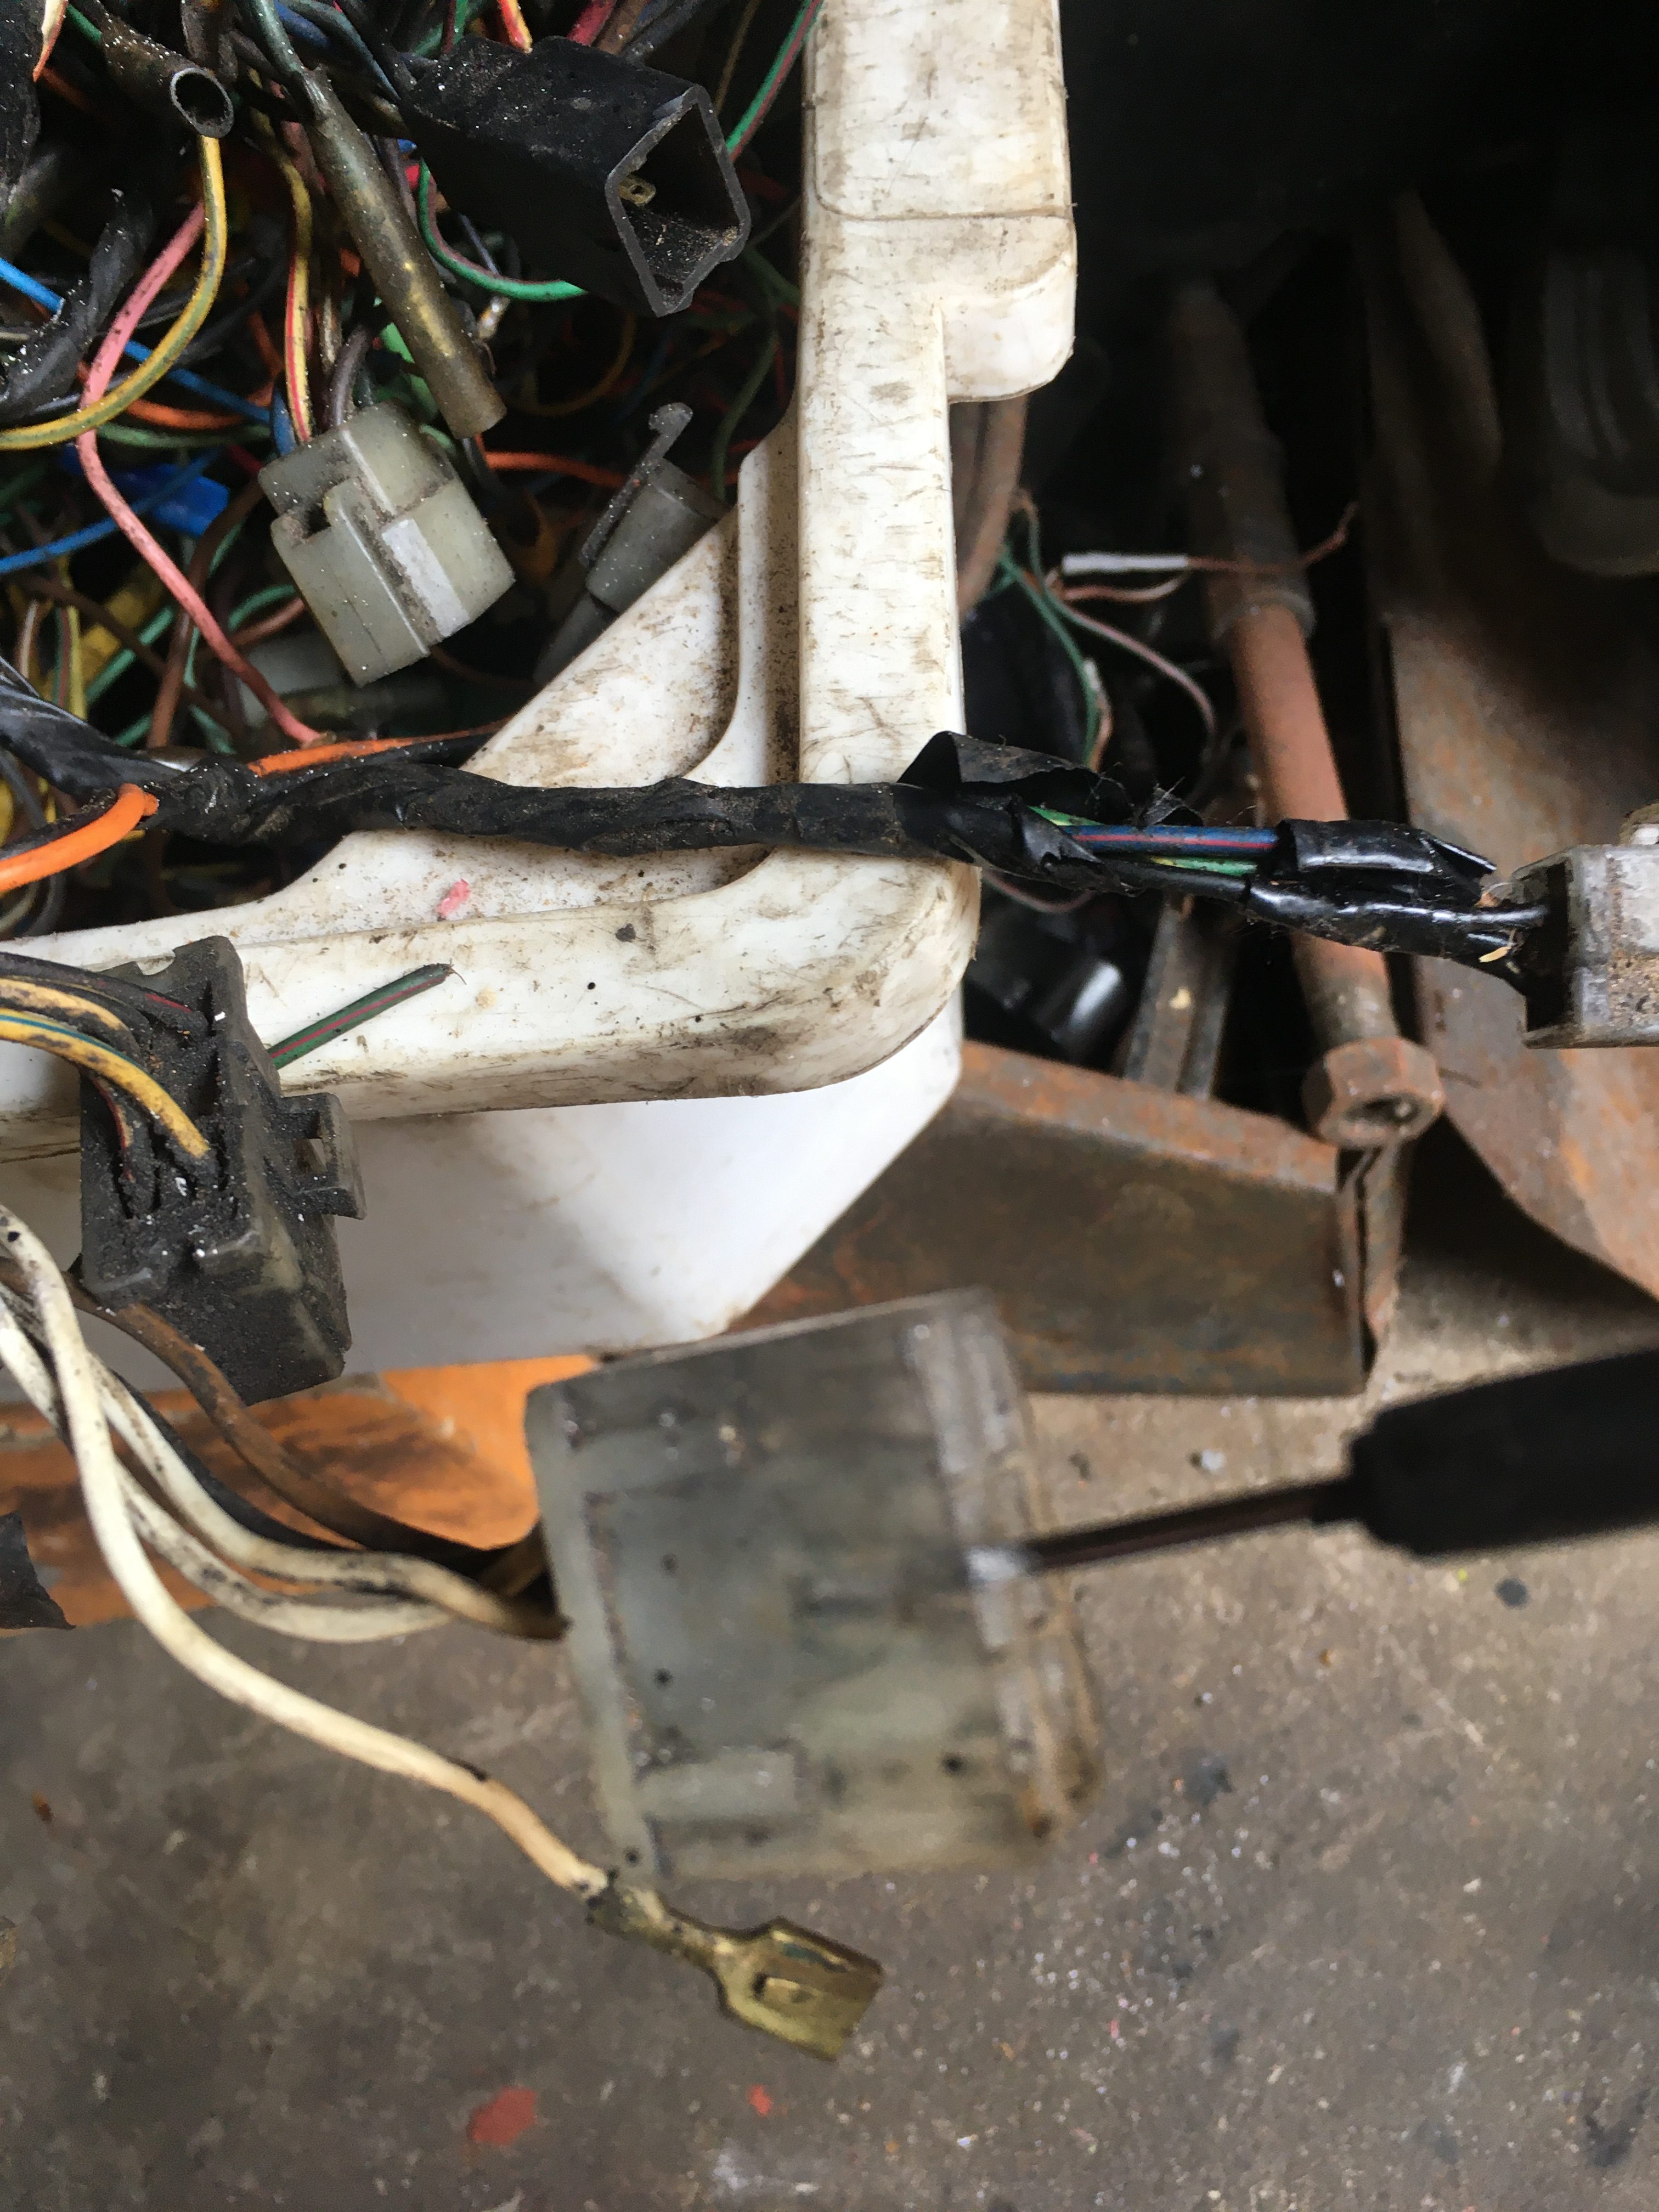
Well, there are some issues with this area. The connector for the Regulator/rectifier has been butchered, (understandably, as it looks like the wires corroded away).
I had found a replacement from another loom with the same coloured wires, which I was intending to splice that in using the same crimping technique as used on the headlamp connector, but that connector has issues with broken continuity in the wires, so I’m going to order some new spade connectors, and rebuild the connector.
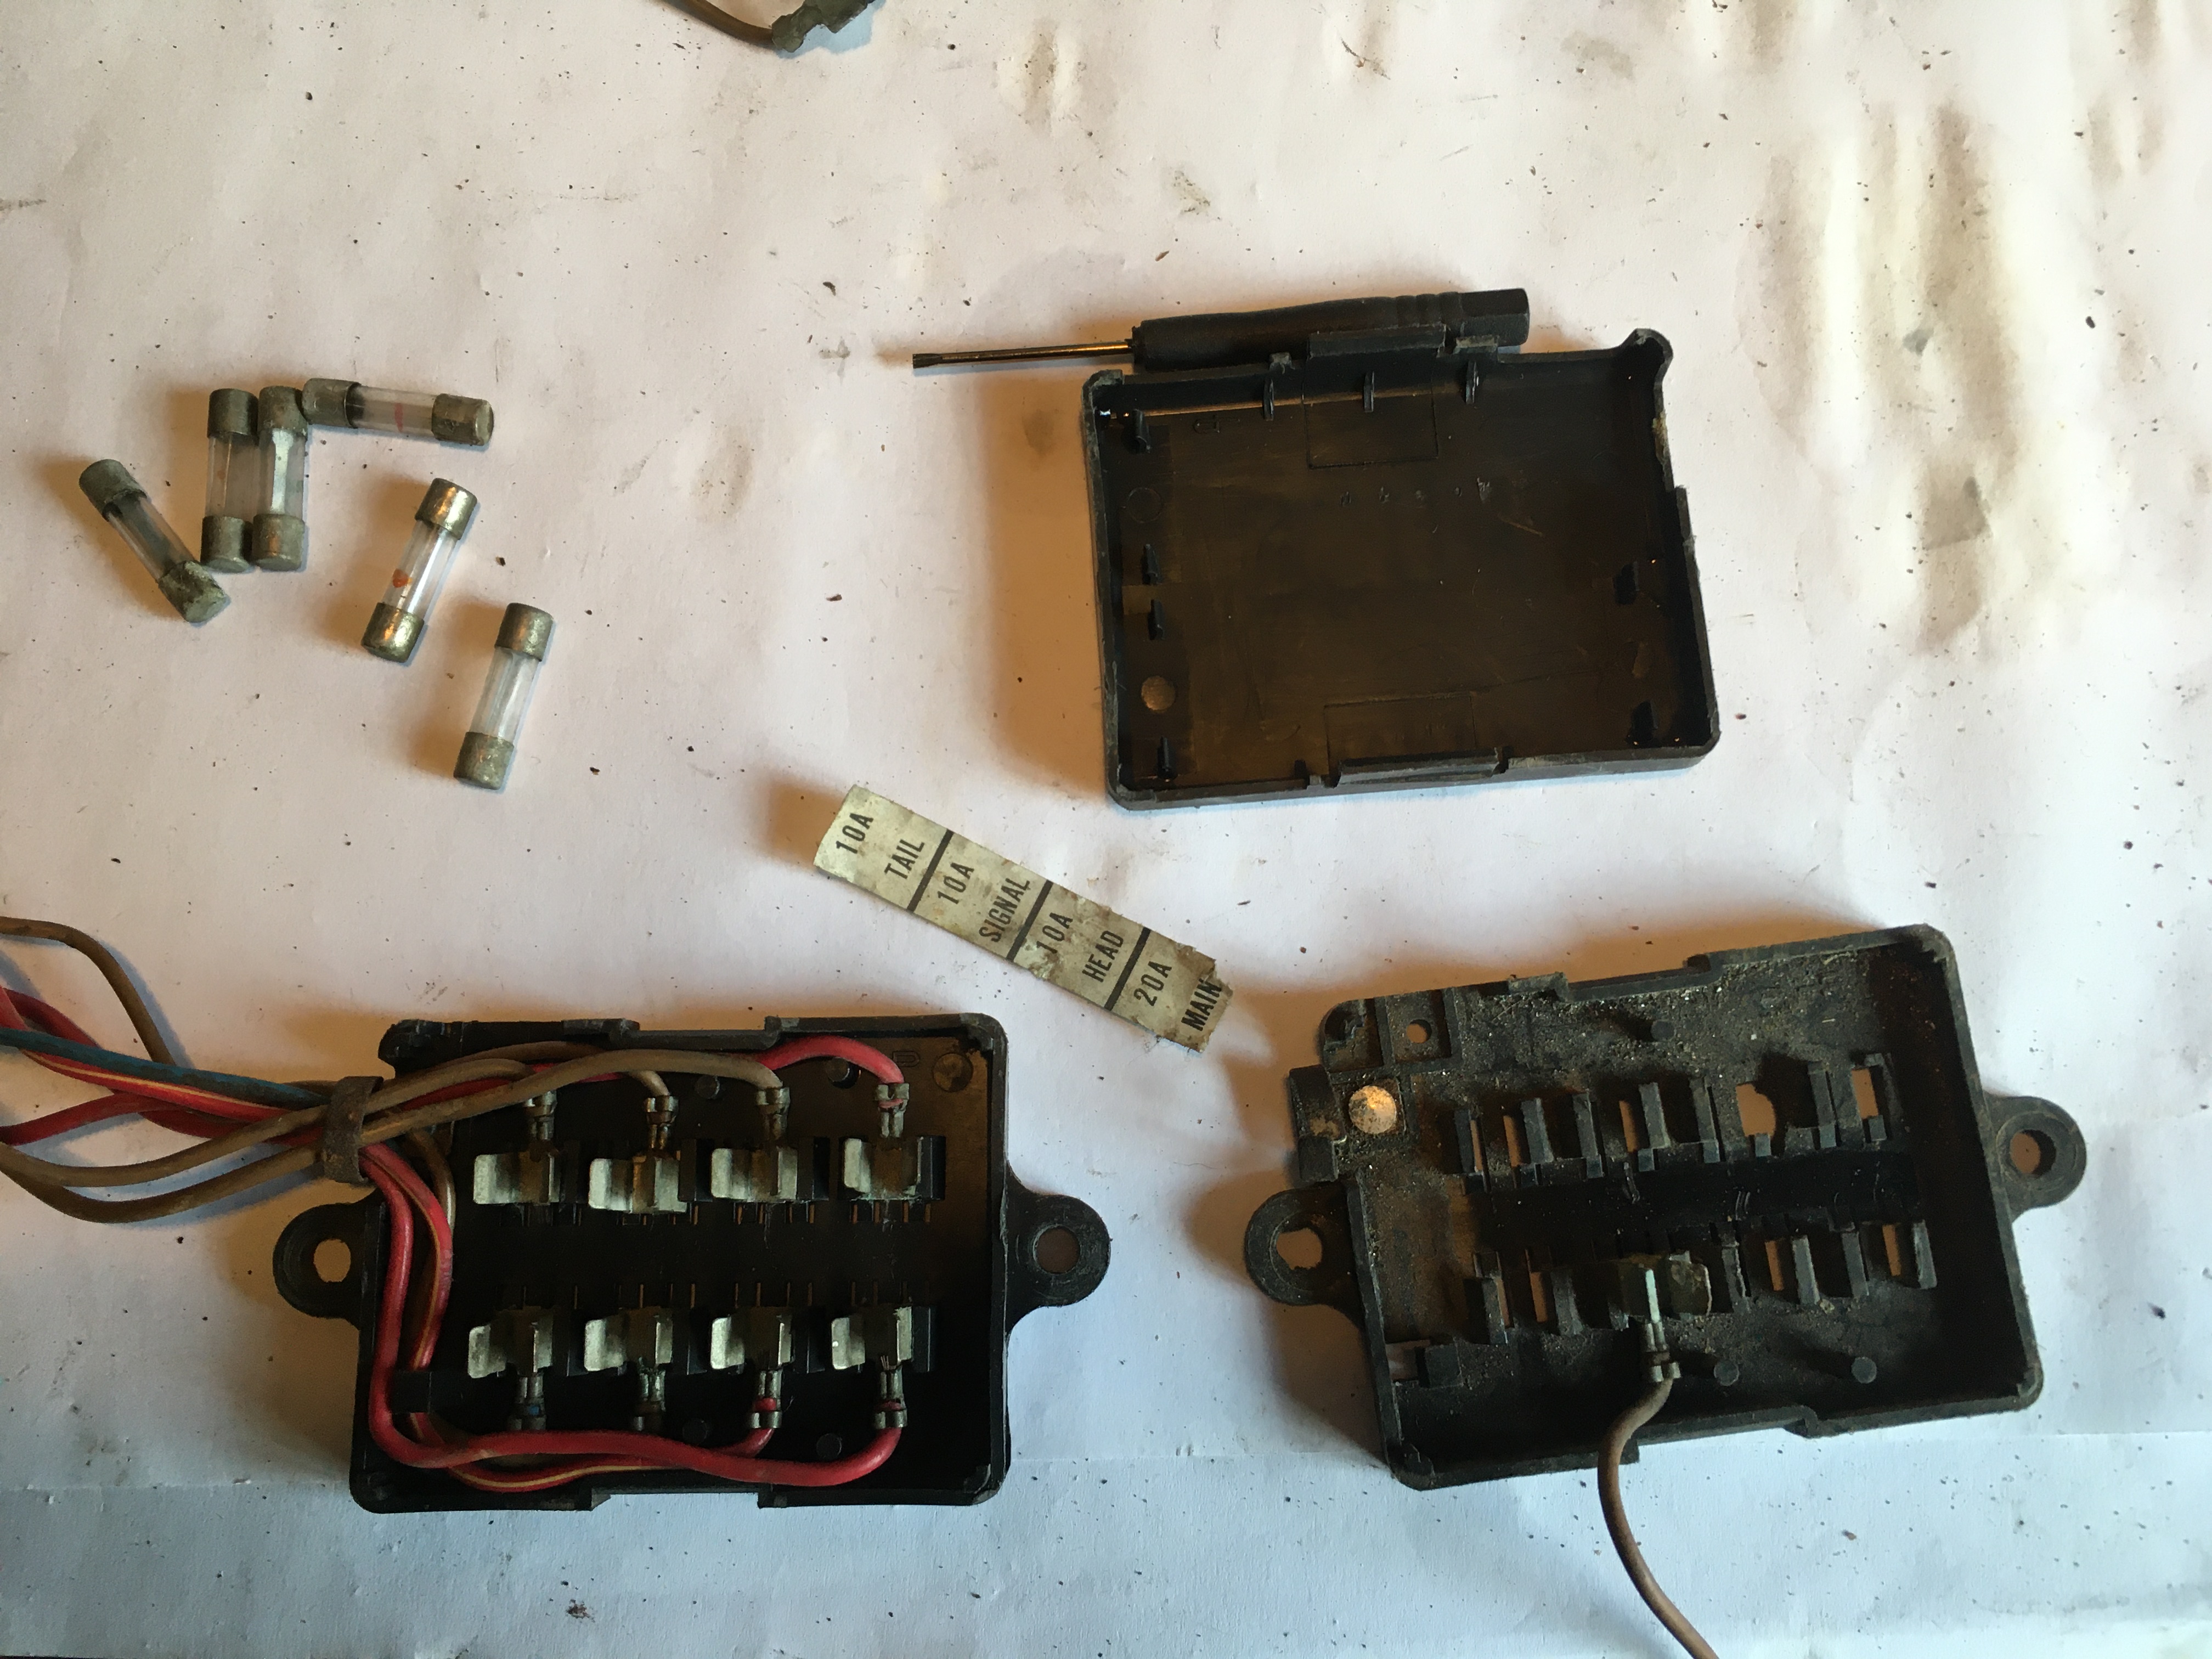
The fusebox connector is an alien one I spliced on 30+ years ago, which has been removed.
The good fusebox from the one of the spare looms, (the YPVS one) is spliced in.
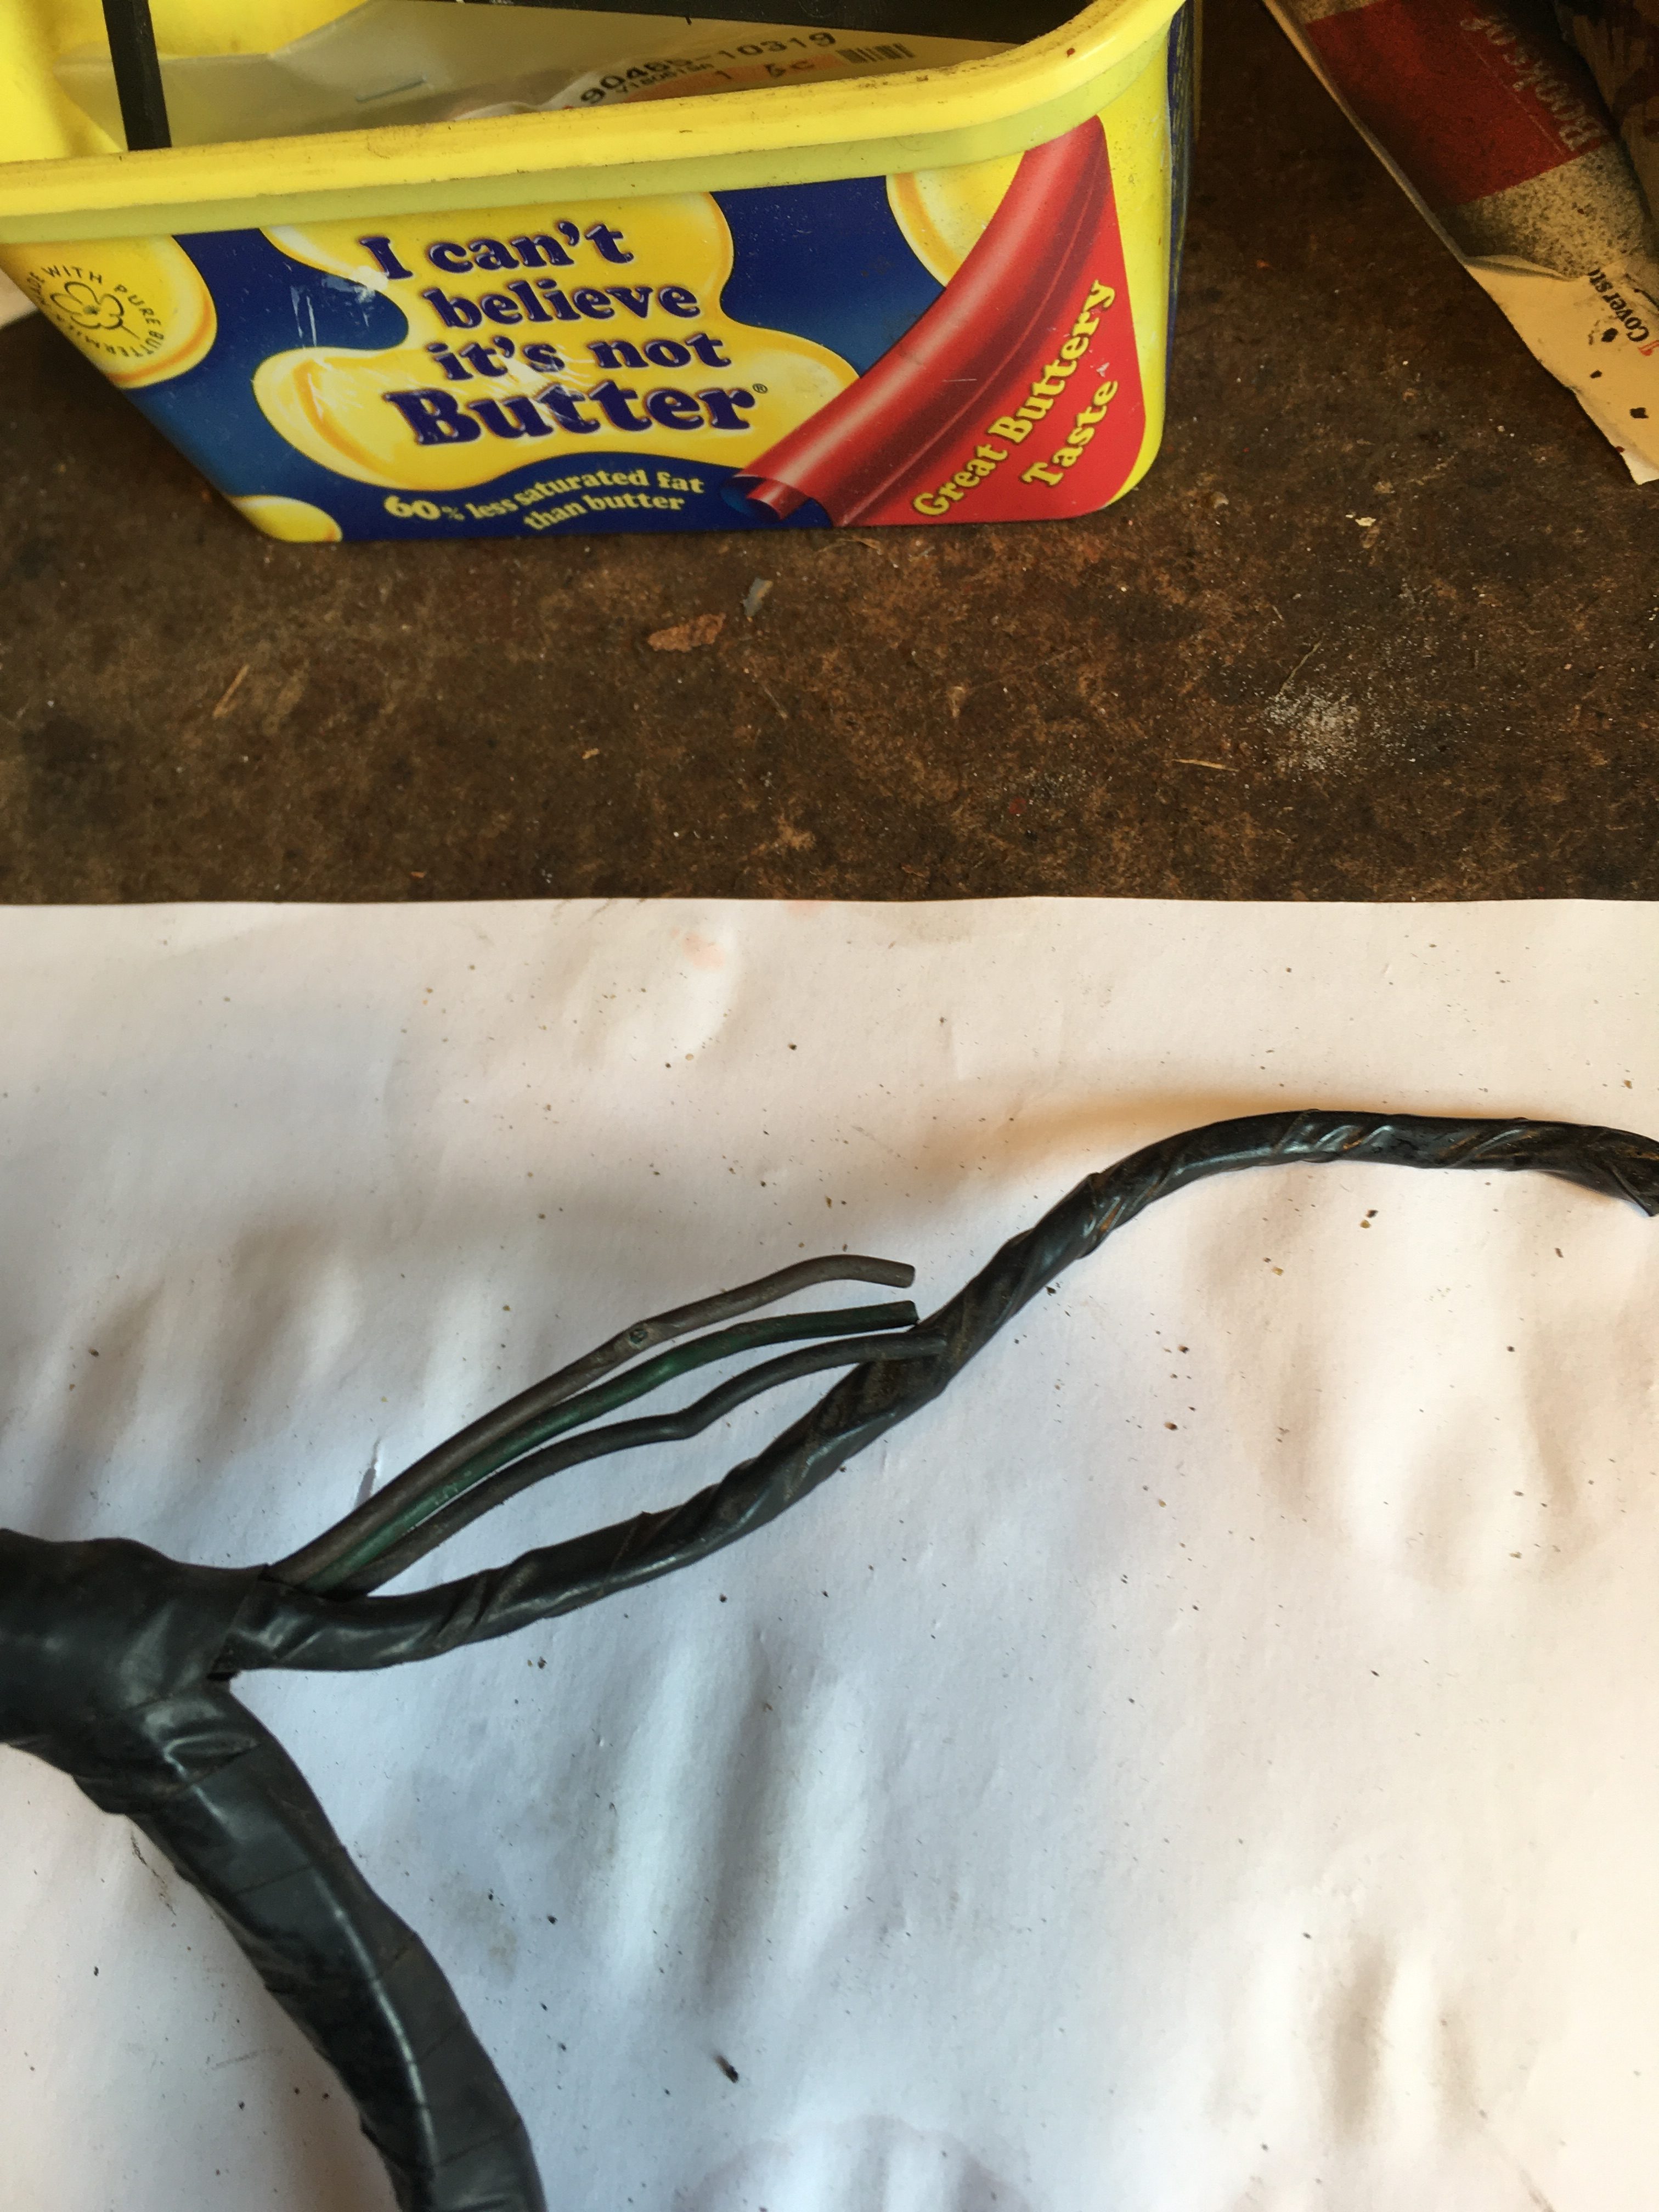
Rear indicator wires need to be extended, and the indicator/flasher relay connector needs to be added where it has been hacked out of the loom.
The battery connector wires have been “Hard wired” into the loom, and need to be replaced with shorter wires and bullet connectors to fit with the battery harness wires I fond in the spares box.

Flasher relay connector gone! 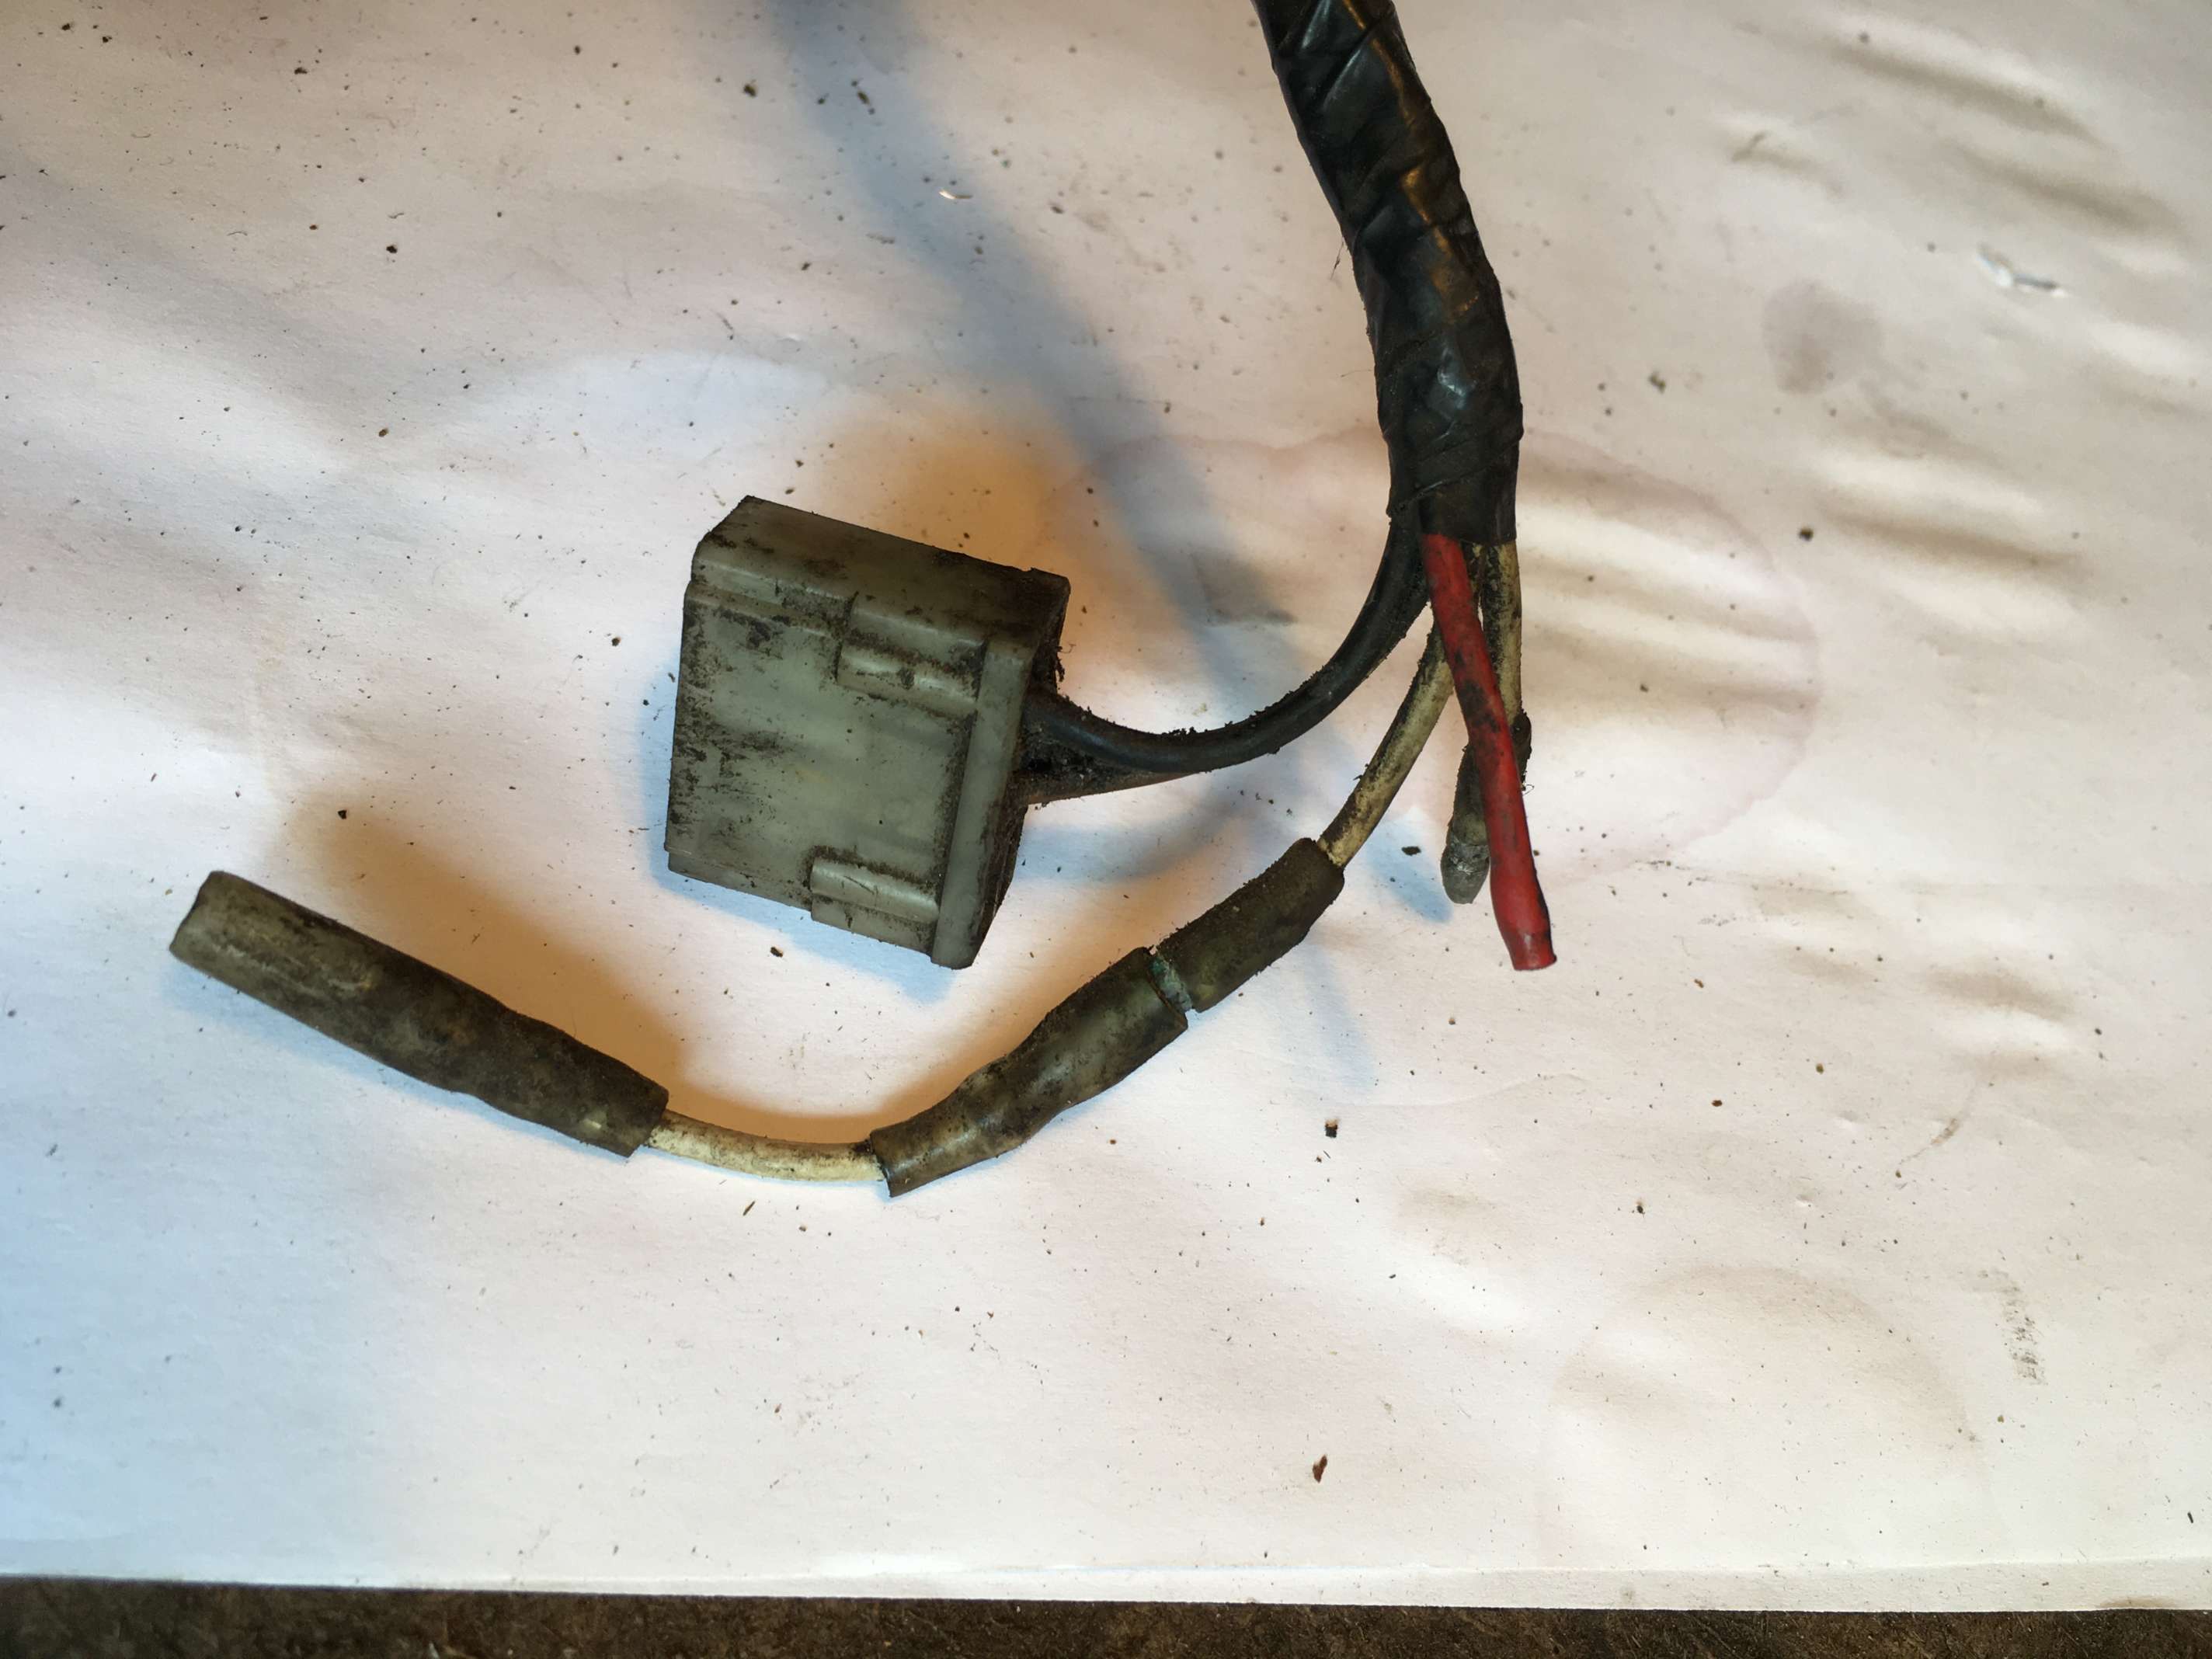
Butchered Reg/Rec connector 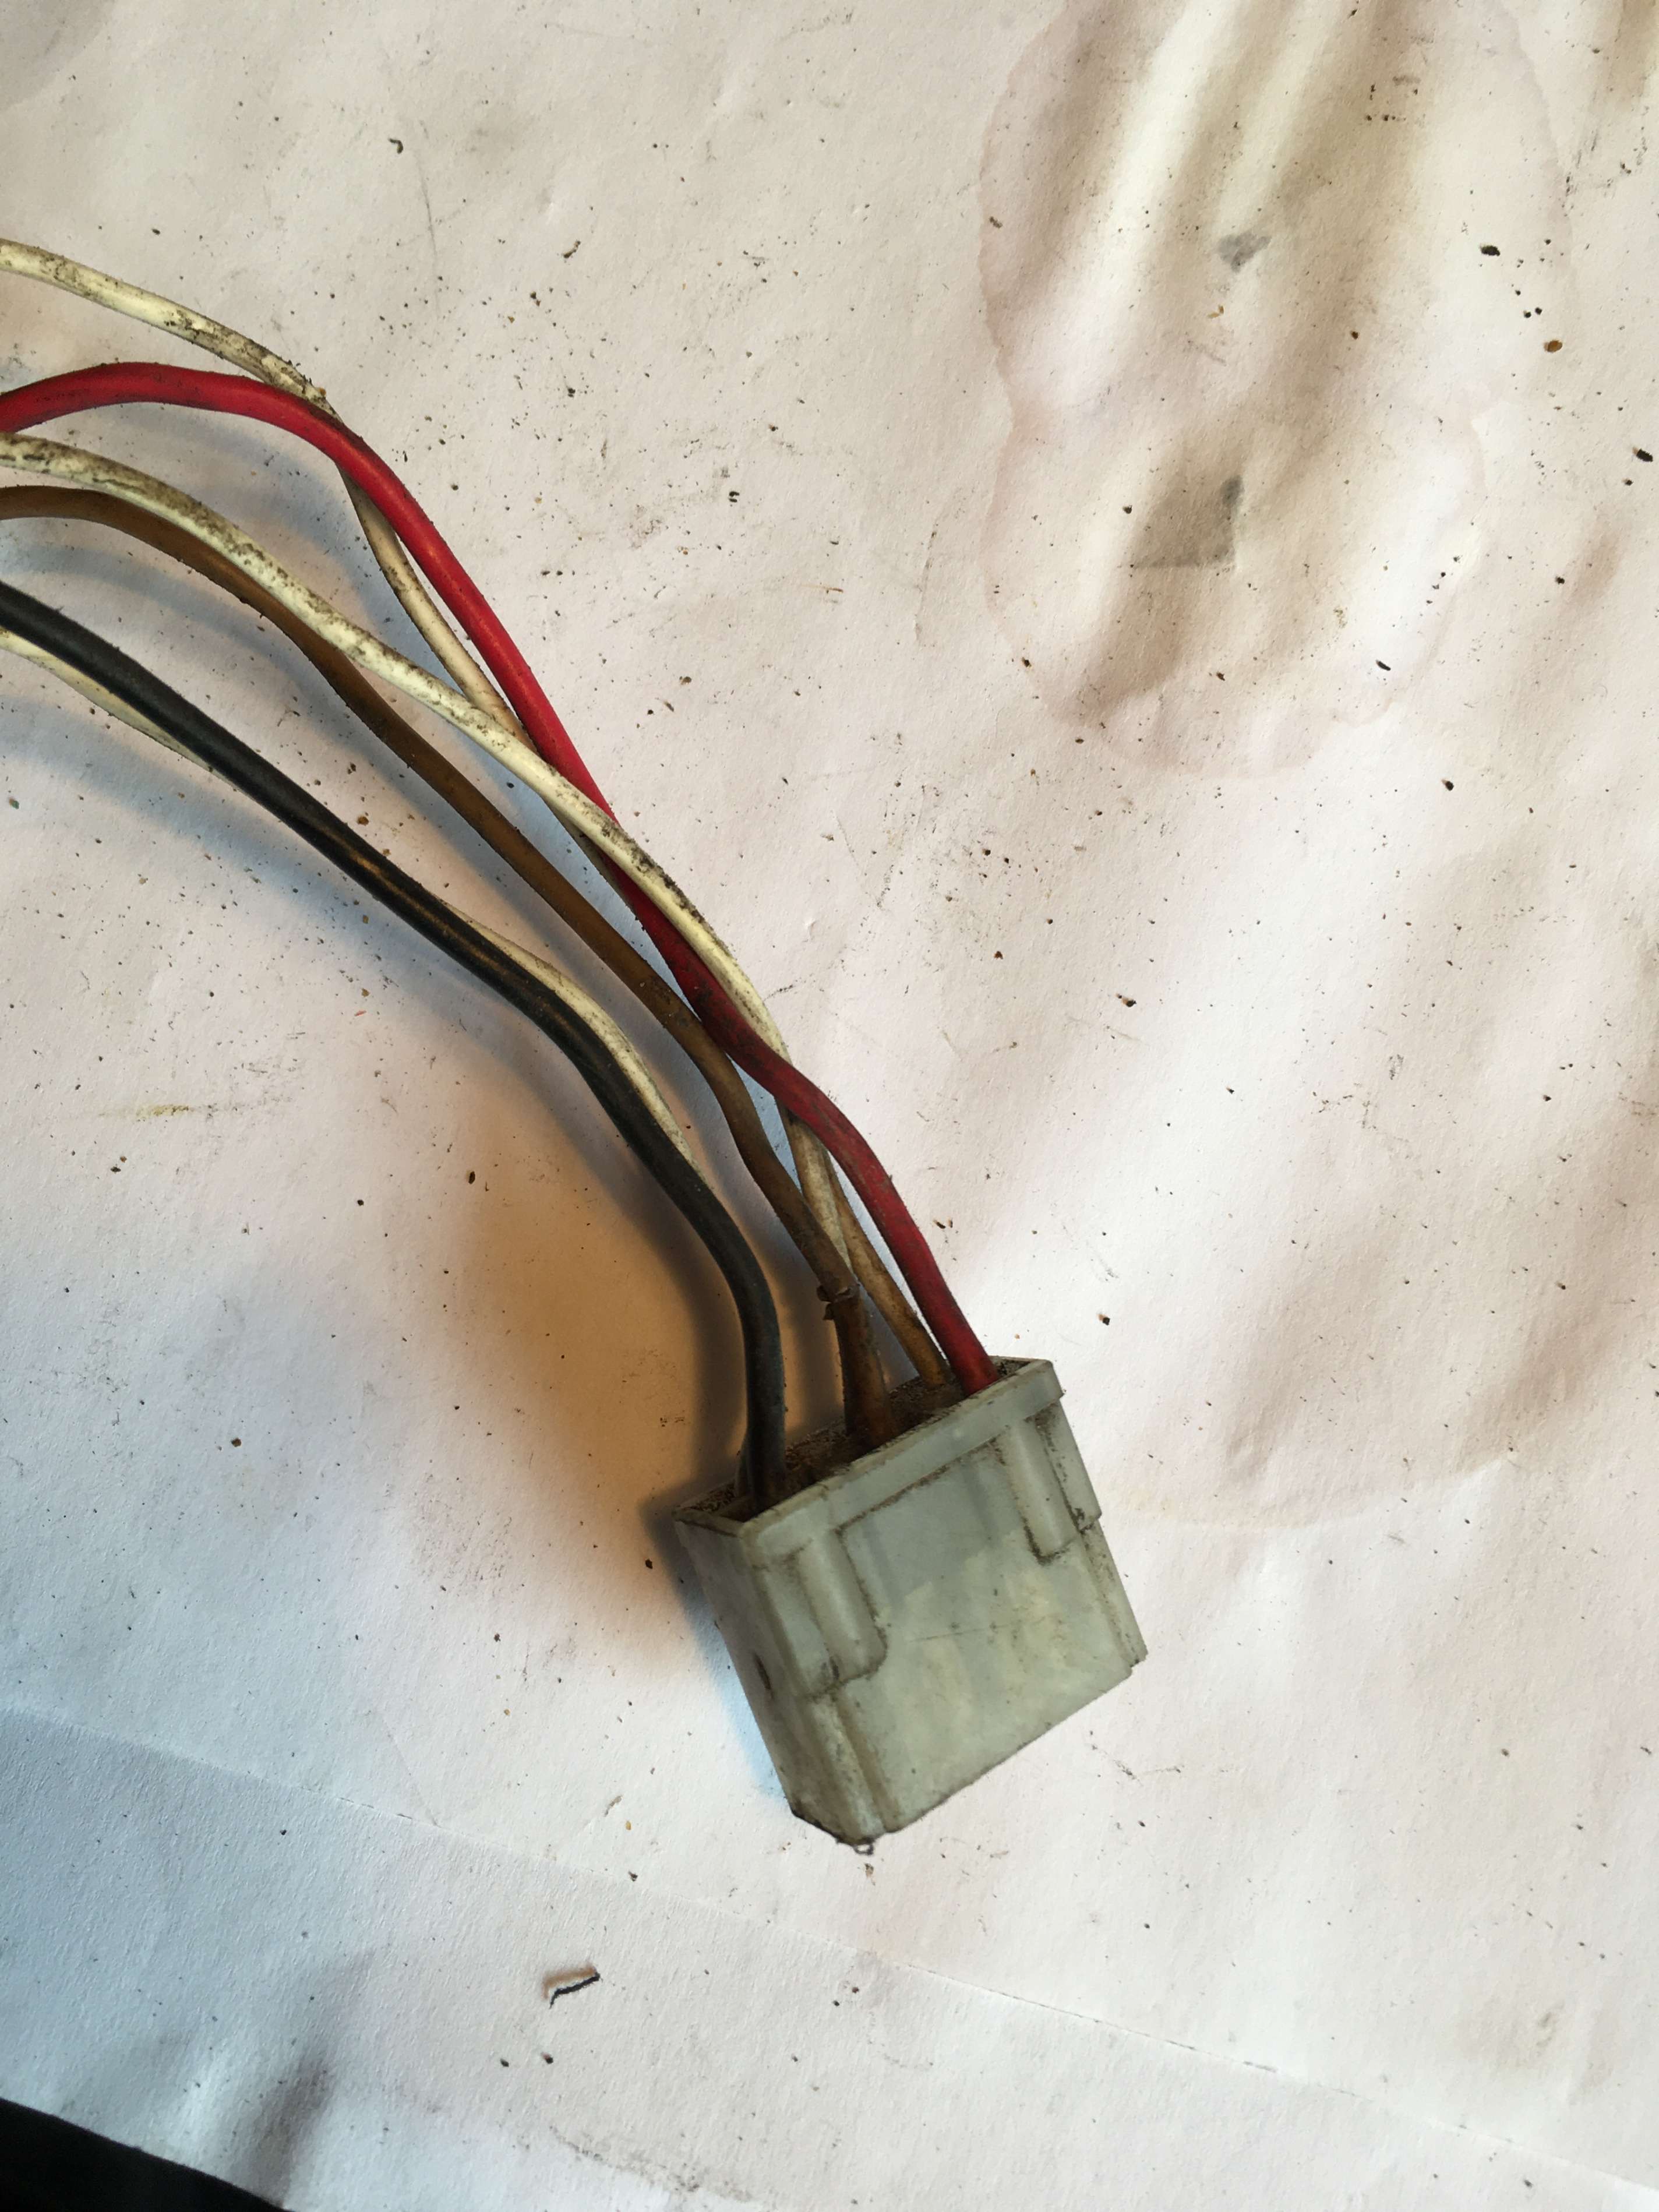
Good connector 
Missing indicator wires 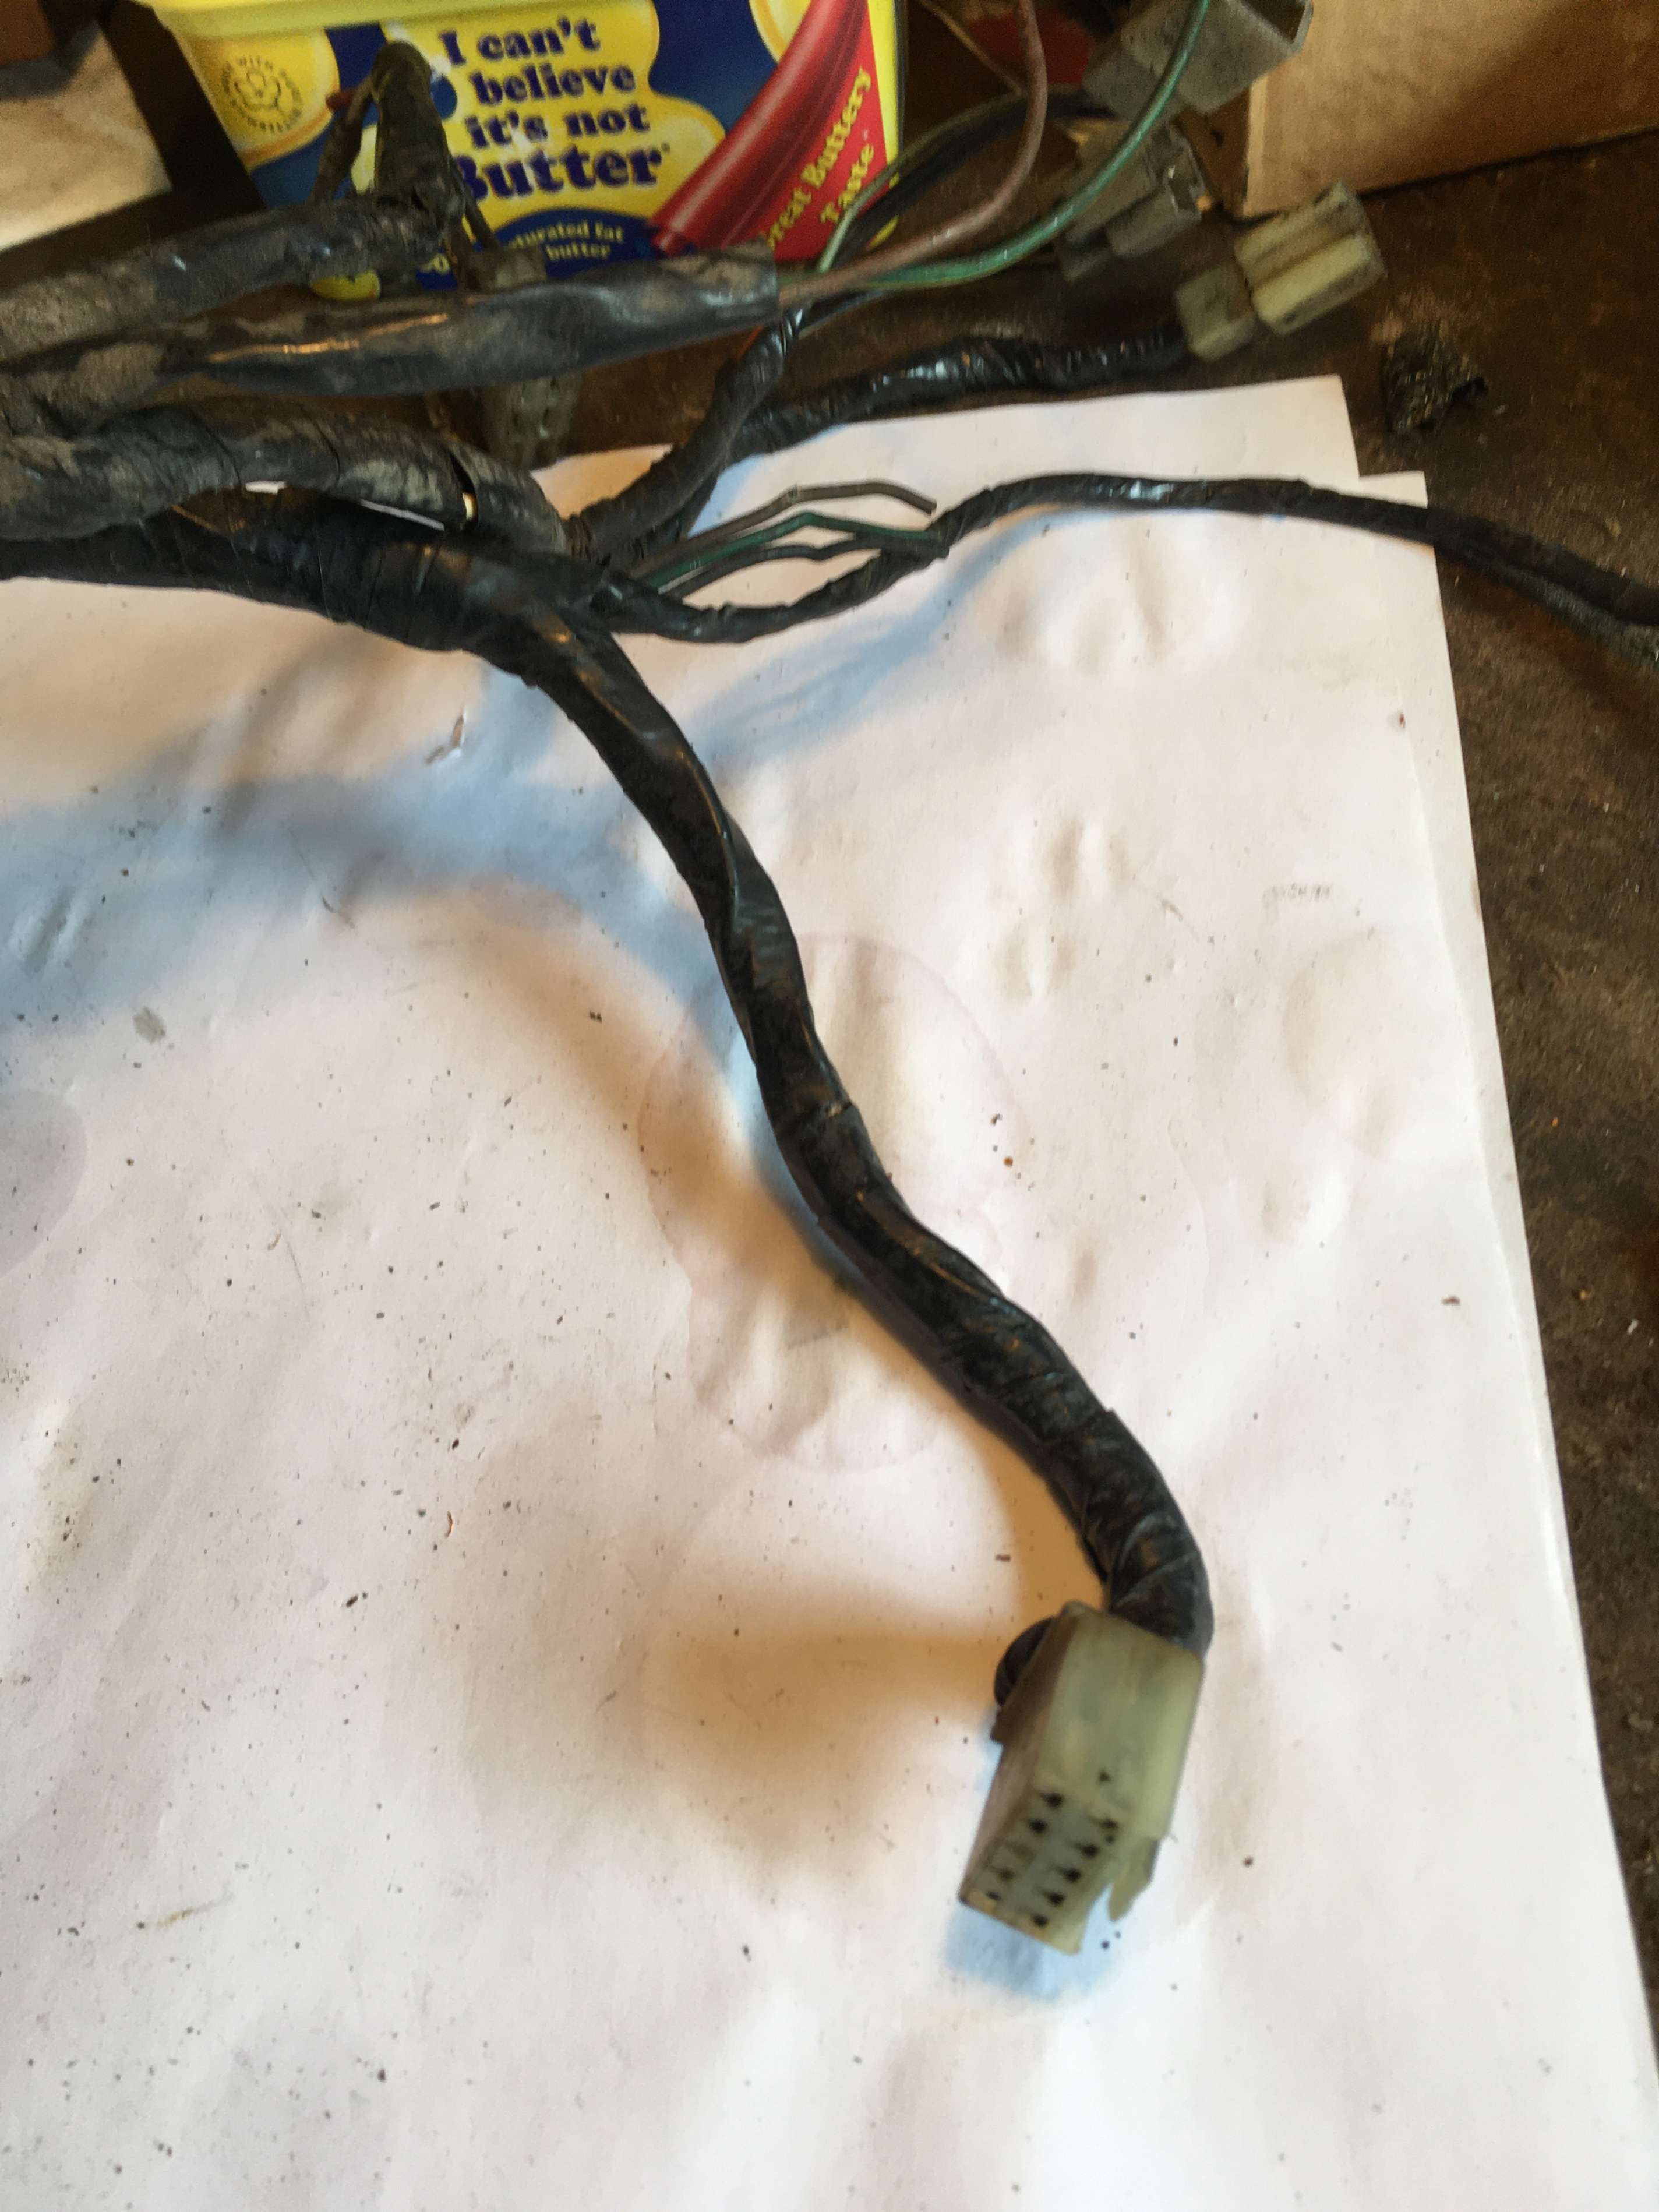
Alien fusebox connector


All of these third clump connectors will be replaced using the crimping in method above.
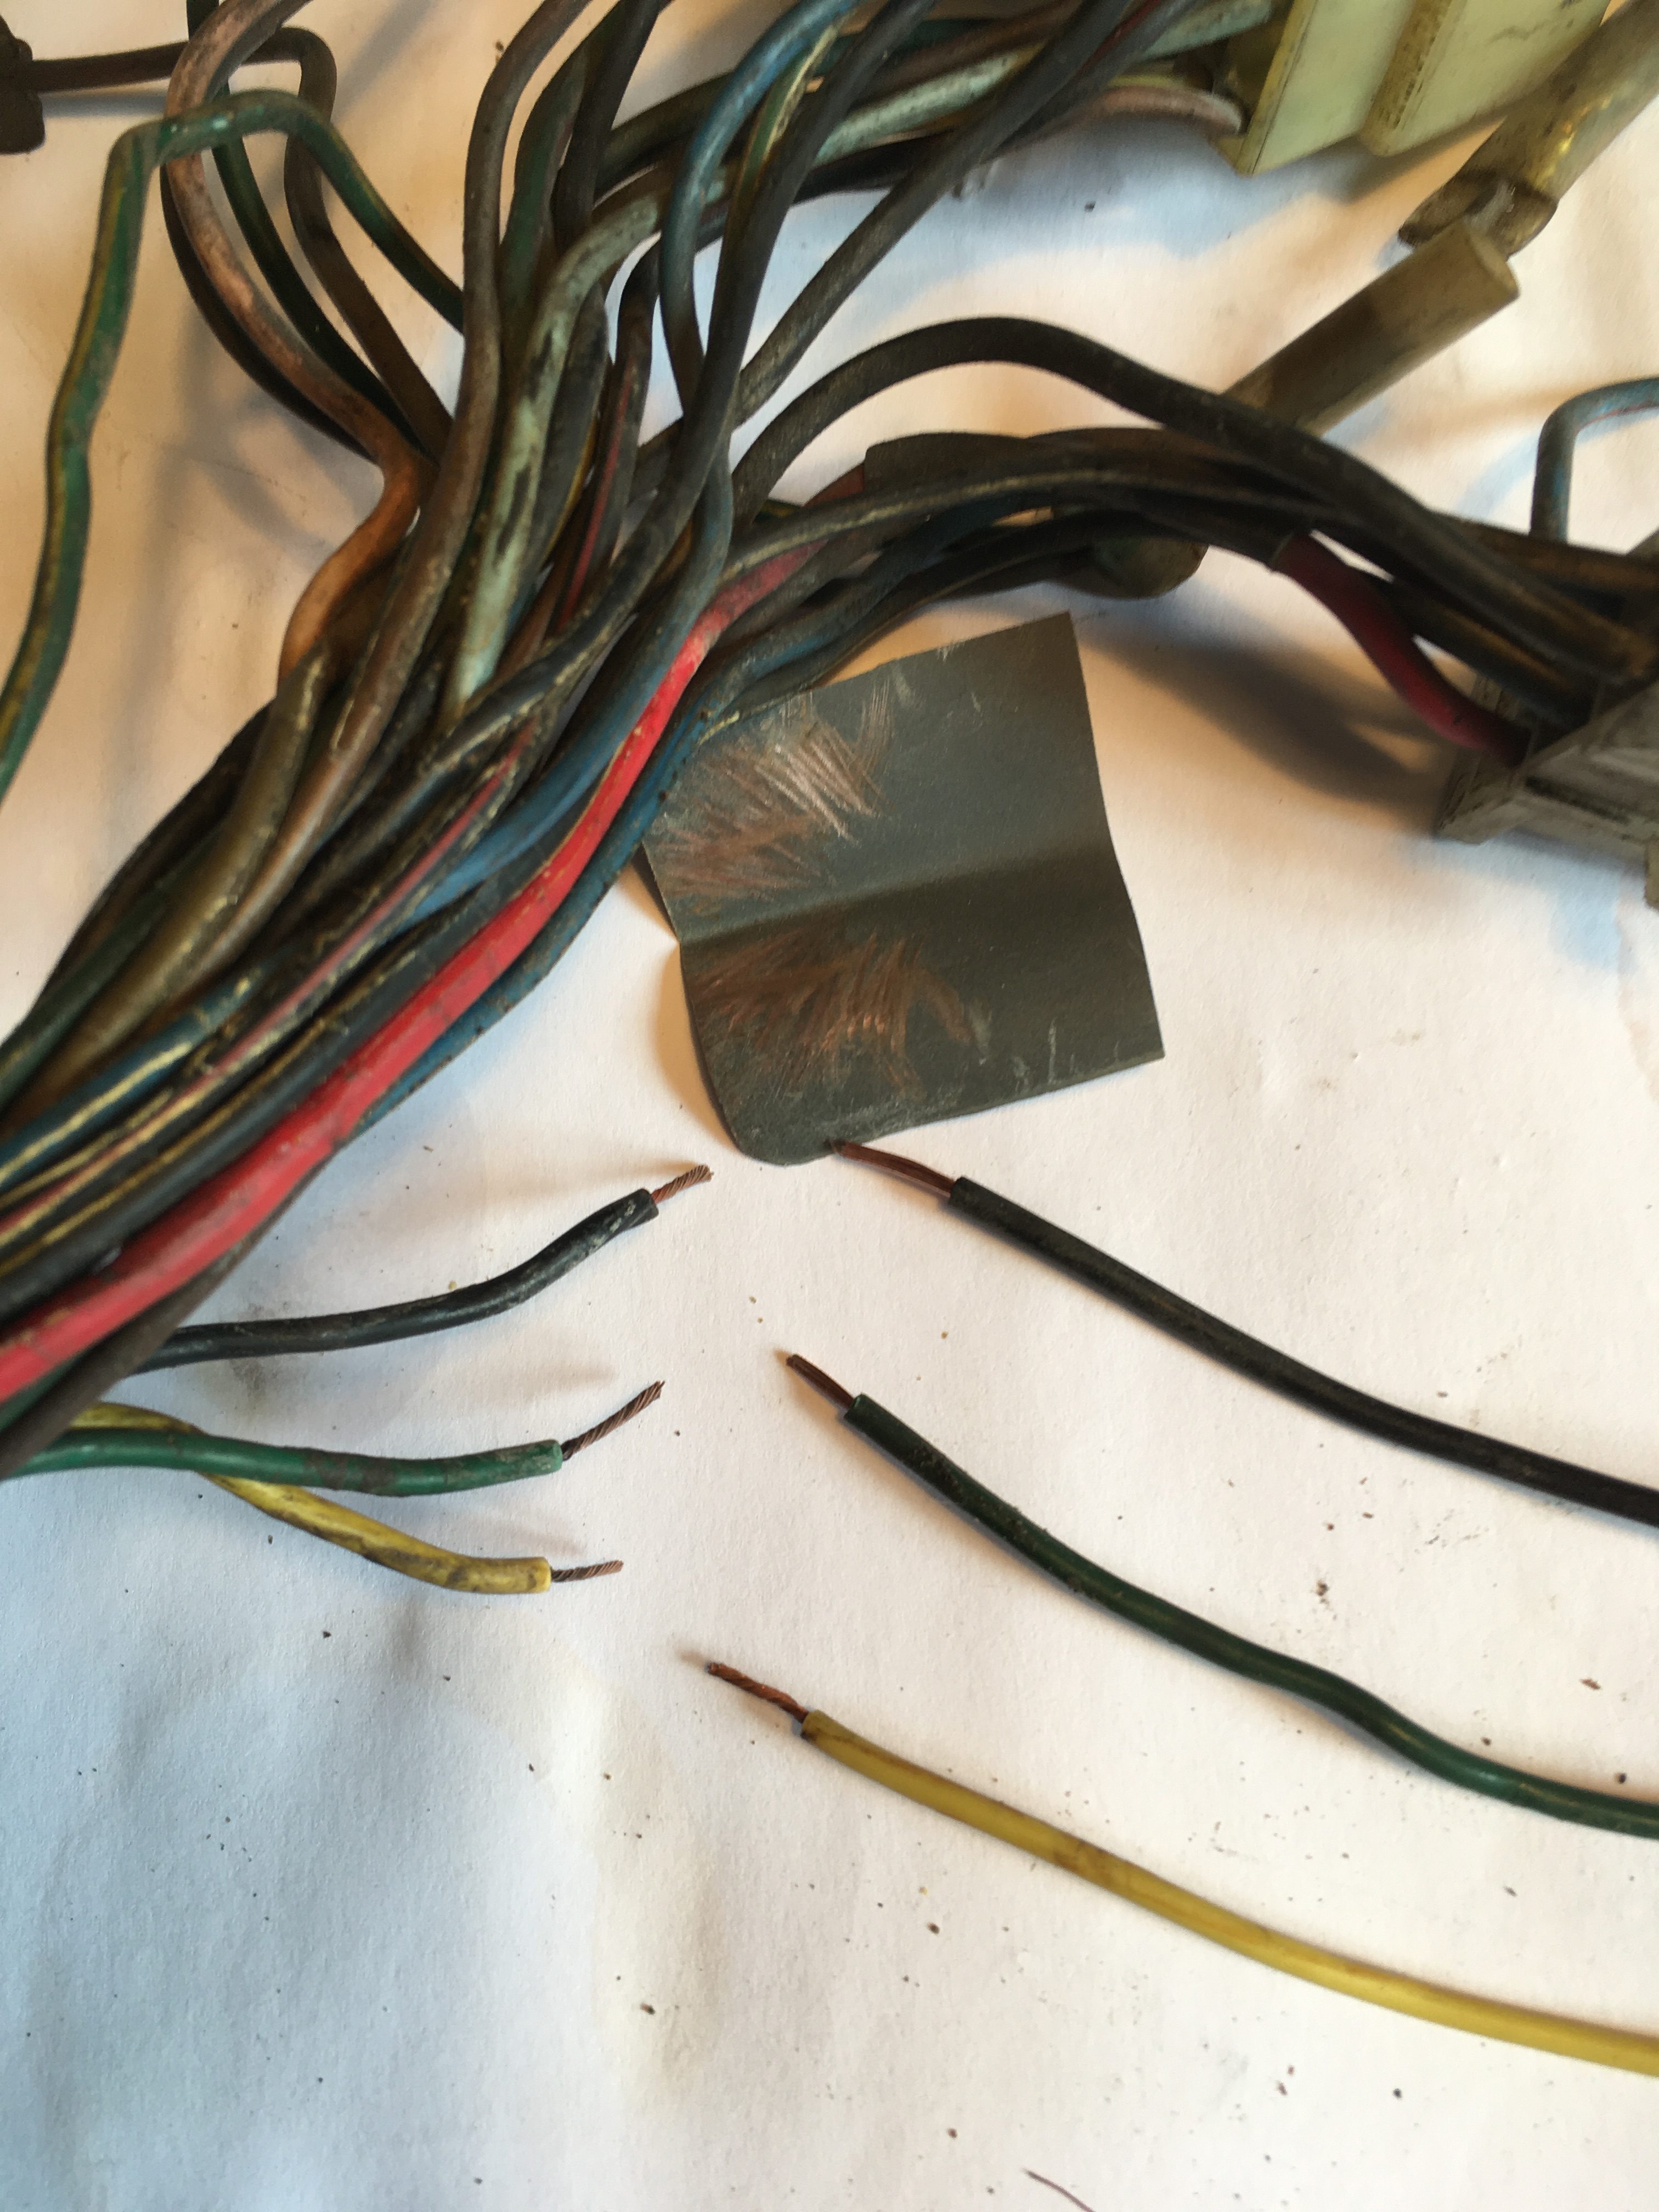
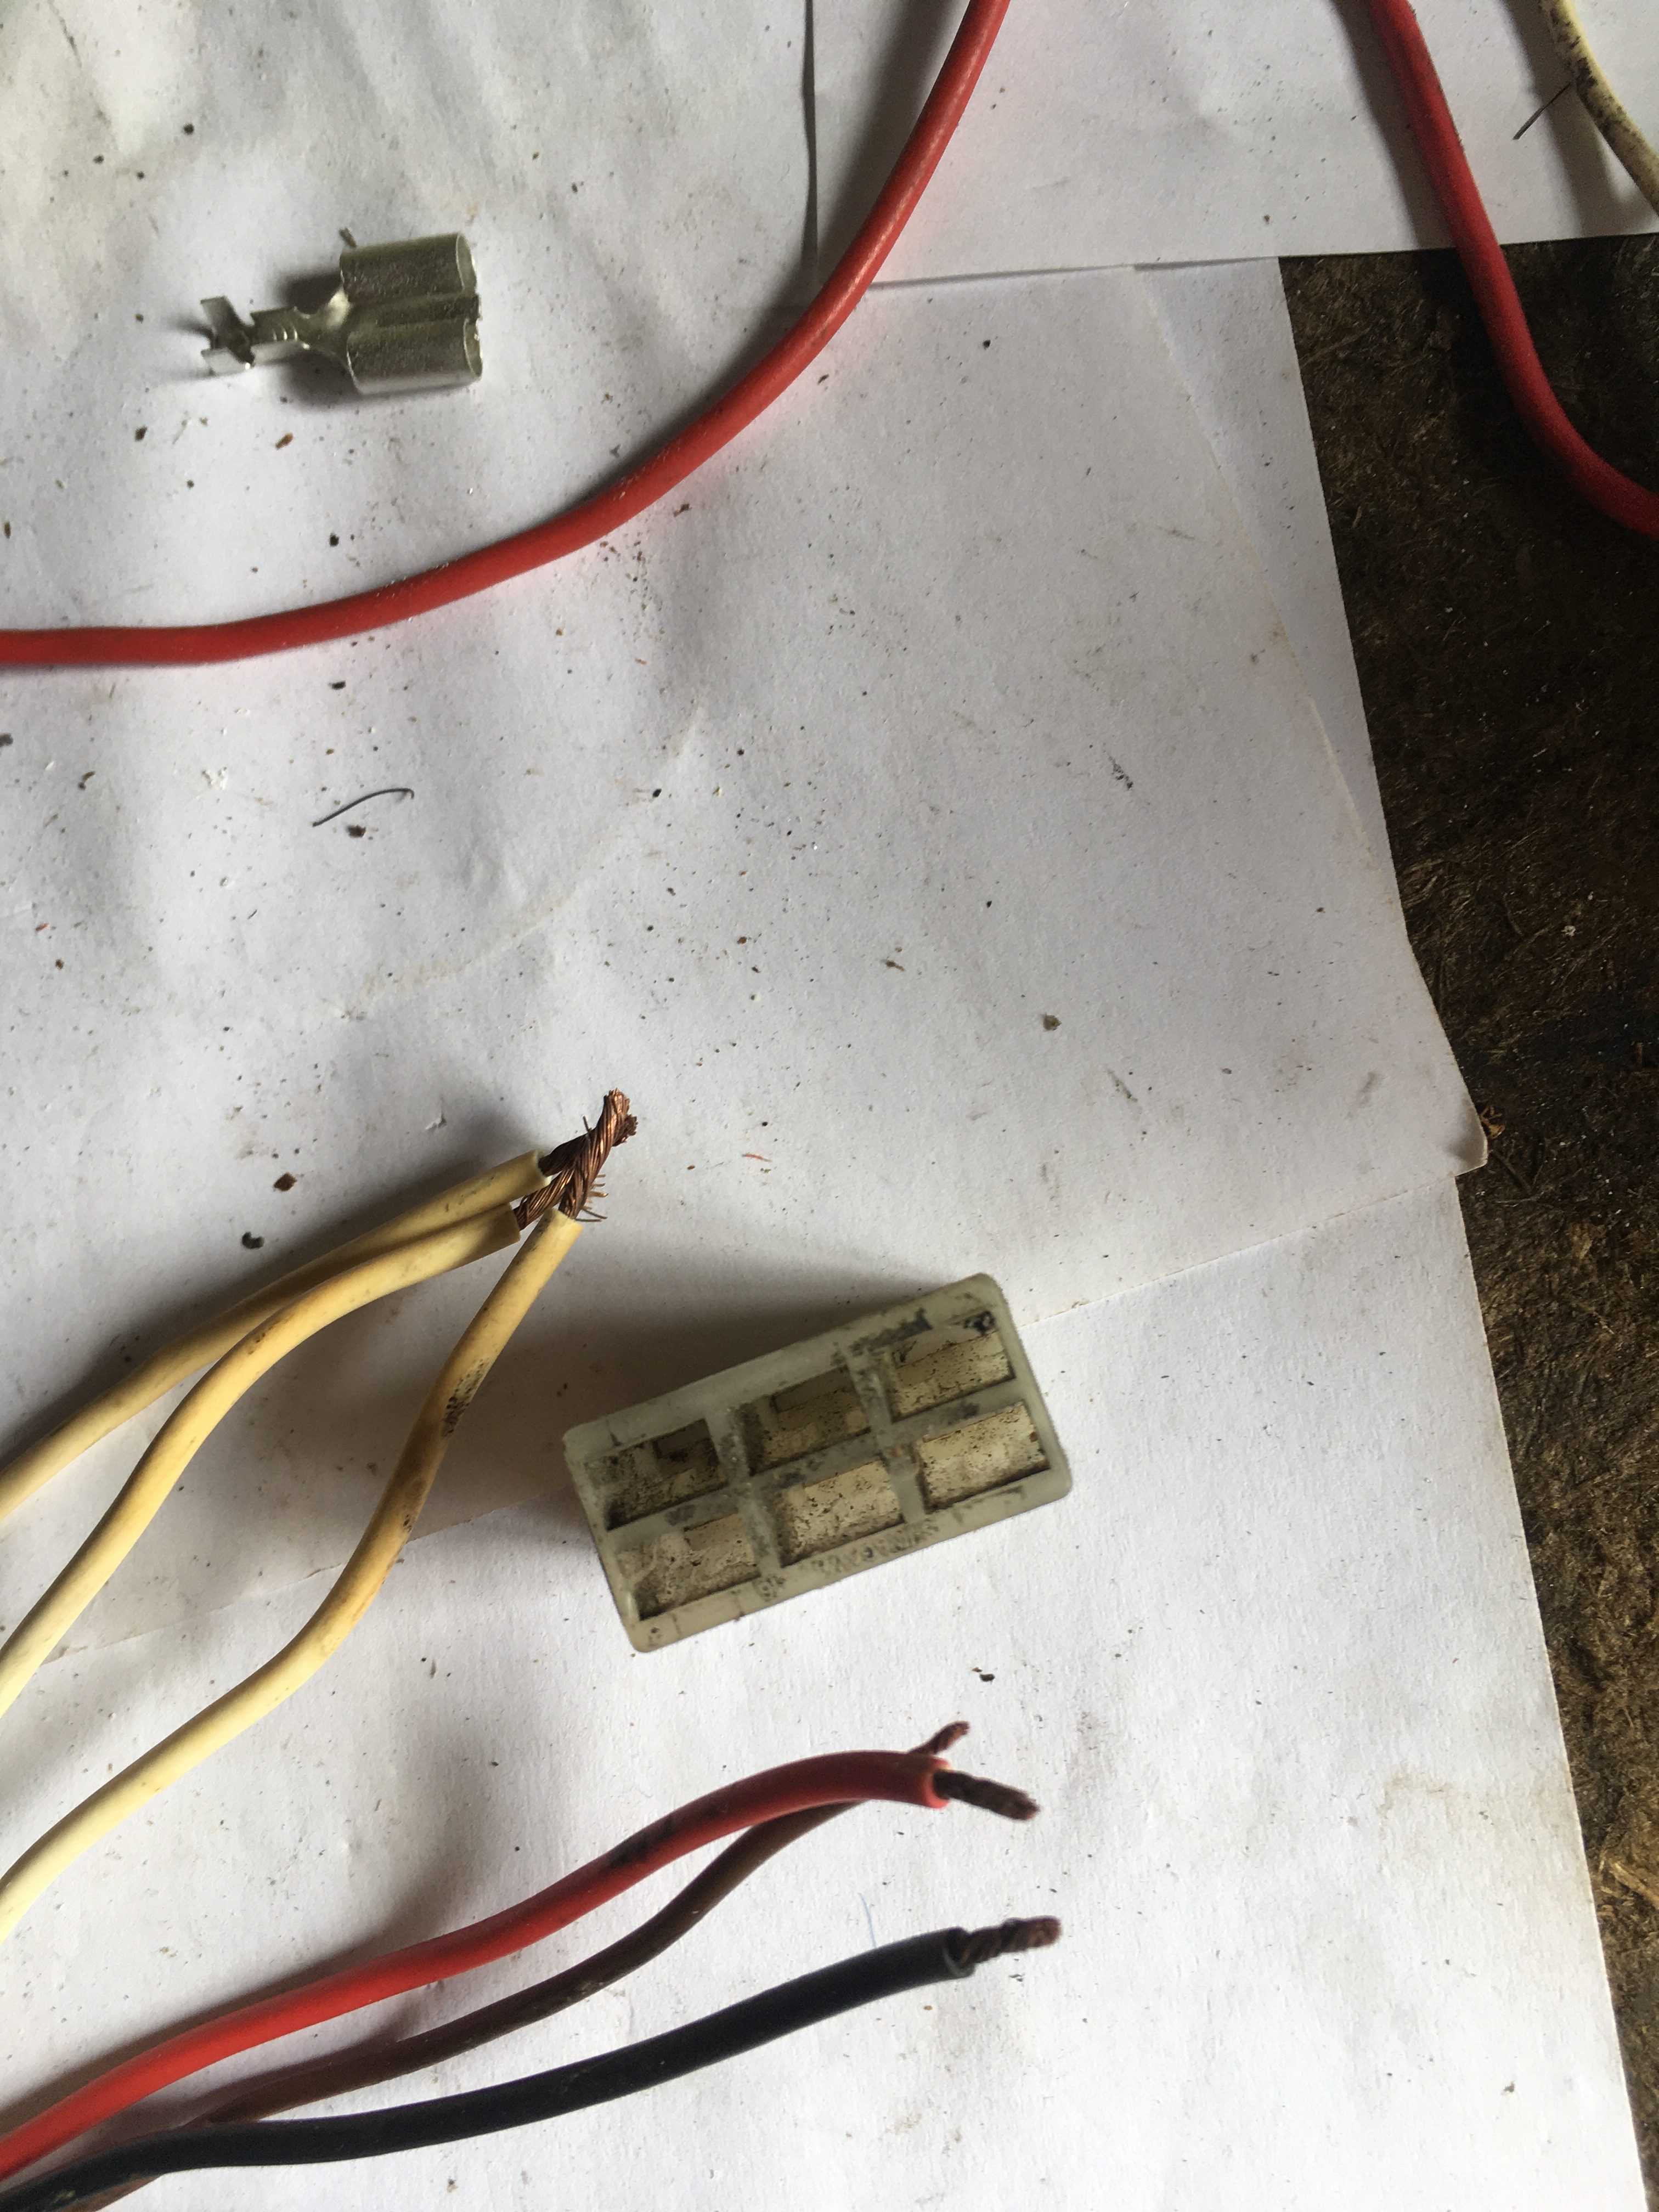
The lengths of wires are important, so I had routed the loom onto the frame before repair assembling the lengths of wire and connectors I need for the repairs.

Wires and connectors ready for splicing in.

This picture (above) shows the patches prepared for use., There are green brown and black wires with bullet females, to repair the indicator wires.
Then there is what looks like a headlight connector, but has Brown, Brown/White, and Yellow/Green wires, to patch into the loom for connection to the flasher relay.
A pair of (Thicker) red and black wires which are the main battery feeds.
The regulator/rectifier connector.
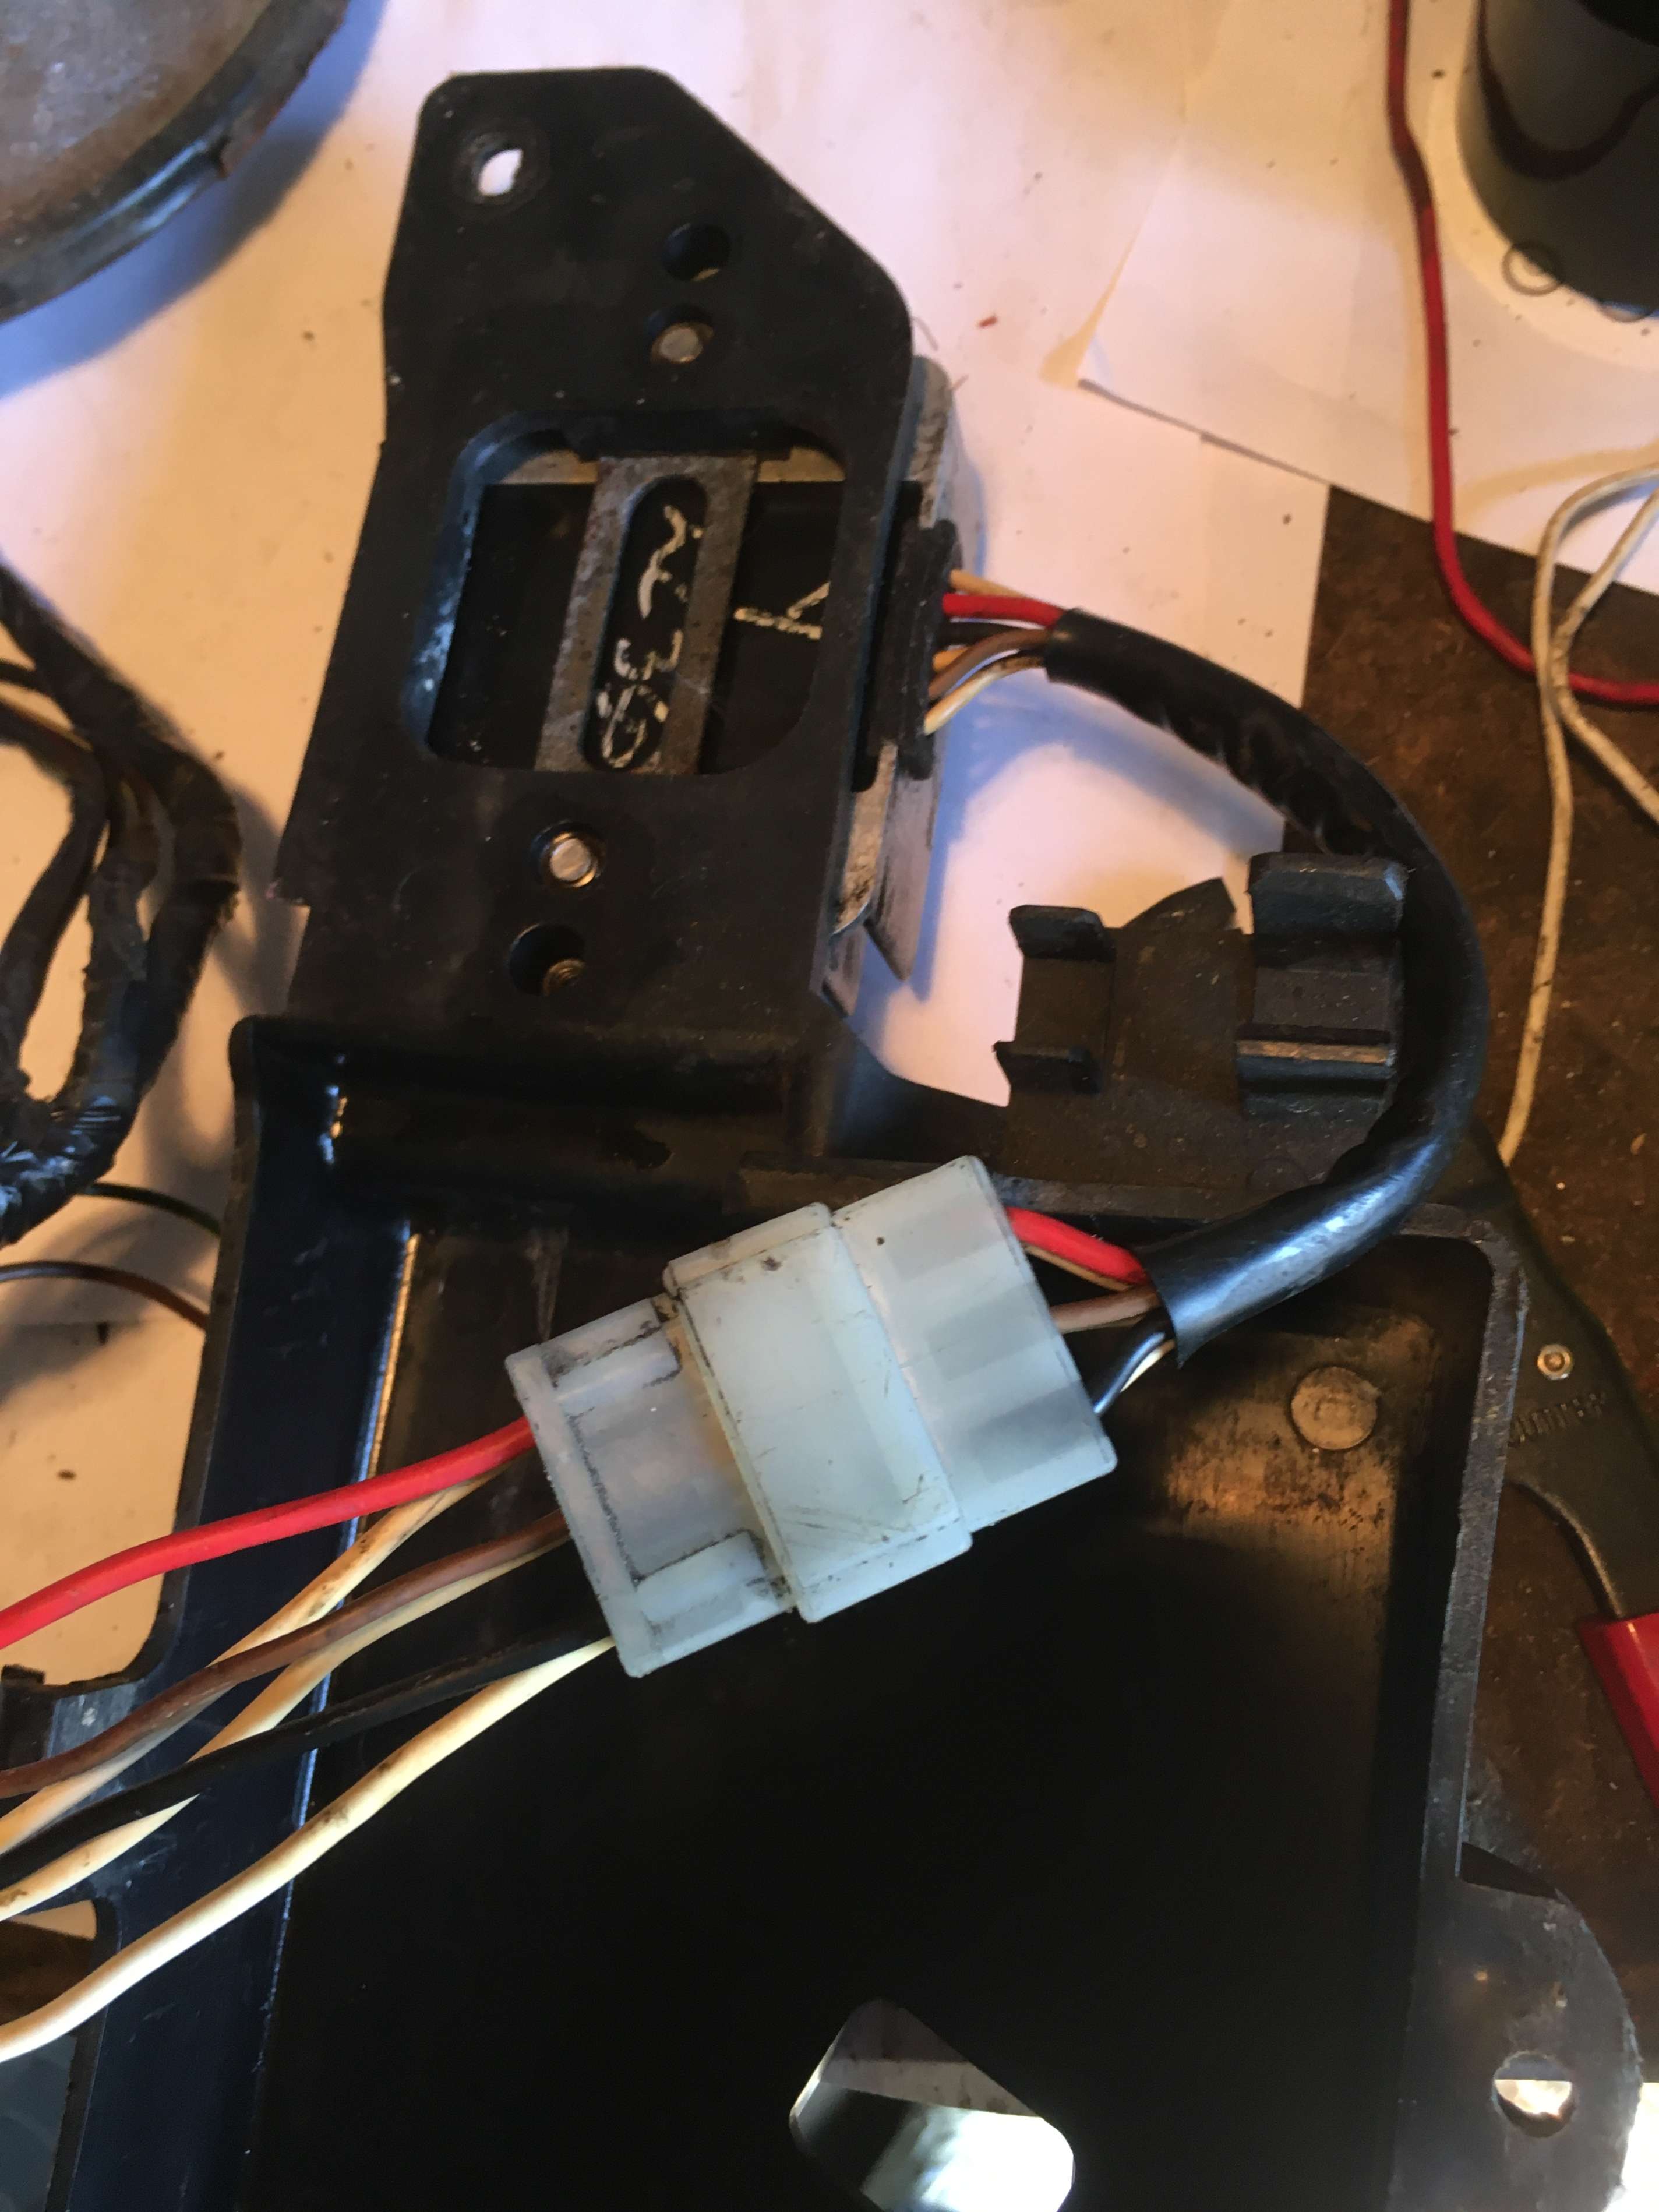
…and the fusebox. If ever there was any doubt that the “other” loom I am stripping for parts is a YPVS one, it is dismissed, as the white label inside the fusebox clearly says YPVS.
The wires are the wrong colours, and in the wrong positions for an RD250LC.
Fortunately, the only different colour I need is a Blue wire, and there is one on the near destroyed alternate fusebox, (Along with the correct original label.

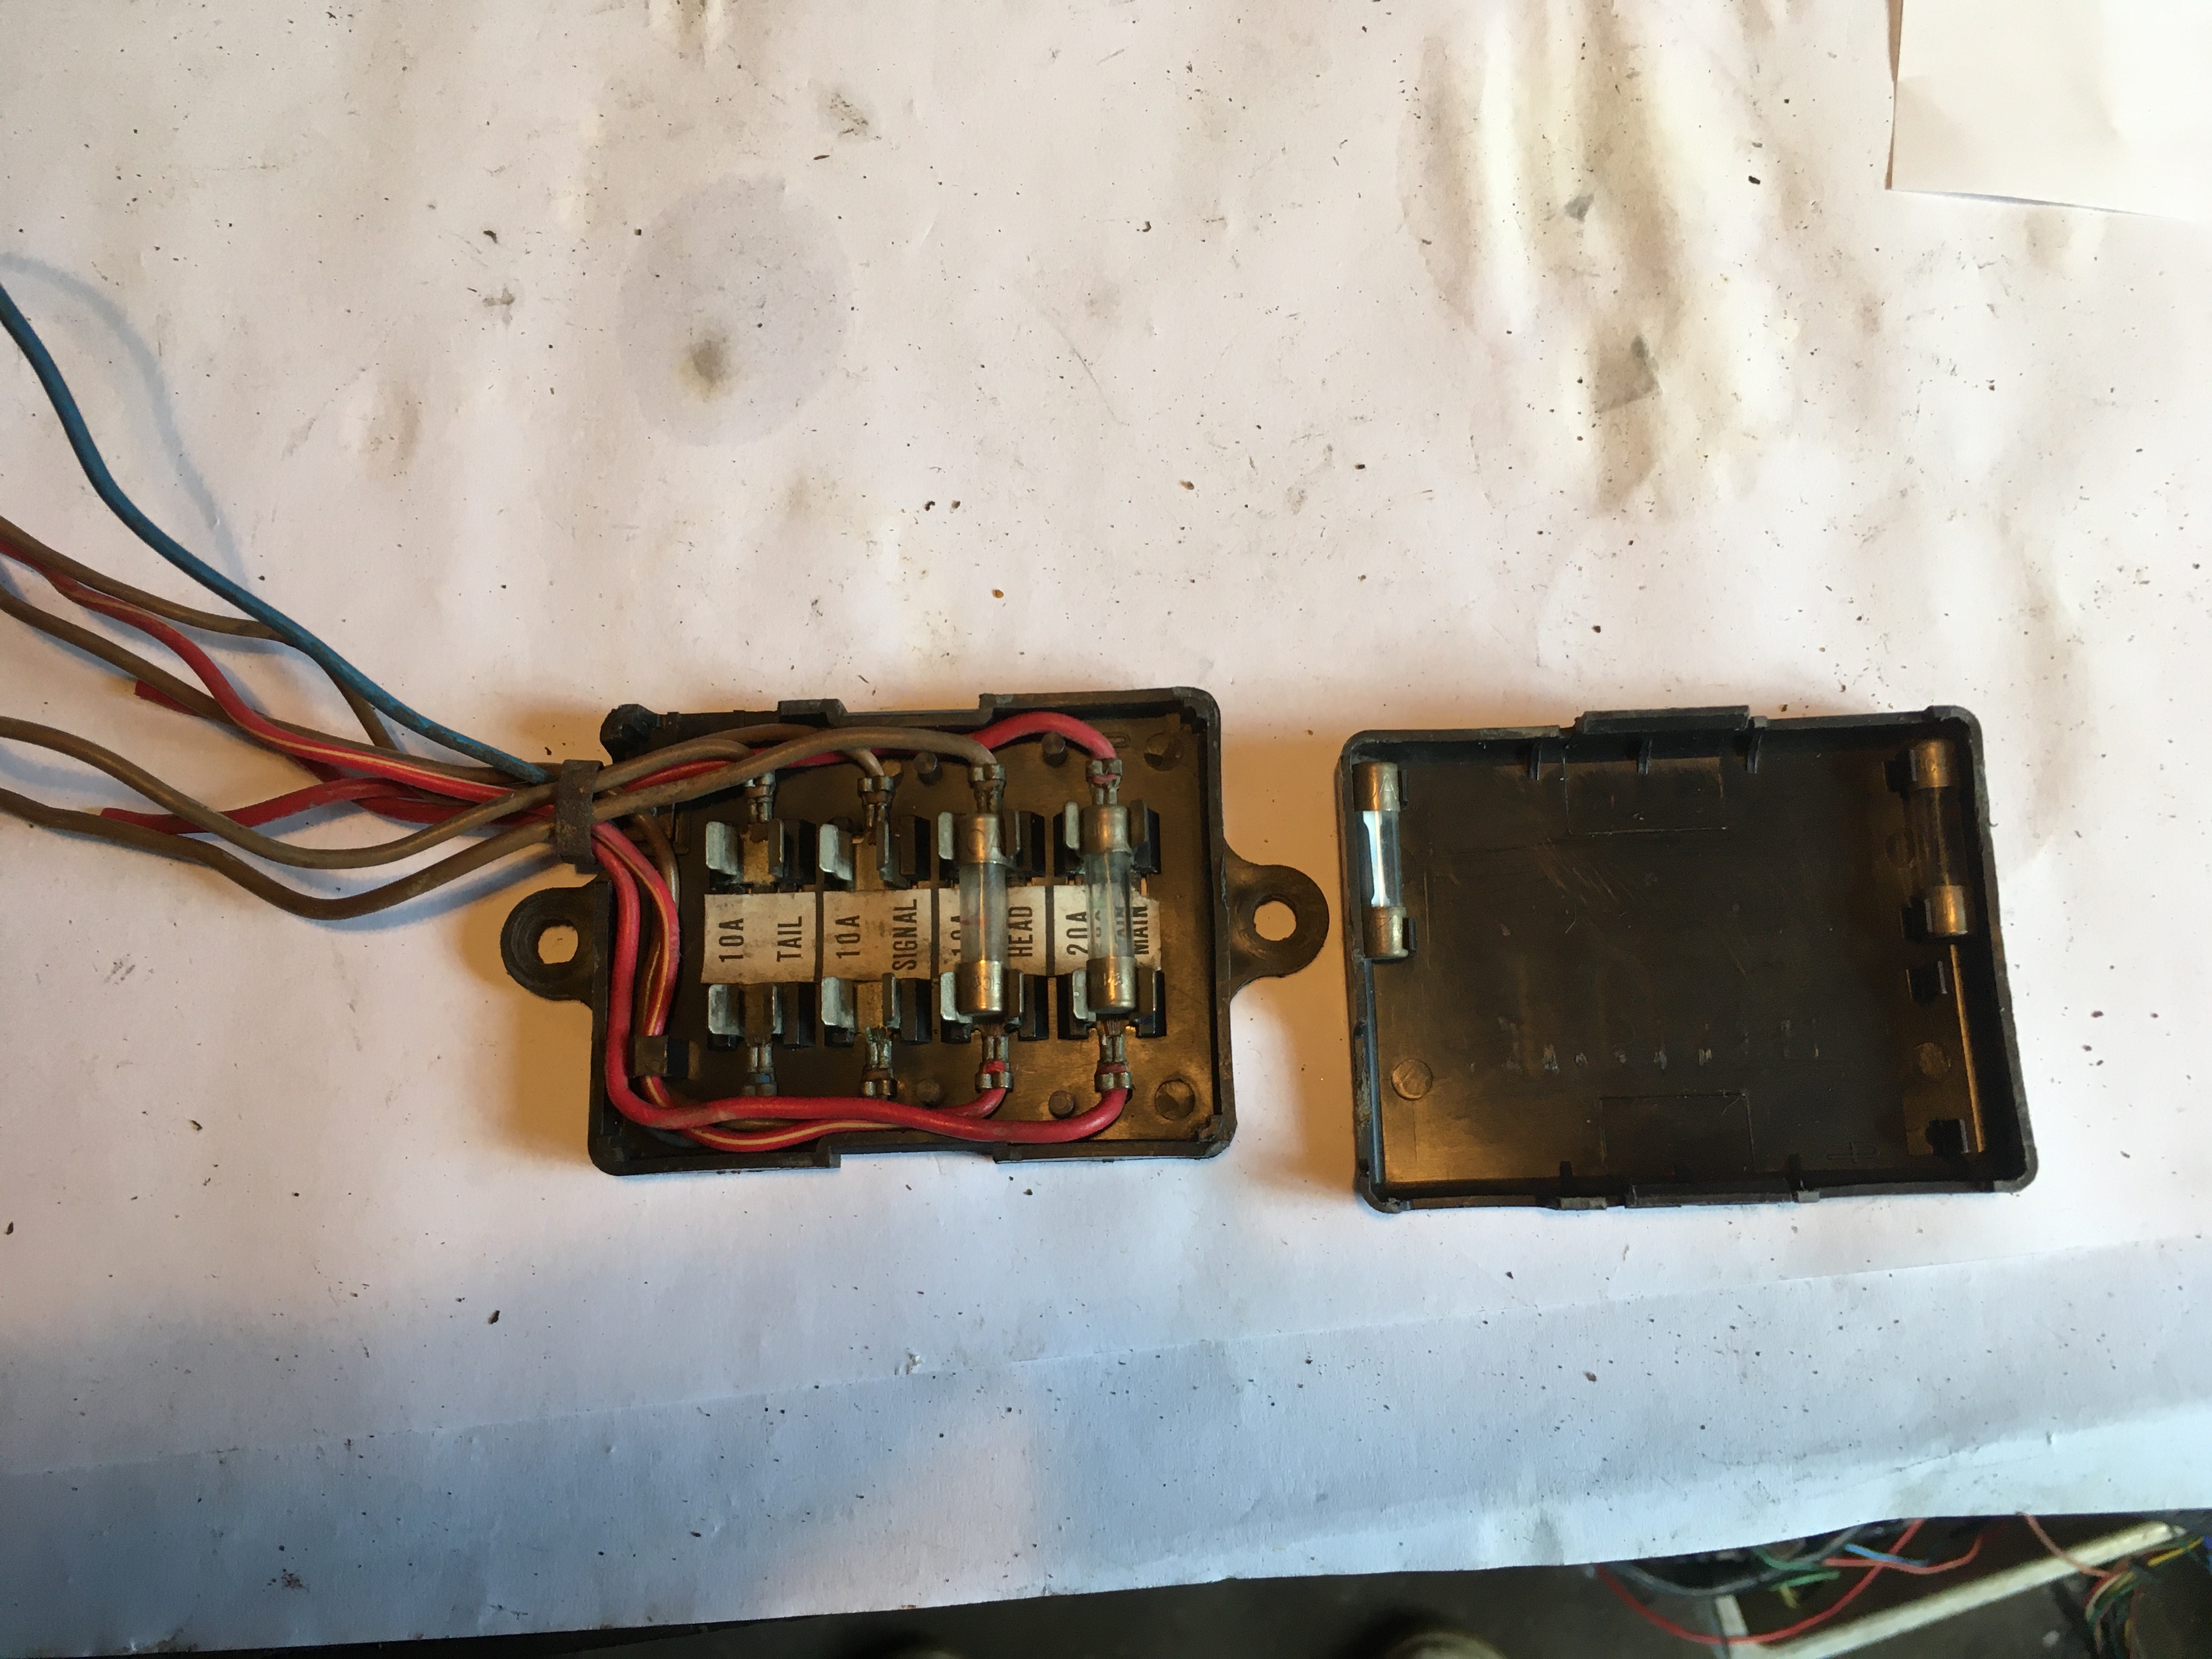
These are transferred into the scrubbed clean battery box, The other wires are rearranged according to the wiring diagram, and it’s ready to splice in.
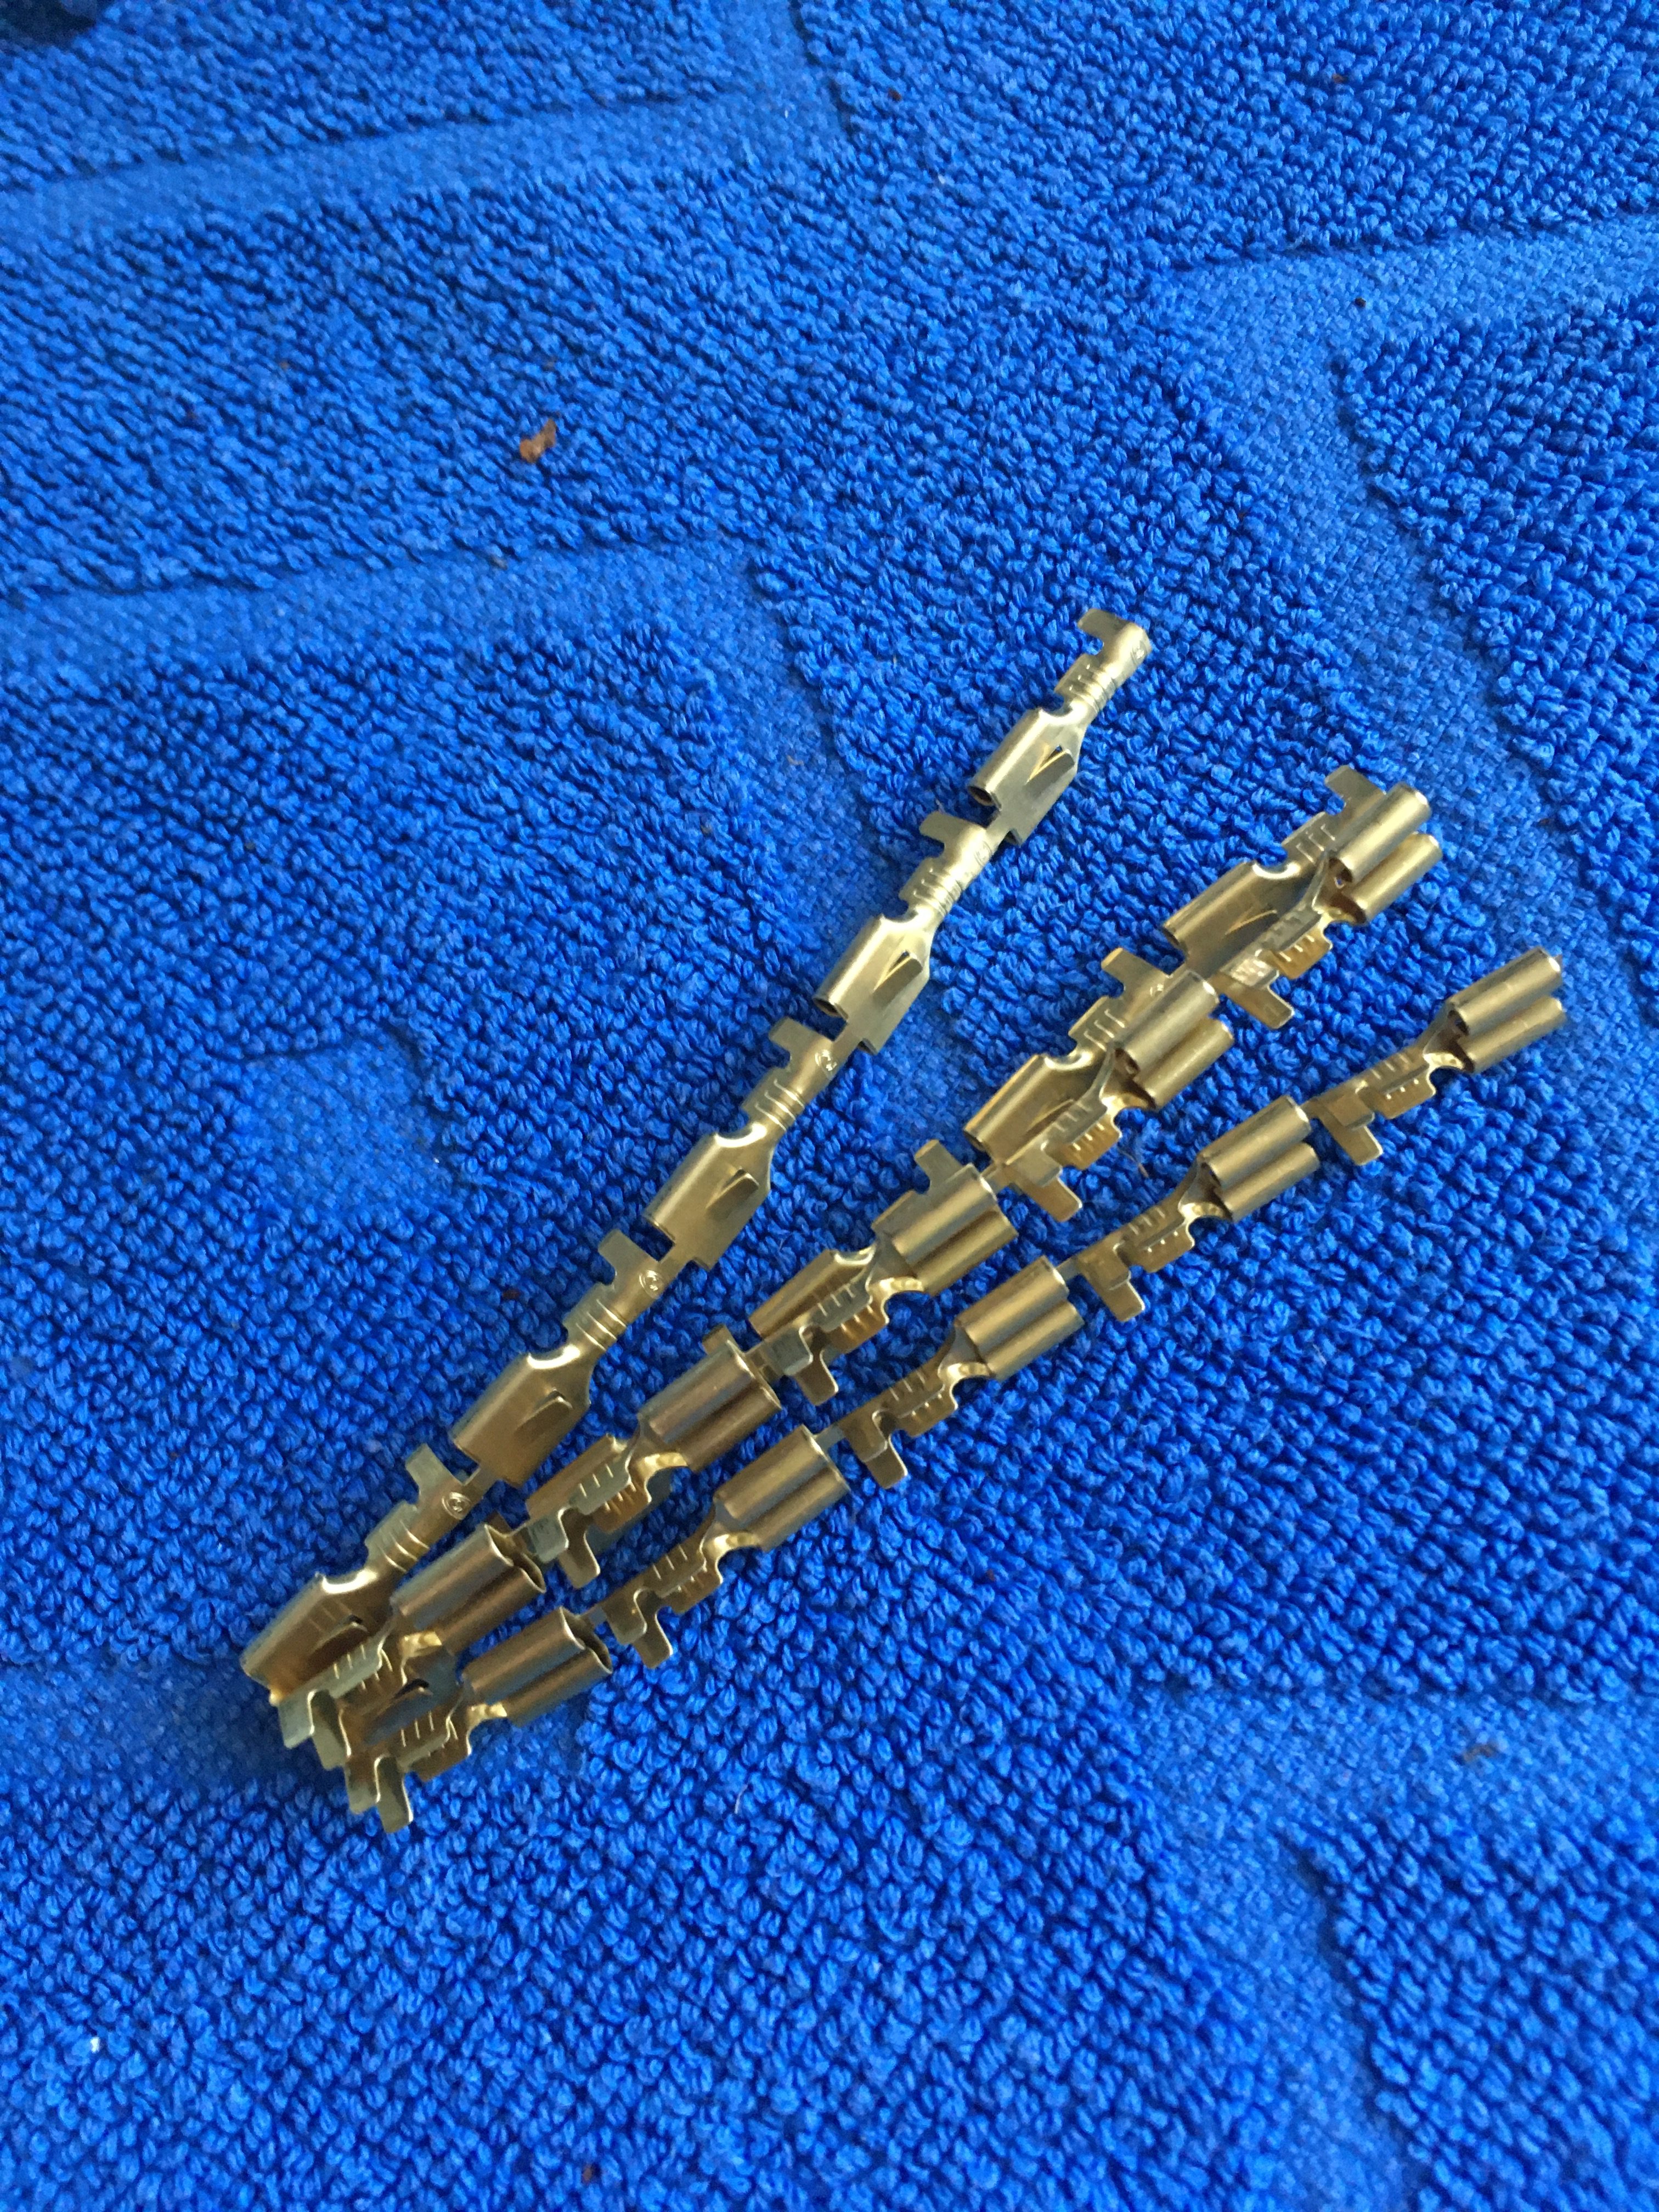
The new spade connectors to repair the regulator/rectifier connector have arrived from ebay.
I extracted the old connectors from a plastic block so I could reuse, (the plastic block).
The original from the donor bike was too far gone, with the wires and spade connectors corroded so firmly into place, that i broke the plastic when using my home made extractor tool.
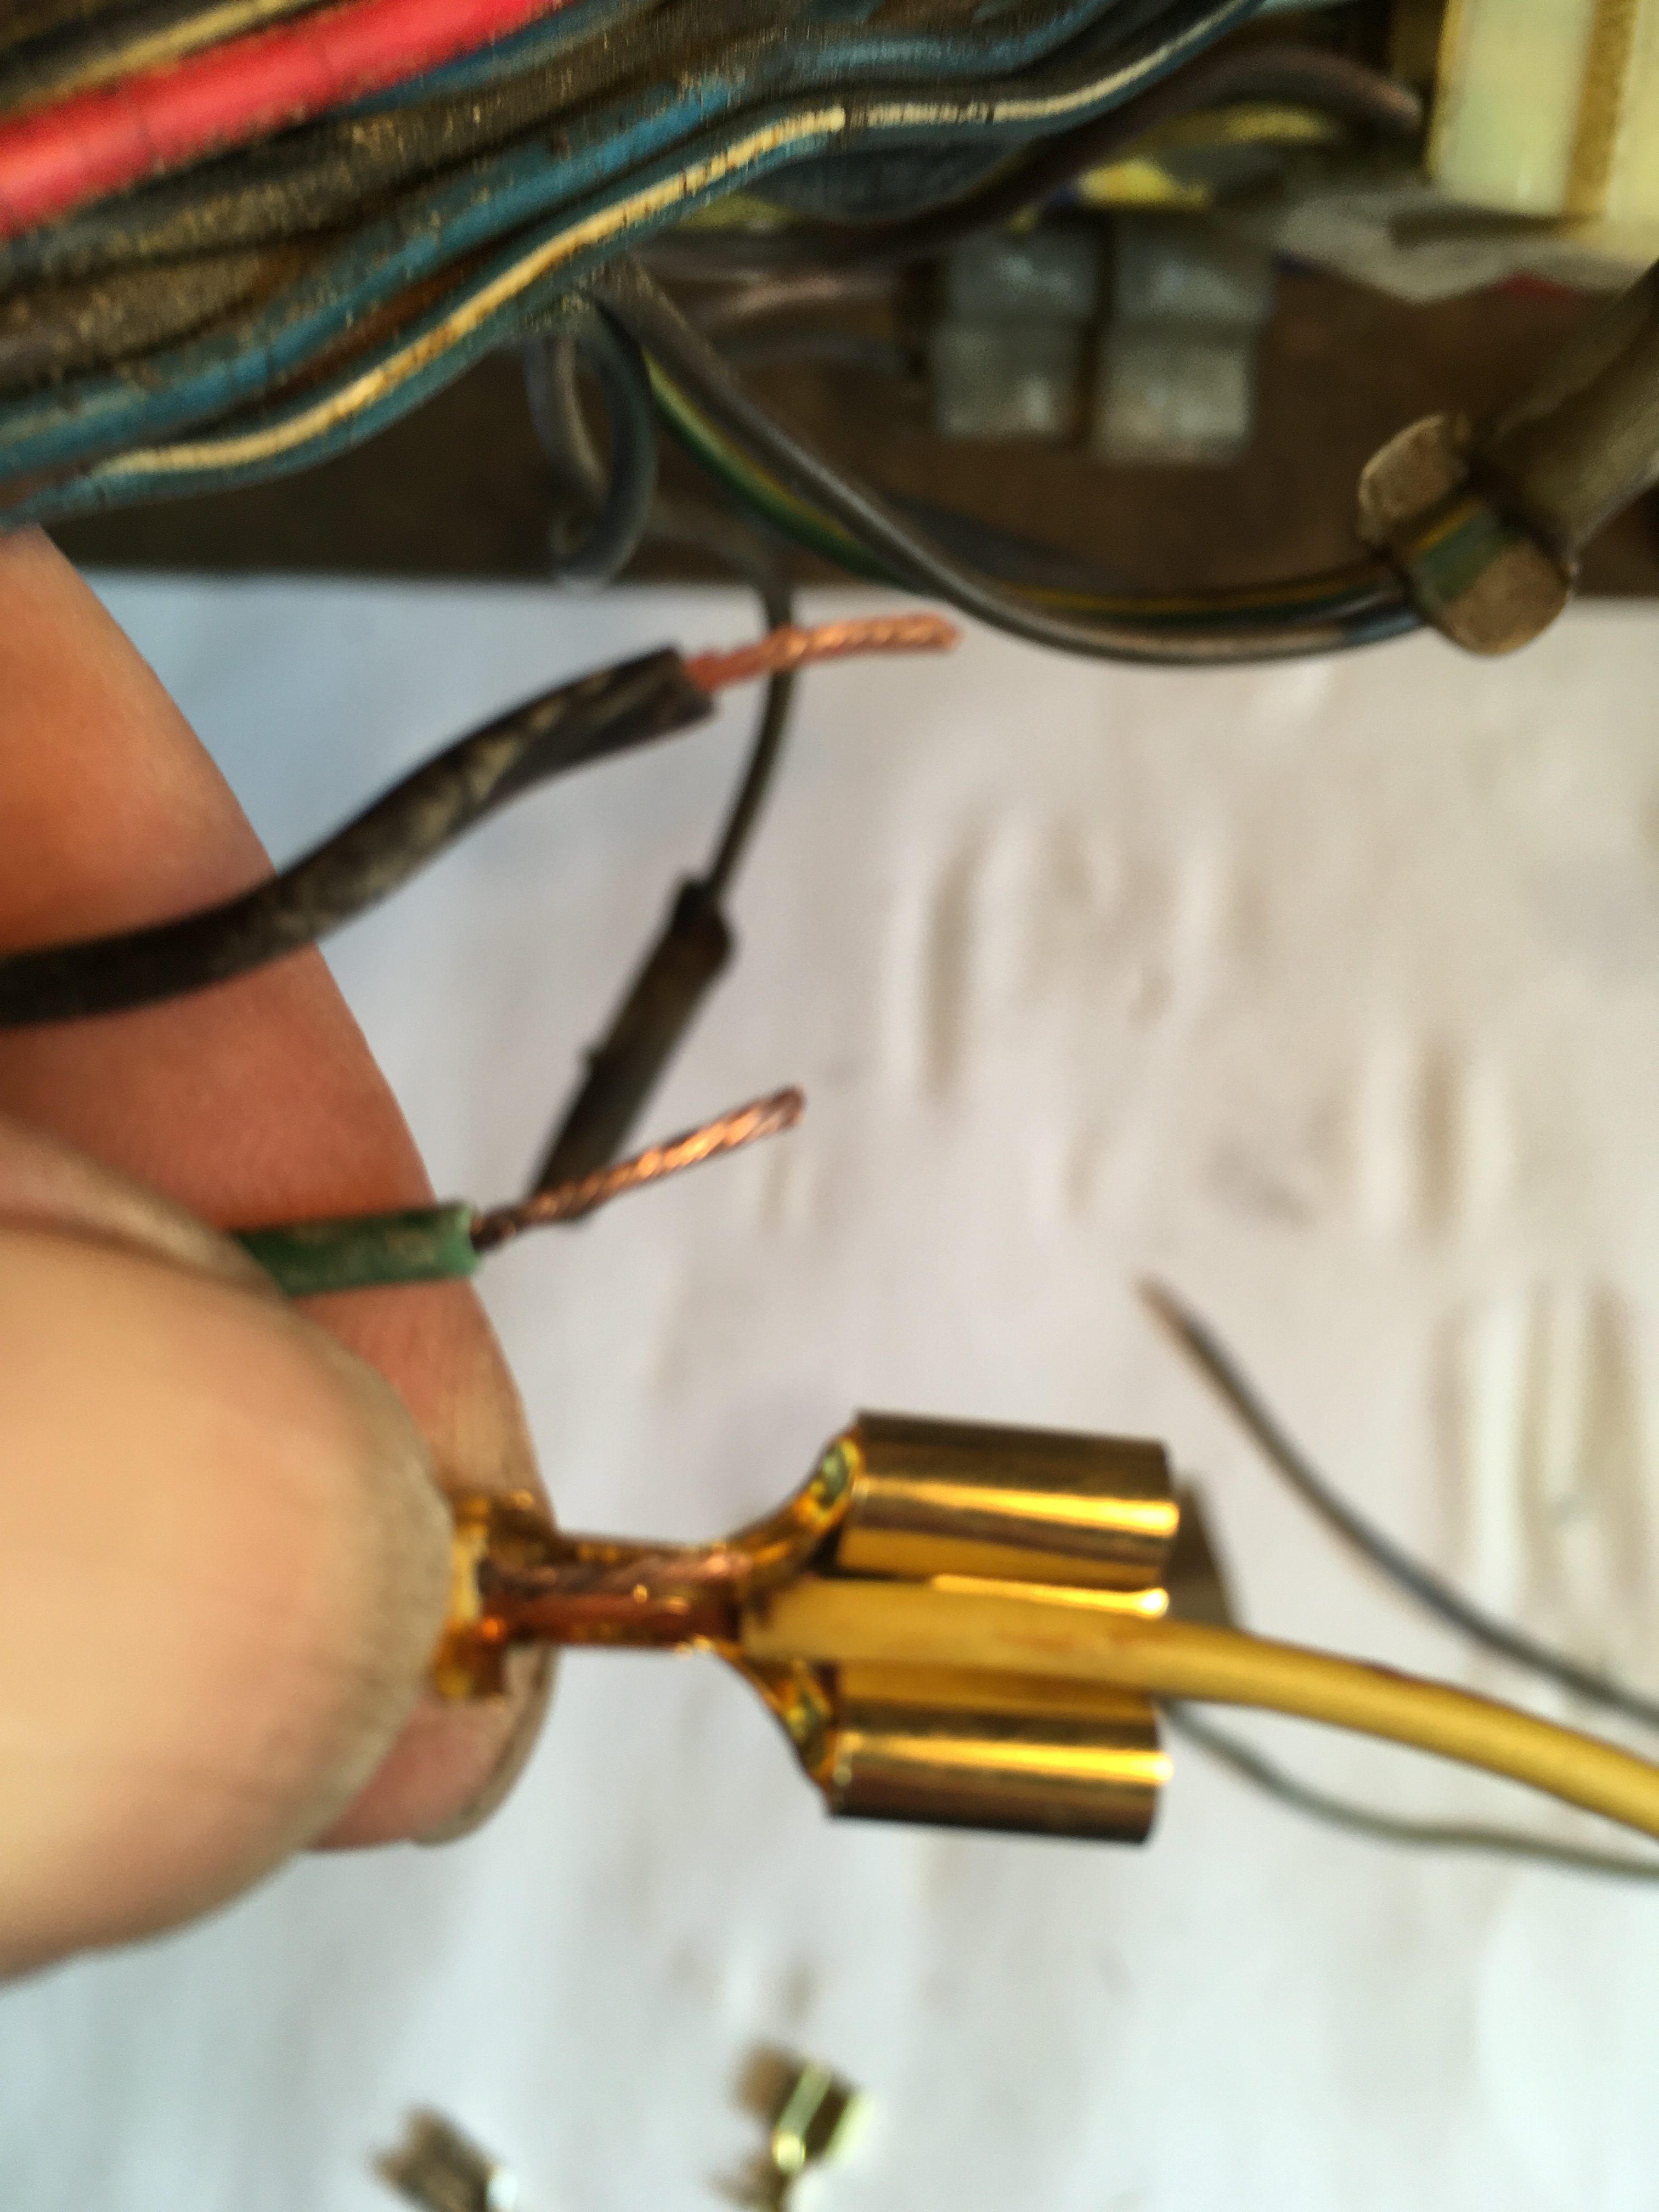
I stripped the wires back to expose the bright copper…. actually that didn’t happen.
I stripped the wires back to expose every strand in the wire covered in black corrosion.
I could keep stripping back, but sooner or later i was going to run out of wire. another solution was needed.
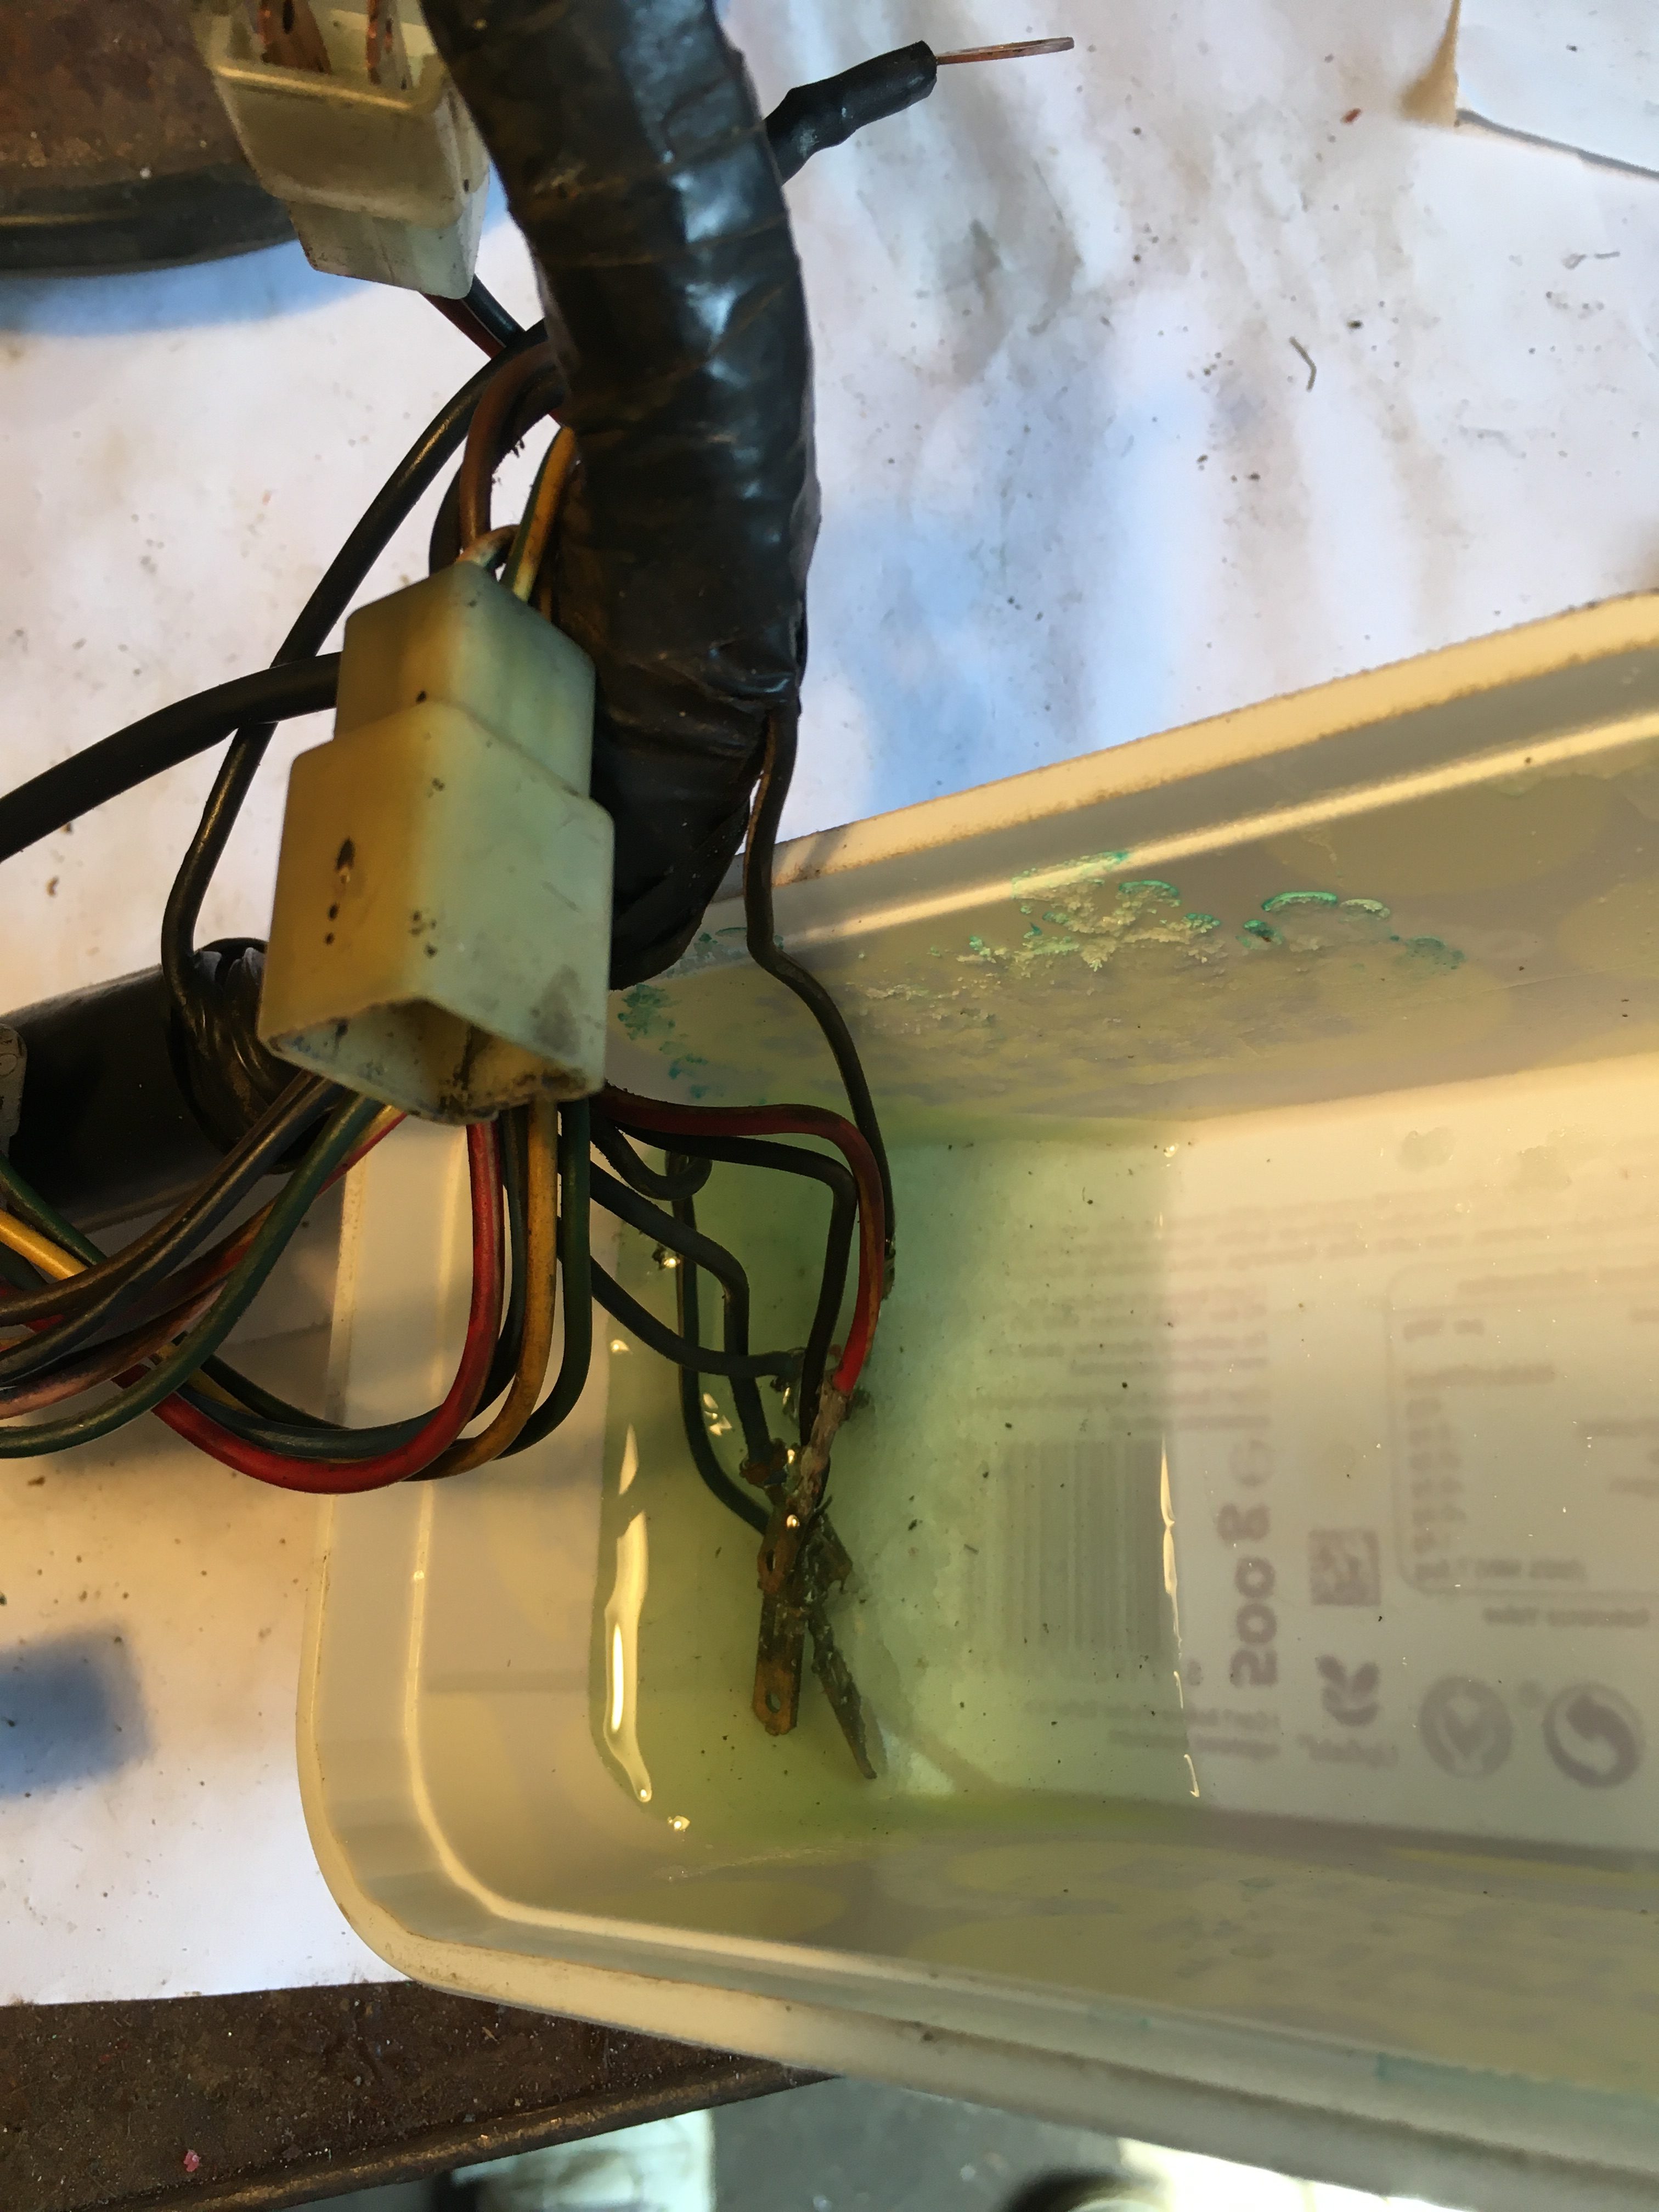
going back to some basic chemistry, I thought I could Acid etch the corrosion from the wires. I researched on the web for people doing this and found enough information to get me going.
I need an acid bath, and then an alkali bath, the first formed from Household vinegar and cooking salt, the second from baking powder.
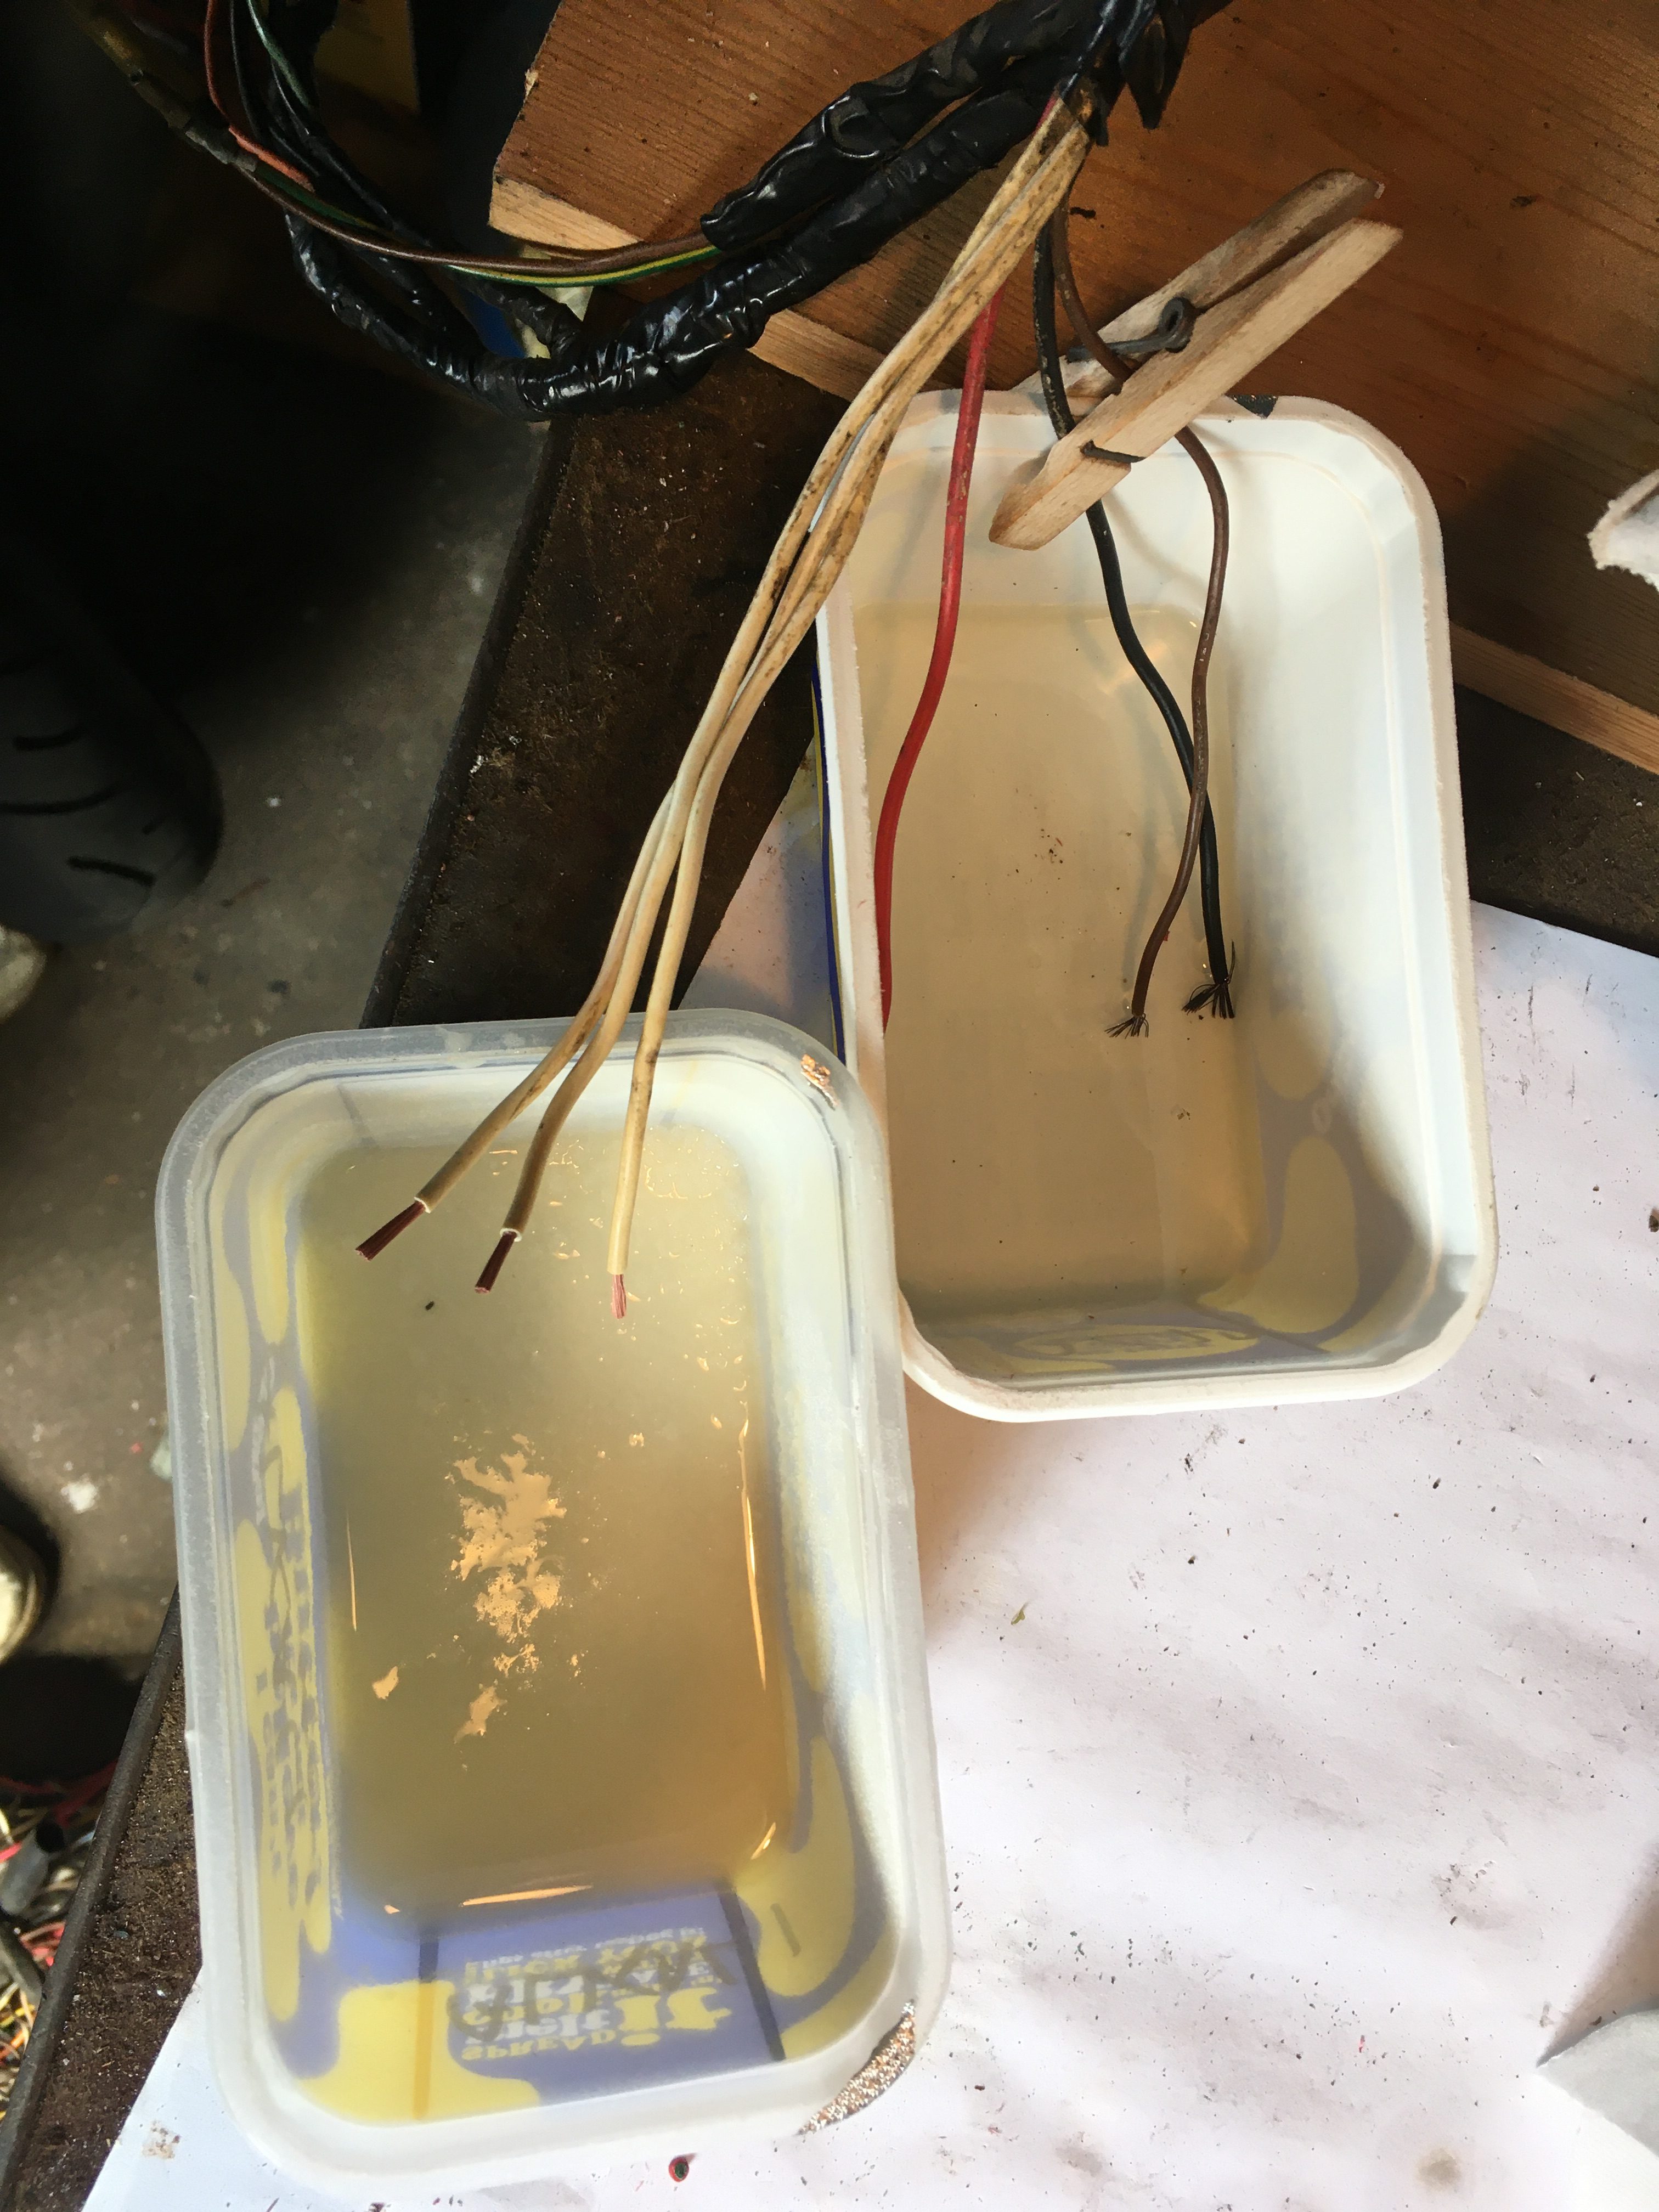
You can clearly see the difference in the white wires, fresh from the alkali bath, and the red/black/brown wires still stewing in the acid bath.
Depending on the degree of corrosion, the wire ends needed approximately 20 minutes in the acid bath. They stay in the alkali bath until they stop fizzing!
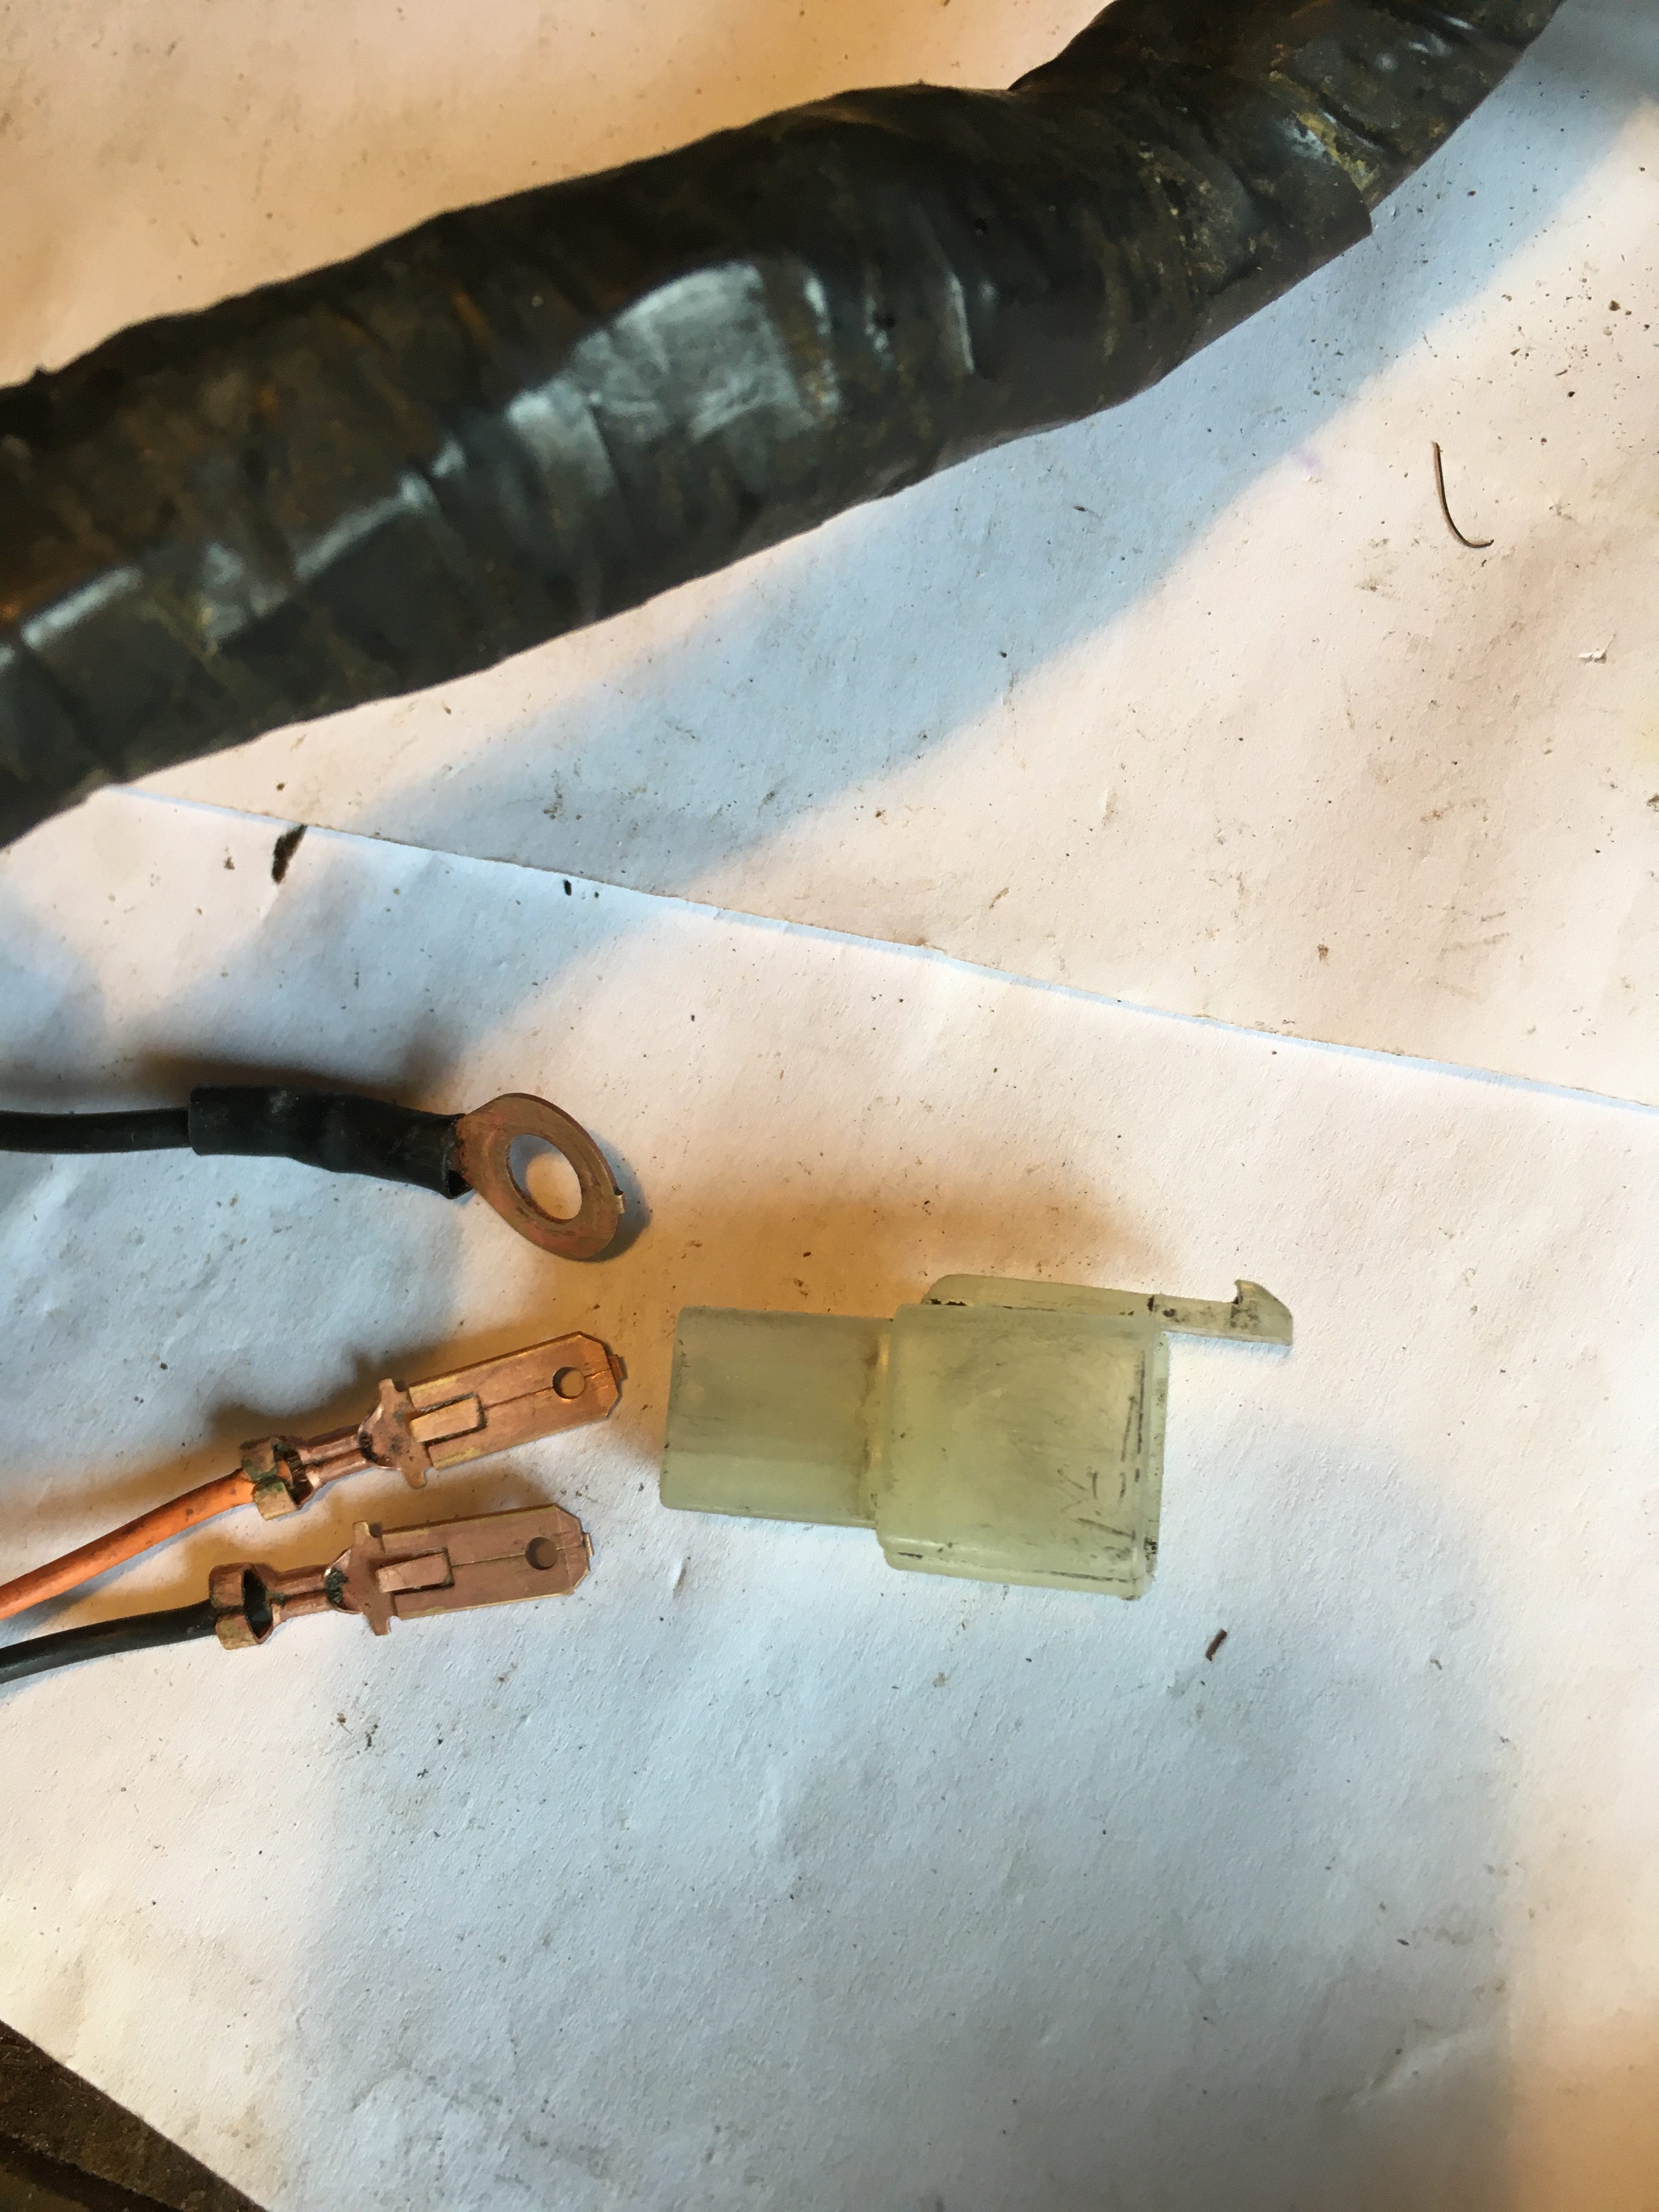
Once the wire ends are all shiny and clean, I gave them a spray with brake cleaner to remove all traces of acid/alkali, and crimped on the connectors. The plastic block had had a soak in soapy water then a blast with the brake cleaner spray, so the new connectors eased straight in.

Having discovered the acid bath technique, I reviewed all connectors on the loom for corrosion, and dealt with them accordingly.
the process leaves bare copper rather than the brass plating originally there, but I guess that underneath all of the green and black crud, there wasn’t much brass left, and bare copper will make a better connection than green fur.
…and after a week of tedious effort, I have learned some stuff, saved myself a pile of cash required for a “new” loom, and have finished with something usable.
now I just need to fix it to the bike, and test it all works.
Before 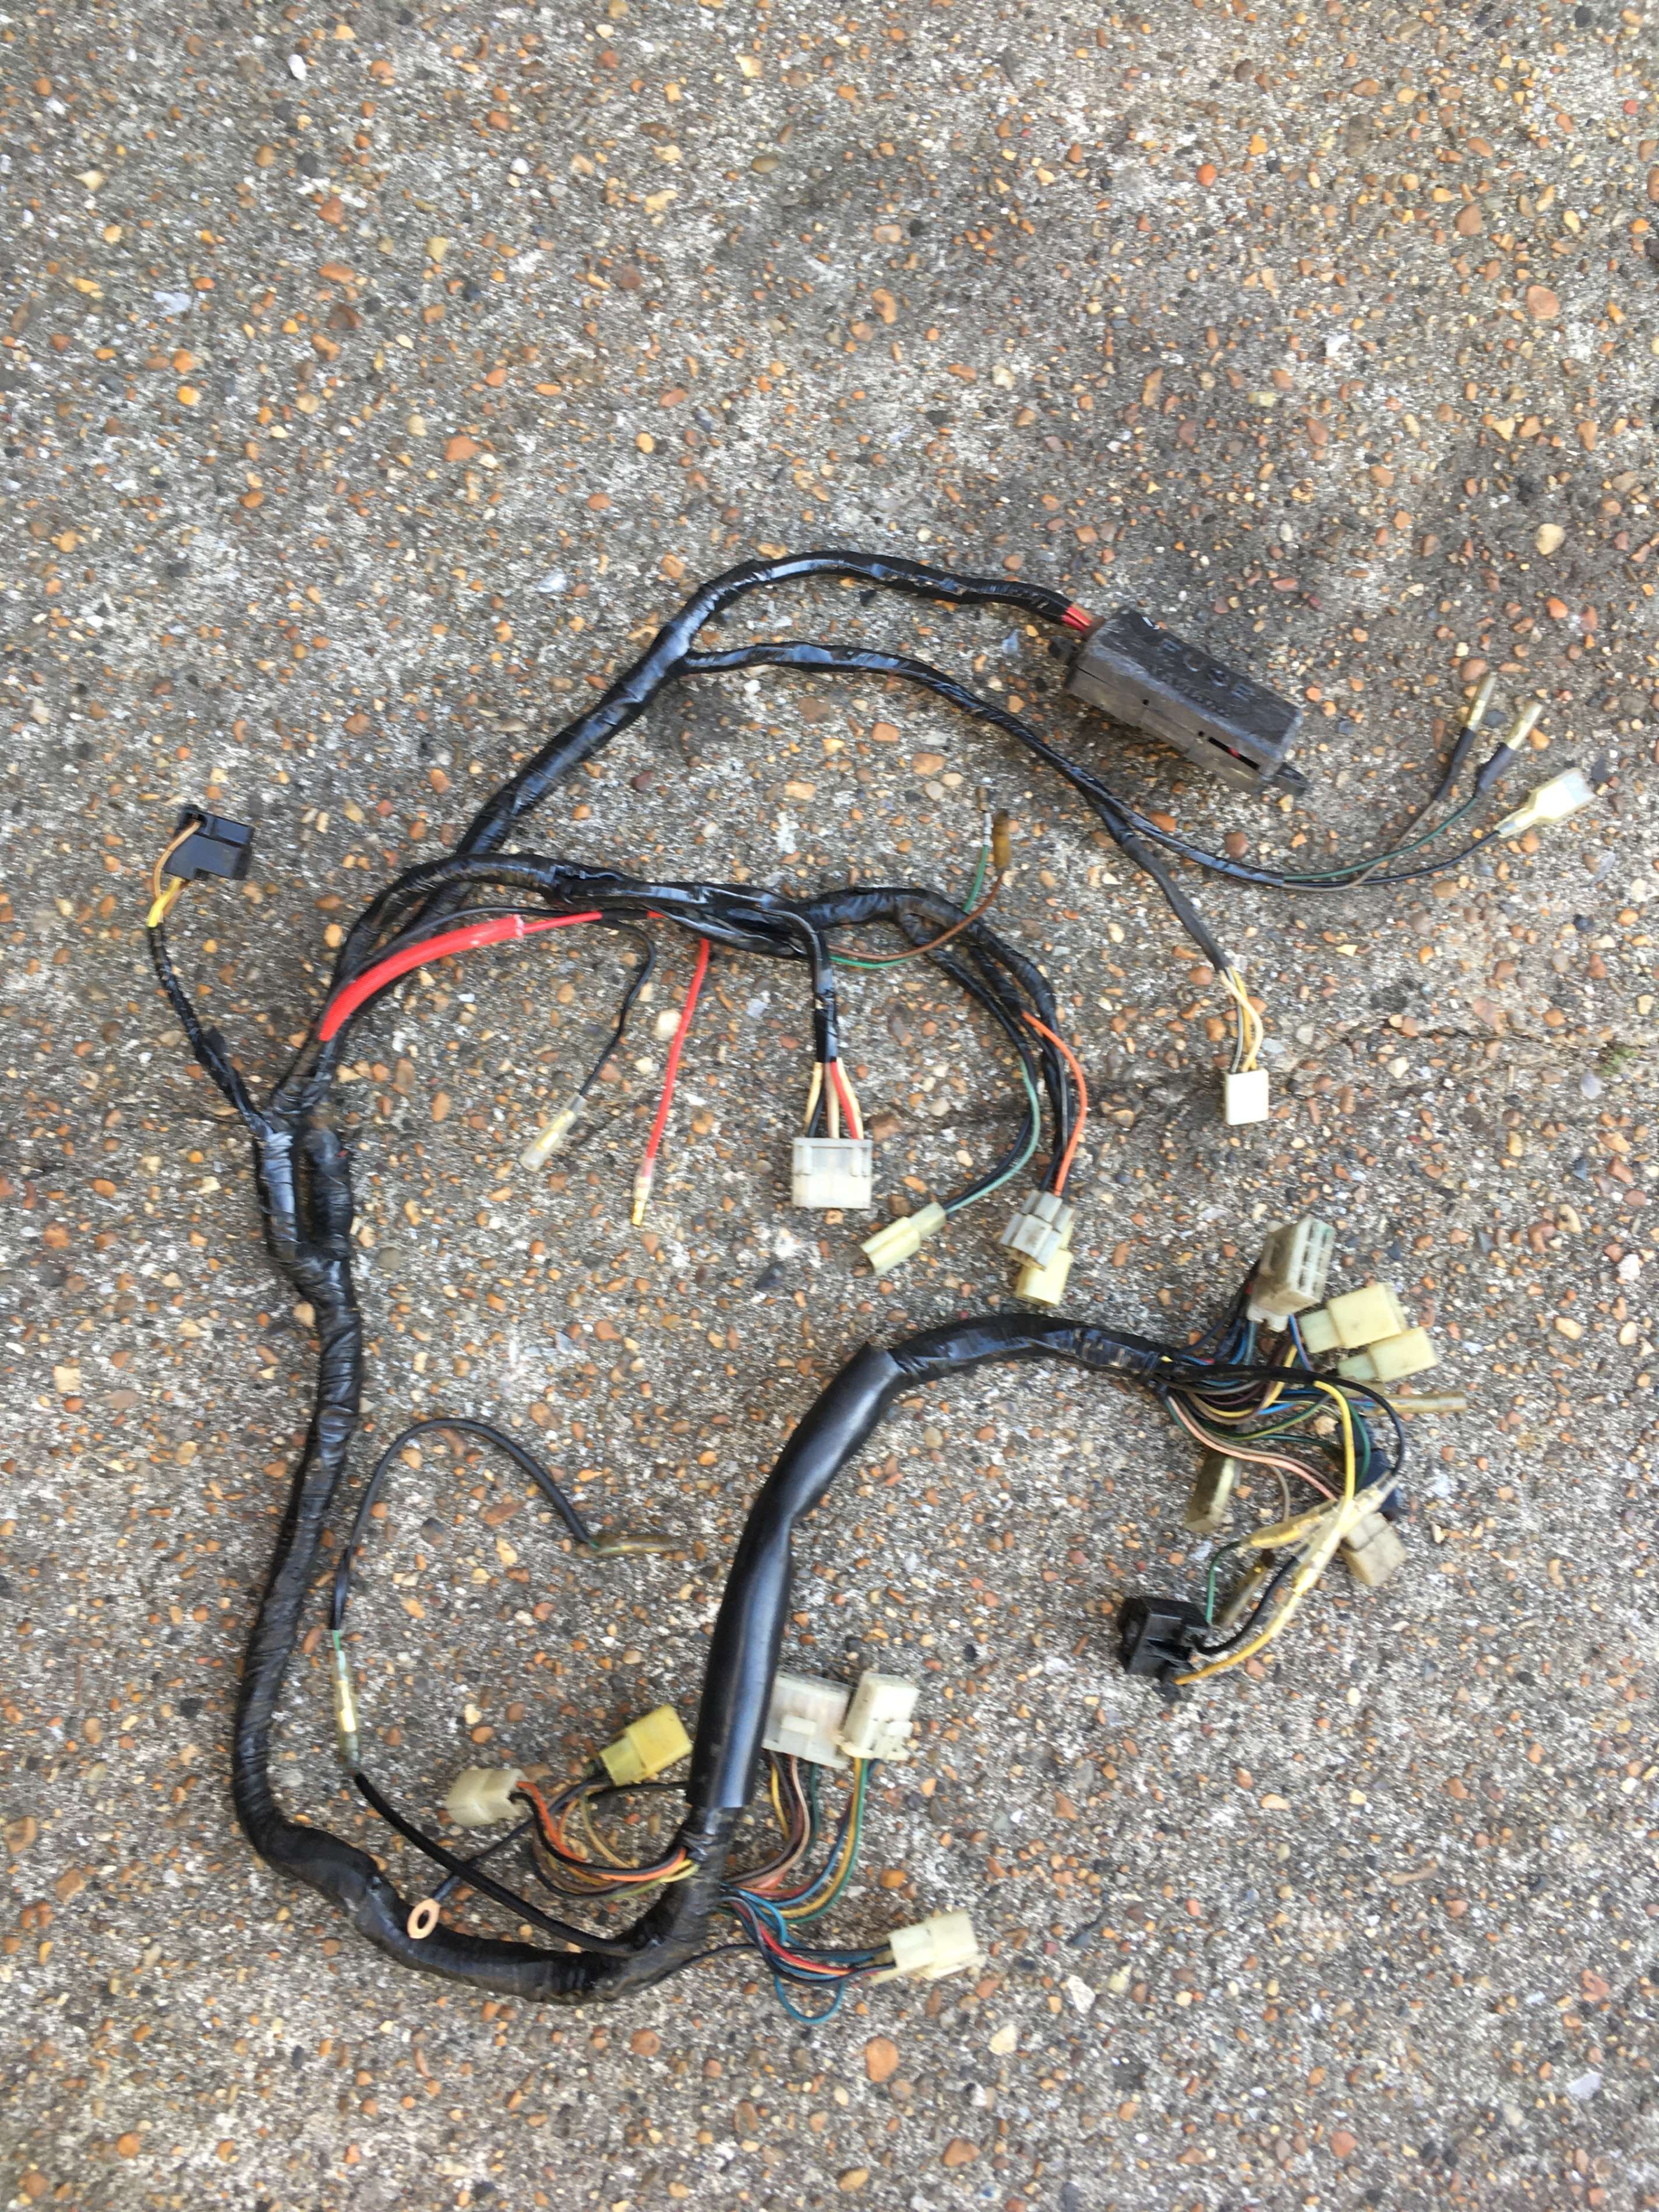
After