After initial evaluation, and identifying which pieces of the loom need replacing or repair, I thought it would be easier to gauge wire lengths required if the loom was placed on the bike with all of the electrical endpoints in place.
that way I can actually measure in-situe the gaps, and therefore the lengths required.
Fixing the loom to the bike and routing all the little offshoots has been the bane of my bike rebuilding efforts over many years.
Either they don’t fit, of the bits aren’t long enough, or there are wires left over, or missing… i hate it!
Over the years I have seen just about every possible variation of where the wires might go on a motorcycle, either routed by myelf, or more commonly, by other people, where wires have been extended, shortened, or otherwise butchered to get it to physically fit onto the frame.
Fortunately, for this project, I found these pages from an unknown manual invaluable.
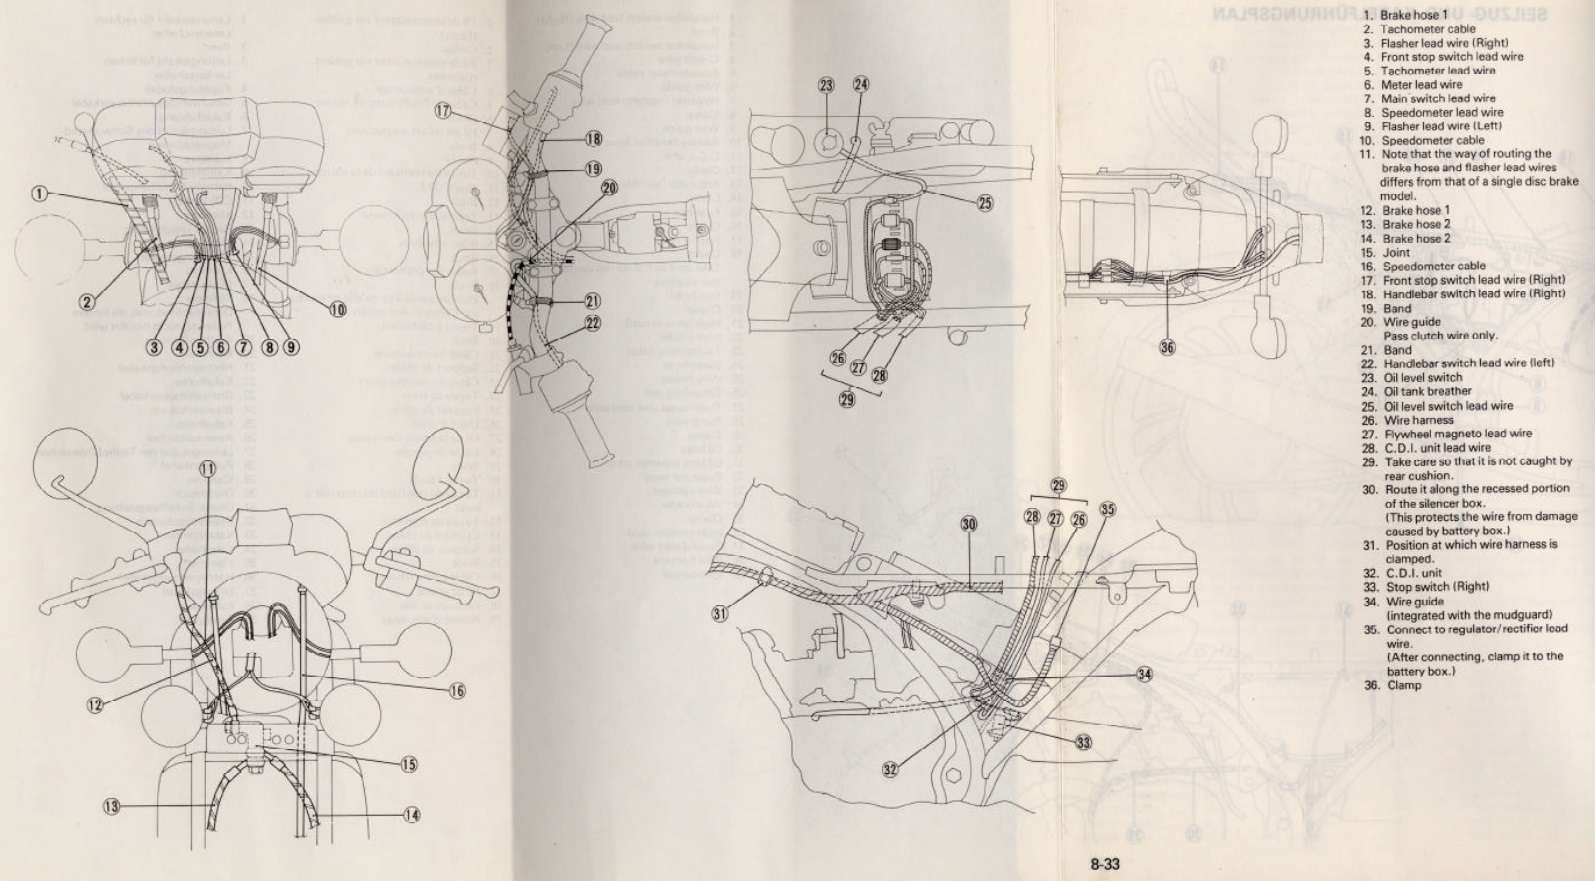
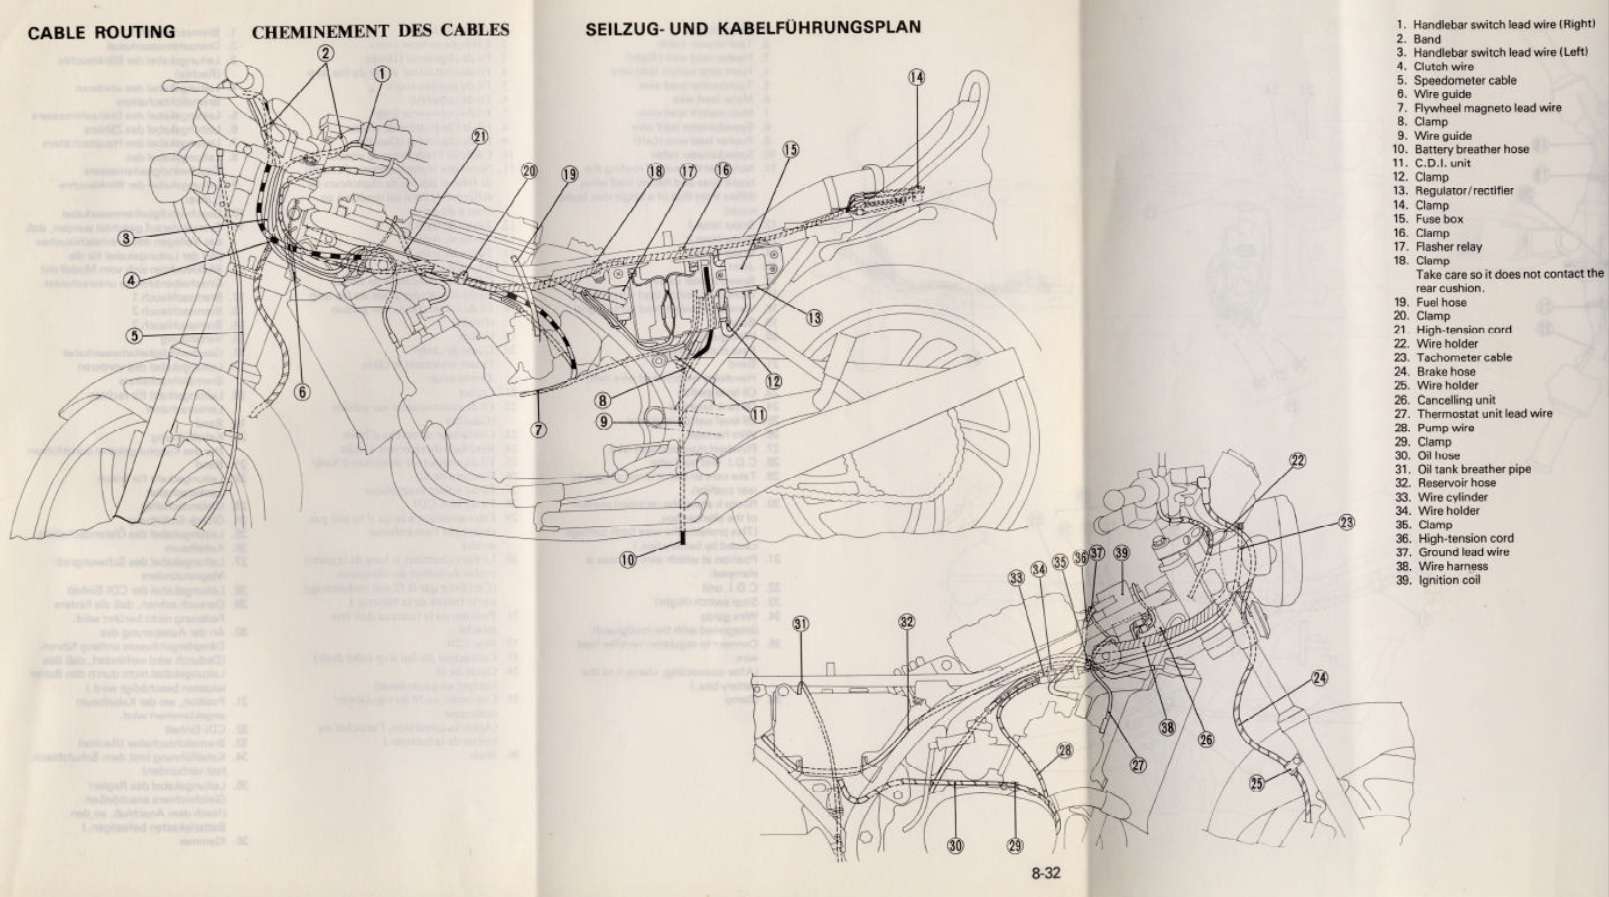
According to the routing diagram scans, the loom comes from the headlamp shell down the right hand of the headstock, and then through or under the frame rails under the coil. The second clump of connectors all meet here, with the Left and right handlebar switch wires routed to the left of the headstock.
The loom continues down the left hand side of the top frame rail, clipping under the rail, past the airbox and then behind the battery box.
the rear light and indicator wires continue up the left hand rear subframe rail towards the back of the bike.
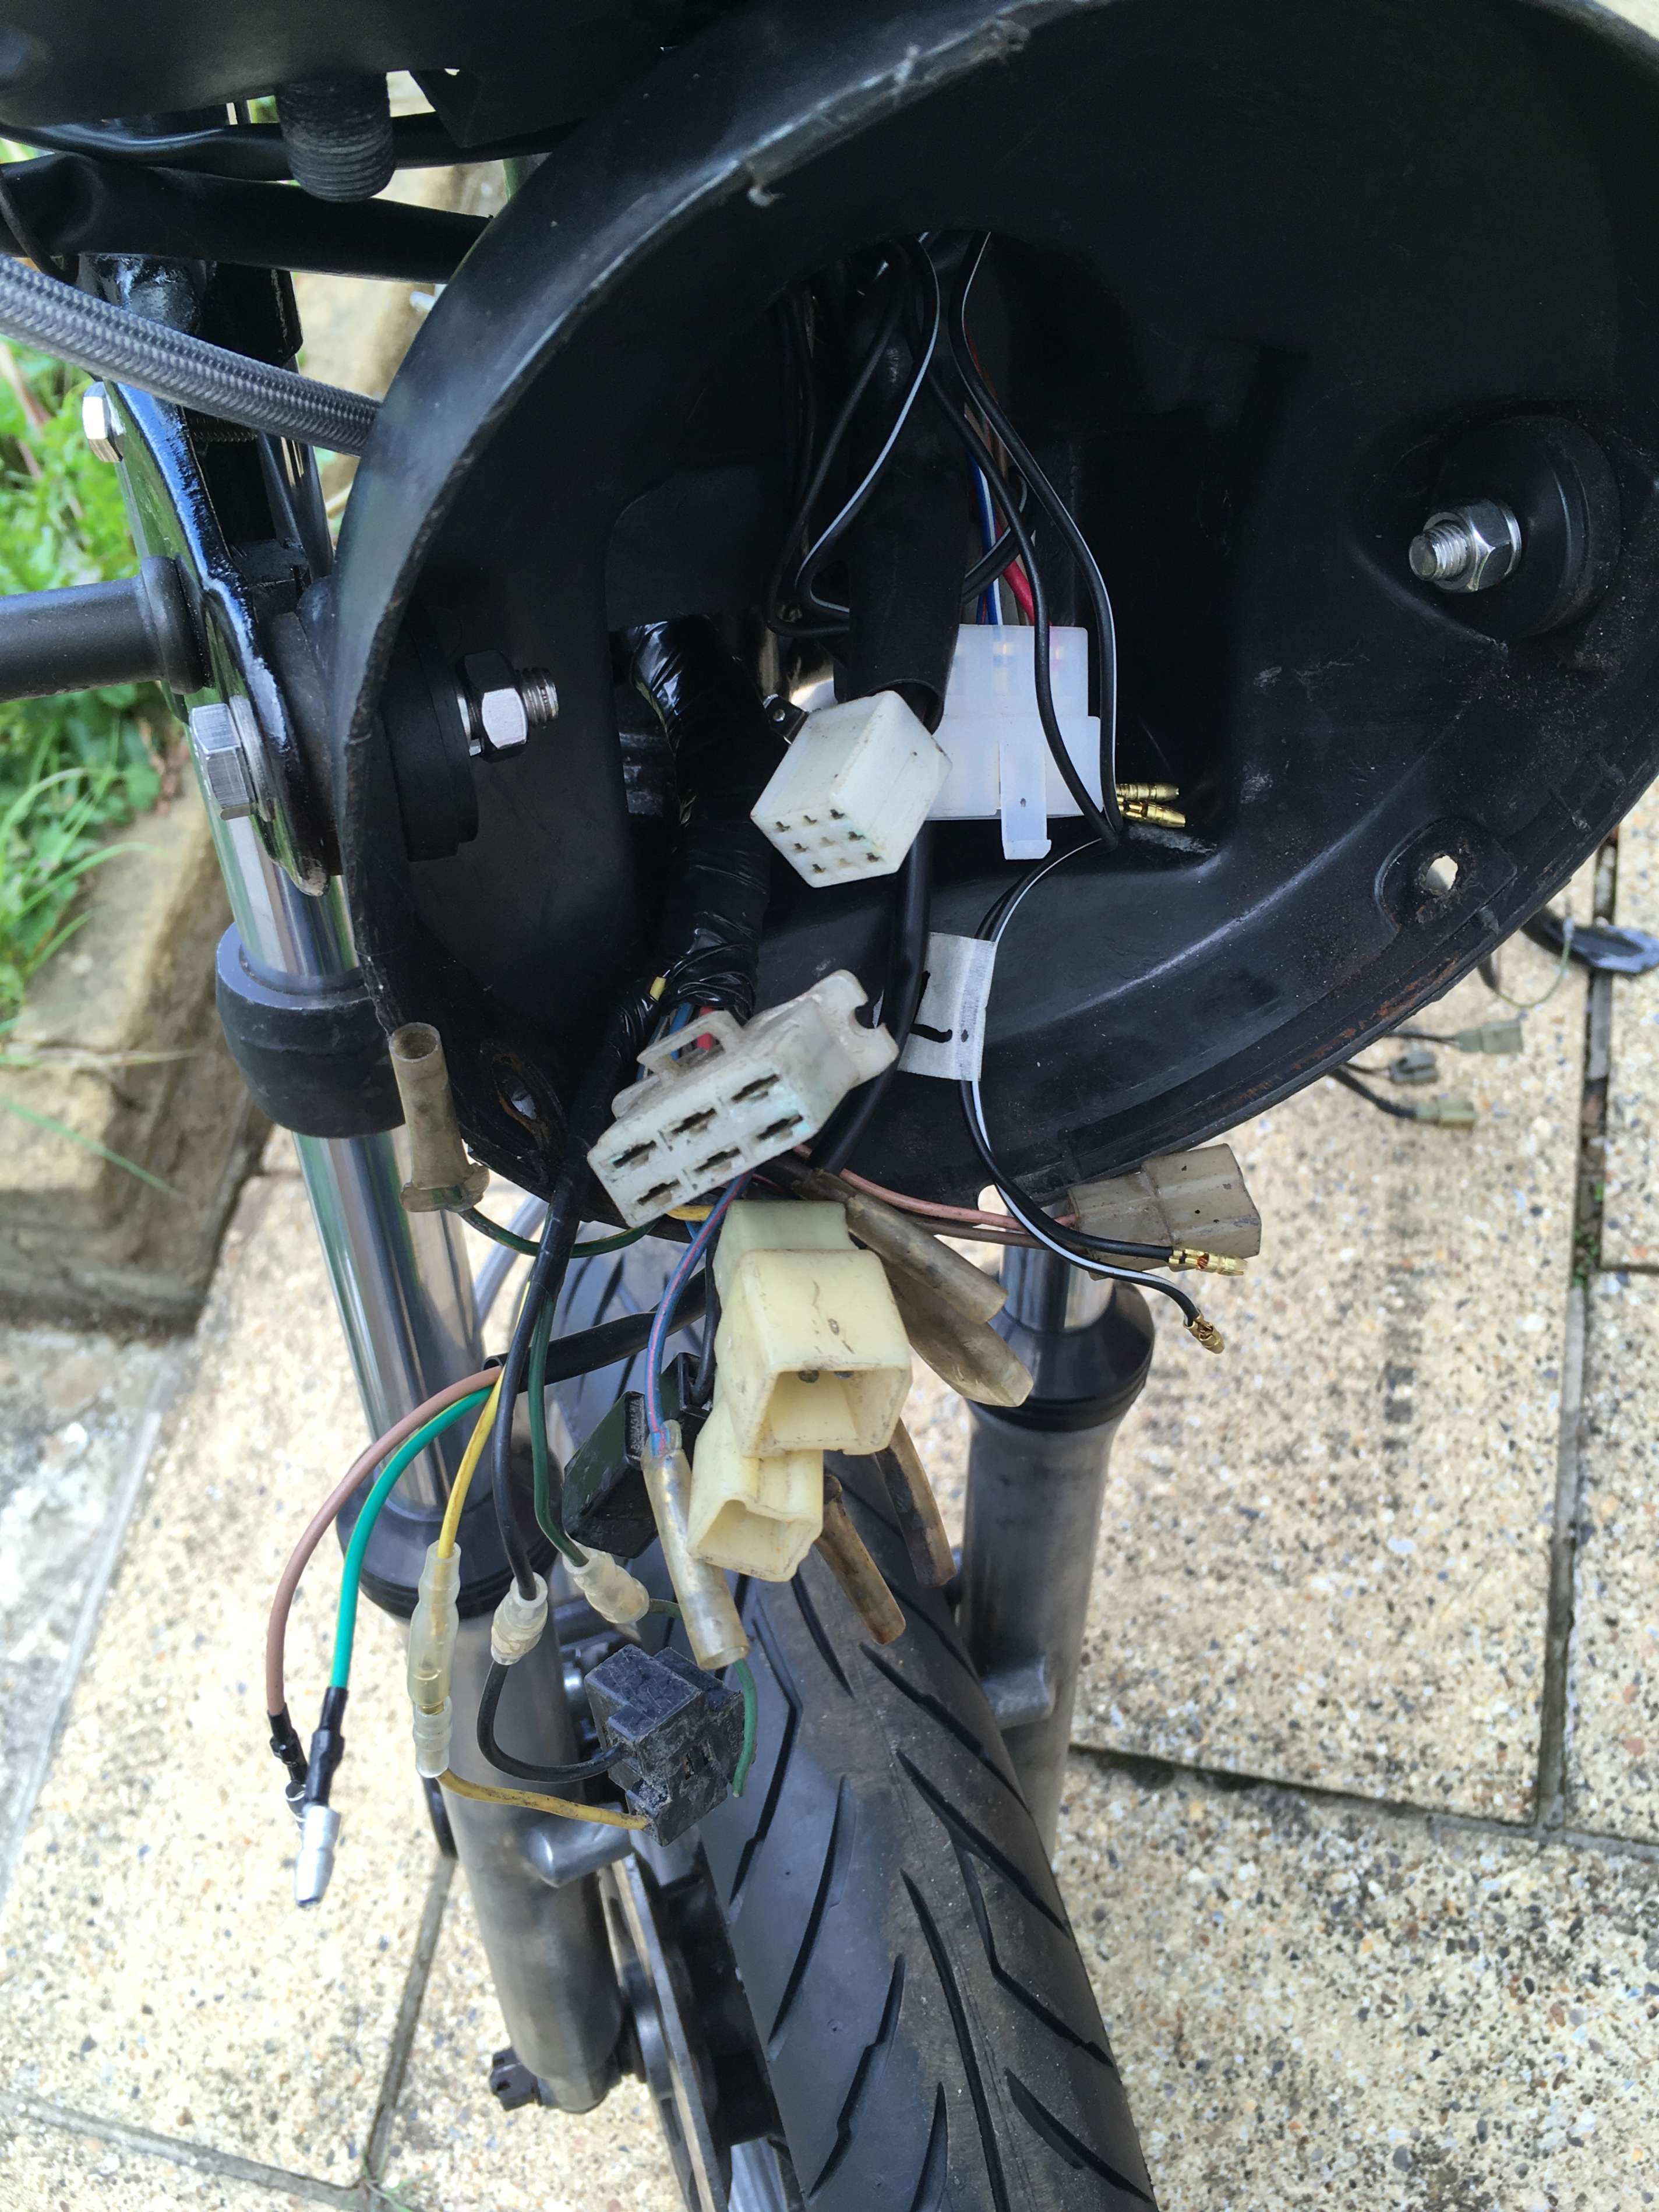
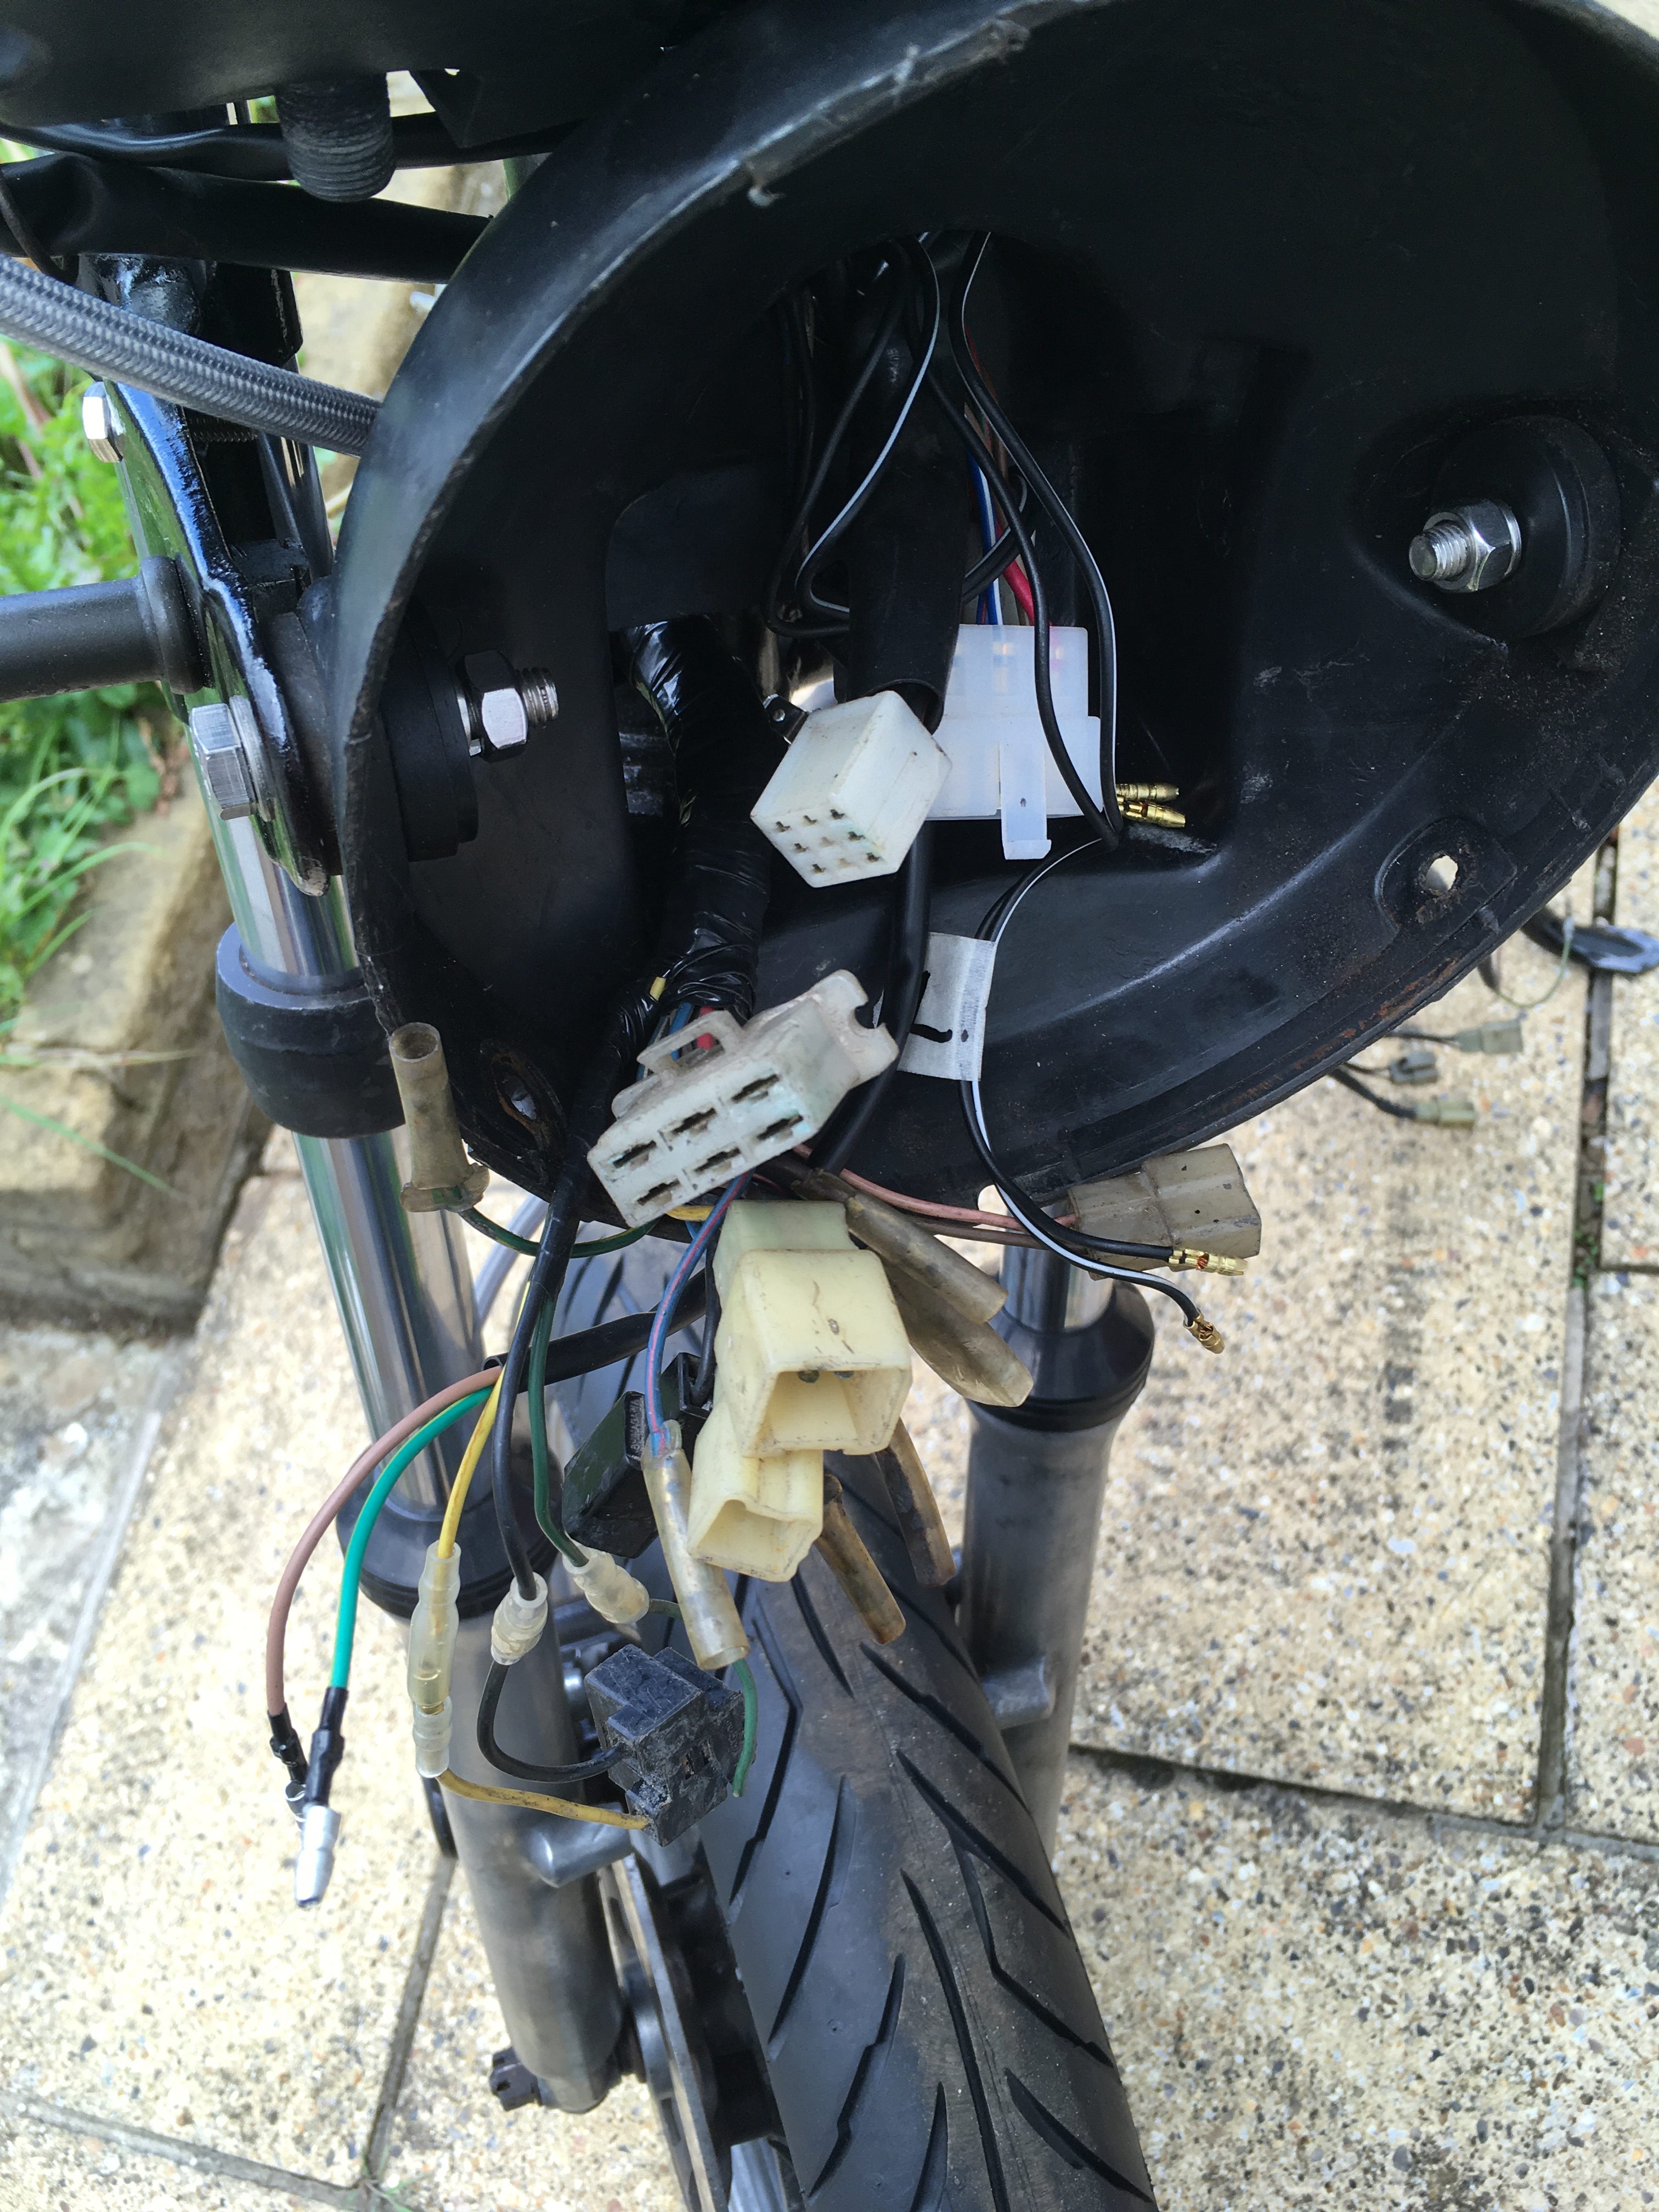
Inside the headshell 
…and through the frame

The connectors for the reg/rectifier, and the fusebox go either under the battery box or over the top, it’s not clear from the diagram, which shows the connector coming through a hole in the plastic battery box assembly which simply isn’t there.
Once the loom is in place, I’ll make a decision on what seems sensible.
<A few days later>
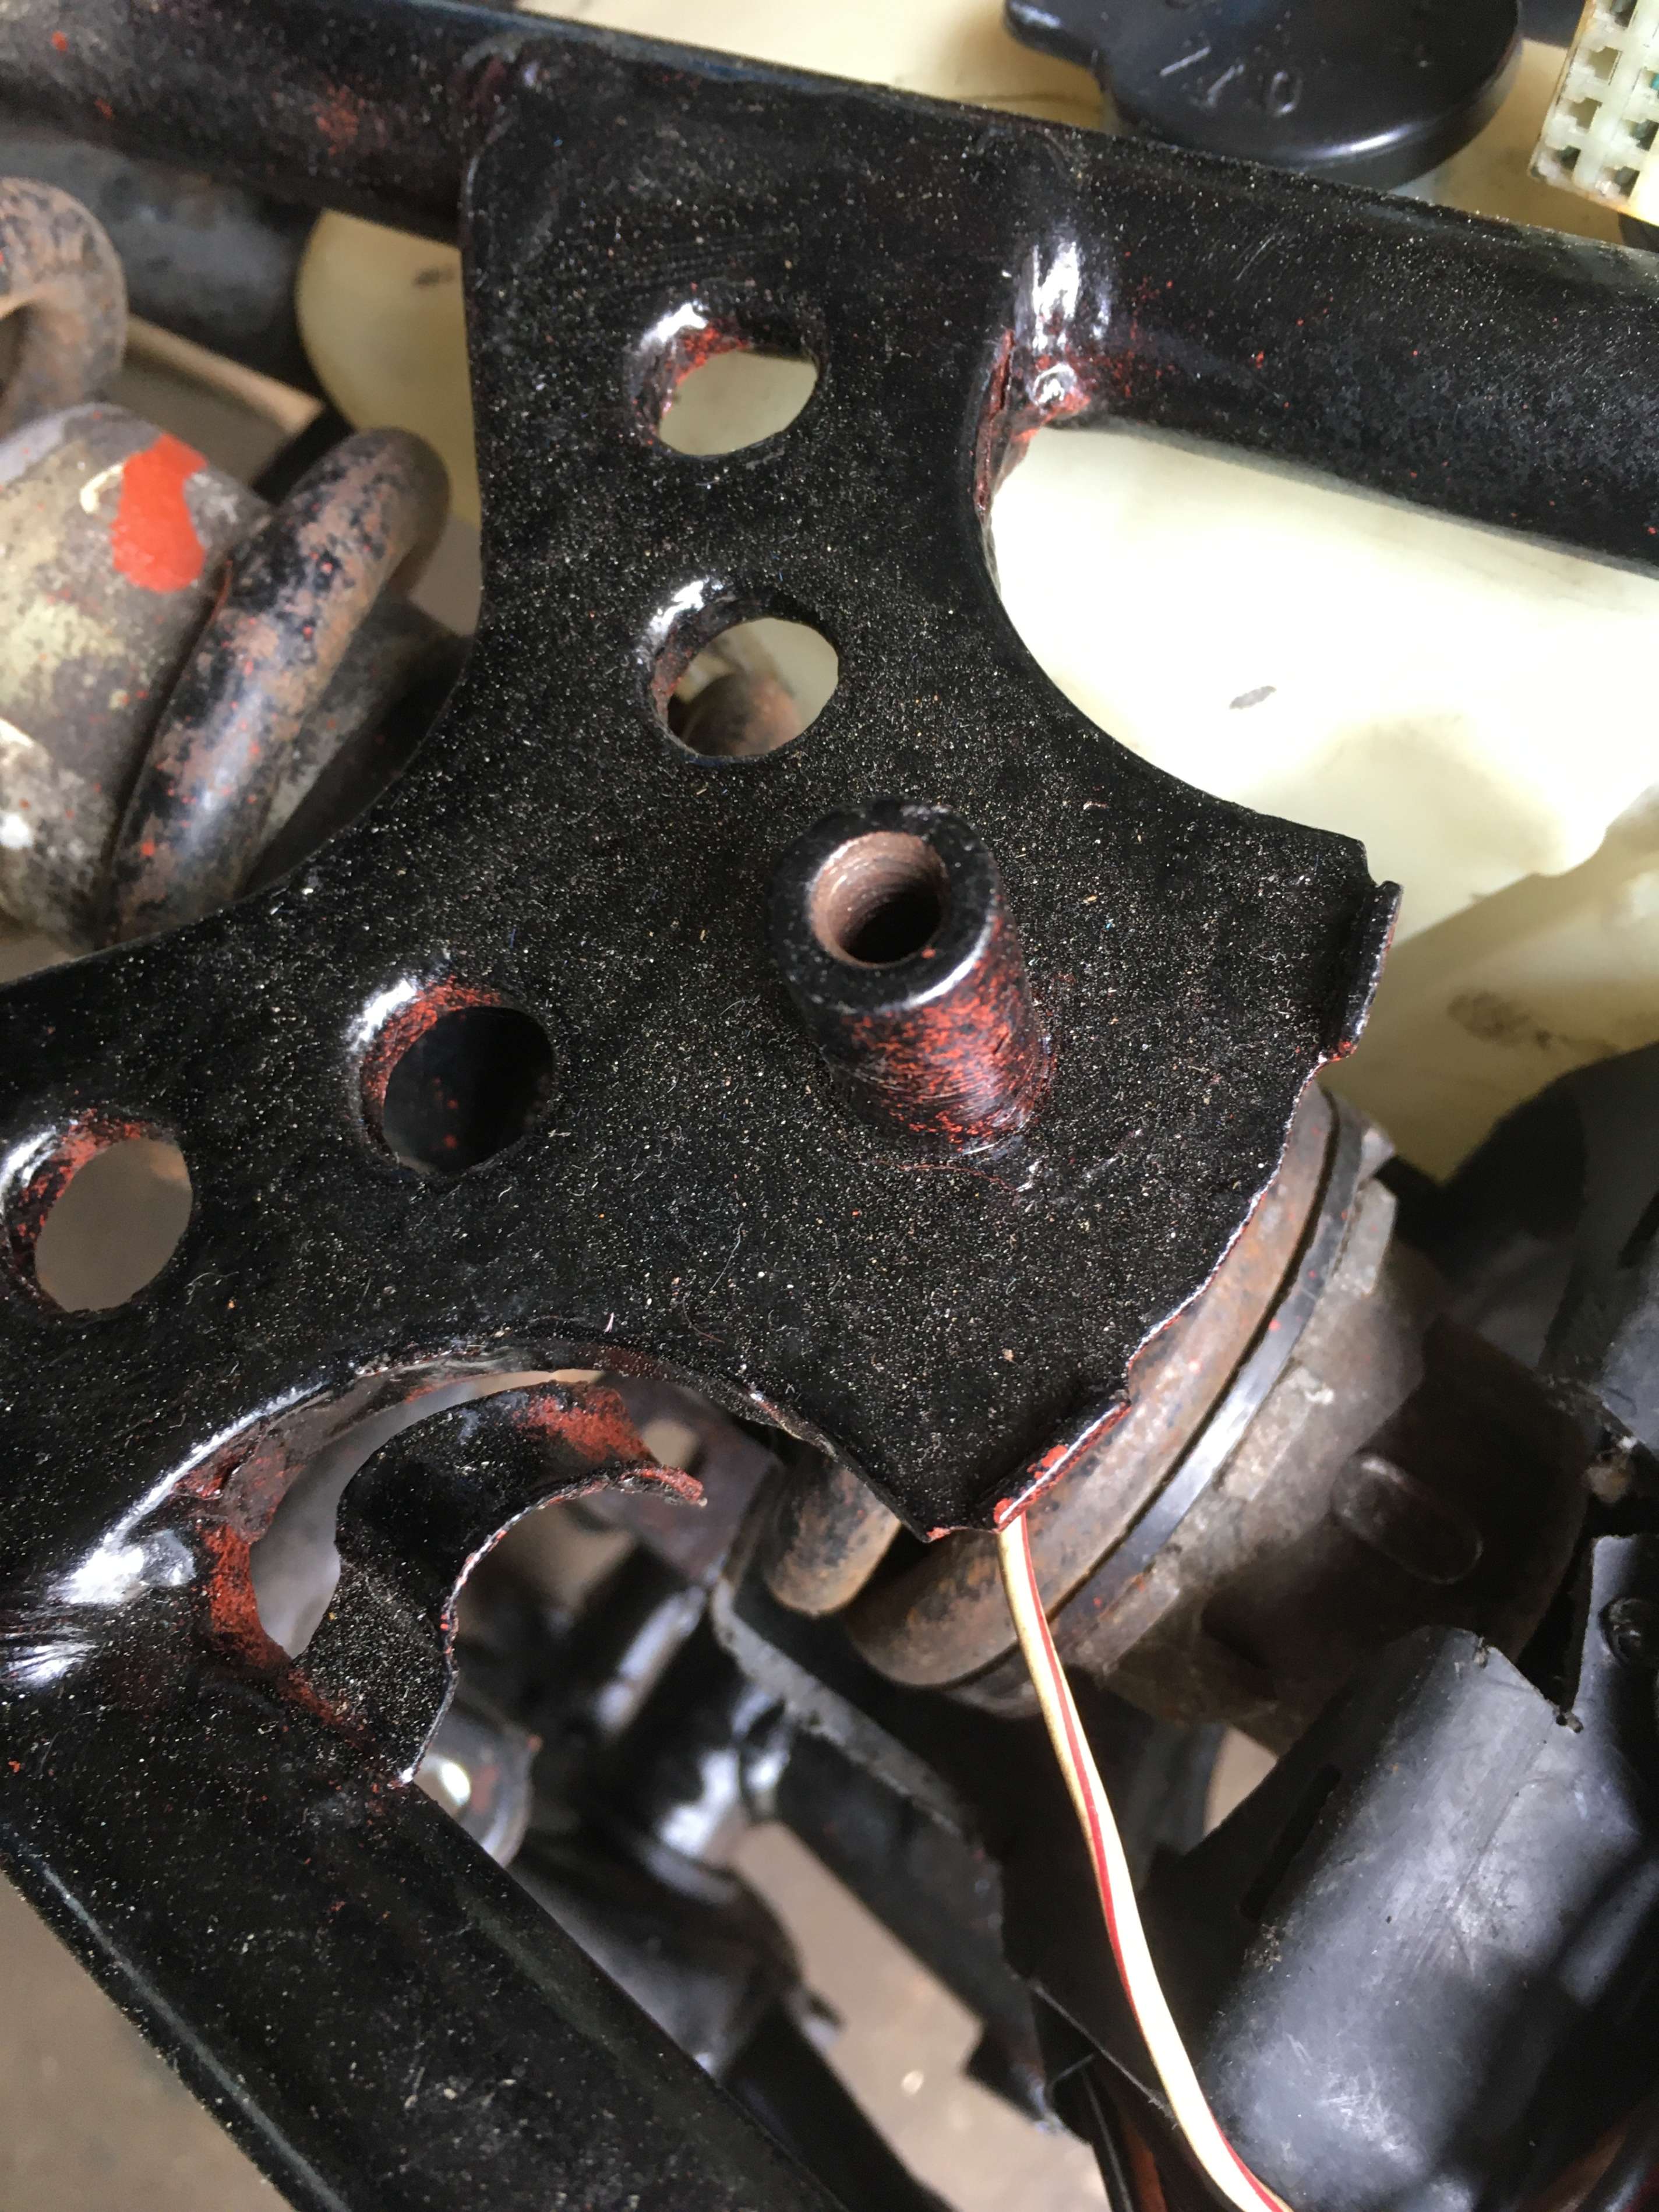
Retaining hook 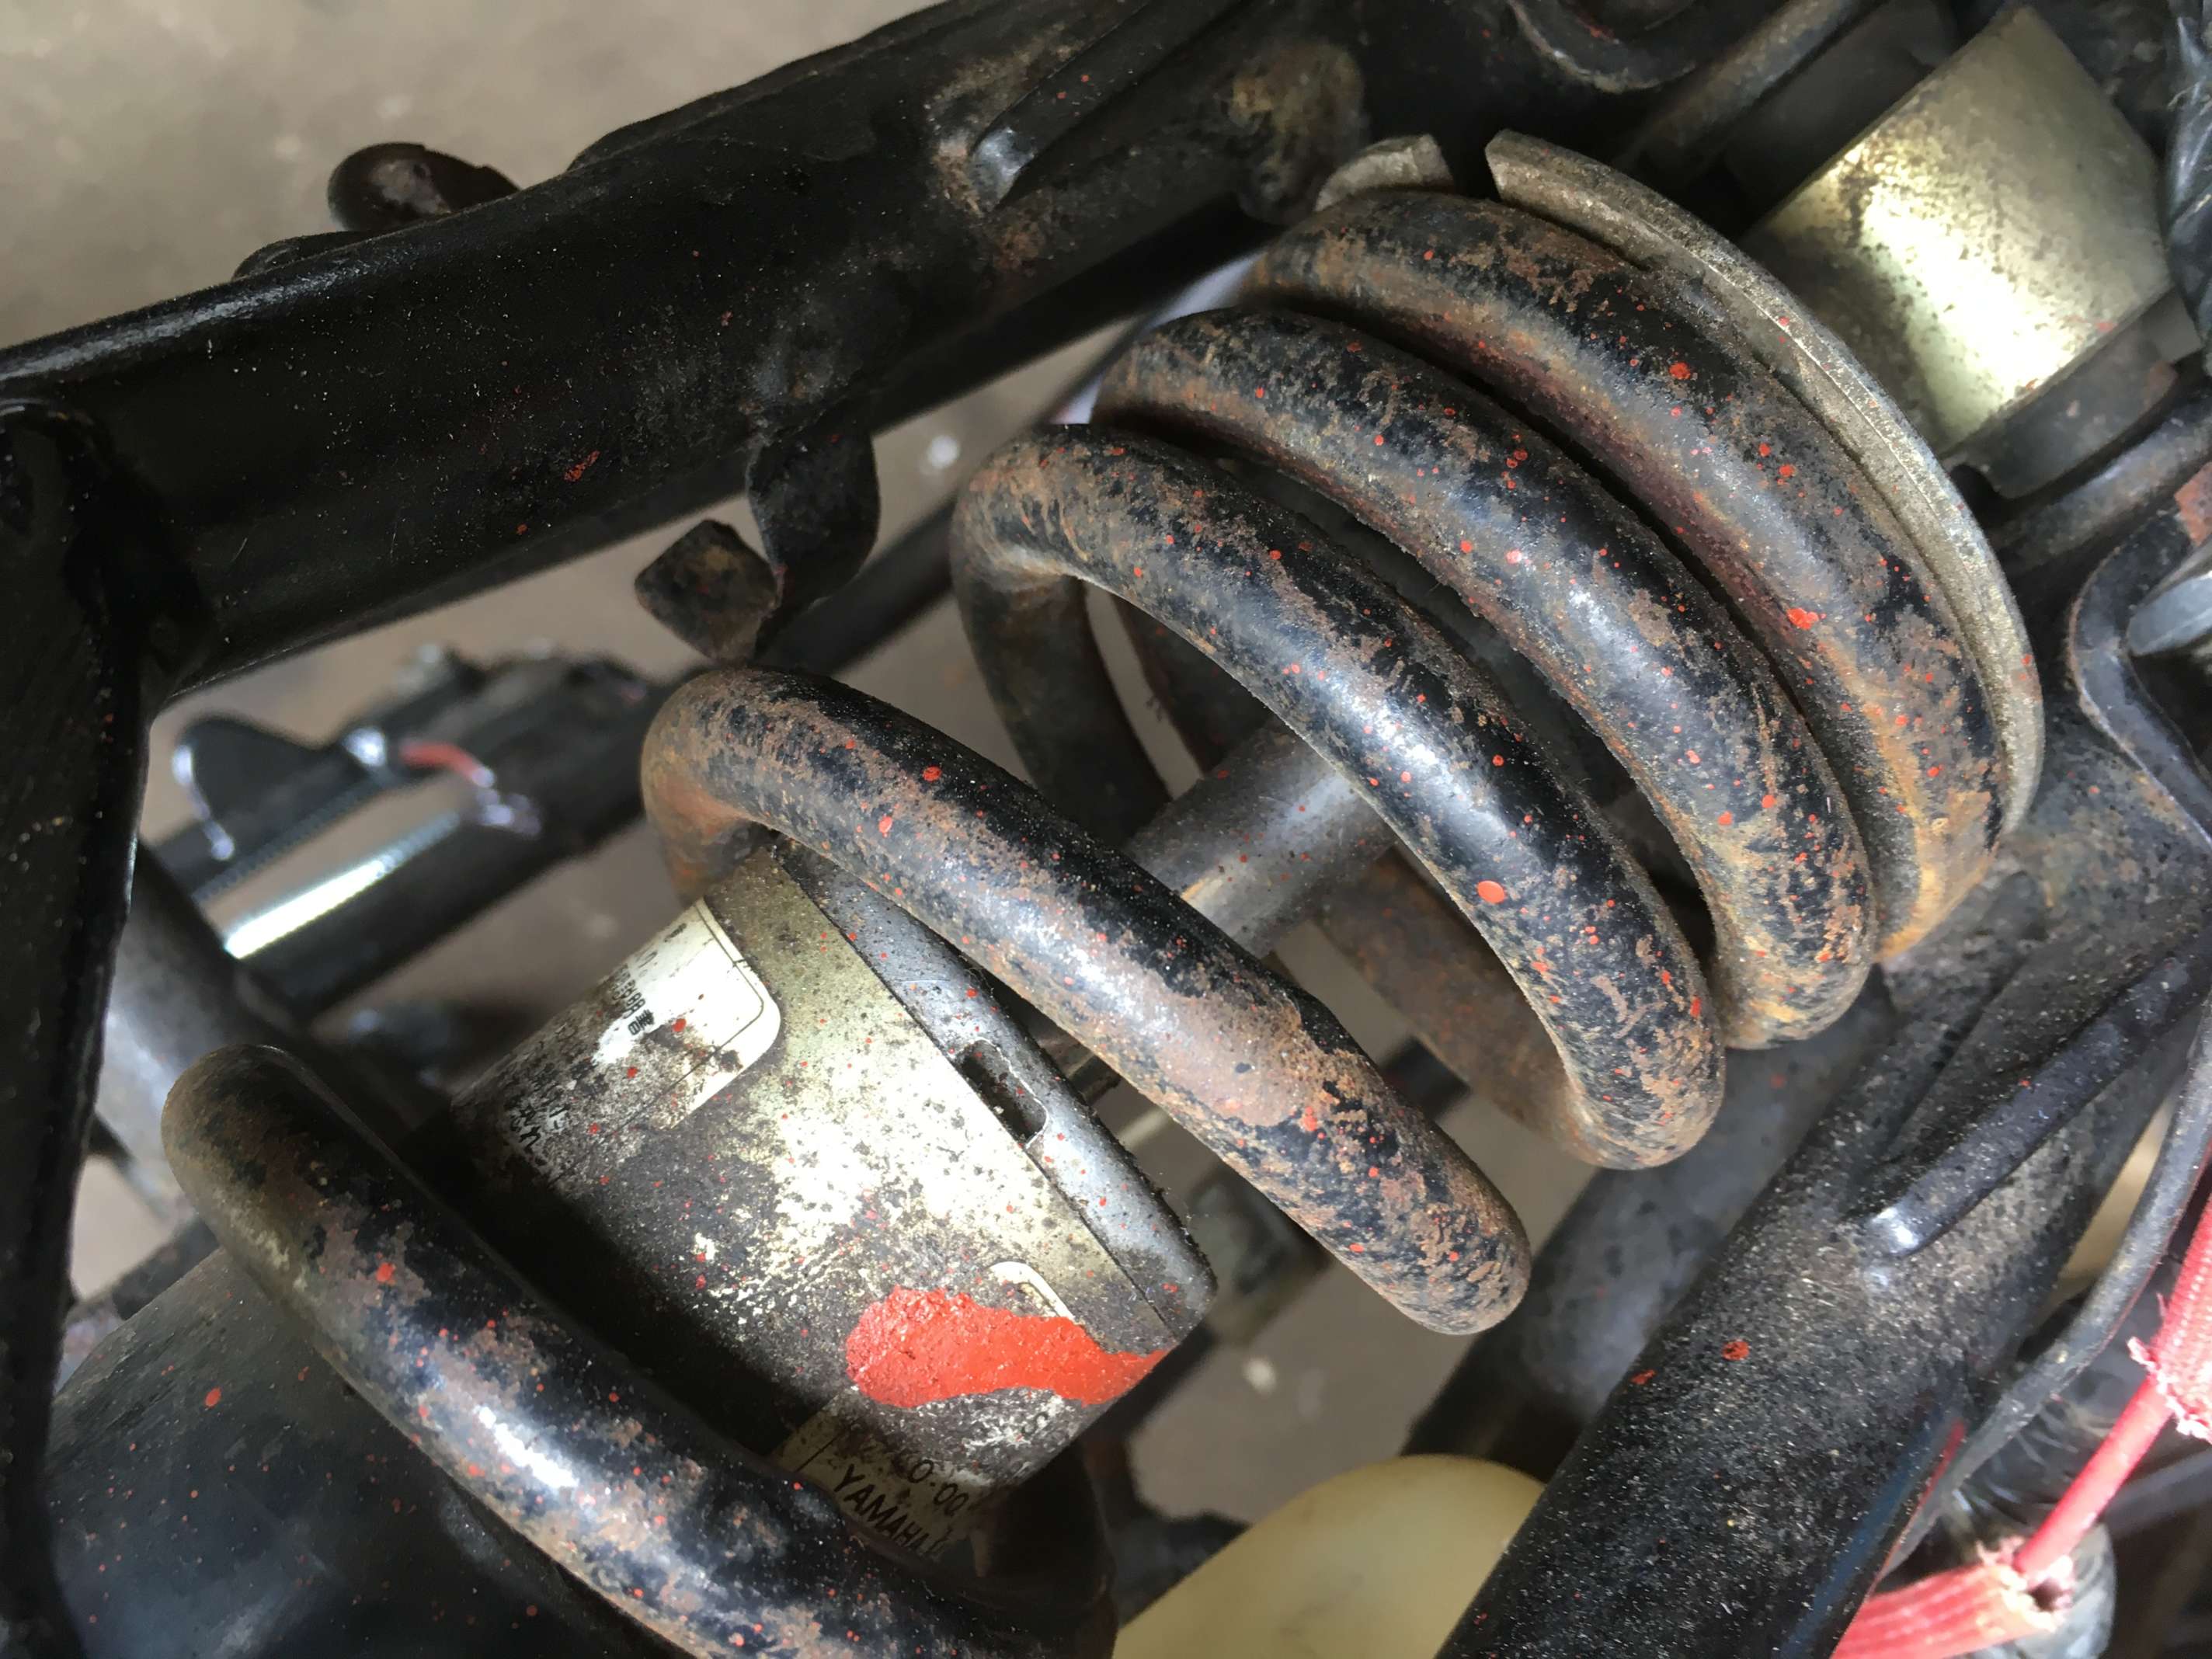
Retaining hook 
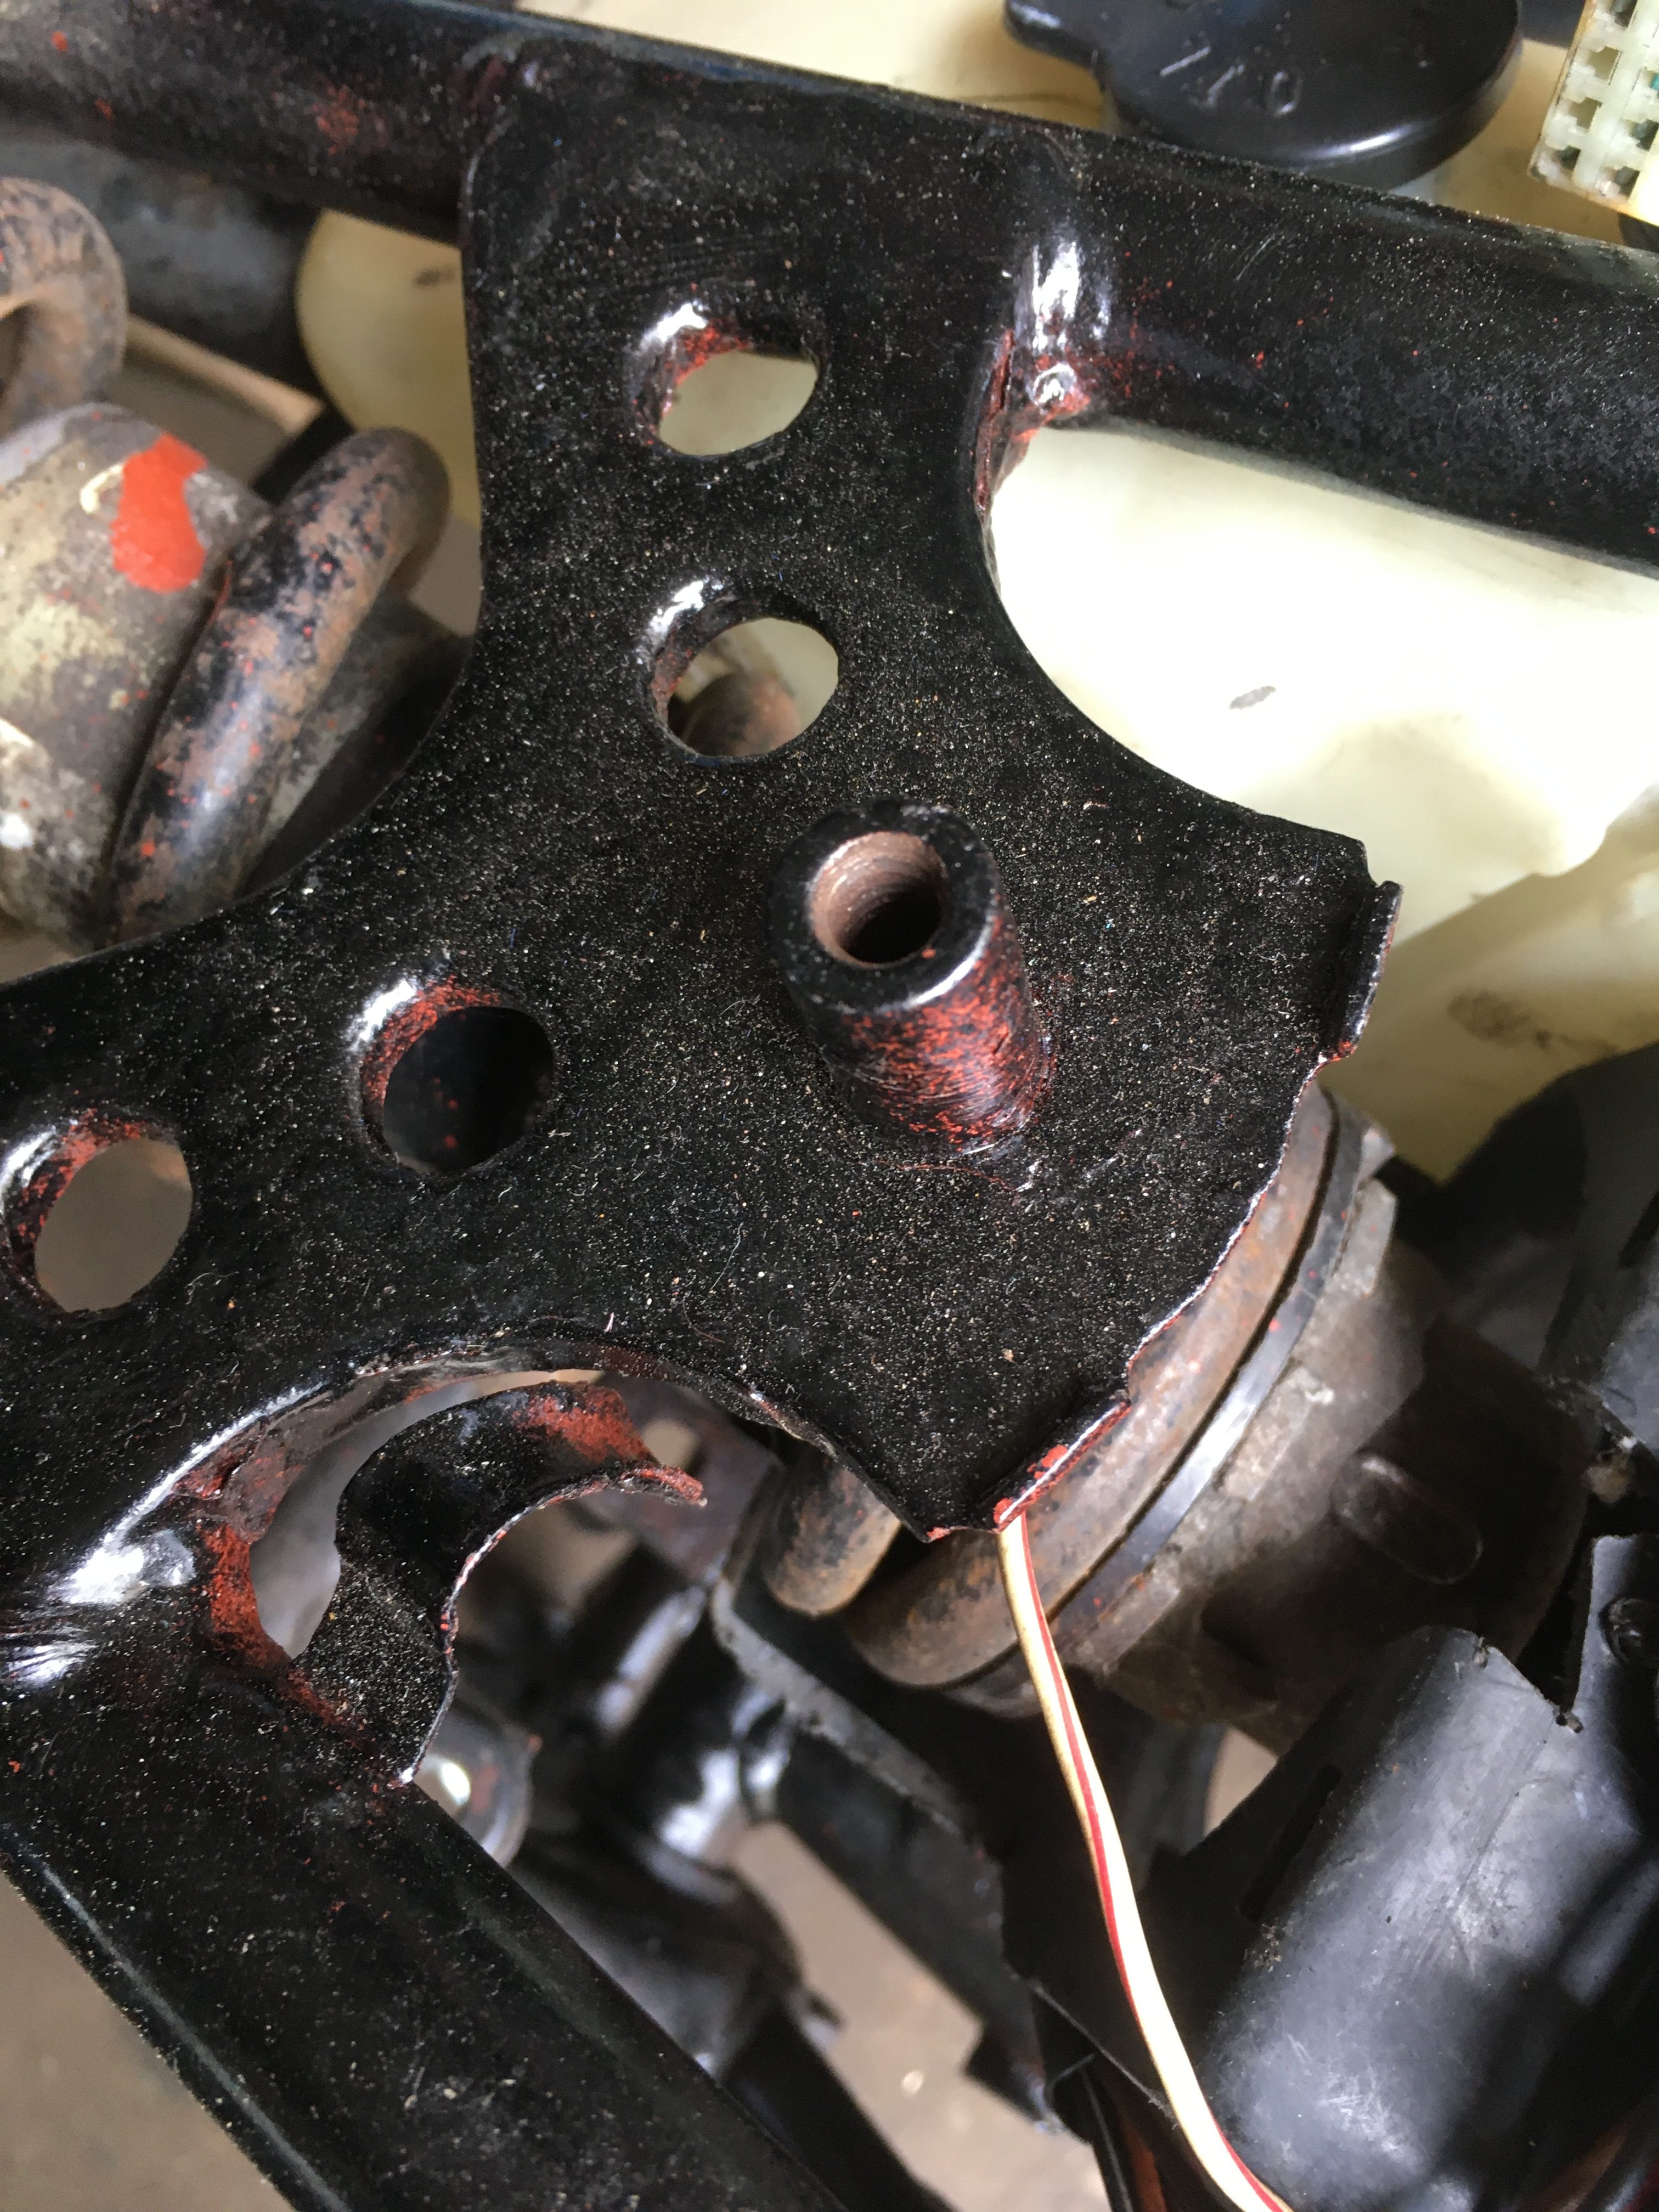
Missing retaining hook should be here 
in 1987, I thought this was a good idea! 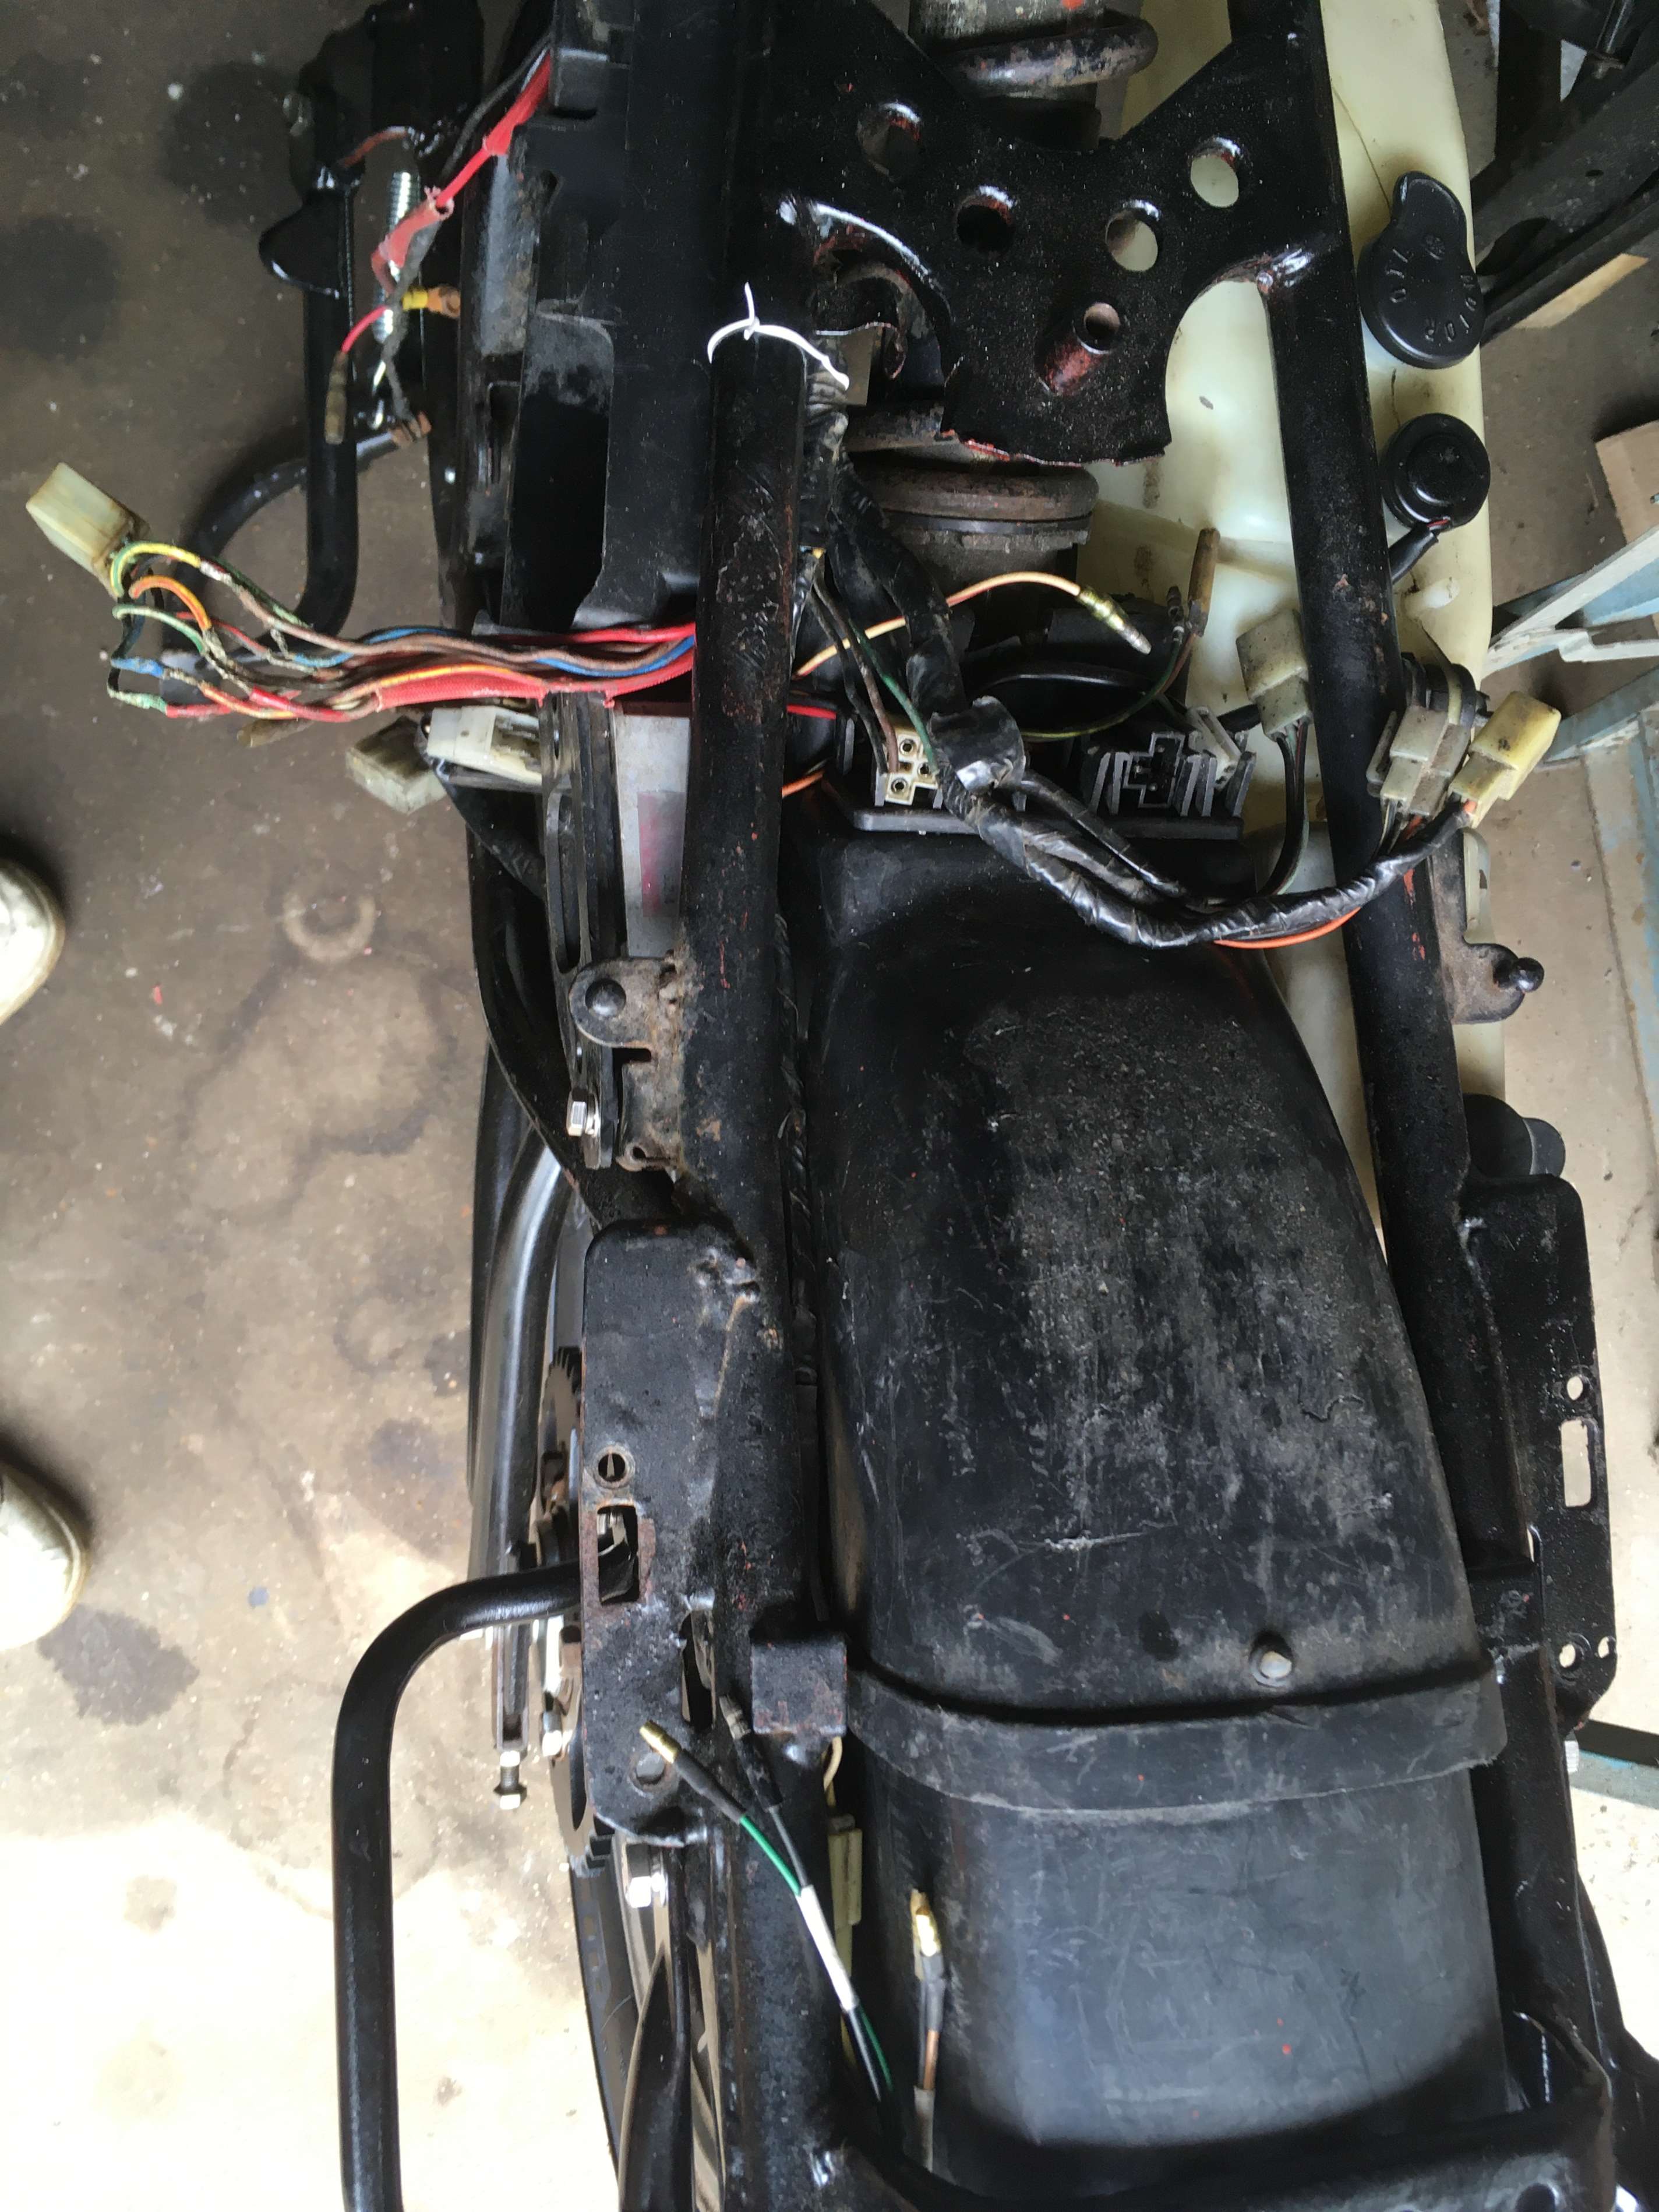
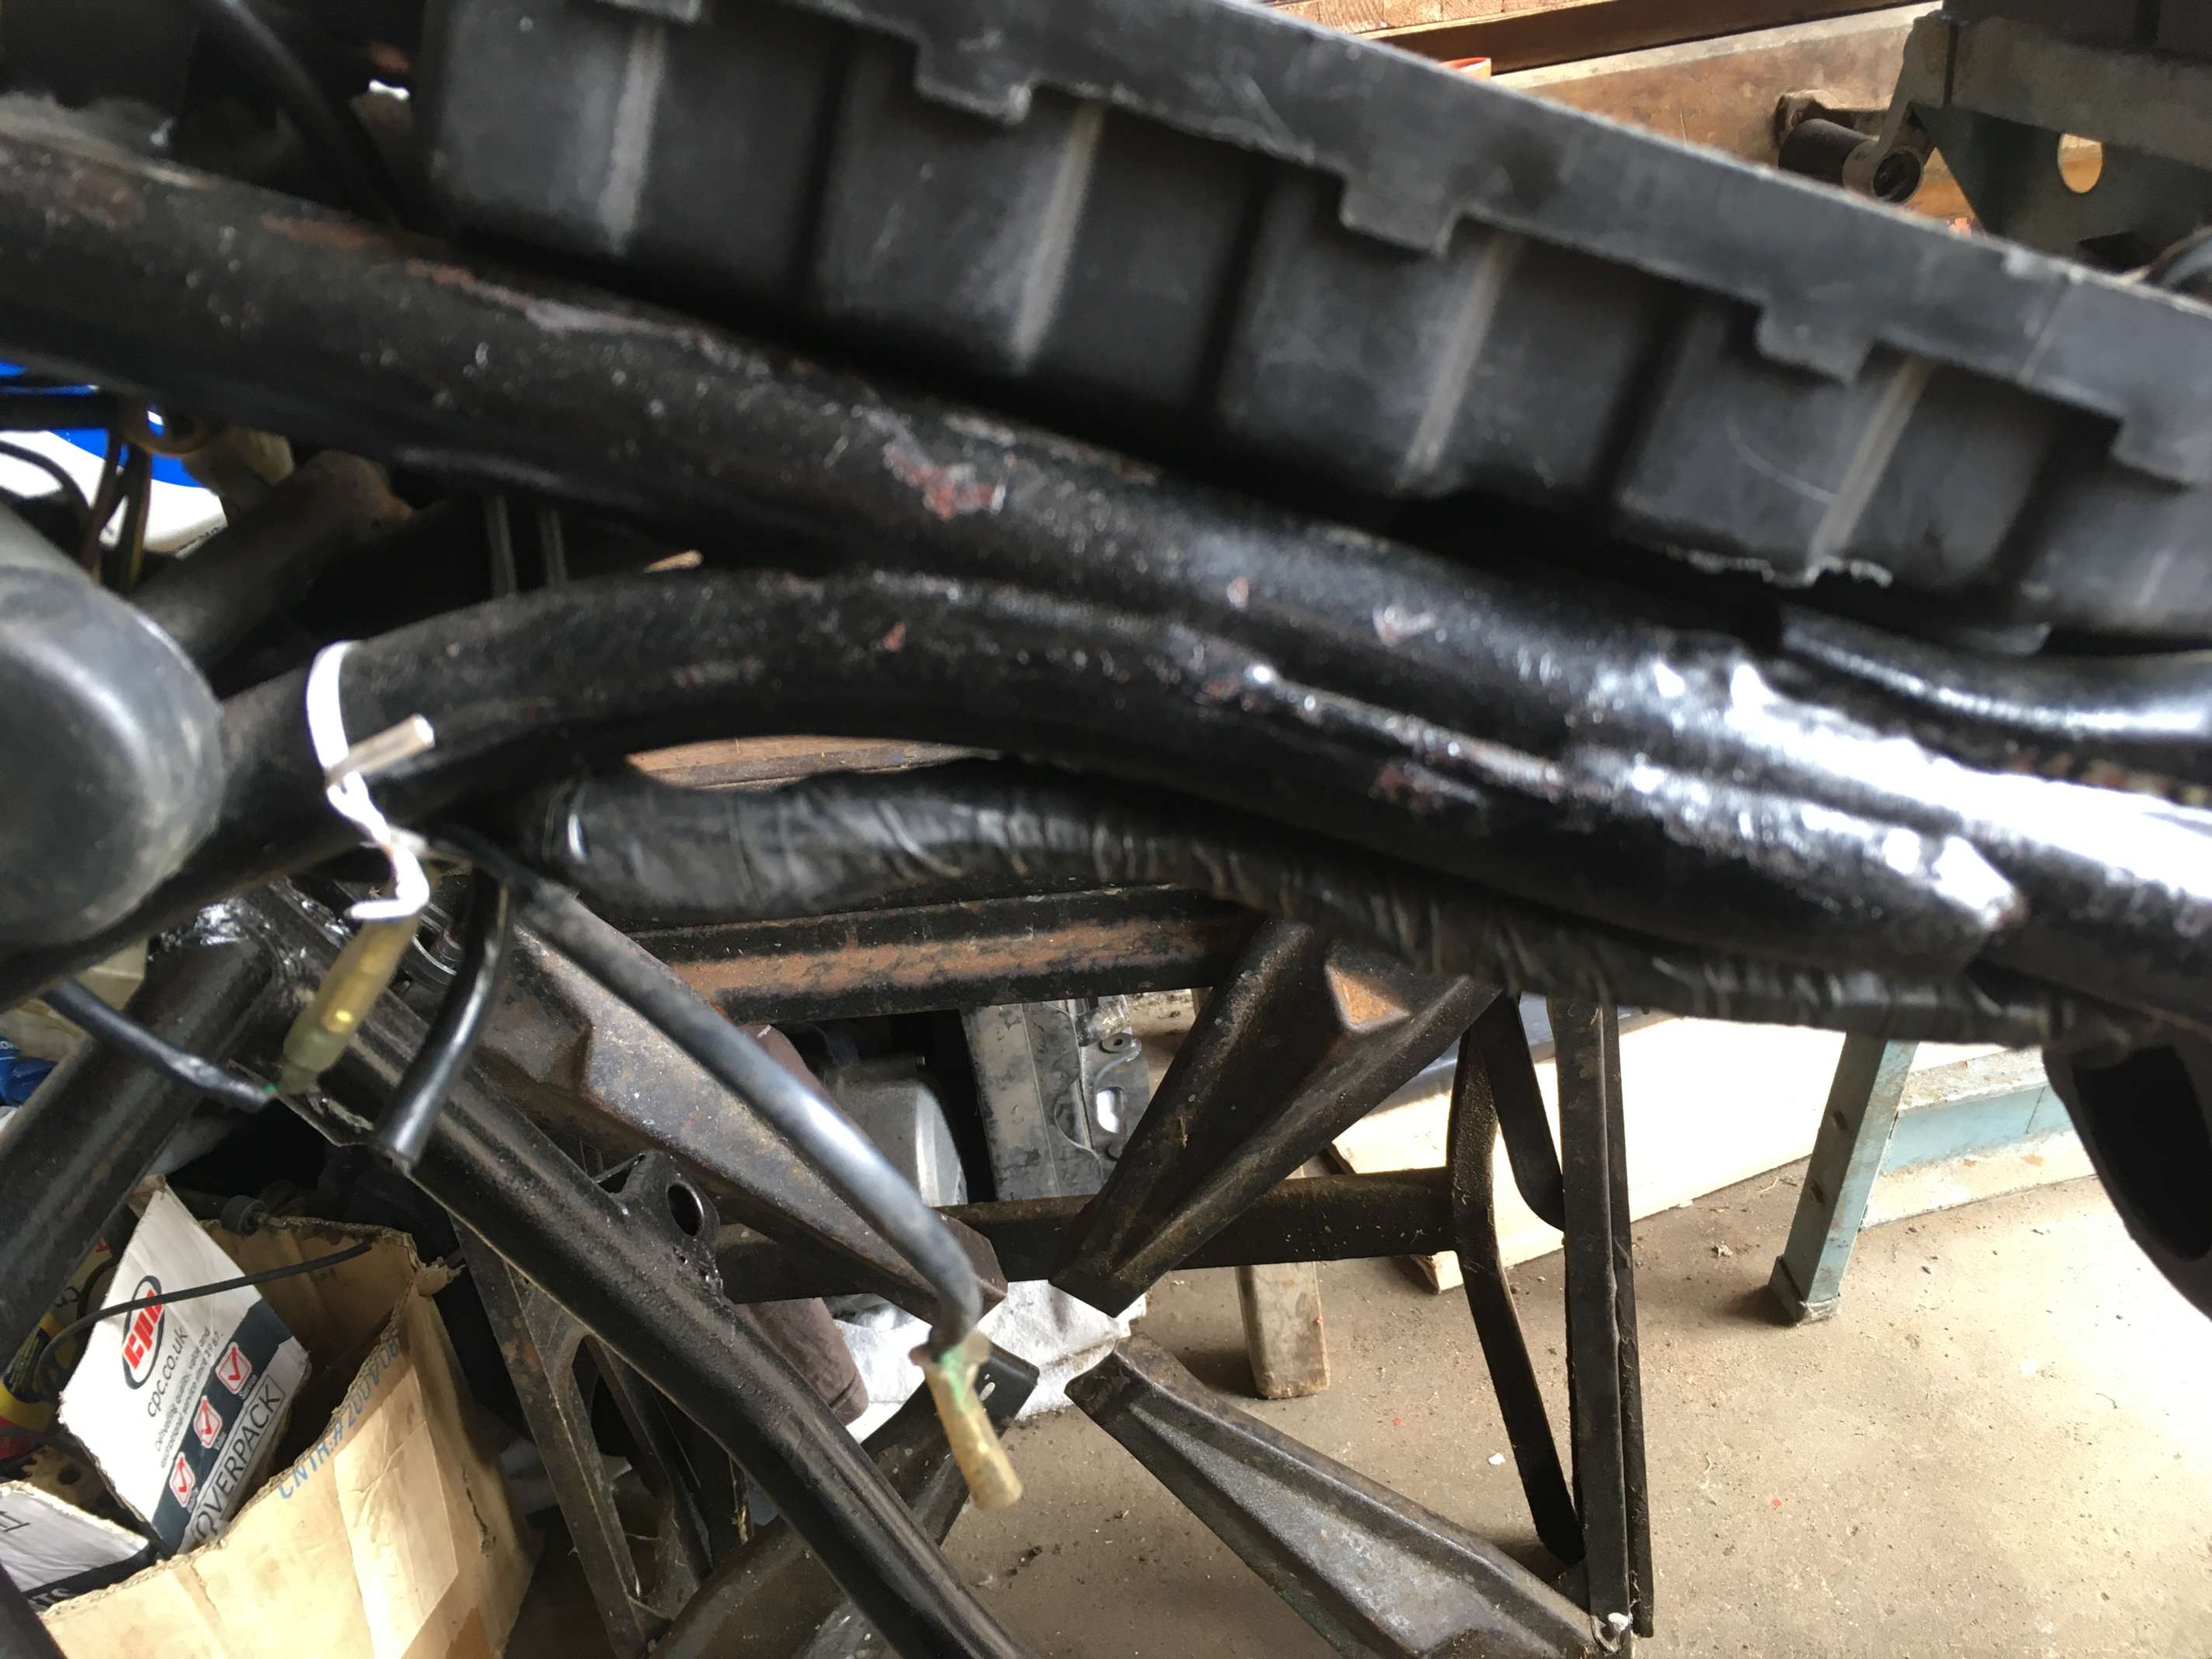
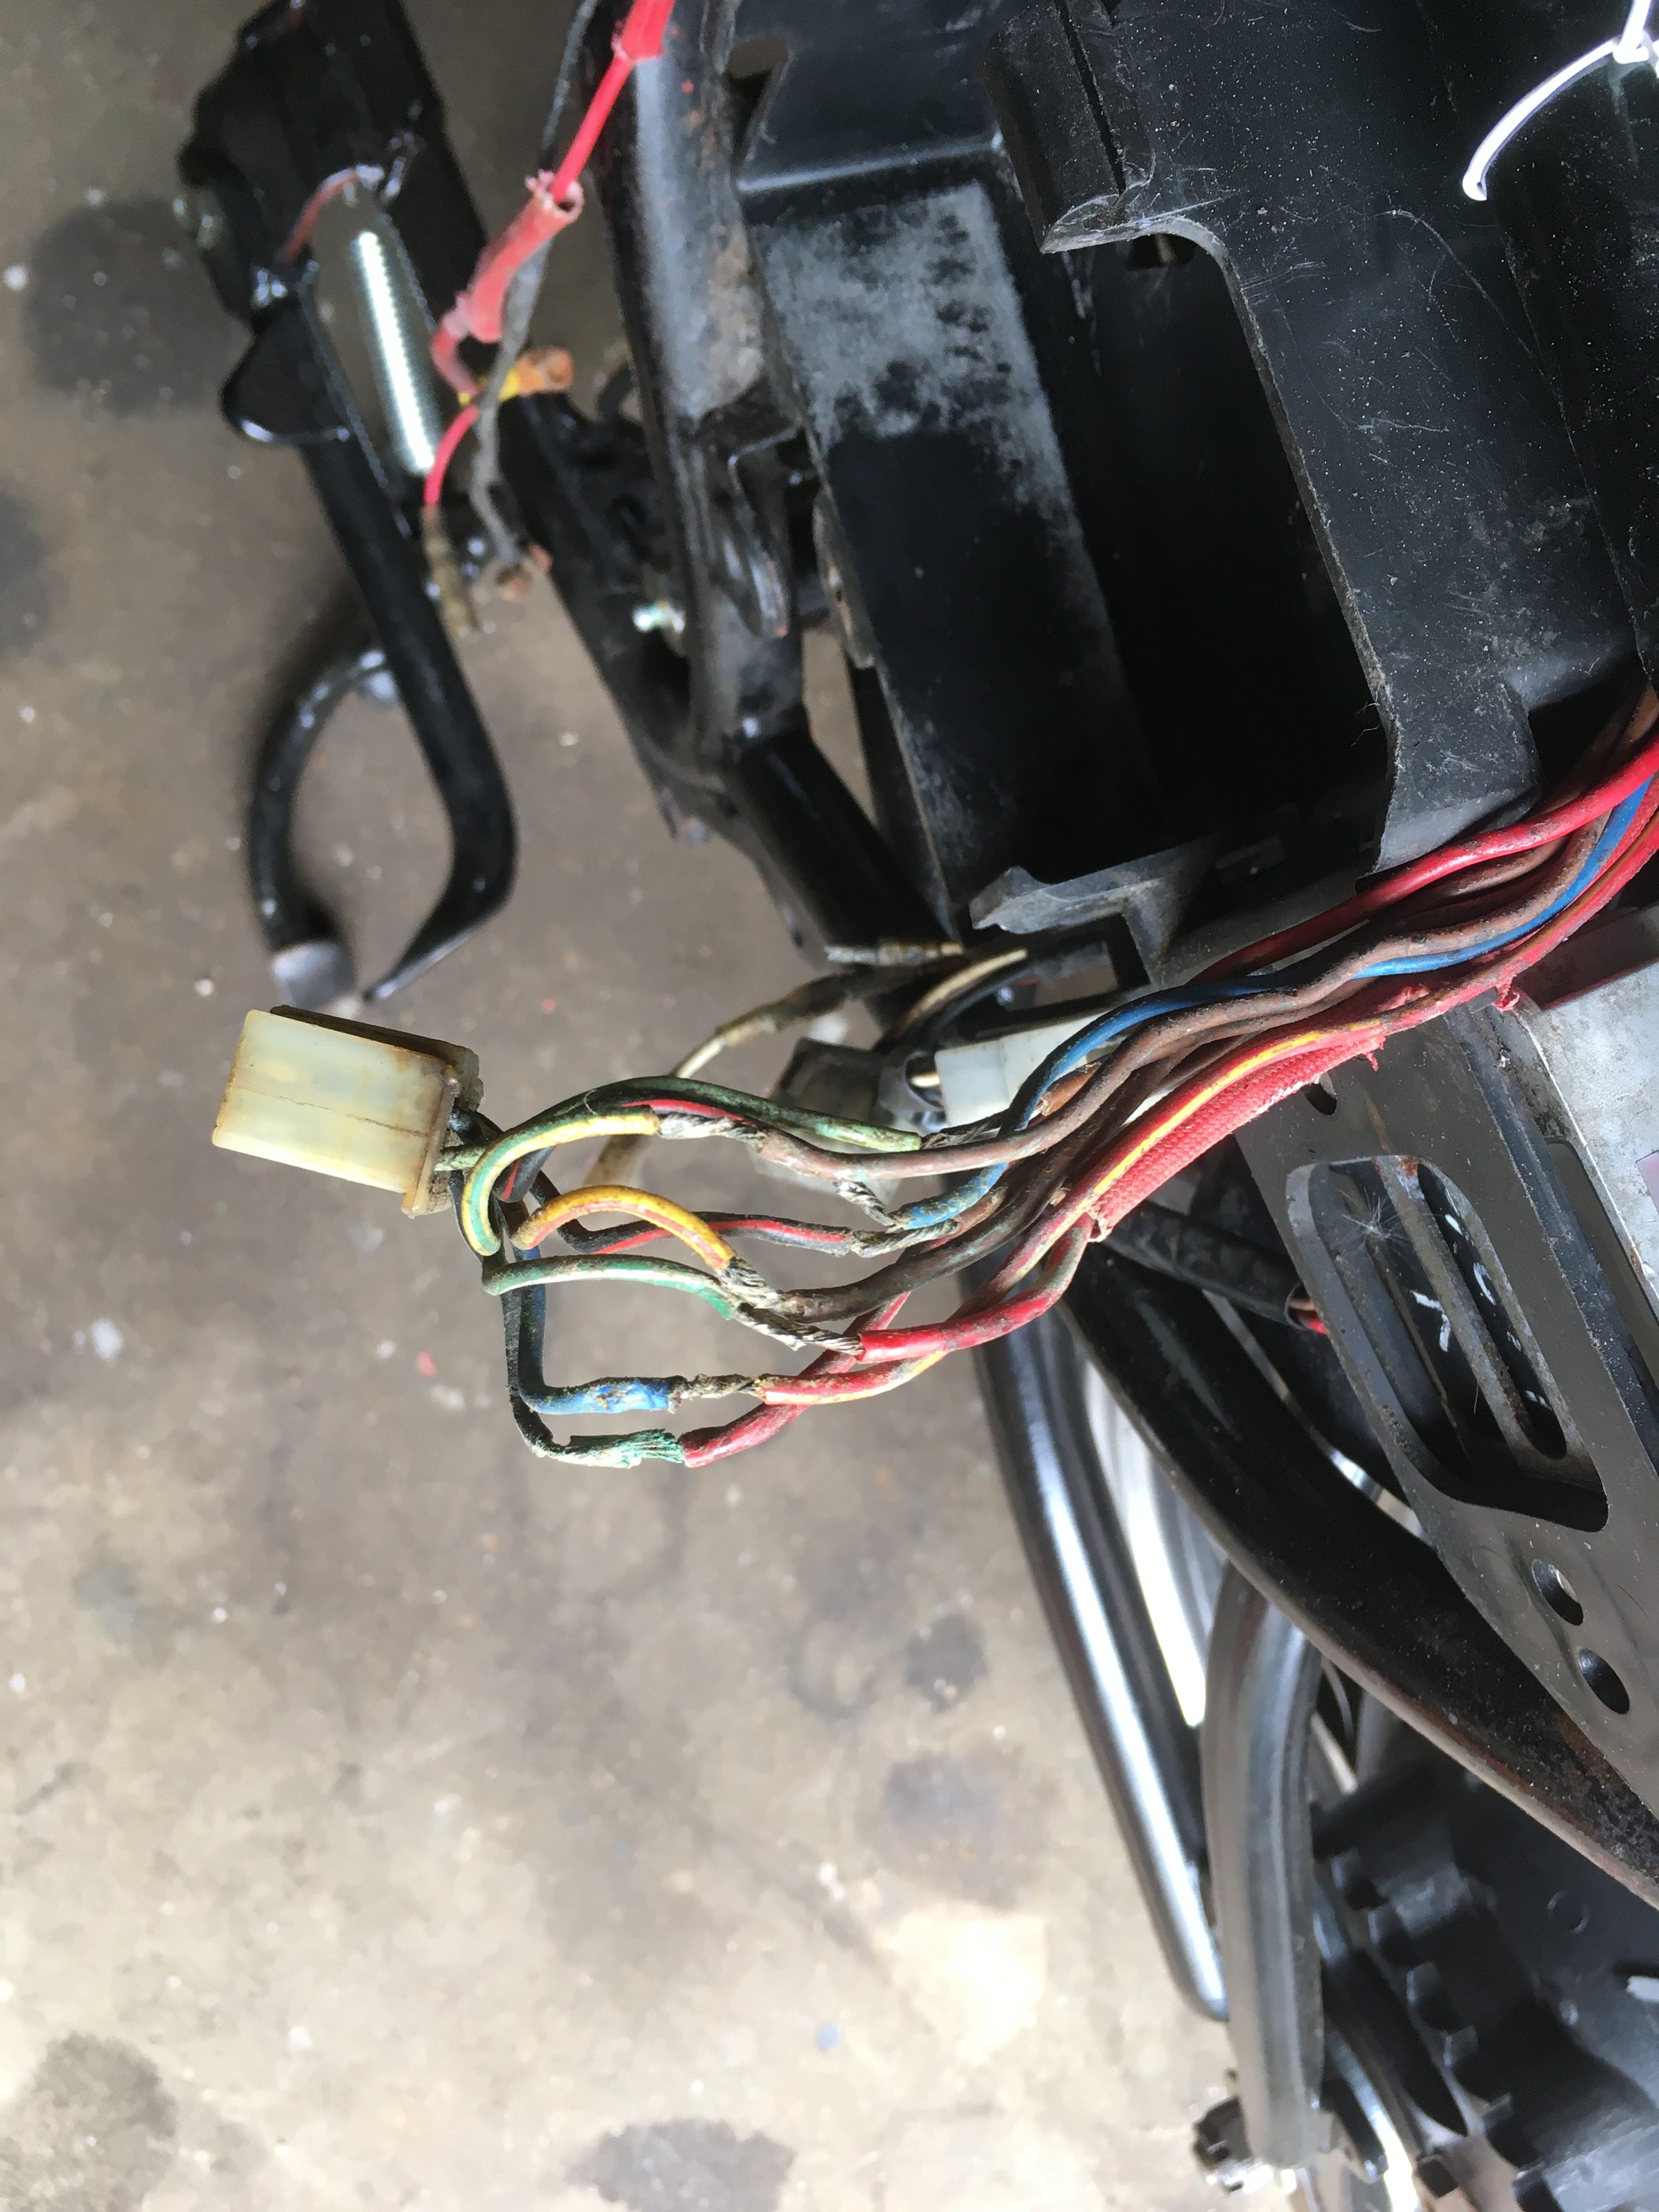
There’s a big gap to be filled with indicator wire.


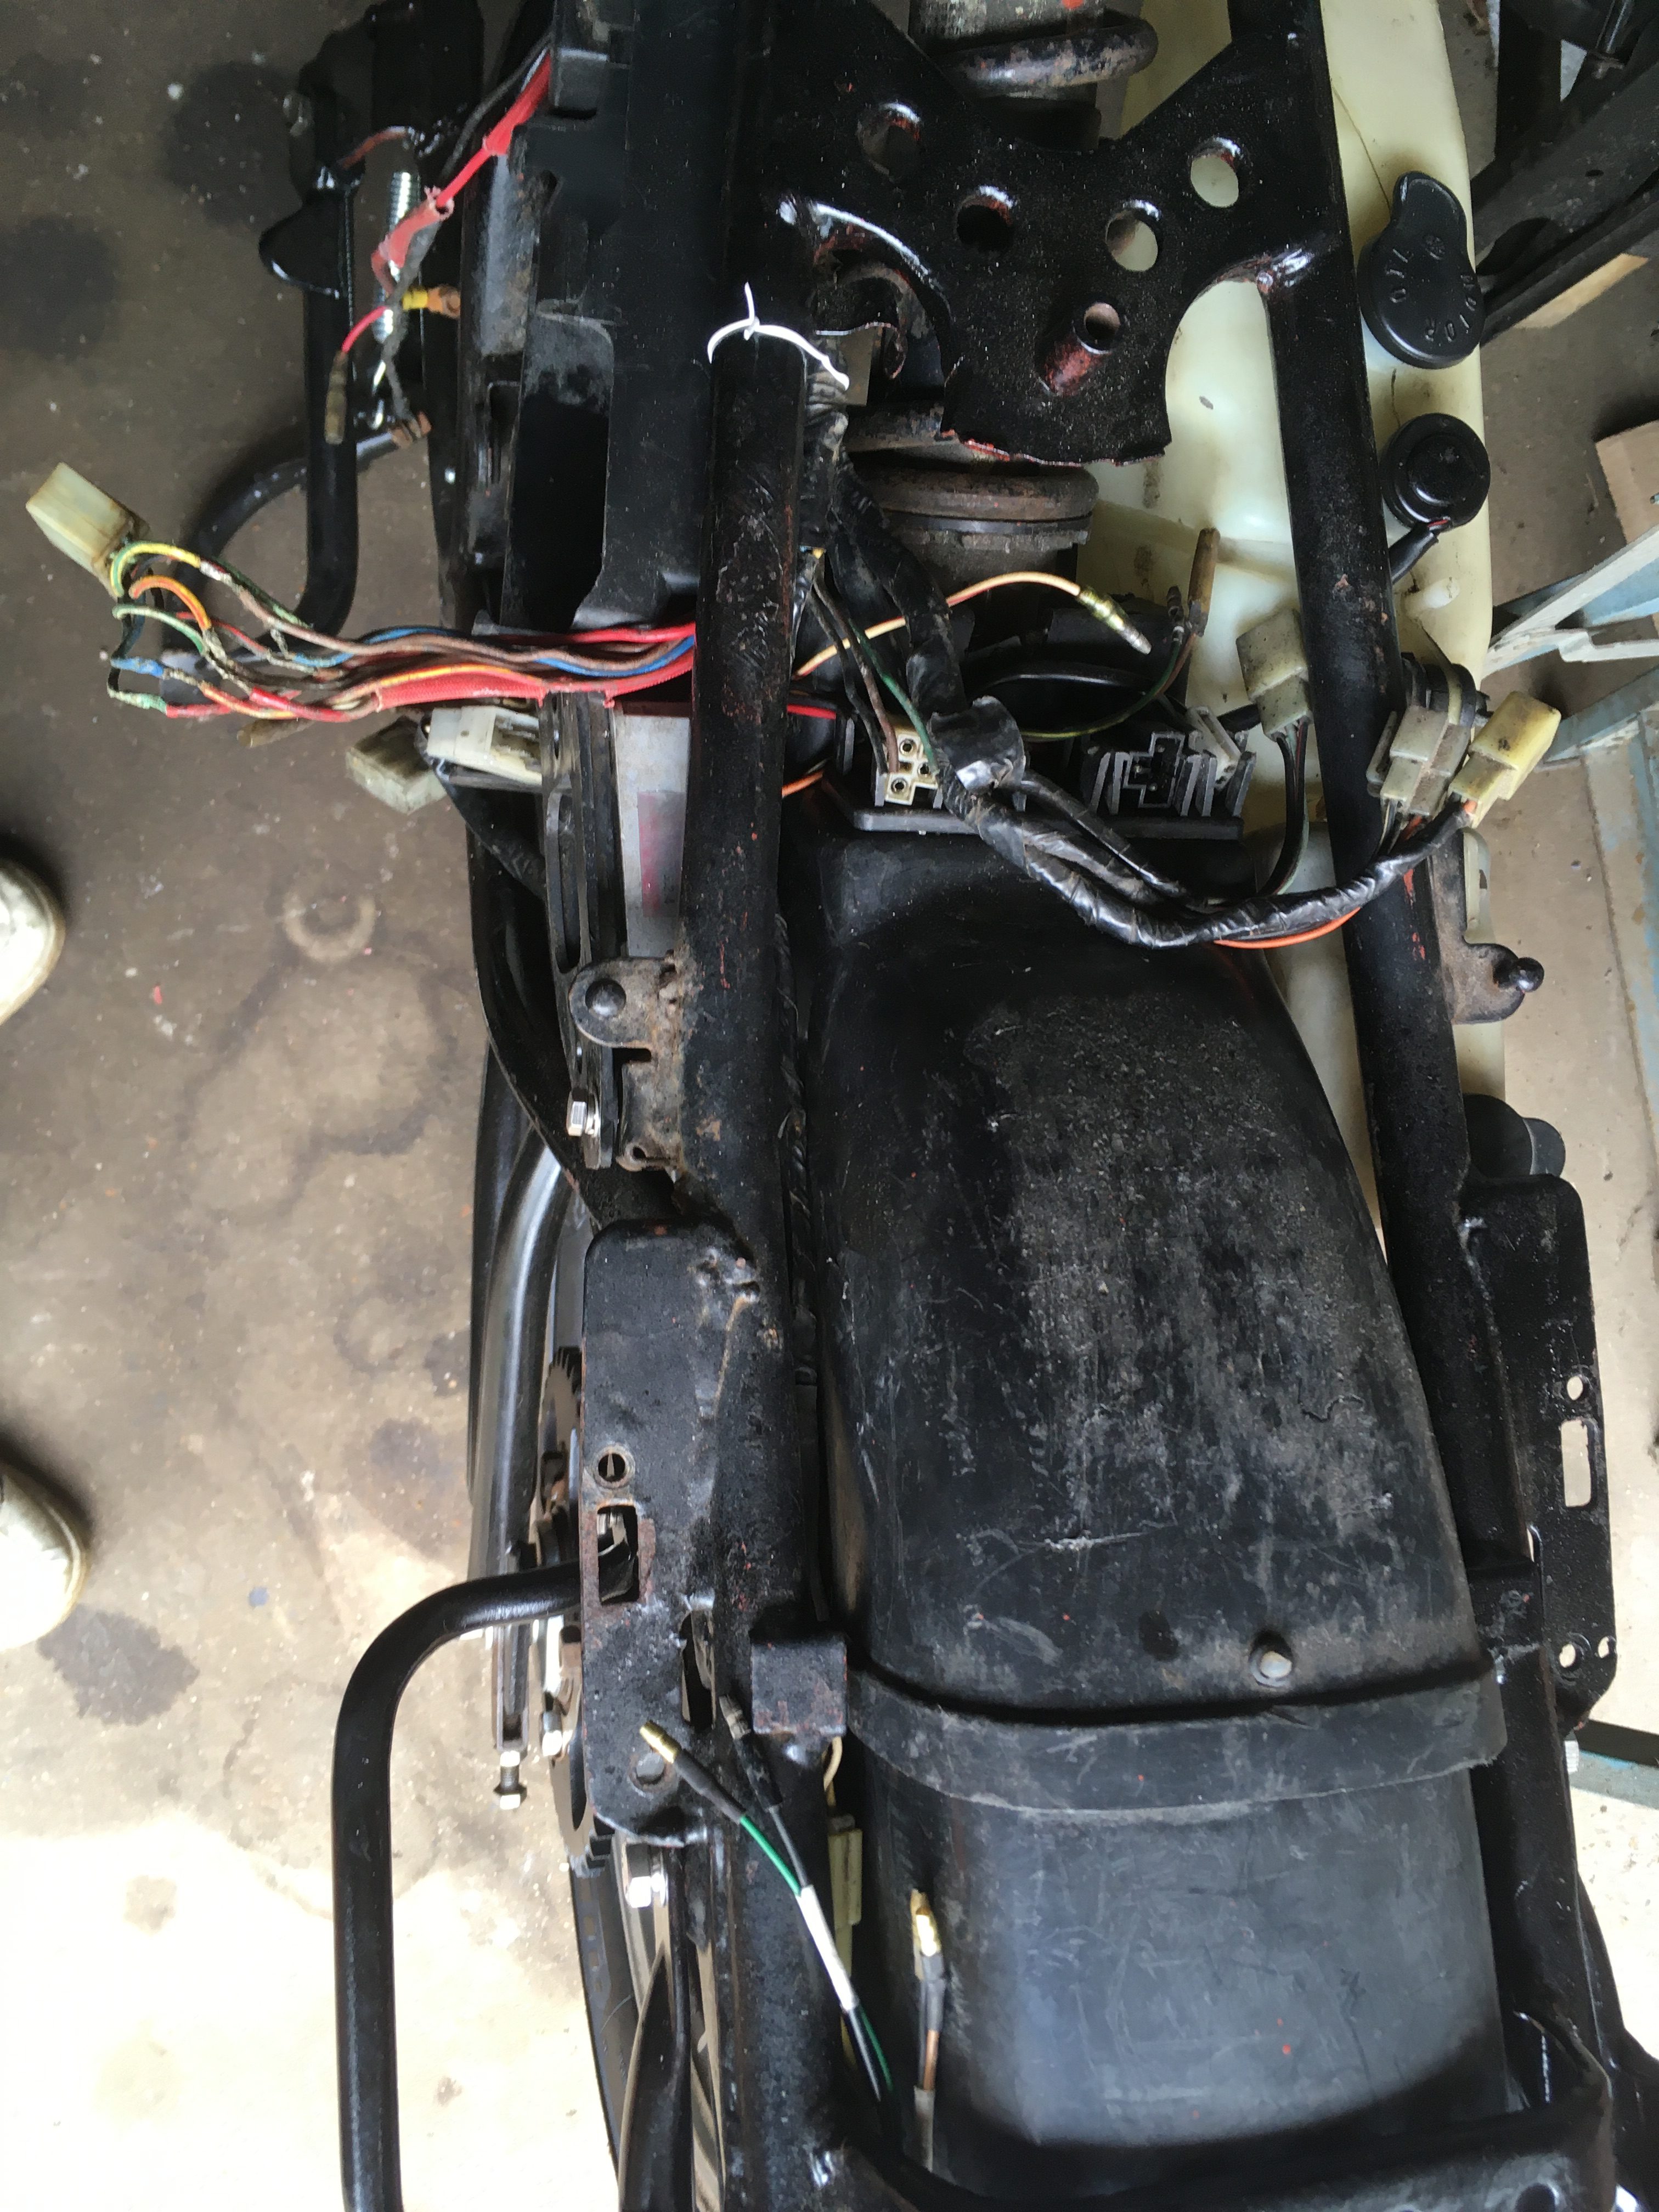
The wiring loom has been hung off the bike as far as possible according to the diagrams above.
there are two retaining hooks welded to the frame, which I have shown in the first two photos.
there should be another on the top rail, just under the forward end of the airbox, but it doesn’t exist on my frame.
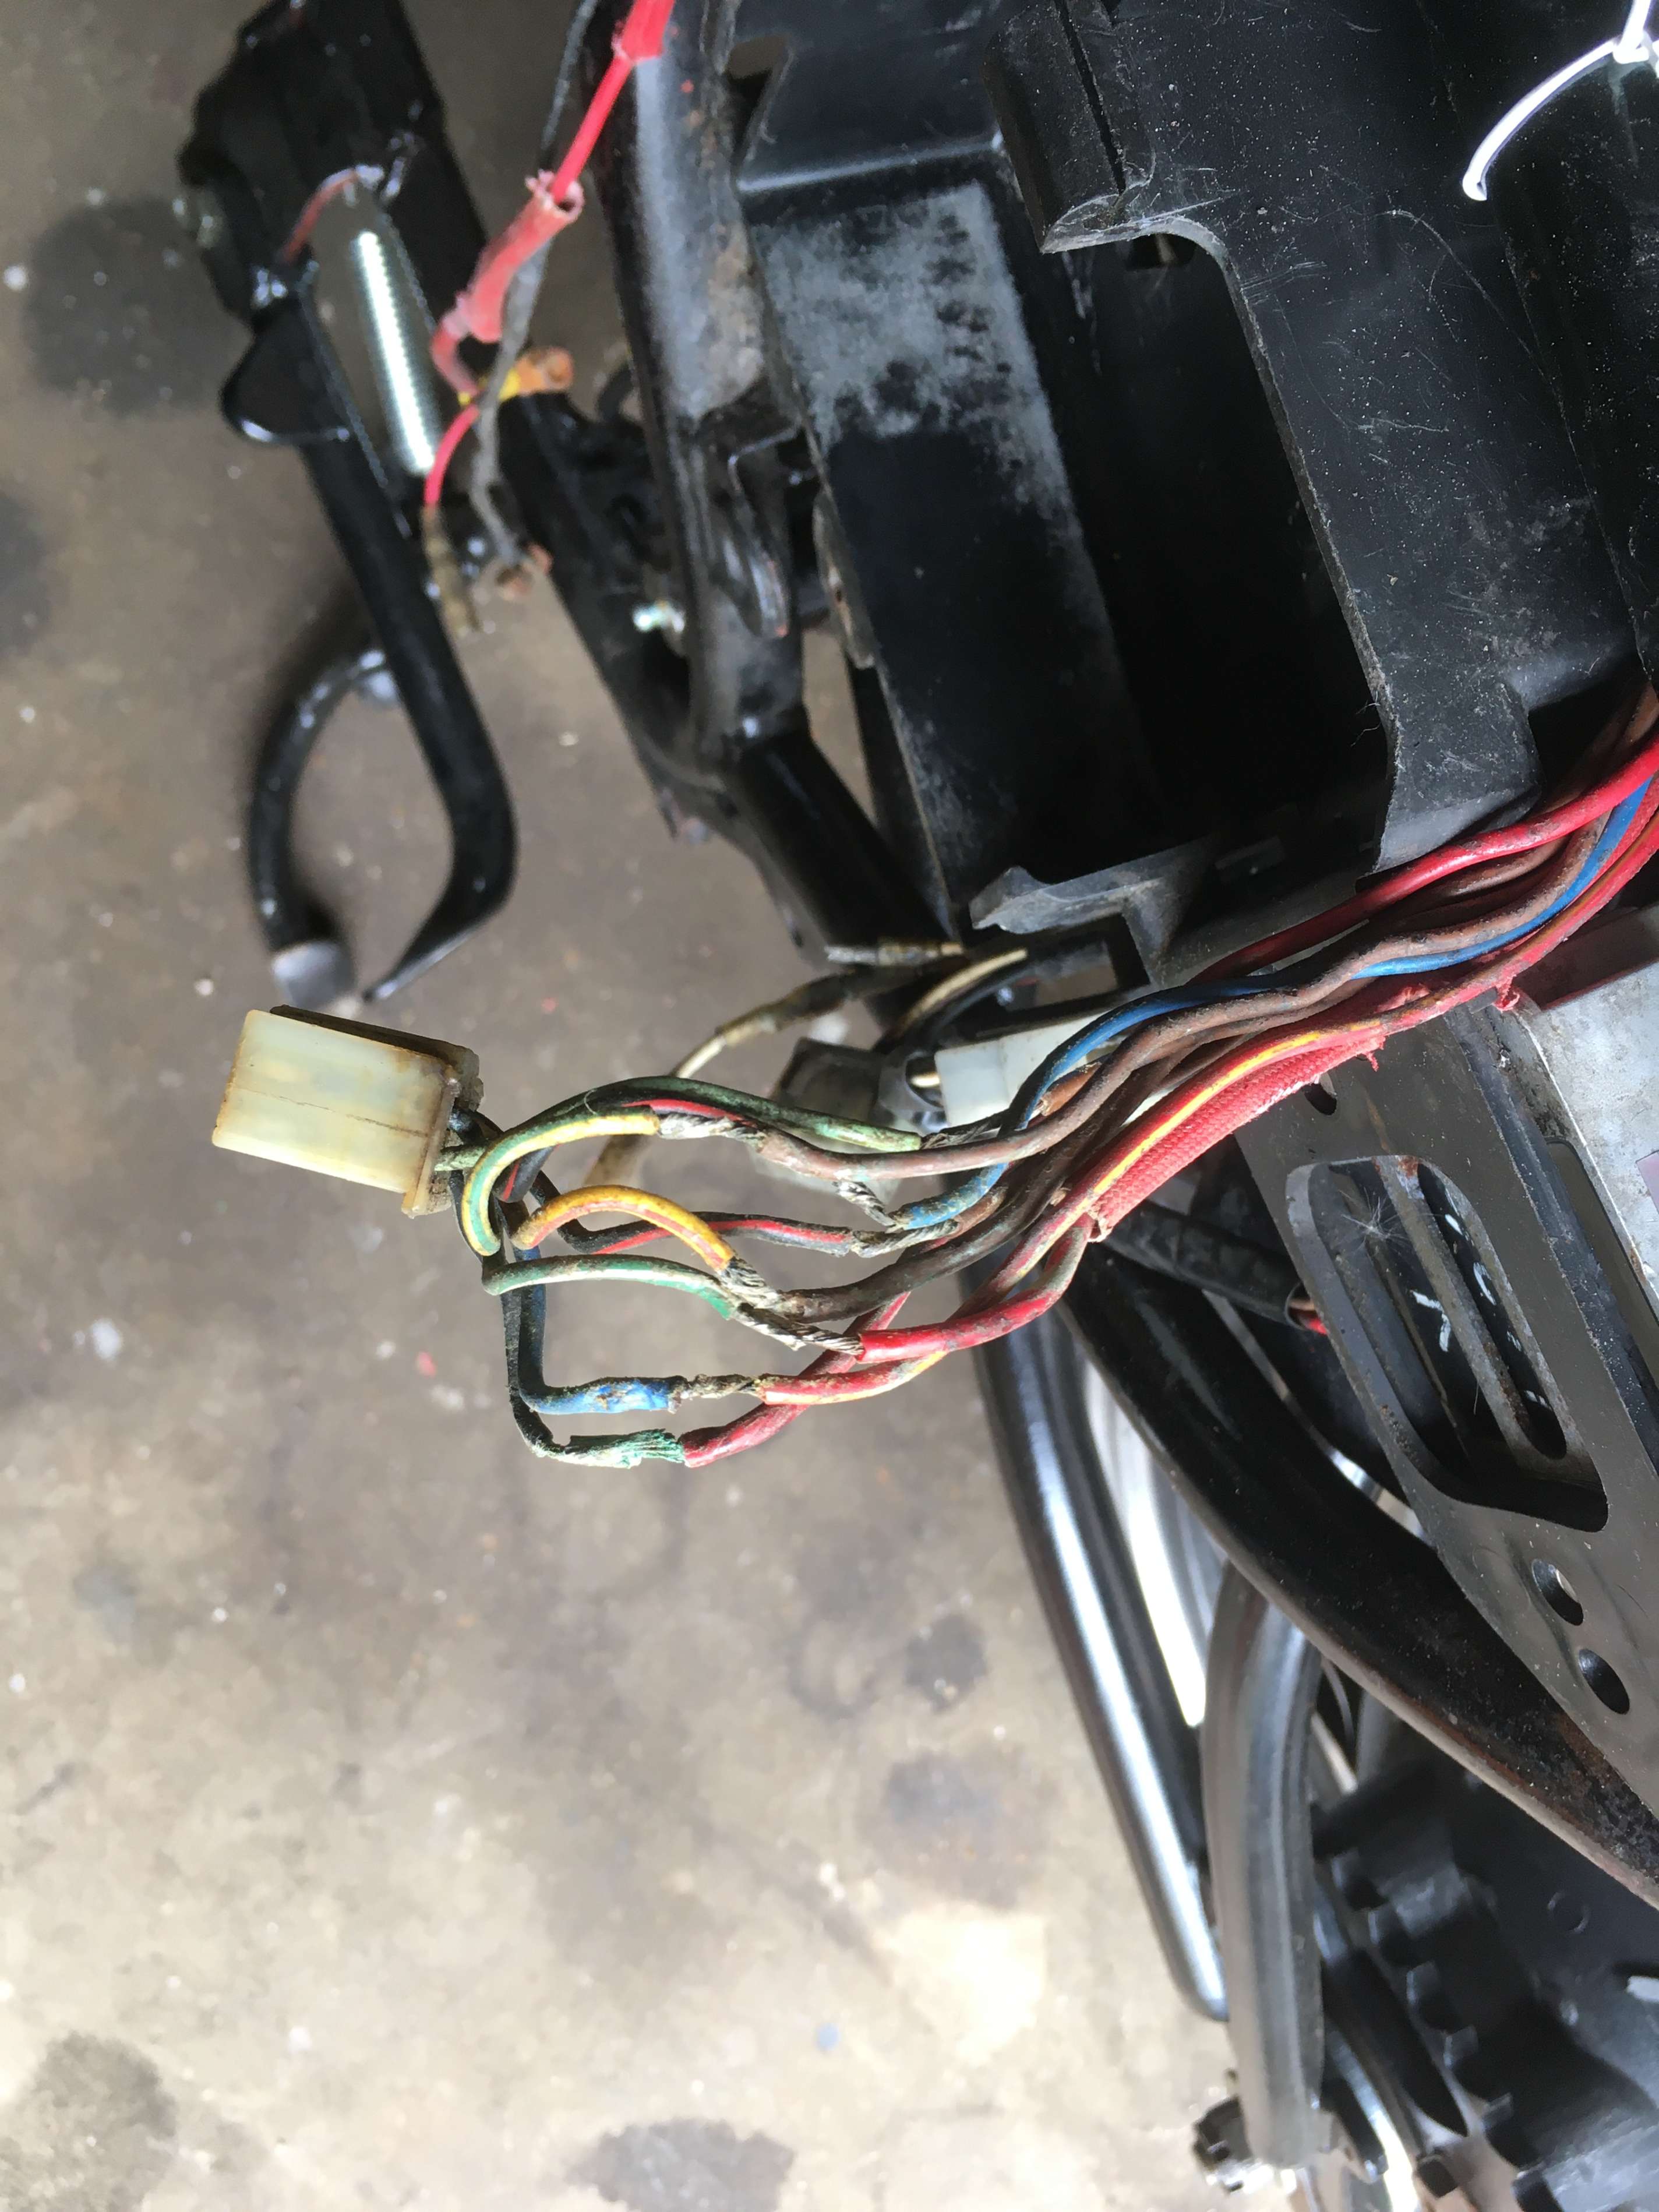
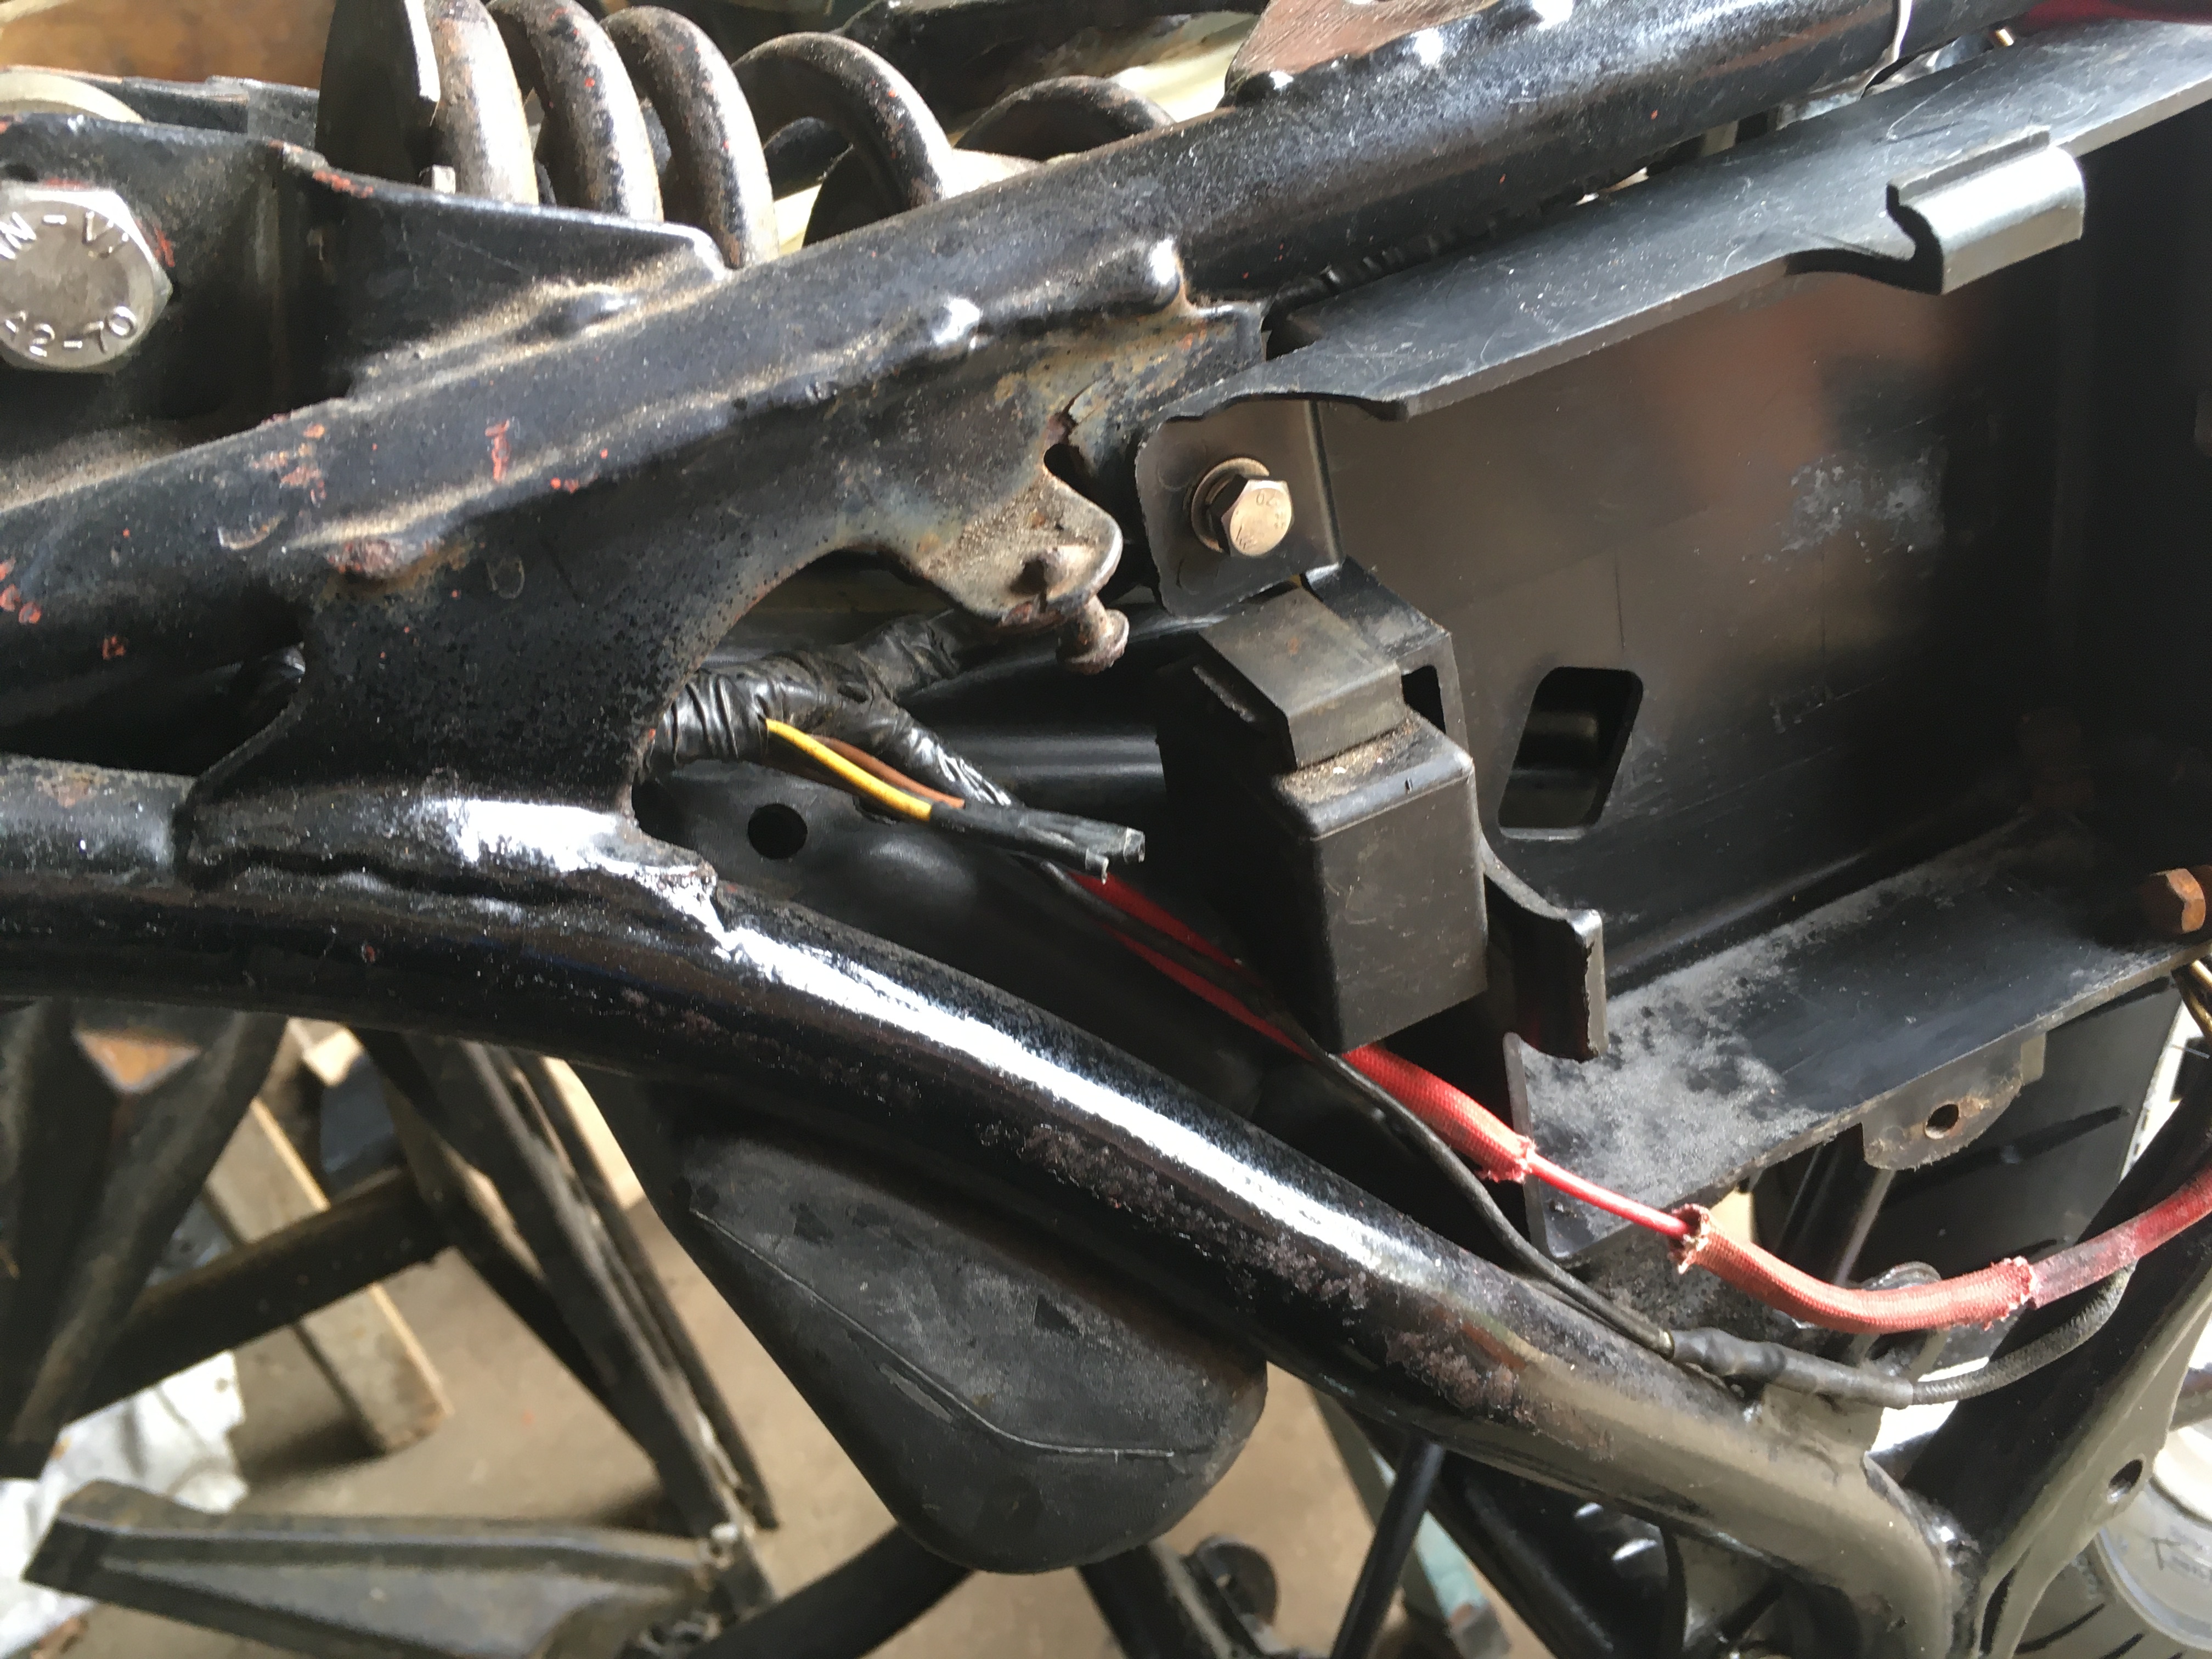
The connectors from the handlebar switches come around the left hand side of the headstock, and through the wire guide welded to the frame.
the temperature sender cable, (which I crimped up in the right colours today), hangs down from here.
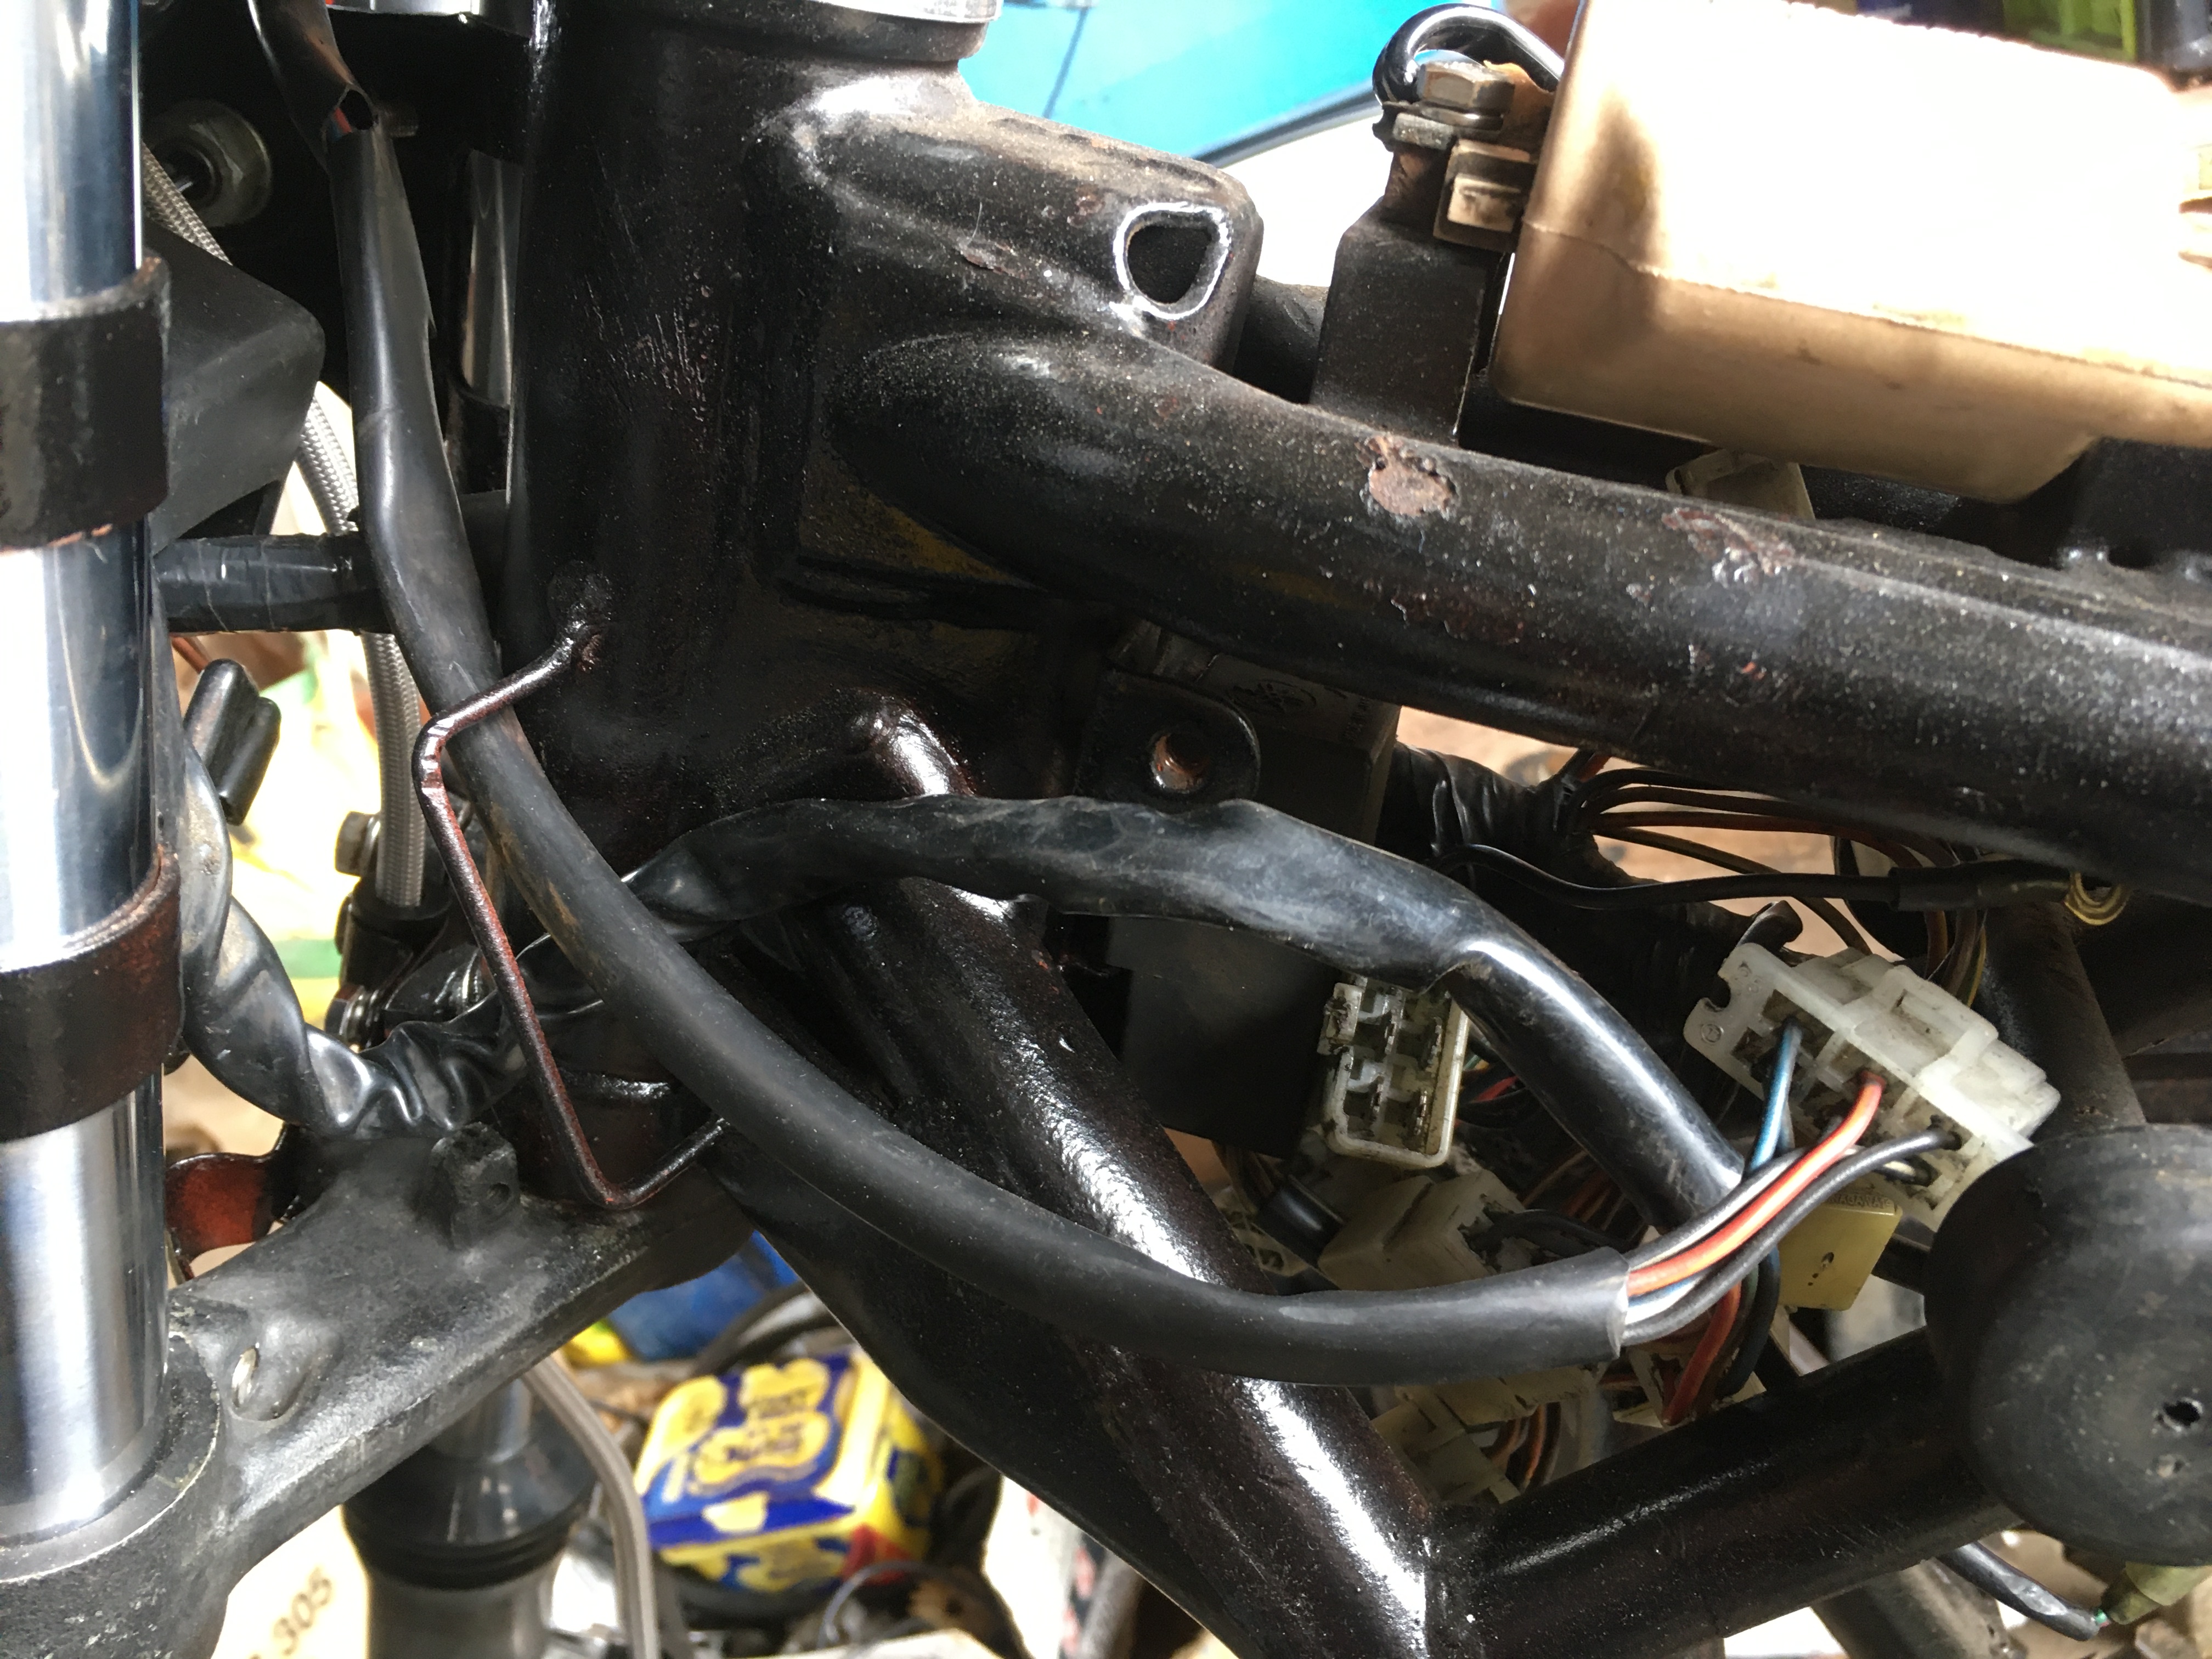
the loom travels along the underside of the frame rail, and through a small gap between the frame and the loser airbox, where the first tributary wires split off for the flasher relay, and the battery connections.
Of the three other main branches of the loom…
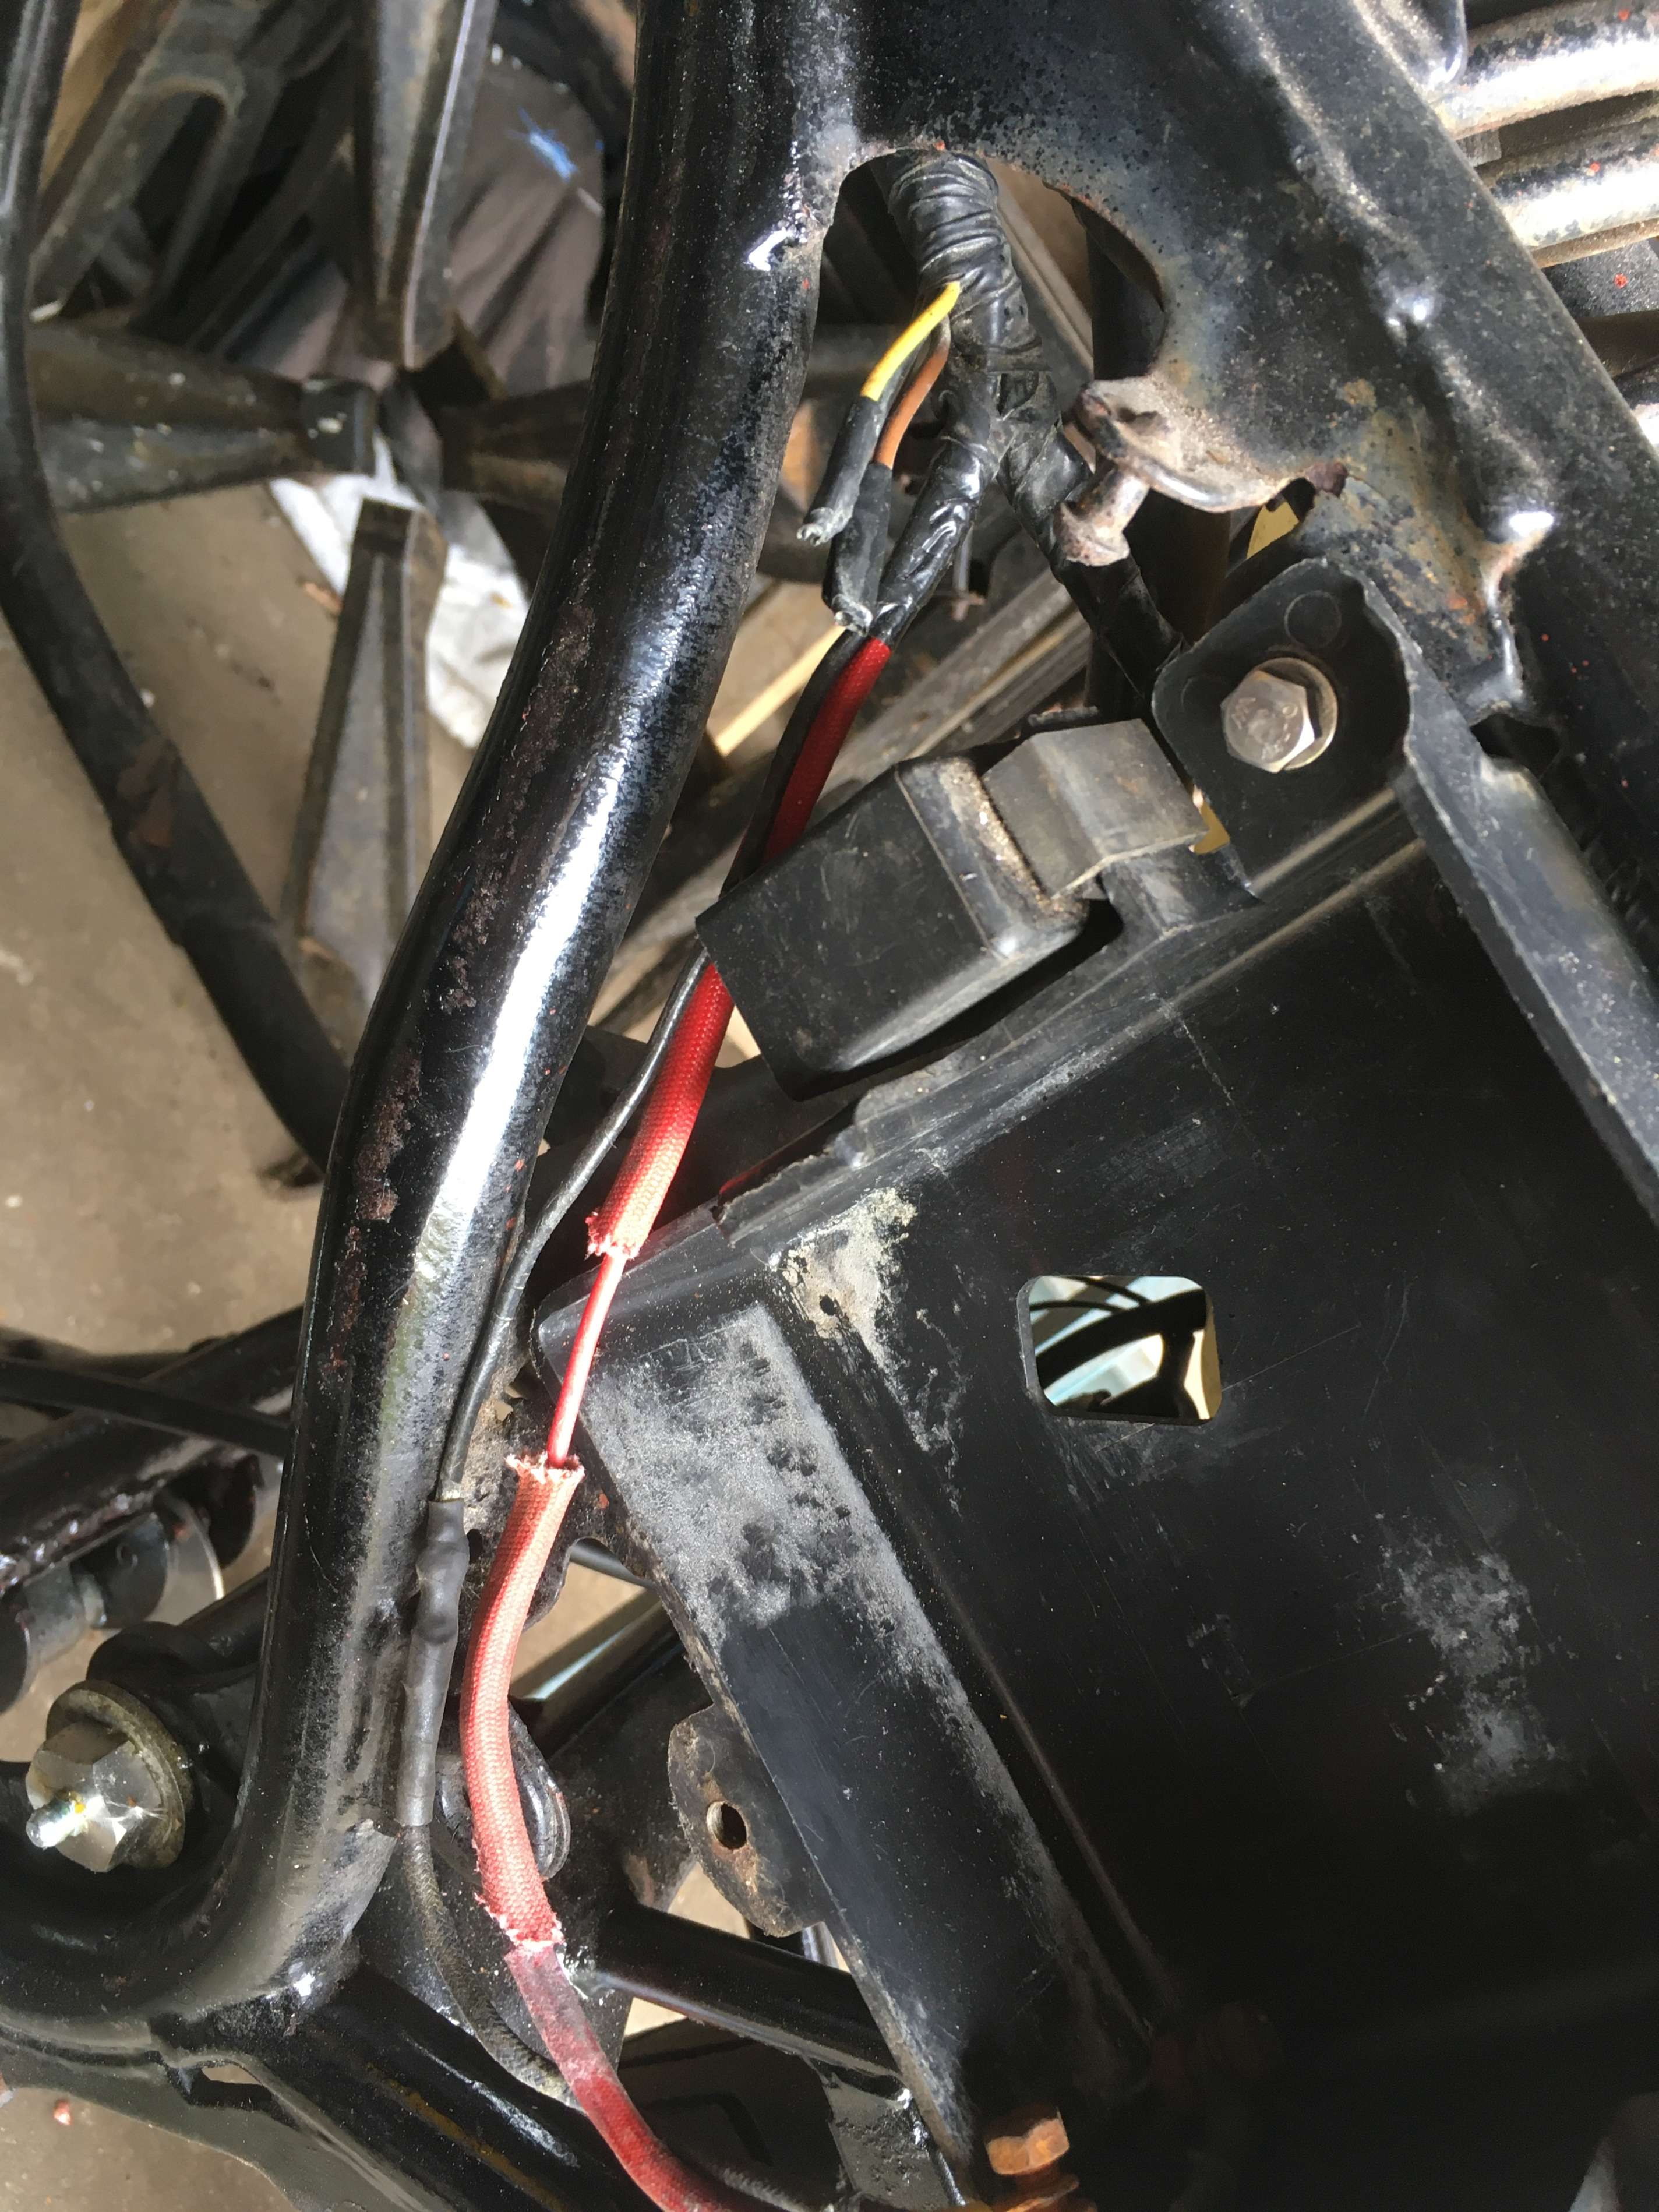
The fusebox cabling travels behind the battery box and loops over the top.
The regulator/rectifier cable will dip under the battery box, where there is a gap in the battery box, to join up with the connector in it’s clip at the front.
The indicators and rear light hug the top rail, meeting up with the wires from the back of the bike, just behind the seat catch.
Next step is patching all those connectors in so that everything meets up in the right place.
Then wrapping the loom back up in tape so that it looks like new!