From the last post, we established that we need to prepare some parts to fit to the frame, in order to attach the various electrical components.
Some parts are plastic, and simply require dismantling and cleaning; some are not, and need to be dismantled, de-rusted and painted.
The oil tank, required for the oil level switch, is from the donor bike. It merely required a good scrubbing with neat Fairy liquid to return it to a state in which I could pick it up without getting my hands filthy.
It is still horribly grimy, but it is functional, and I don’t have another, so that will have to do.
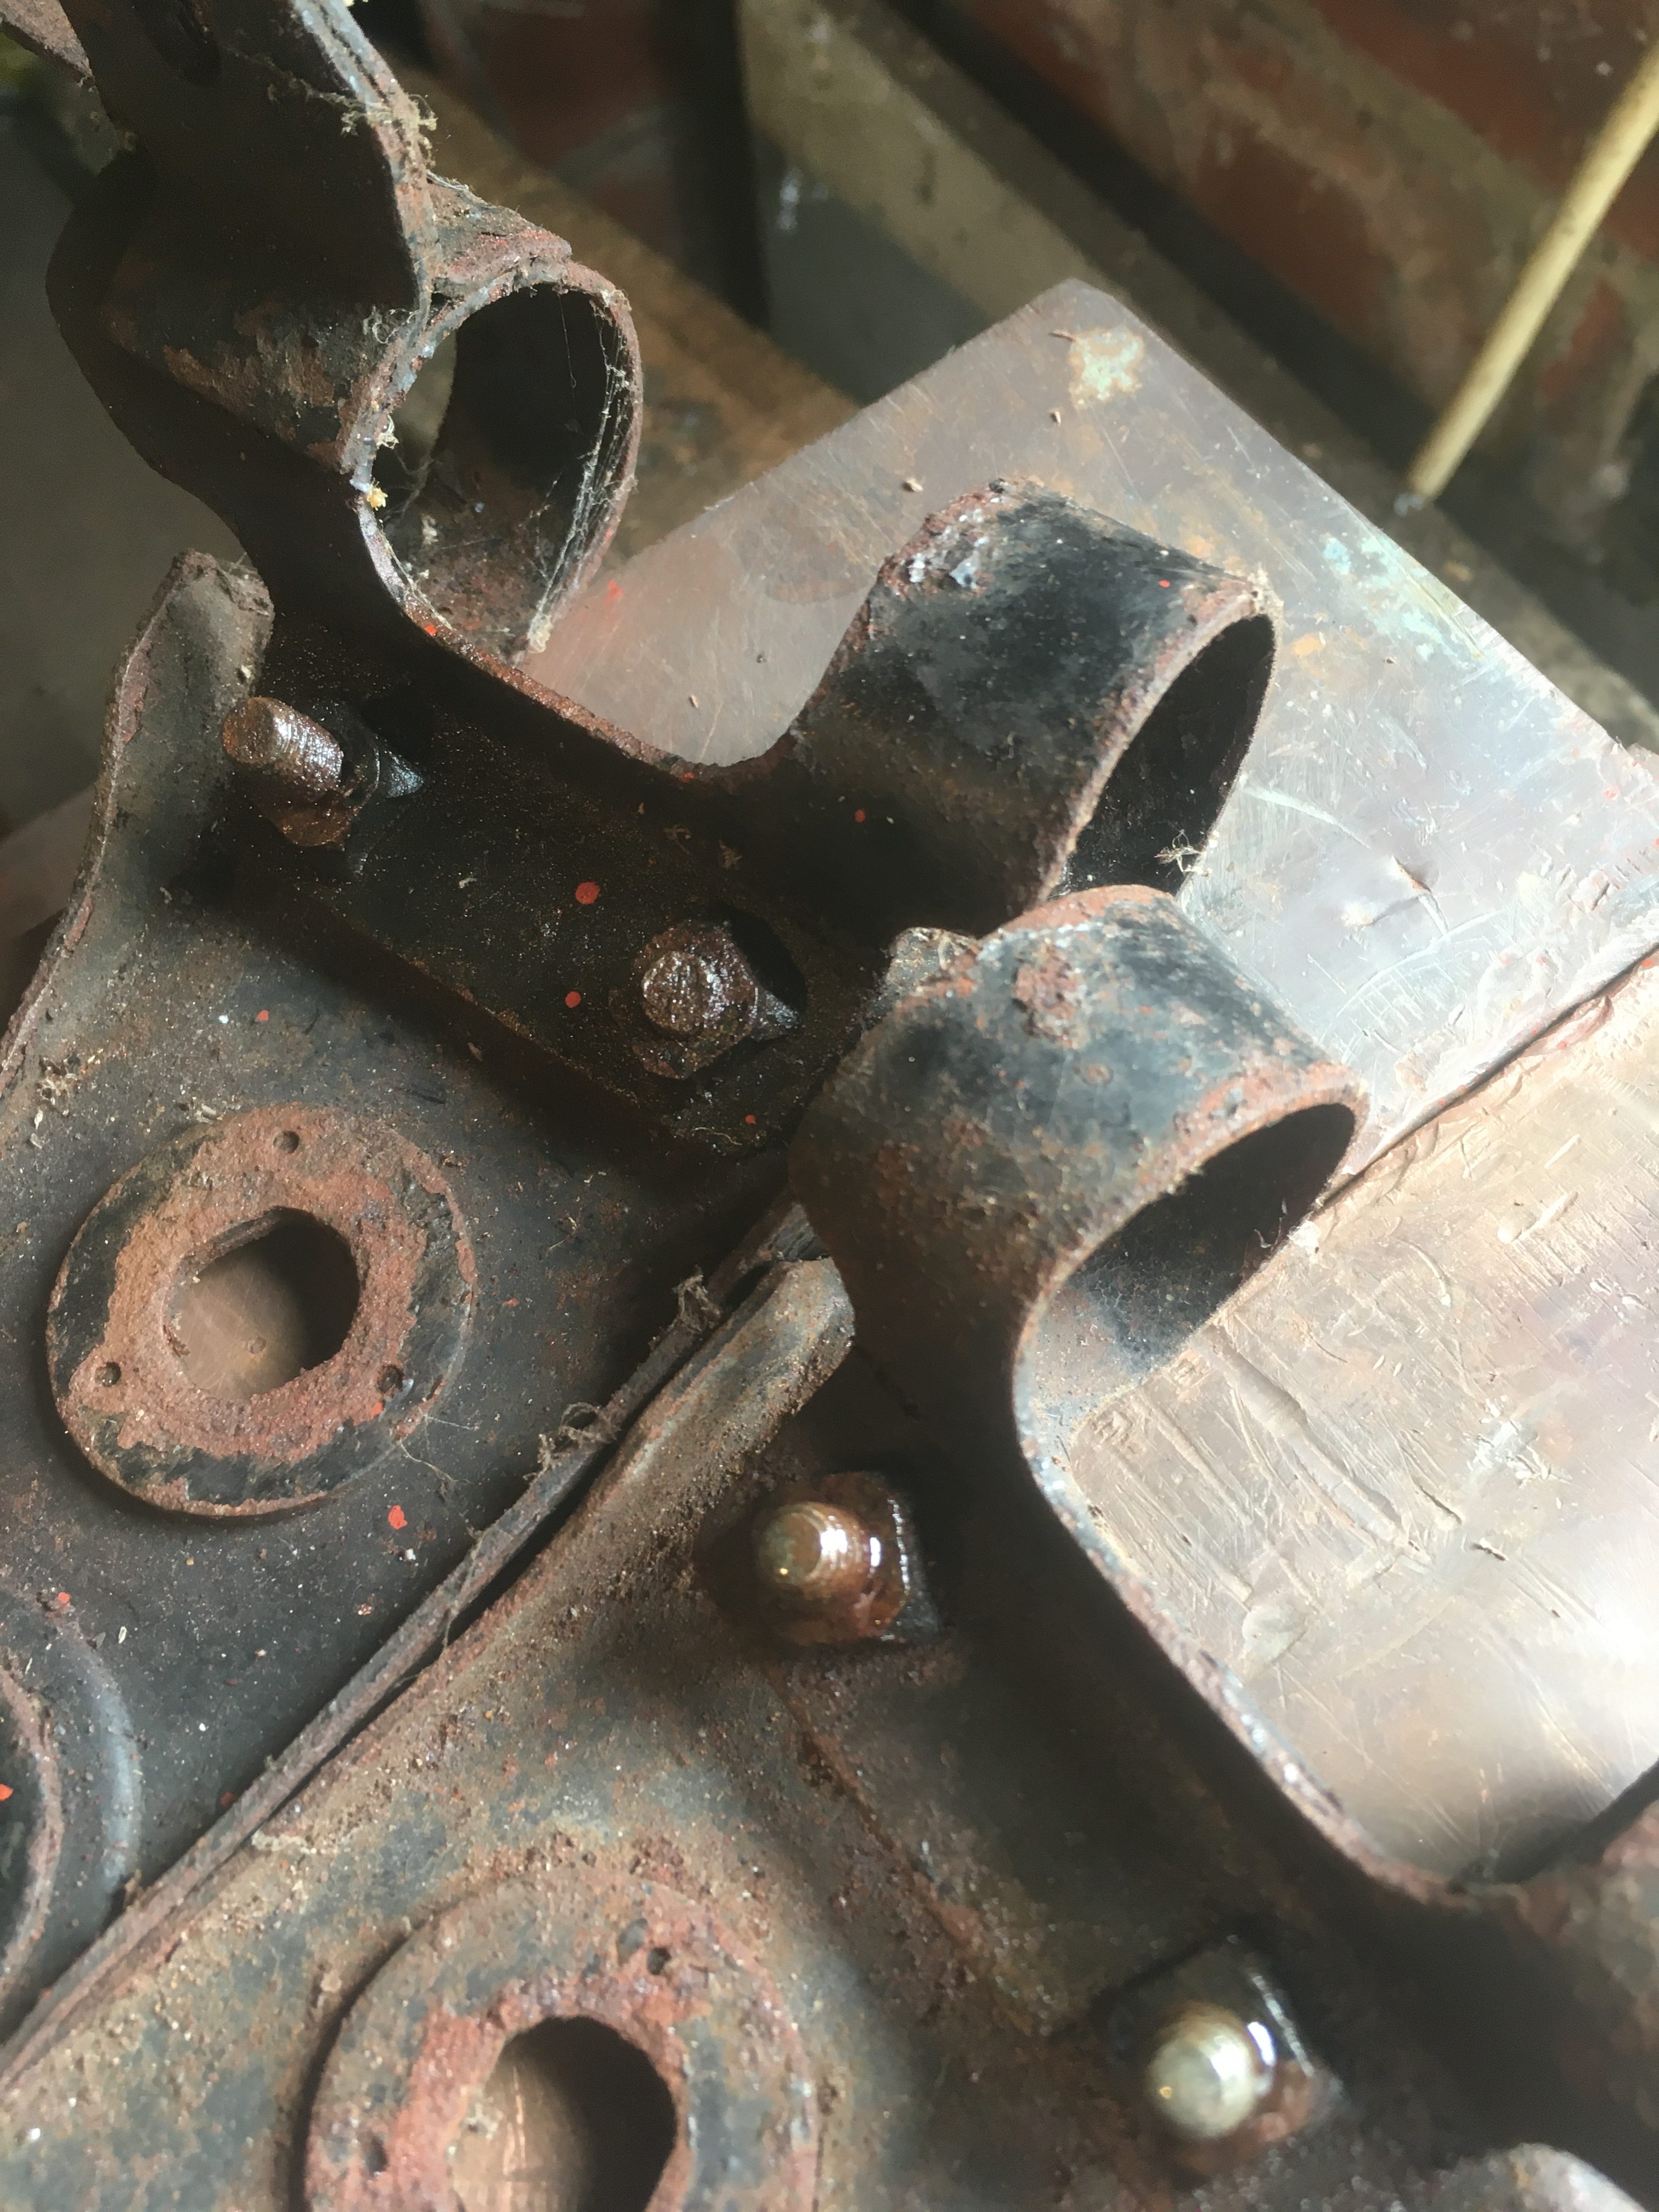
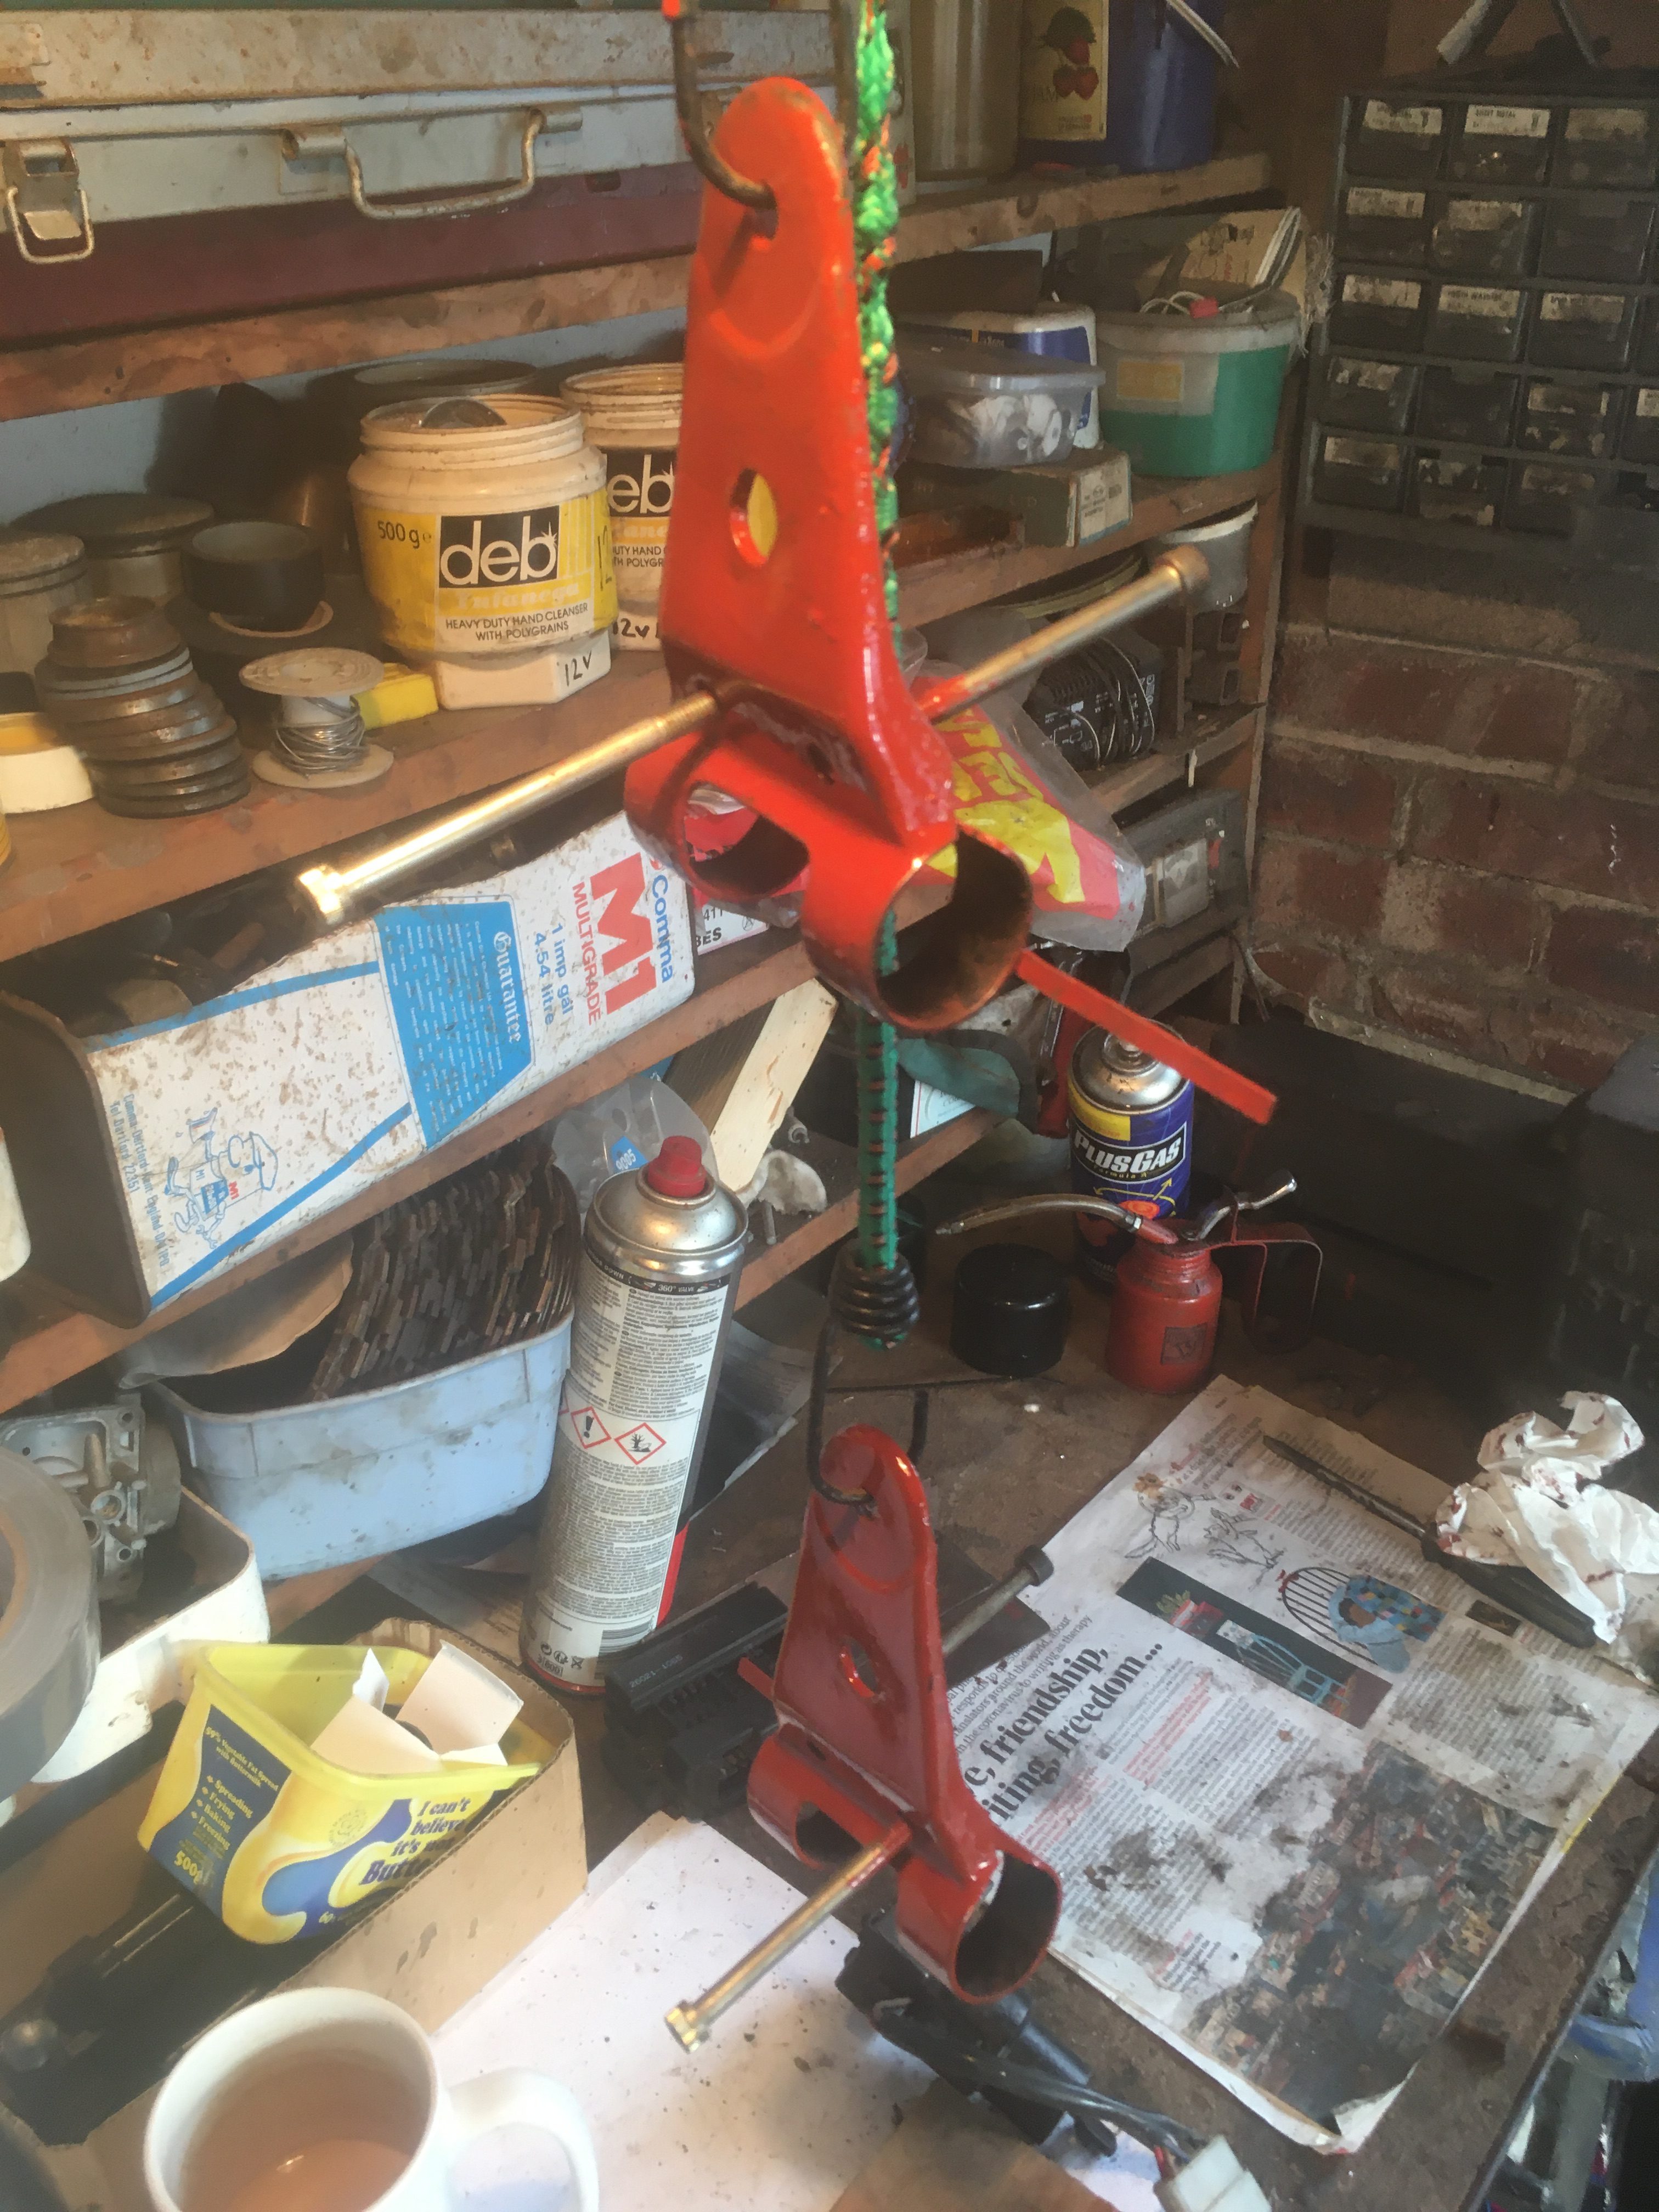
The headlamp brackets from the donor bike were nasty cheap aftermarket chrome items which were so rusty that no amount of cleaning were going to reclaim them.
After an hour in the Parts box, I found a pair of rusty but functional brackets. they are even from a 250, and so have the included tab to mount the horn.
I just had to remove the heavily rusted Allen bolts, which took soaking with Plus-Gas and other penetrating oils over a period of weeks, eventual application of some heat, and a big lever attached to my Allen key.
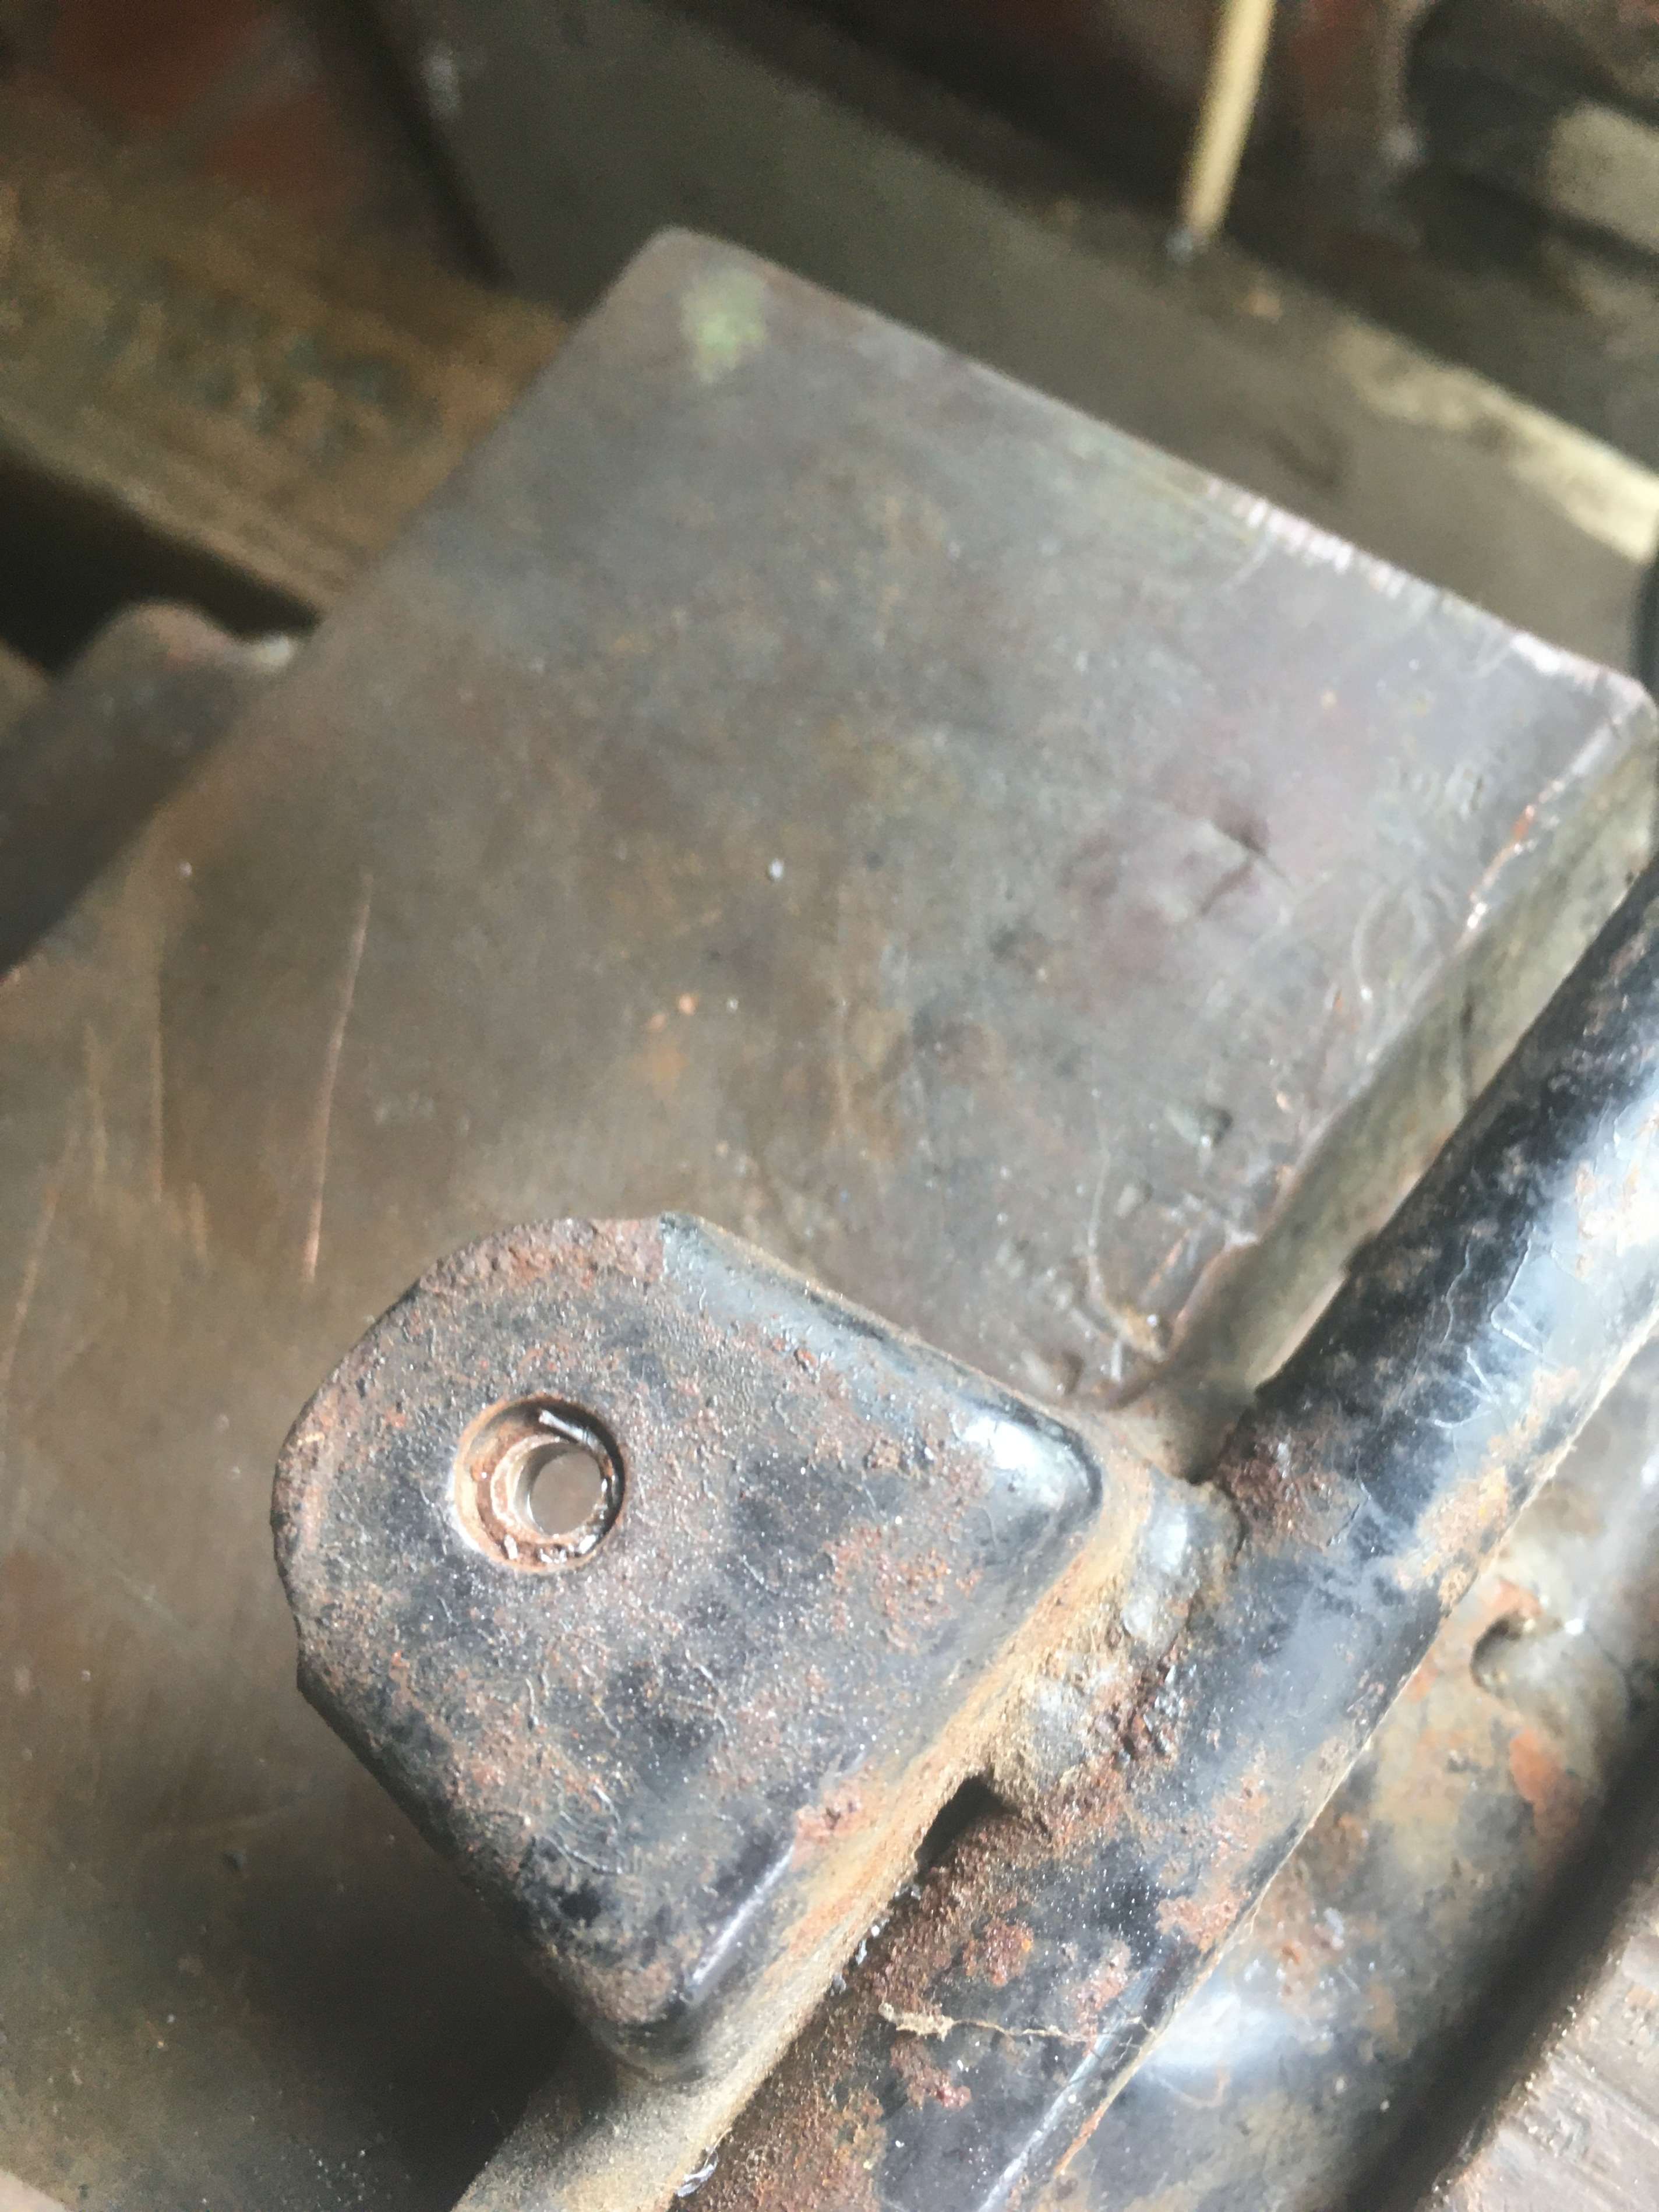
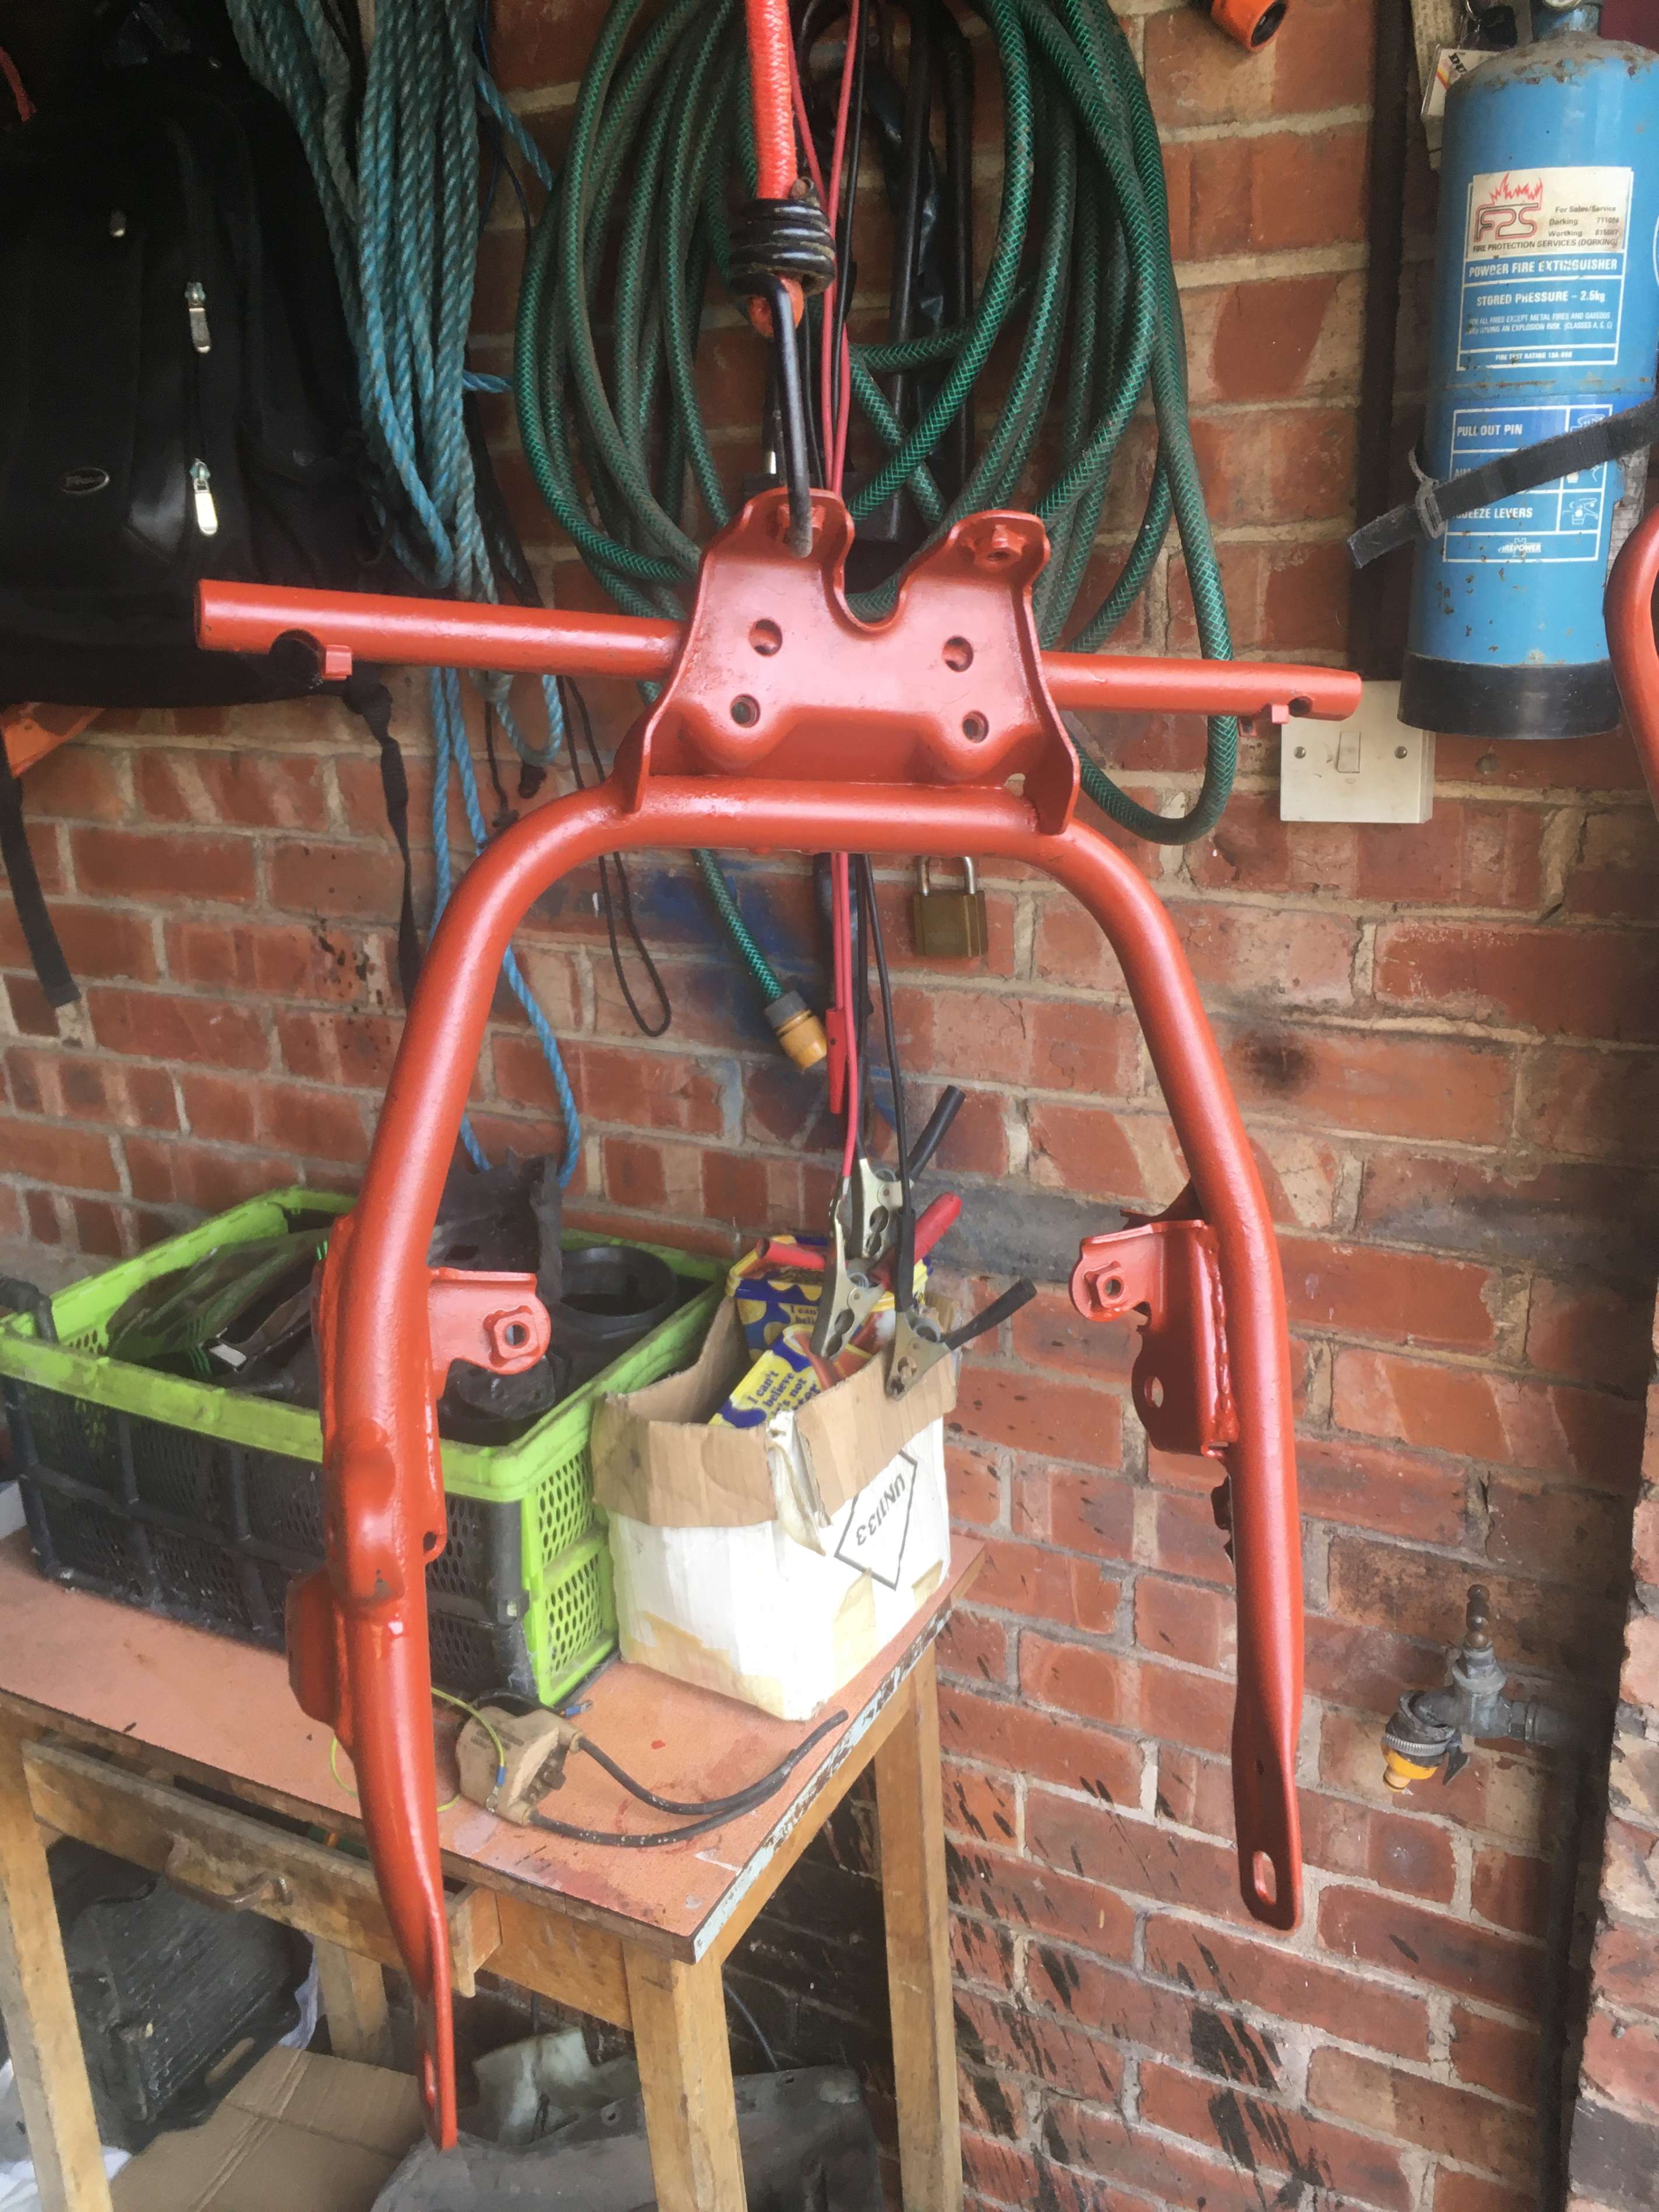
The rear sub-frame from the donor bike comprises the sub-frame itself, the rear tray/number-plate mount, the tail-piece, and passenger grab rail.
The passenger grab rail is bolted on with 4 Allen bolts, through the tail-piece.
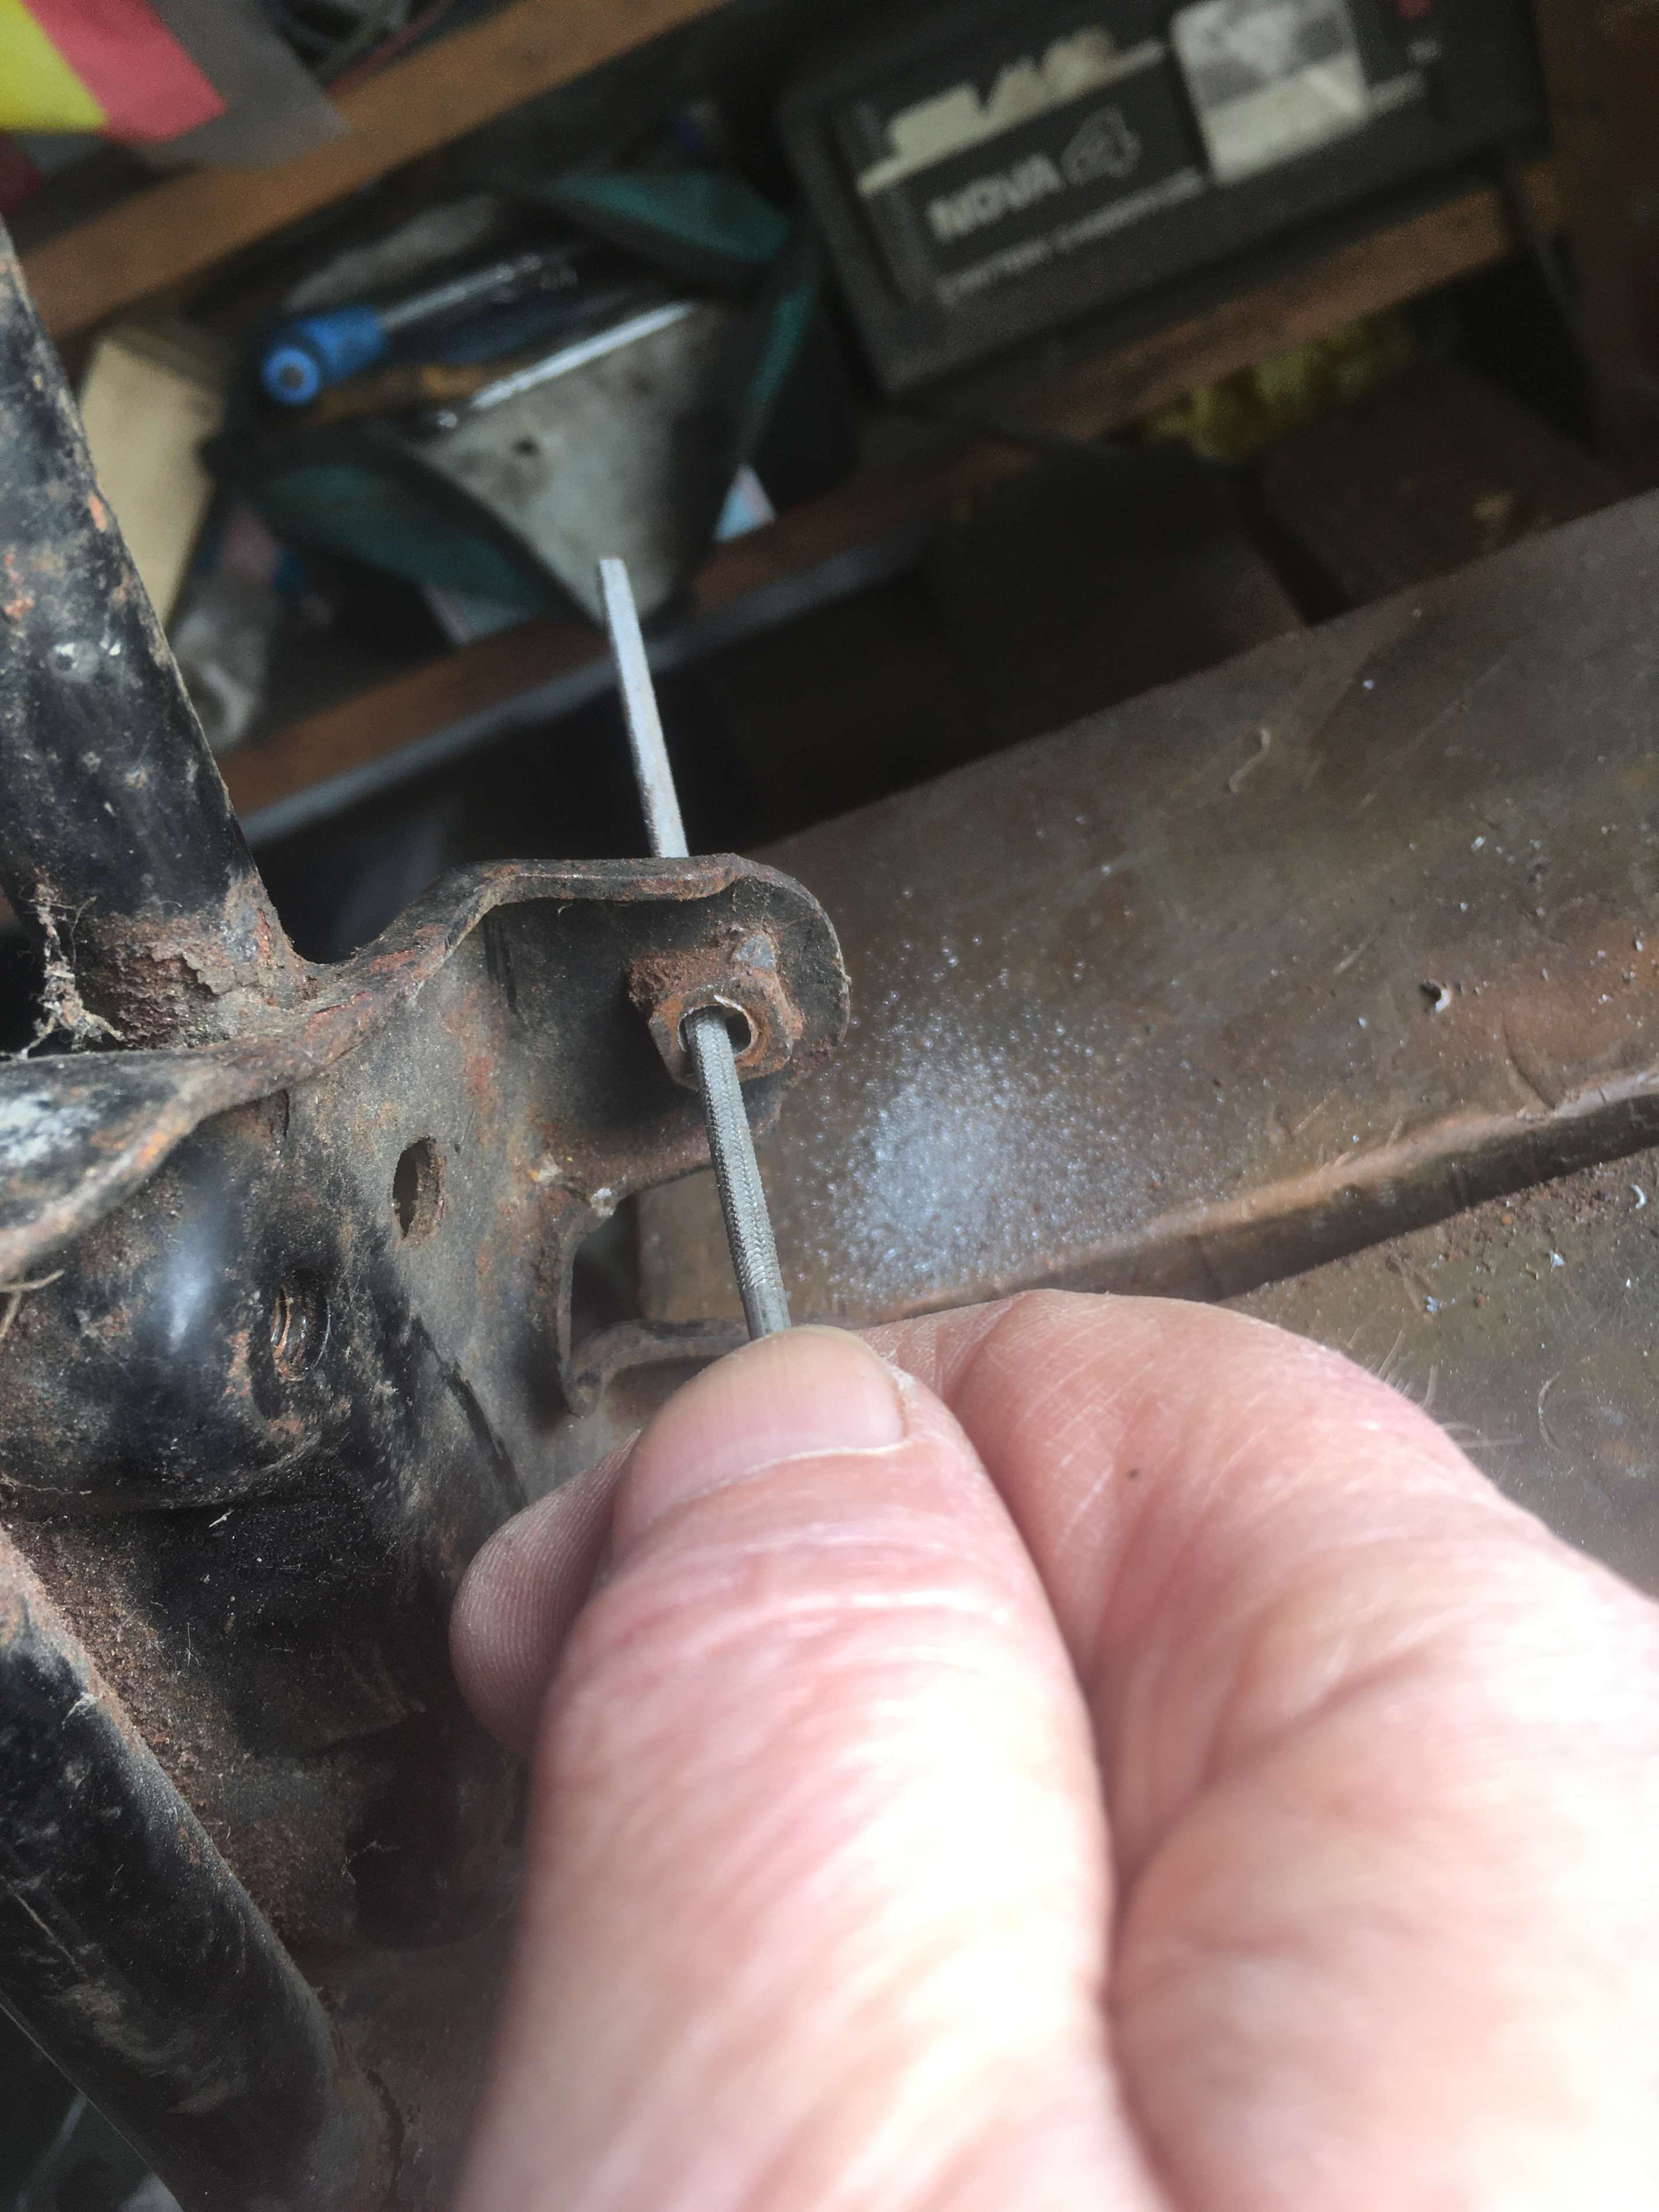
3 of the bolts came out with no issue at all. the last refused to budge, so was subjected to the penetrating oil treatment for a few weeks.
It wasn’t enough! The bolt was moving in the captive thread on the sub-frame, but not moving in the grab rail tube. Heat was not an option here because I want to preserve the plastics.
Eventually I ground the top of the bolt down, but even so, it still wouldn’t move.
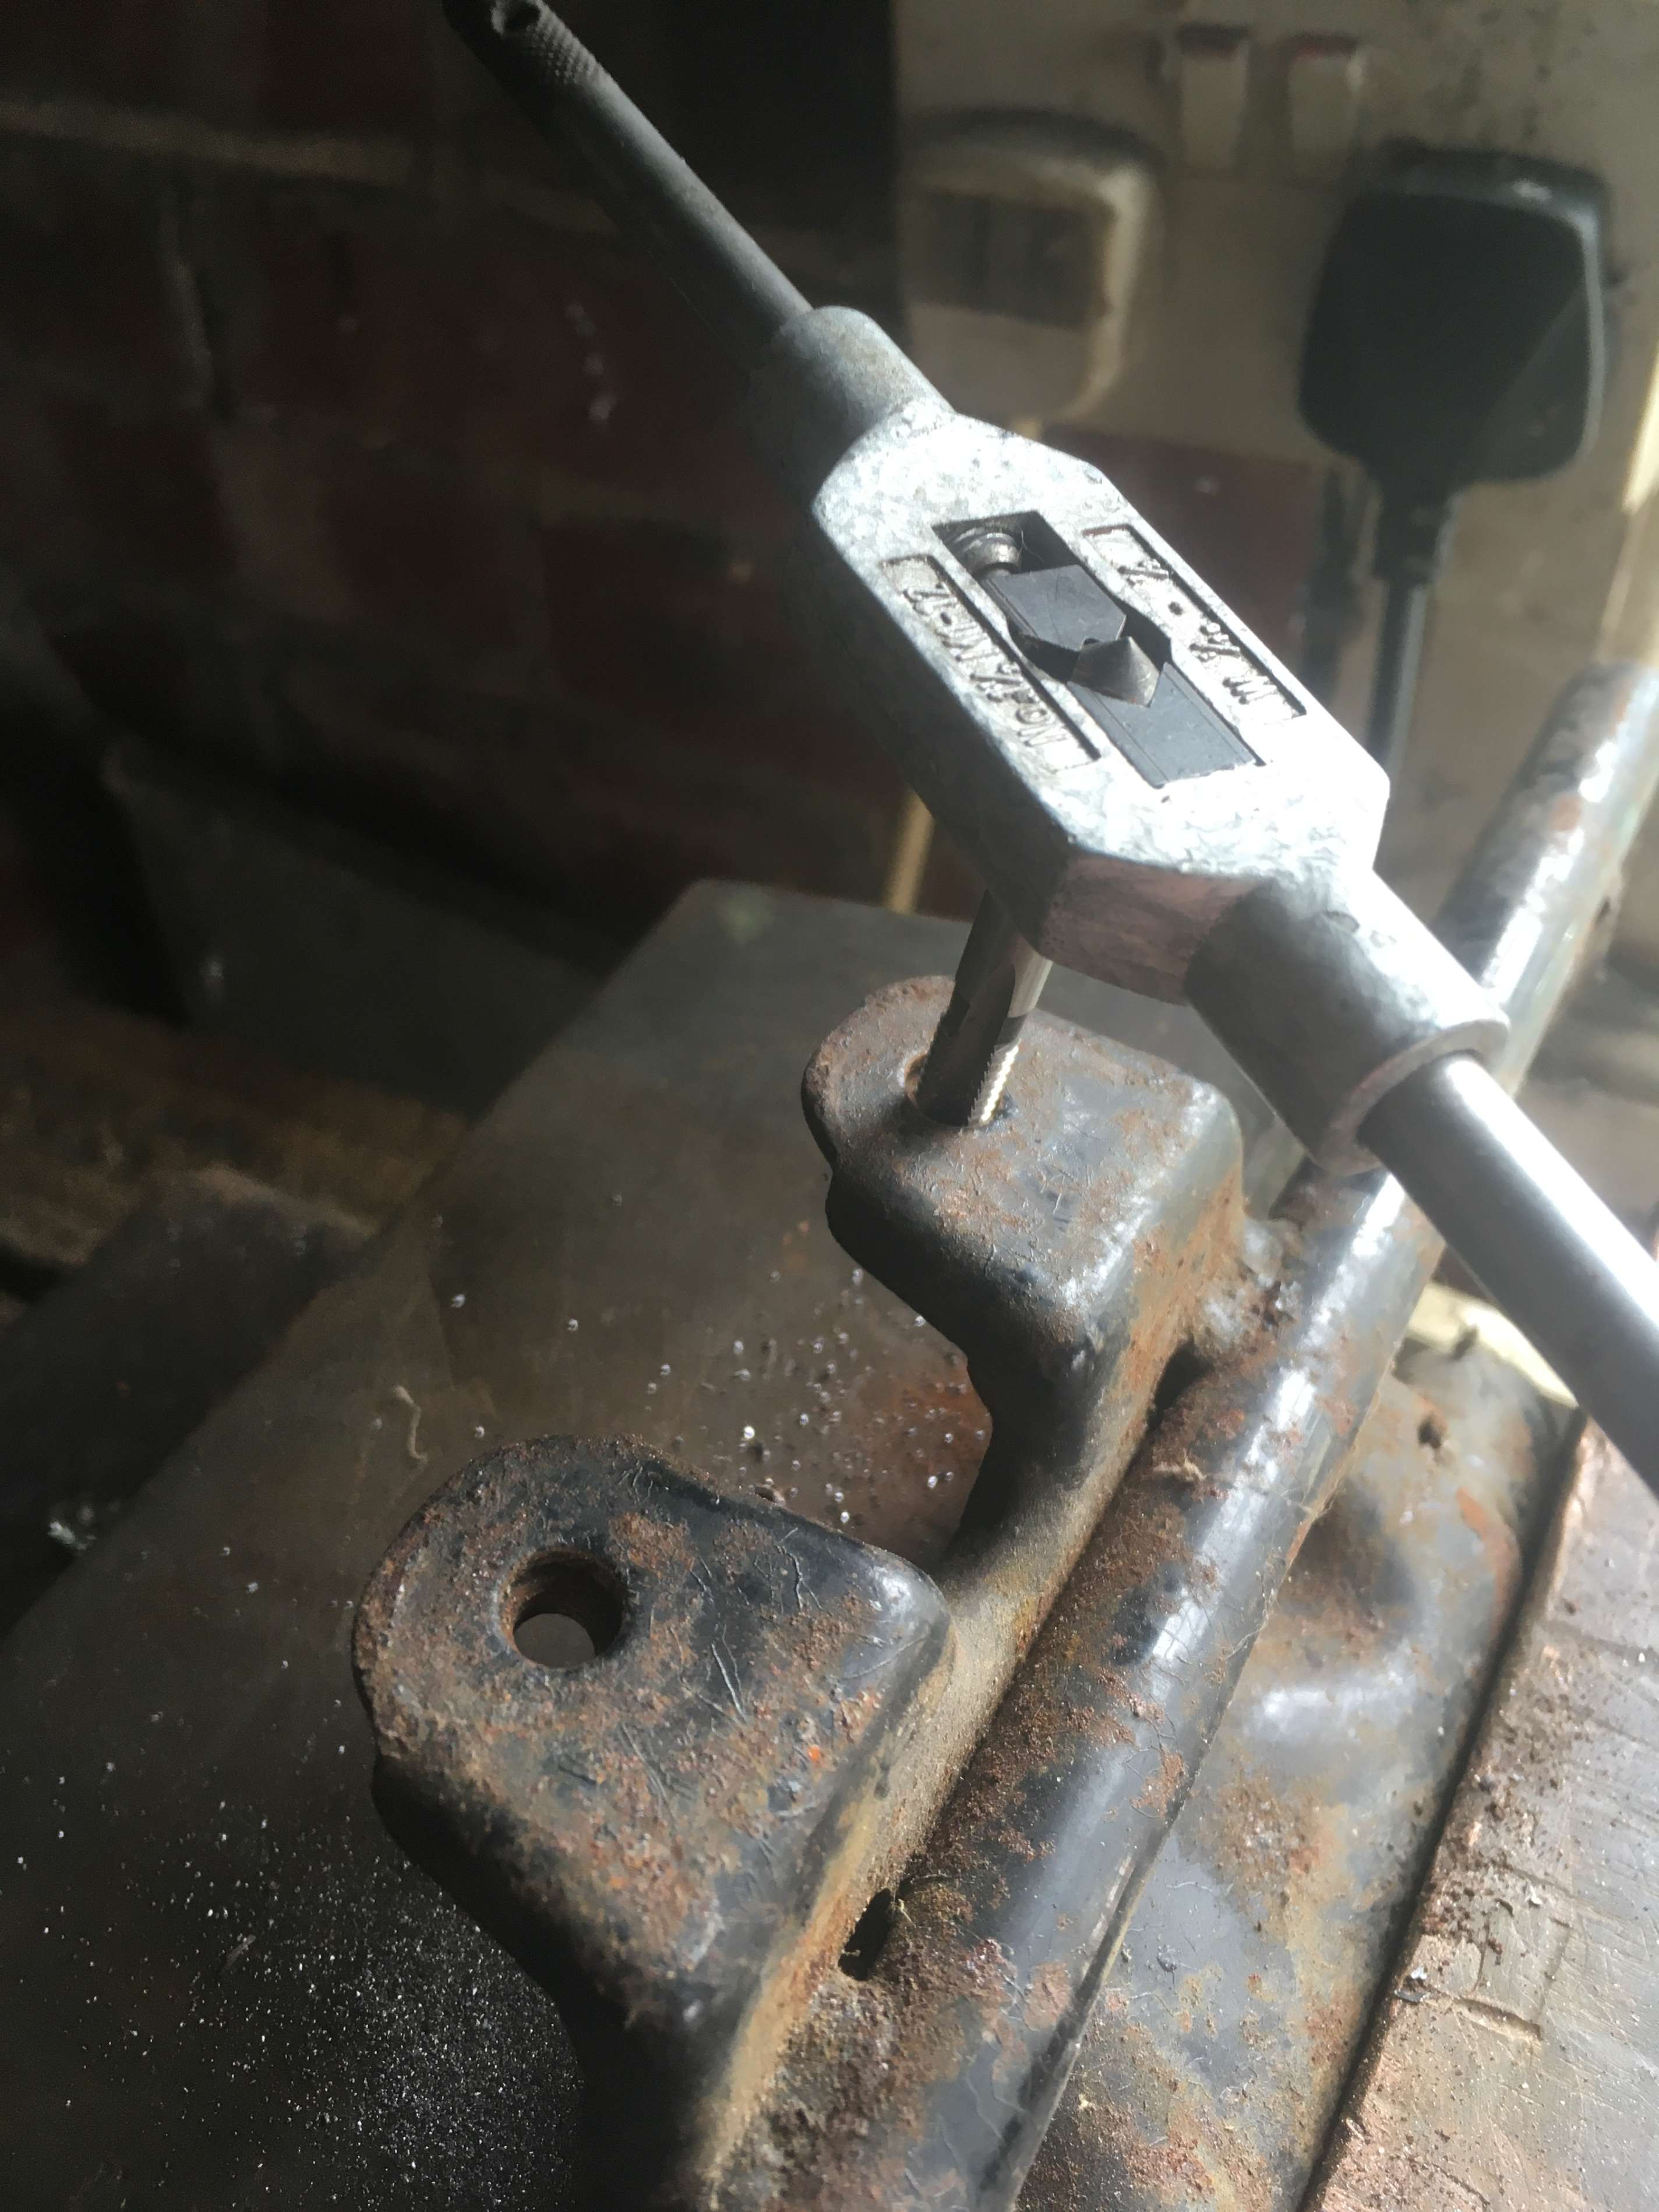
I decided to try and wiggle the tray out from under the tail piece, but that too was secured by one last remaining bolt which I couldn’t remove.
this one ultimately succumbed to having it’s head drilled off, and then ground flat with a Dremmel.
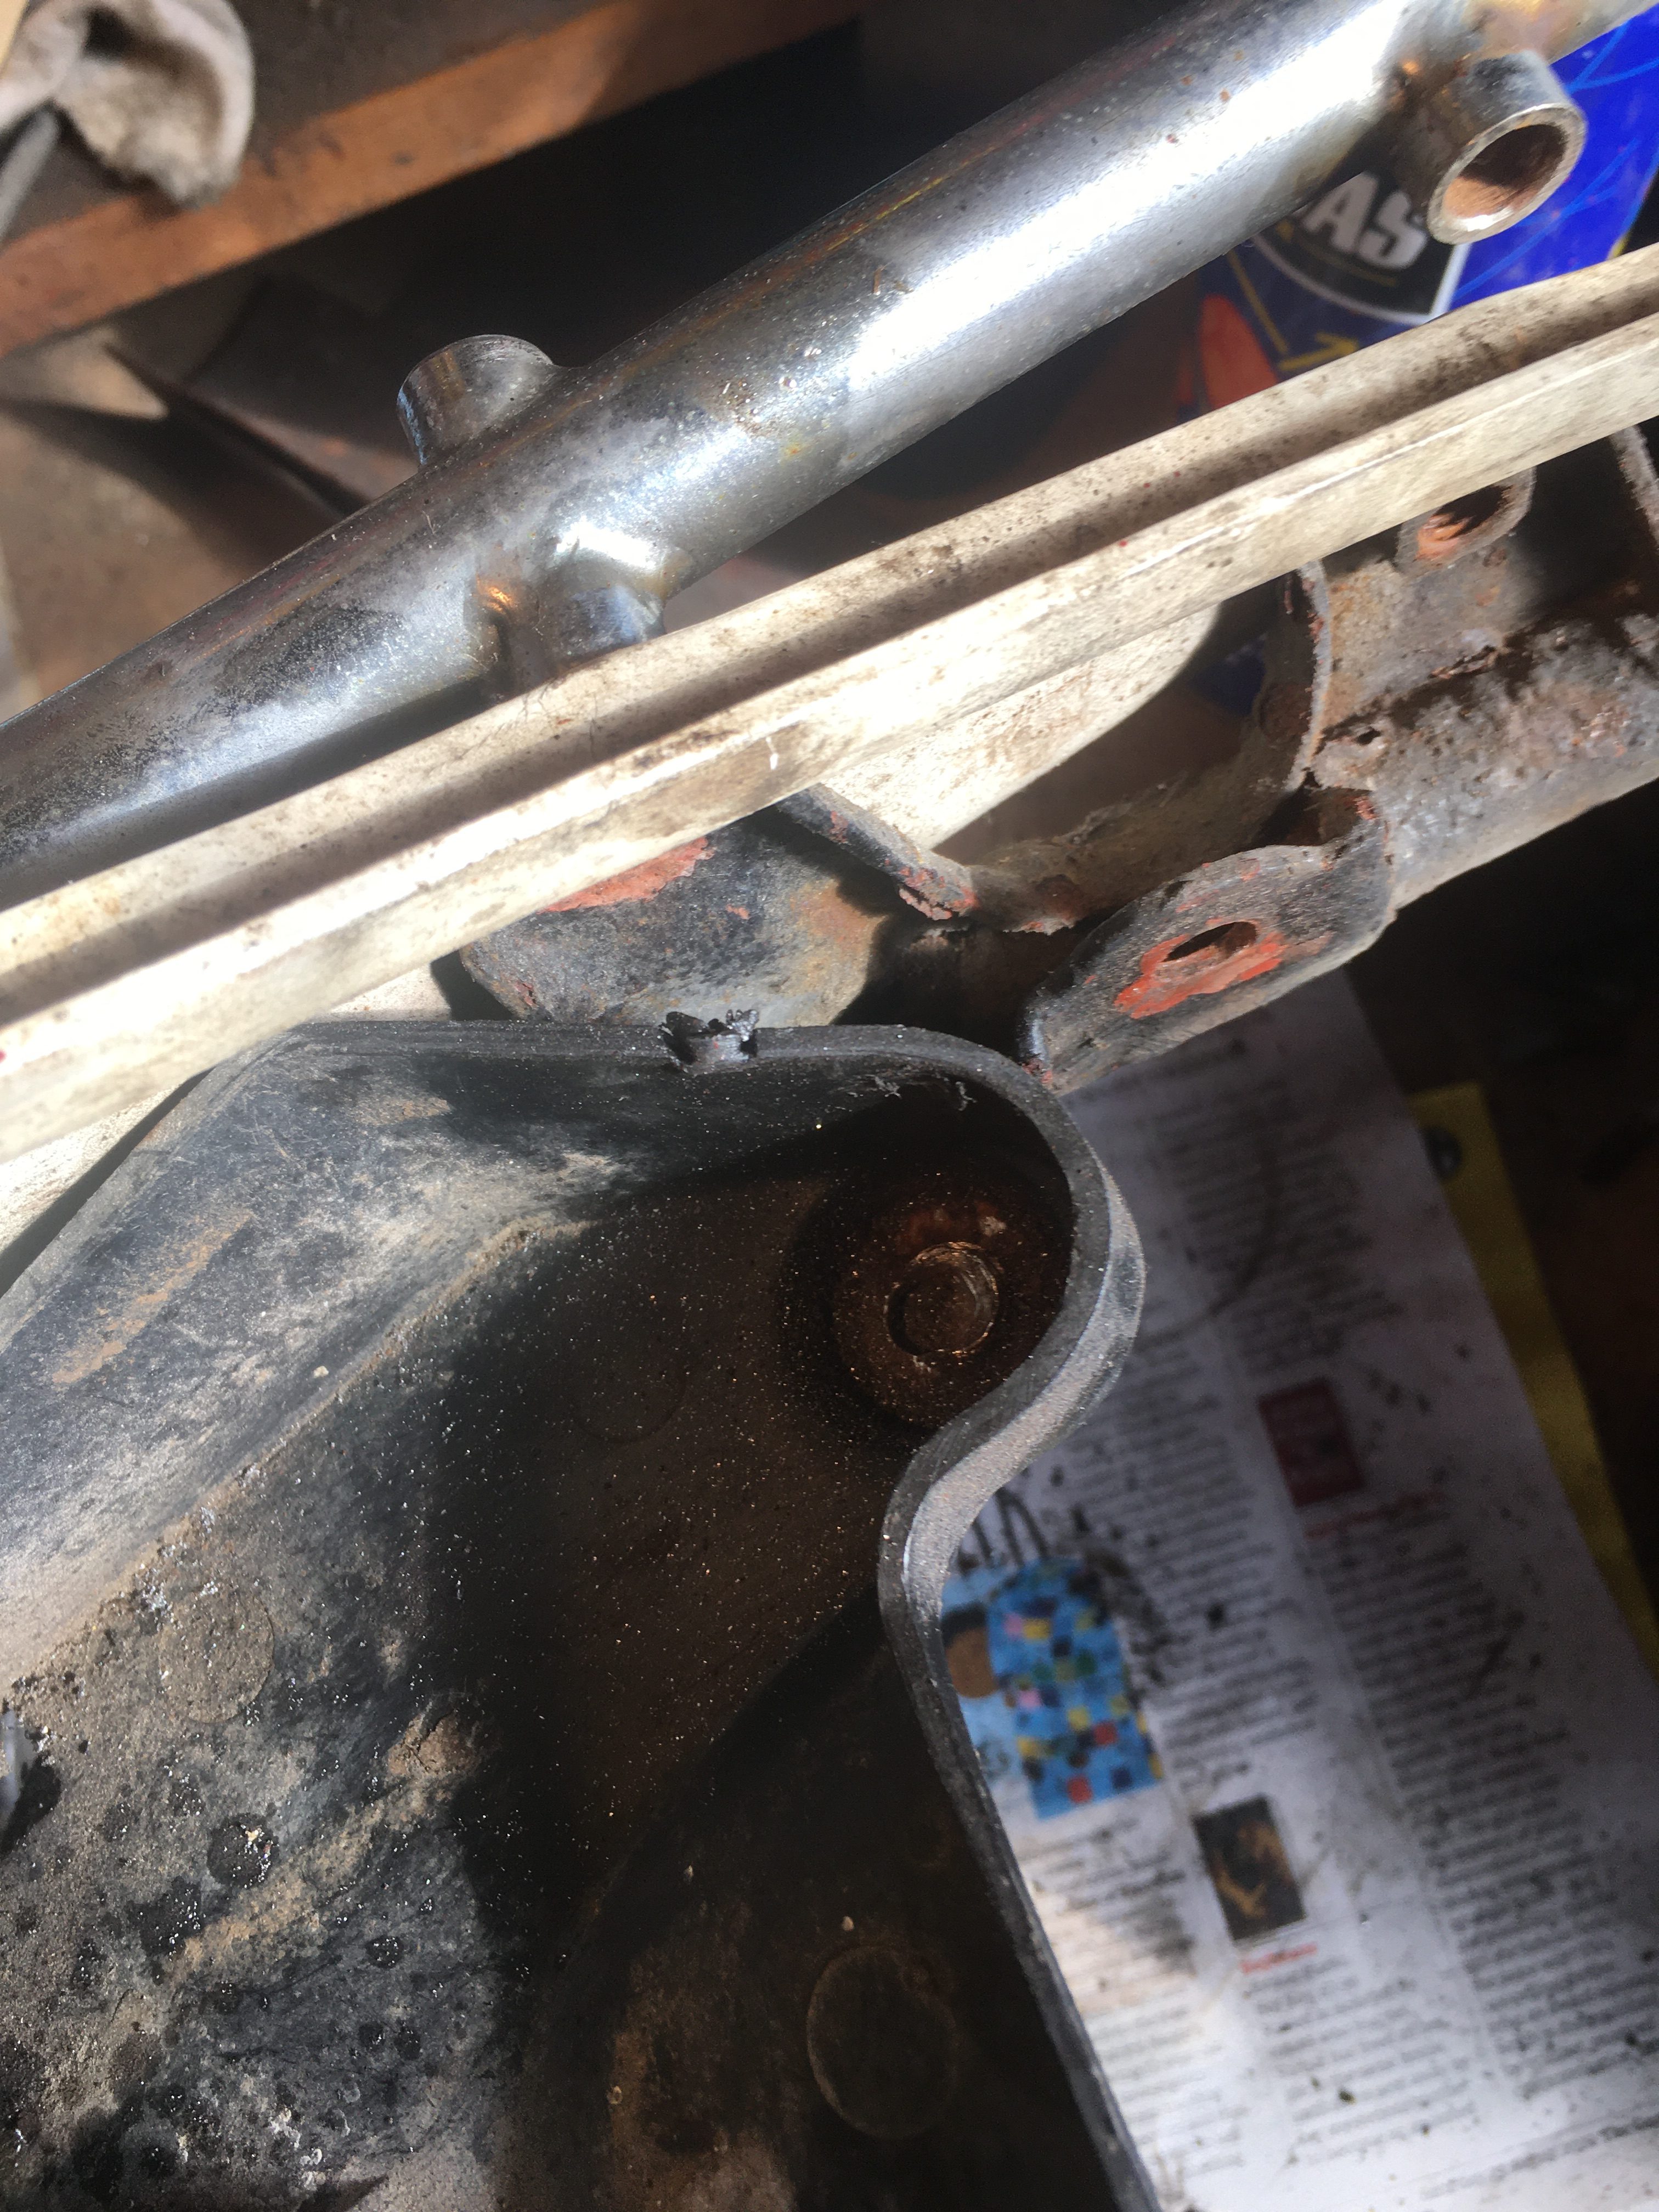
With the bolt removed, the plastic tray just about slid out, with the application of some degree of force.
I have a spare tail-piece which I can use, and another rear sub-frame from the parts box, but I don’t have another passenger grab rail. The mechanical build can do without a grab rail, but one will be needed for the cosmetic build, so this problem will have to be solved or another grab rail bought at ruinous cost.
The Rear mudguard has the CDI unit mounted on it. the bolts succumbed to the regular penetrating oil treatment after 2 weeks, and I removed the CDI box, and washed, repeatedly, the mudguard.
The CDI box was very, very rusty, and the metal has started to flake away from the resin, and the resin has started to chip around the edges.
I tested it by simply connecting it into my LC350, (Here’s one I prepared earlier 🙂 ), and running the engine.
My plan is to remove the rust with a wire brush, File the surfaces flat(ish), and cover up the damage with some epoxy resin.
If it still works after all that brutal treatment, I’ll give it a nice coat of Bonda-primer and black enamel.
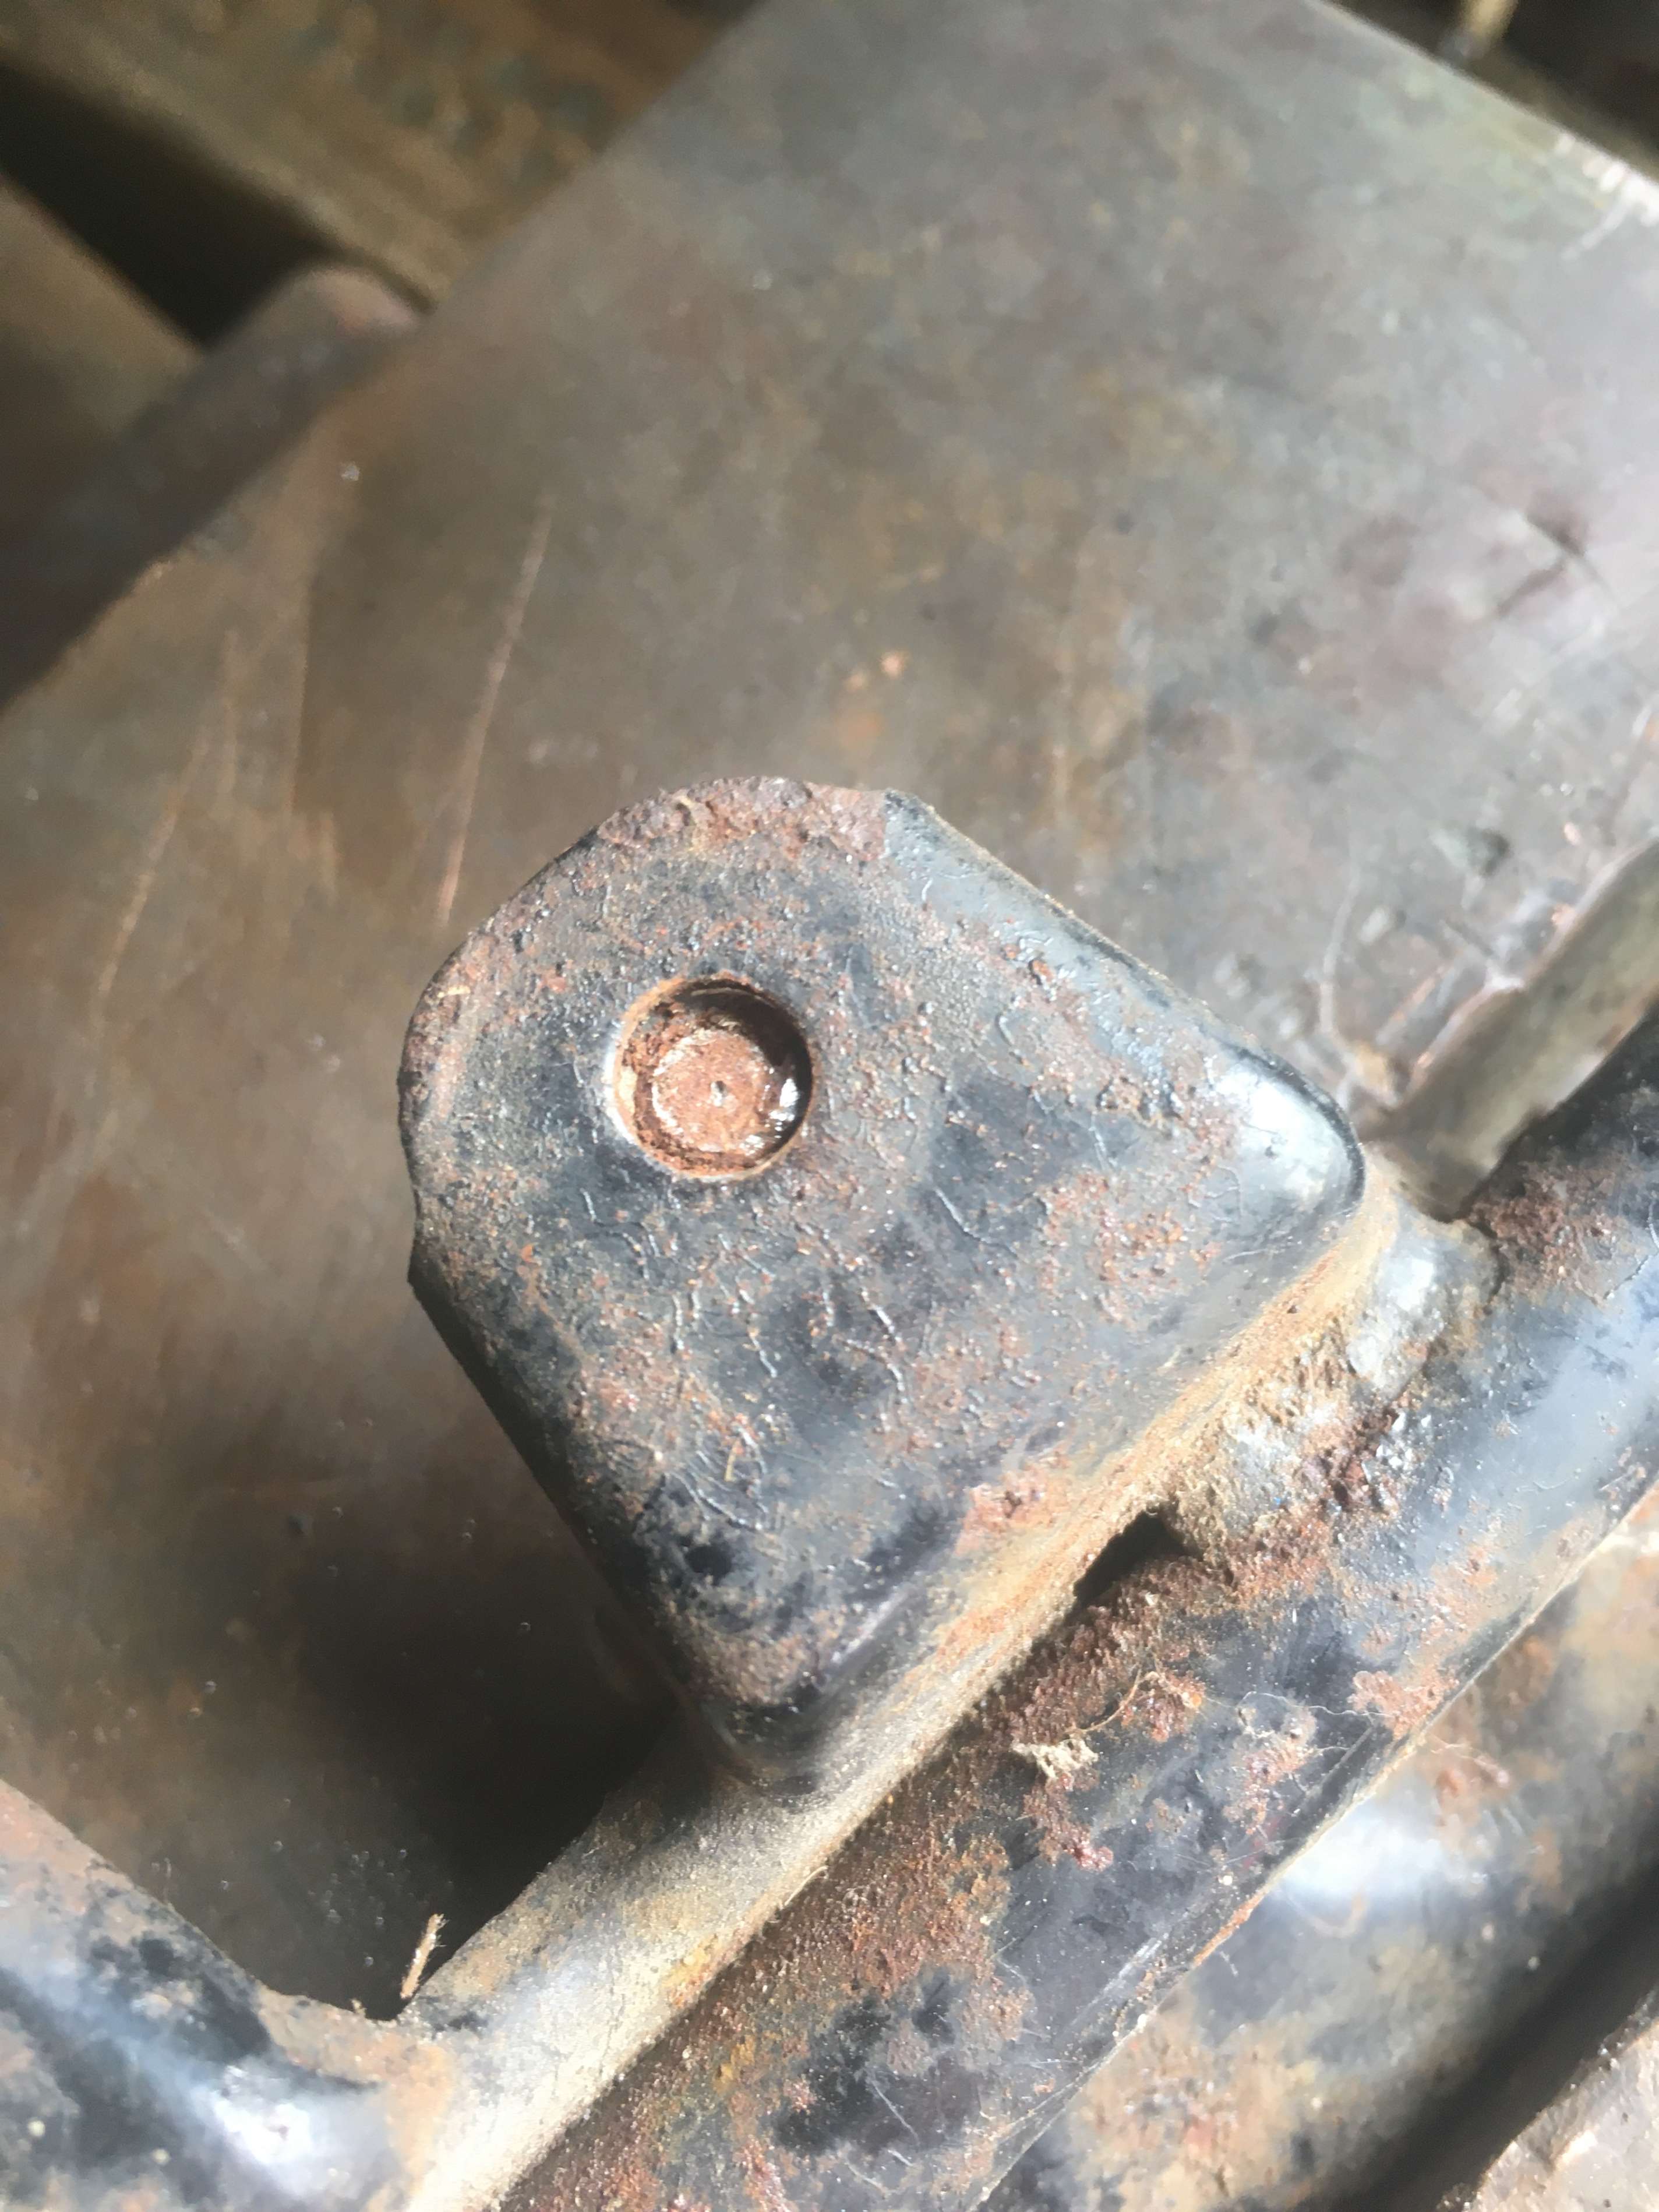
The rear sub-frame from the parts bin itself had a seized bolt. this one I managed to drill out.
The trick is to center punch exactly in the center of the bolt, so you can drill with ever increasing bit sizes until the remains of the old bolt simply drops out of the thread.
This has never happened to me, so as usual, my off-center hole needed to be finished with a hand file.
Even when I had the hole the right size, and could see the thread, the old bolt pieces were so rusted in place that they wouldn’t drop out of the captive thread, and I had to re-tap.
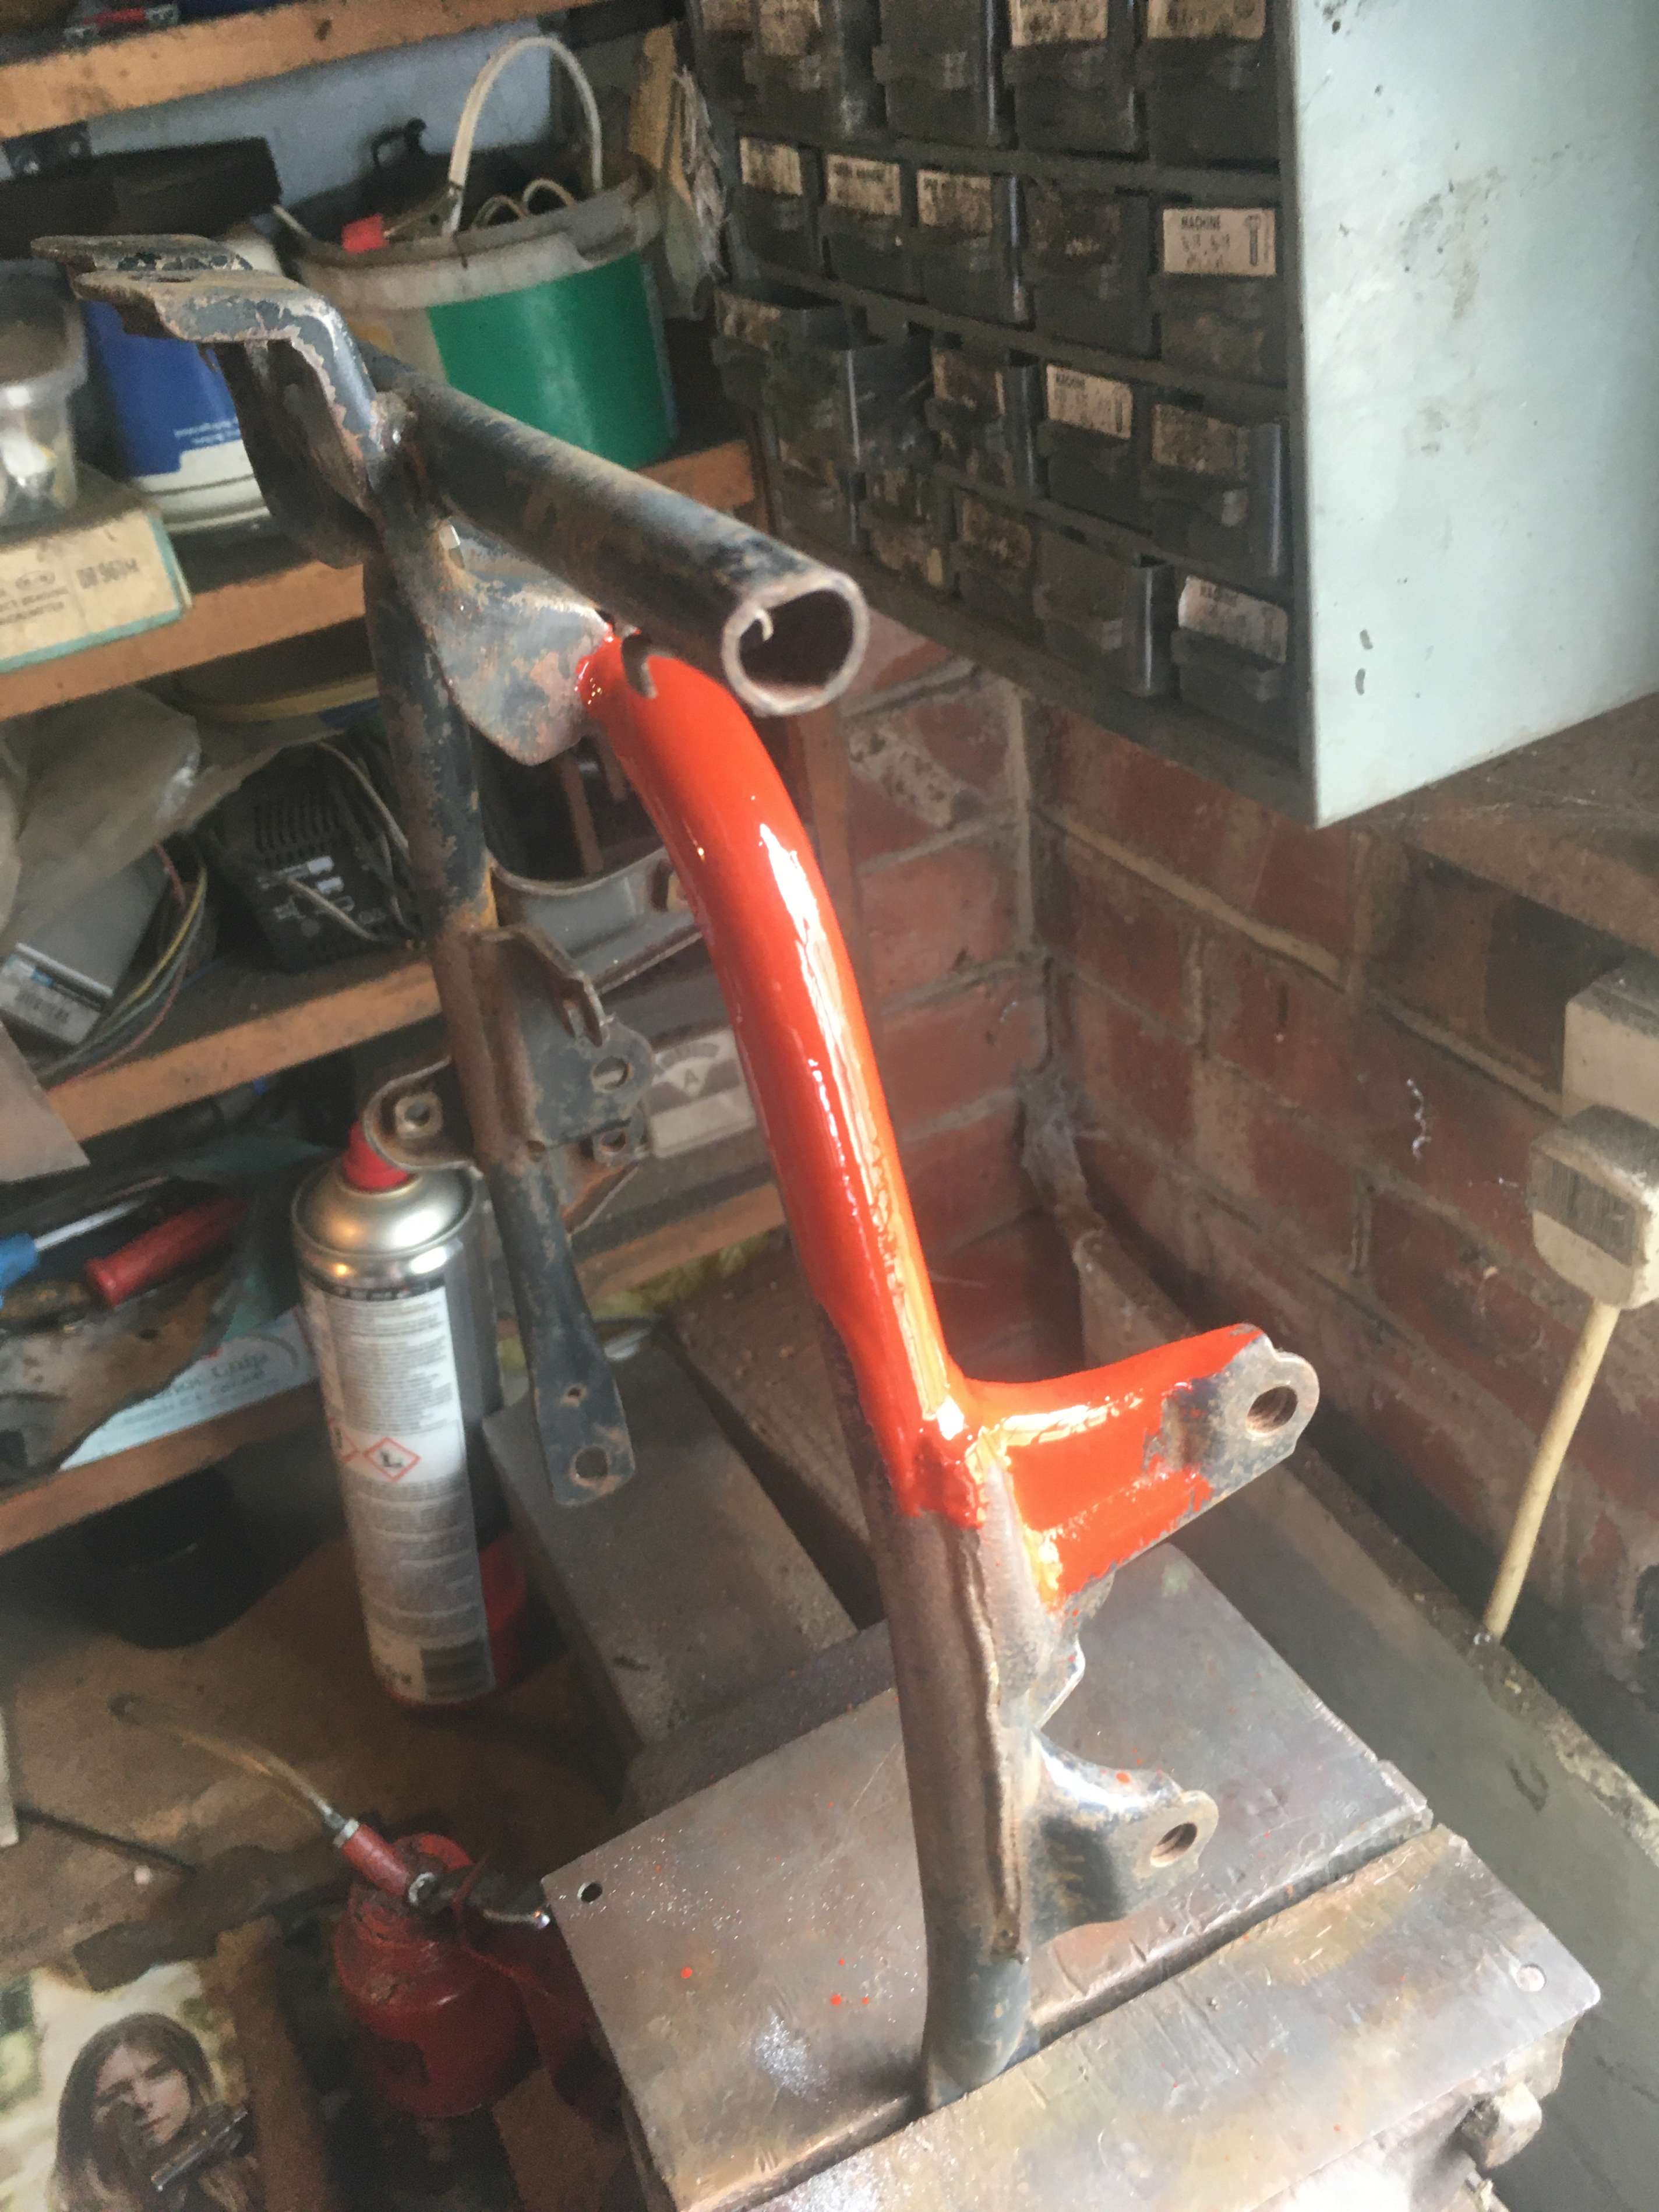
Once that was done, I could de-rust and paint.
Most sub-frames around these days have had the indicator stalks cut off. It’s nice that both of the ones which I have are still intact.
This has been the progress throughout April 2021. Successes, failures, money spent, and no observable forward impetus on the rolling chassis.
Next update when the cleaning and painting is done, and things start to get affixed to the frame.