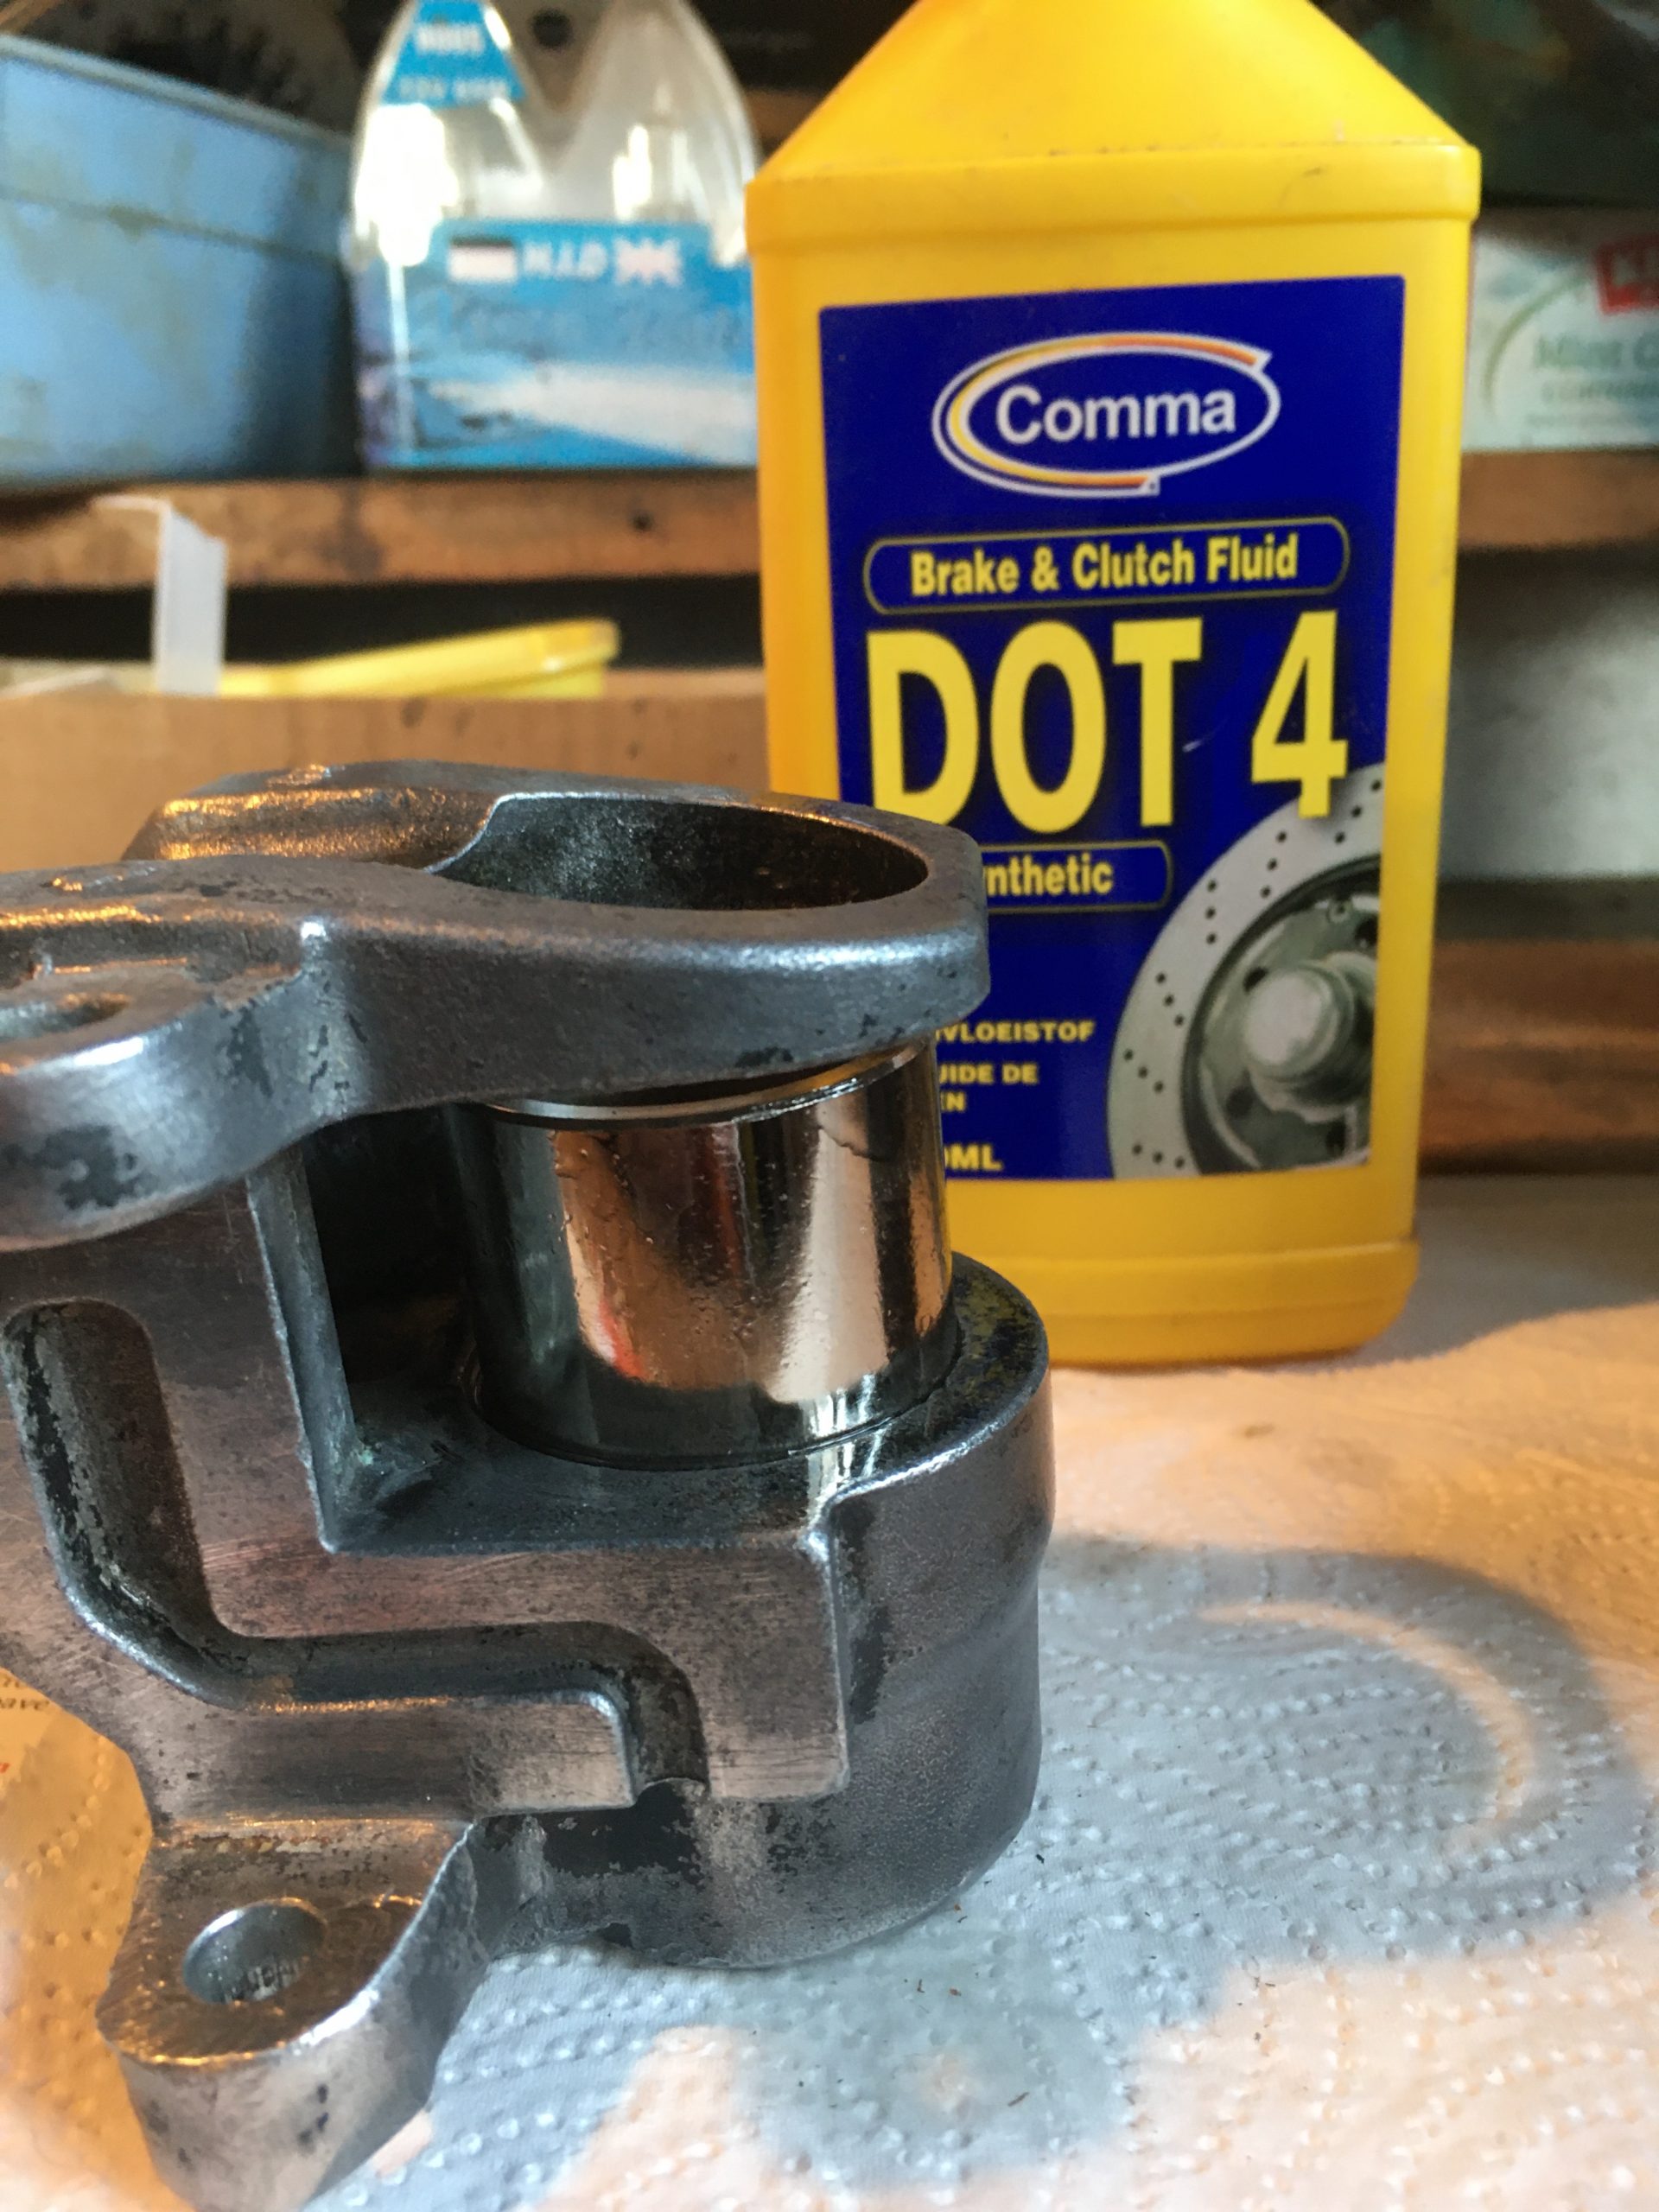
“Lubricate the inside surface of the caliper with fresh brake fluid and install the pistons. These should slide in with ease.”
That’s the best description I could find. Mr. Haynes just states, “Replace the seals as a matter of course”.
So with some trepidation, I headed out to the garage.
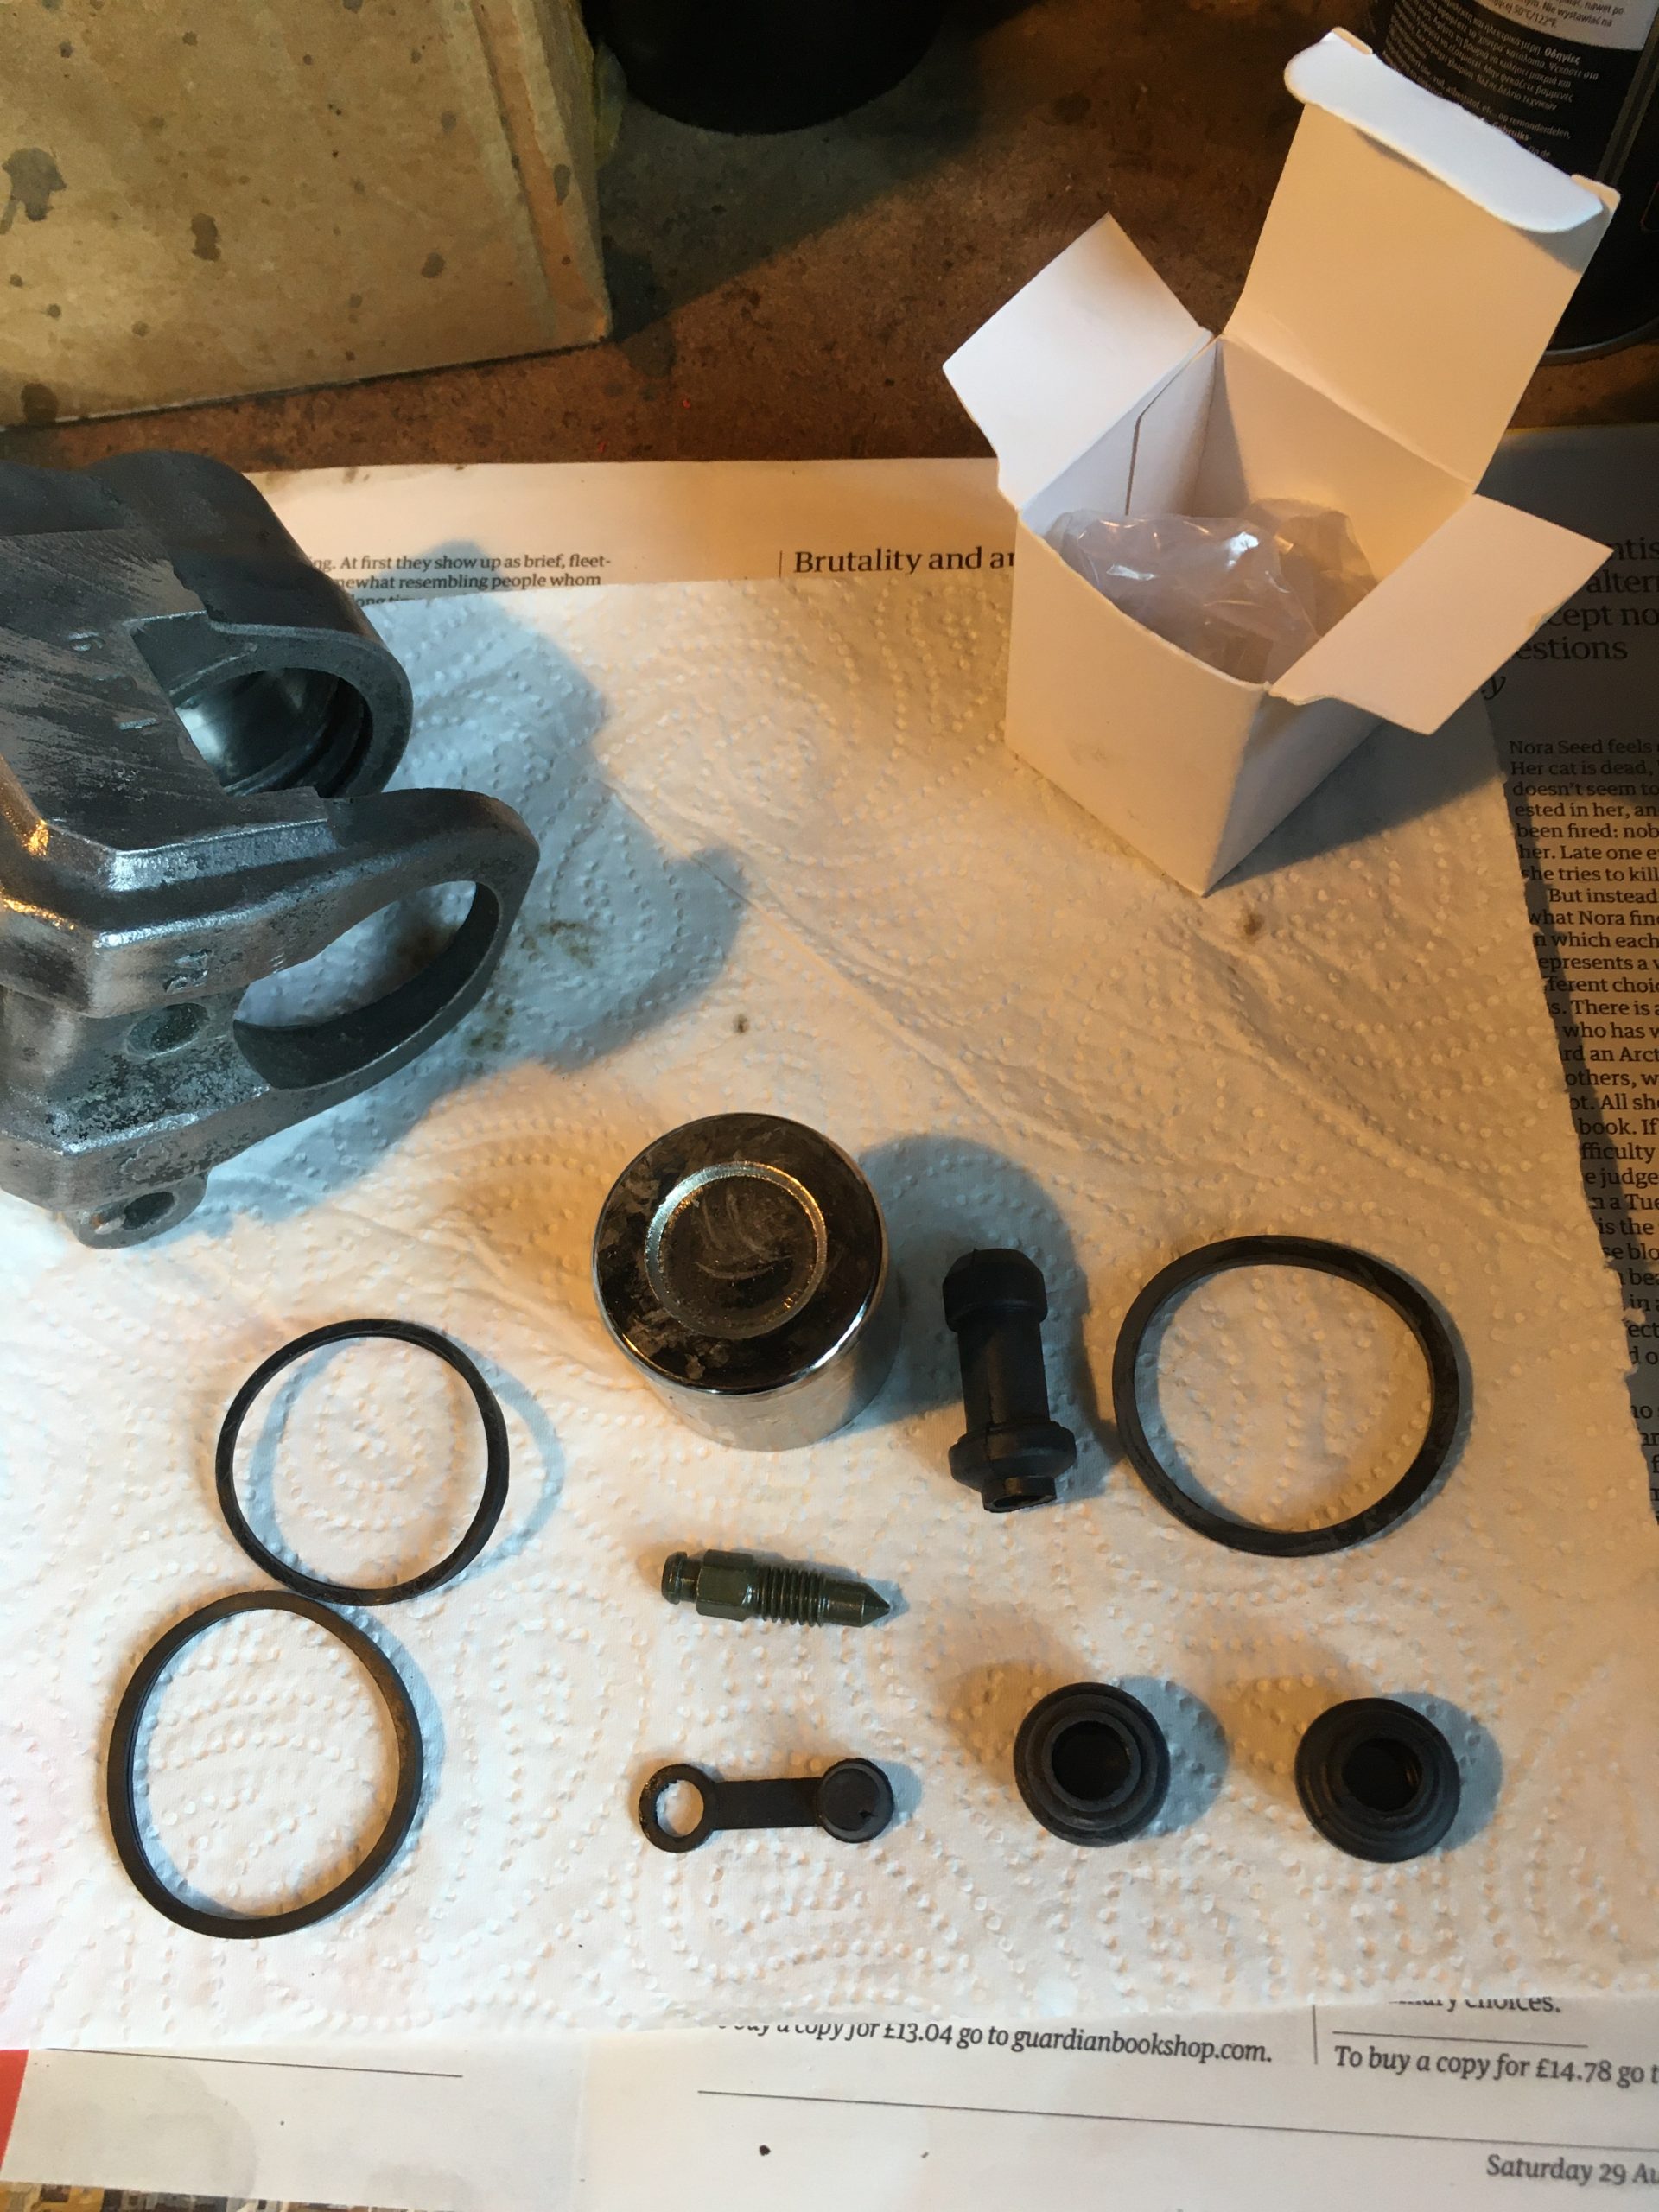
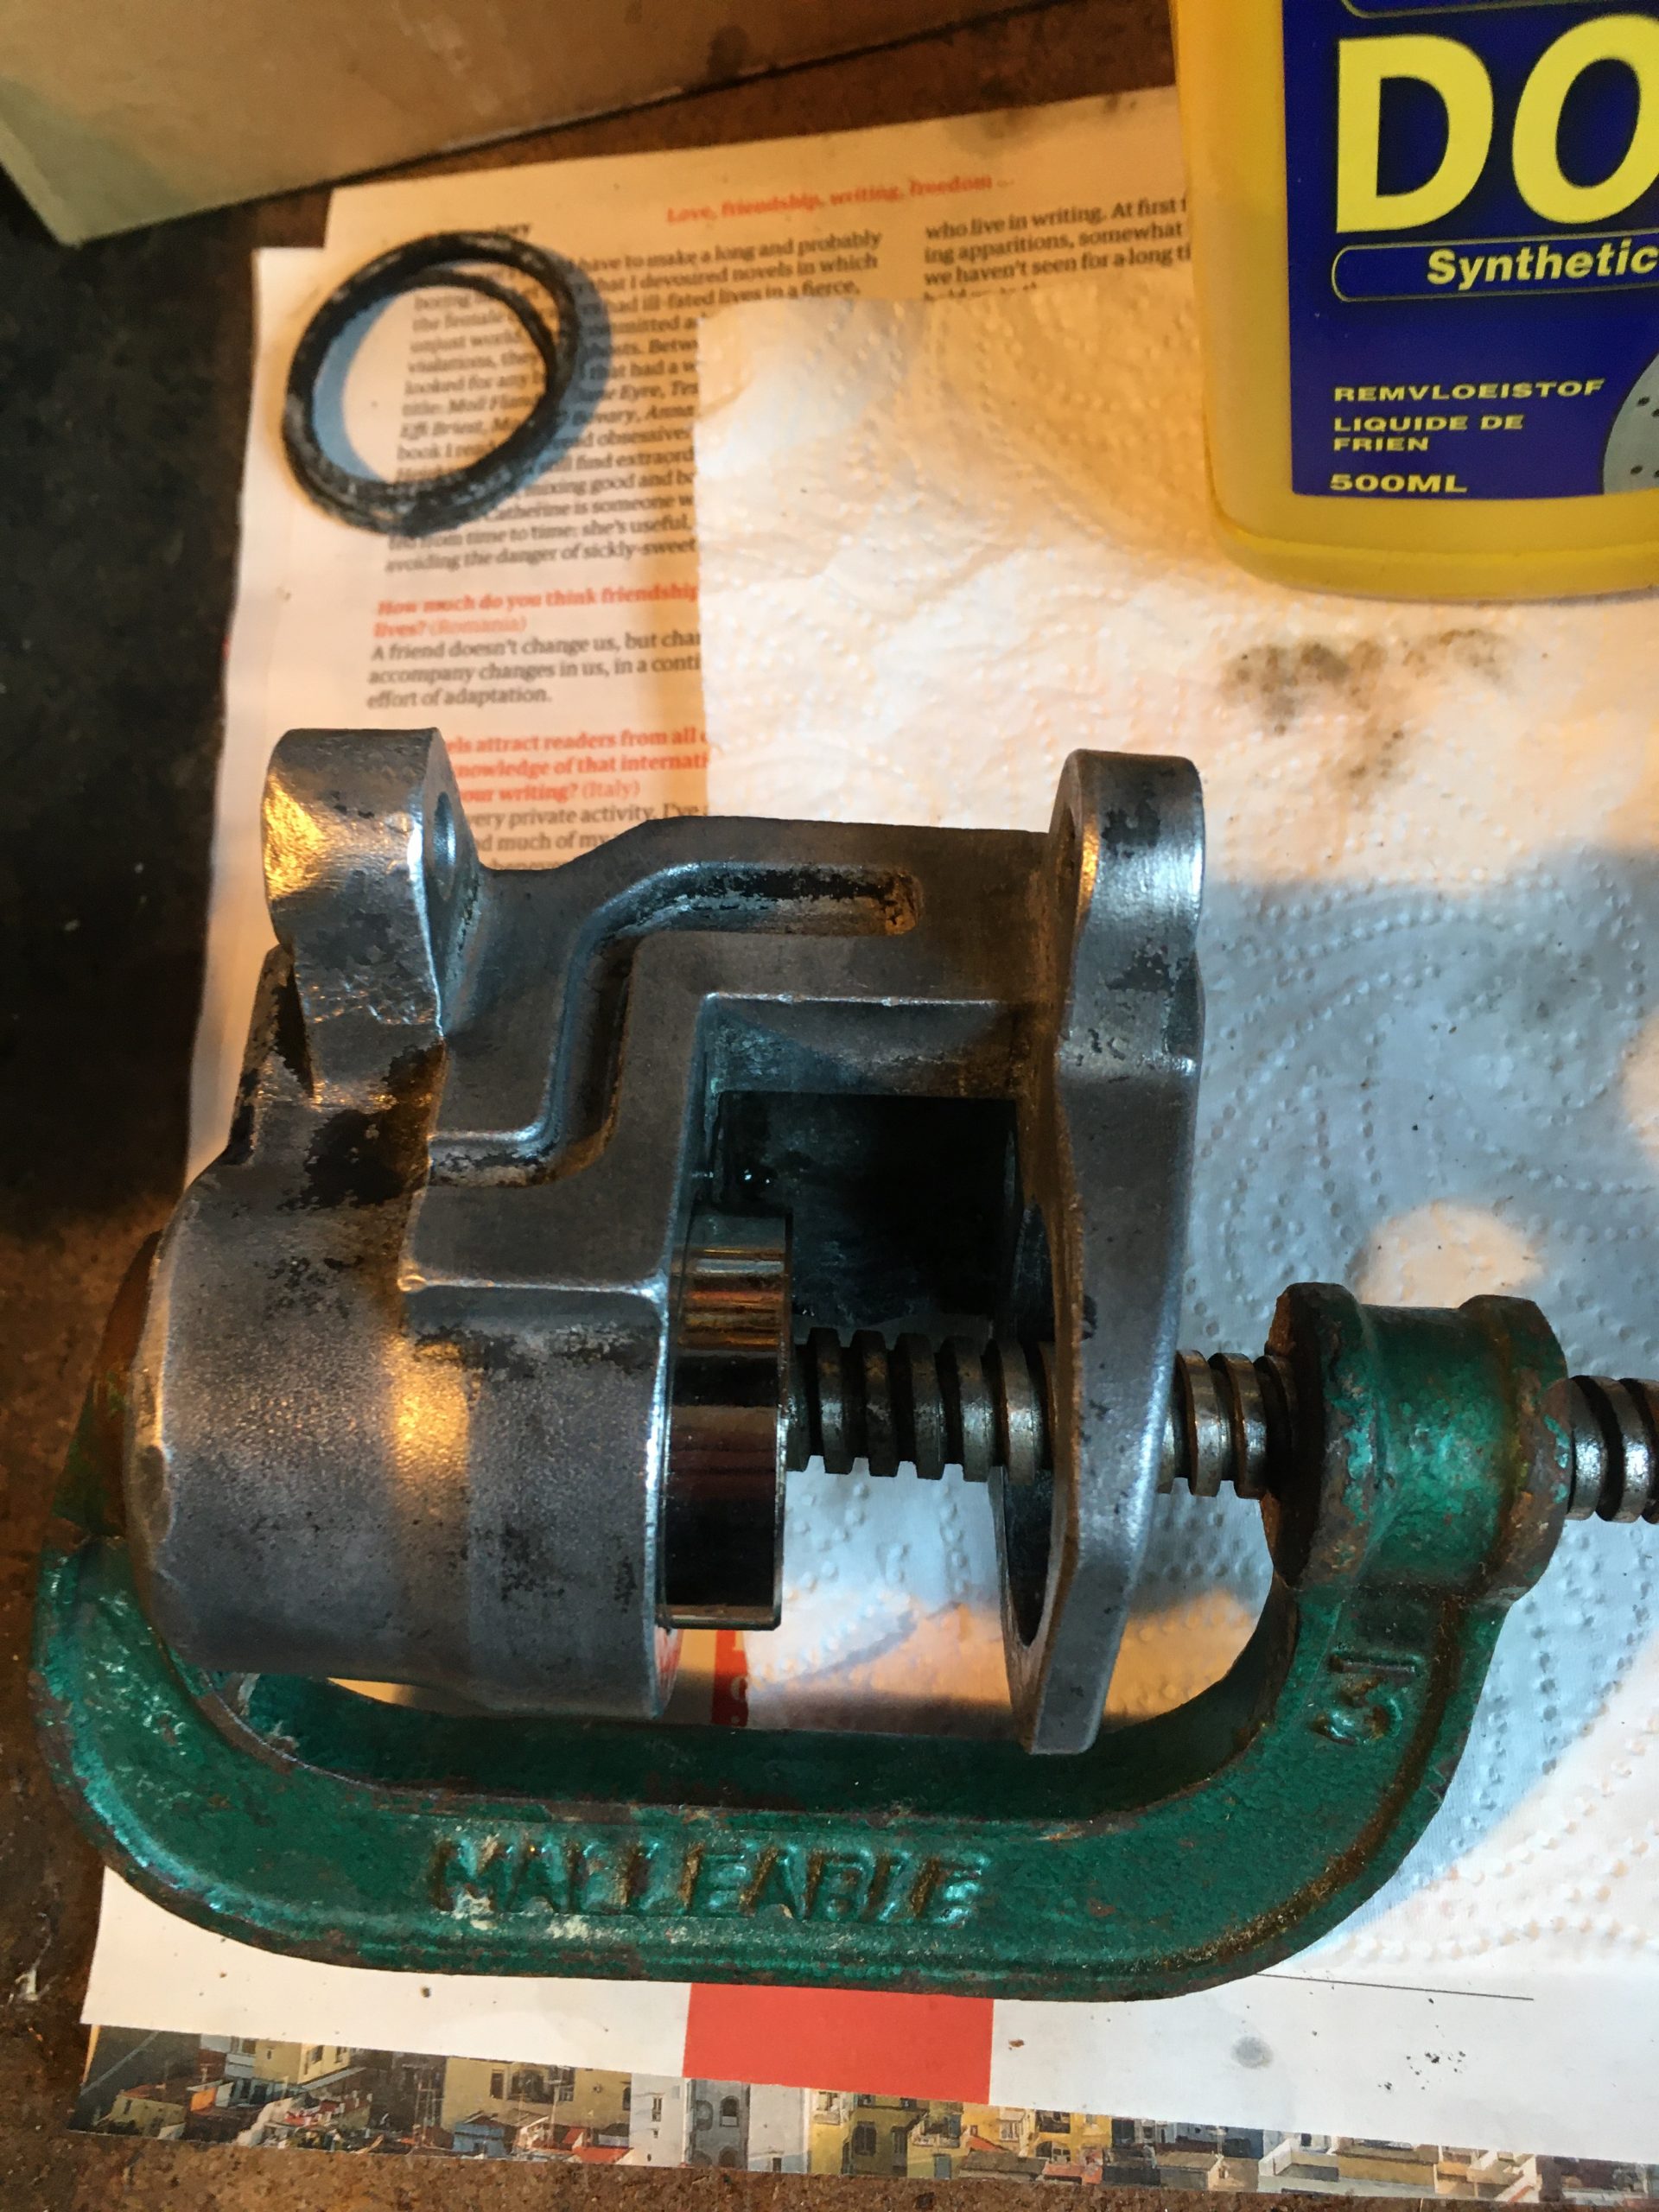
I was a little bamboozled by the inclusion of 3 seals in the kit, but a comparison with the old seals allowed me to select the correct 2, being nearest in size.
Dipping the seals in Dot4 did indeed allow them to slip smoothly into place.
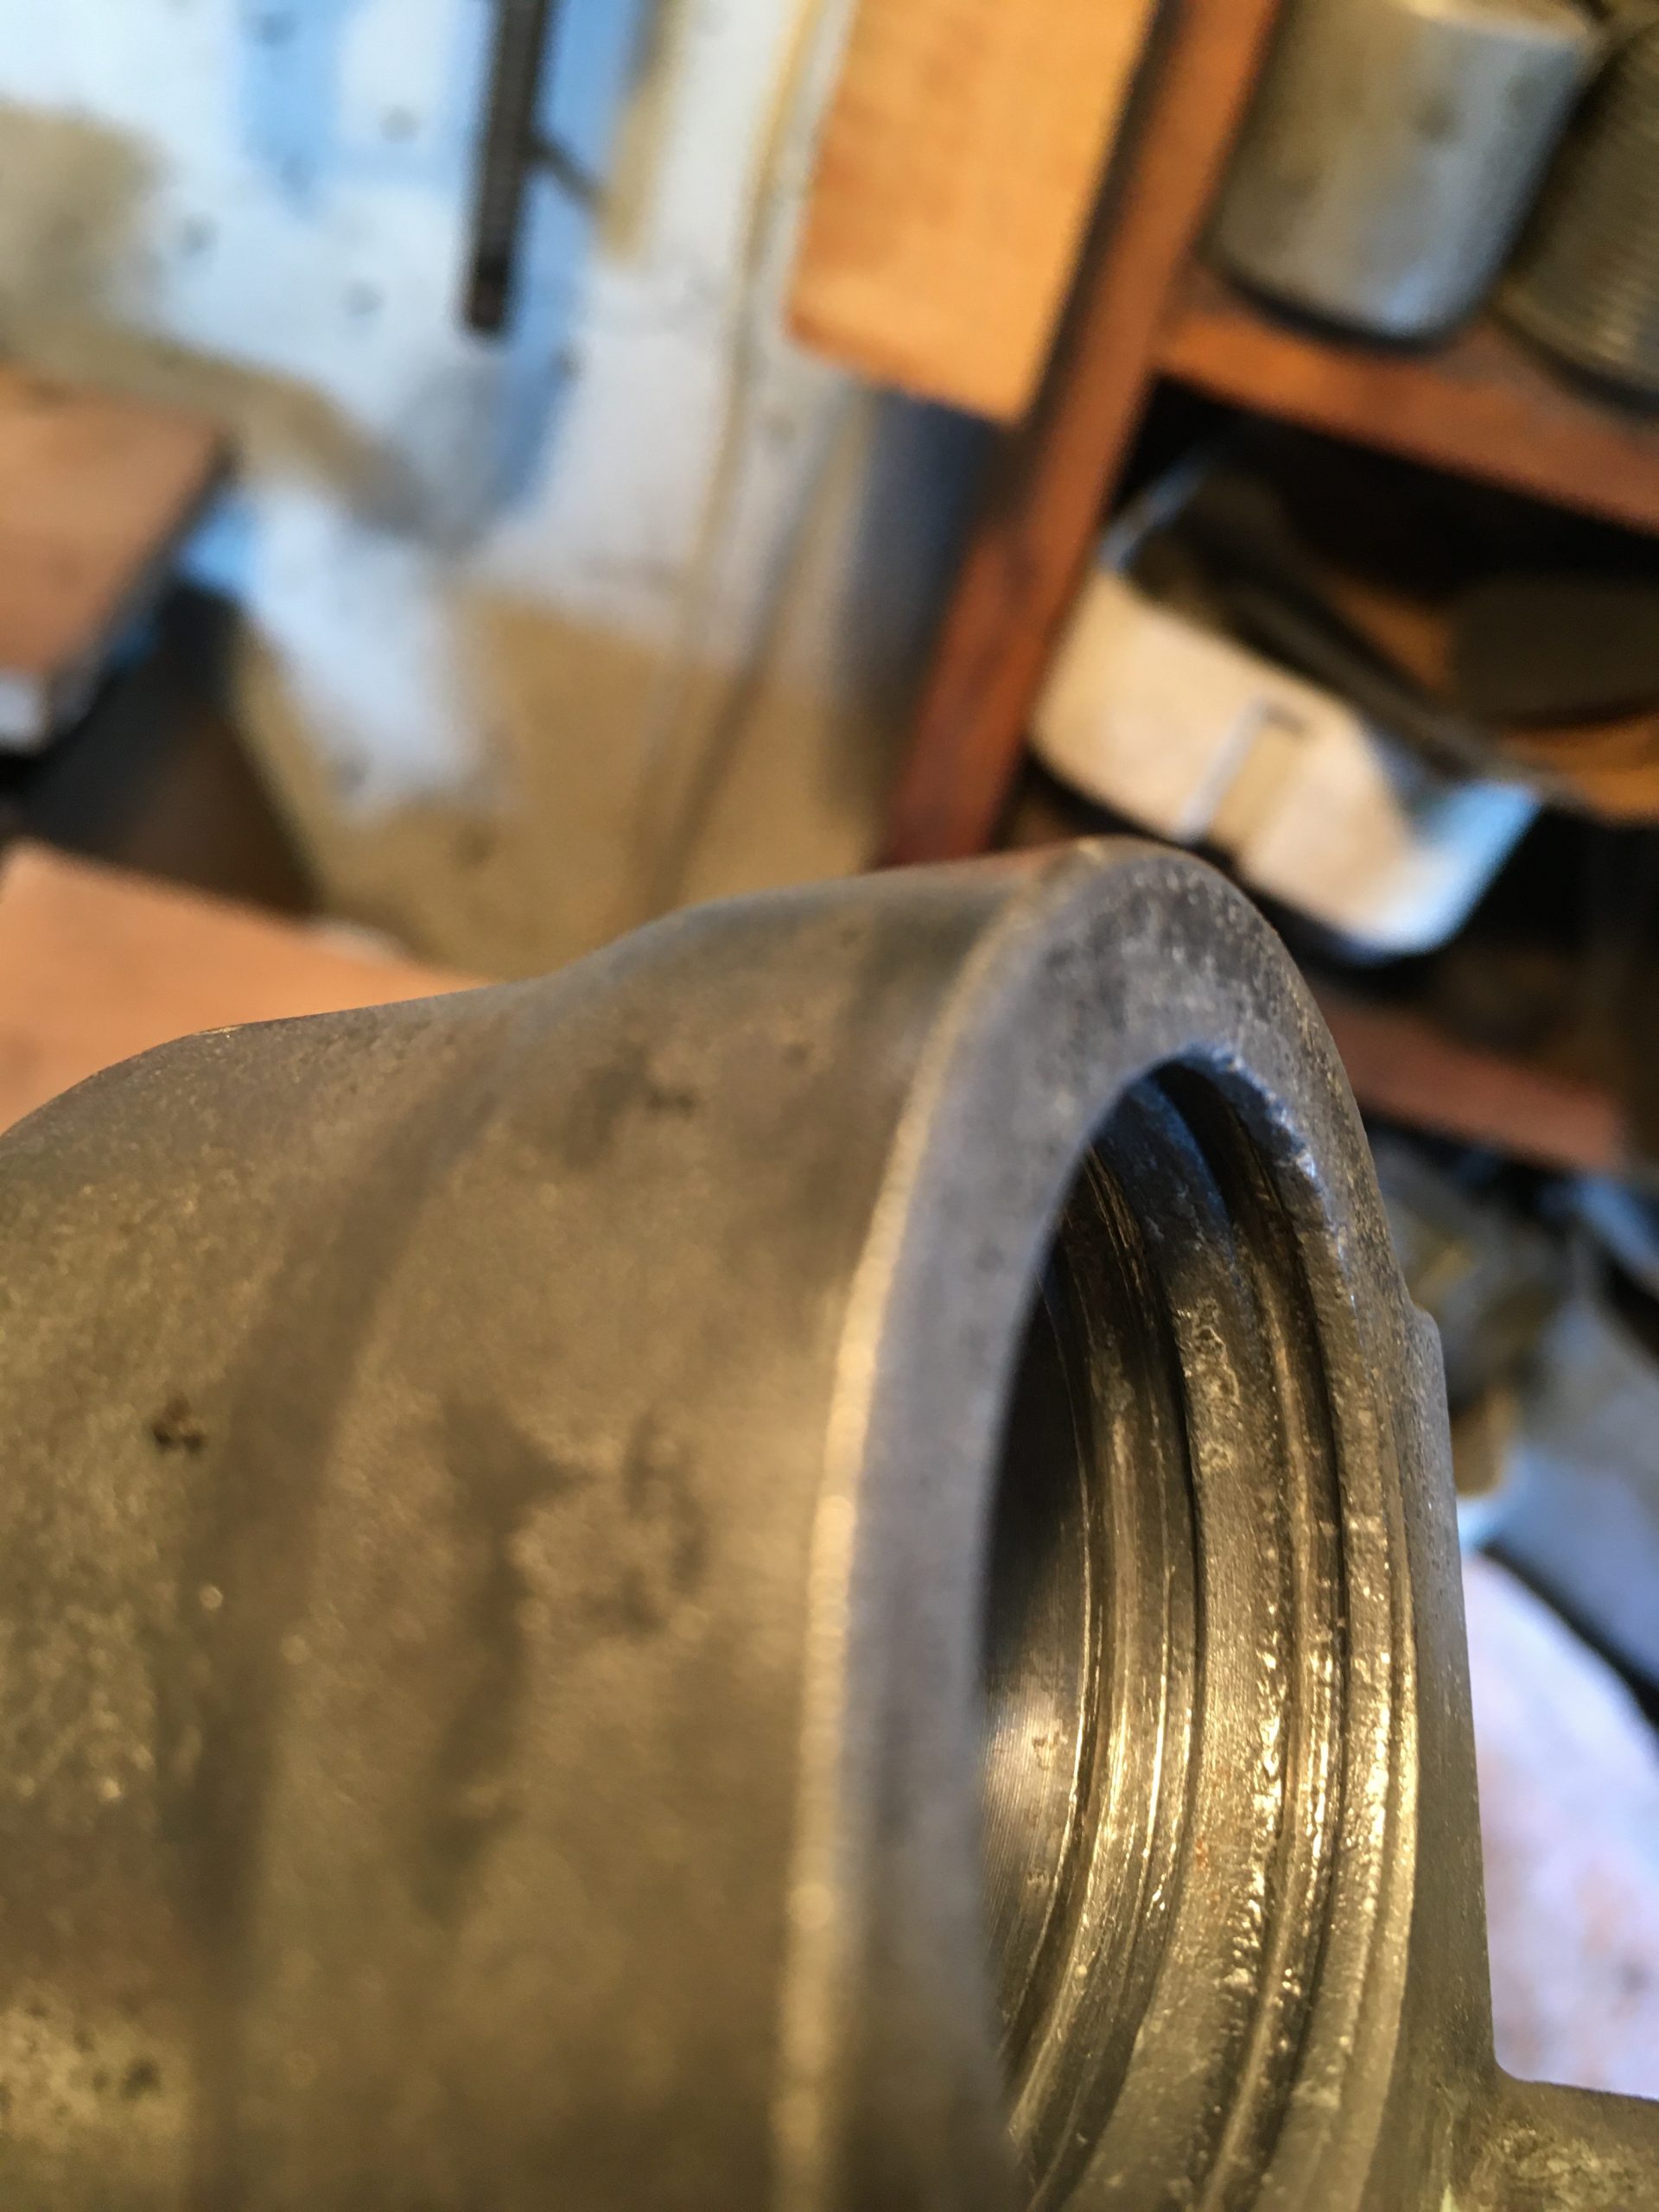
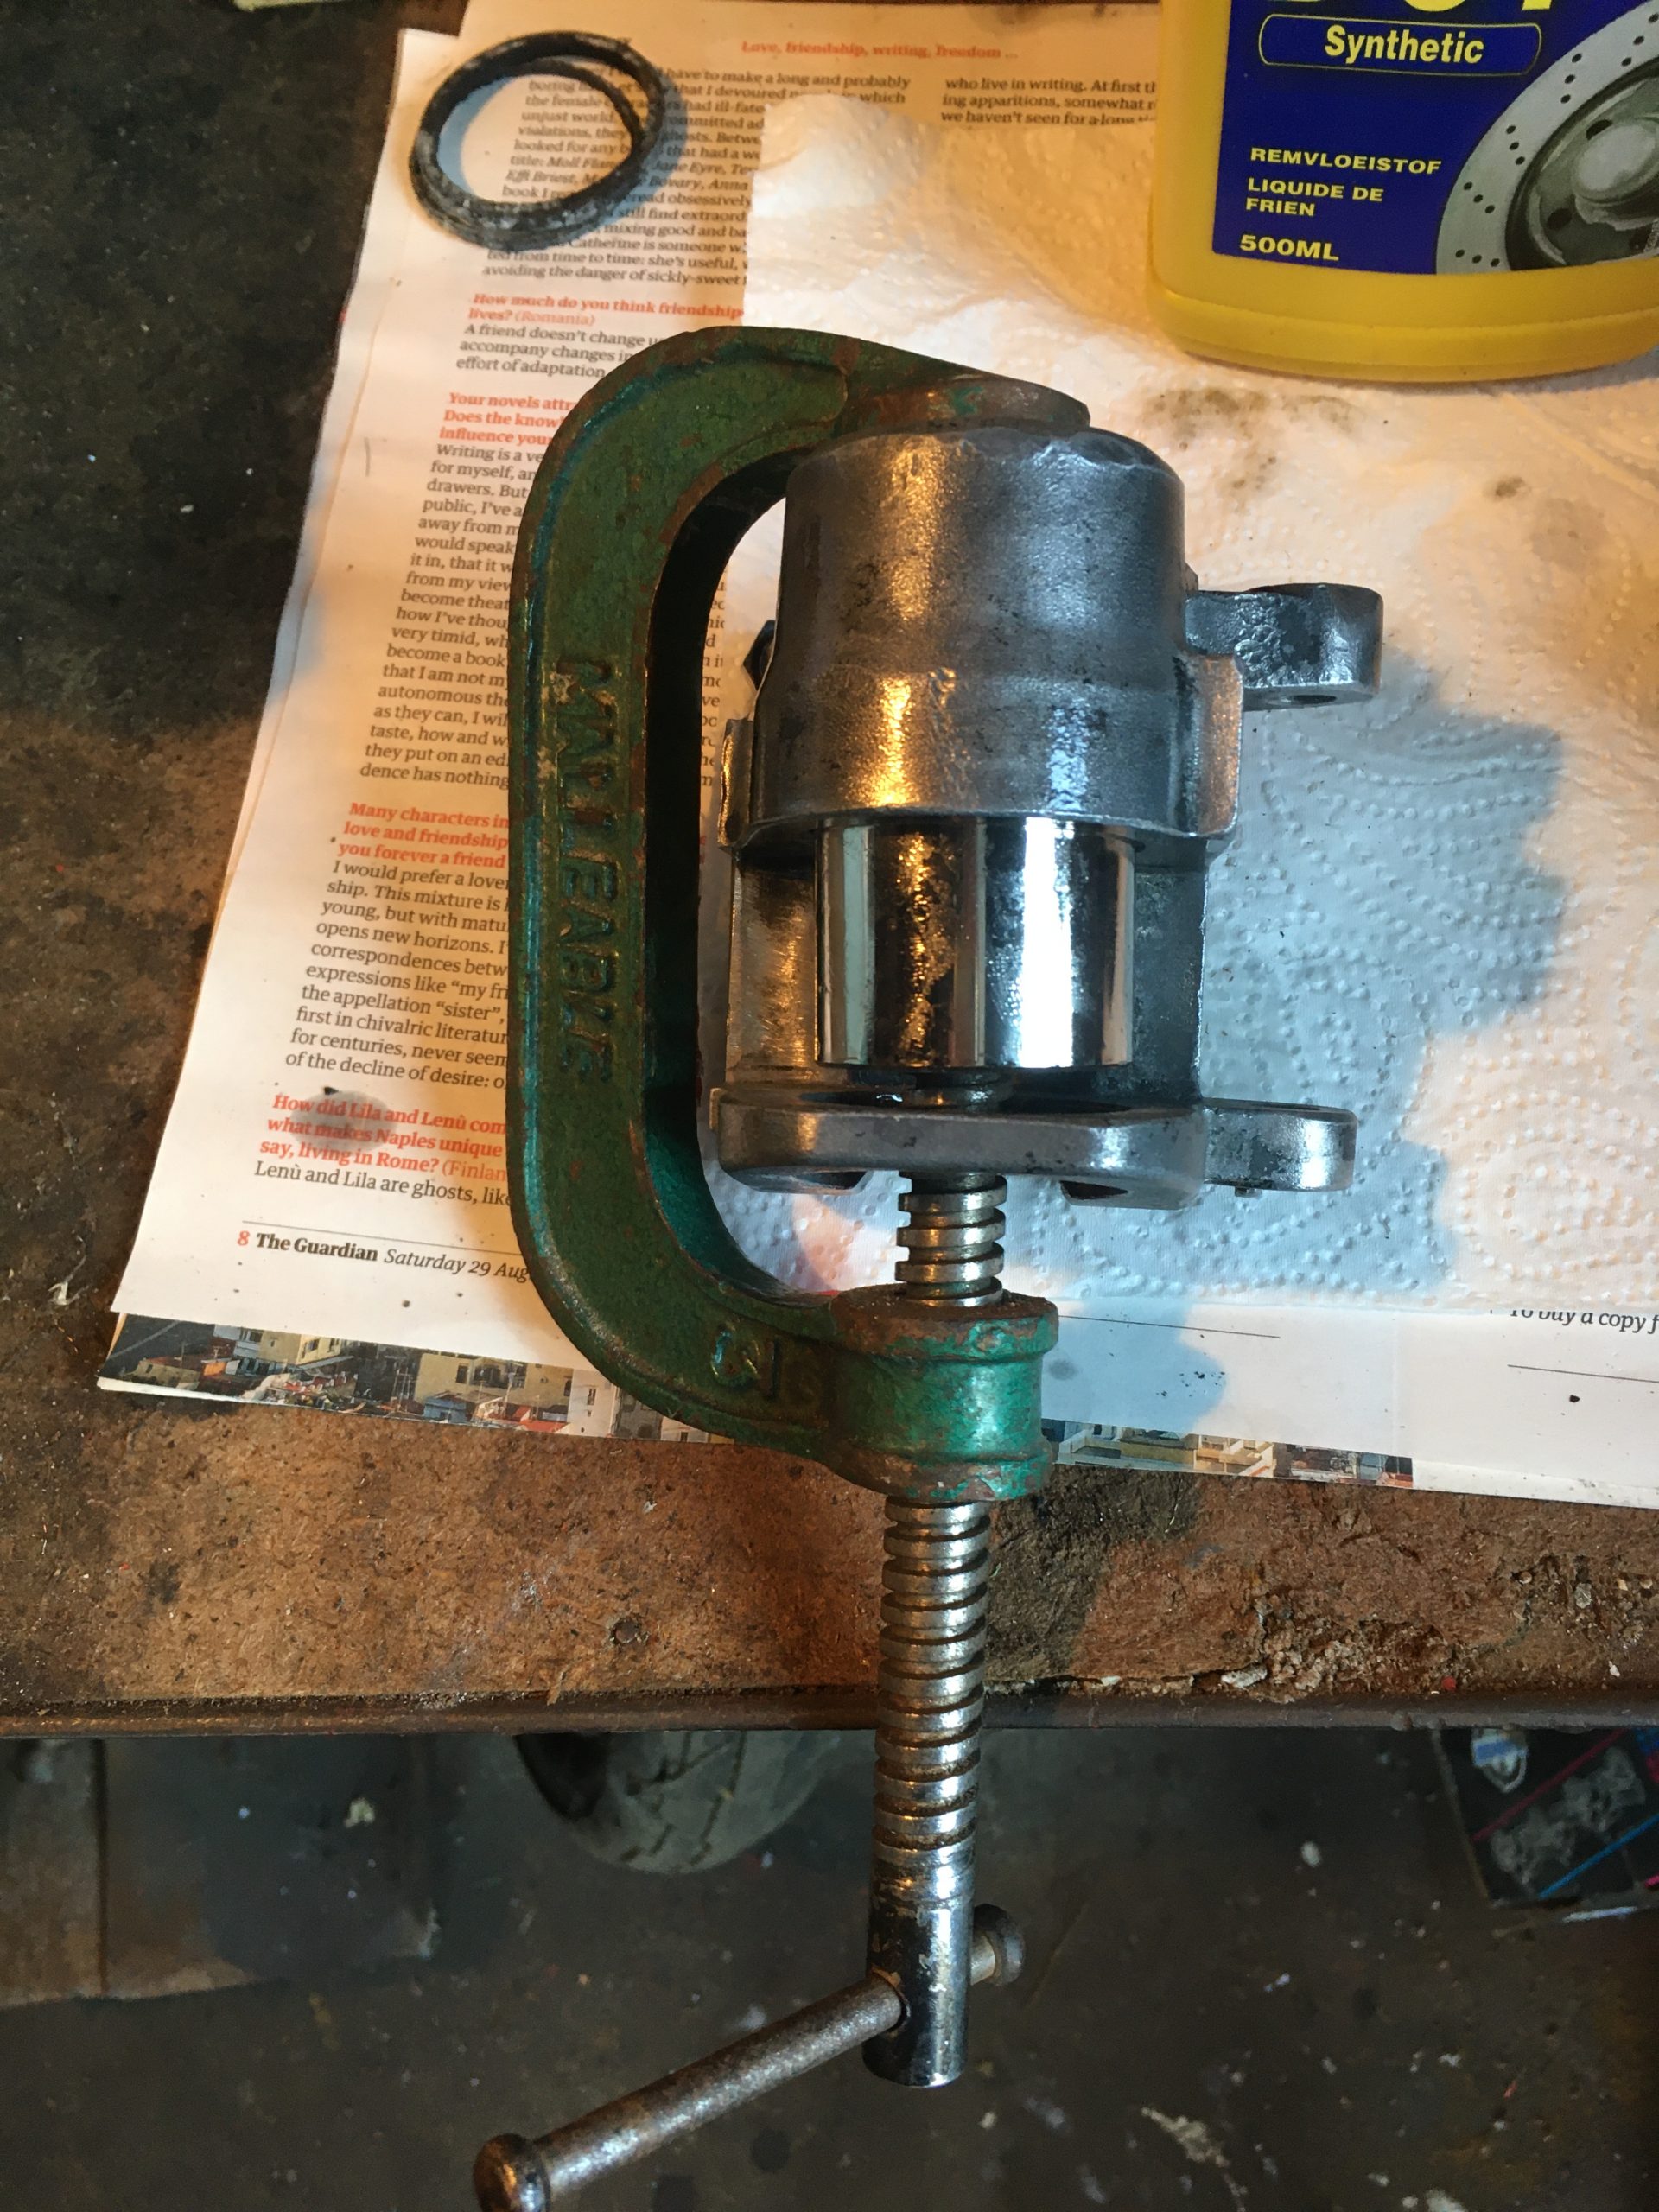
The piston though was another matter.
Maybe its just my 60 year old thumbs and fingers not having enough strength, but it would not descend deeper than the first oil seal ring.
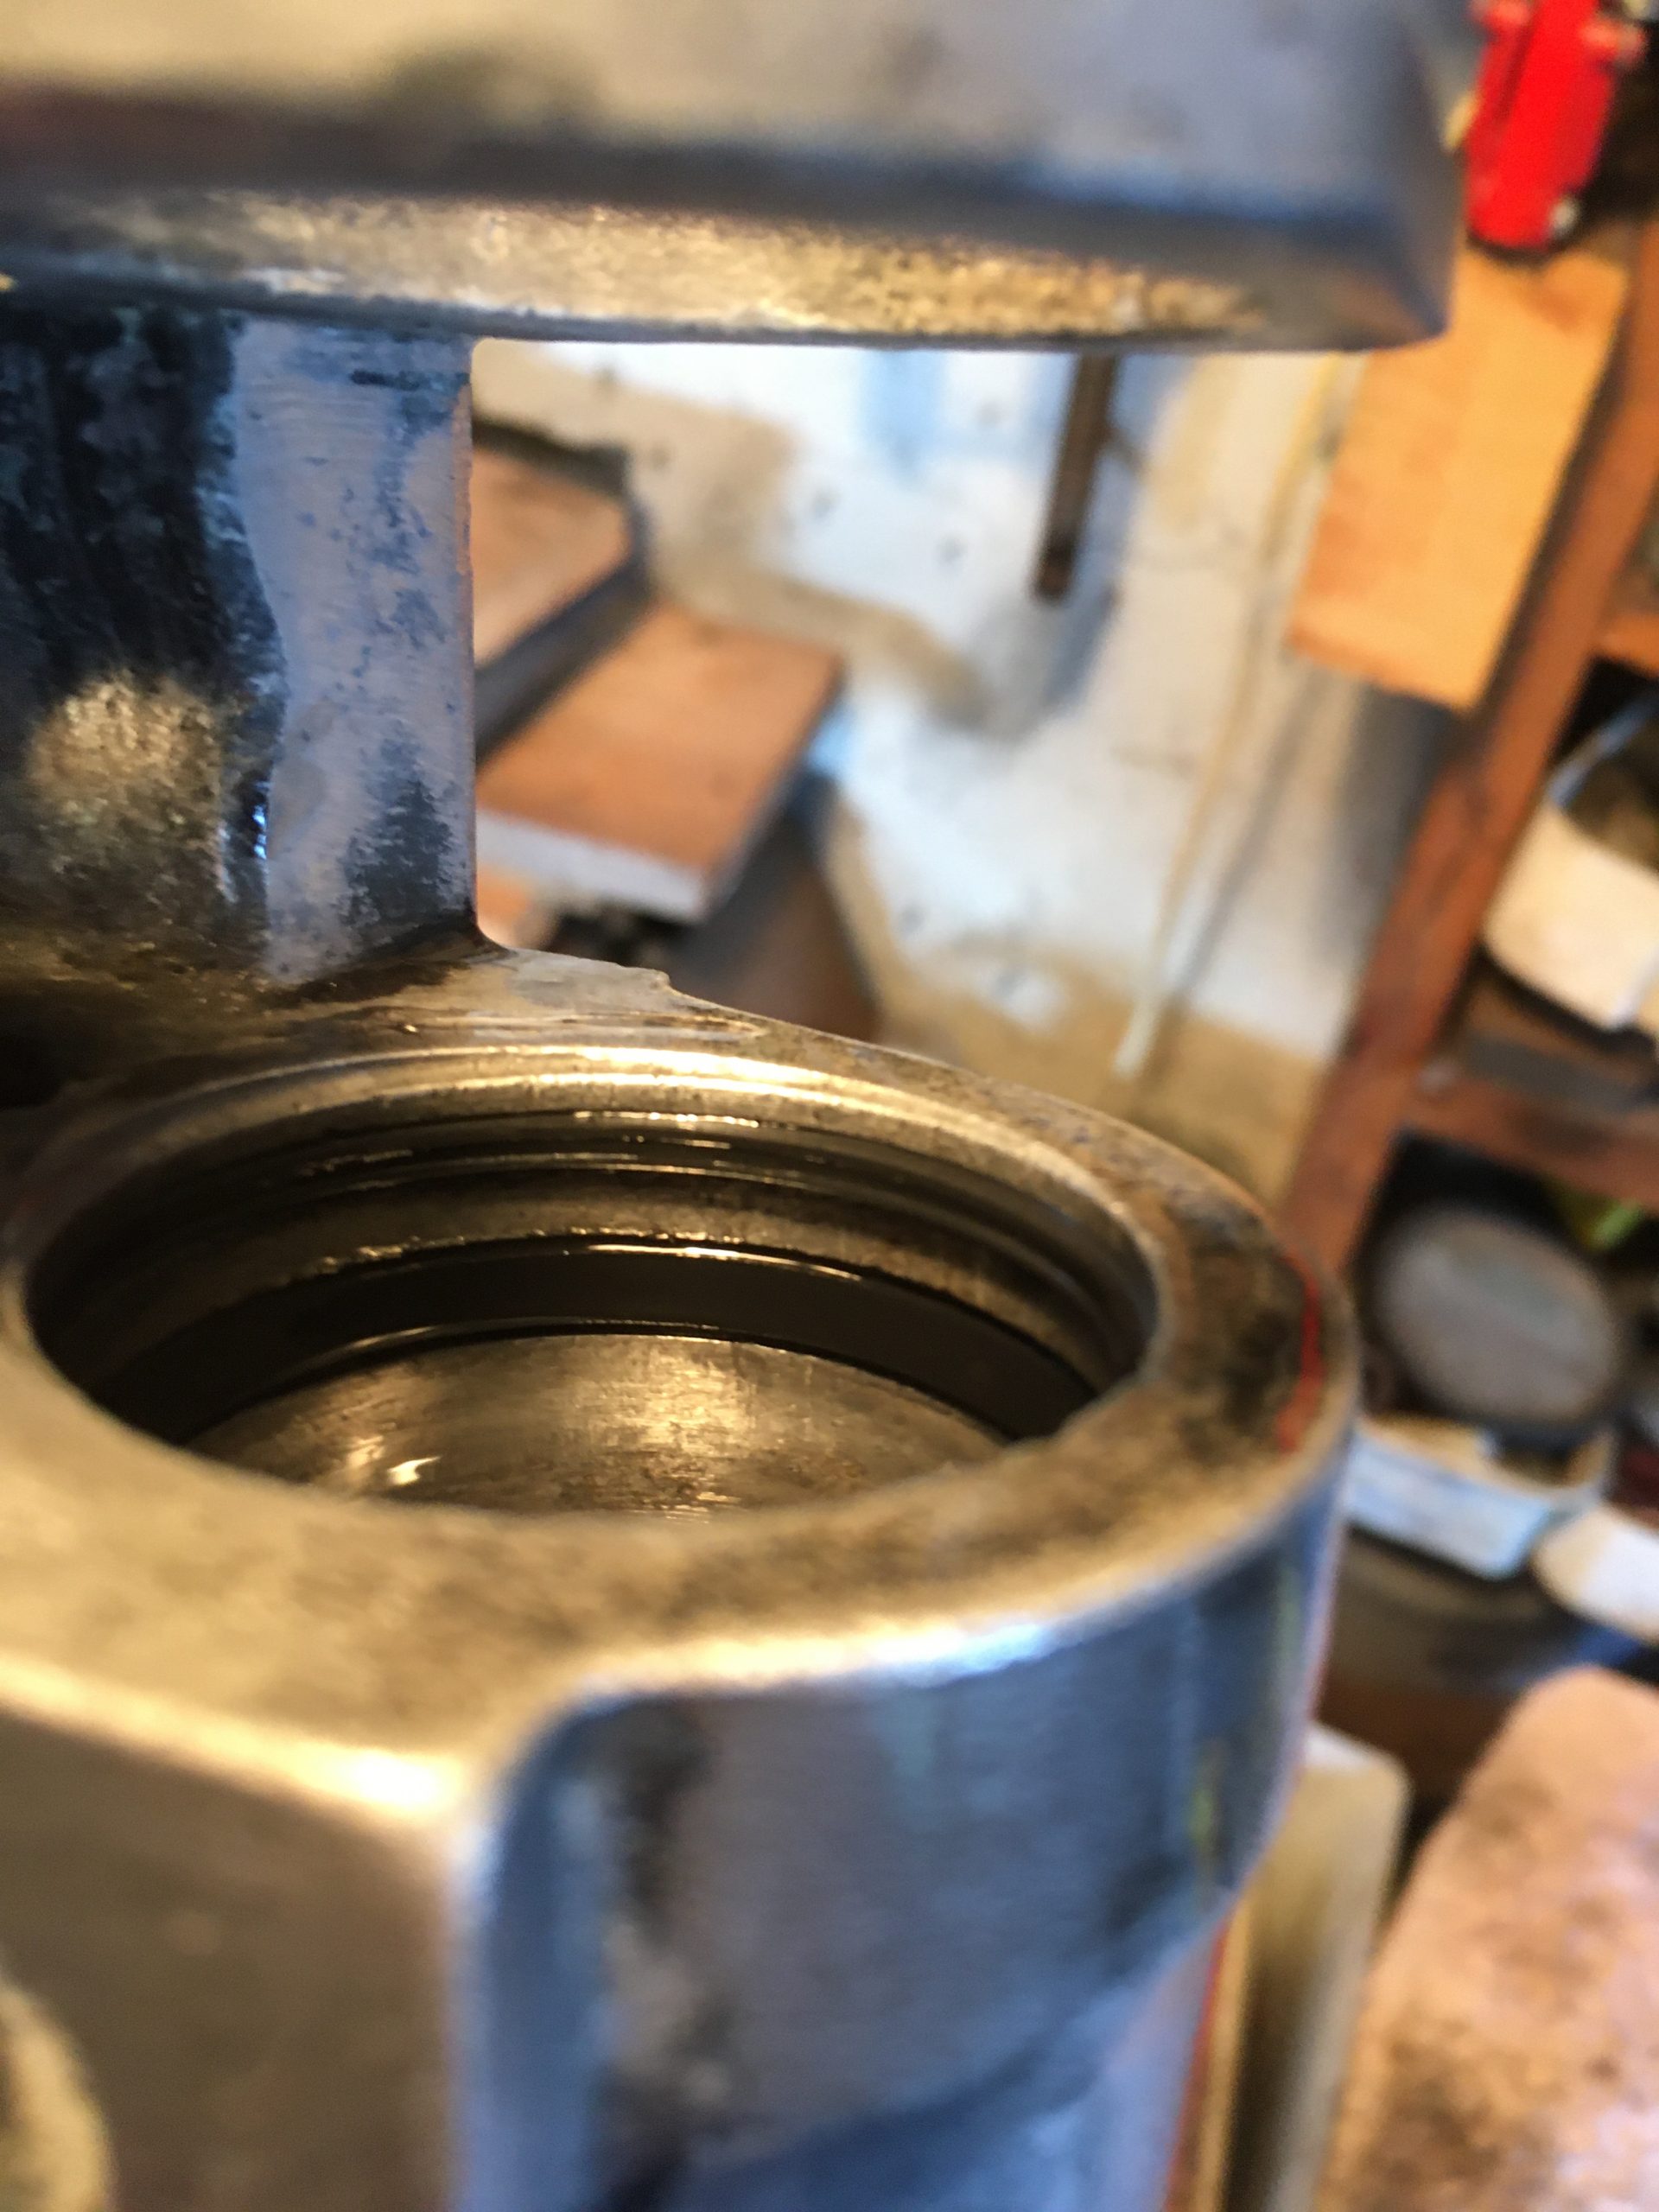
Application of some mechanical help in the form of a G-clamp eventually made the difference, and in she went!
In retrospect, this was exactly the wrong thing to do. A brake caliper piston does not need aid from a G-clamp to be fitted!


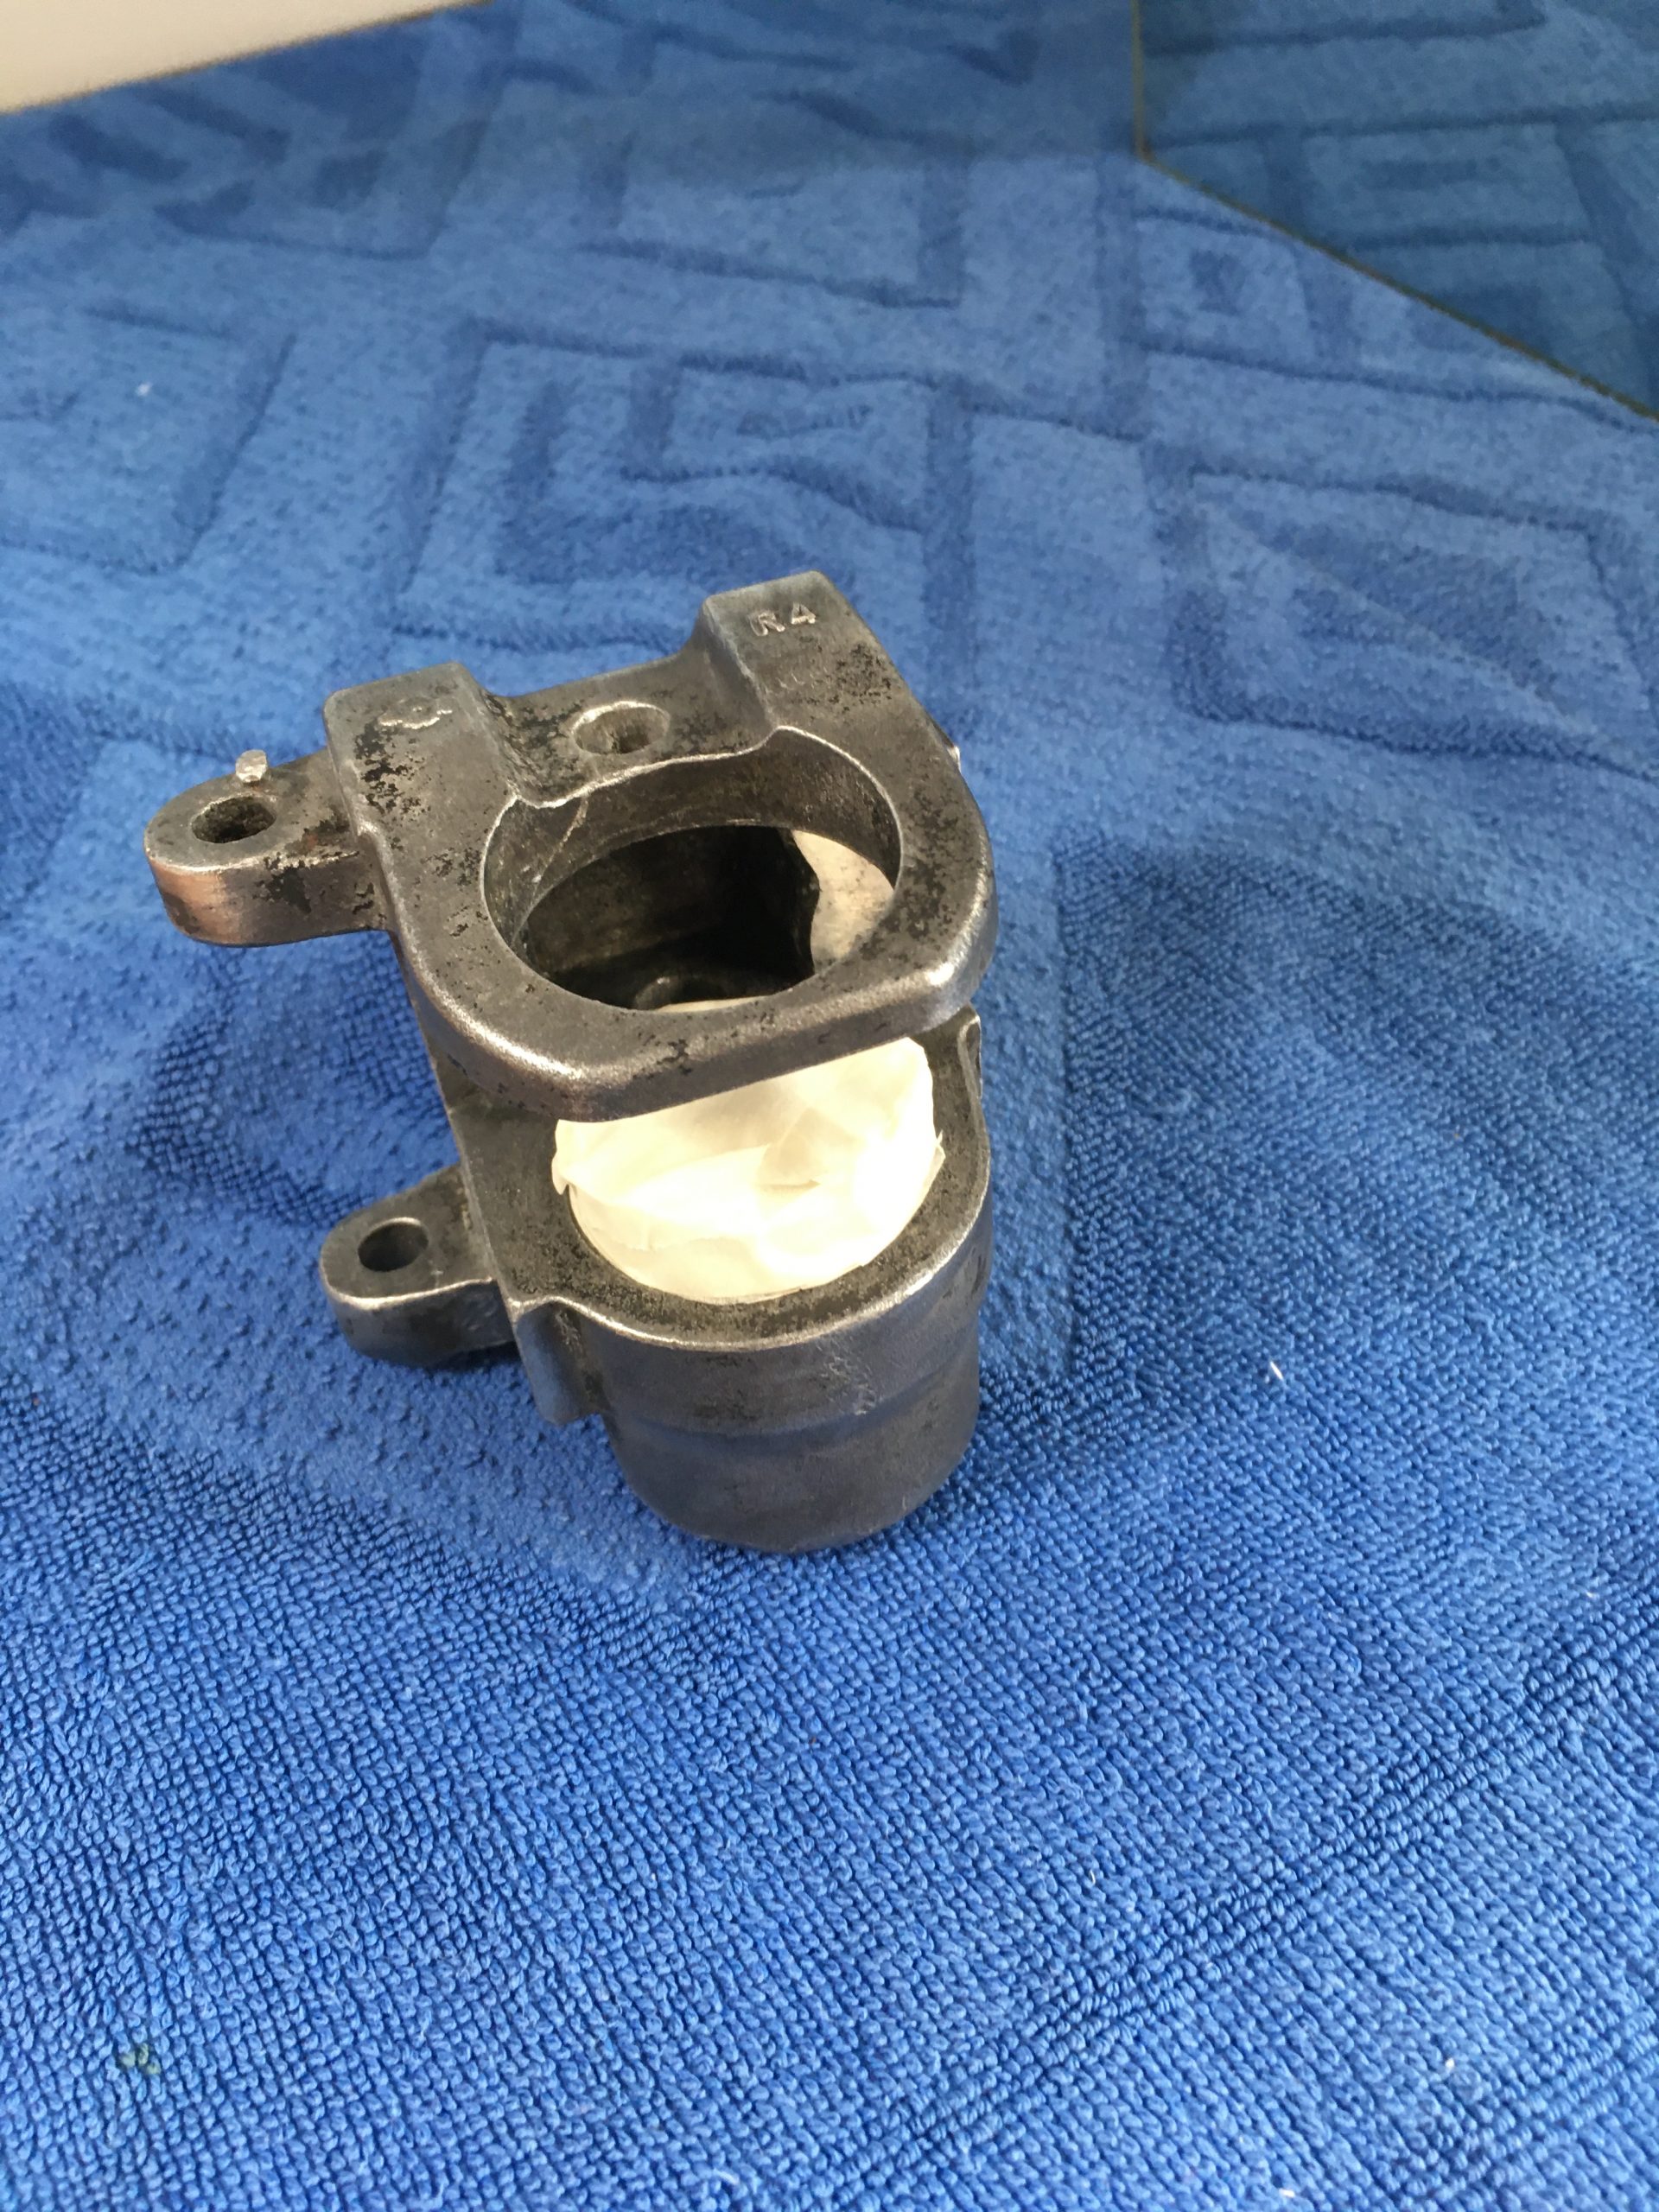
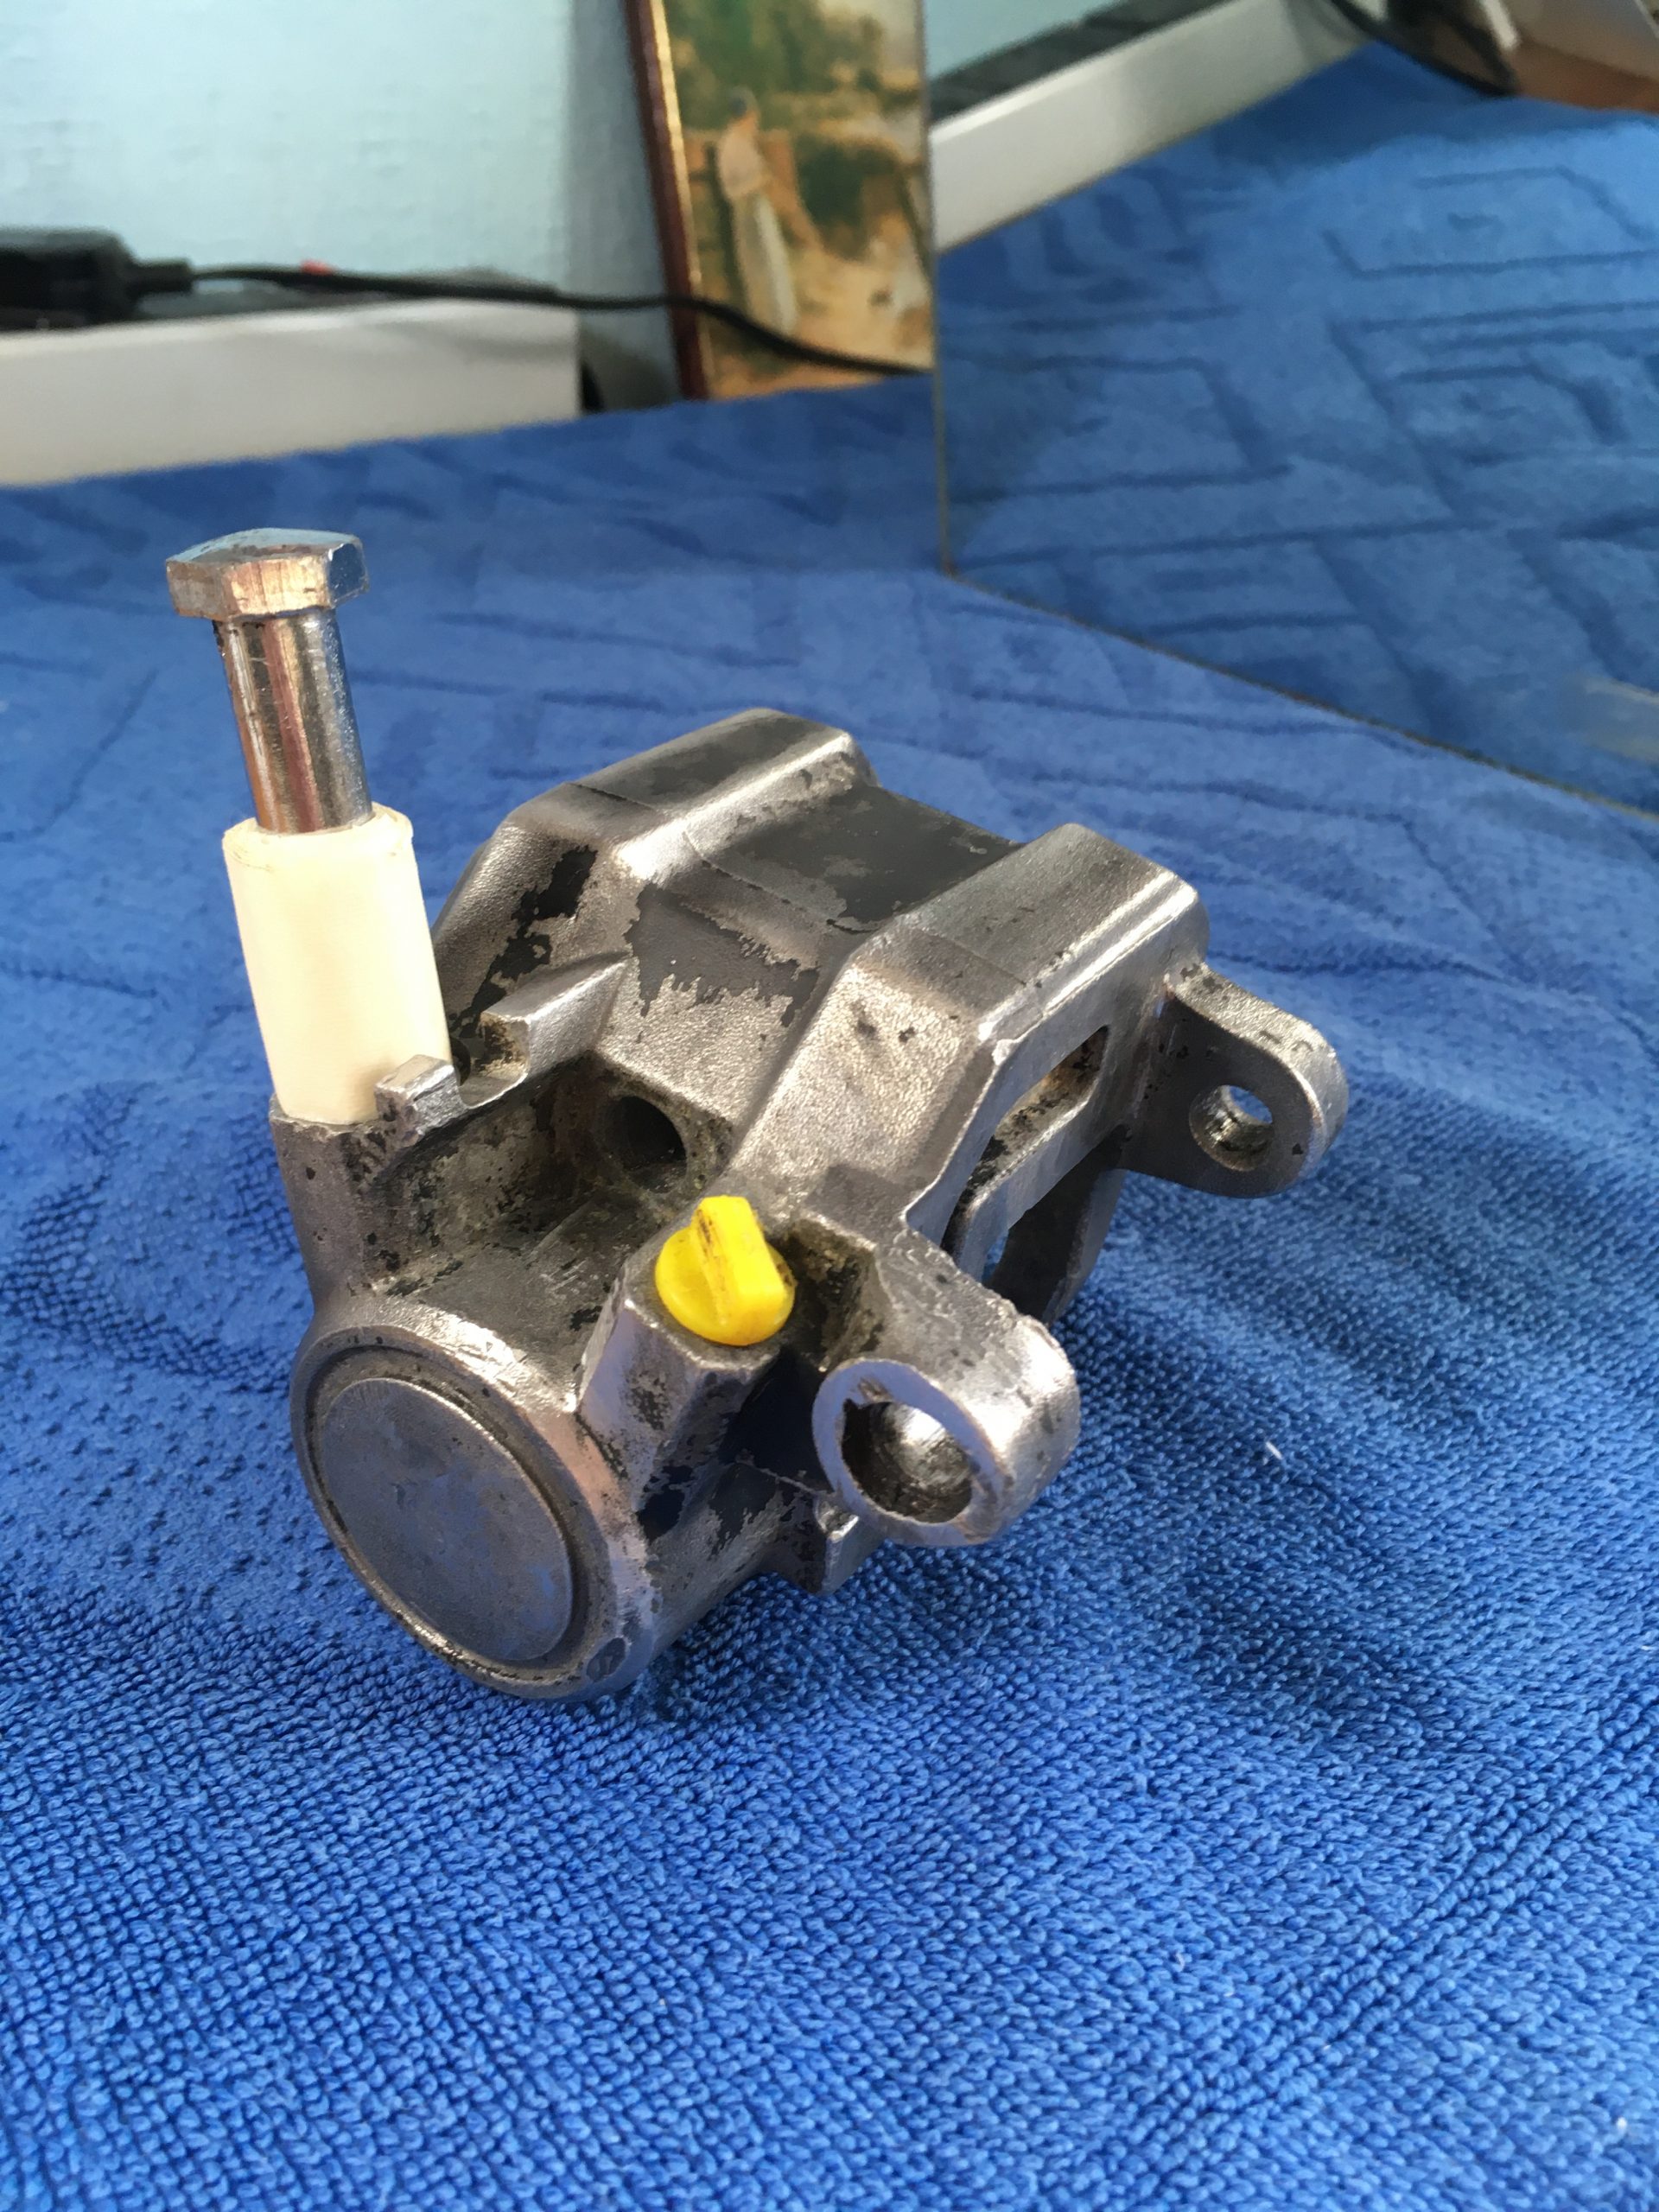
Application of some masking tape meant that the caliper was ready for a few coats of VHT paint.
The big lump of masking tape around the bolt is to protect the washer seat where the banjo bolt will attach.
The bleed nipple hole is protected with an old plug from a battery.
you can see I didn’t manage to remove all of the old paint.
We will see what the new paint looks like when laid on top, but it’s possible i’ll be doing this again, with more attention to detail for the cosmetic build next year.
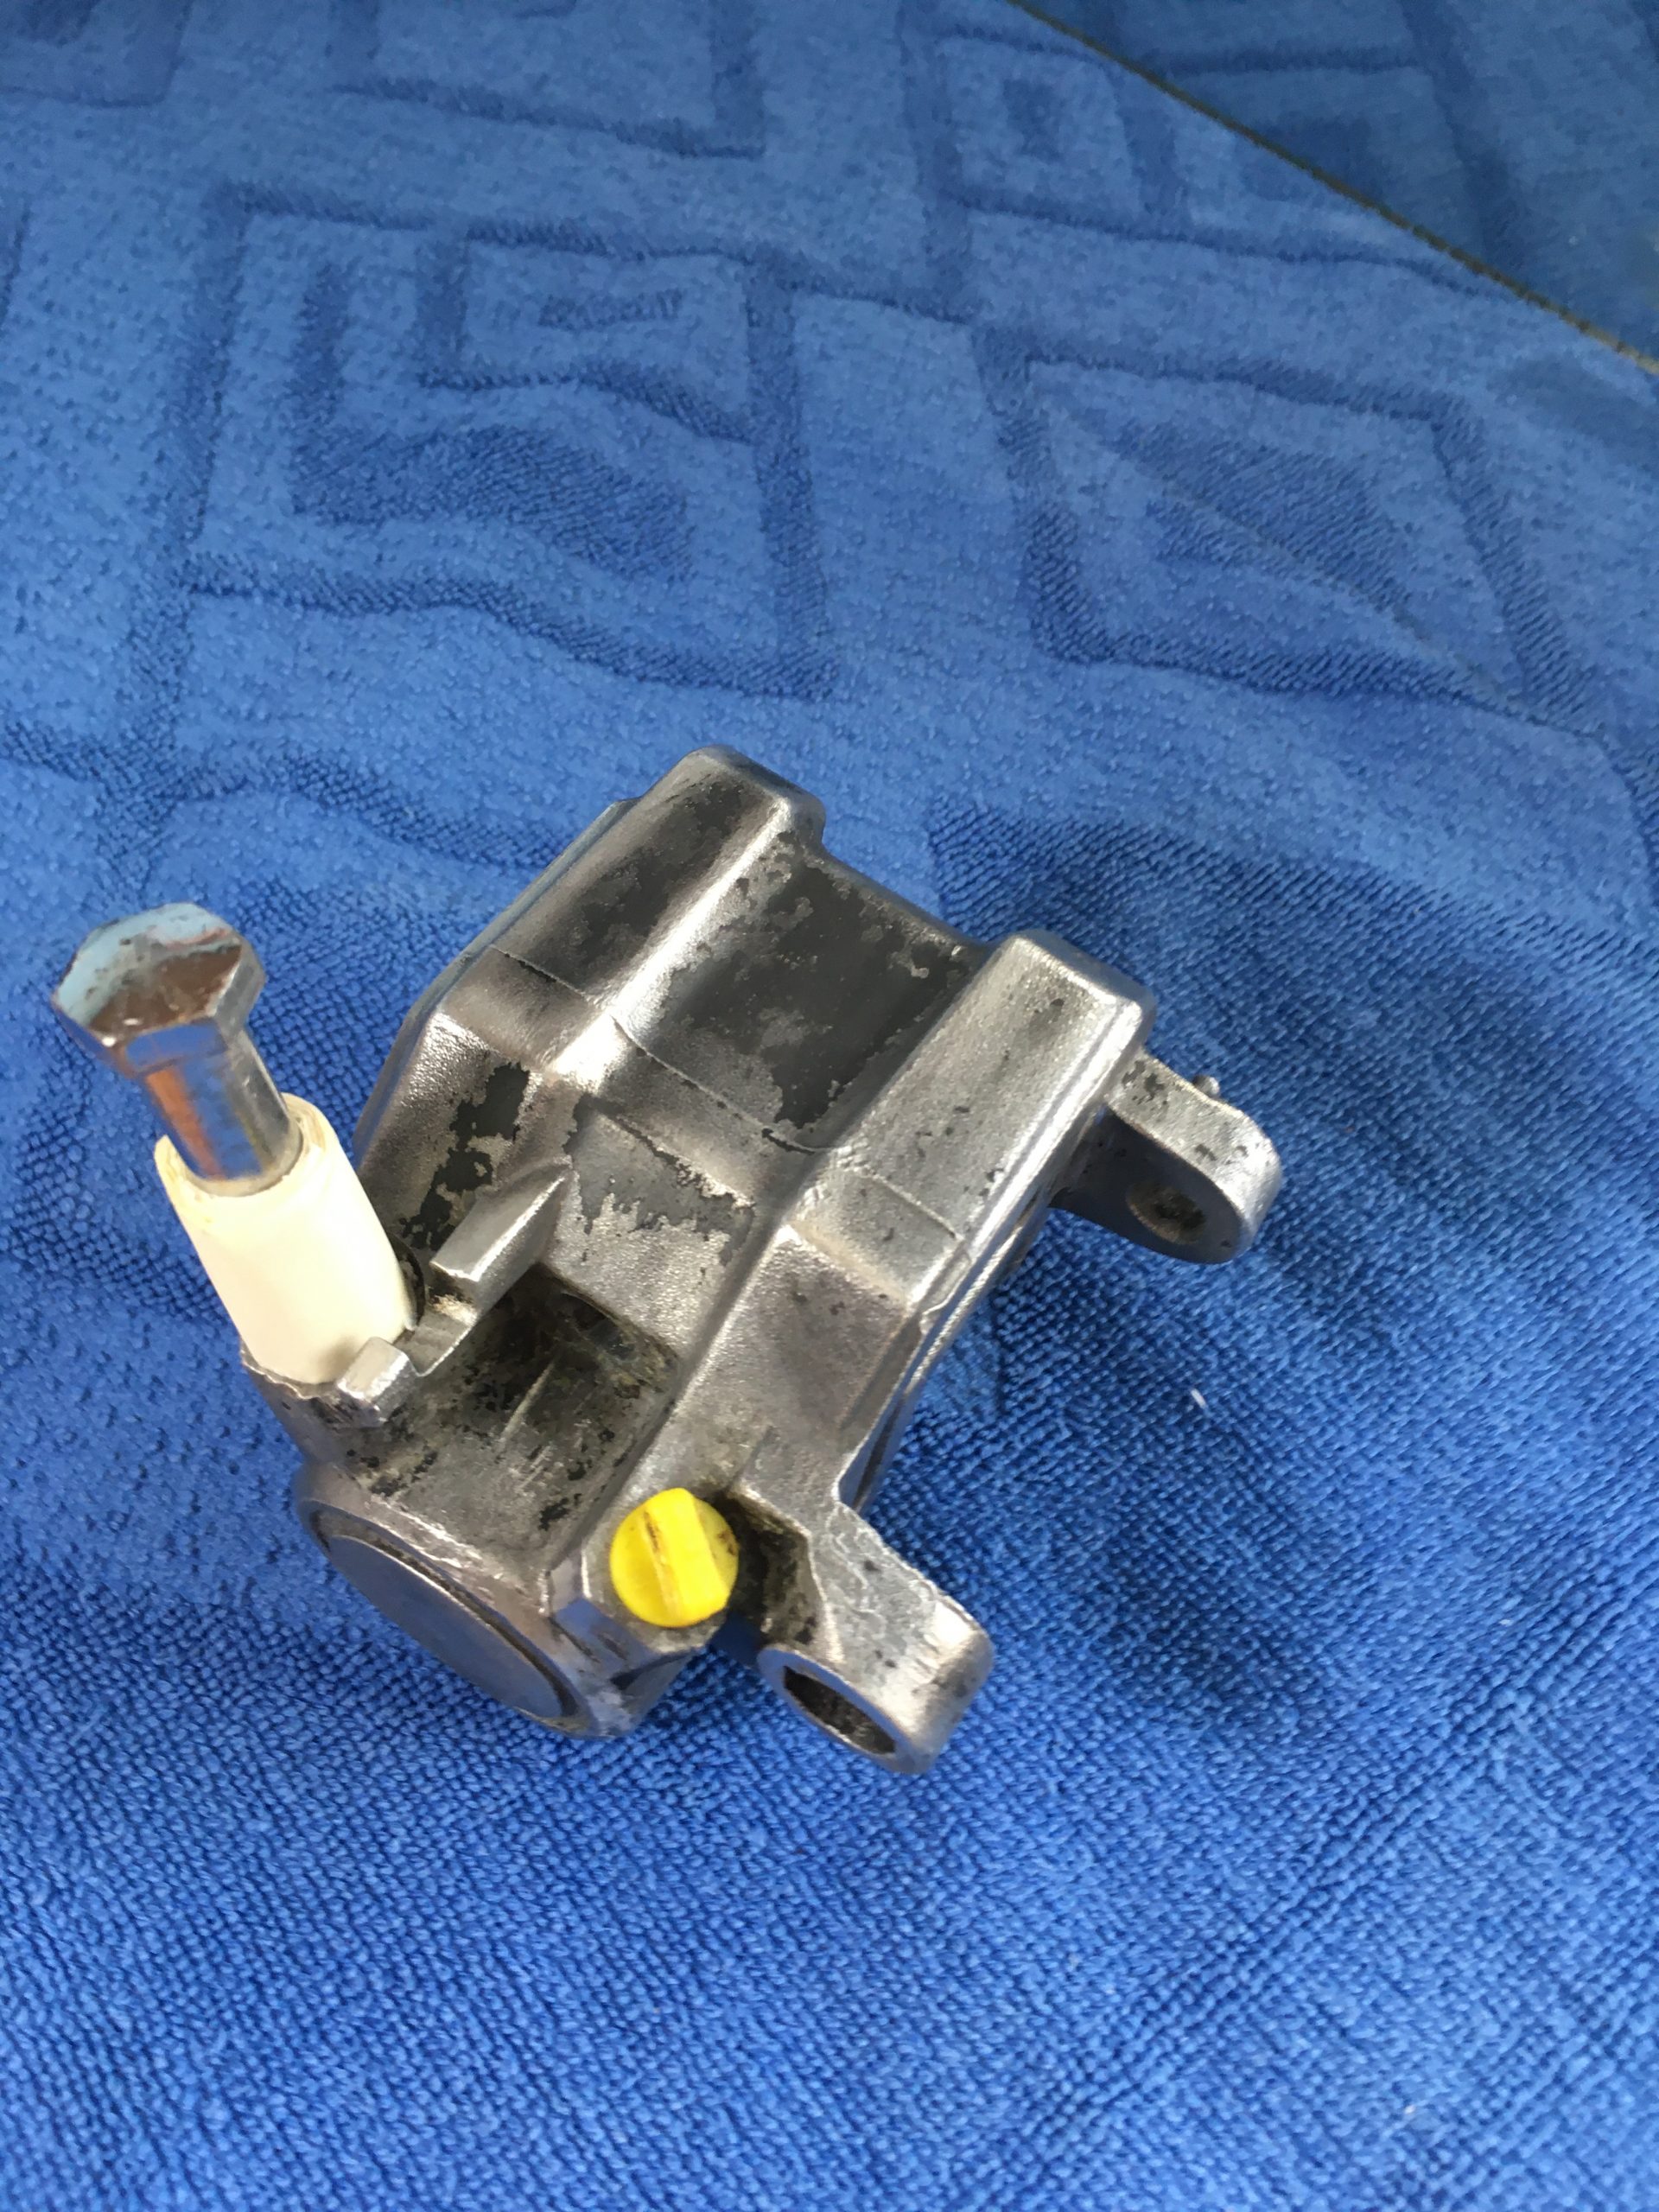
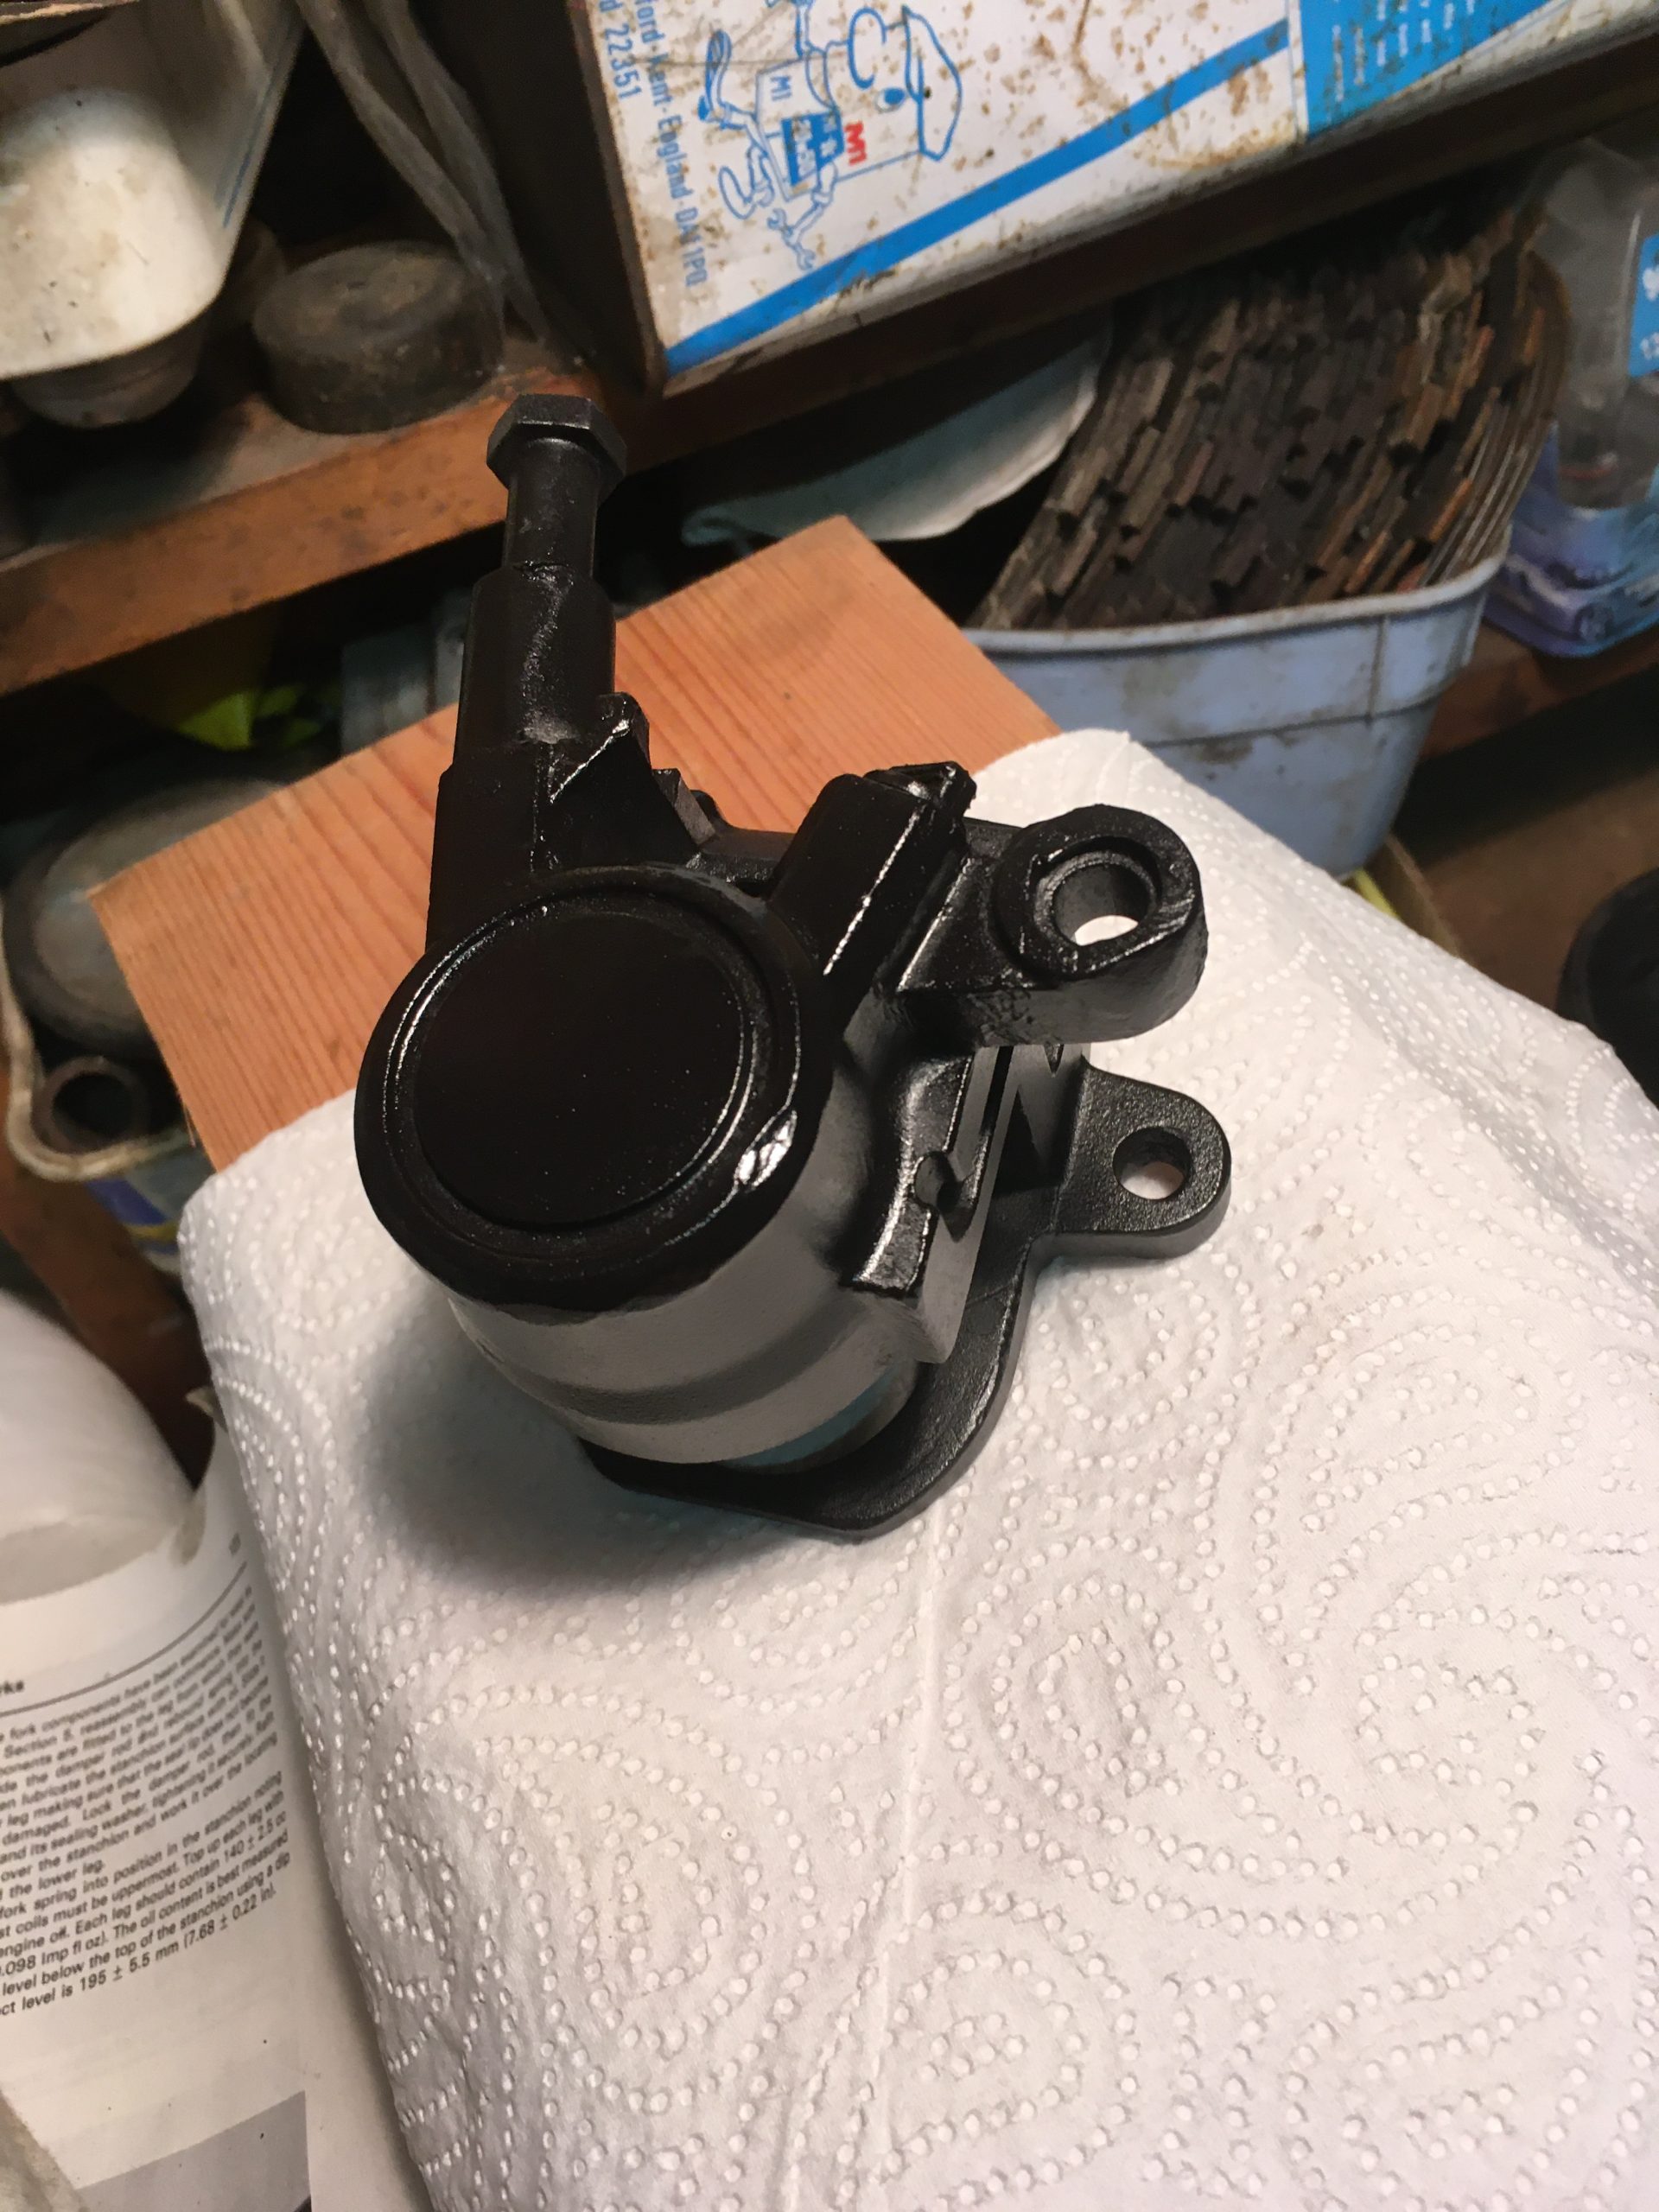
New paint. Looks OK.
1 thought on “Reassembling the brake caliper”
Comments are closed.