At long last, a post which talks about assembling rather than dismantling or cleaning!
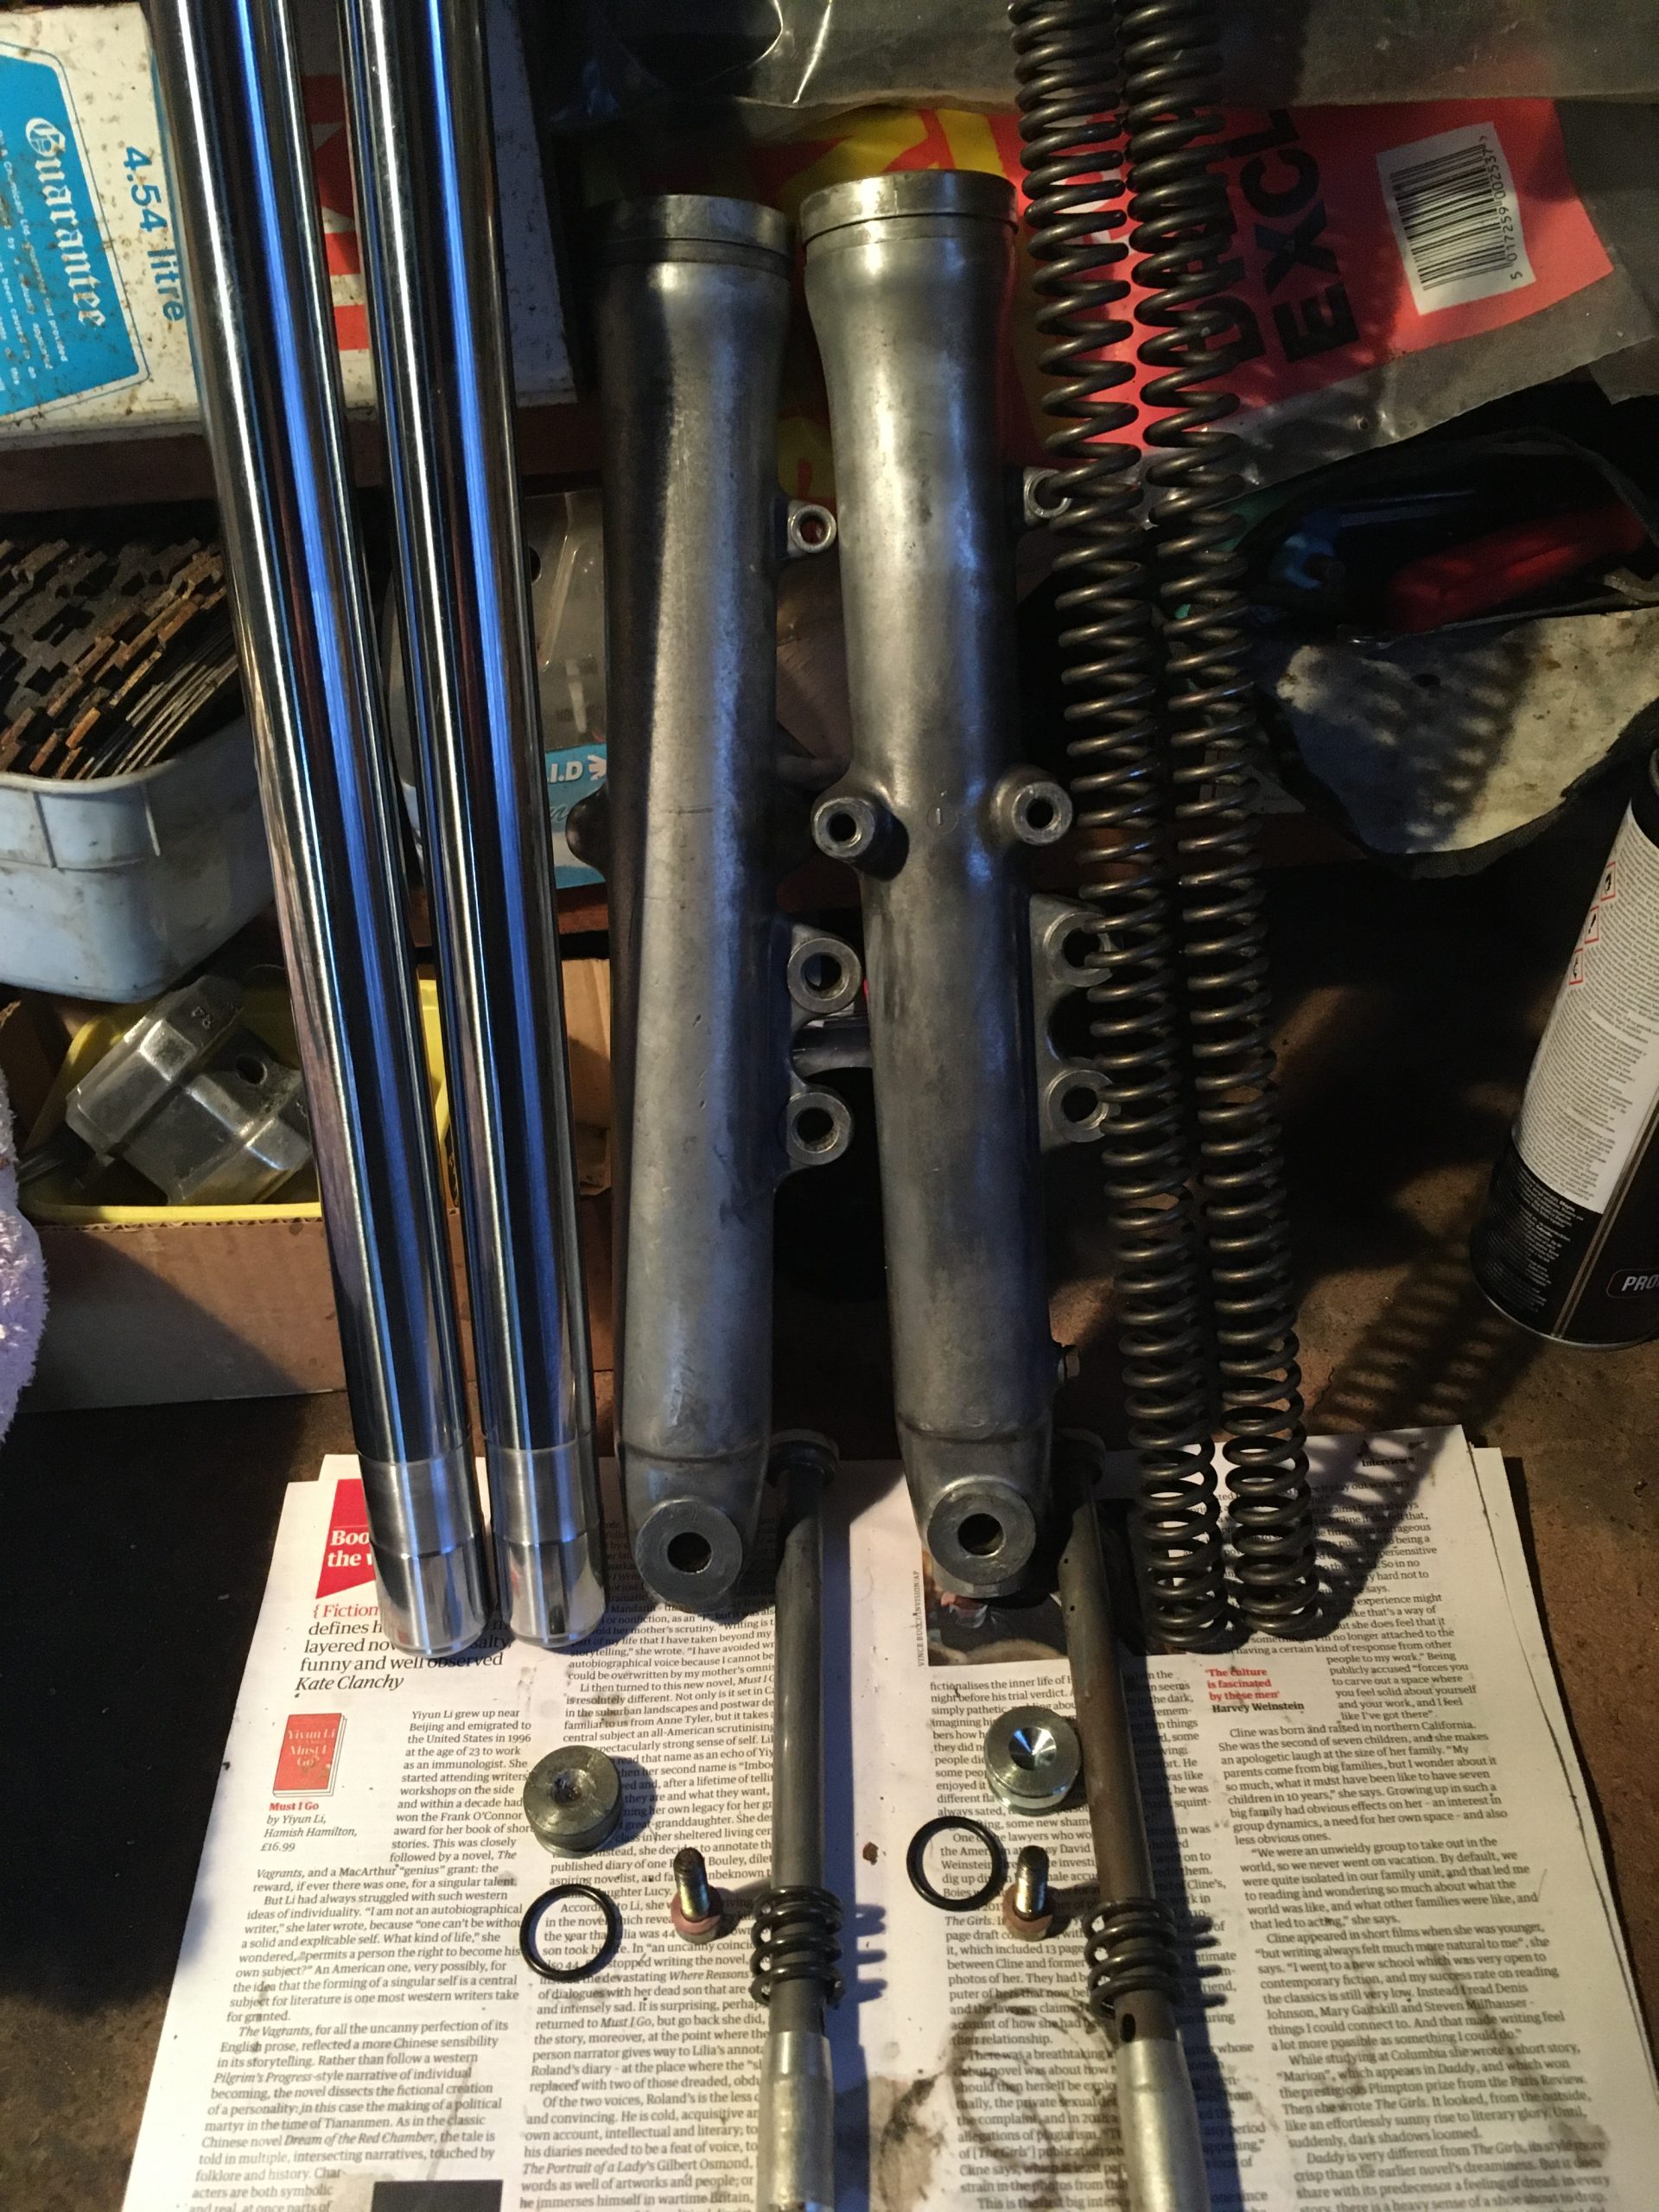
all of the elements of the forks are now in place and moderately clean.
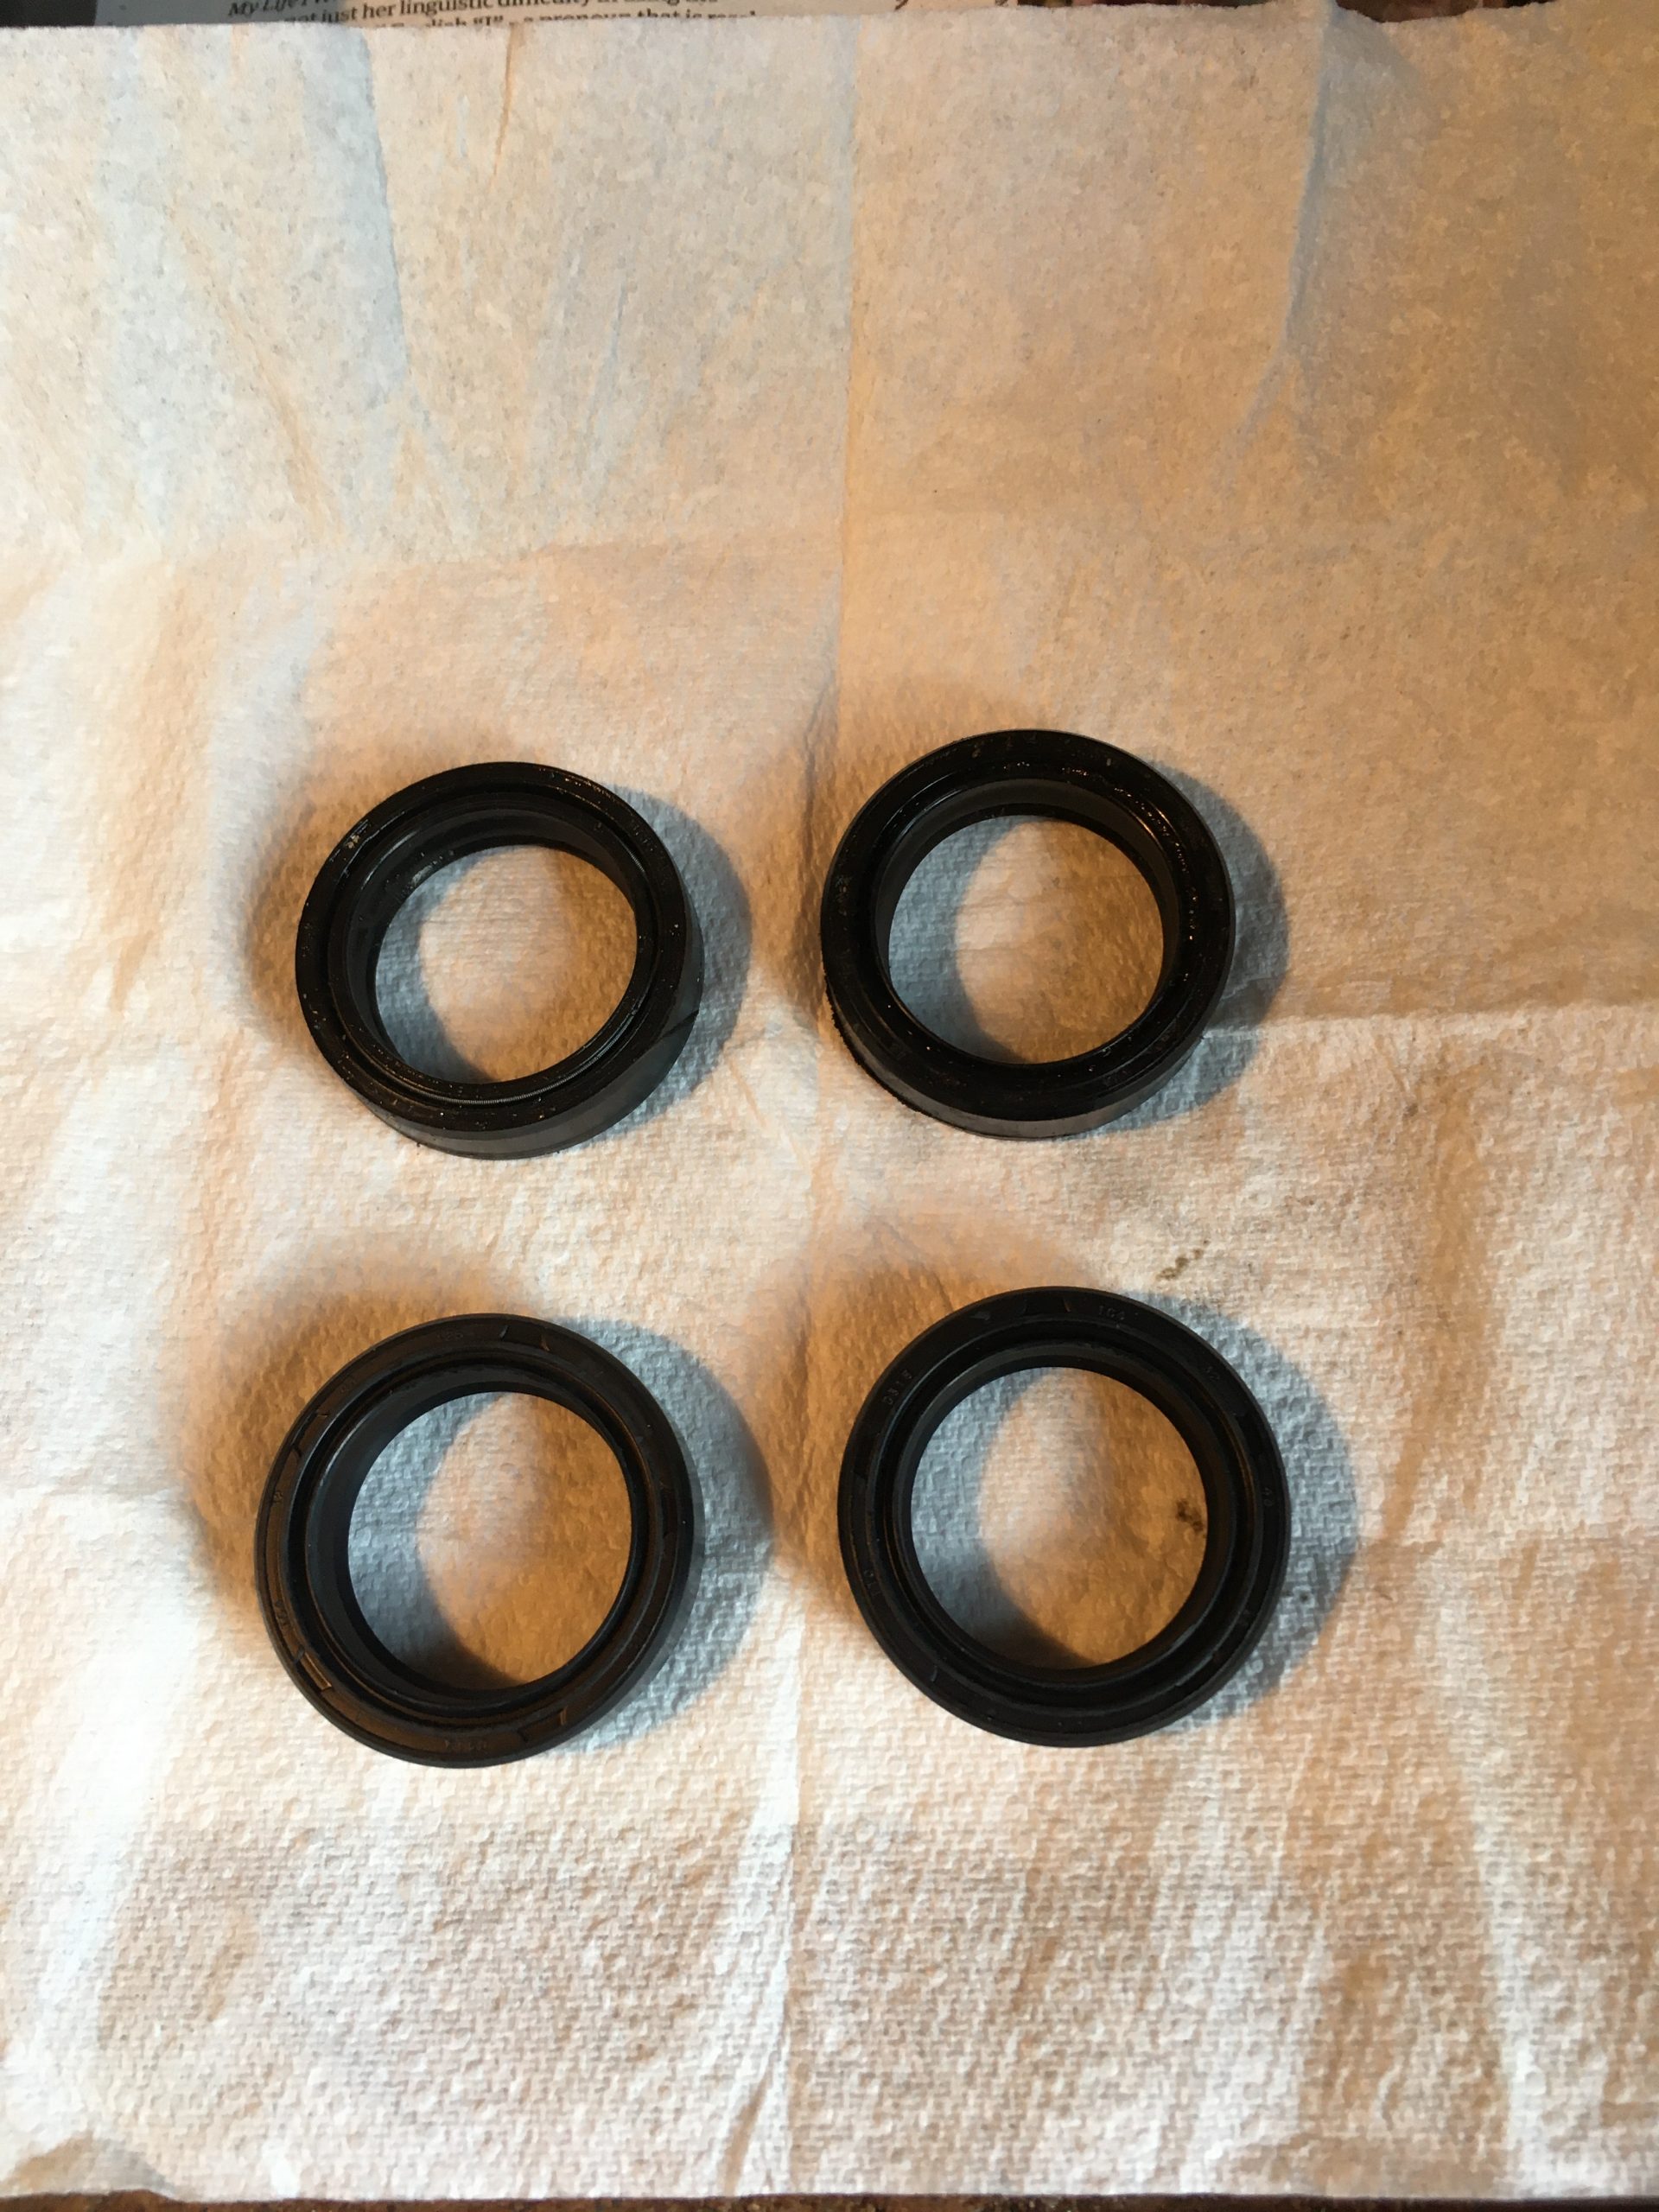
New seals are required, so the fork legs were (gently) clamped in a vice, and the old seals pried out with a big screwdriver.
At least that’s what happened with the first one. The second one was more of a problem.
After humming and hawing a bit, I proceeded with my go-to set of tools for such a problem, Heat and hammers!
Heat applied to the top of the alloy fork leg until the oil remaining inside the top of the leg could be seen bubbling, and then the large screwdriver used as a pry again under the ol seal, and tapped with a small hammer to give it a bit of a shock.
After it had moved a fraction, the seal came out much as the previous one had, by prying in a circular motion until it popped out.
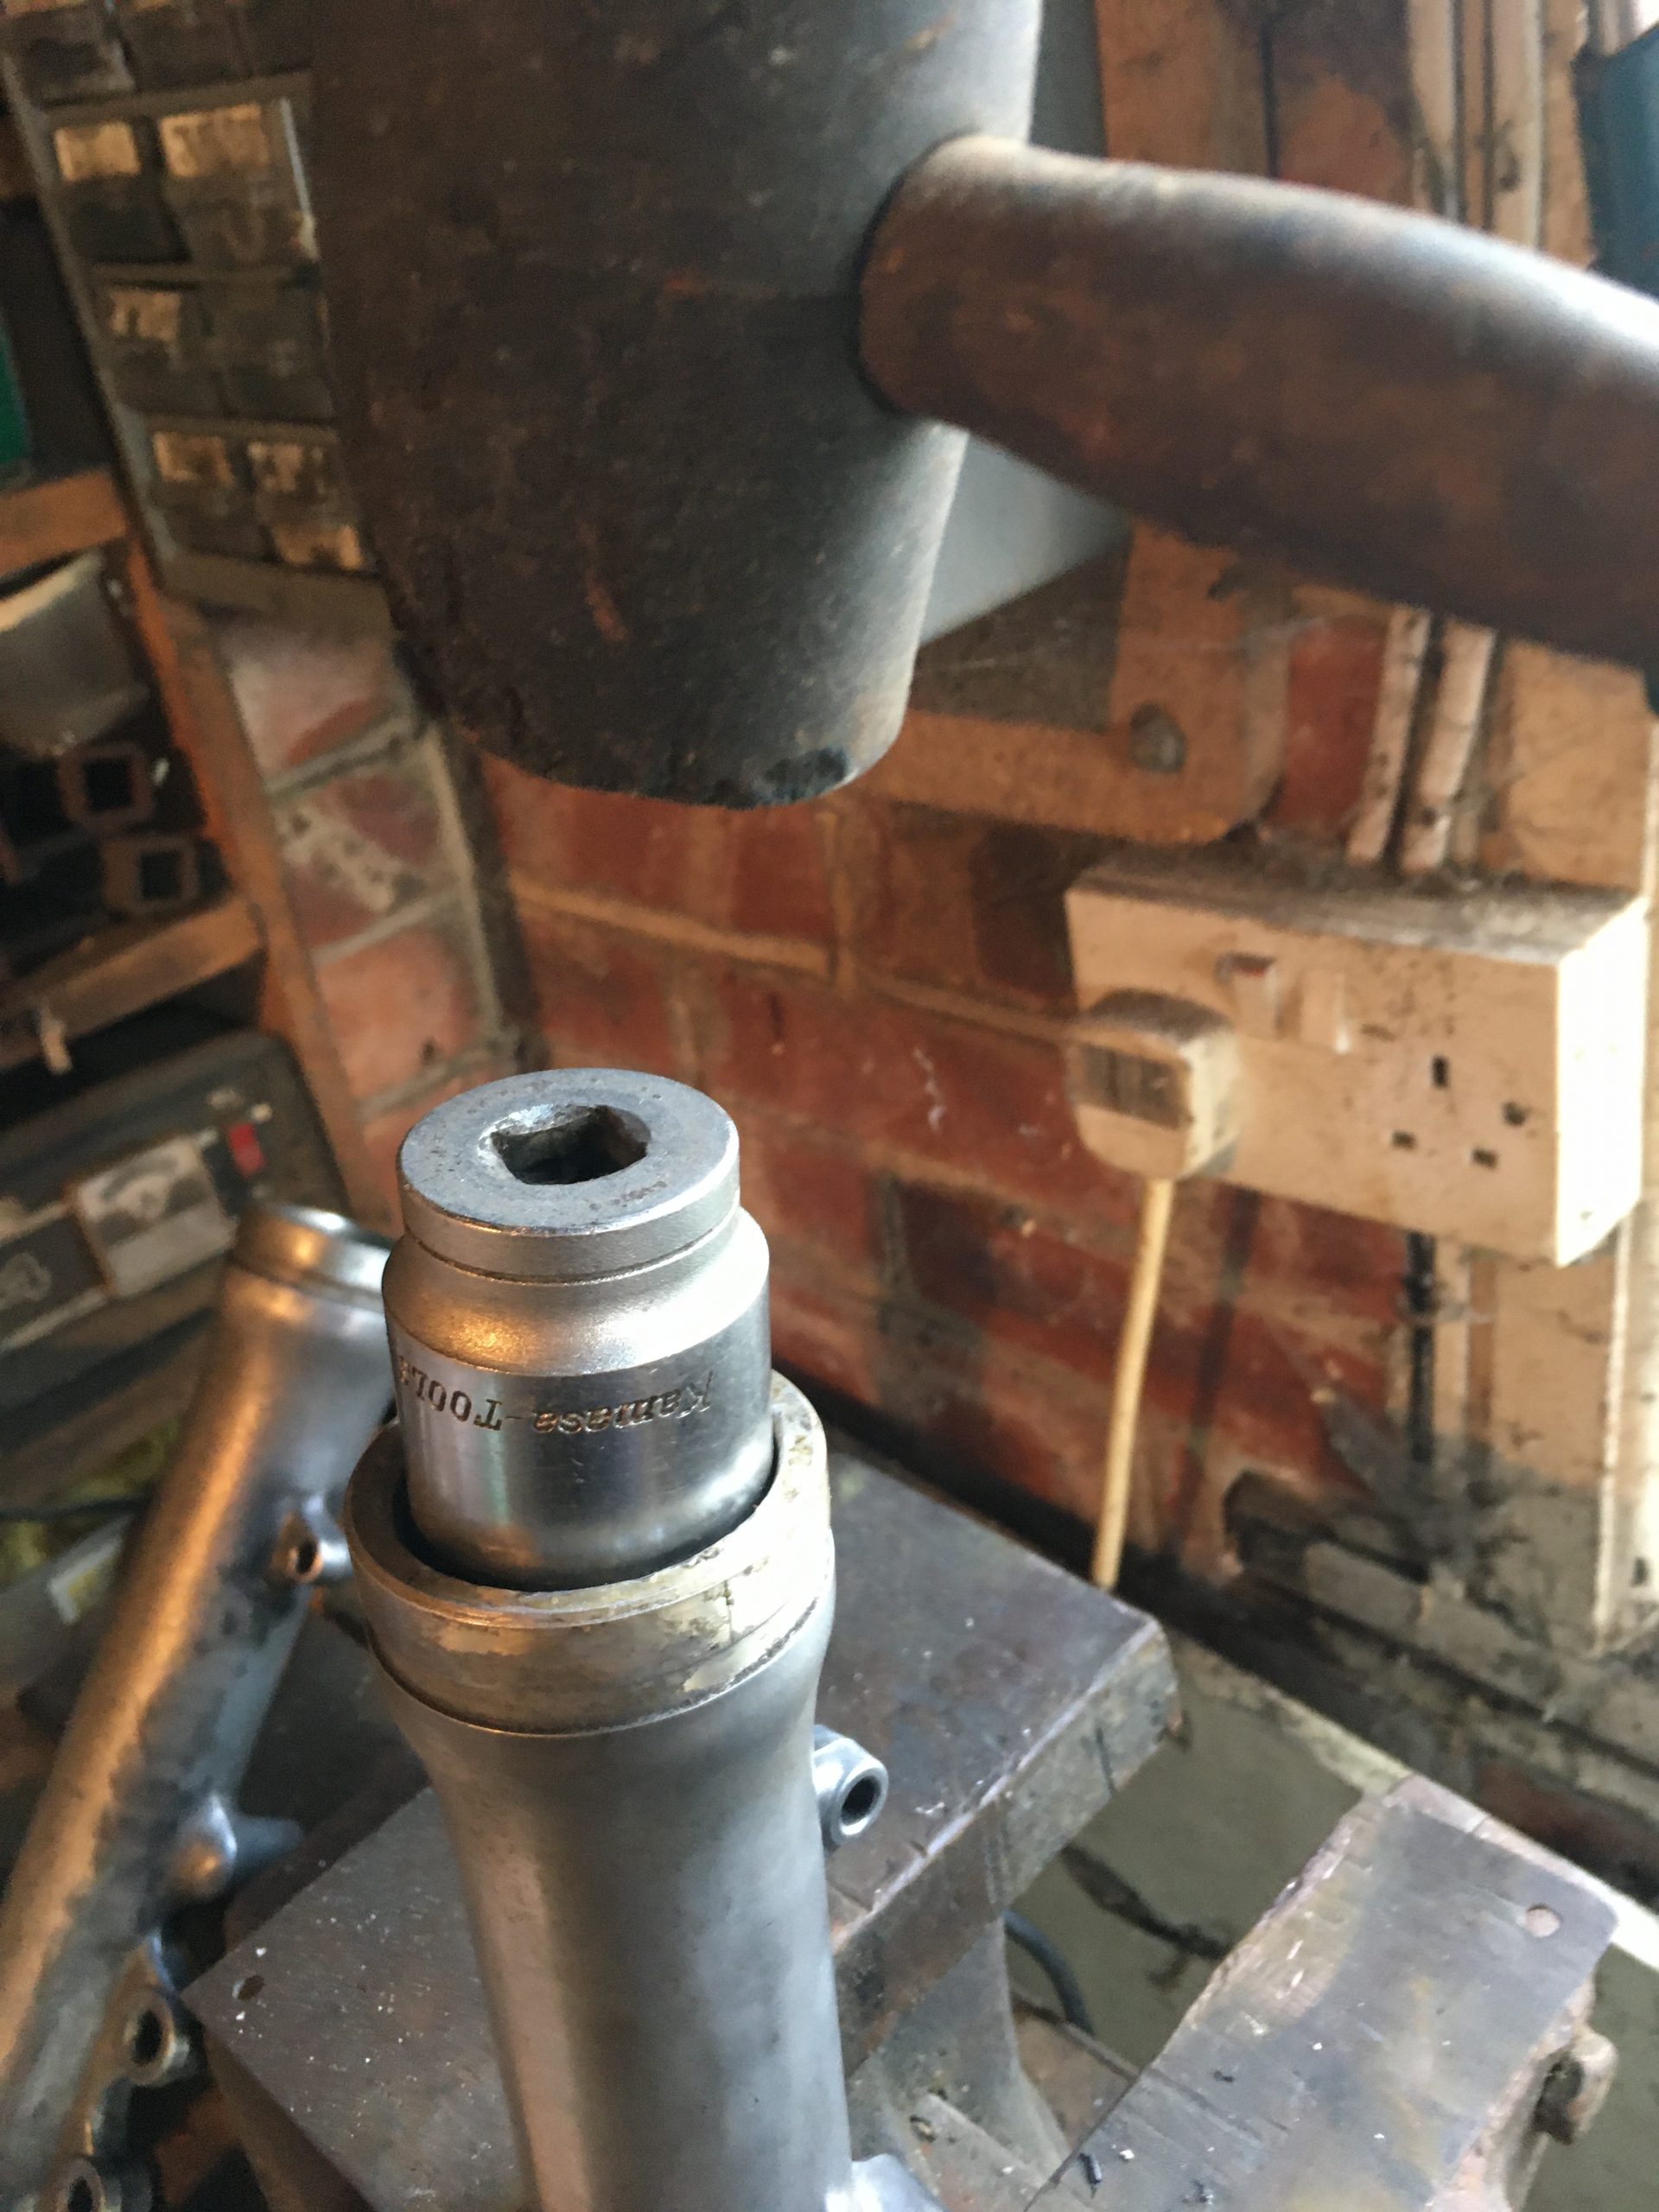
New seals were then inserted, with a bit of oil to help ease them in, and a socket more or less the same external diameter, applied with a big rubber mallet.
Everything is new ready for assembly.
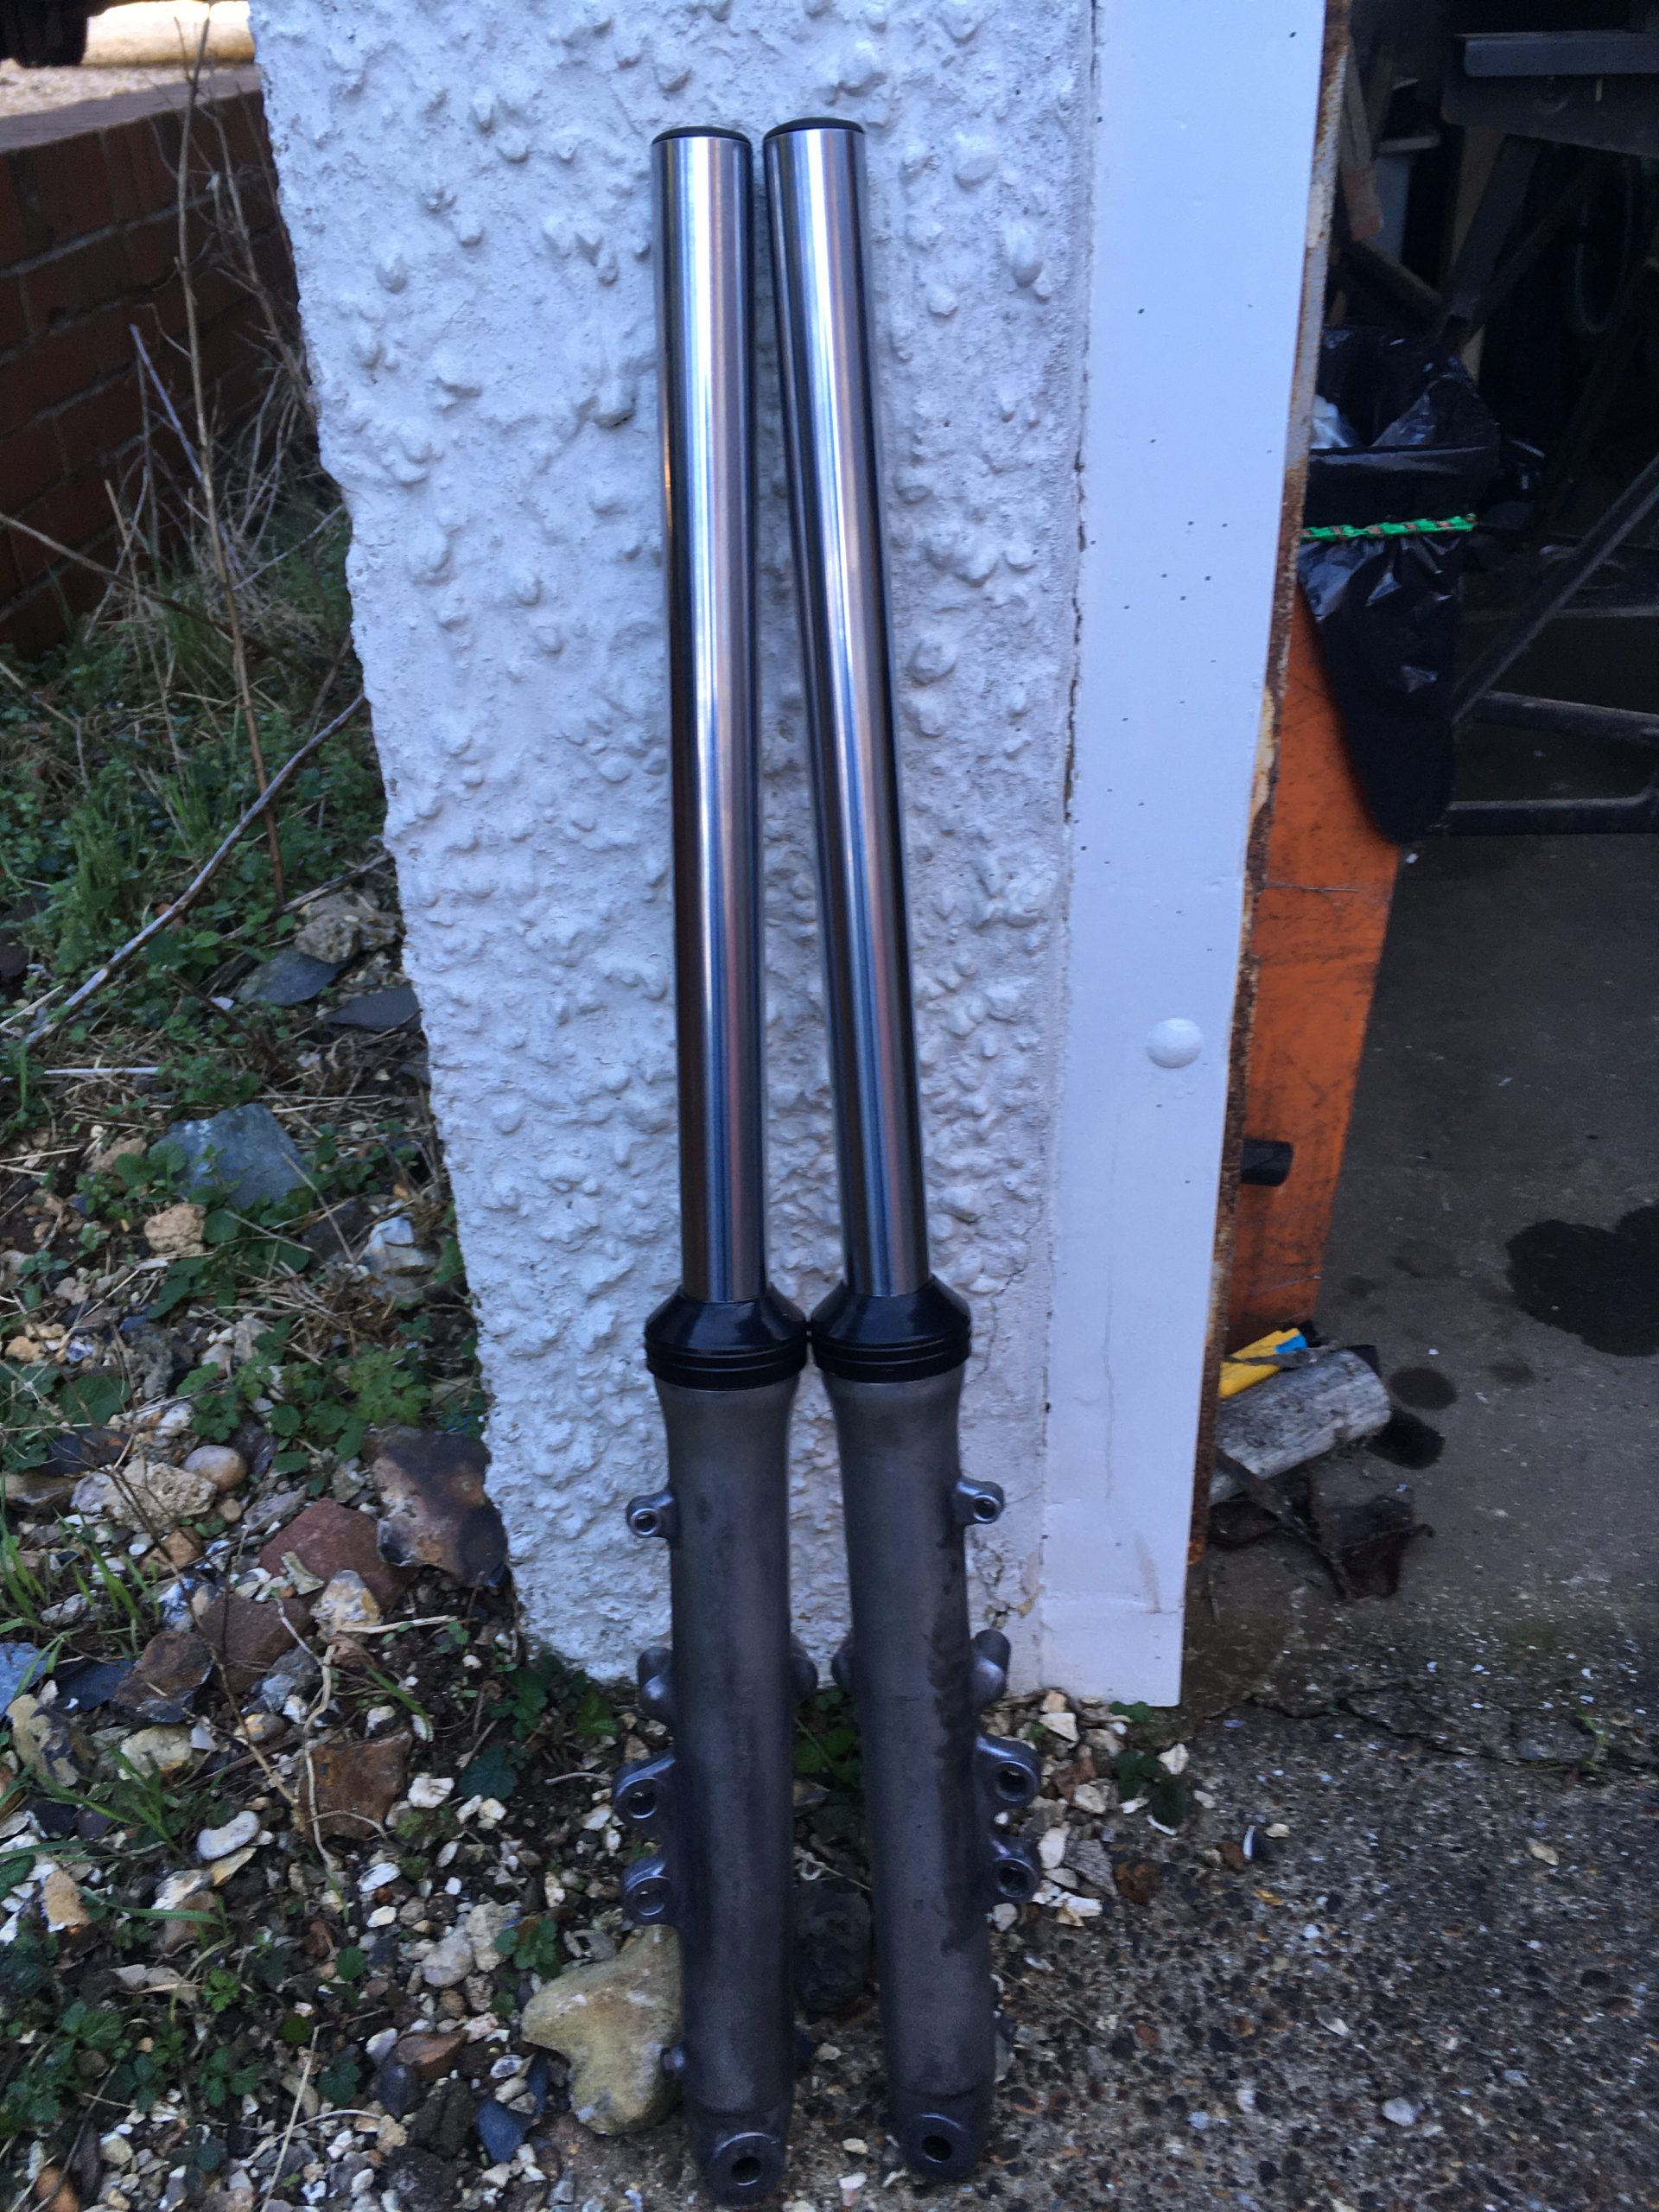
And here they are, finished the next day.
The alloy on the legs does look a bit rough, so I think a polish and lacquer is in order when I do the cosmetic build next year.