Last week, I attempted to clean my alloy fork legs with a kitchen scourer and some WD40. I had seen a YouTube video using this equipment, albeit on a pieve of allpy which already seemed clean to me.
Now this may be a good way to bring a shine to an already clean, and relatively flat piece of metal, but I can assure you that it’s far too much work for a corroded and lumpy fork leg.
Back to my tried and tested tools, and out comes the rotary wire brush affixed to my trusty drill.
10 minutes later, the forks have been transformed from crusty, to look like this…

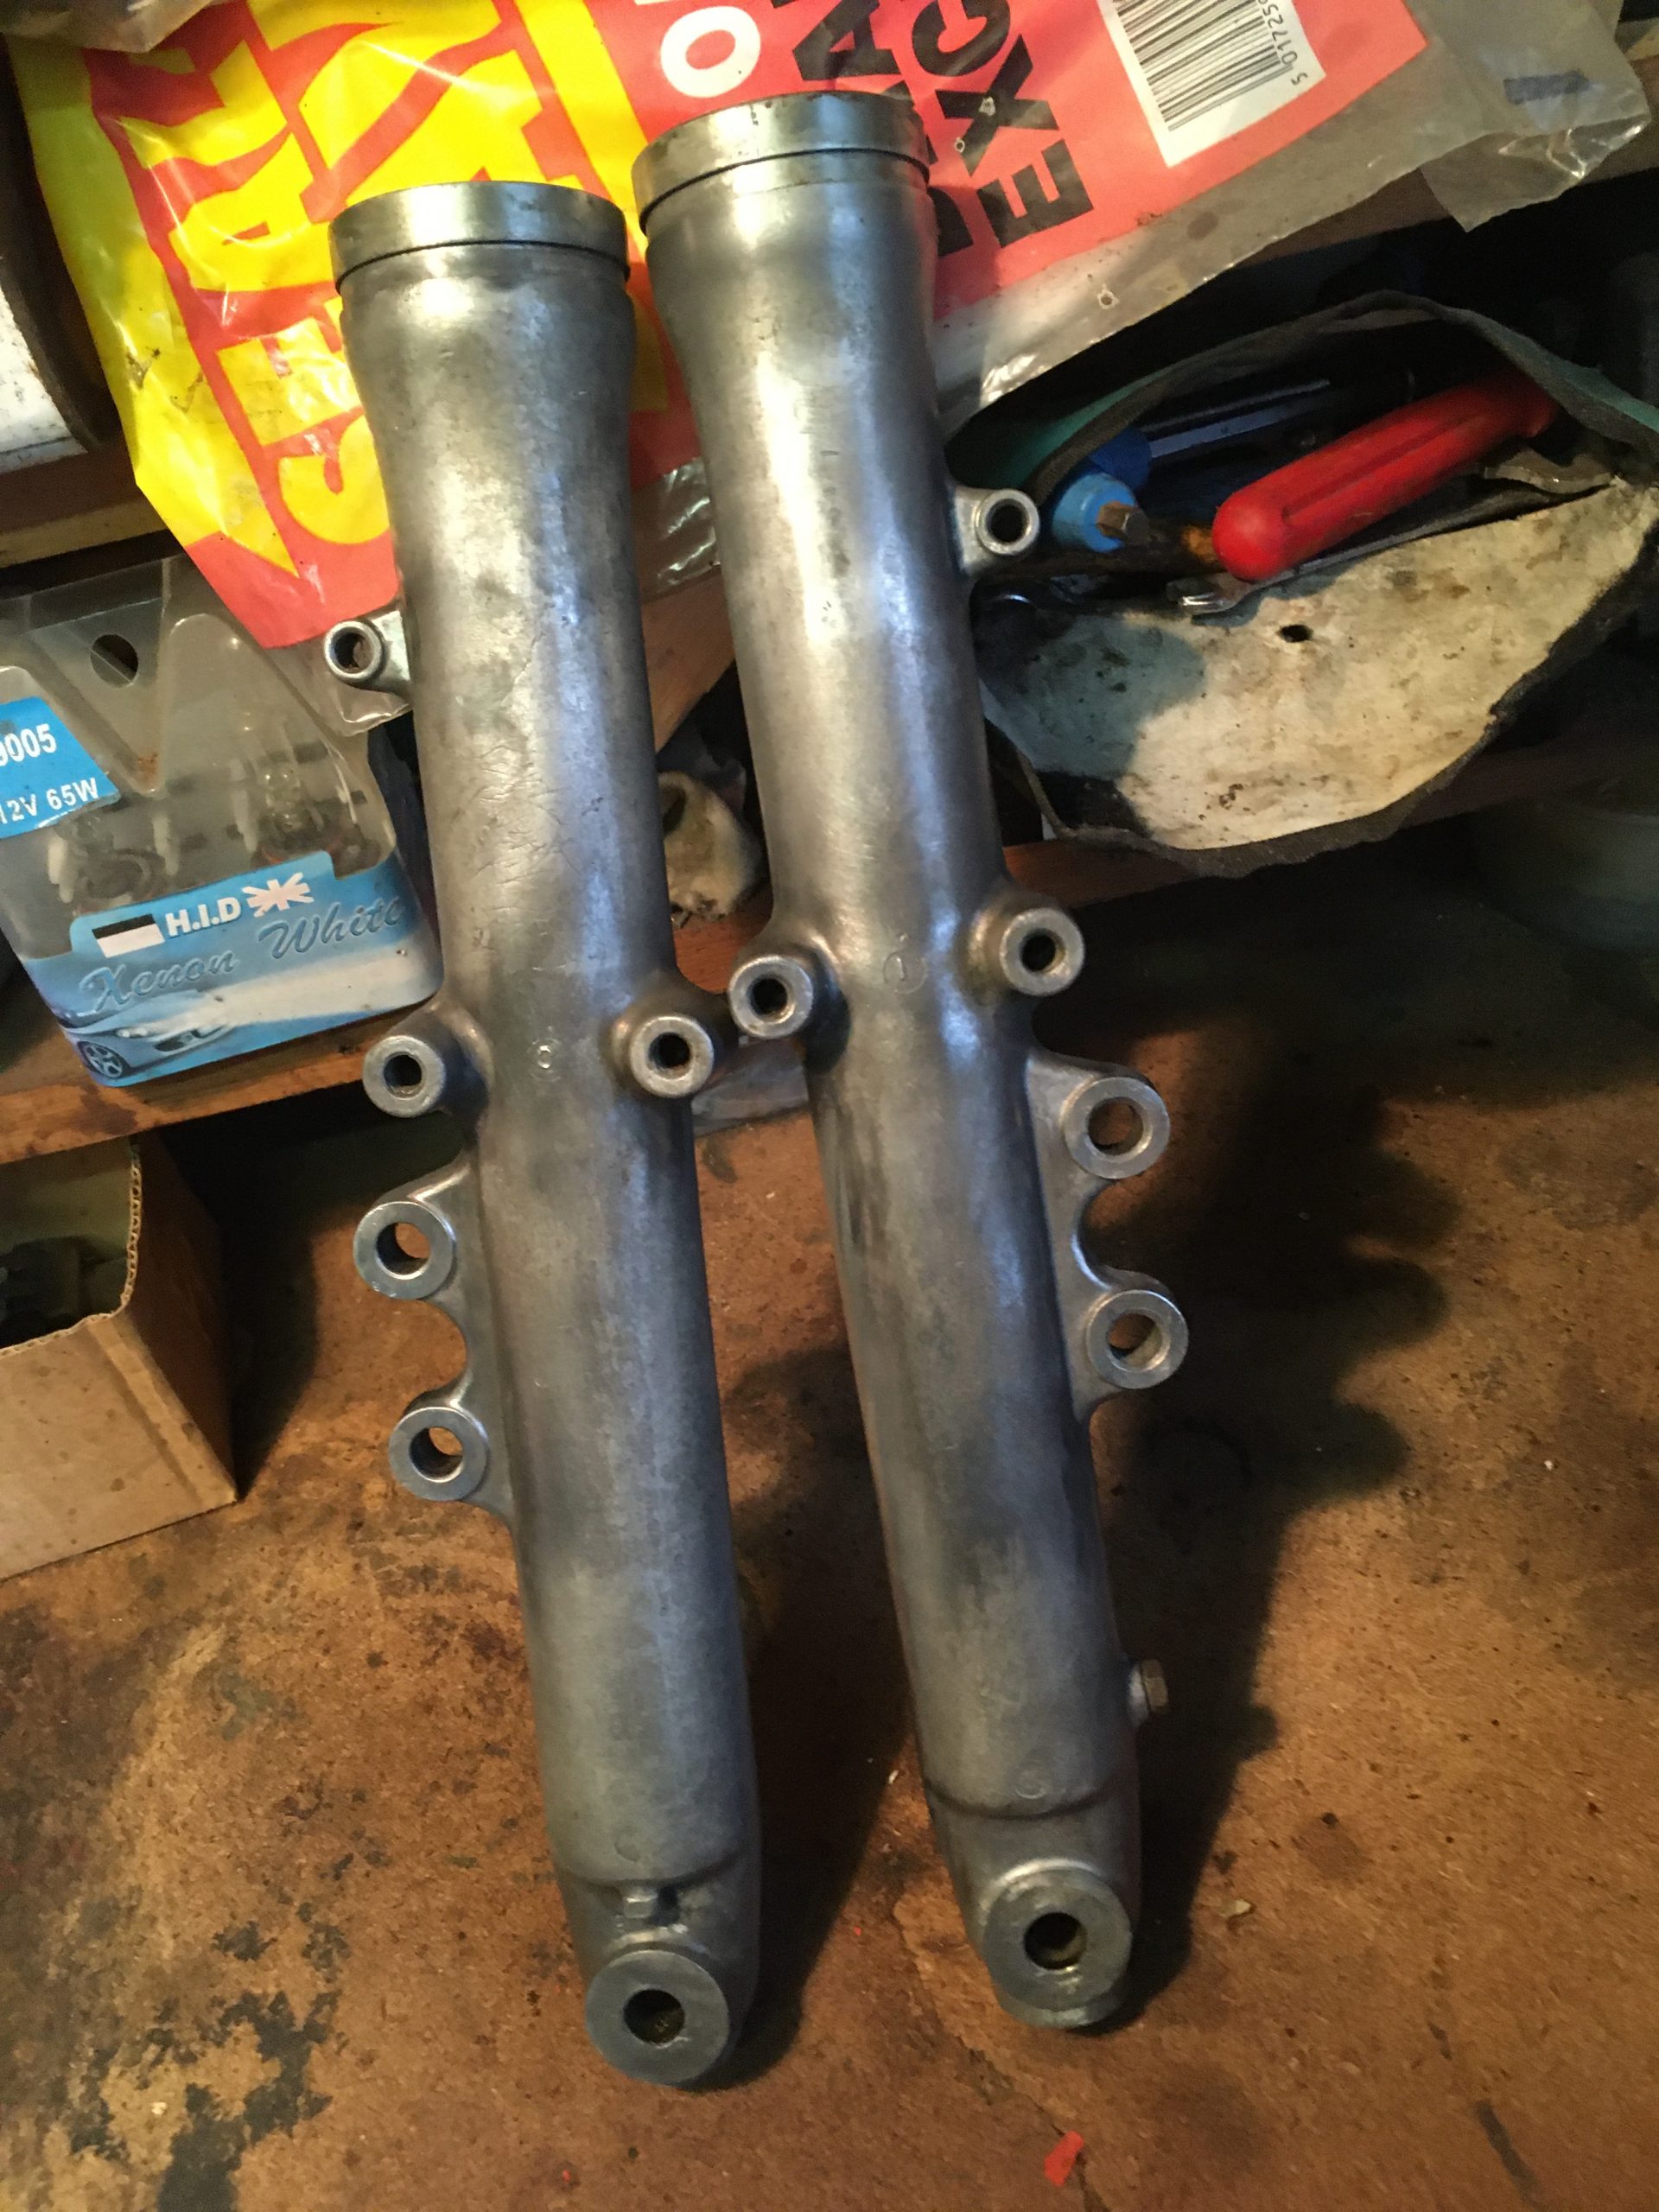
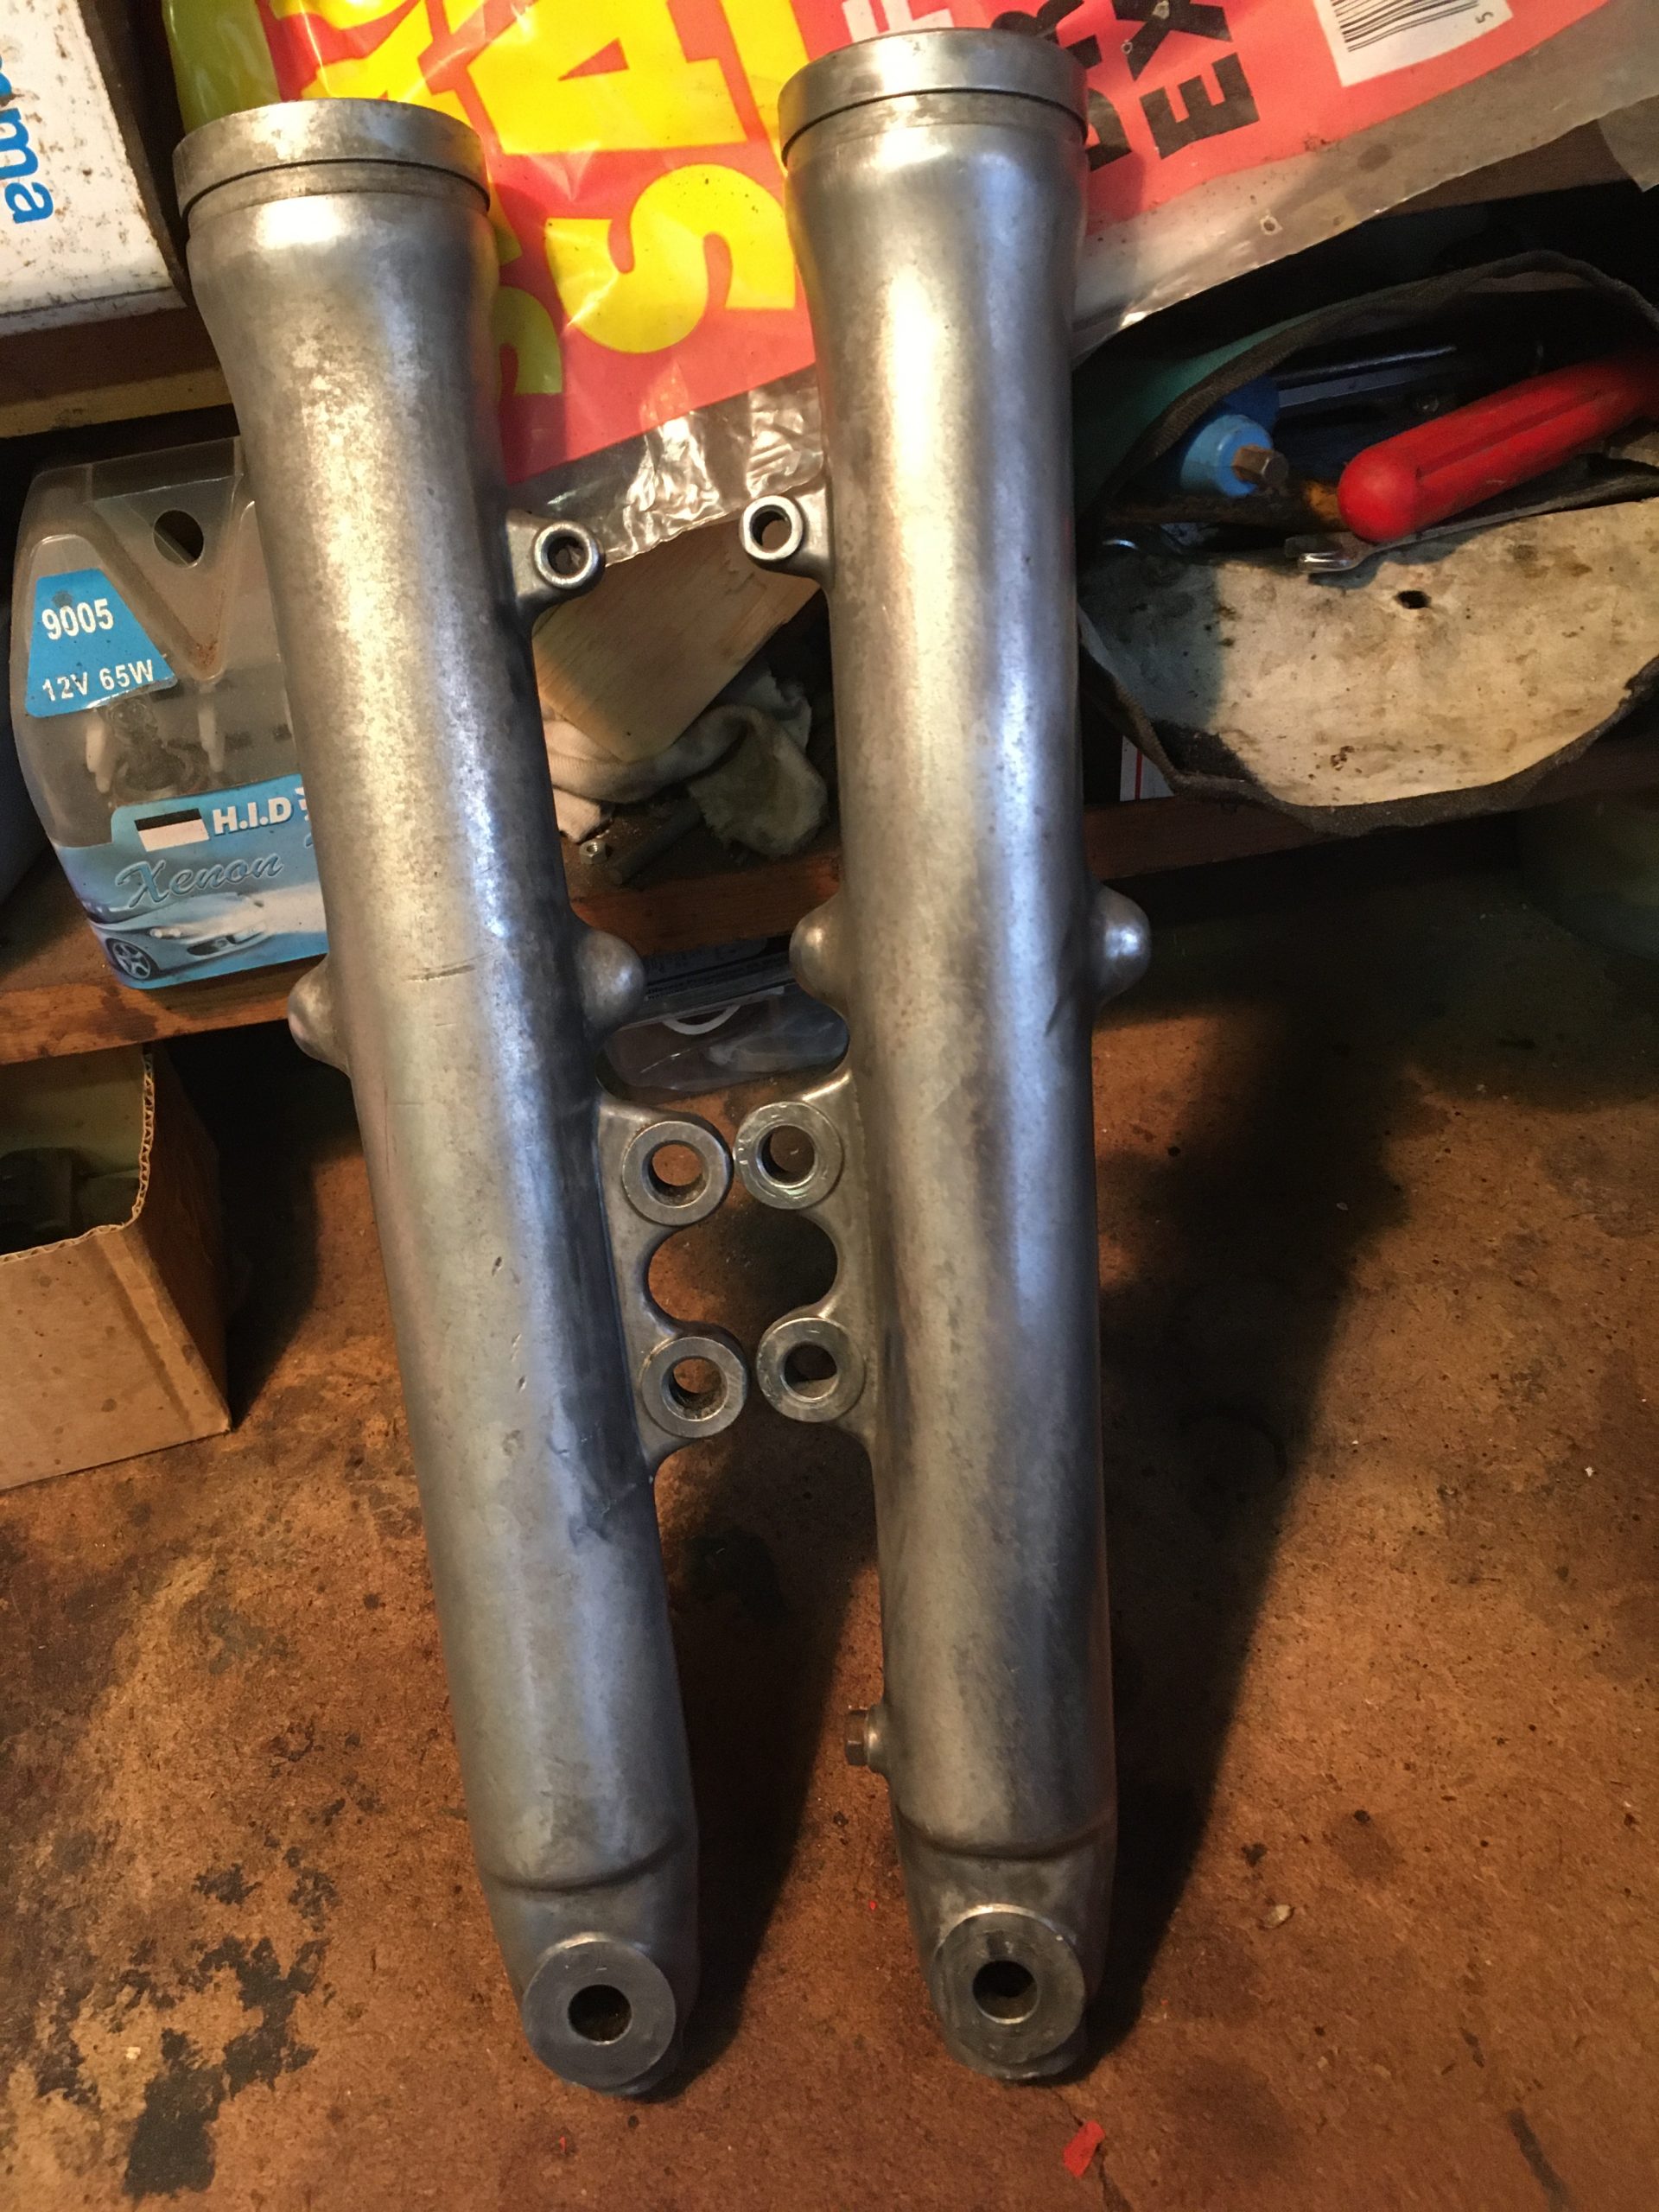
It looks like the fork legs were polished, and sprayed with laquer the last time they were built.
in the interim time, chained to railings, under a bush, in a damp garage, the corrosion has bubbled up under the lacquer.
For now, i shall build on the fork legs as they are here. For the cosmetic build, I will probably polish and re-lacquer, but i need to research what lacquer to use, or how to “seal” the alloy first.
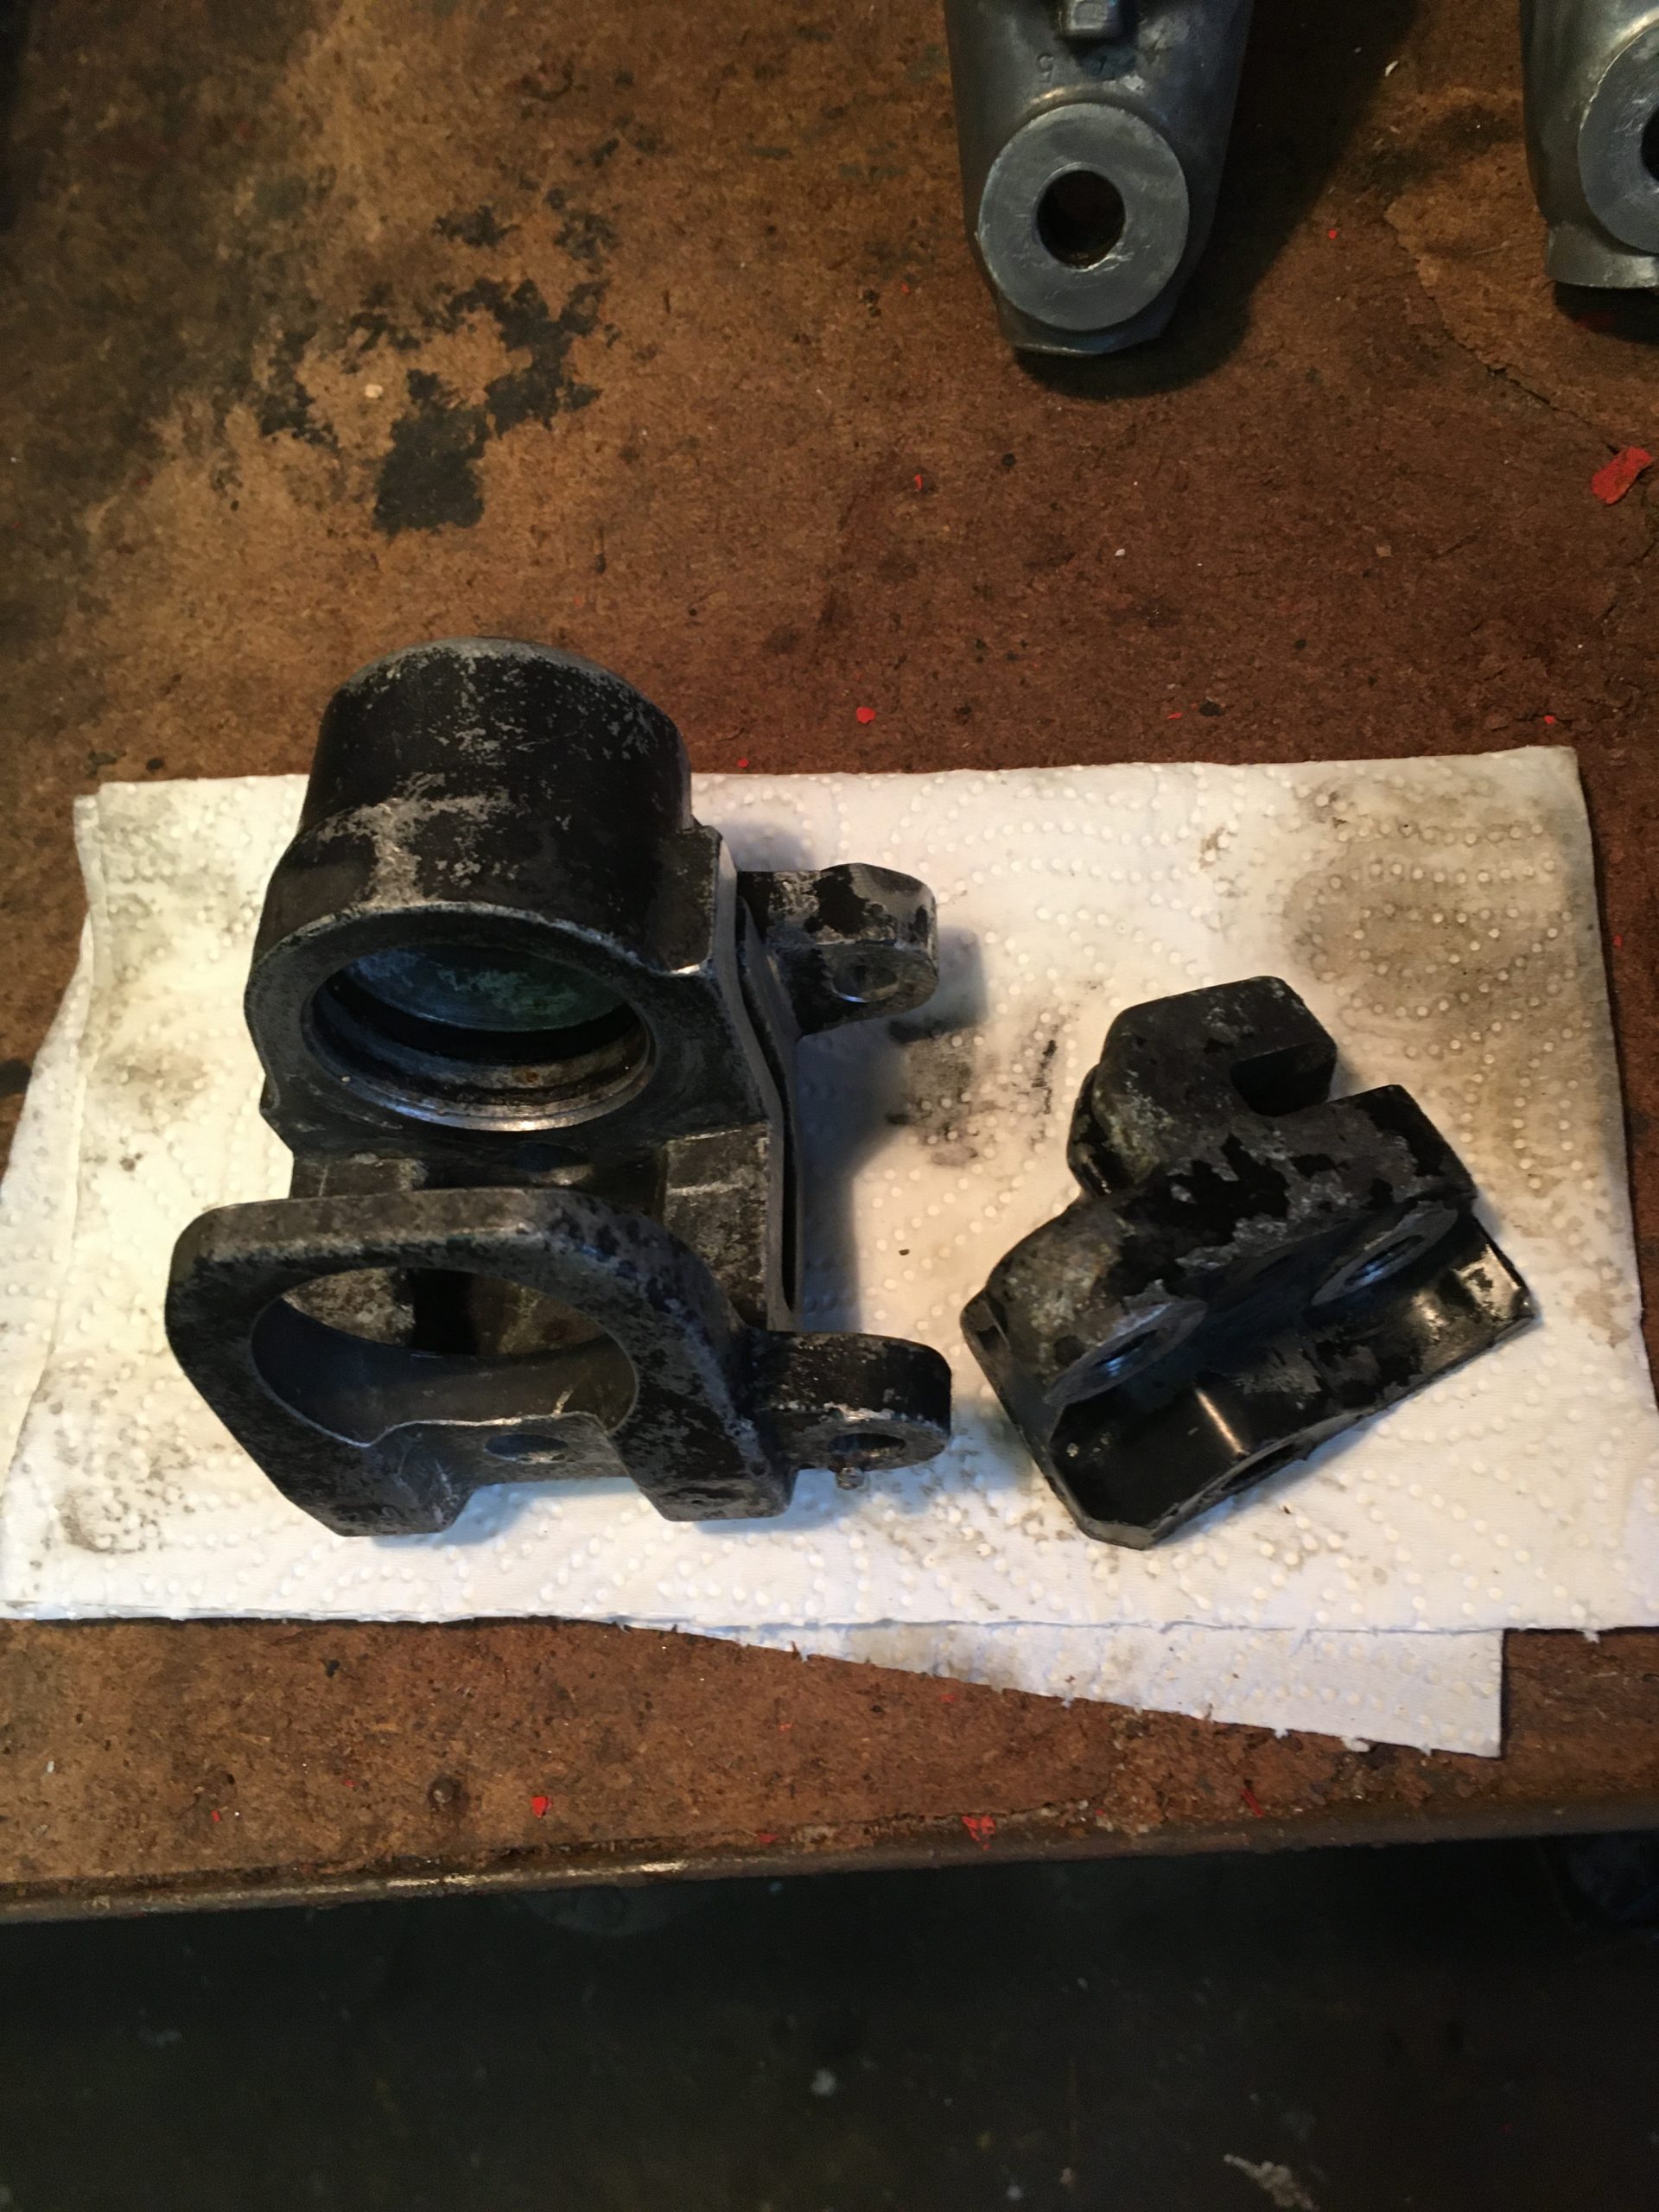
Impressed with my prowess, and with some time to spare, I disassembled the brake caliper and de-greased it, (mostly), ready for paint stripping.
I also put the last coat of paint on the center stand.
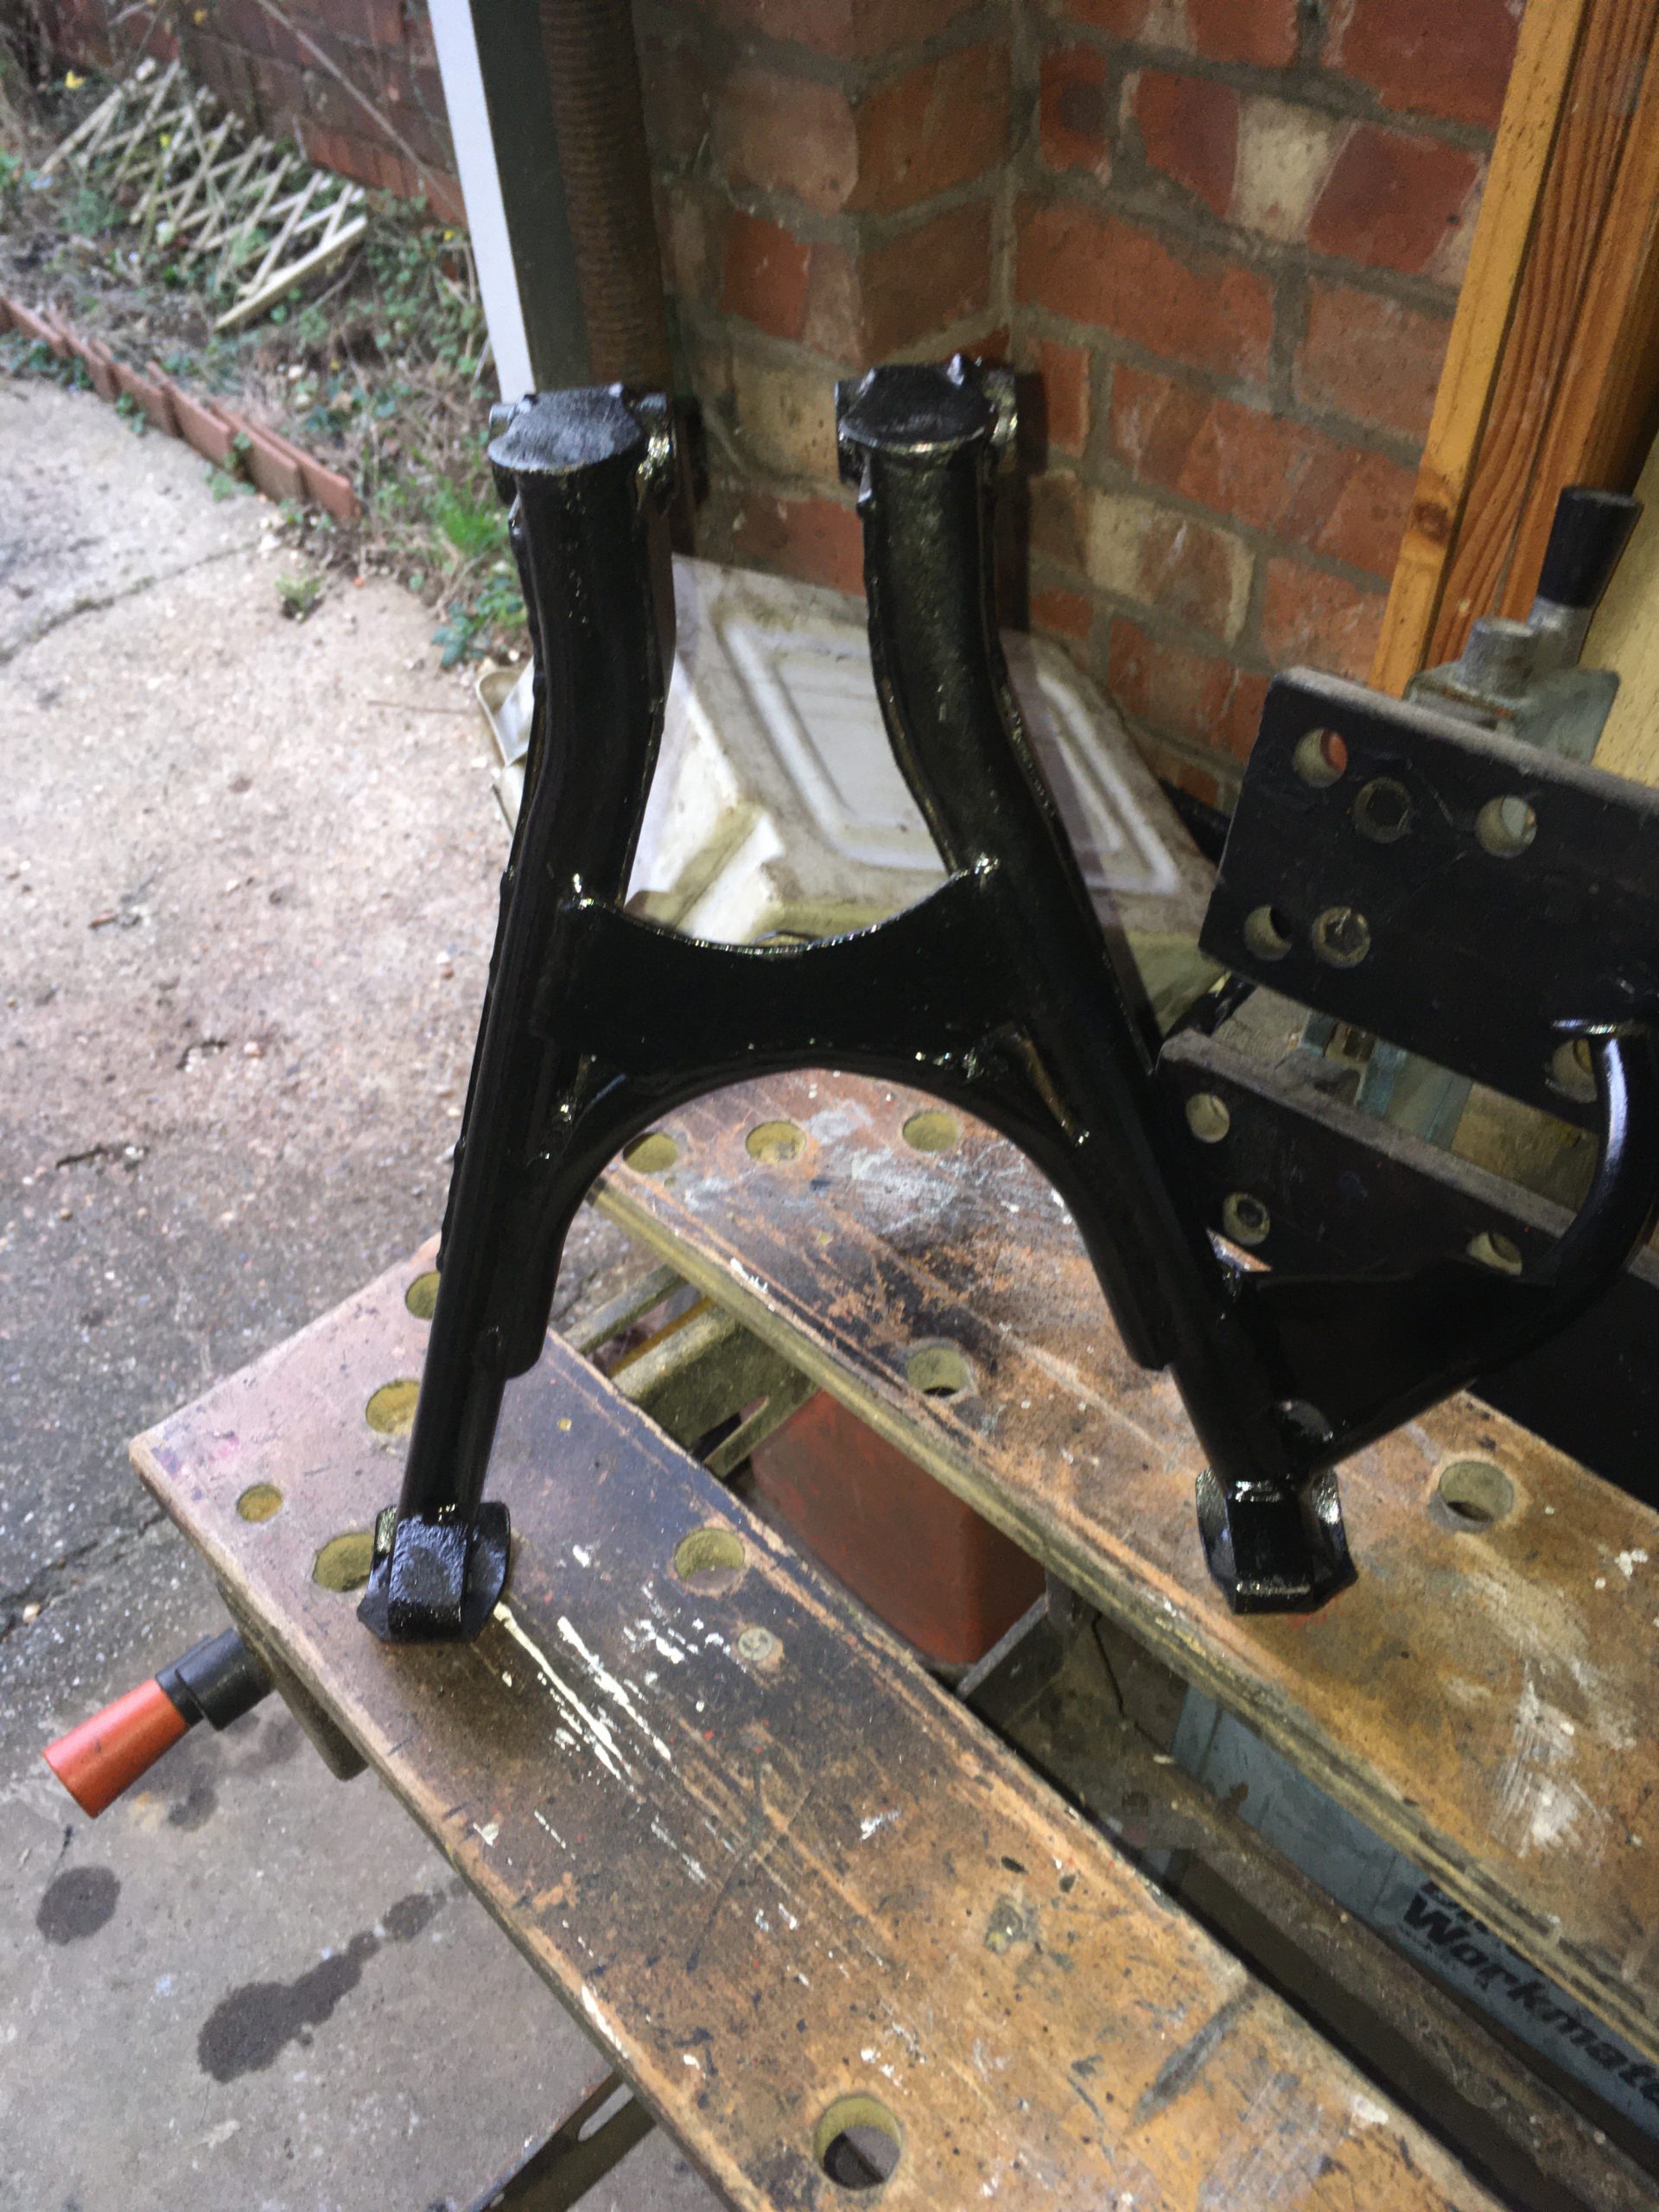
Yes. it’s not perfect, but the paint isn’t supposed to last forever.
the idea is to assemble the bike mechanically, obtain an MOT, (and ride it a bit), then probably next year, disassemble again, and get all of the cosmetics done, which will include blasting and stove enameling the frame and all the chassis parts.
so far I have used less than one rattle can of black enamel for, (parts of) the frame, the swing arm, torque arm, and the center stand.