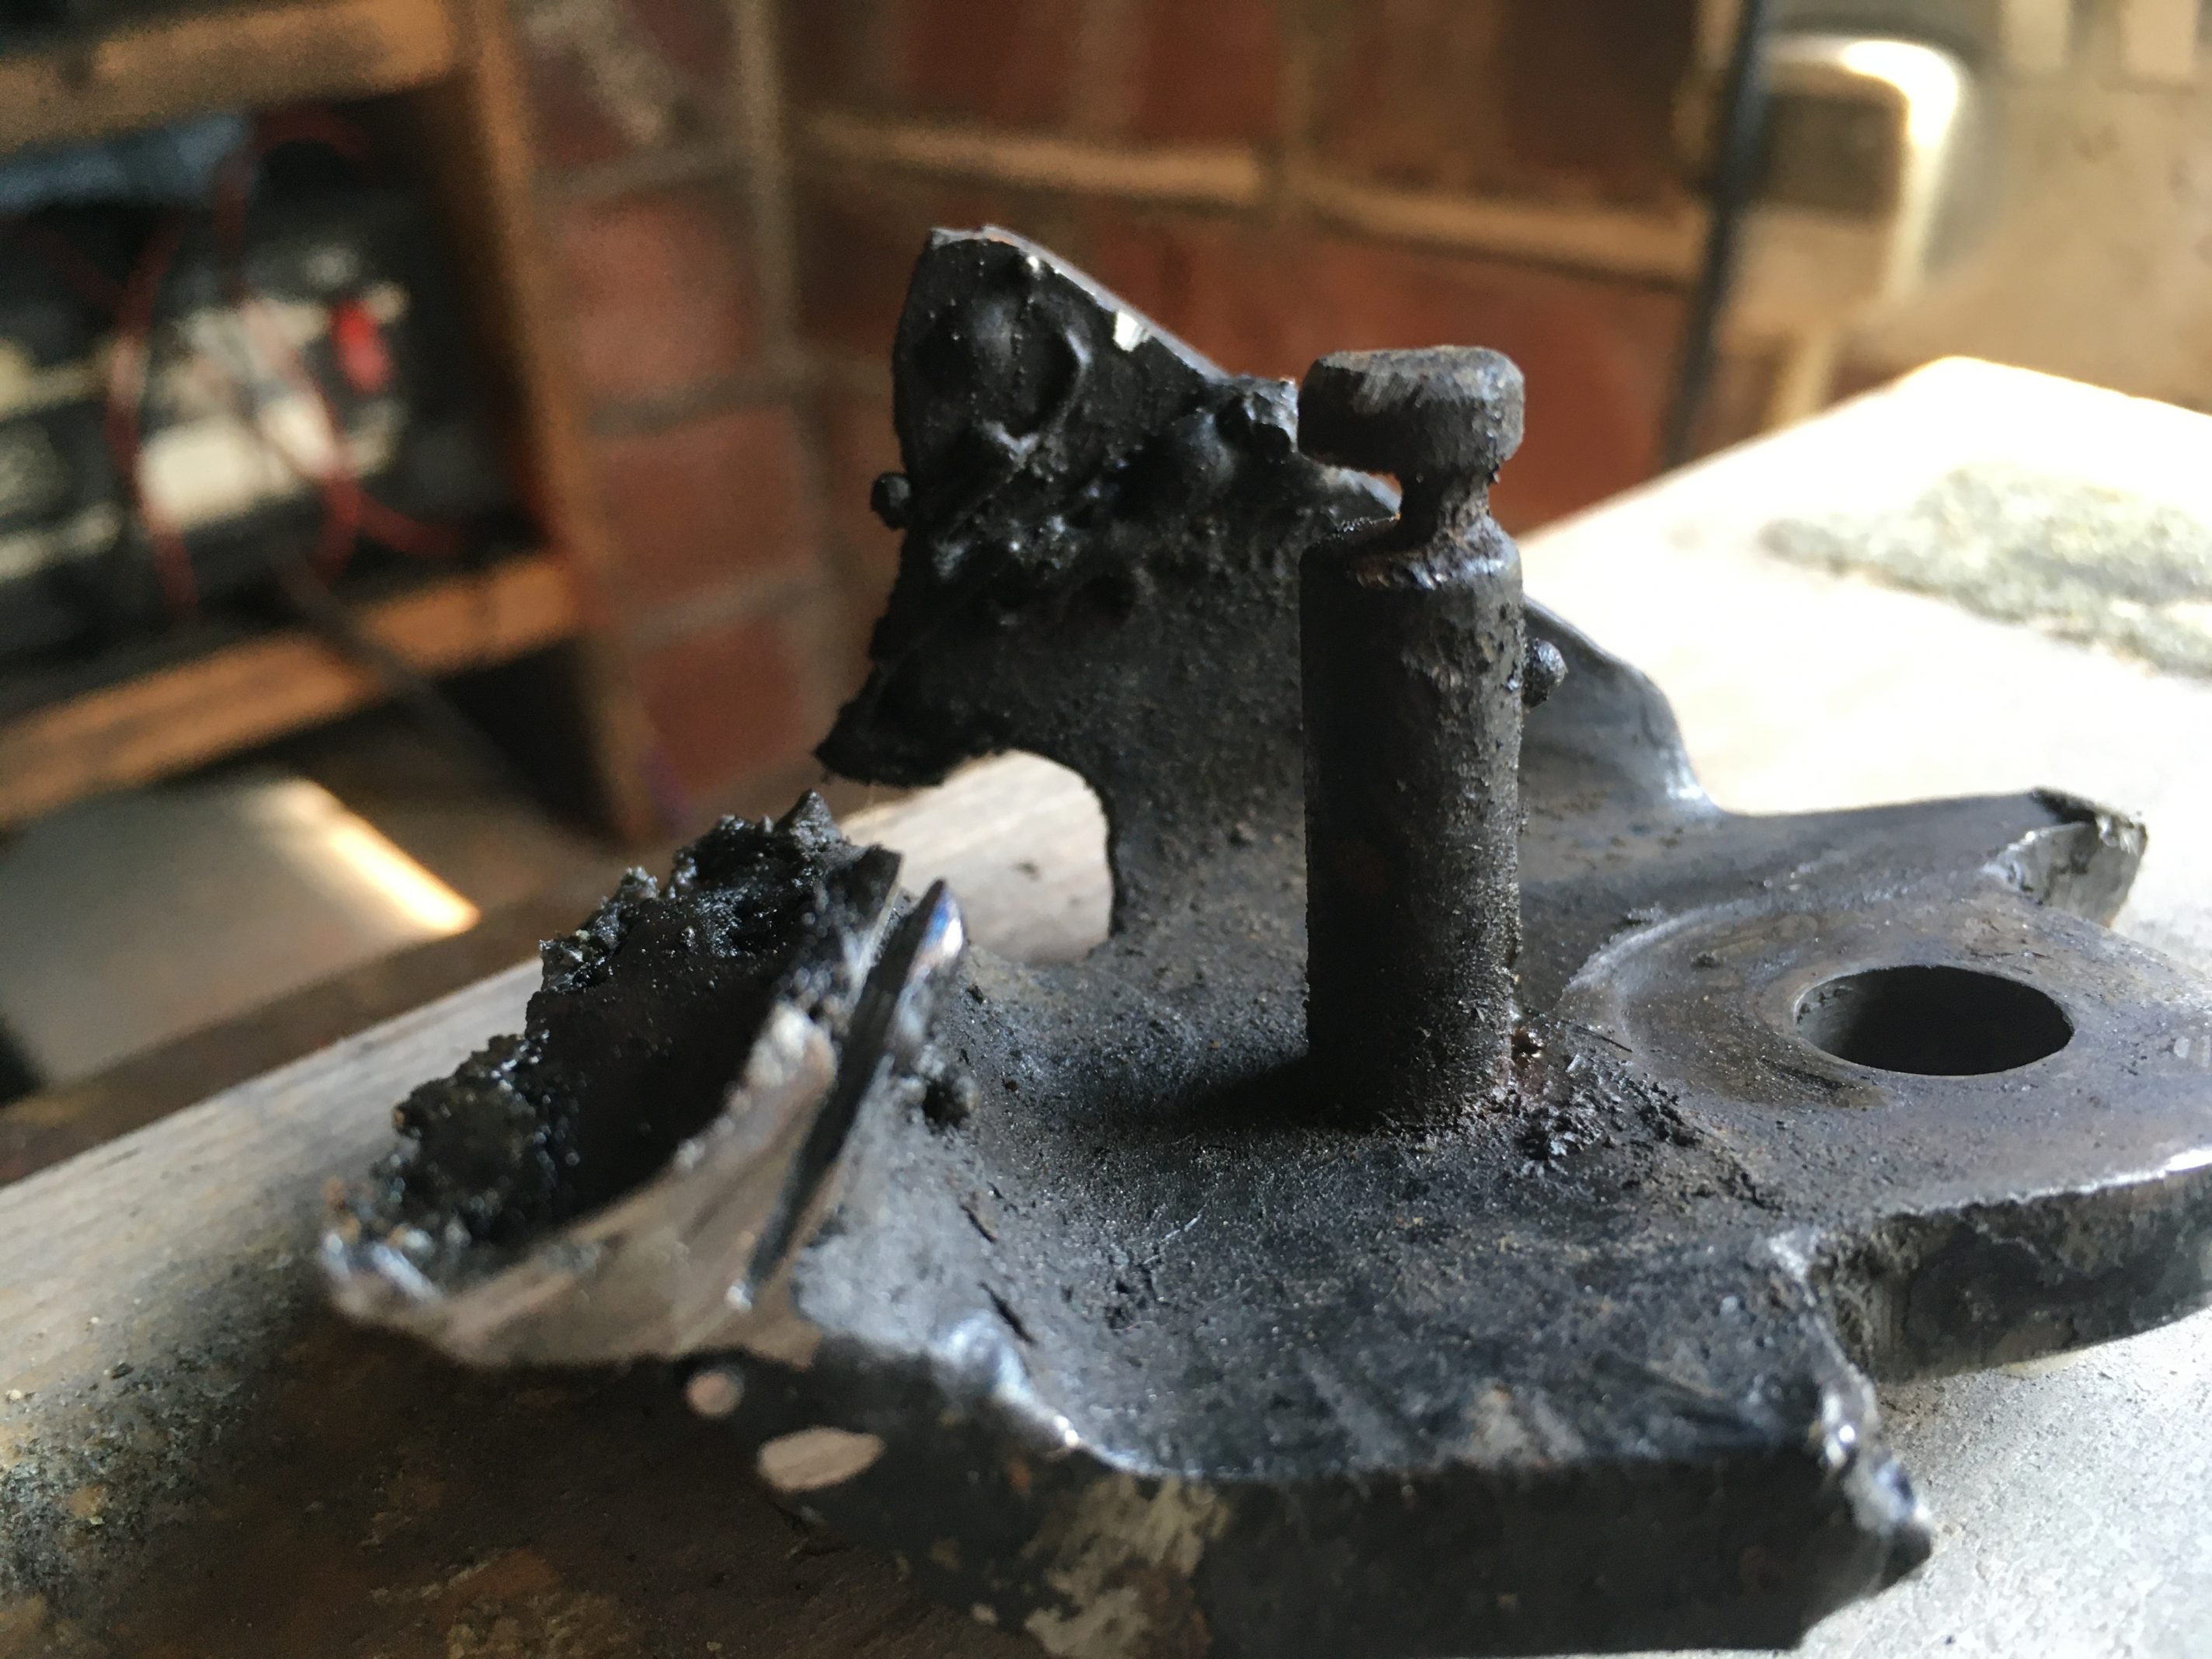
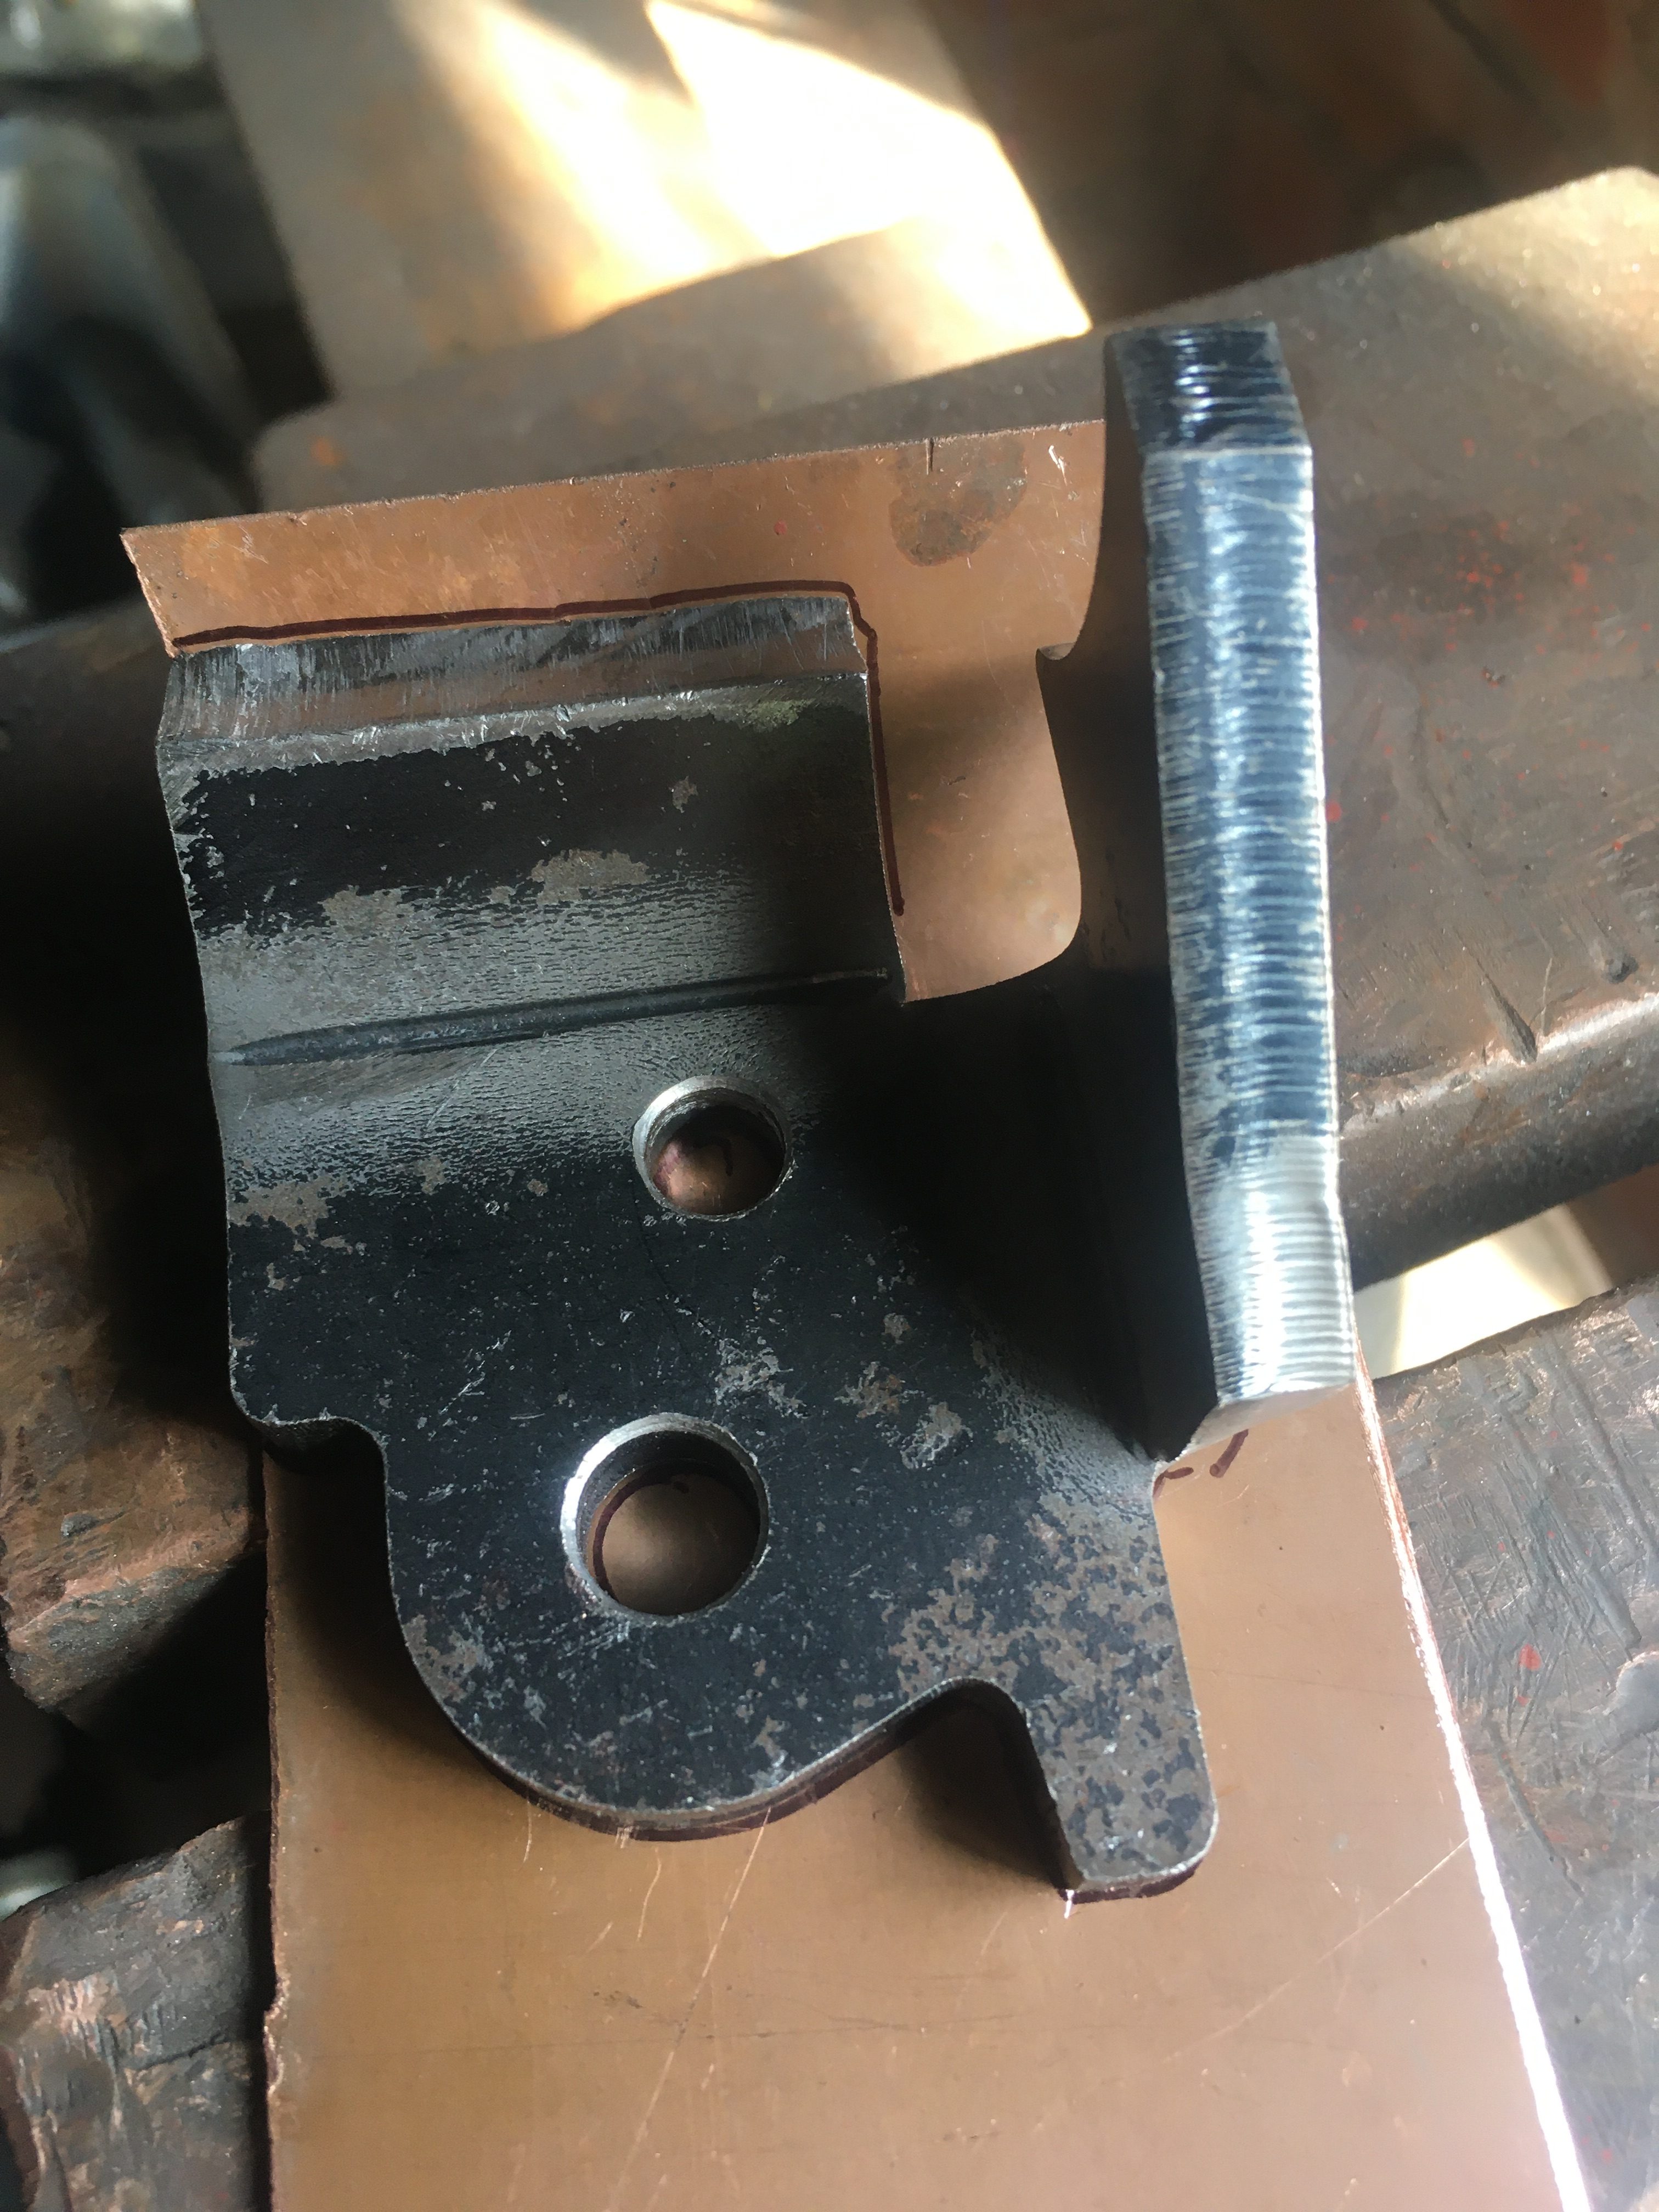
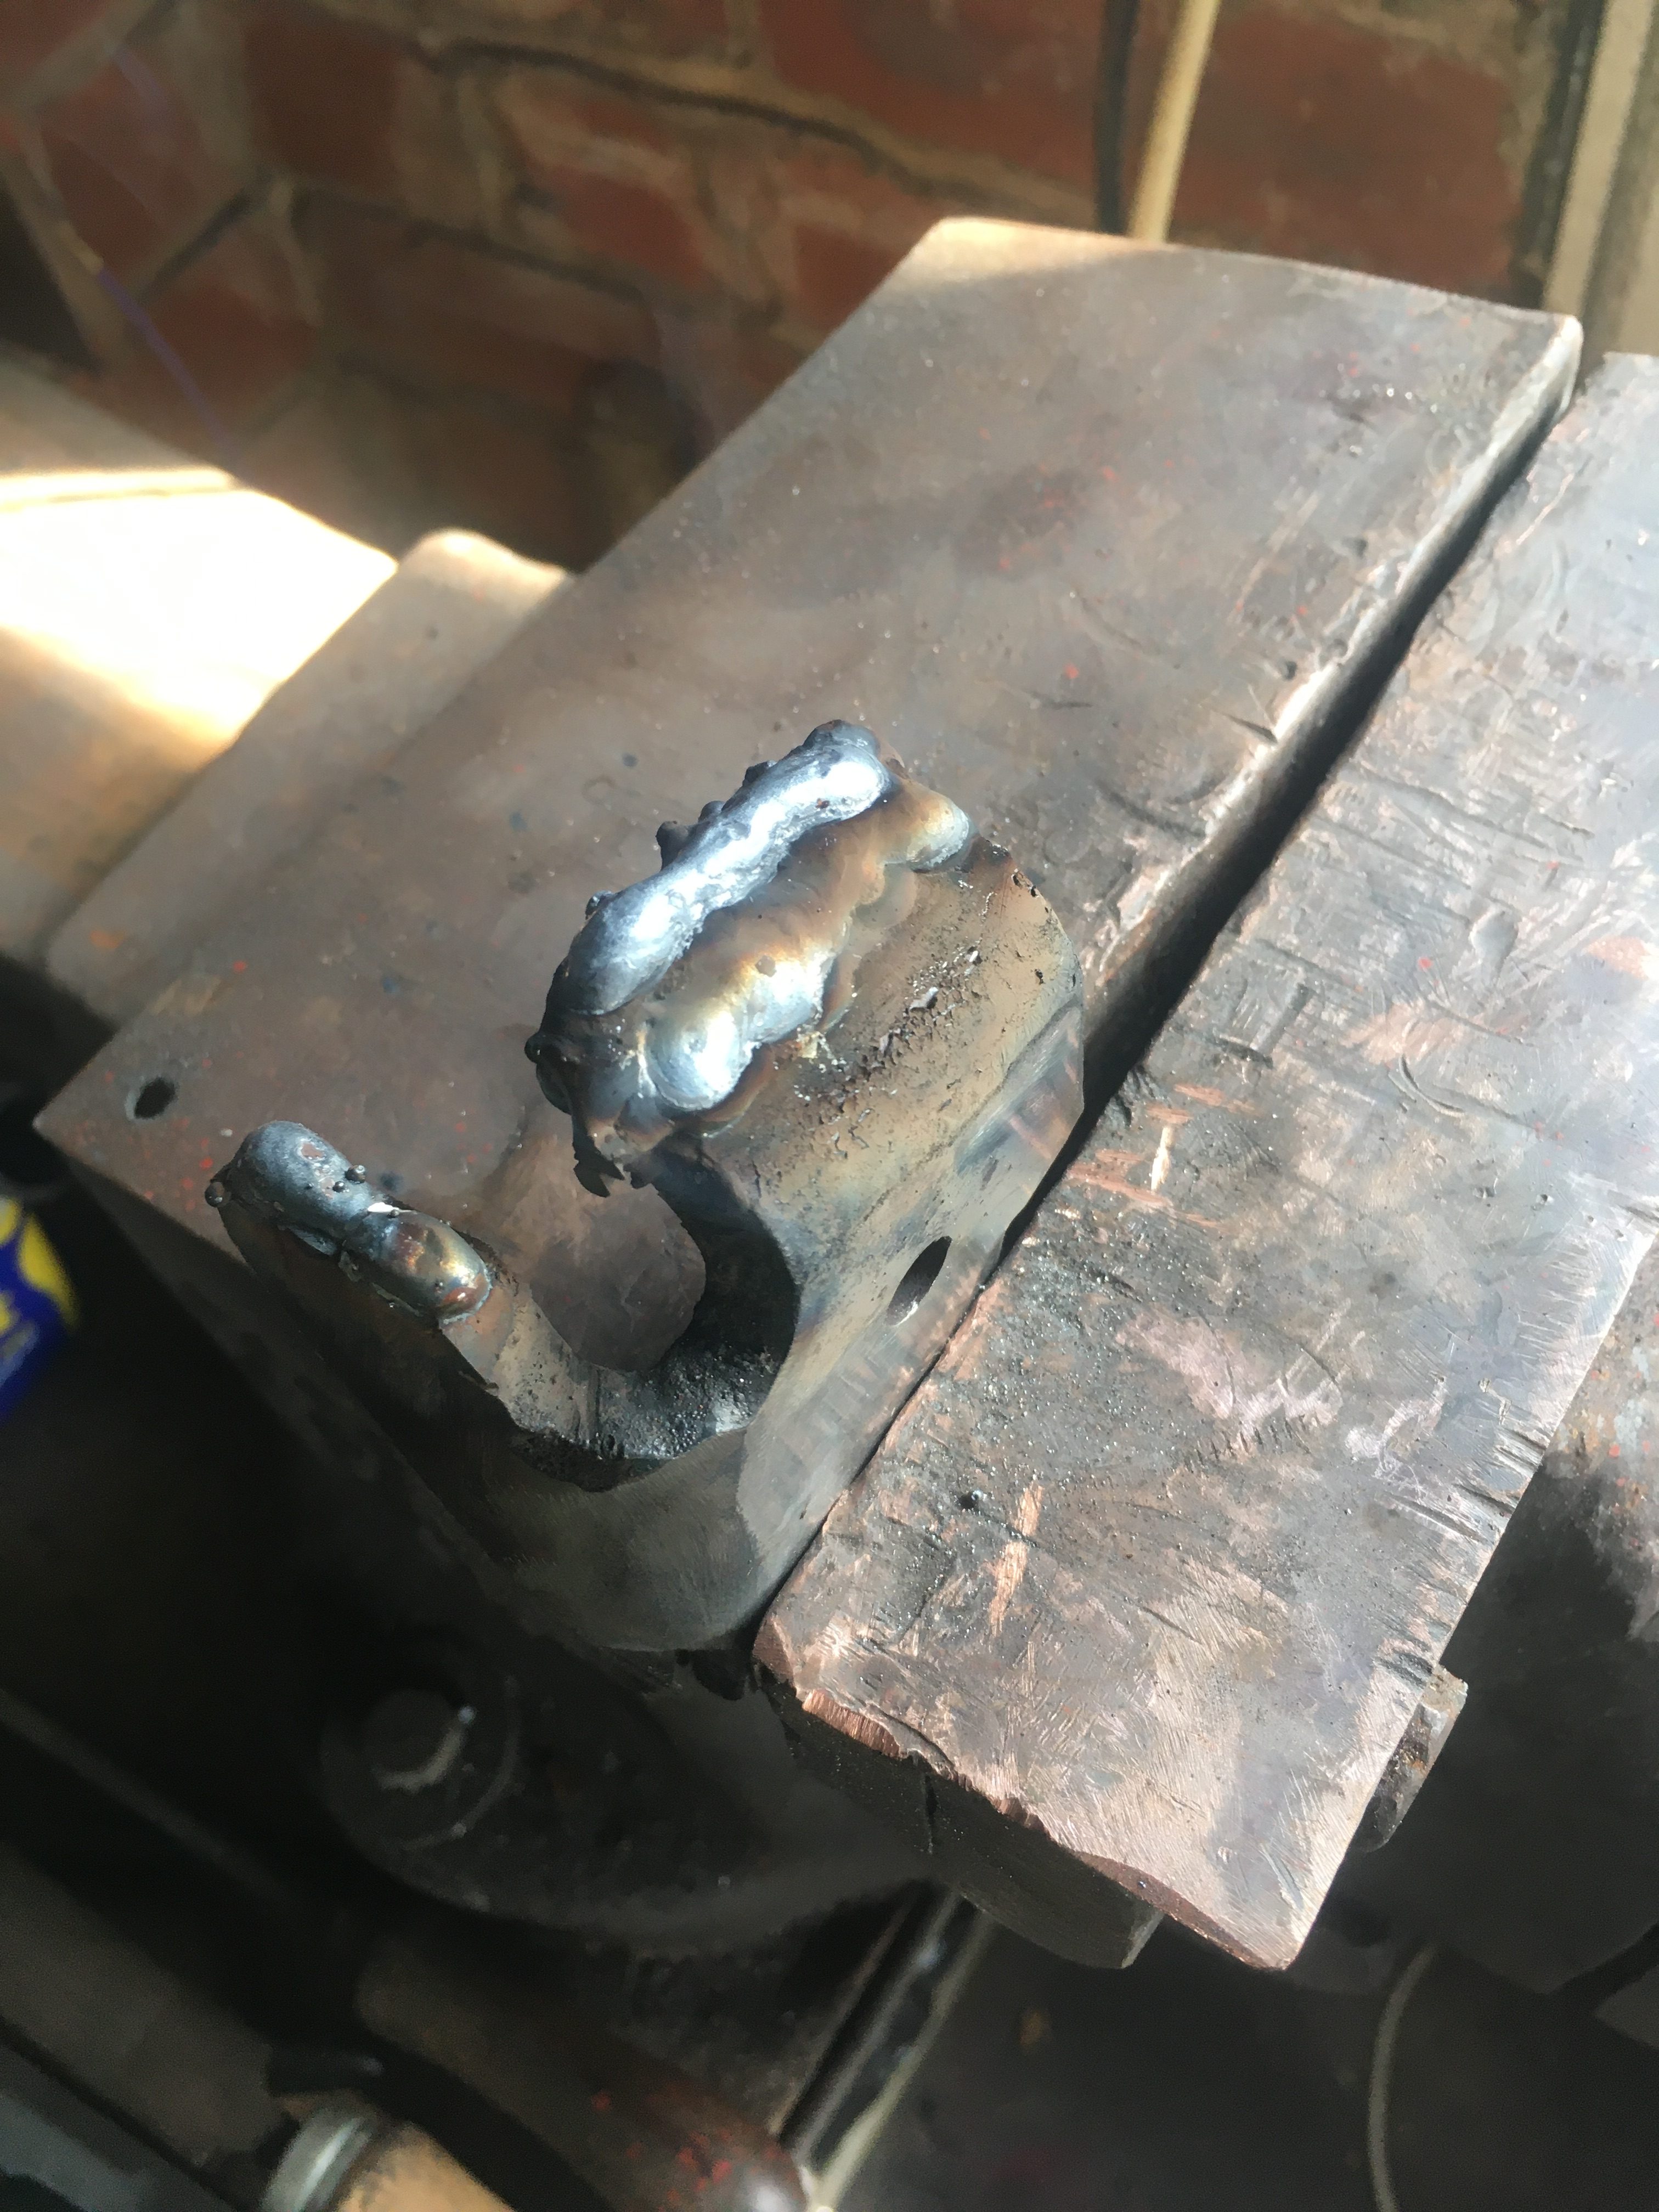
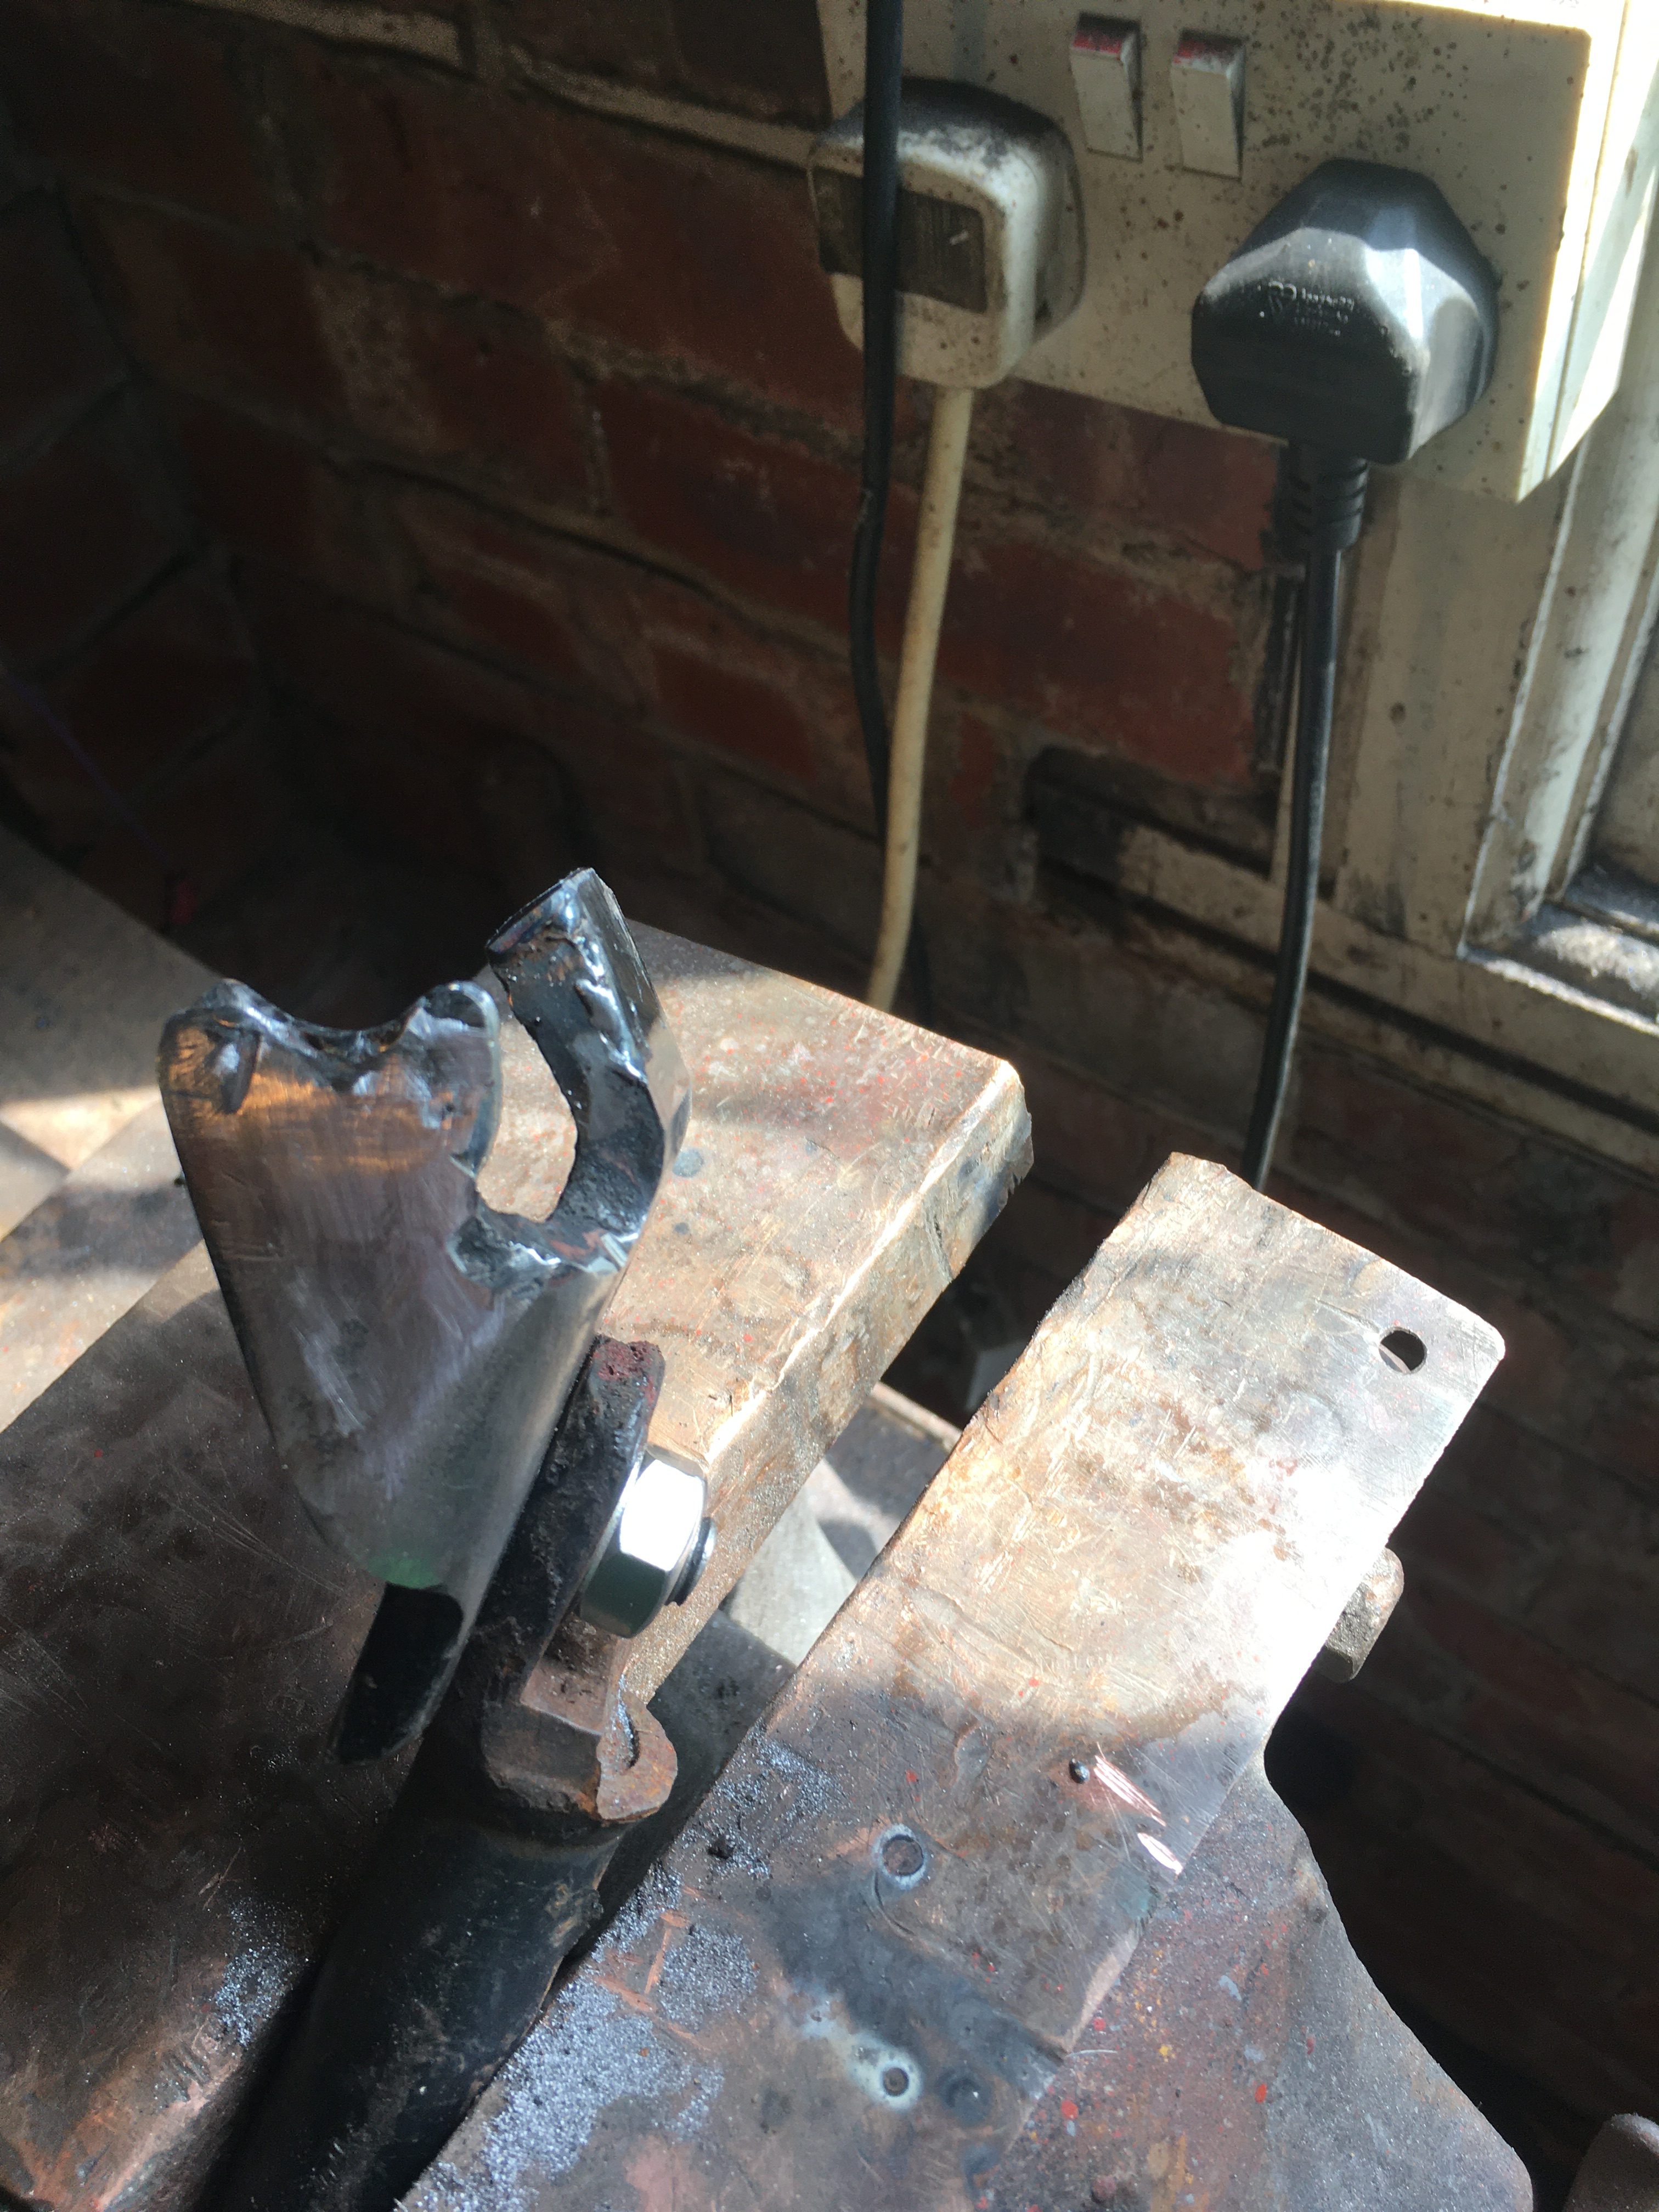
The sidestand bracket removed from the frame was in a sorry state.
It had been torn off the frame, ground back and rewelded as an “emergency” measure, which lasted for the next 25 years, and then cut off the frame to reposition it.
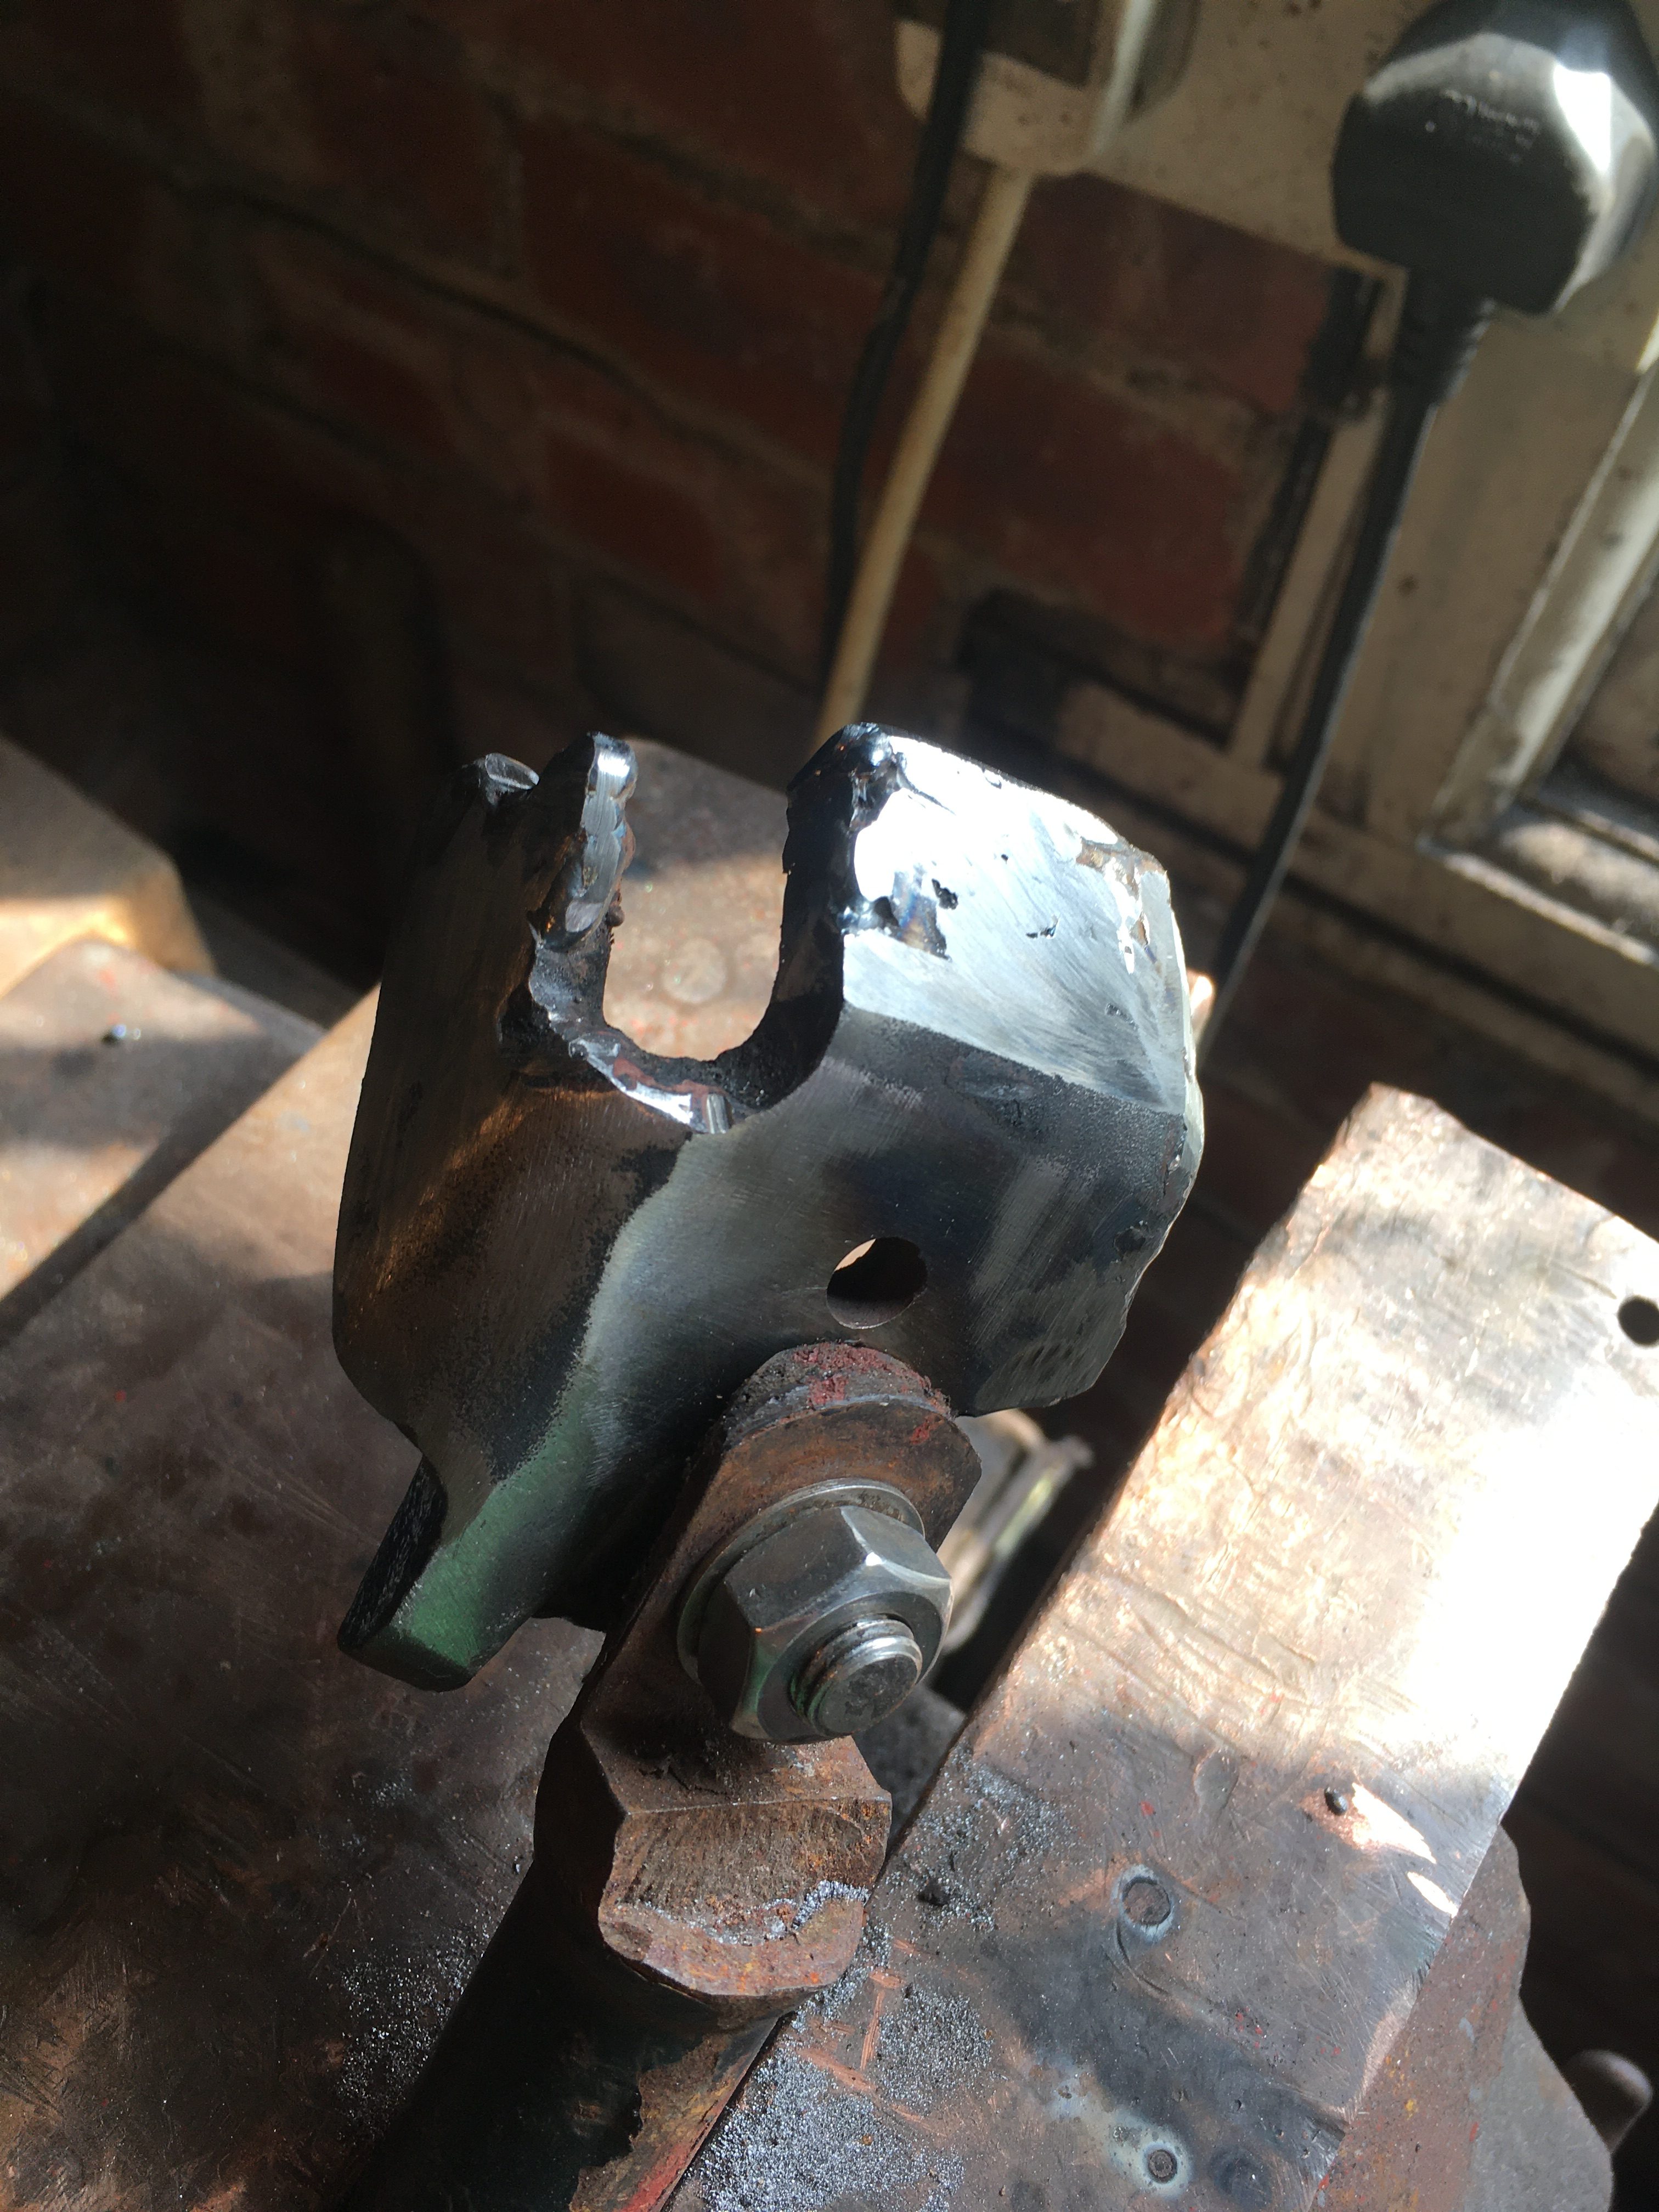
It now looks like this…
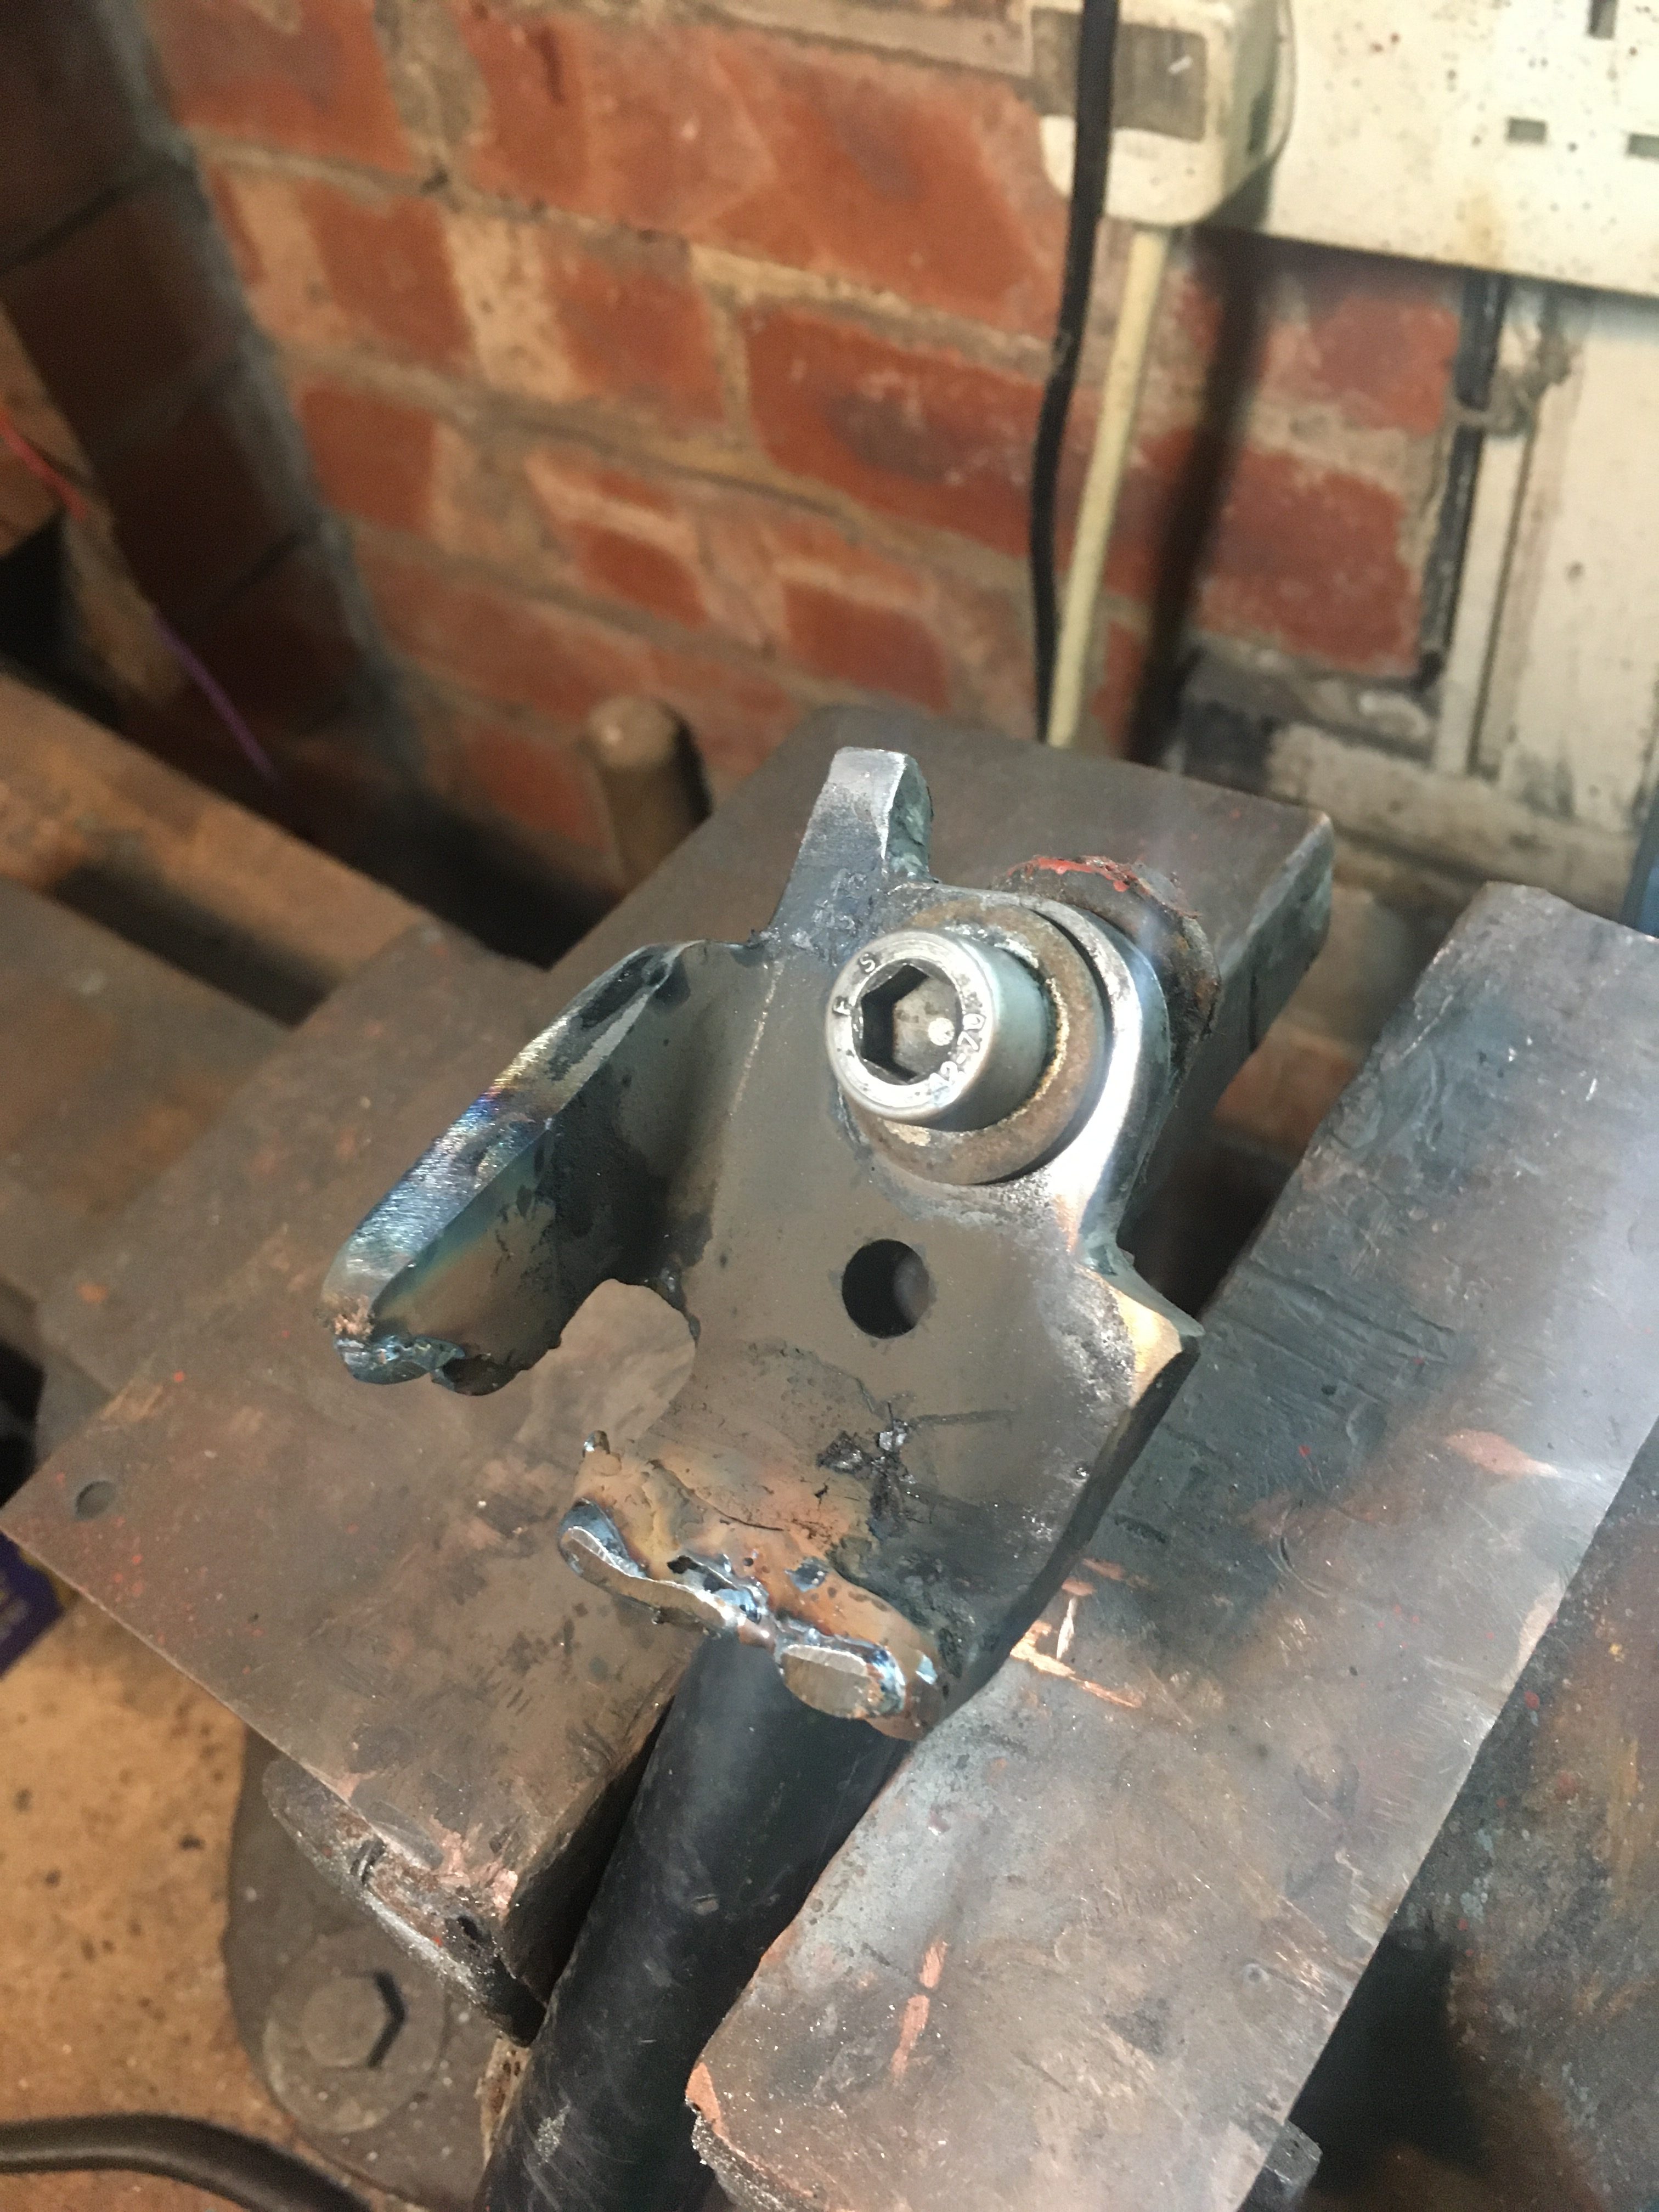
…whereas a new one, (sourced from a kind fellow on the RDLCCrazy forums looks something like this…
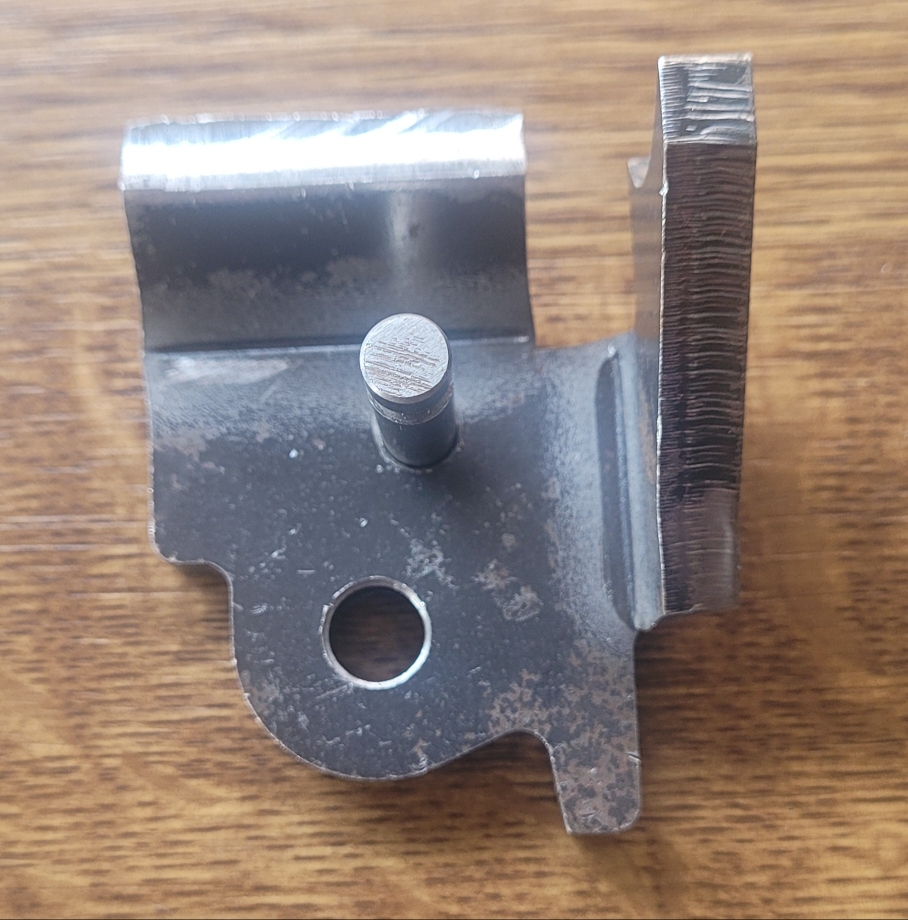
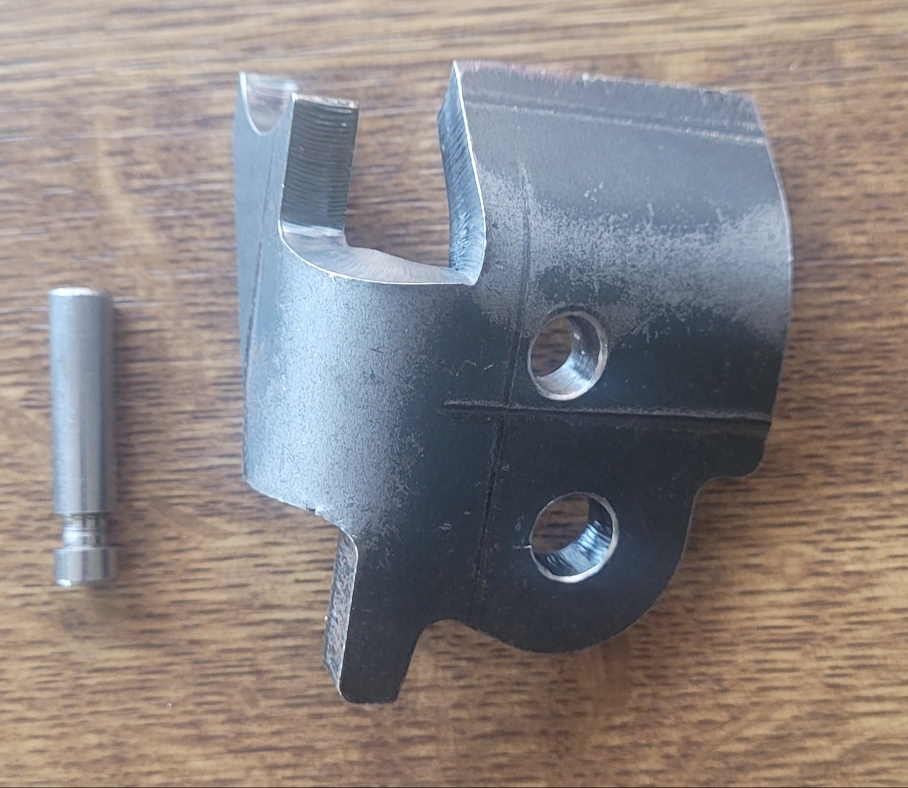
On investigation, the new bracket (a YPVS one) **IS** slightly different to the 4L0 one from my bike.
The pin for the spring is in a slightly different location, and the bend is at a slightly different angle.
With this in mind, my intention is to attempt a repair on the crufty old bit of metal I removed from the frame.
This will allow me to retain the YPVS one in its virgin state, and in the fullness of time, pass it on to someone who needs it.
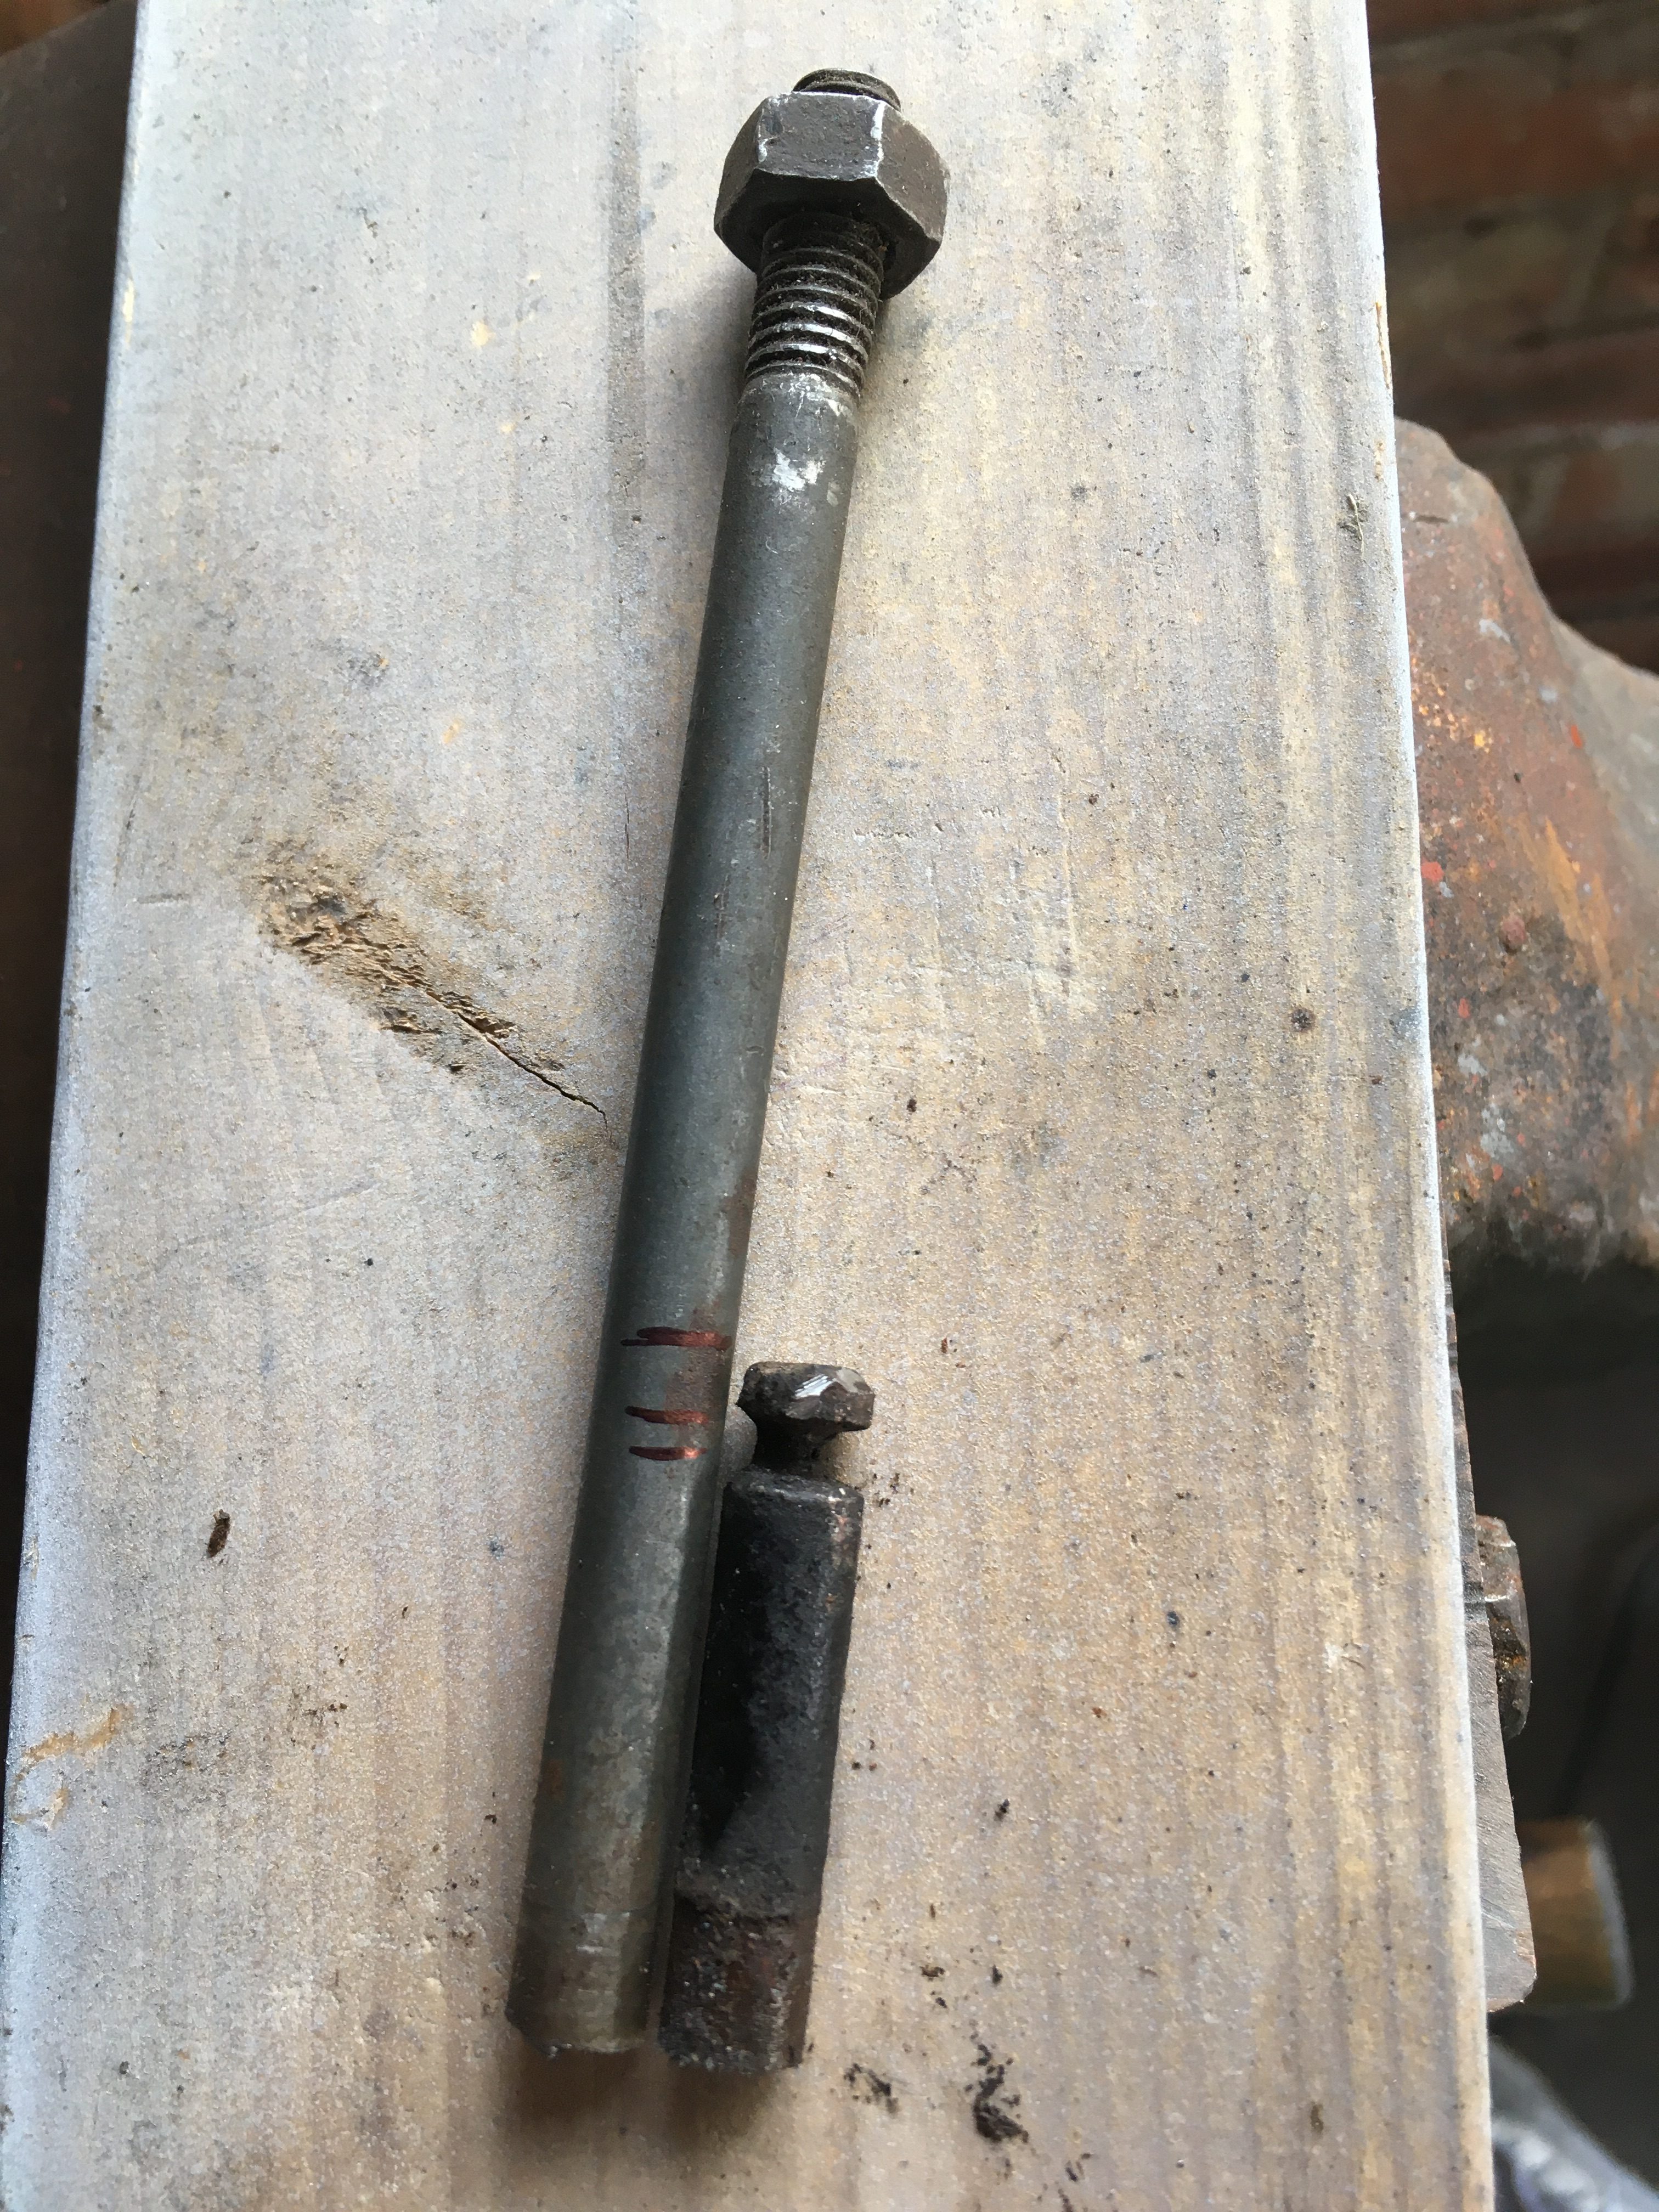
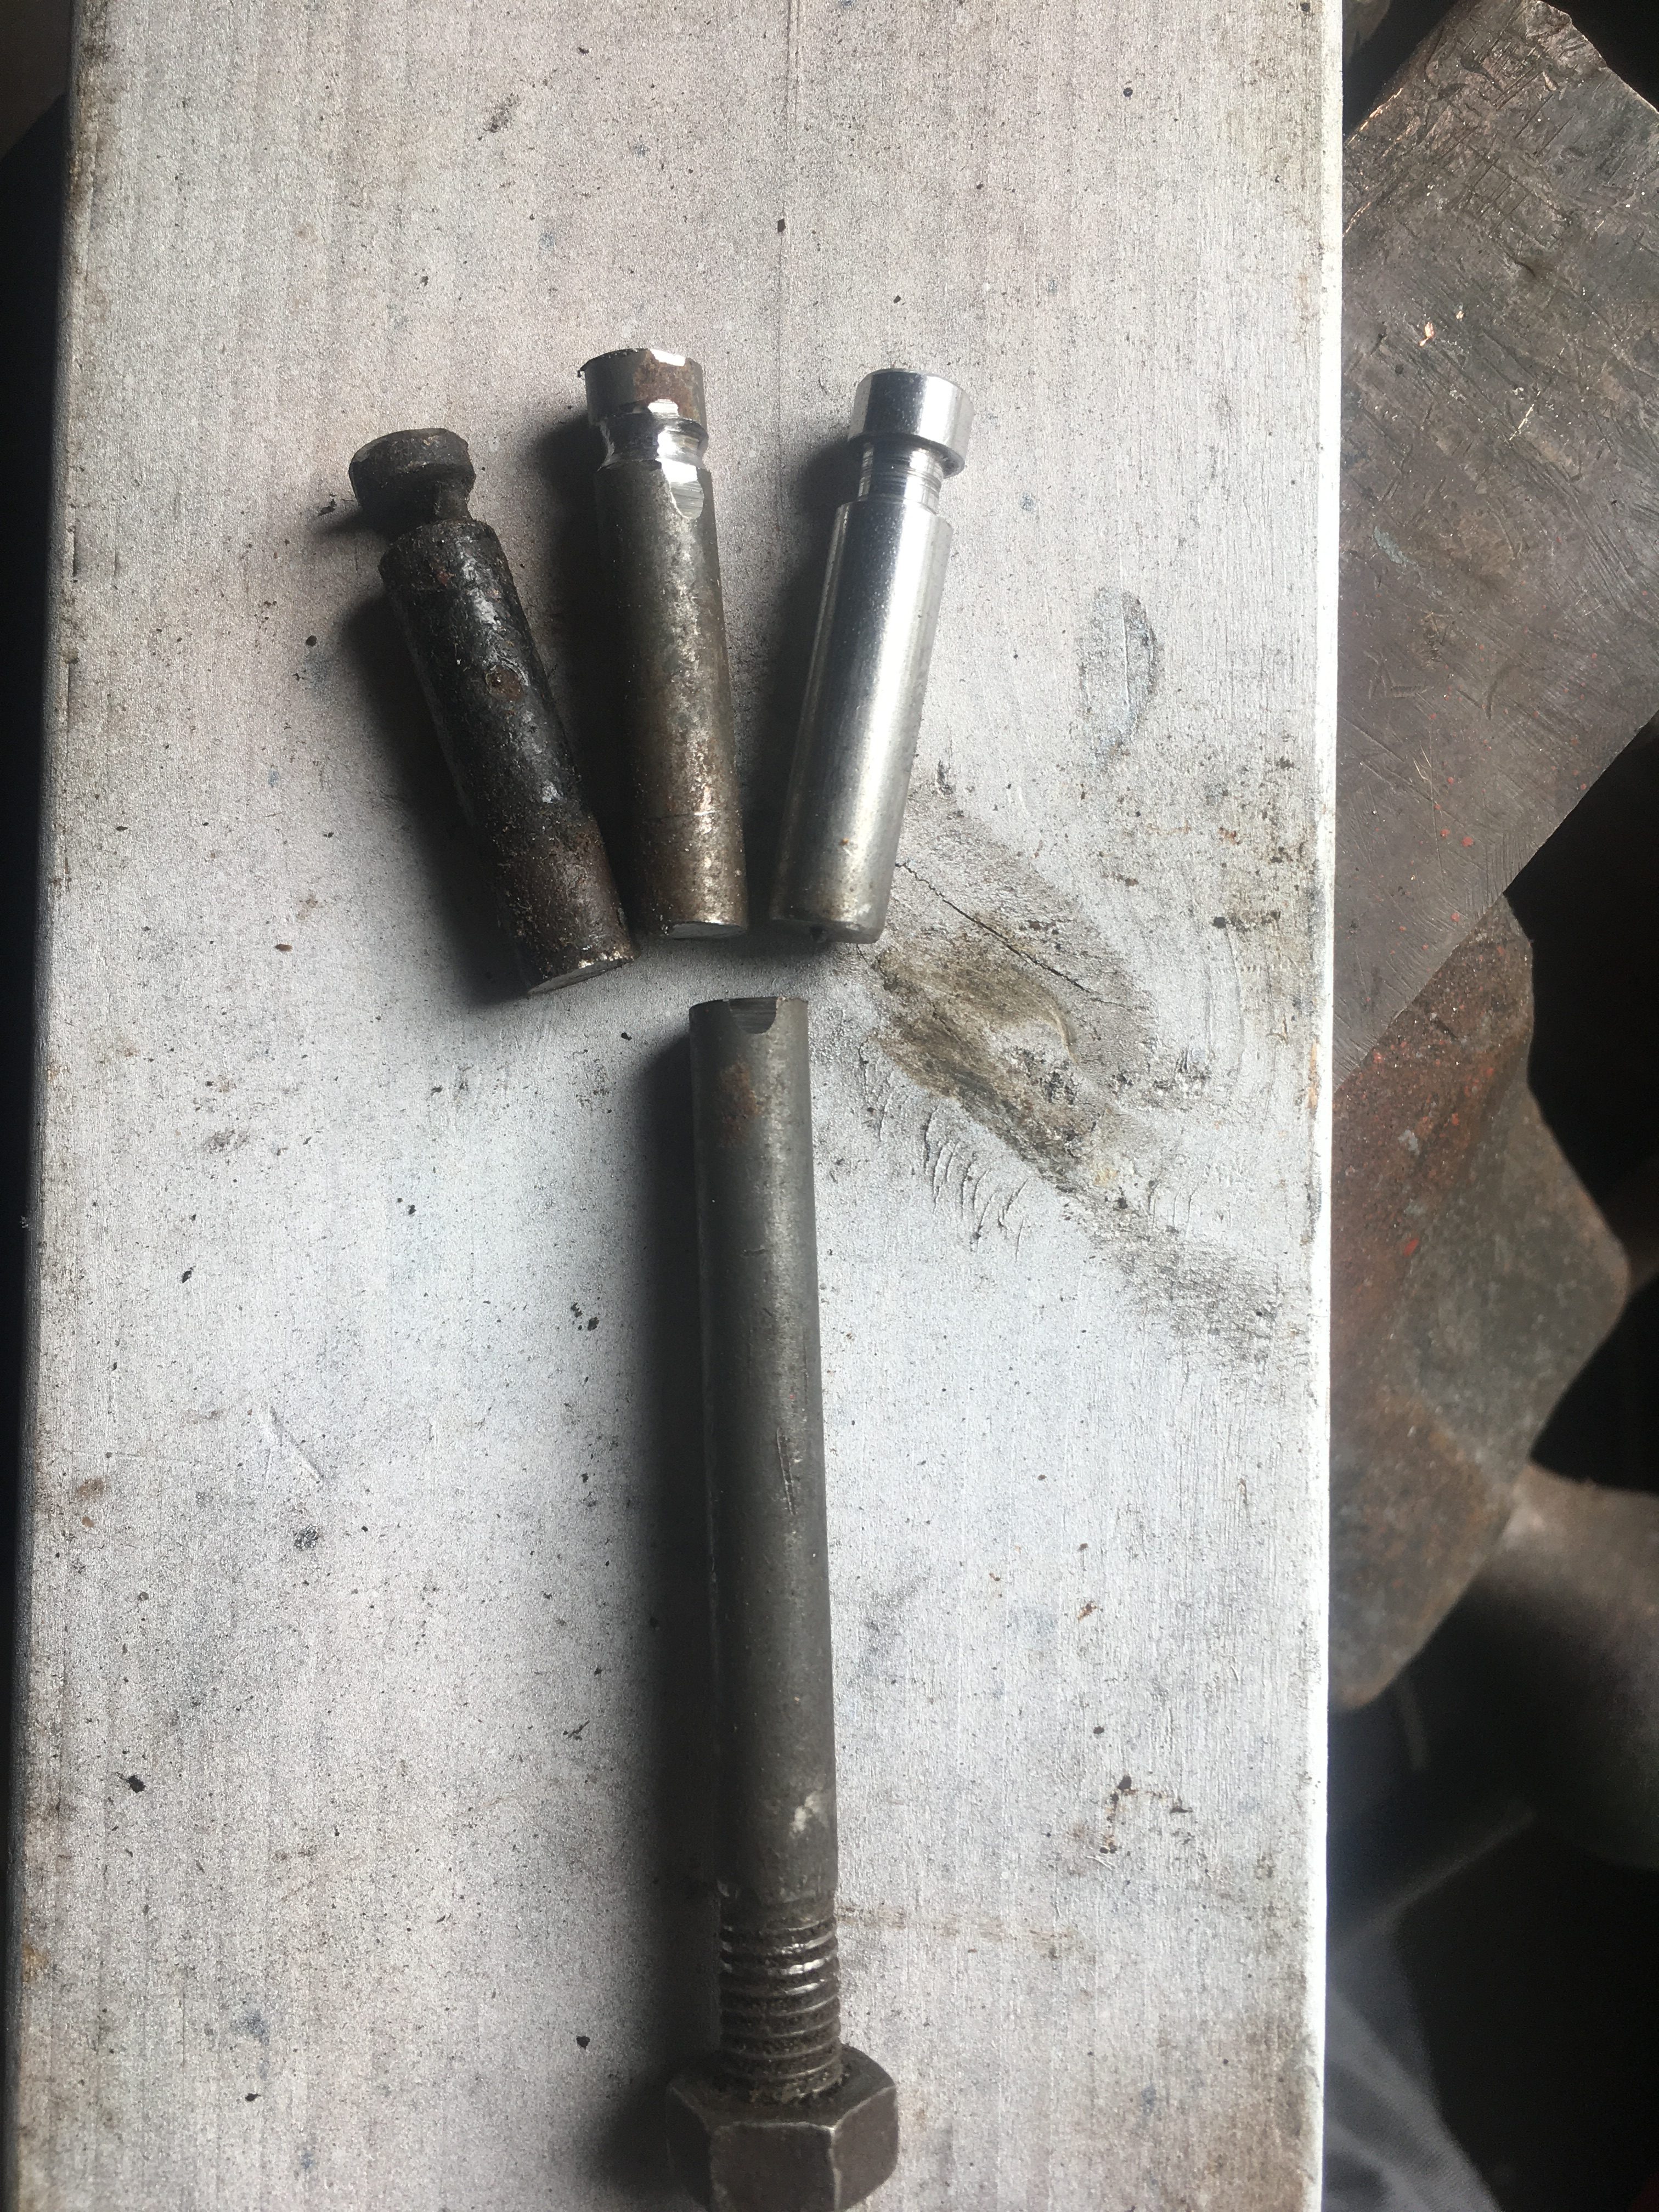
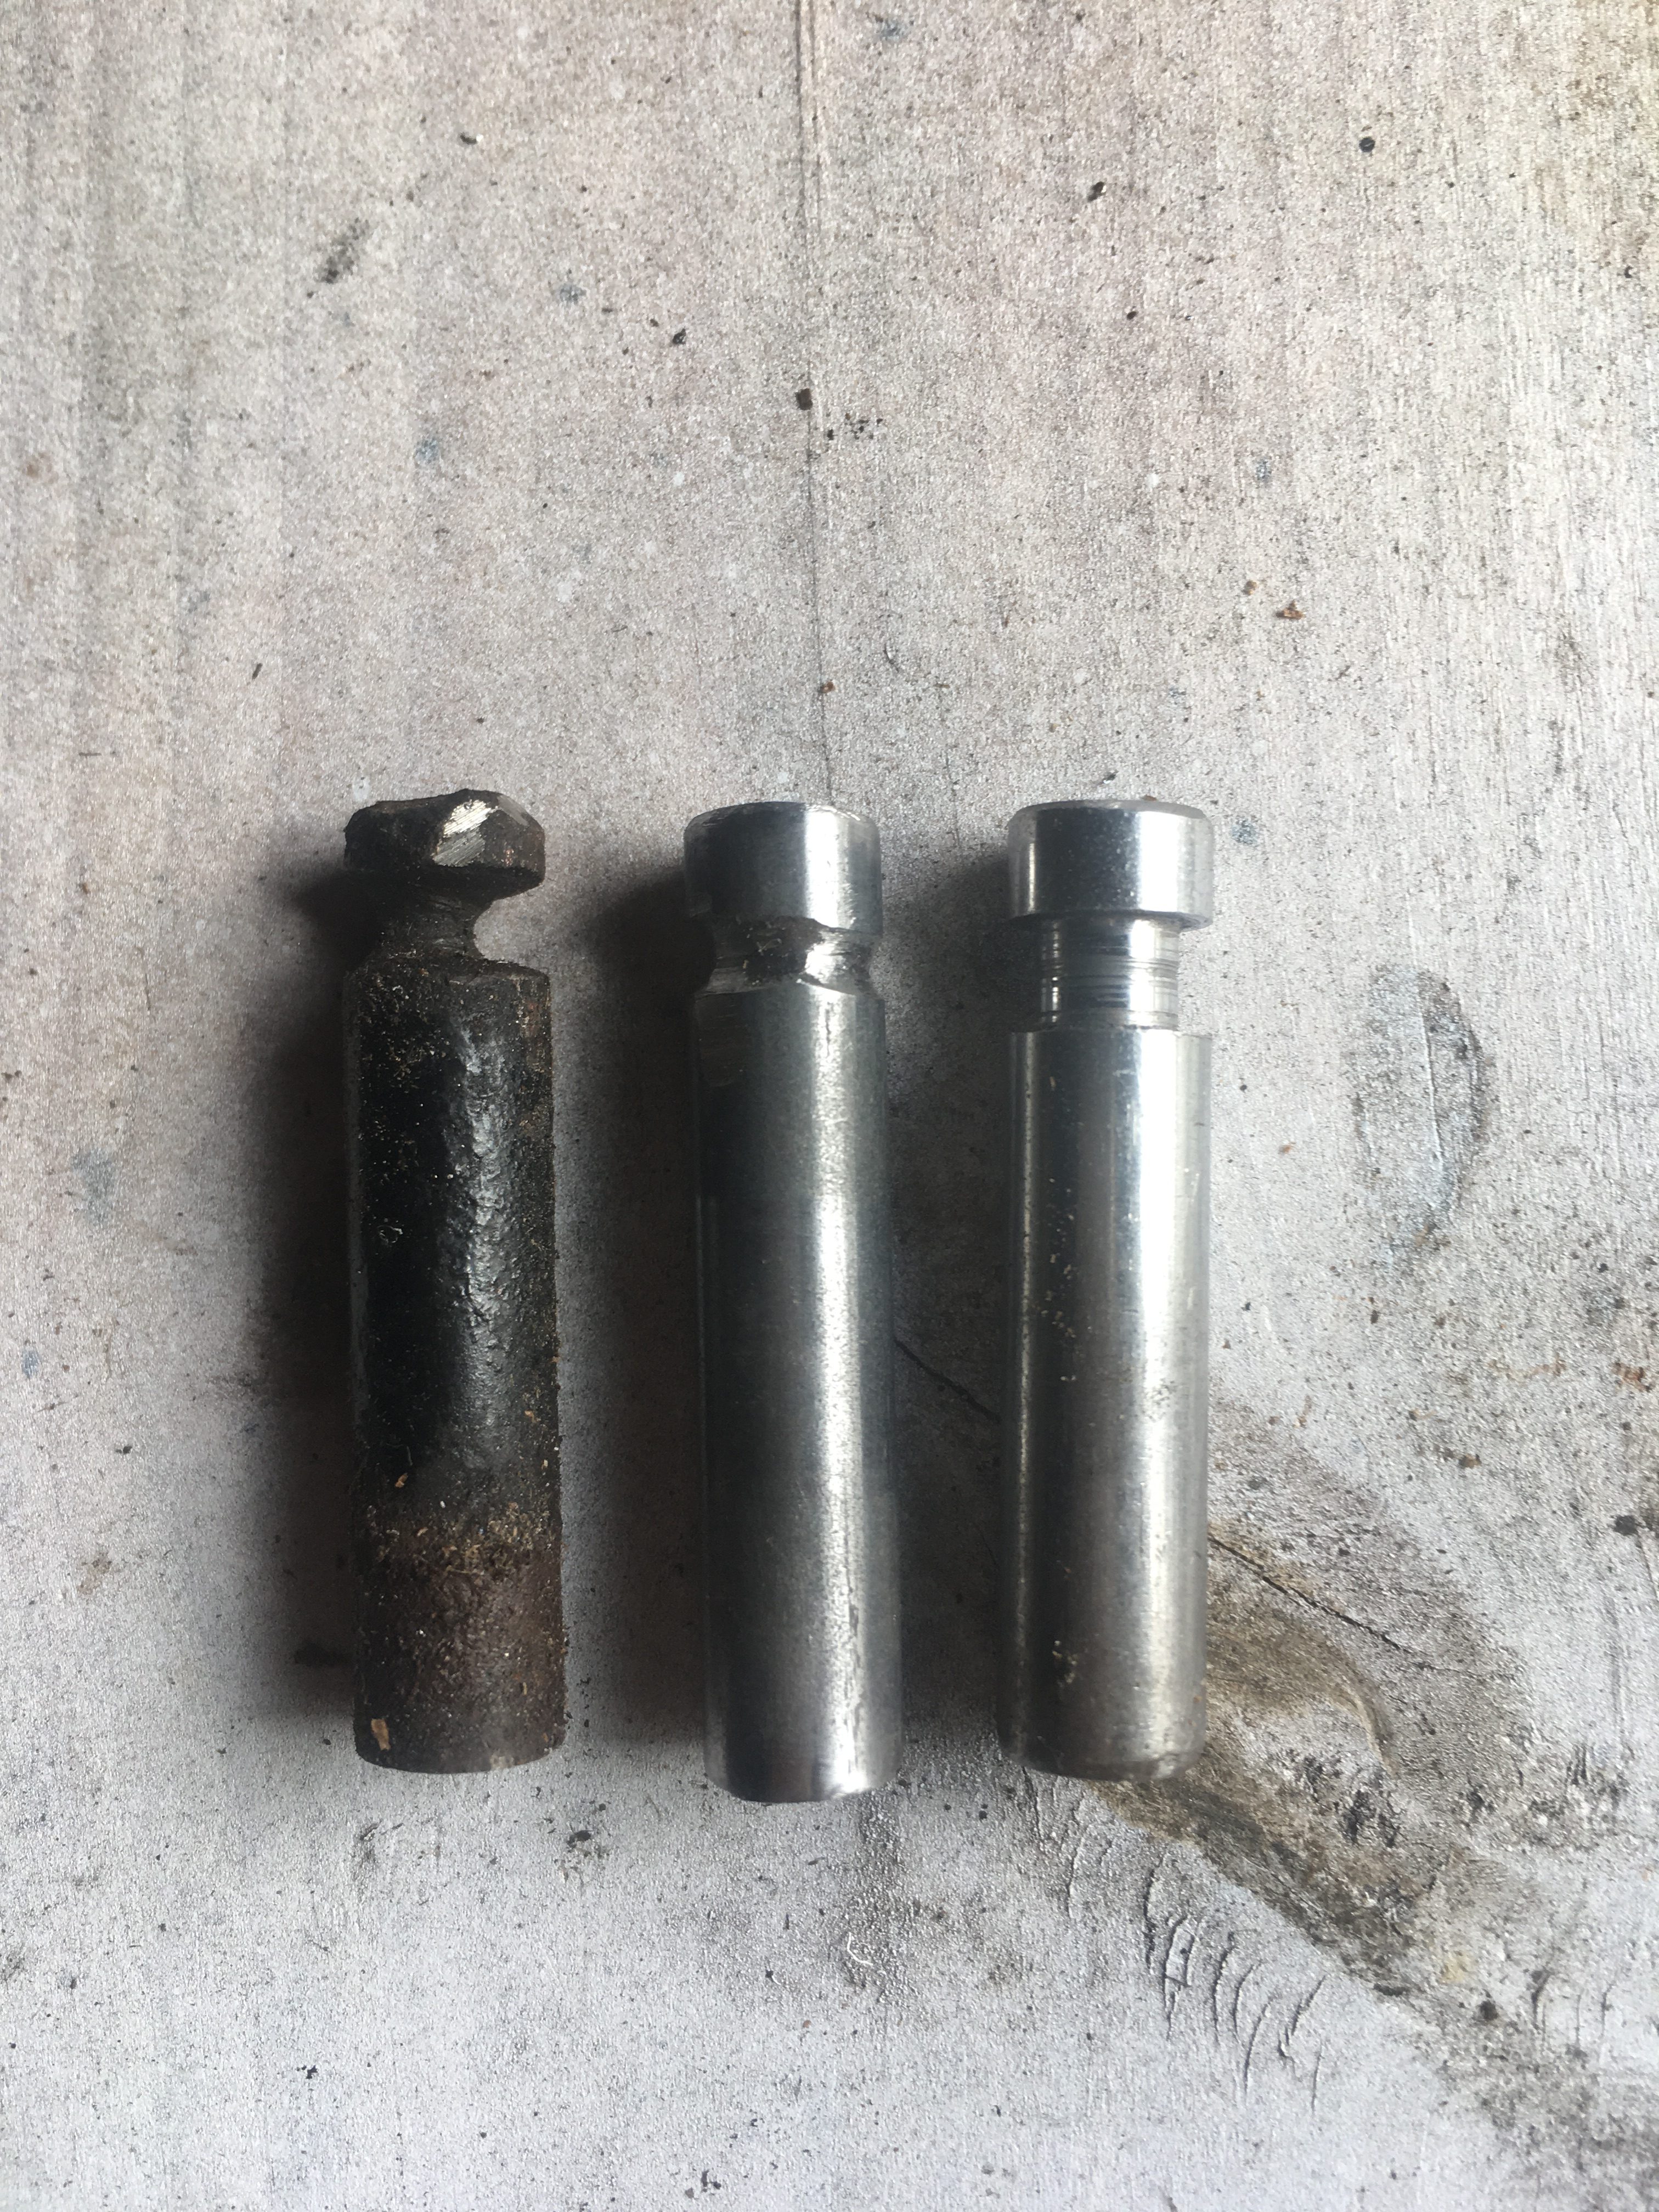
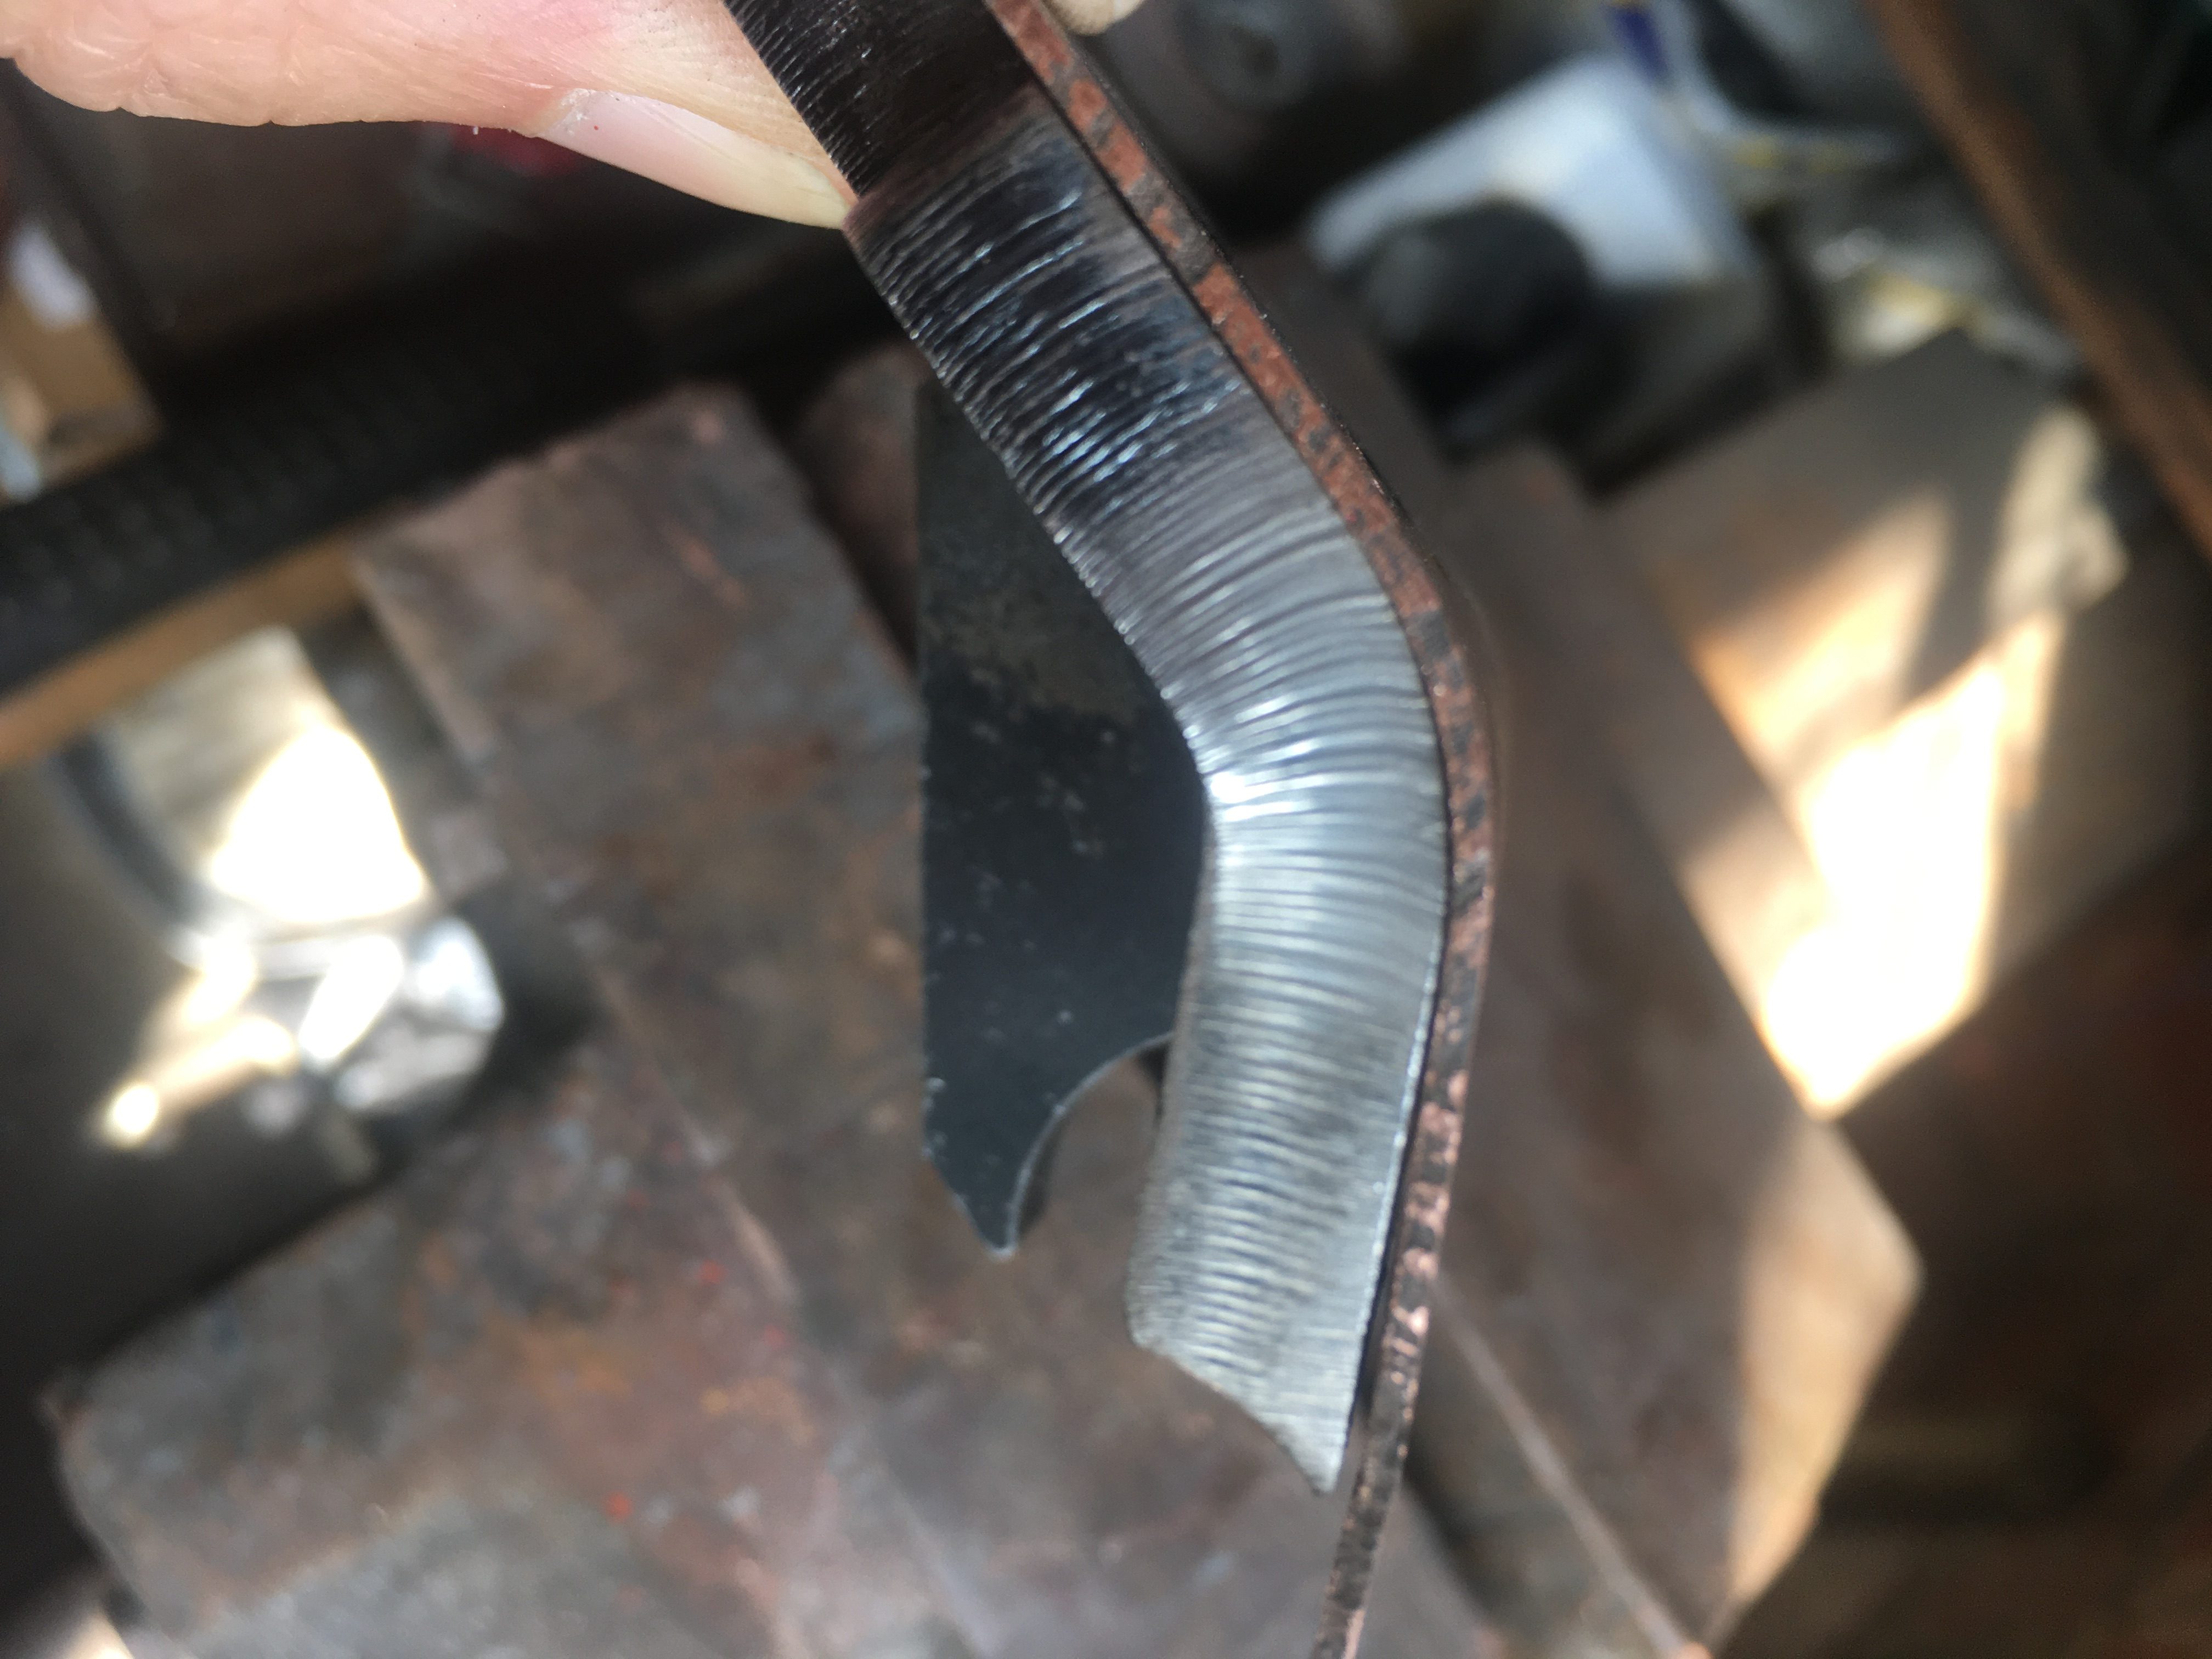
First, the spring perch pin from my scrap, is nearly worn through and will need removing and replacing.
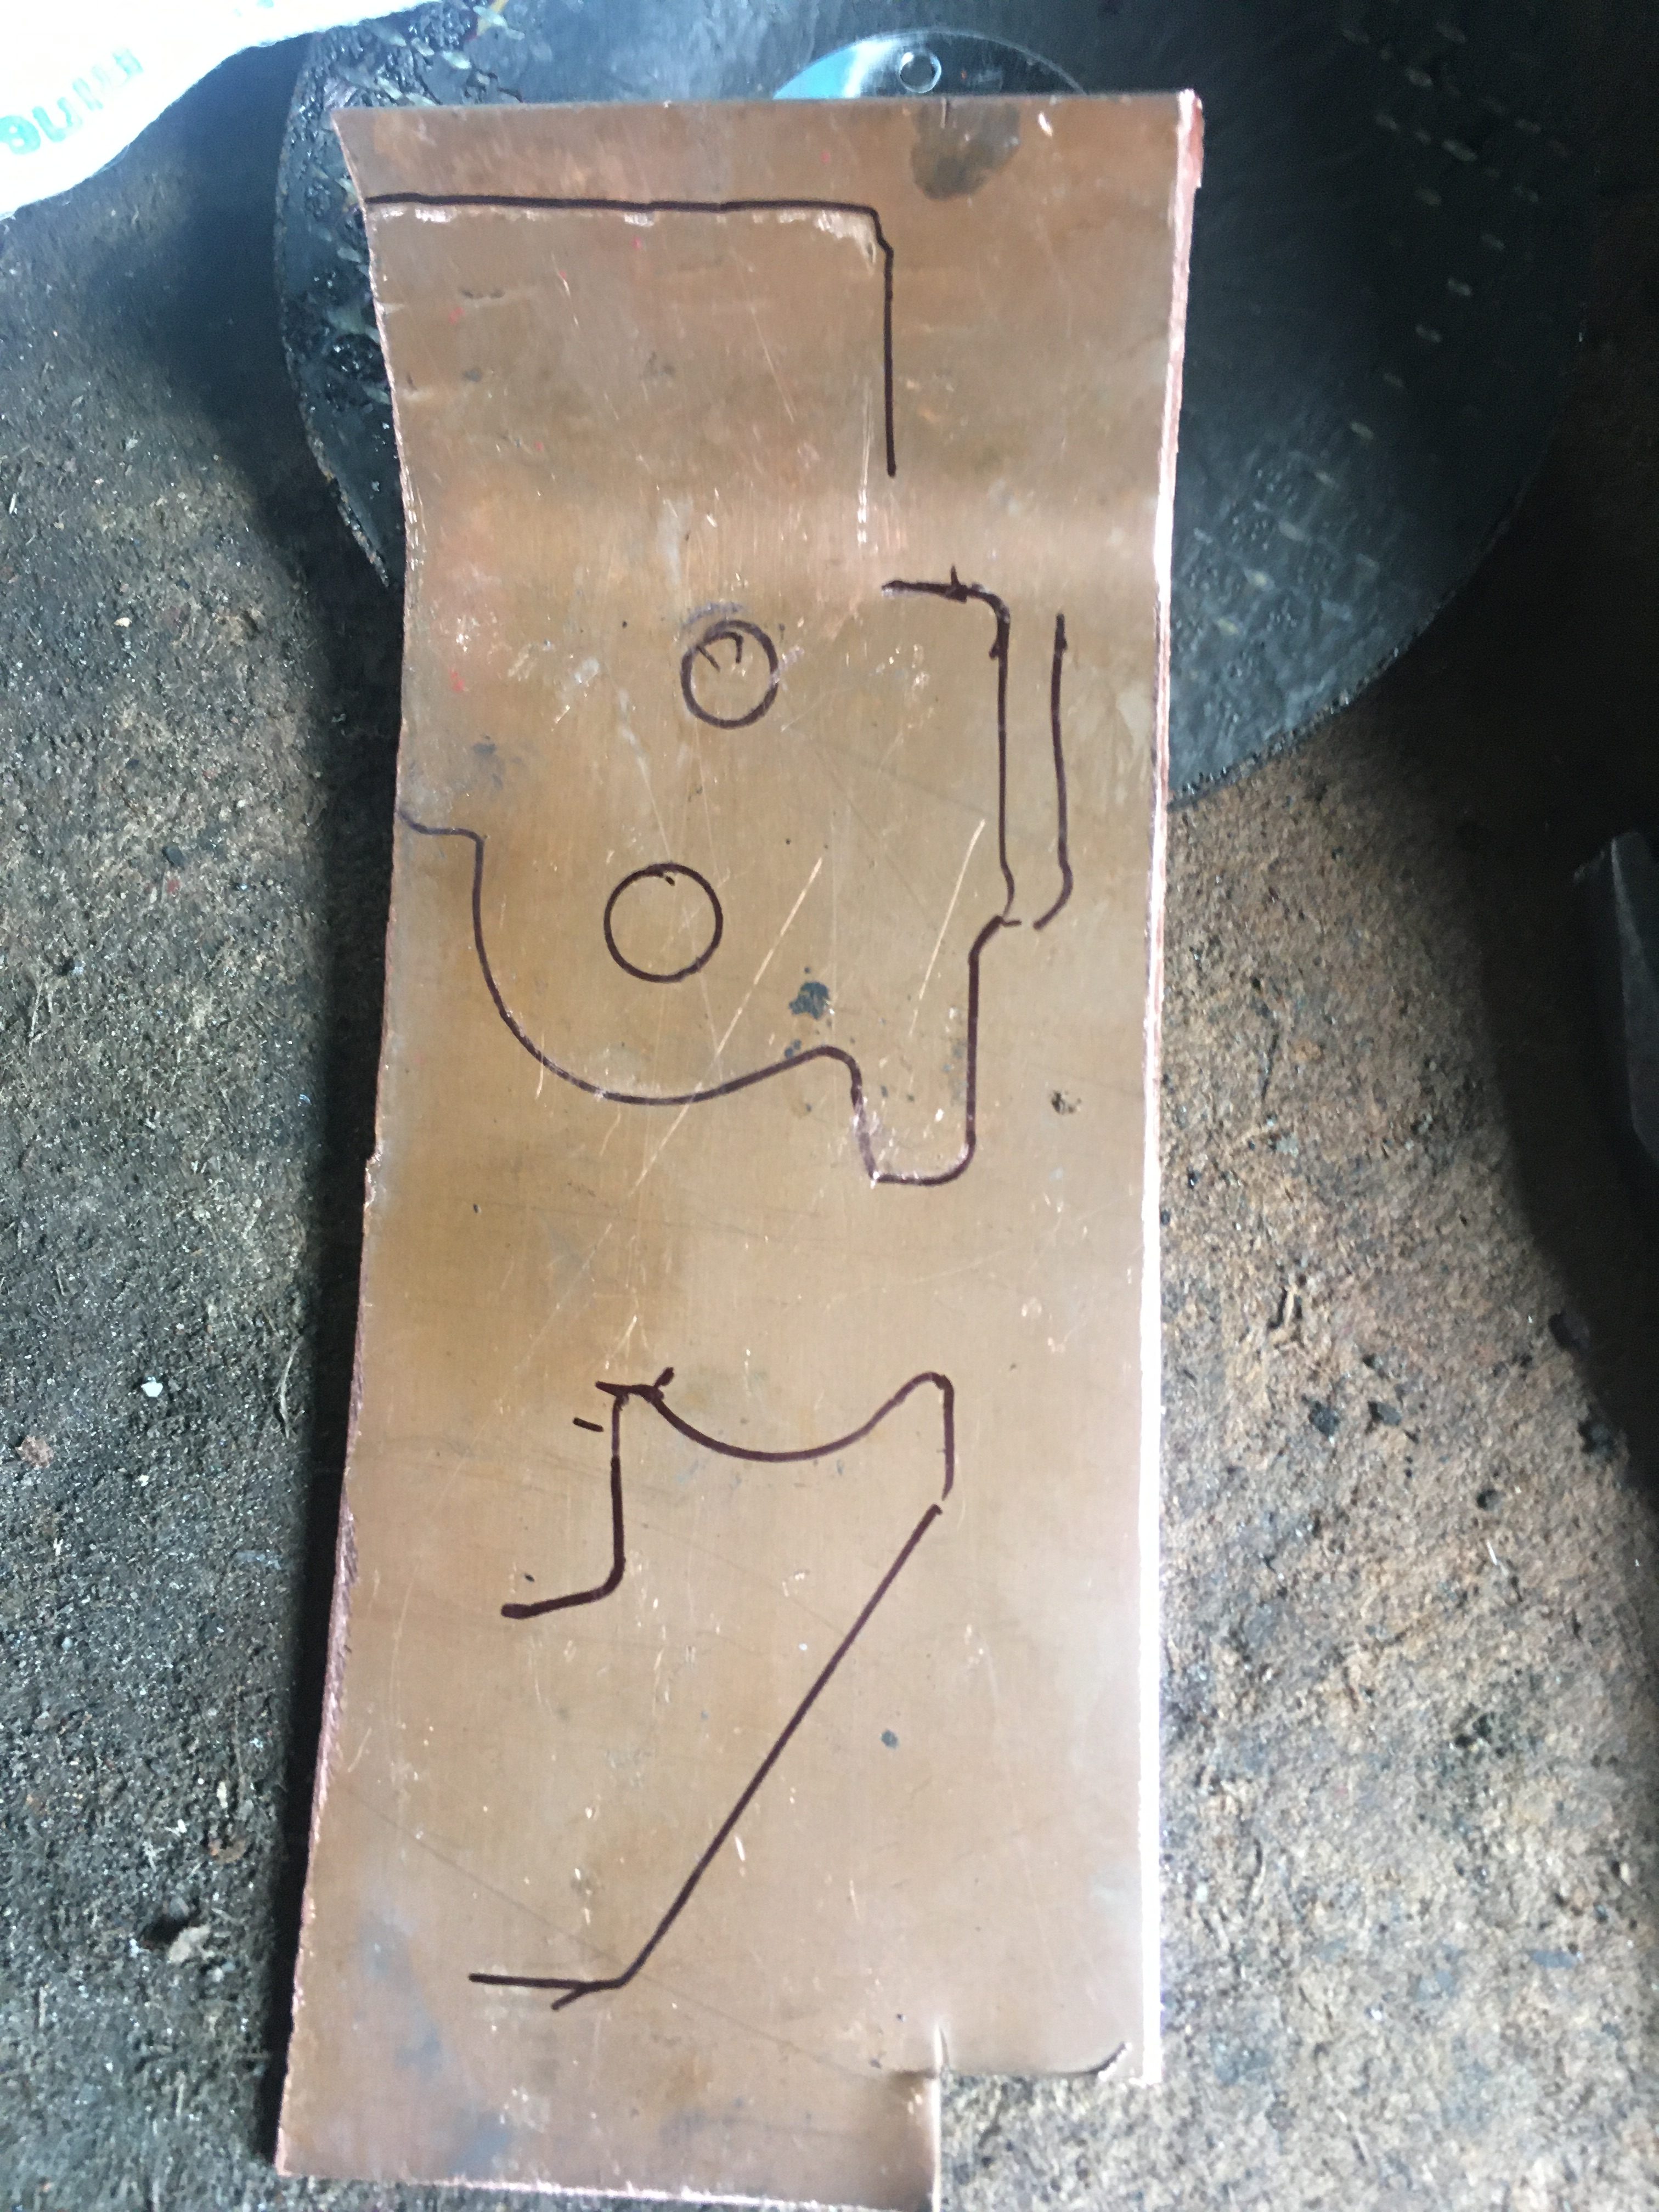
Next is to figure out how to compare the new YPVS one with the one removed from the bike.
While I know they are not the same, some indication of lengths and angles would be useful.
I found a scrap piece of copper, and made a former based on the new bracket.
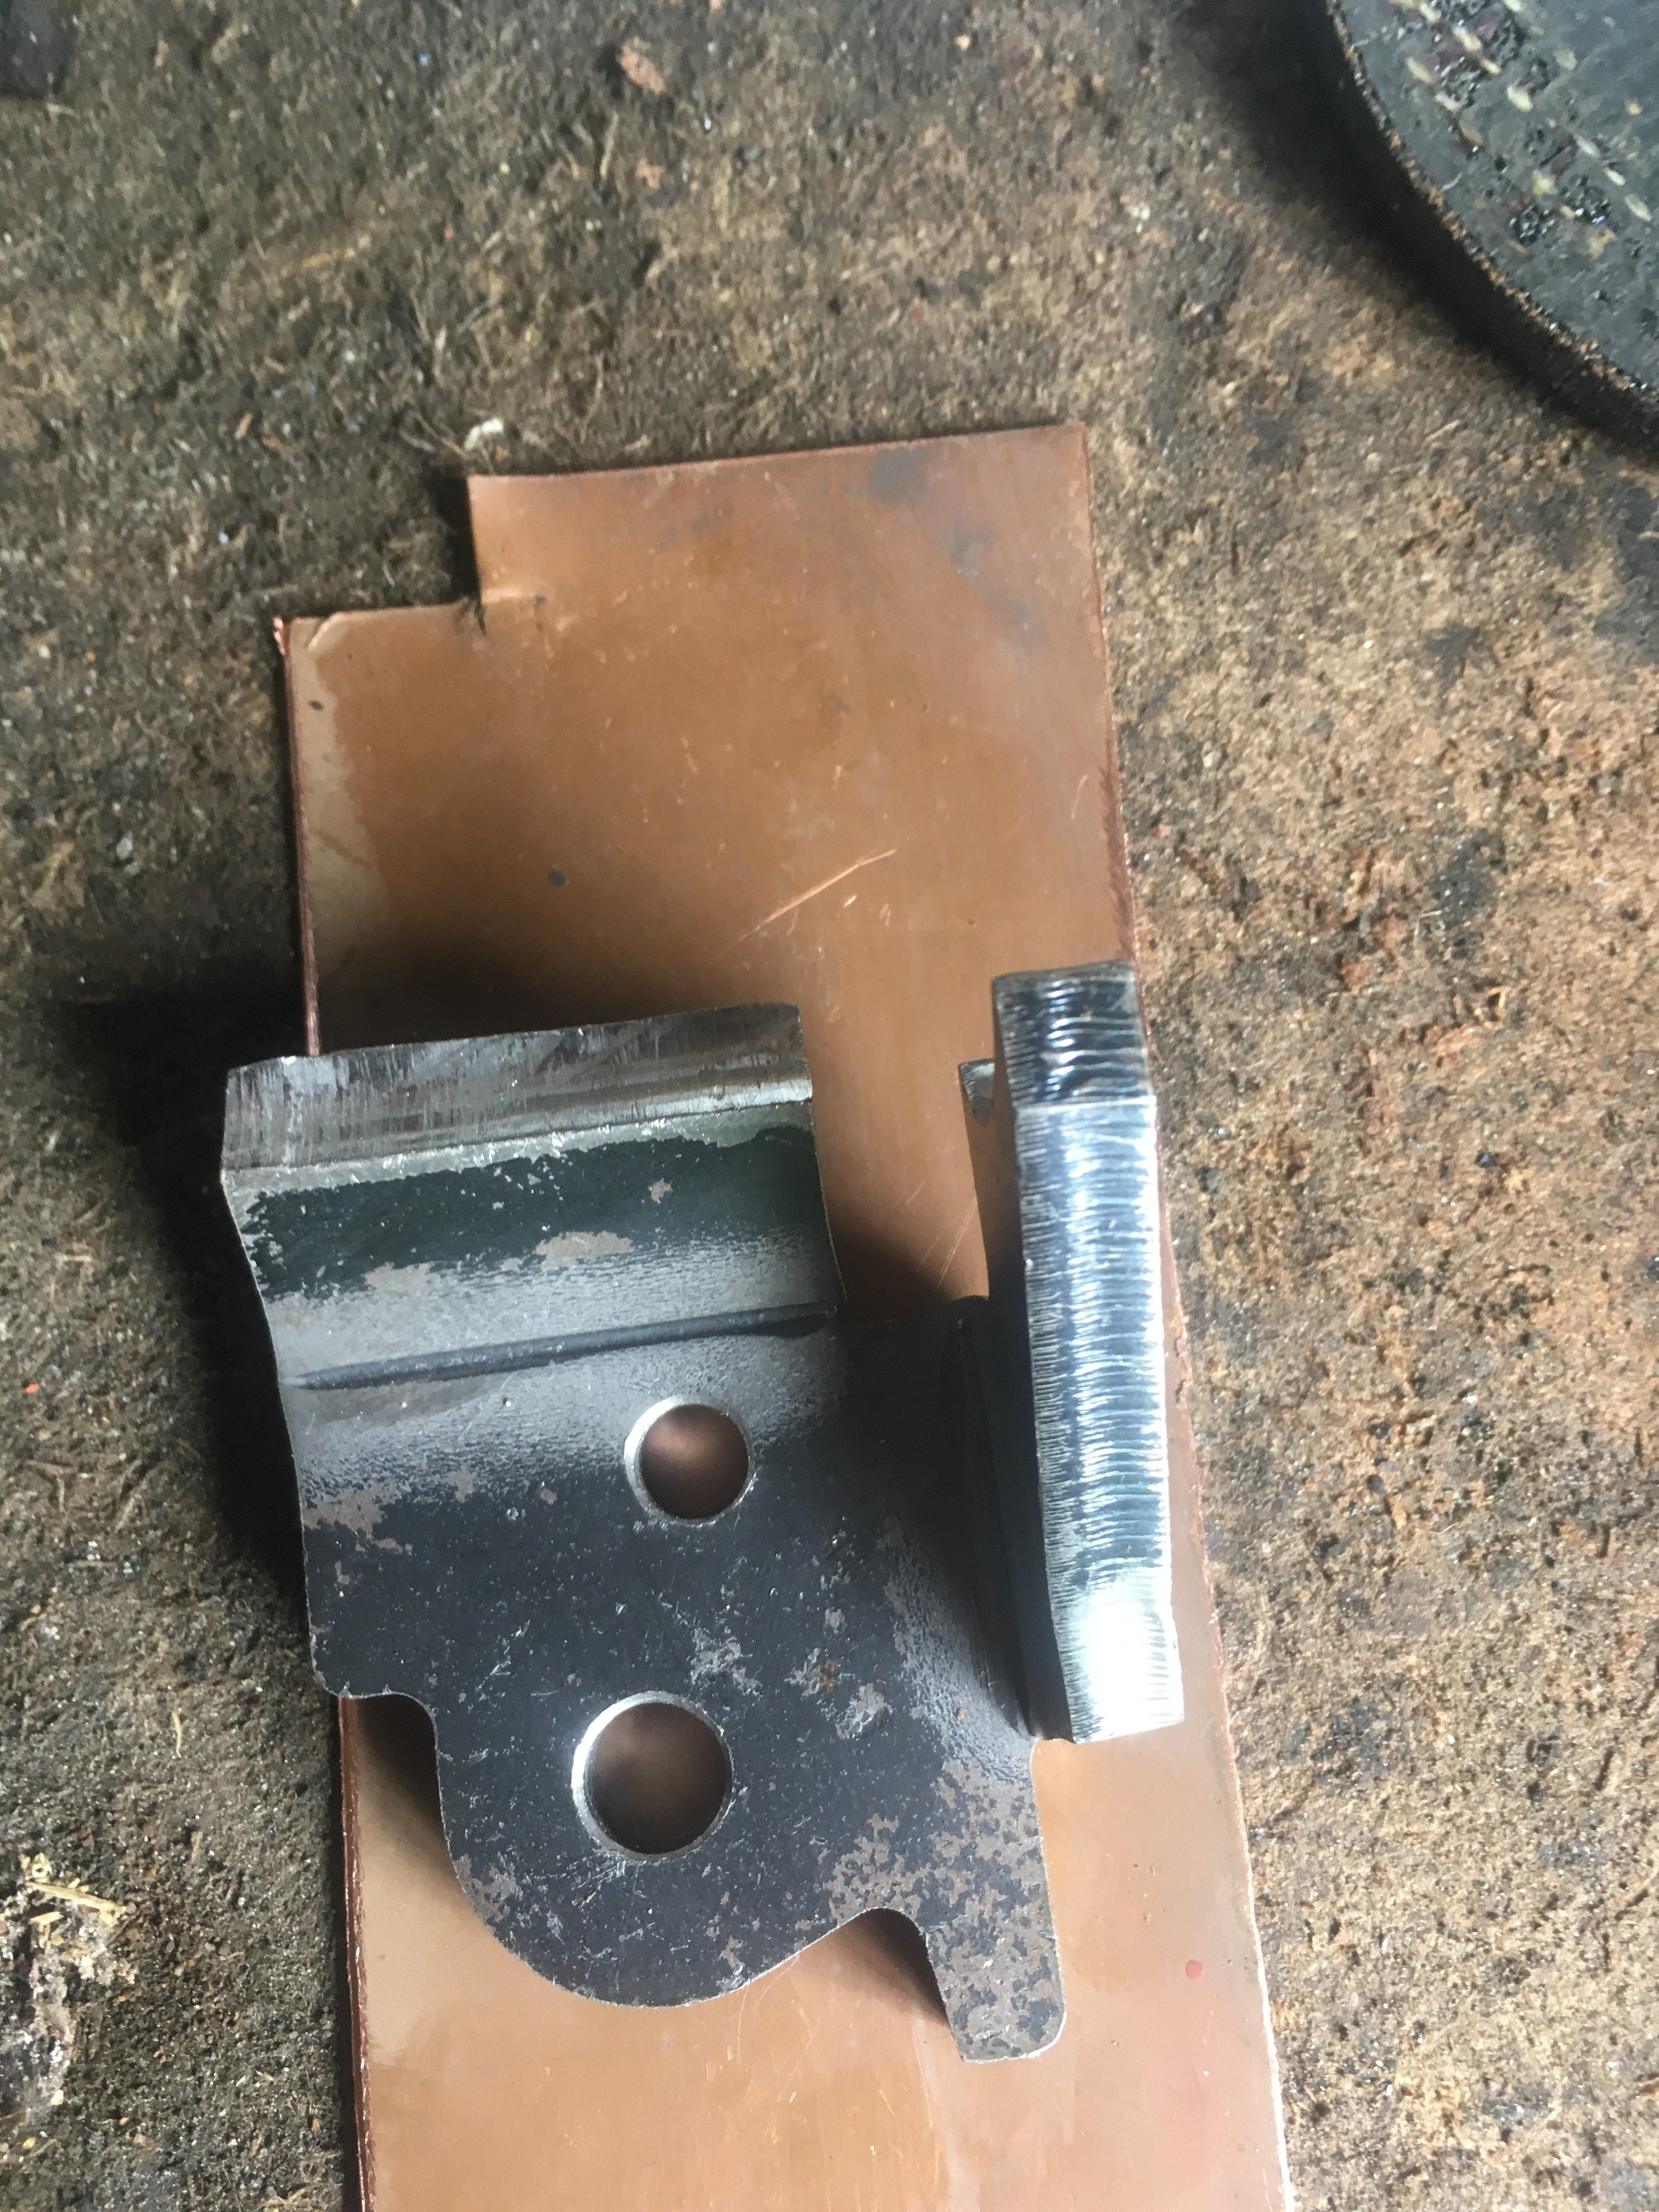
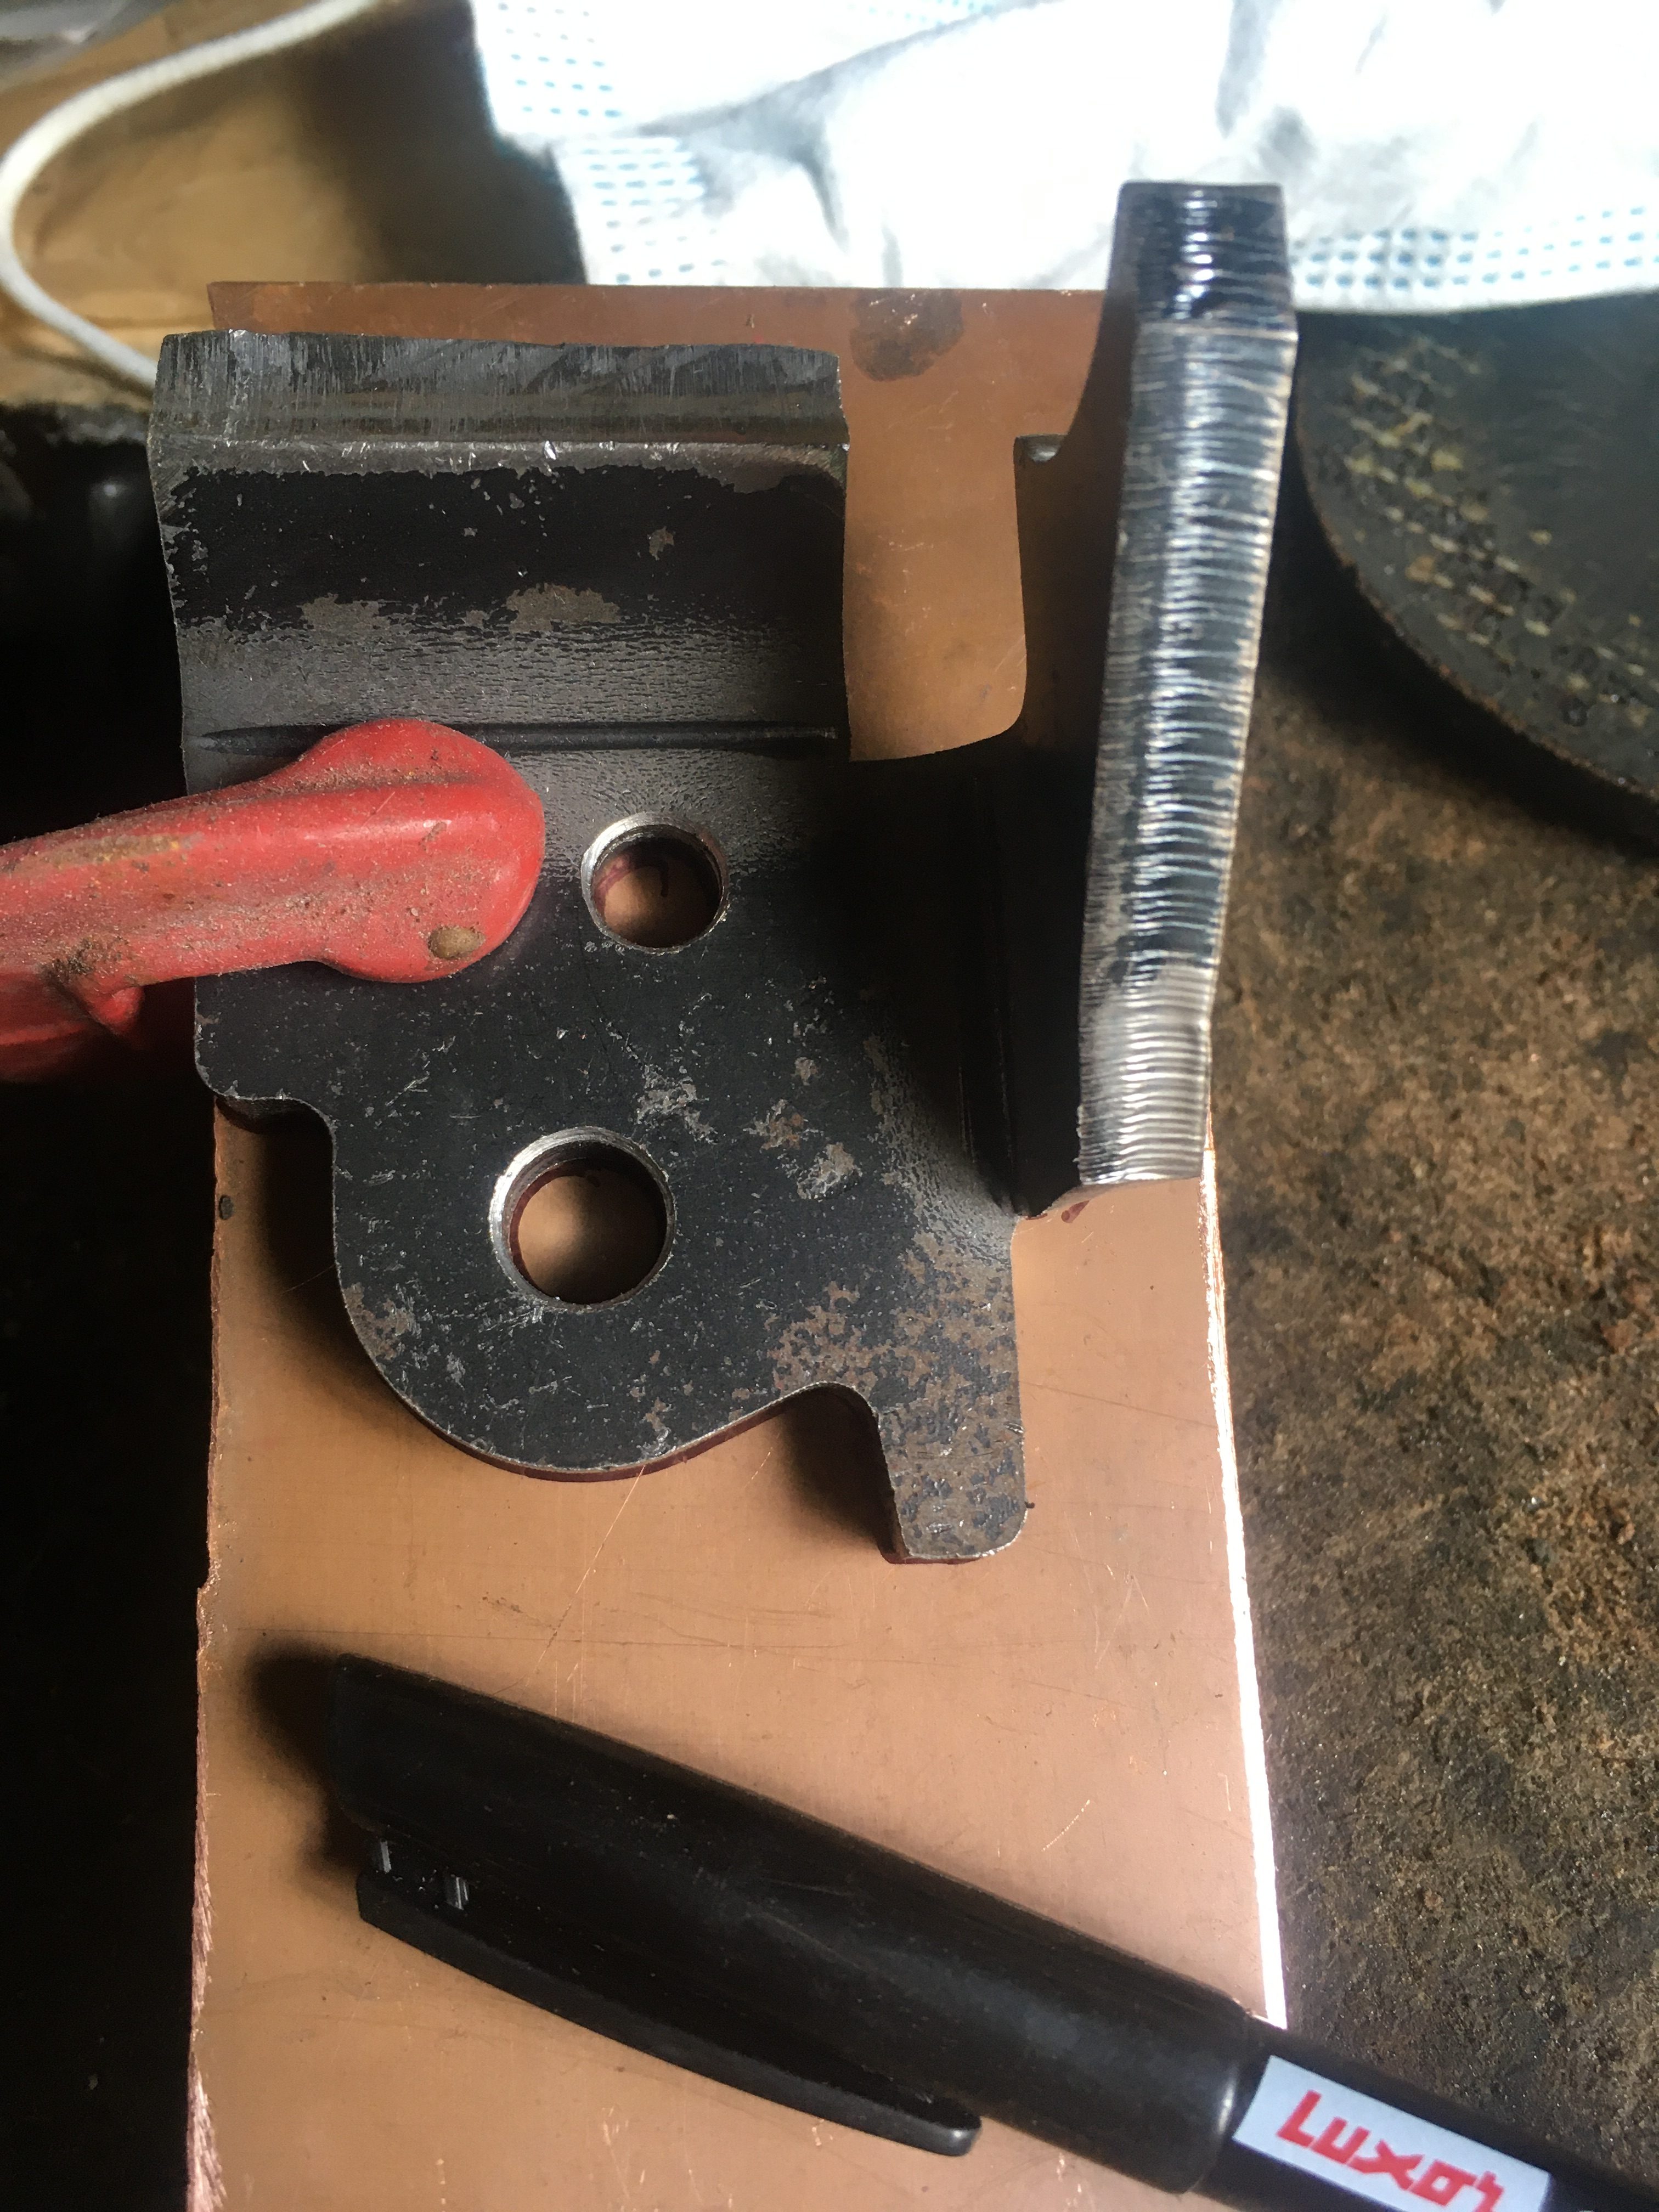
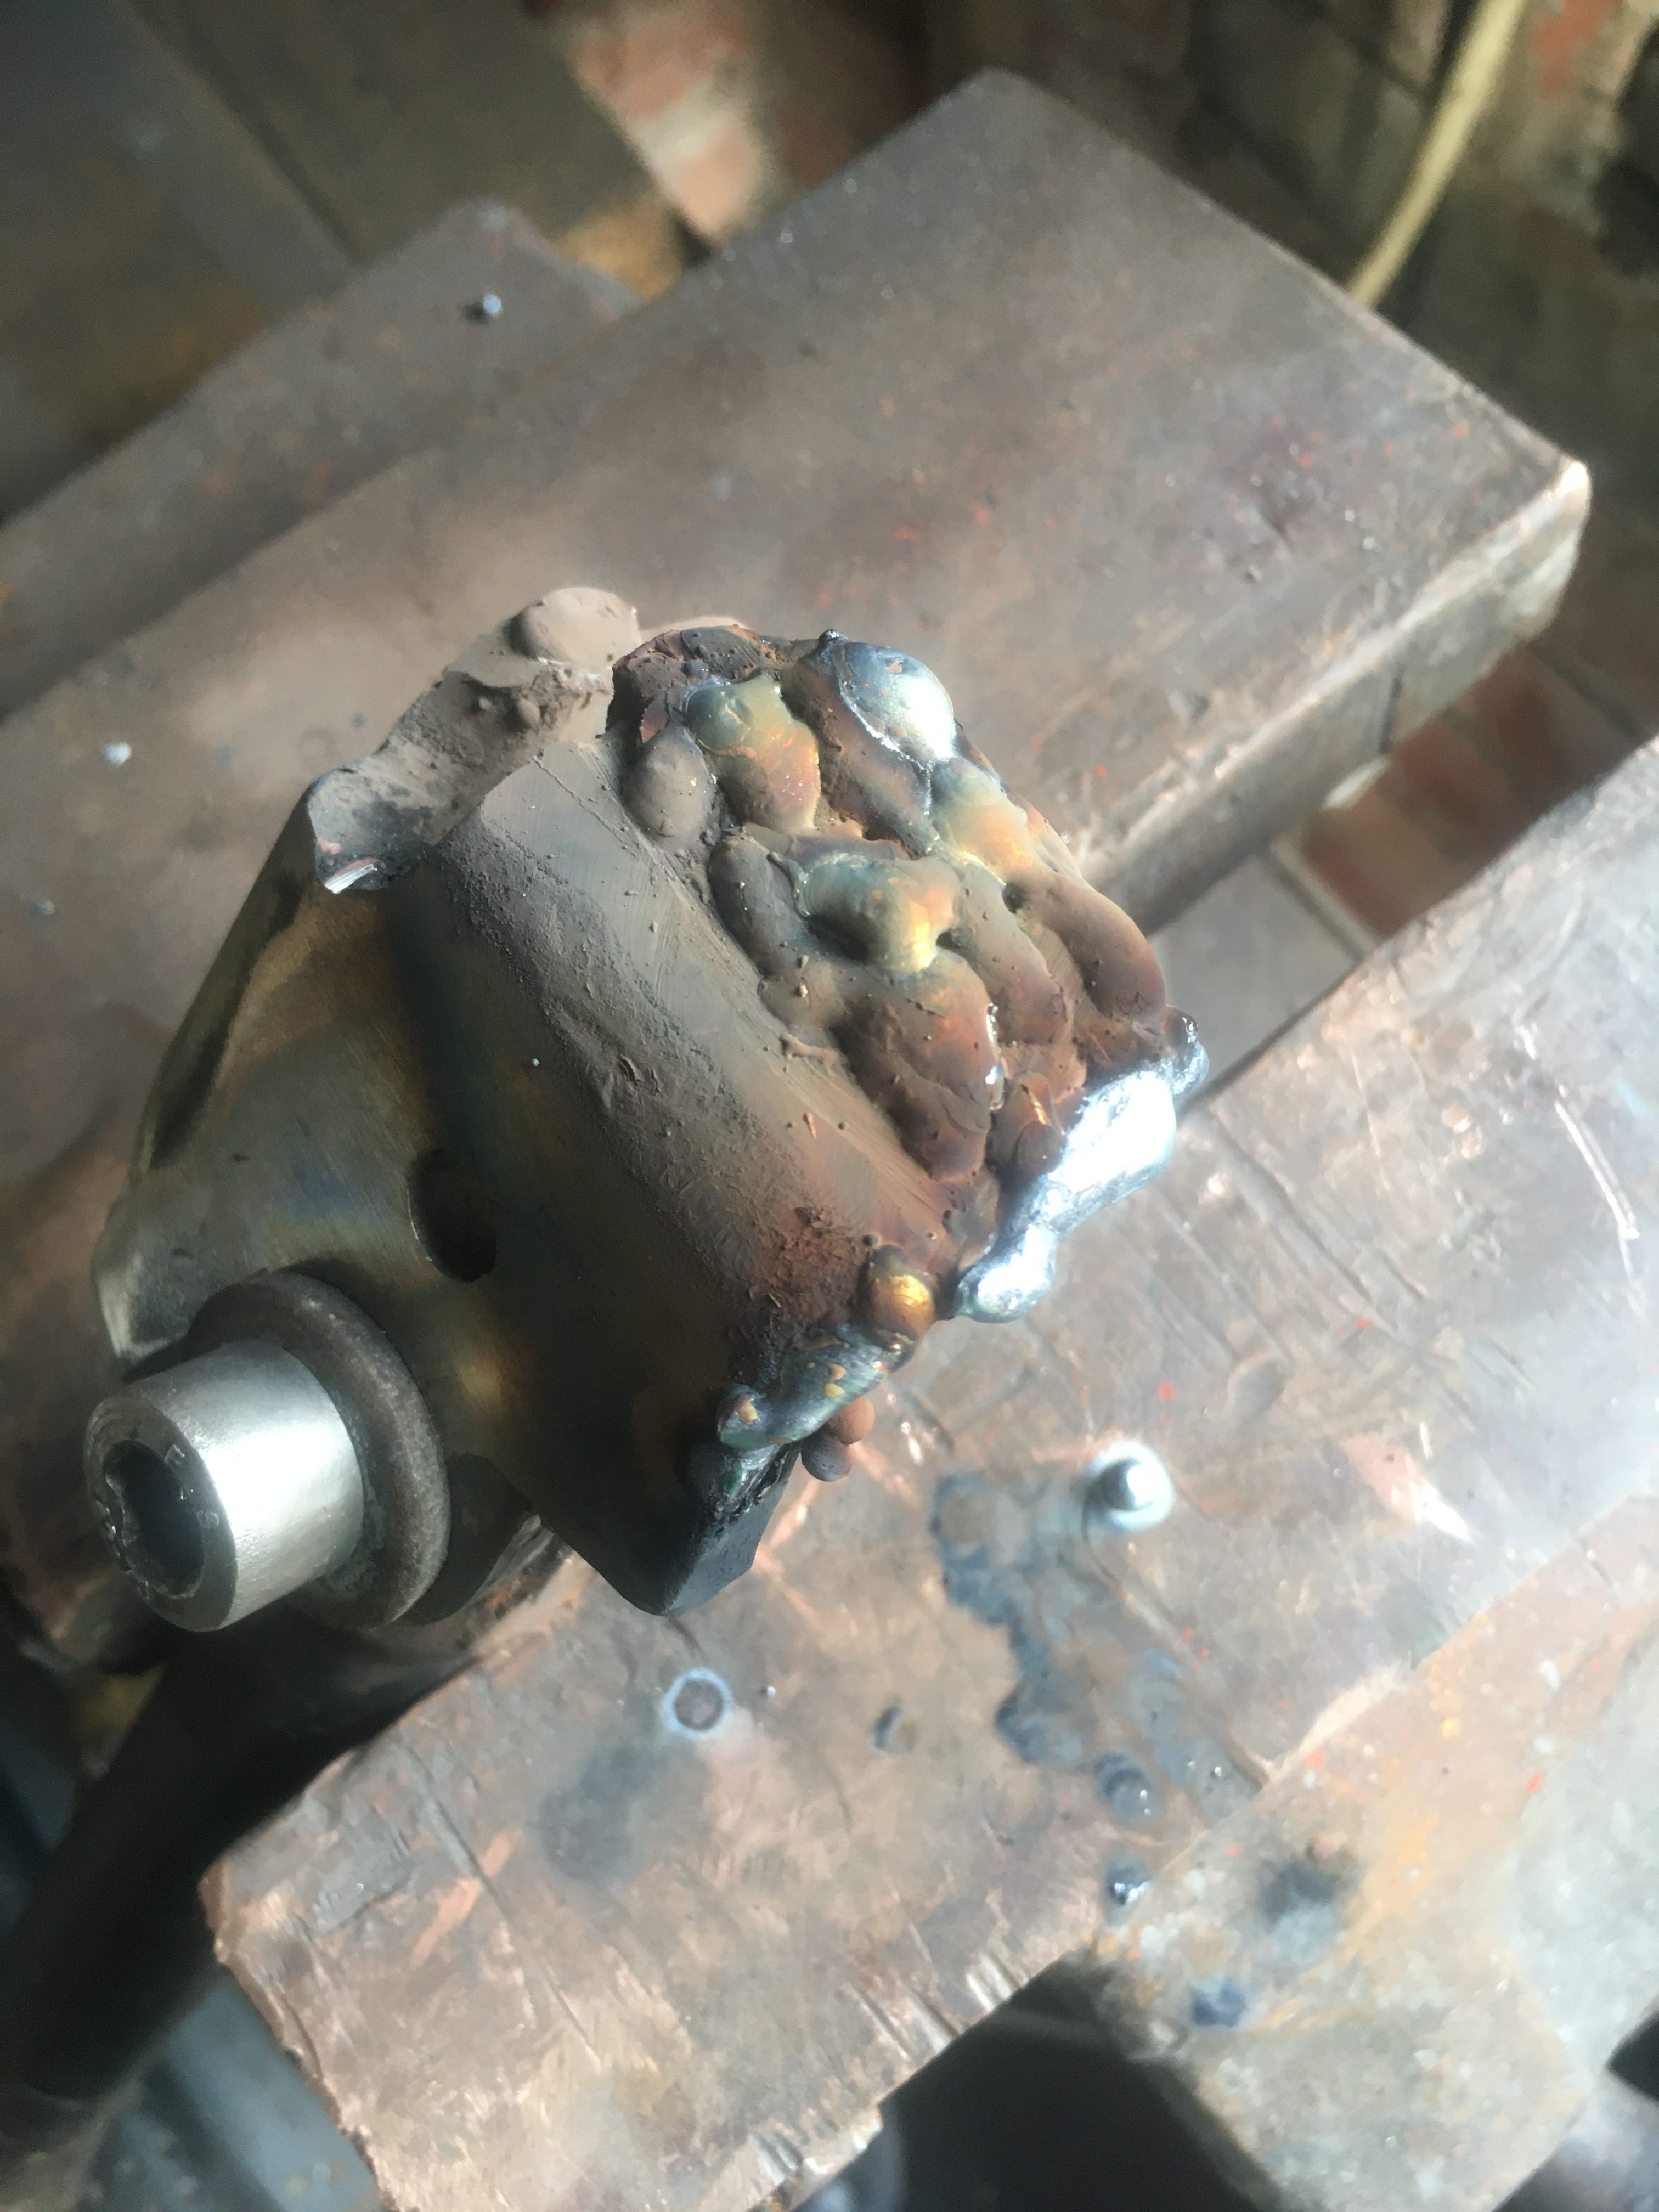
now to build up the old bracket with some weld, grind it back until it looks vaguely the right shape and size. Building and shaping
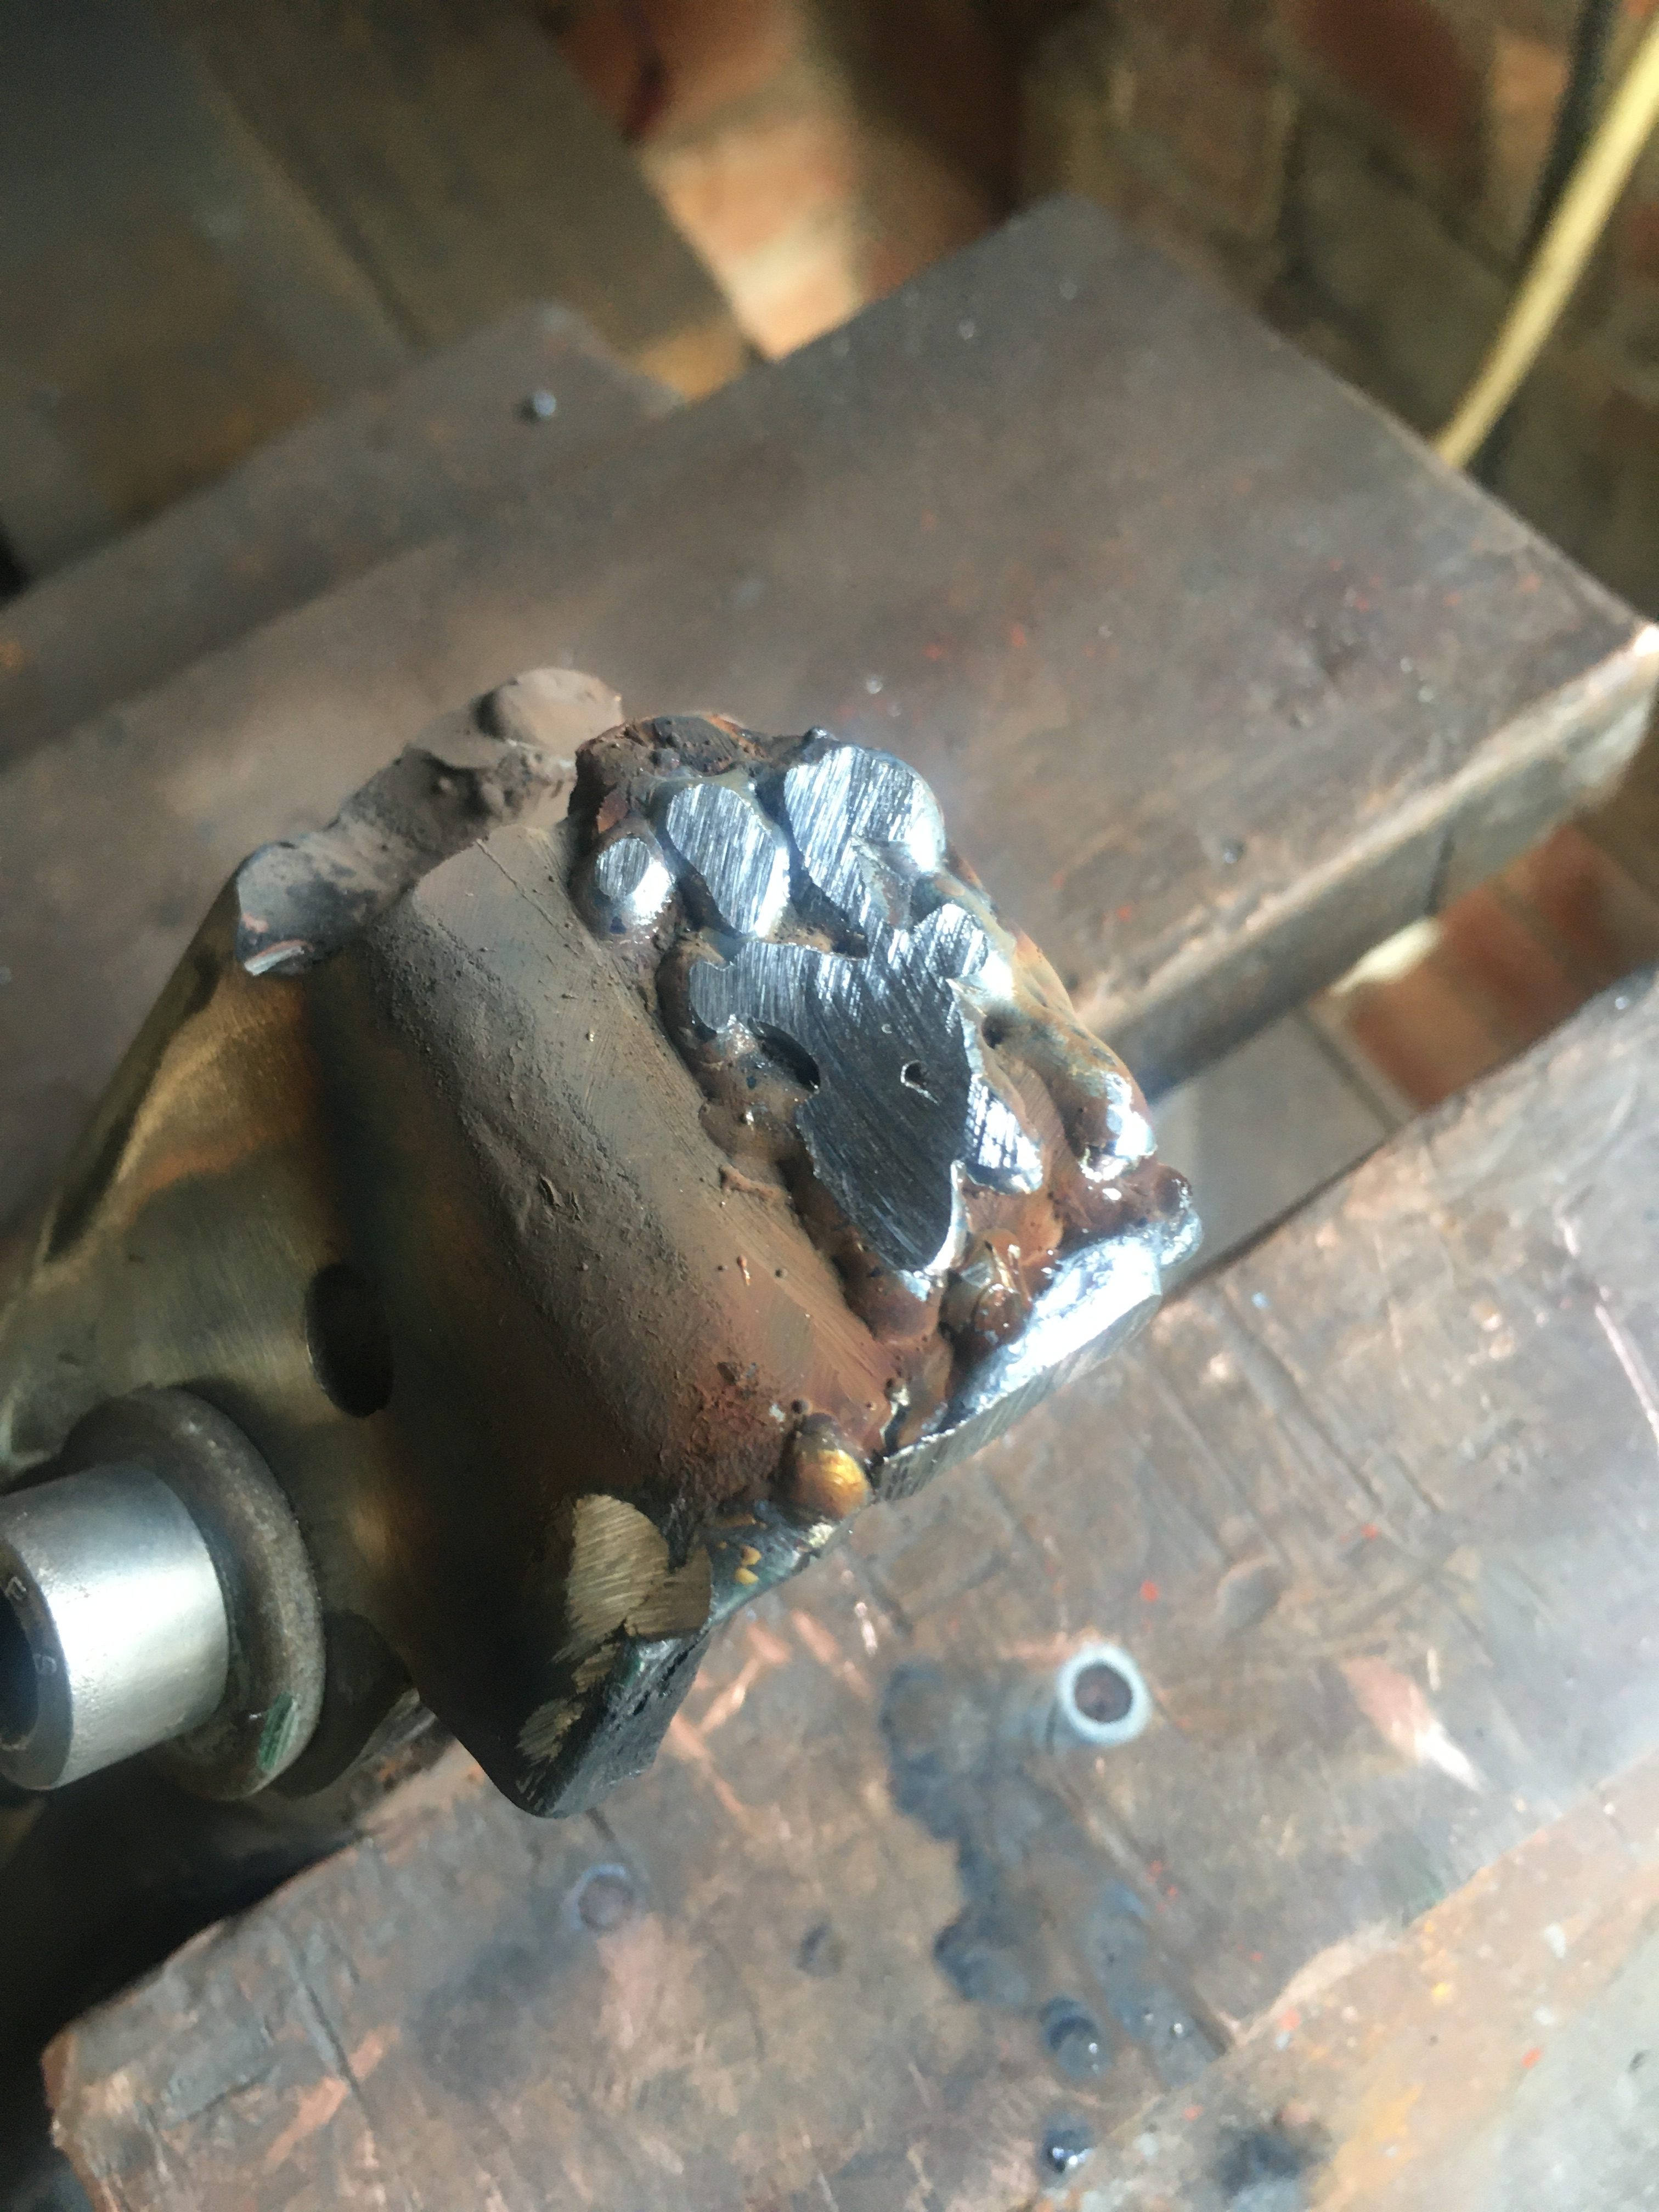
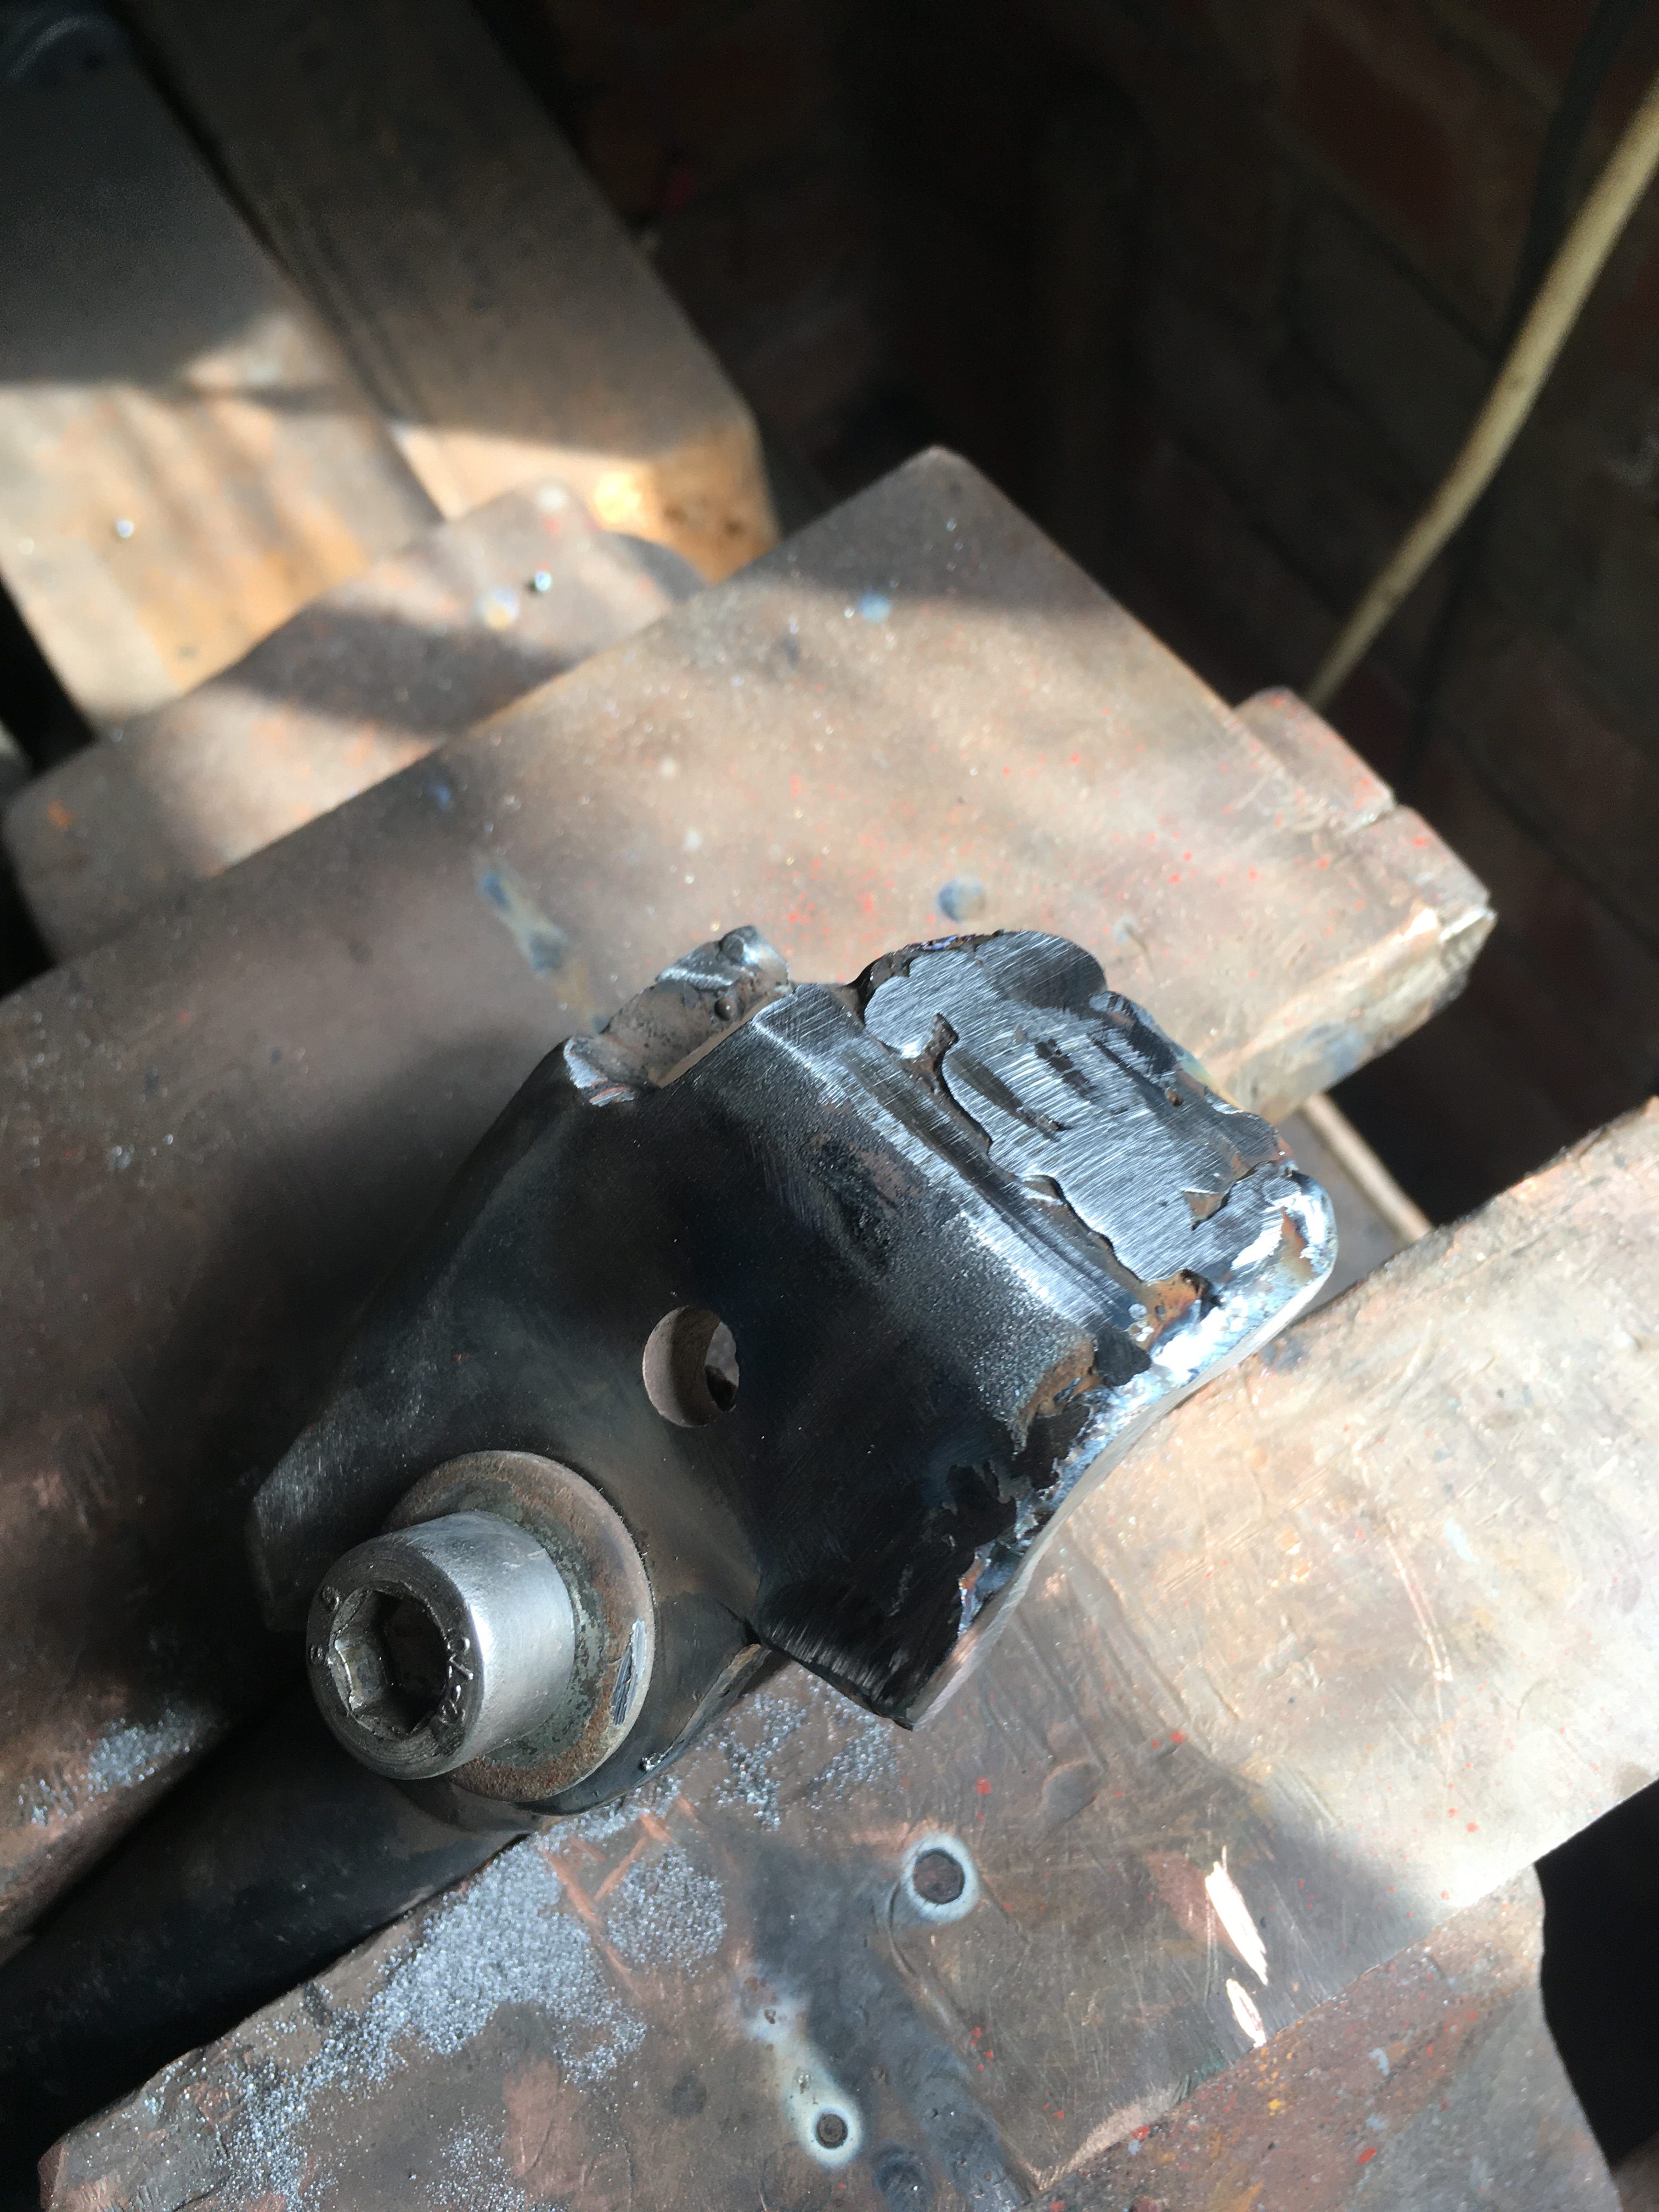
I have a feeling that the remanufactured item will end up looking a little more… organic… than the new one. (Still, powder coating covers a multitude of sins 🙂 )
However, all that matters at the end of the day is that it stays attached to the frame, and that the angle and overall length of the sidestand is “correct”
To that end, I had the idea to make a jig, with three points attached to the frame, which I can use to fine tune the bracket dimensions.
Said jig can be made from the other LC I have, where the standard sidestand fits perfectly… so I make the jig on the RD250LC, then fit the jig to the RD350LC frame, and offer up the bracket to the frame for adjusting and welding on.