With the carbs done, and the engine running to my satisfaction, it’s time to finish the job and get her to an MOT.
What’s left?
* Fitting the chain and chain guard
* Fitting the clutch cable
The DID chain went on with no drama. Ordered for an RD250LC, it was exactly the right length for the standard sprockets.
However, once the rear wheel was on and the chain tensioned correctly, it was very clear that the rear brake shoes had worn out, even though visibly, there was some meat left on the shoes.
A short wait for some replacement shoes to arrive from fowlers, which surprisingly cane in a genuine Yamaha bag with sticker. (I took a photo, but all I managed to record was a close up of my fingers 🙁 )
The donor bike clutch cable was in that kind of state where you think… “That’s usable”, but you are really kidding yourself. I fitted it anyway, after giving it a good clean and lube, but the clutch was so heavy it would have taken a gorilla to ride the bike.
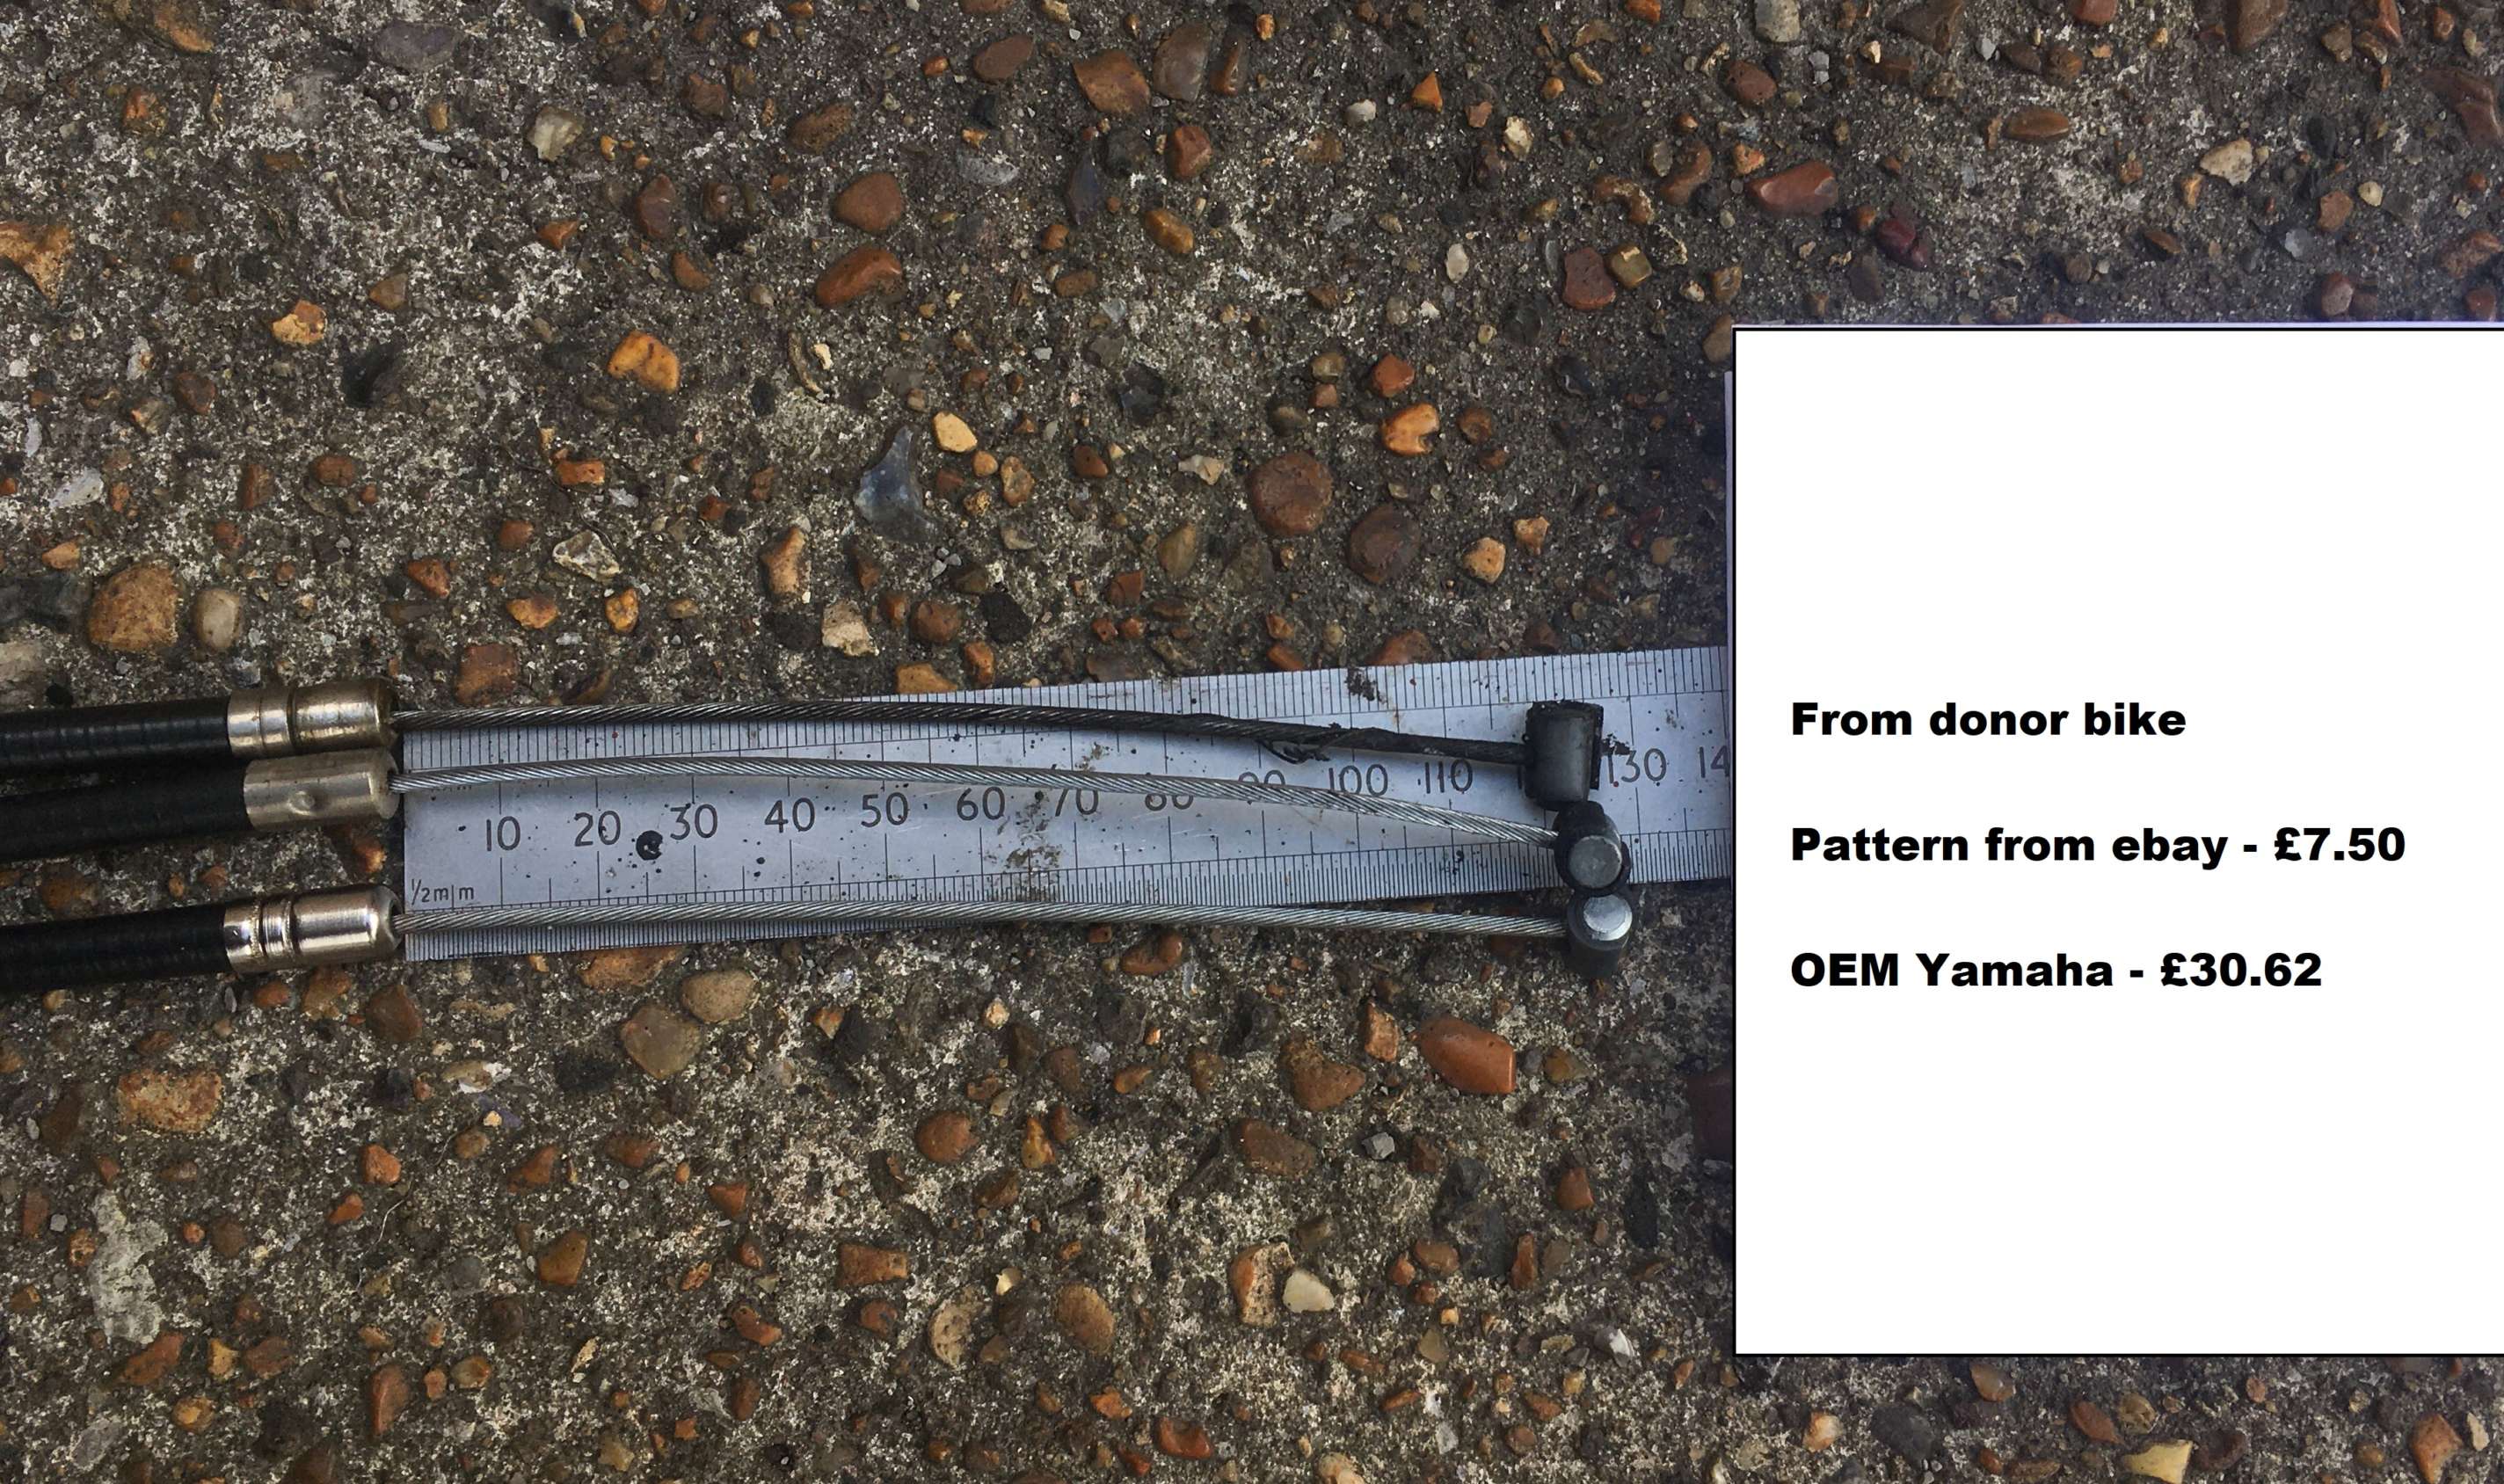
Presciently, I had taken the precaution of ordering a new cable from ebay when I spotted one for £7.50 a few months ago.
Switching to the pattern cable made the clutch silky smooth, but the inner cable was just too long.
Eventually, I traced the problem to the fact that I had placed the engine end of the cable directly in the hole in the LHS casing.
It seems that the LHS casing hole is threaded for an 8mm bolt, so I surmised that there should be a cable adjuster screwed into it.
After grubbing about in the parts box for half an hour, I found an adjuster, and a slim 8mm nut to use as a lock nut, and refitted the cable.
It was now usable, but both ends are at near maximum adjustment. Not much good for when the cable inevitably settles, and stretches over the first few miles!
At this point, I went to the font of RD knowledge that is the RDLCCrazy forums, where the received wisdom is that Genuine cables should be used except in the direst of circumstances.
I bit the bullet and ordered a Genuine Yamaha OEM cable from Fowlers for (ouch! wait for it, £30)
Imagine my surprise when it arrived, and apart from some minor difference in the shapes of the endings, it was to all intents and purposes identical to my £7.50 pattern cable.
Even, (especially), the free lengths of the inner cables, when adjusted for fittings, are pretty much the same within a millimetre or so.

I fitted the pattern cable and adjusted it to the best of my ability, but I’m going to need to insert another adjuster into the cable somehow.
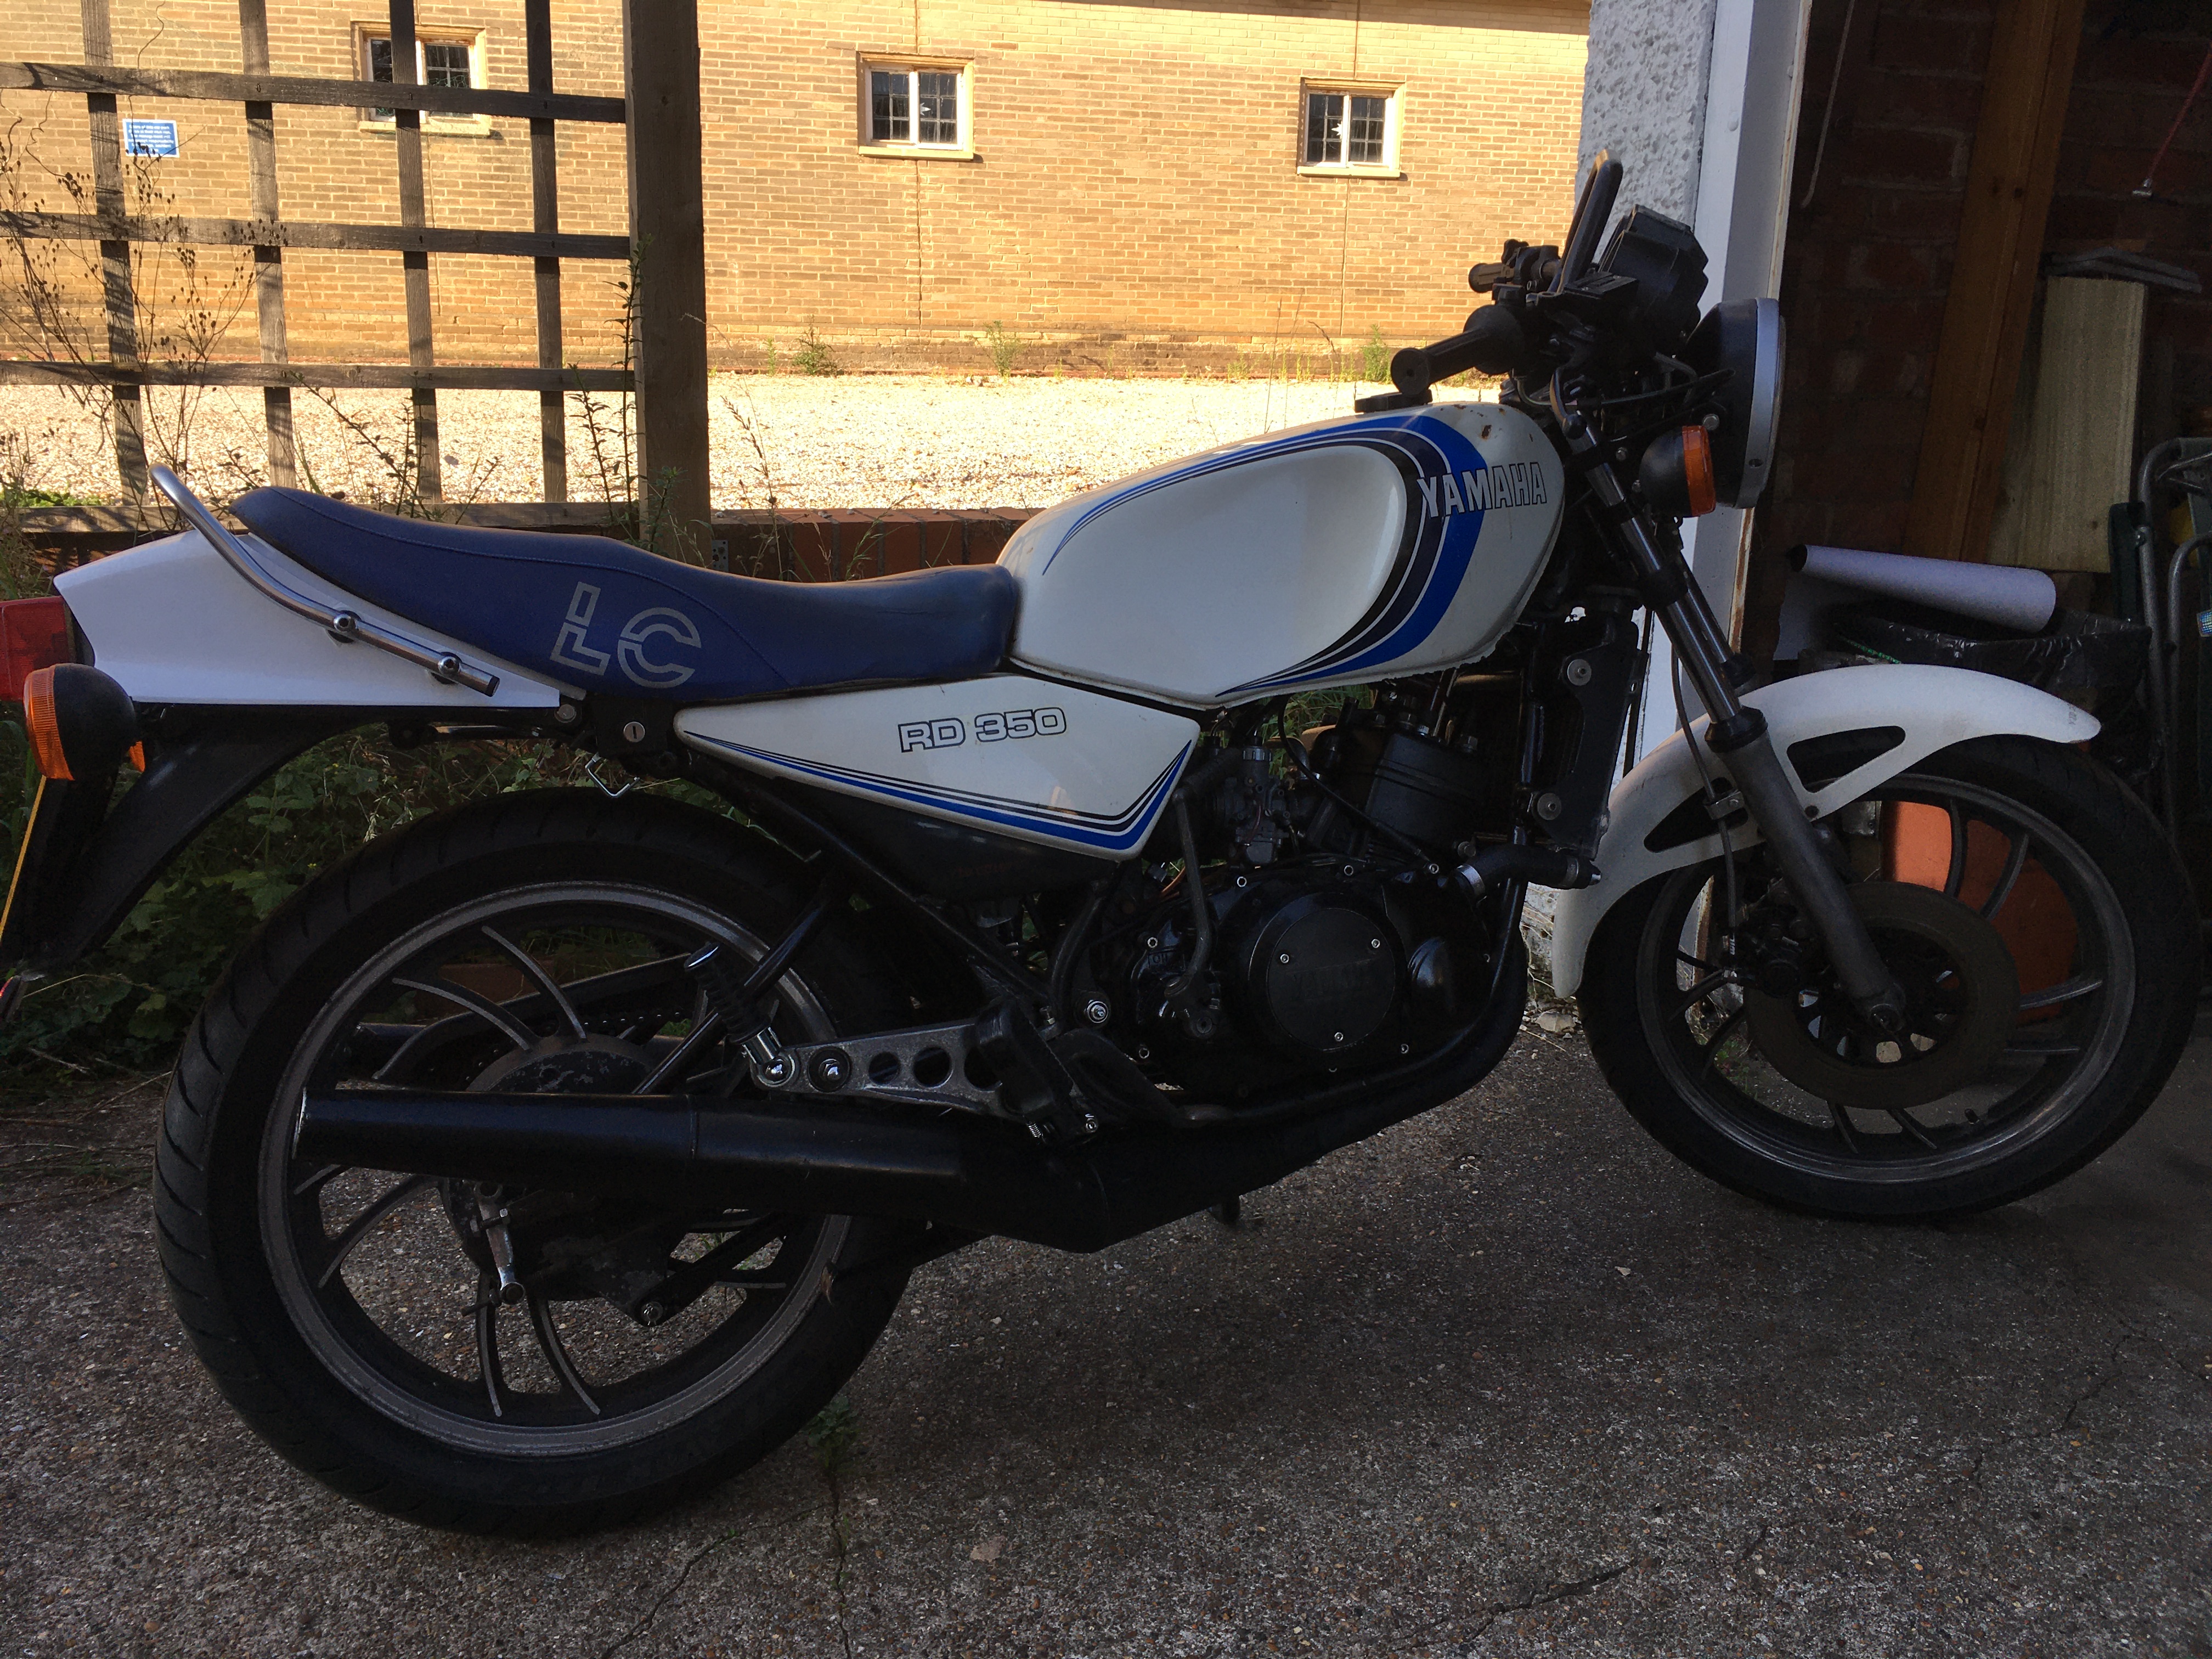
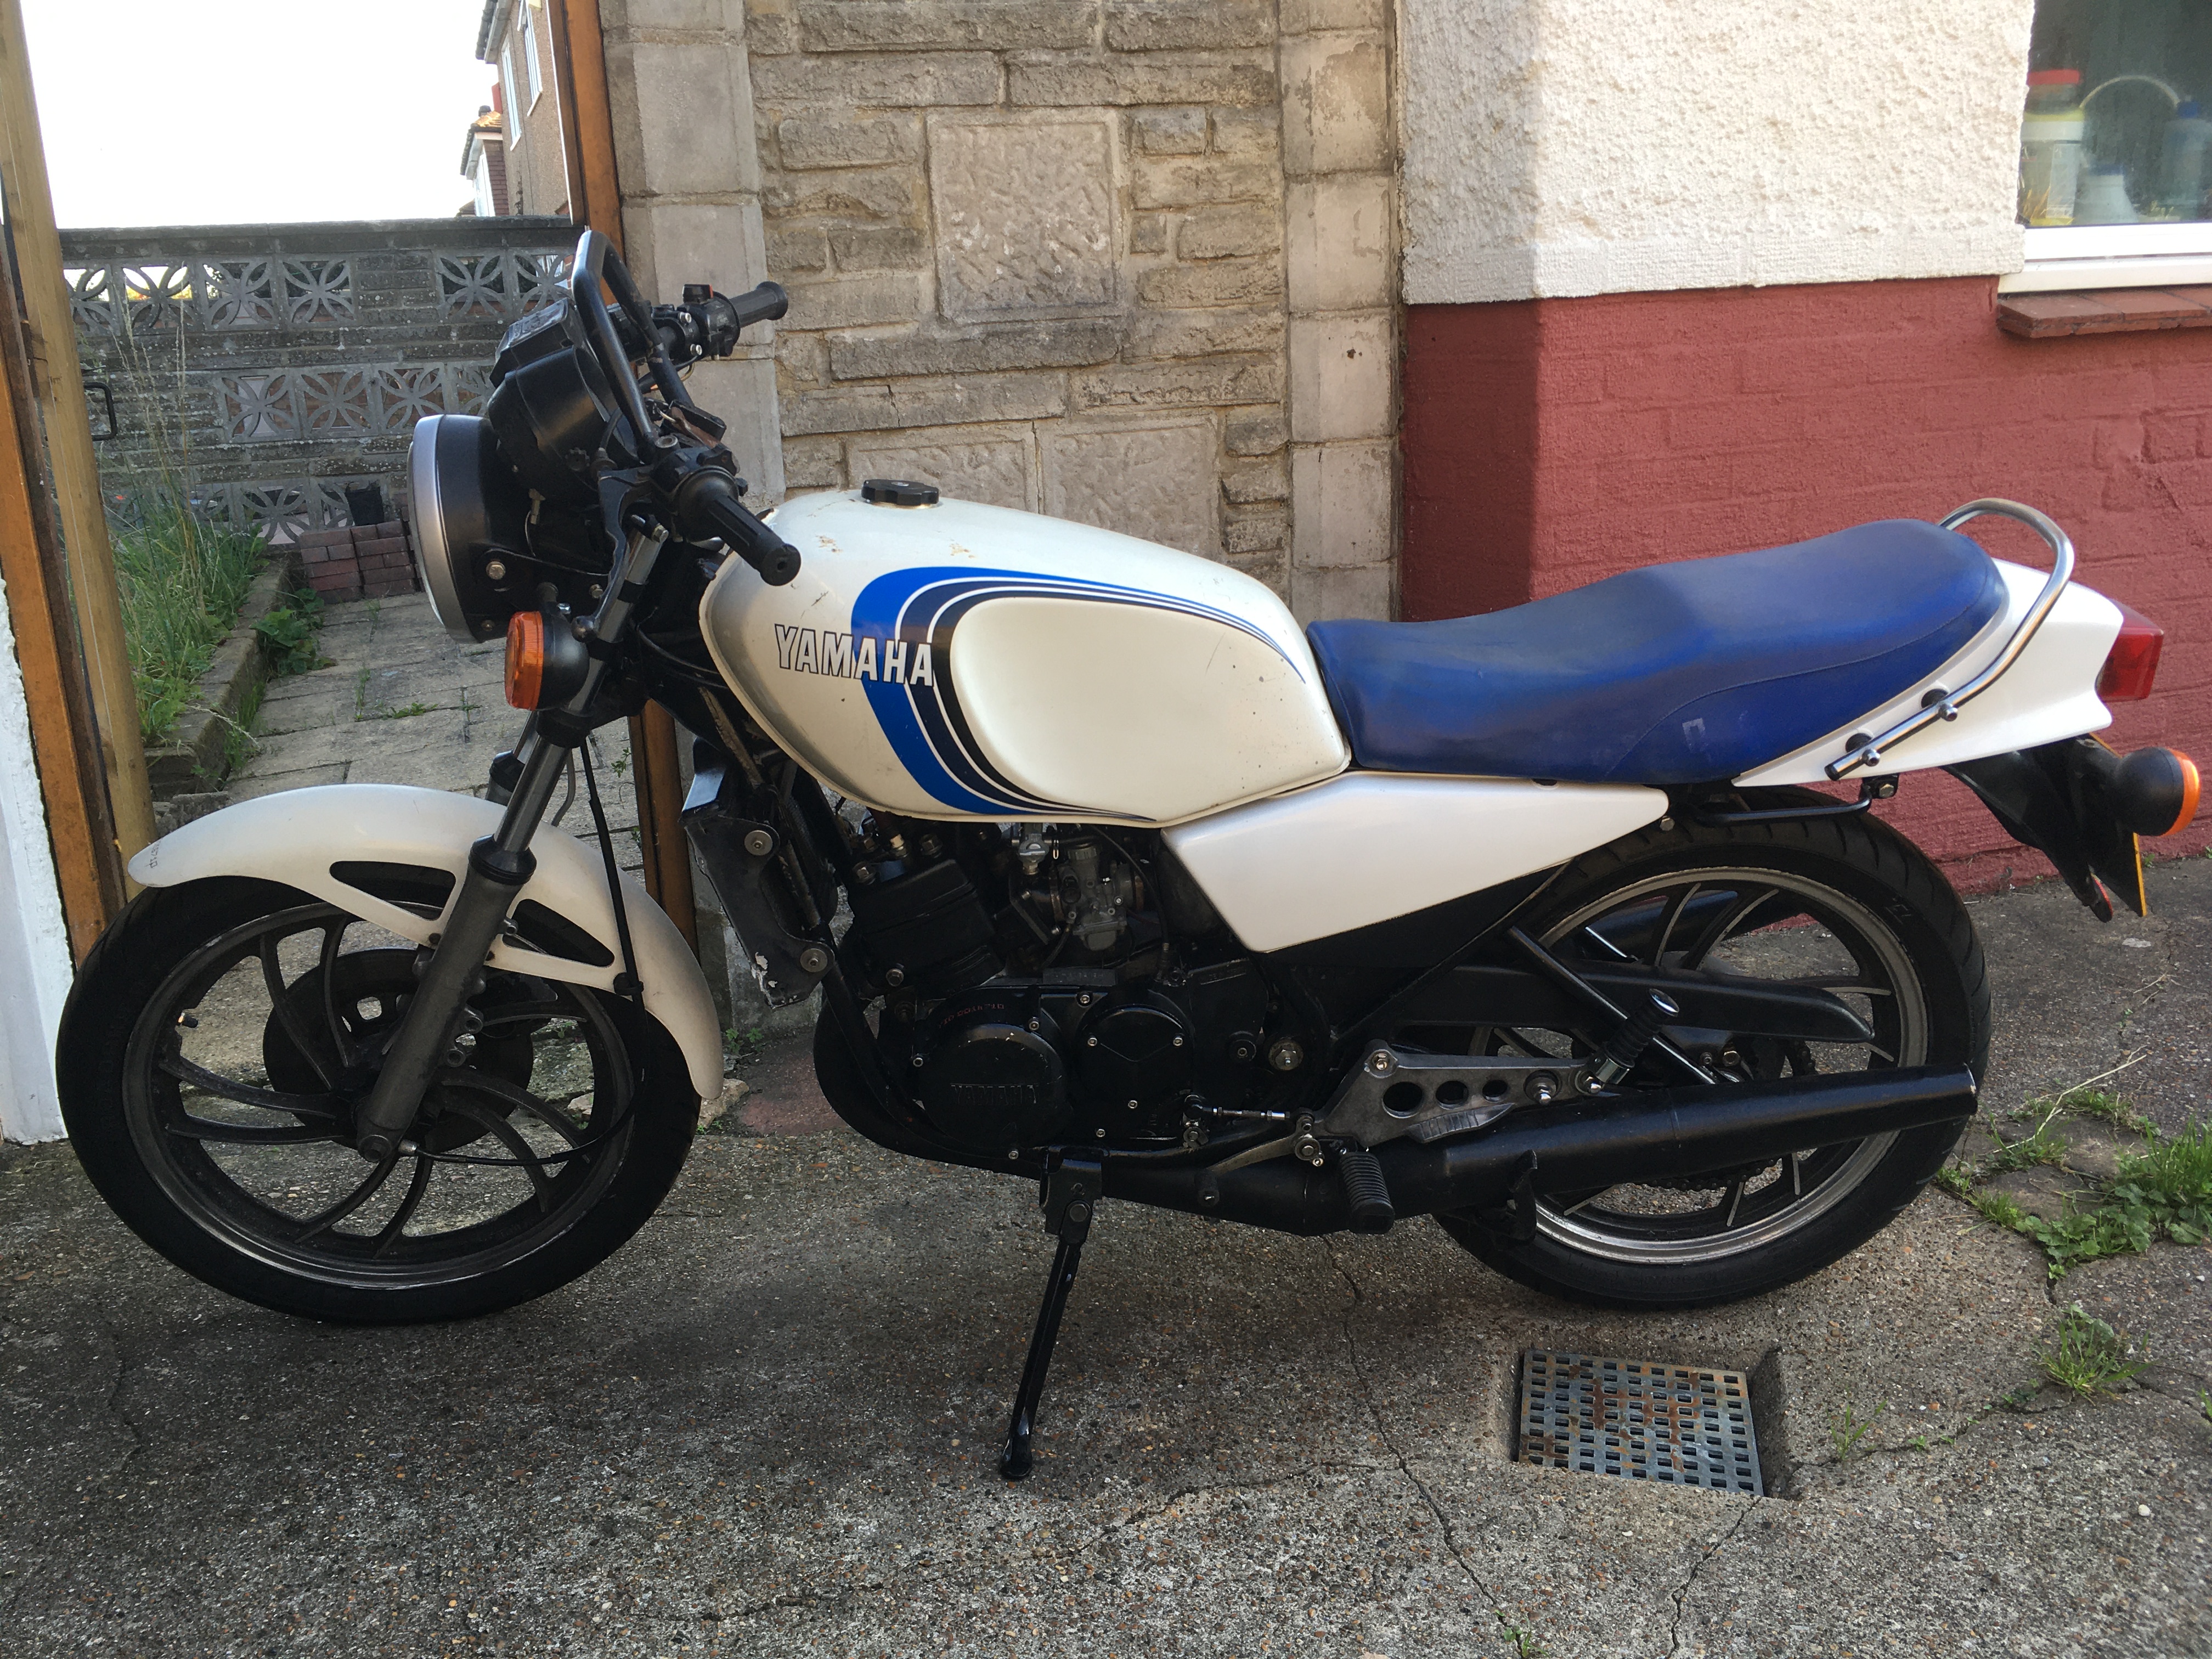
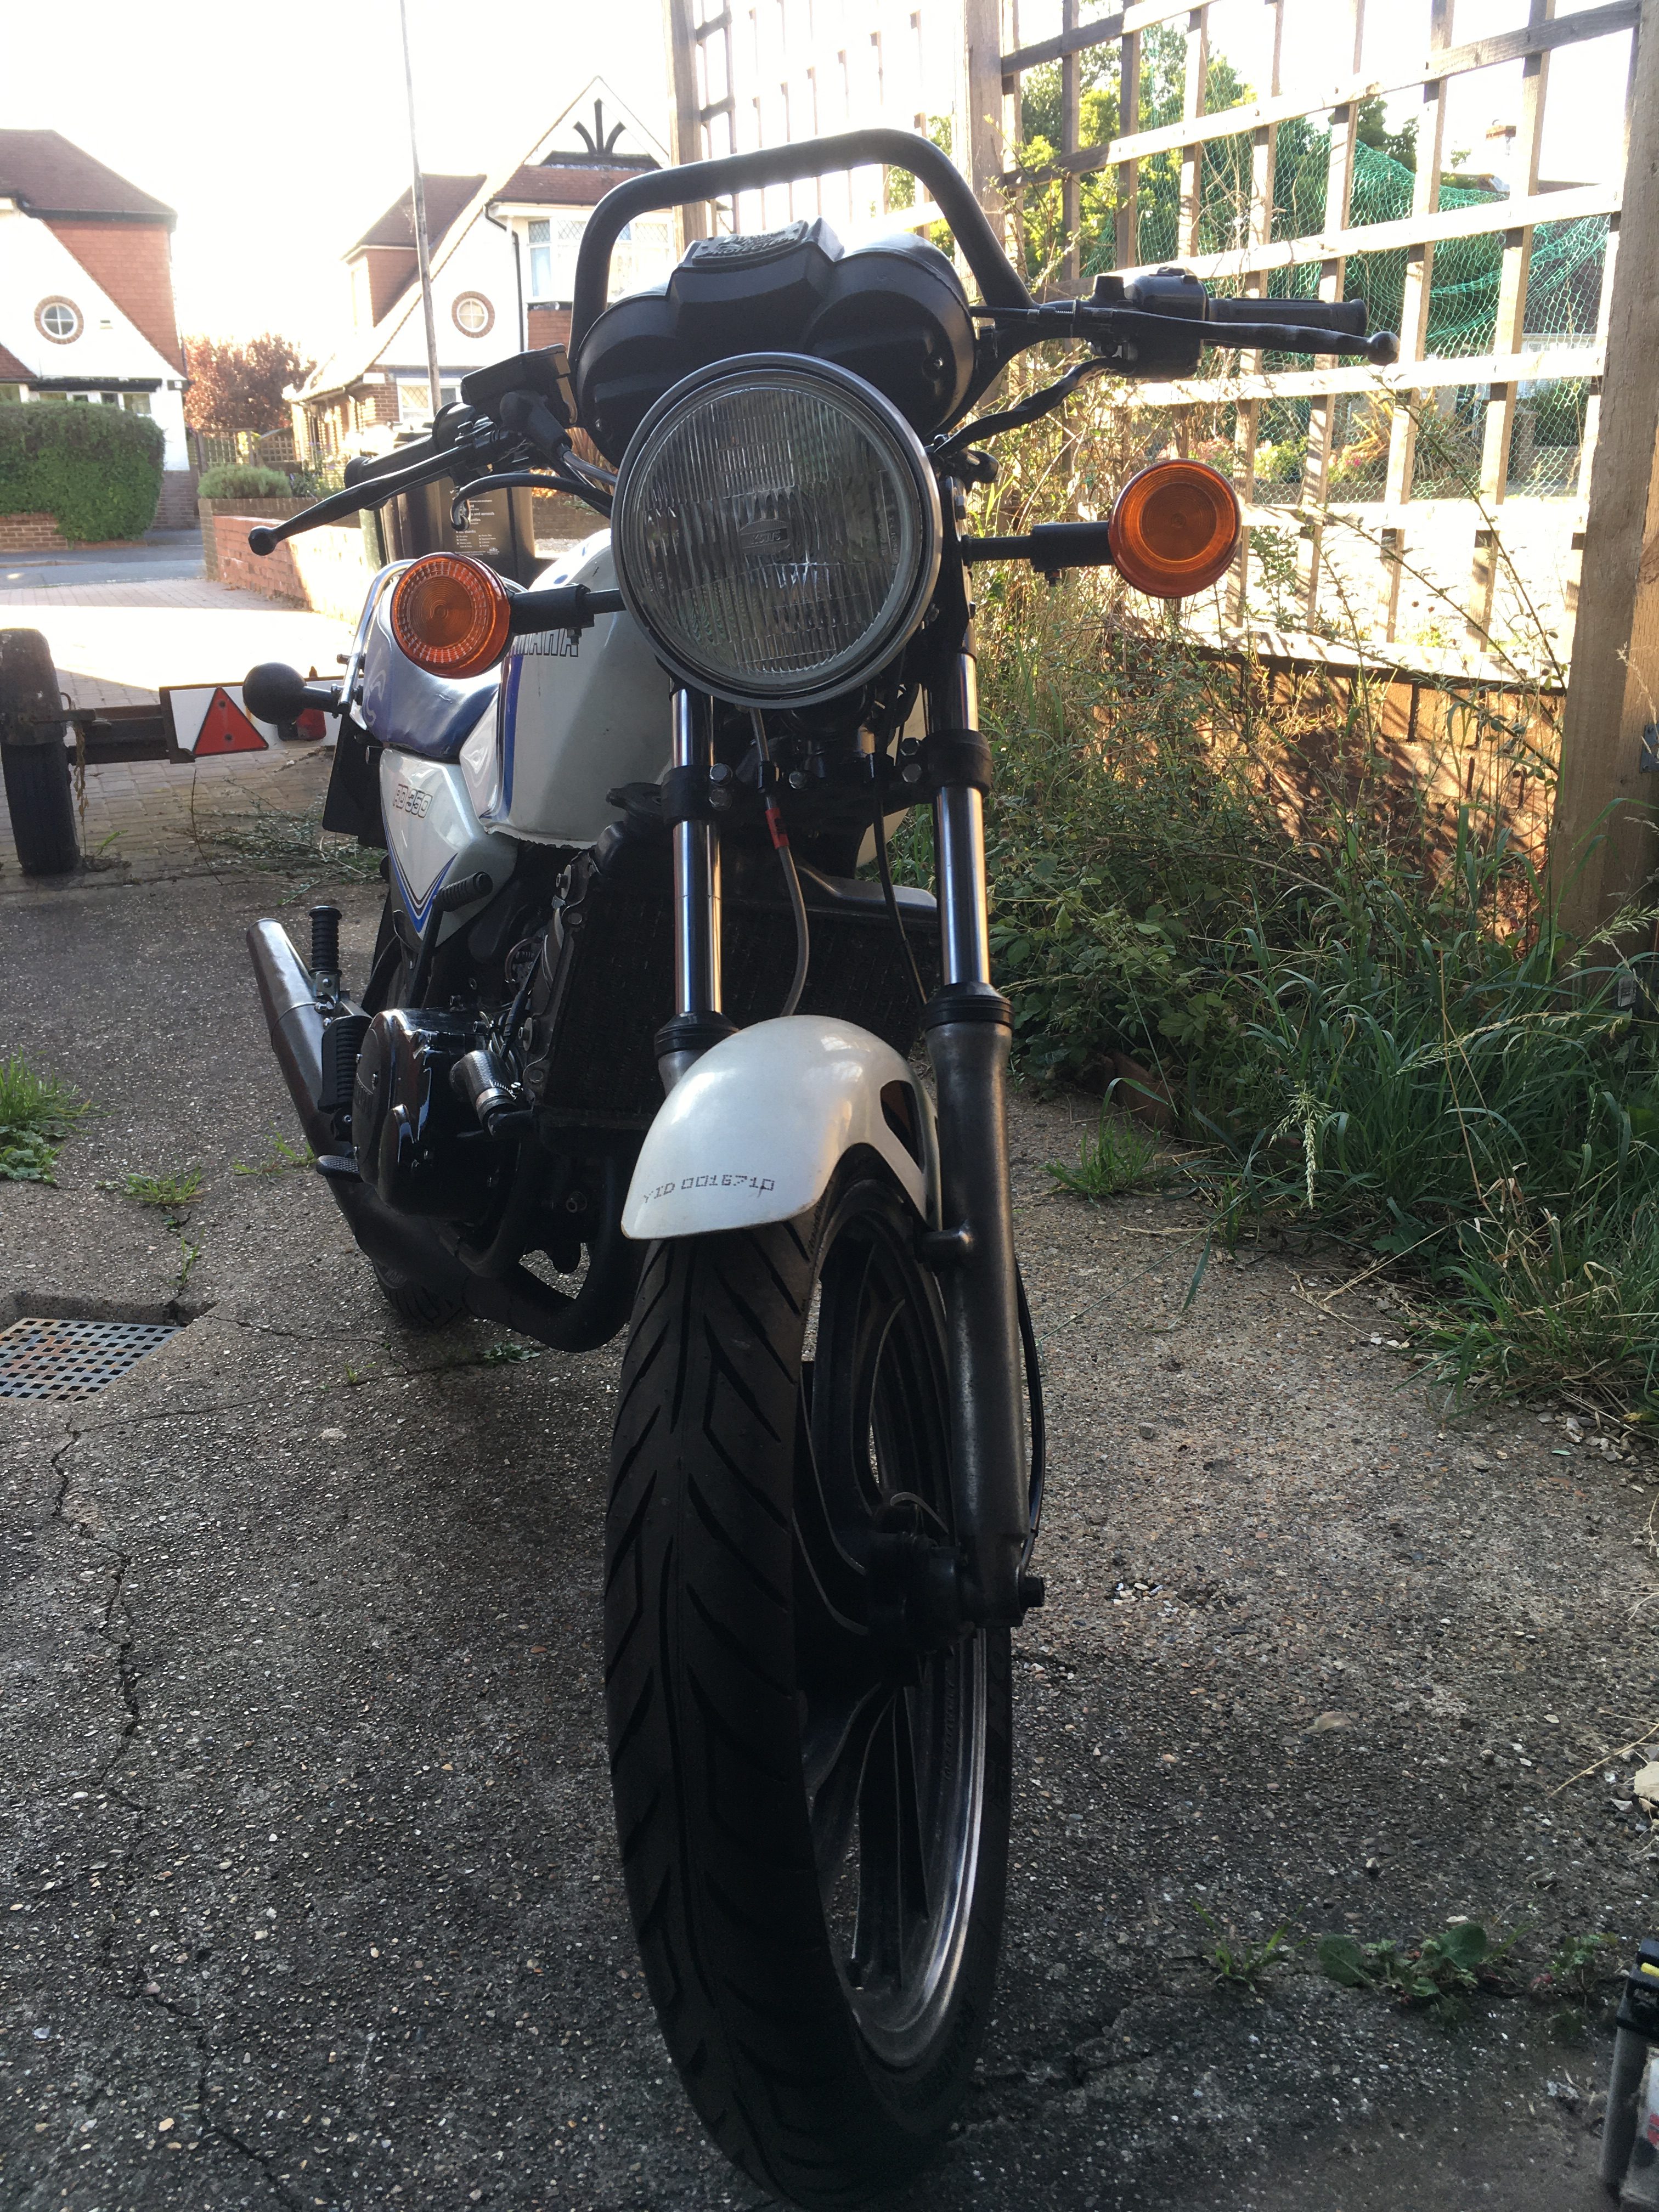
With new brake shoes and clutch cable fitted, it is functionally finished!
Now I need the MOT, and as luck would have it, a slot was available next day at my favourite MOT station.
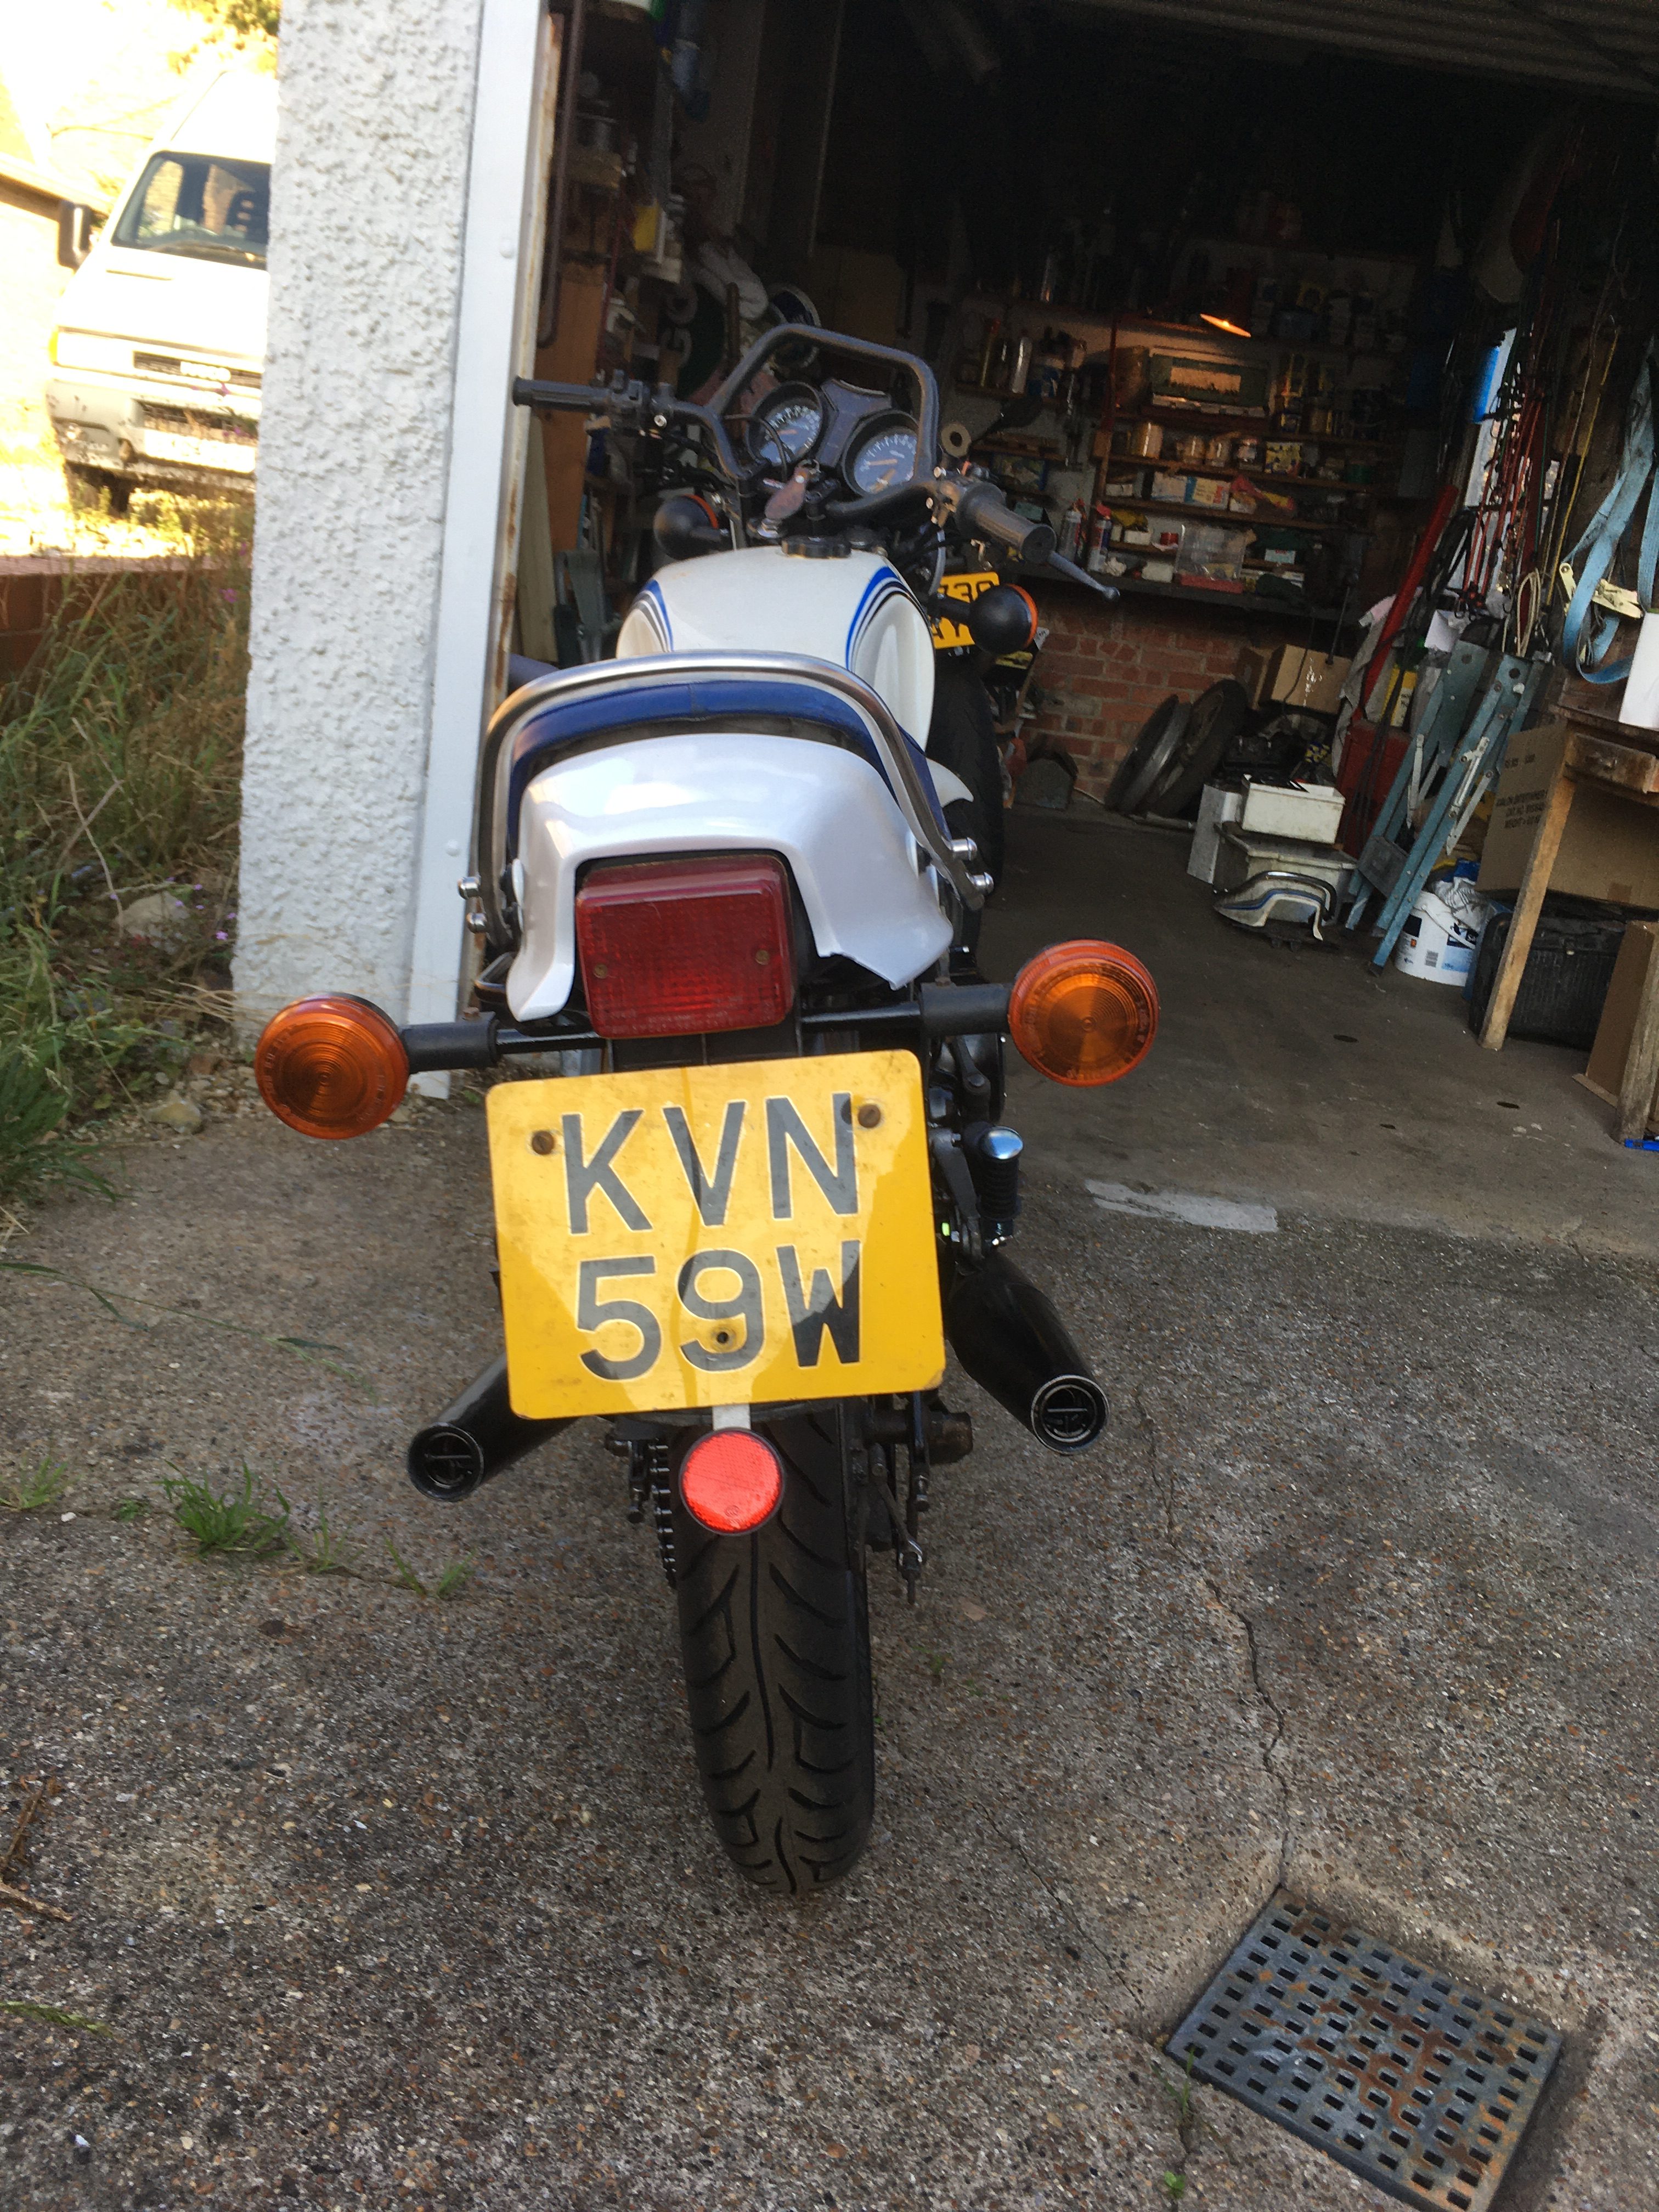
Here are the pictures of the bike just before it departed.
As the bike is still on SORN, this is the first opportunity I have had to ride it on the road, and it became instantly obvious that some time in the intervening years since this bike was last on the road, something hideous had happened, and turned the rear brake drum from a circle, into an oval shape.
I continued to the MOT anyway, where it passed, but with an advisory on the rear brake.
It has to be dealt with anyway. I can’t ride a bike with an oval brake drum.
The tester also found a weeping fork seal on the right hand fork leg, caused by my incompetence when fitting.
This was dealt with immediately by covering the stanchion with red-rubber grease for an inch or so above the seal, and bouncing the forks.
This served to “flip the seal” into its correct orientation.
A tip which I will remember!
The mechanical build is complete, Now for the shakedown period.
I’ll be riding, and running in the bike for what remains of the summer, and then ripping it apart again over the winter for the cosmetic build.
In it’s simplest terms…
- Blasting, Stove enamelling, or powder coating the frame and diverse other metal parts
- Selecting some bodywork and a tank from the spare parts pile for a new paint job.
- Some more mechanical refurb and new parts where exposed by the shakedown period. (Clutch train for starters)
Bodywork and tank paint I’ll be doing myself, as the cost has risen to the point where I can’t justify £750+ to get a professional job done, however pretty it will be.
I’ll be spending circa £200 on rattle cans, and a lot of time on the bodywork.
I’ve settled on a black bike with Mars Bar striping.
Cost to get to this point has been £2525.48.
I estimate another £2k will be needed to finish it to my satisfaction.
I started work on a pile of bits in March 2021, and every single part of the bike has been disassembled and reassembled in the intervening (almost exactly), 6 months.