After a disappointing first run of the bike, it is apparent that there is a problem with the bike running once the choke is off.
This is particularly noticeable on the left hand side where the pot barely runs at all, and issues the occasional polite cough!
I had been avoiding the received wisdom of cleaning out the air corrector circuit in the carbs, because it involves what appears to be a tricky operation removing brass balls from the carb. I don’t have a pillar drill, and the work seems fraught with the danger of wrecking the carbouretter itself.
however, I have no choice now, if I want to continue using OEM parts for a “standard” build, rather than fitting alternatives.
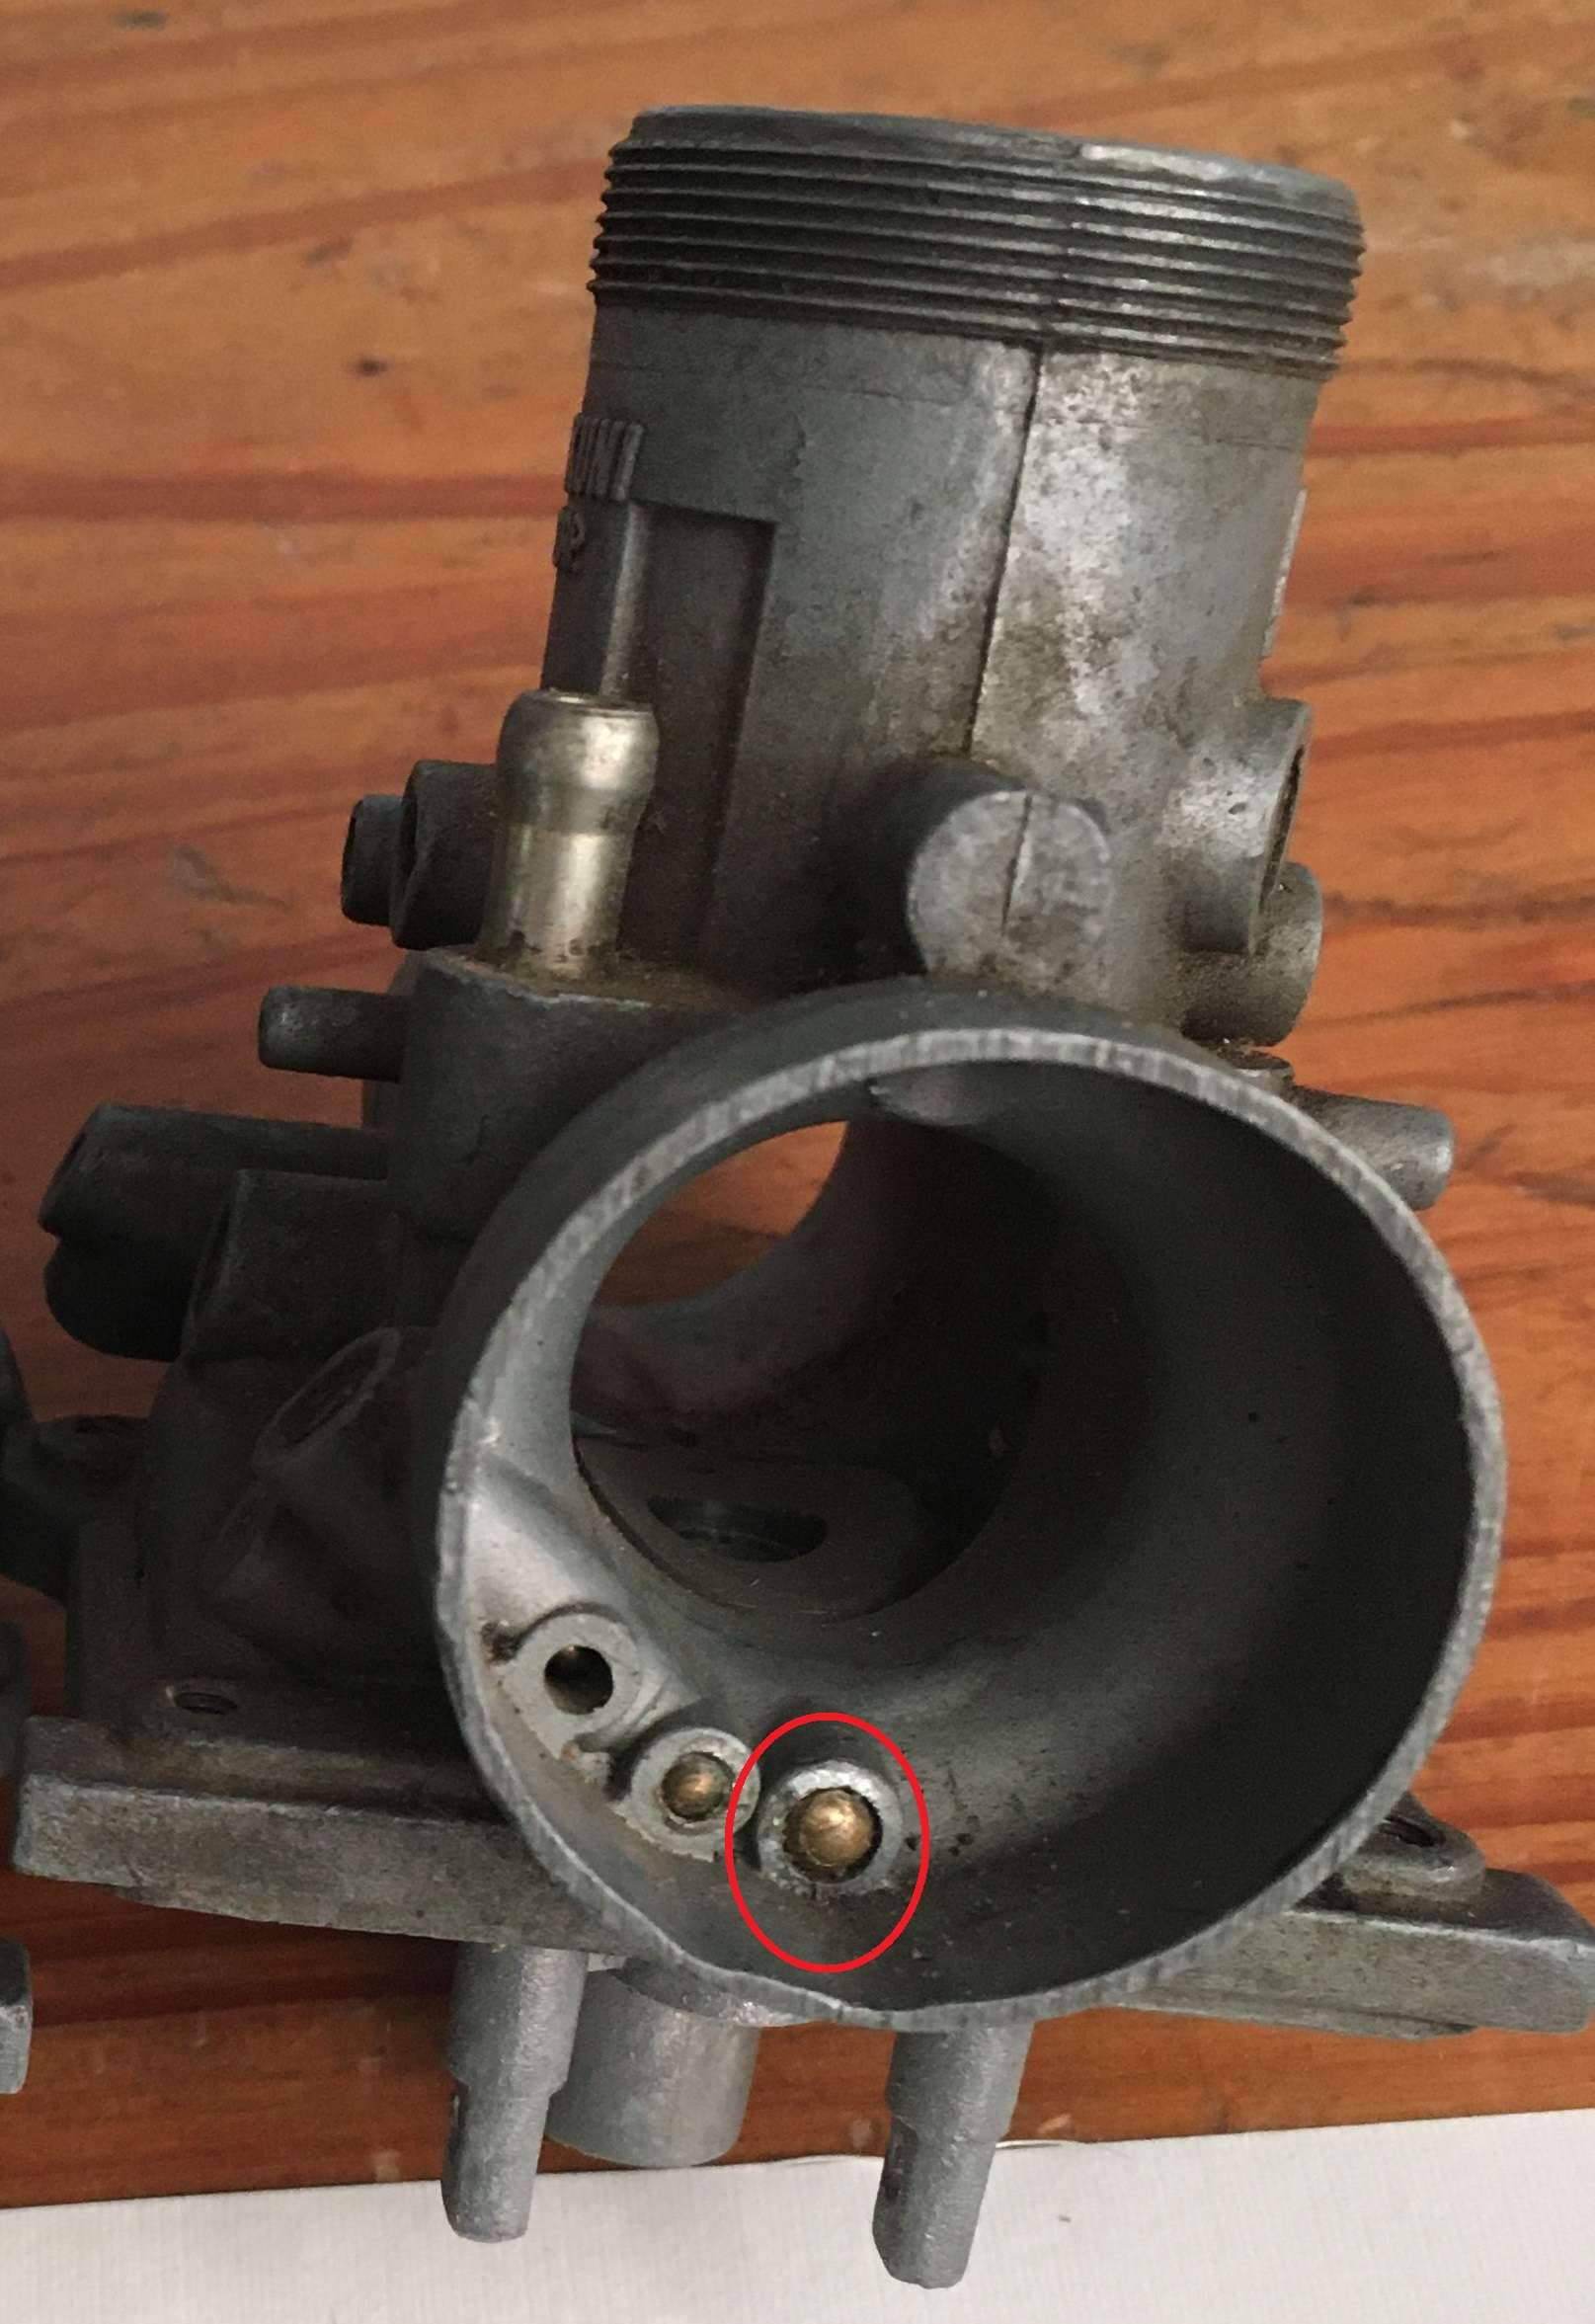
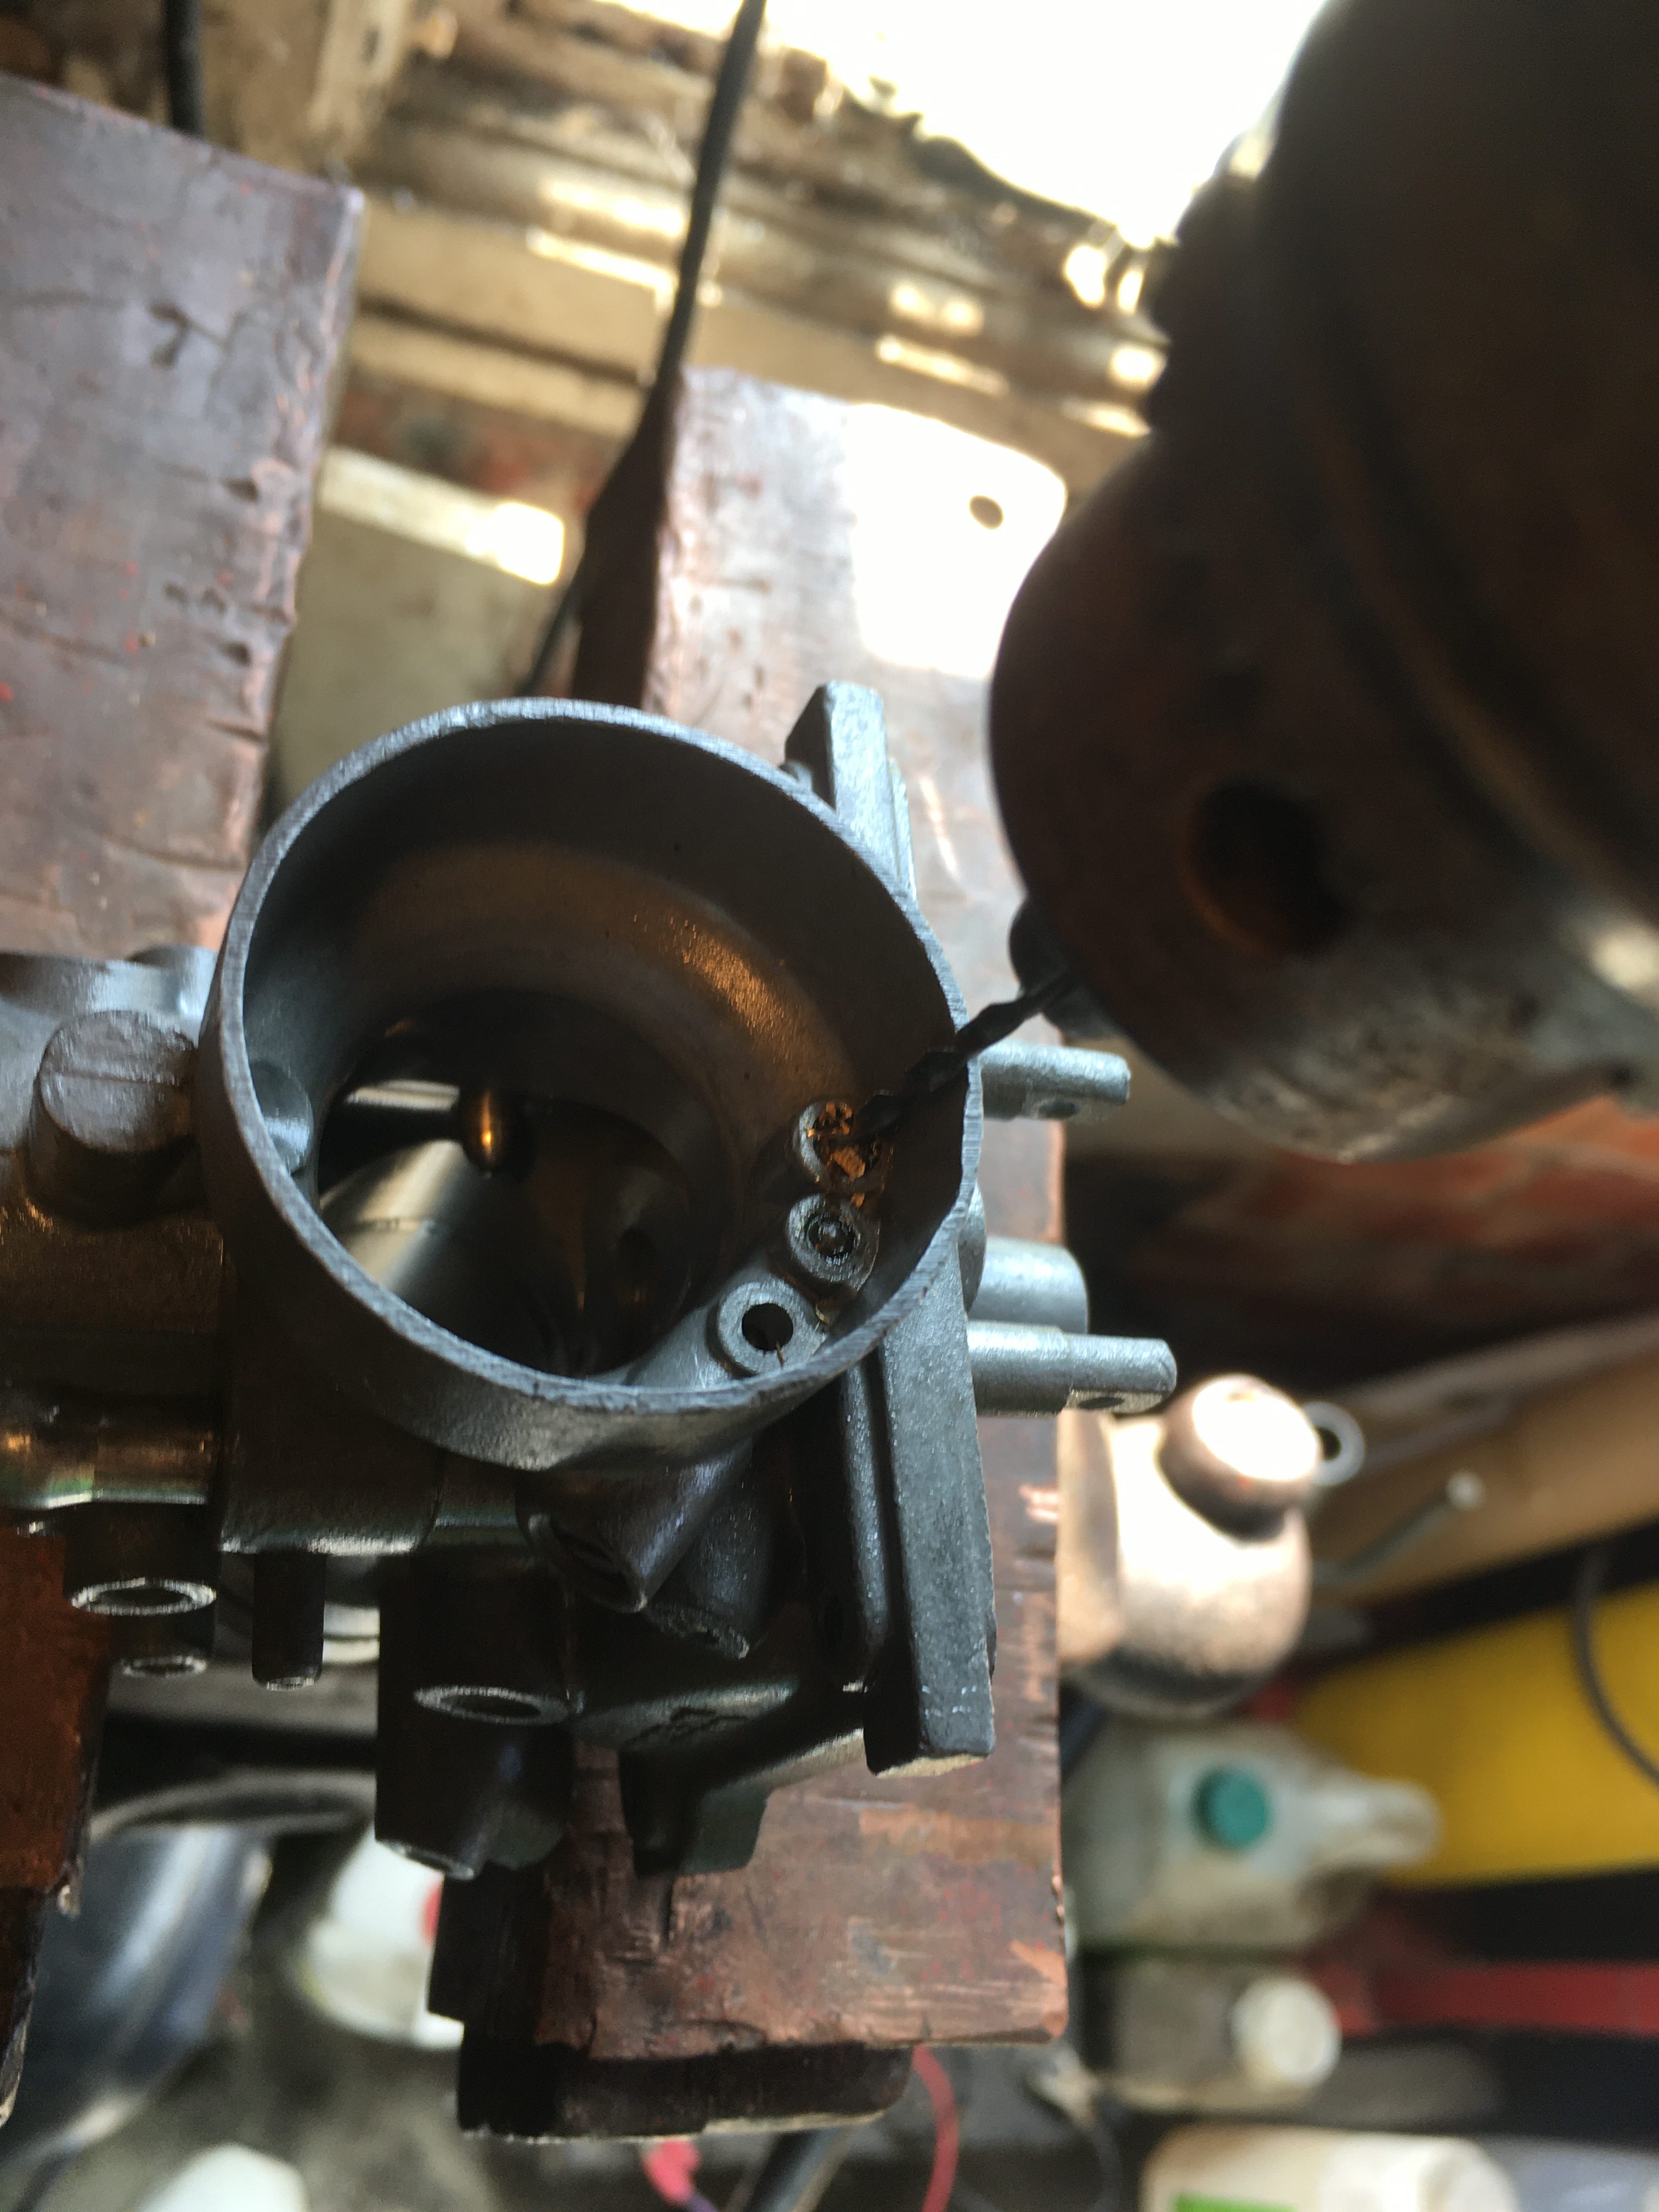
The Balls in question are these, marked in red, (one on each carb).
They are fitted because it is not possible to drill around a 90 degree angle.
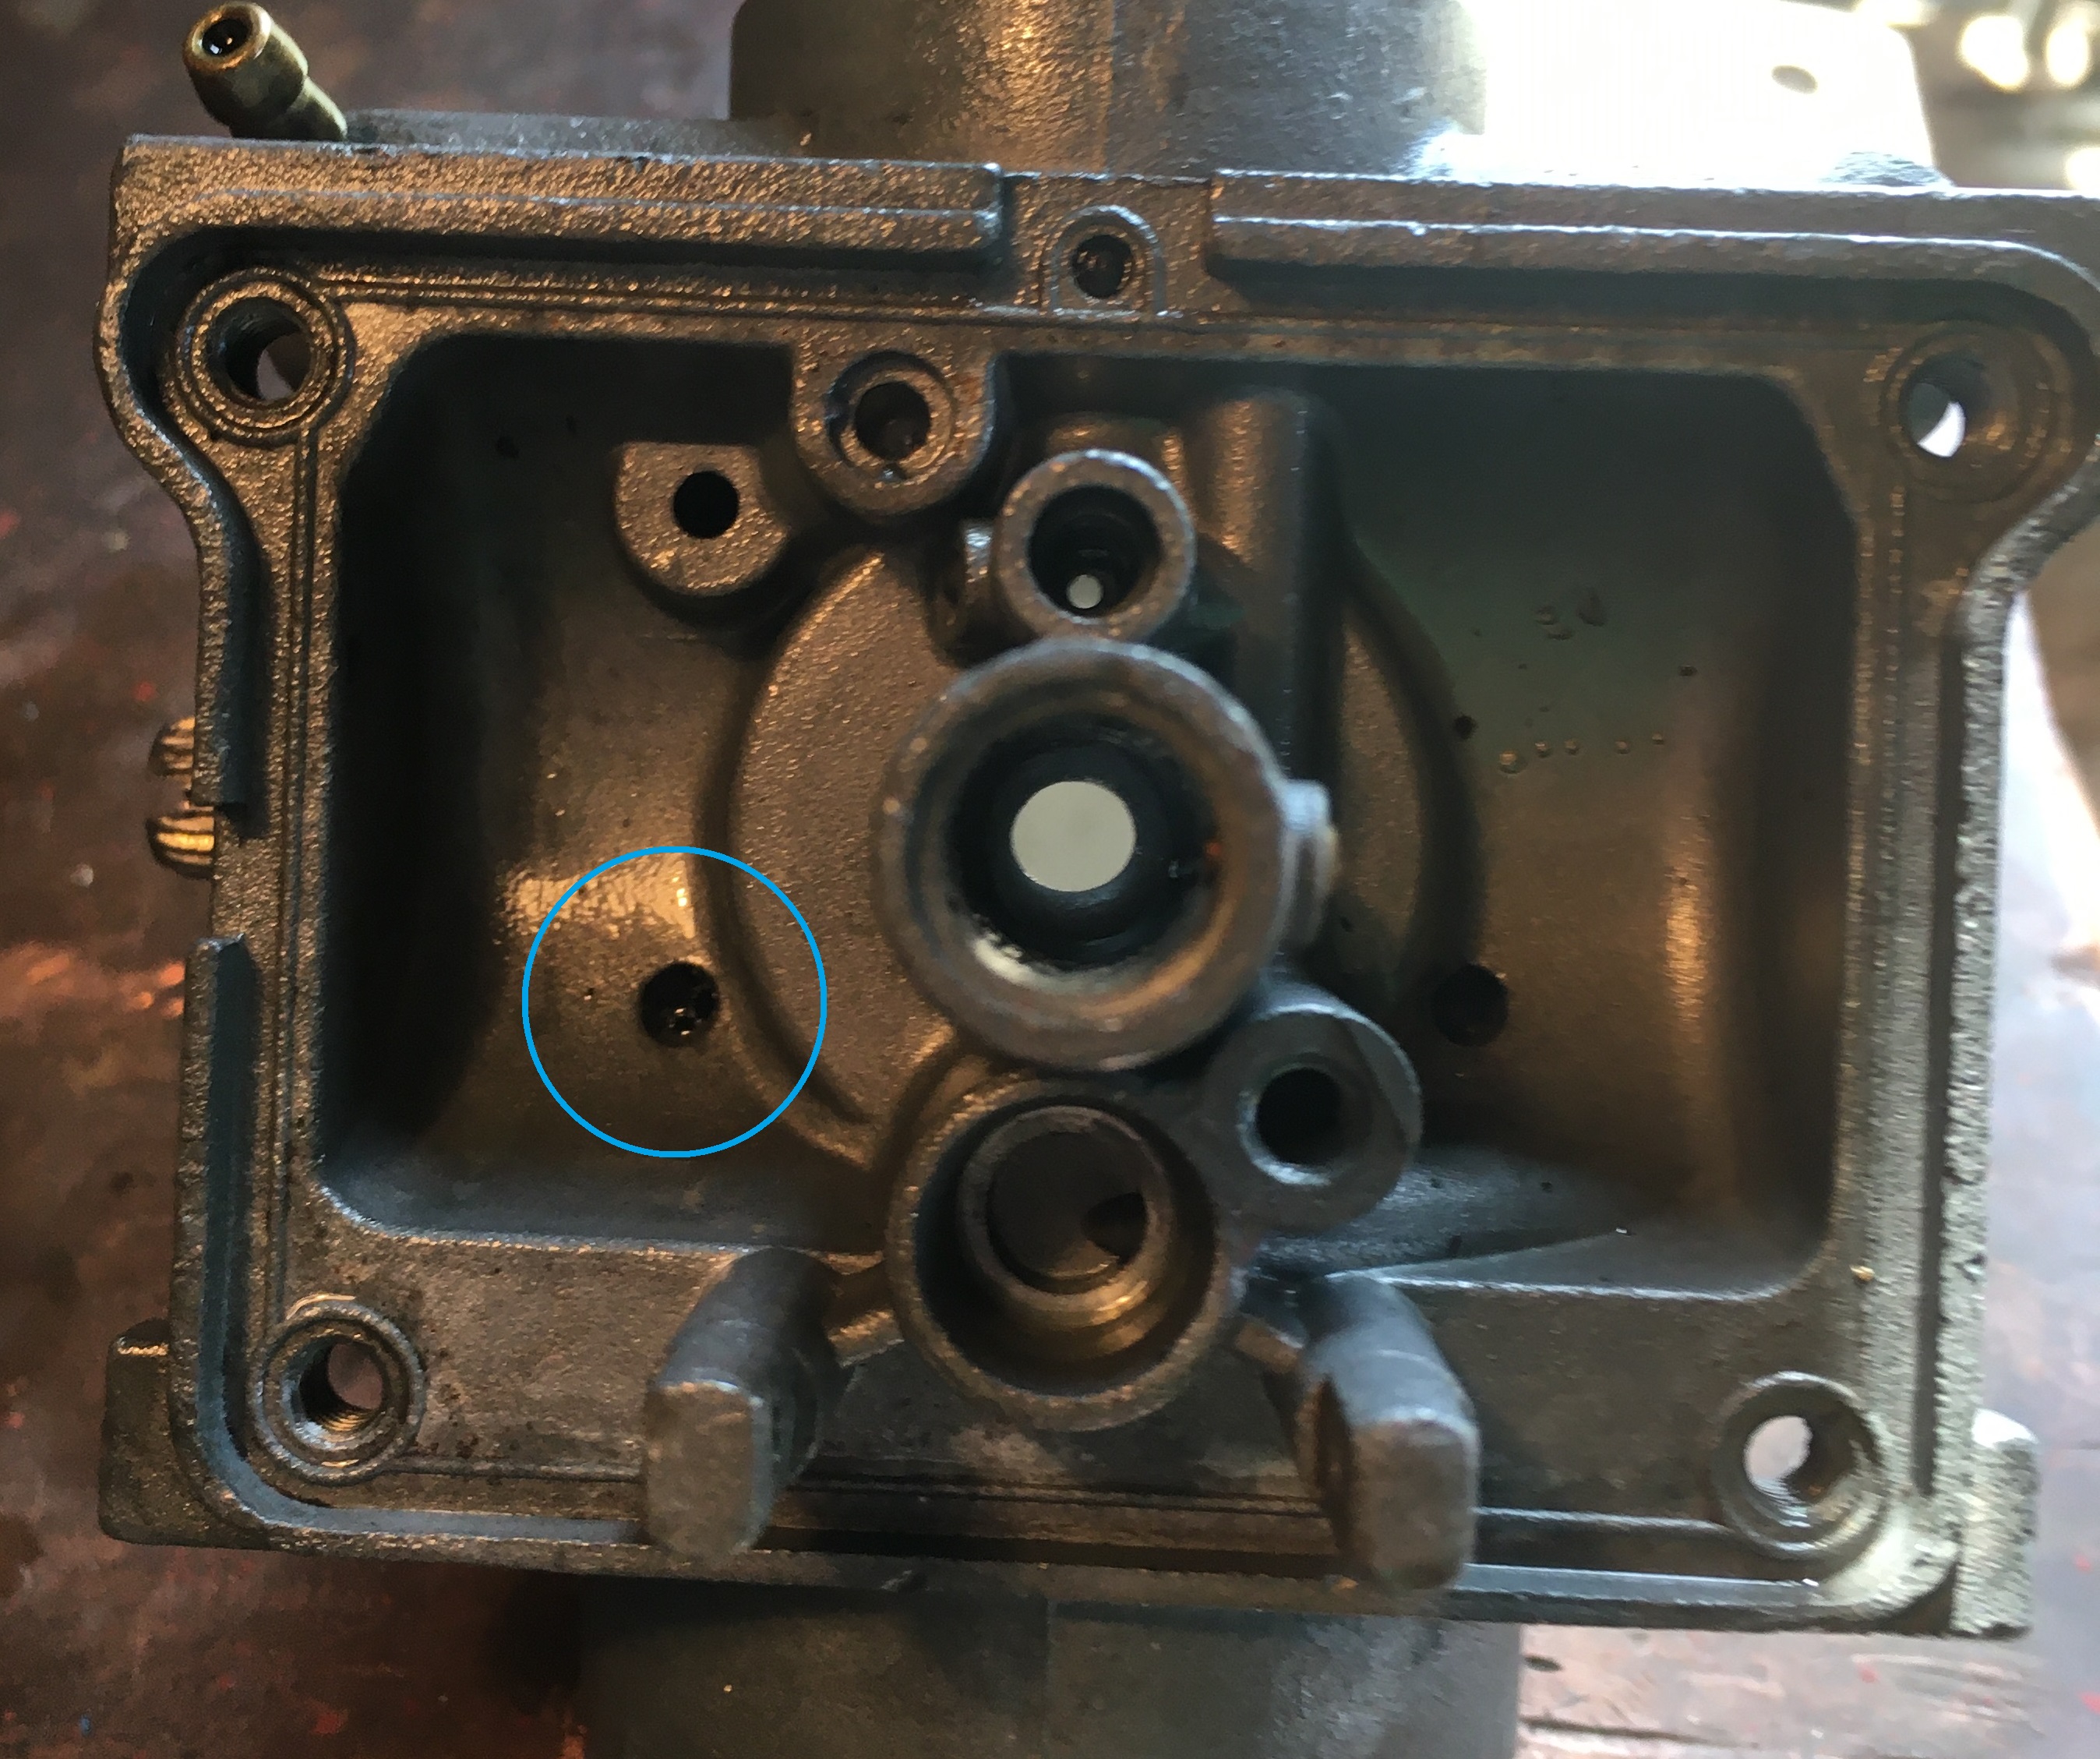
The Mikuni carbs are constructed such that an air channel is provided between the still air at the top of the float bowl, and the side of the emulsion tube, (which houses the slide needle).
This required drilling from the side of the carb, across the hole cast into the roof of the float chamber, (marked in Blue), during manufacture, and then drilling across that hole into the emulsion tube housing.
Once the holes were drilled, the ends of the drillings are filled with brass balls, and apparently, a smear of epoxy, and thus, the circuit between the float chamber and the emulsion tube is made.
Over time, this little channel gets filled with detritus, and dried petrol varnish, and stops doing it’s job.
Ultrasonic cleaning will not reach into the drillings without the ball being removed.
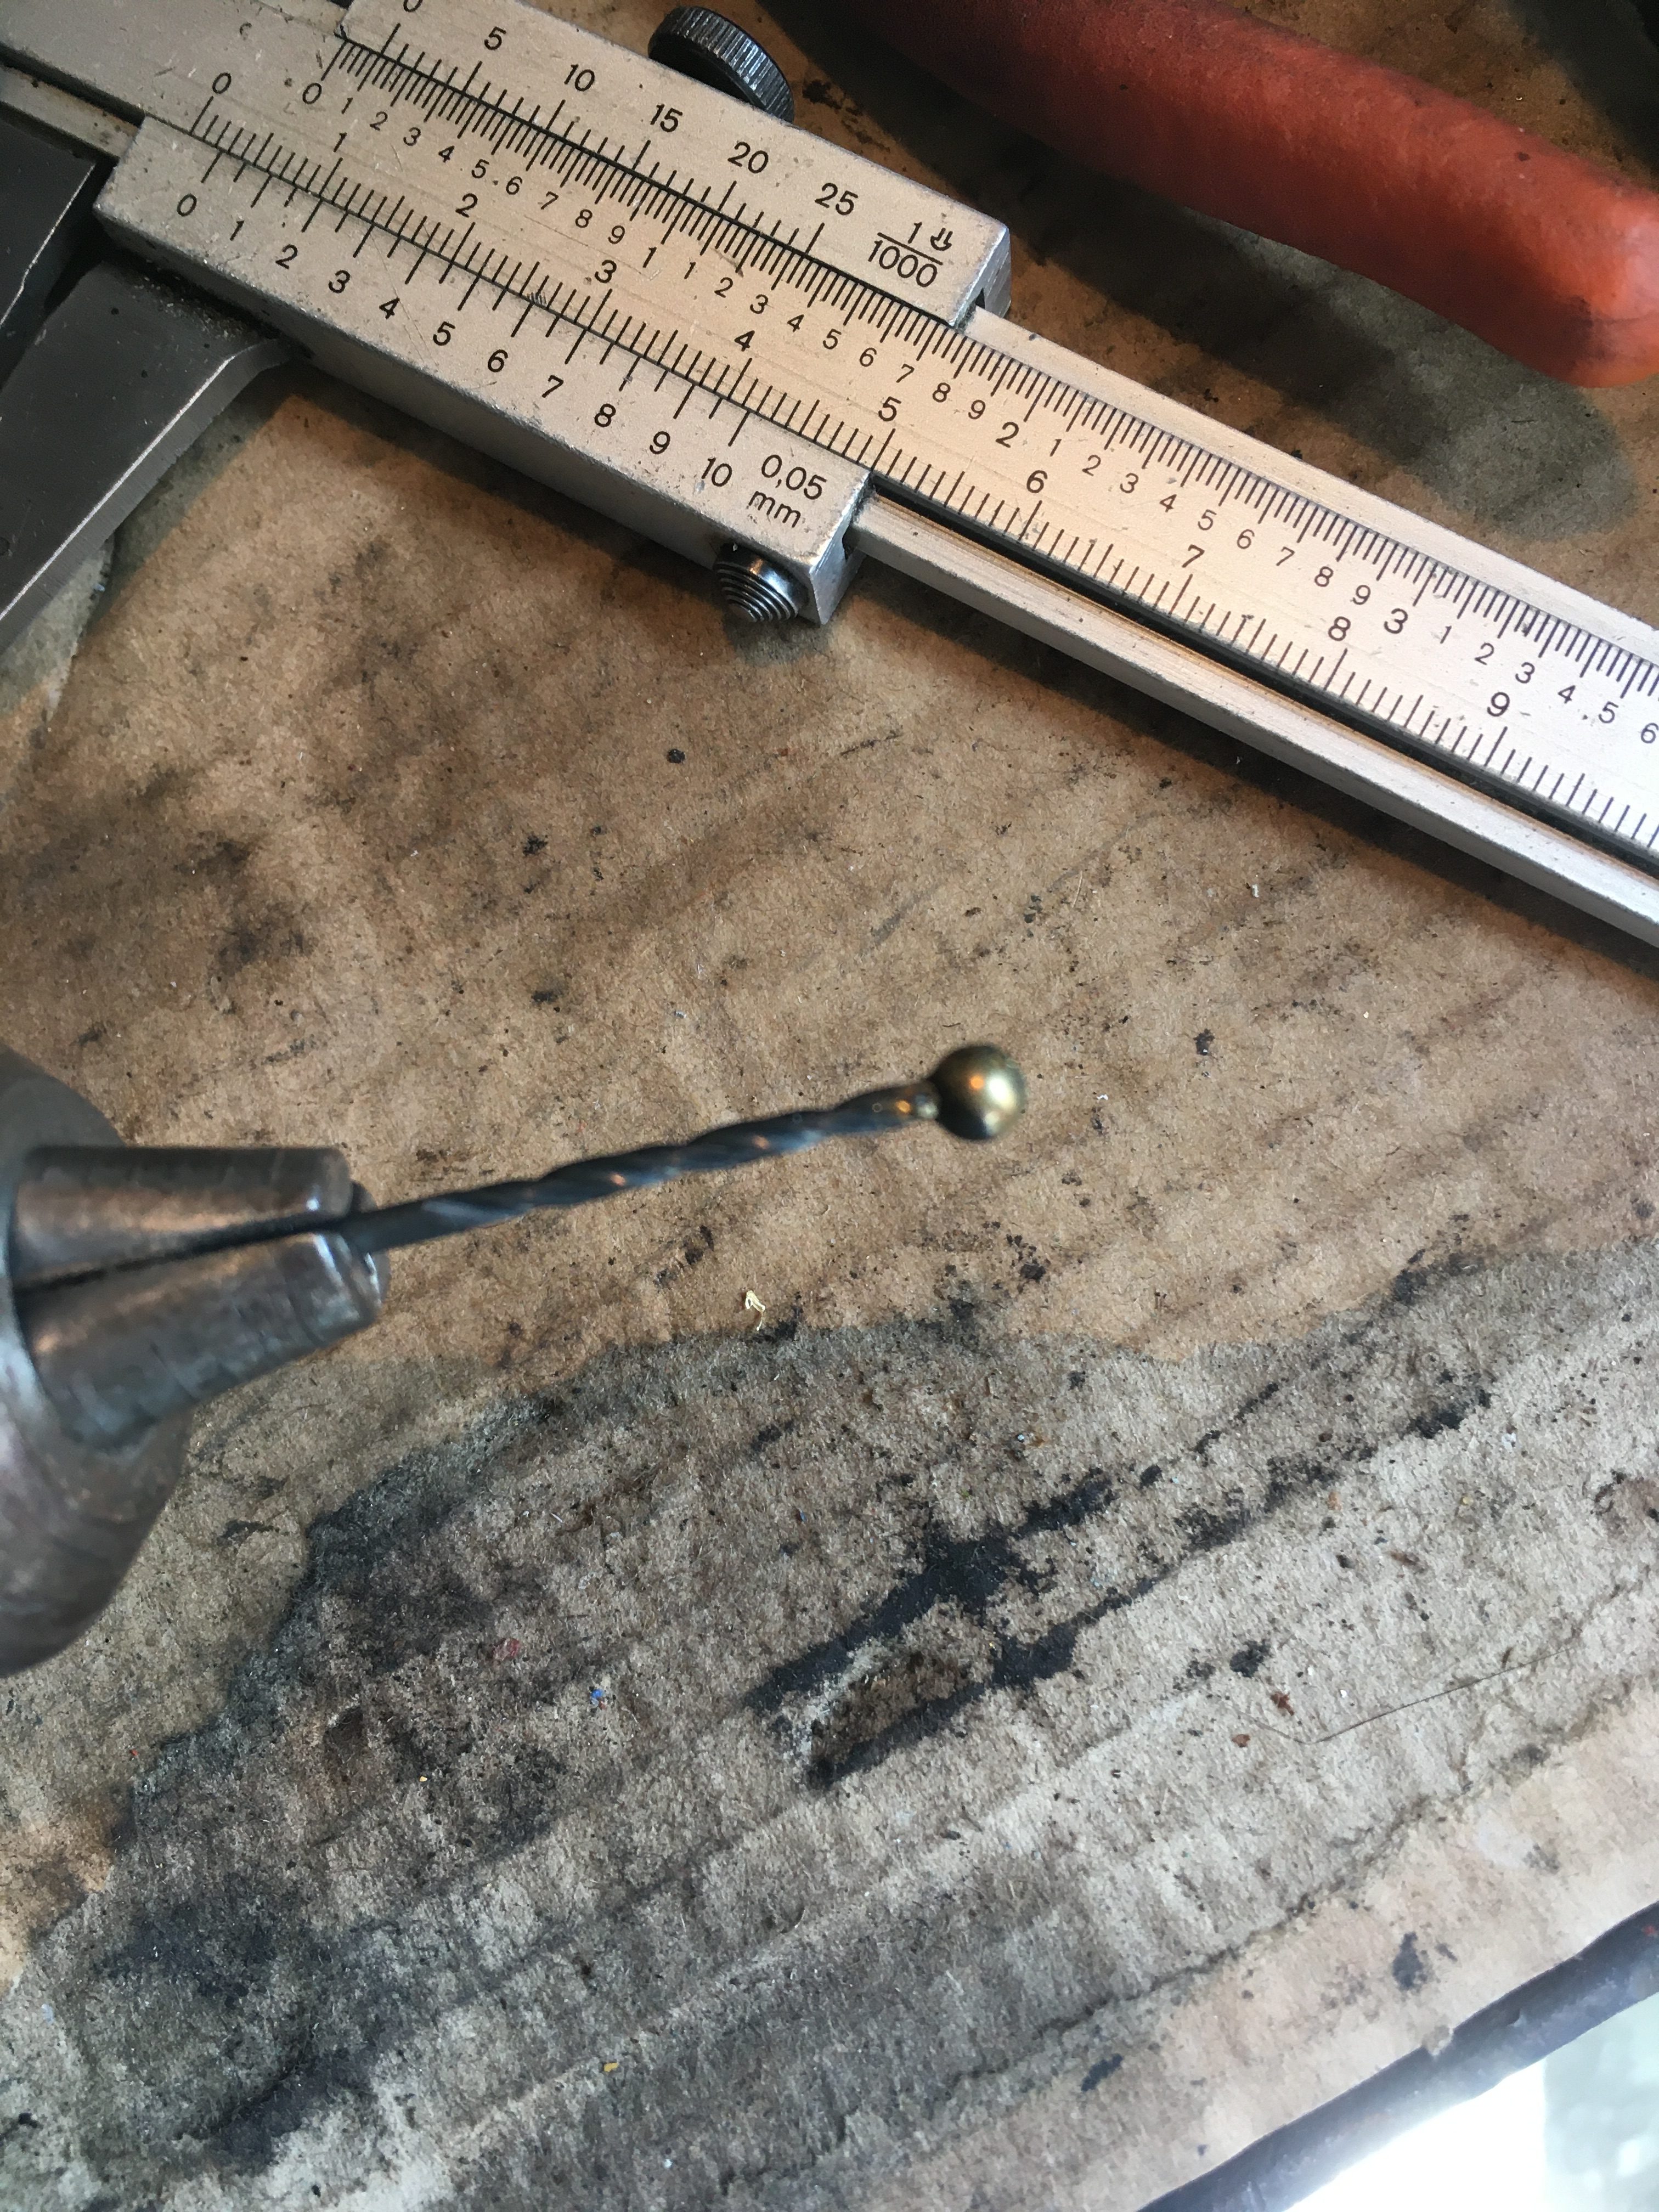
The much advised way to remove the ball, is to drill a hole in it, and lever it out.
This method has several clear problems, notably, drilling accurately into the surface of a sphere.. but as other people have clearly achieved success, I had to try.
First things first, the ball must be centre punched to give the drill bit purchase.
The obvious pratfall here is that the ball will retreat into it’s hole with each tap of the hammer. (And this is what happened to me when practicing on an old useless carb).
The secret is to tap several times very lightly.
The material is brass, not steel, and only needs a light touch to make a mark, and only a small detent is required to key the drill bit.
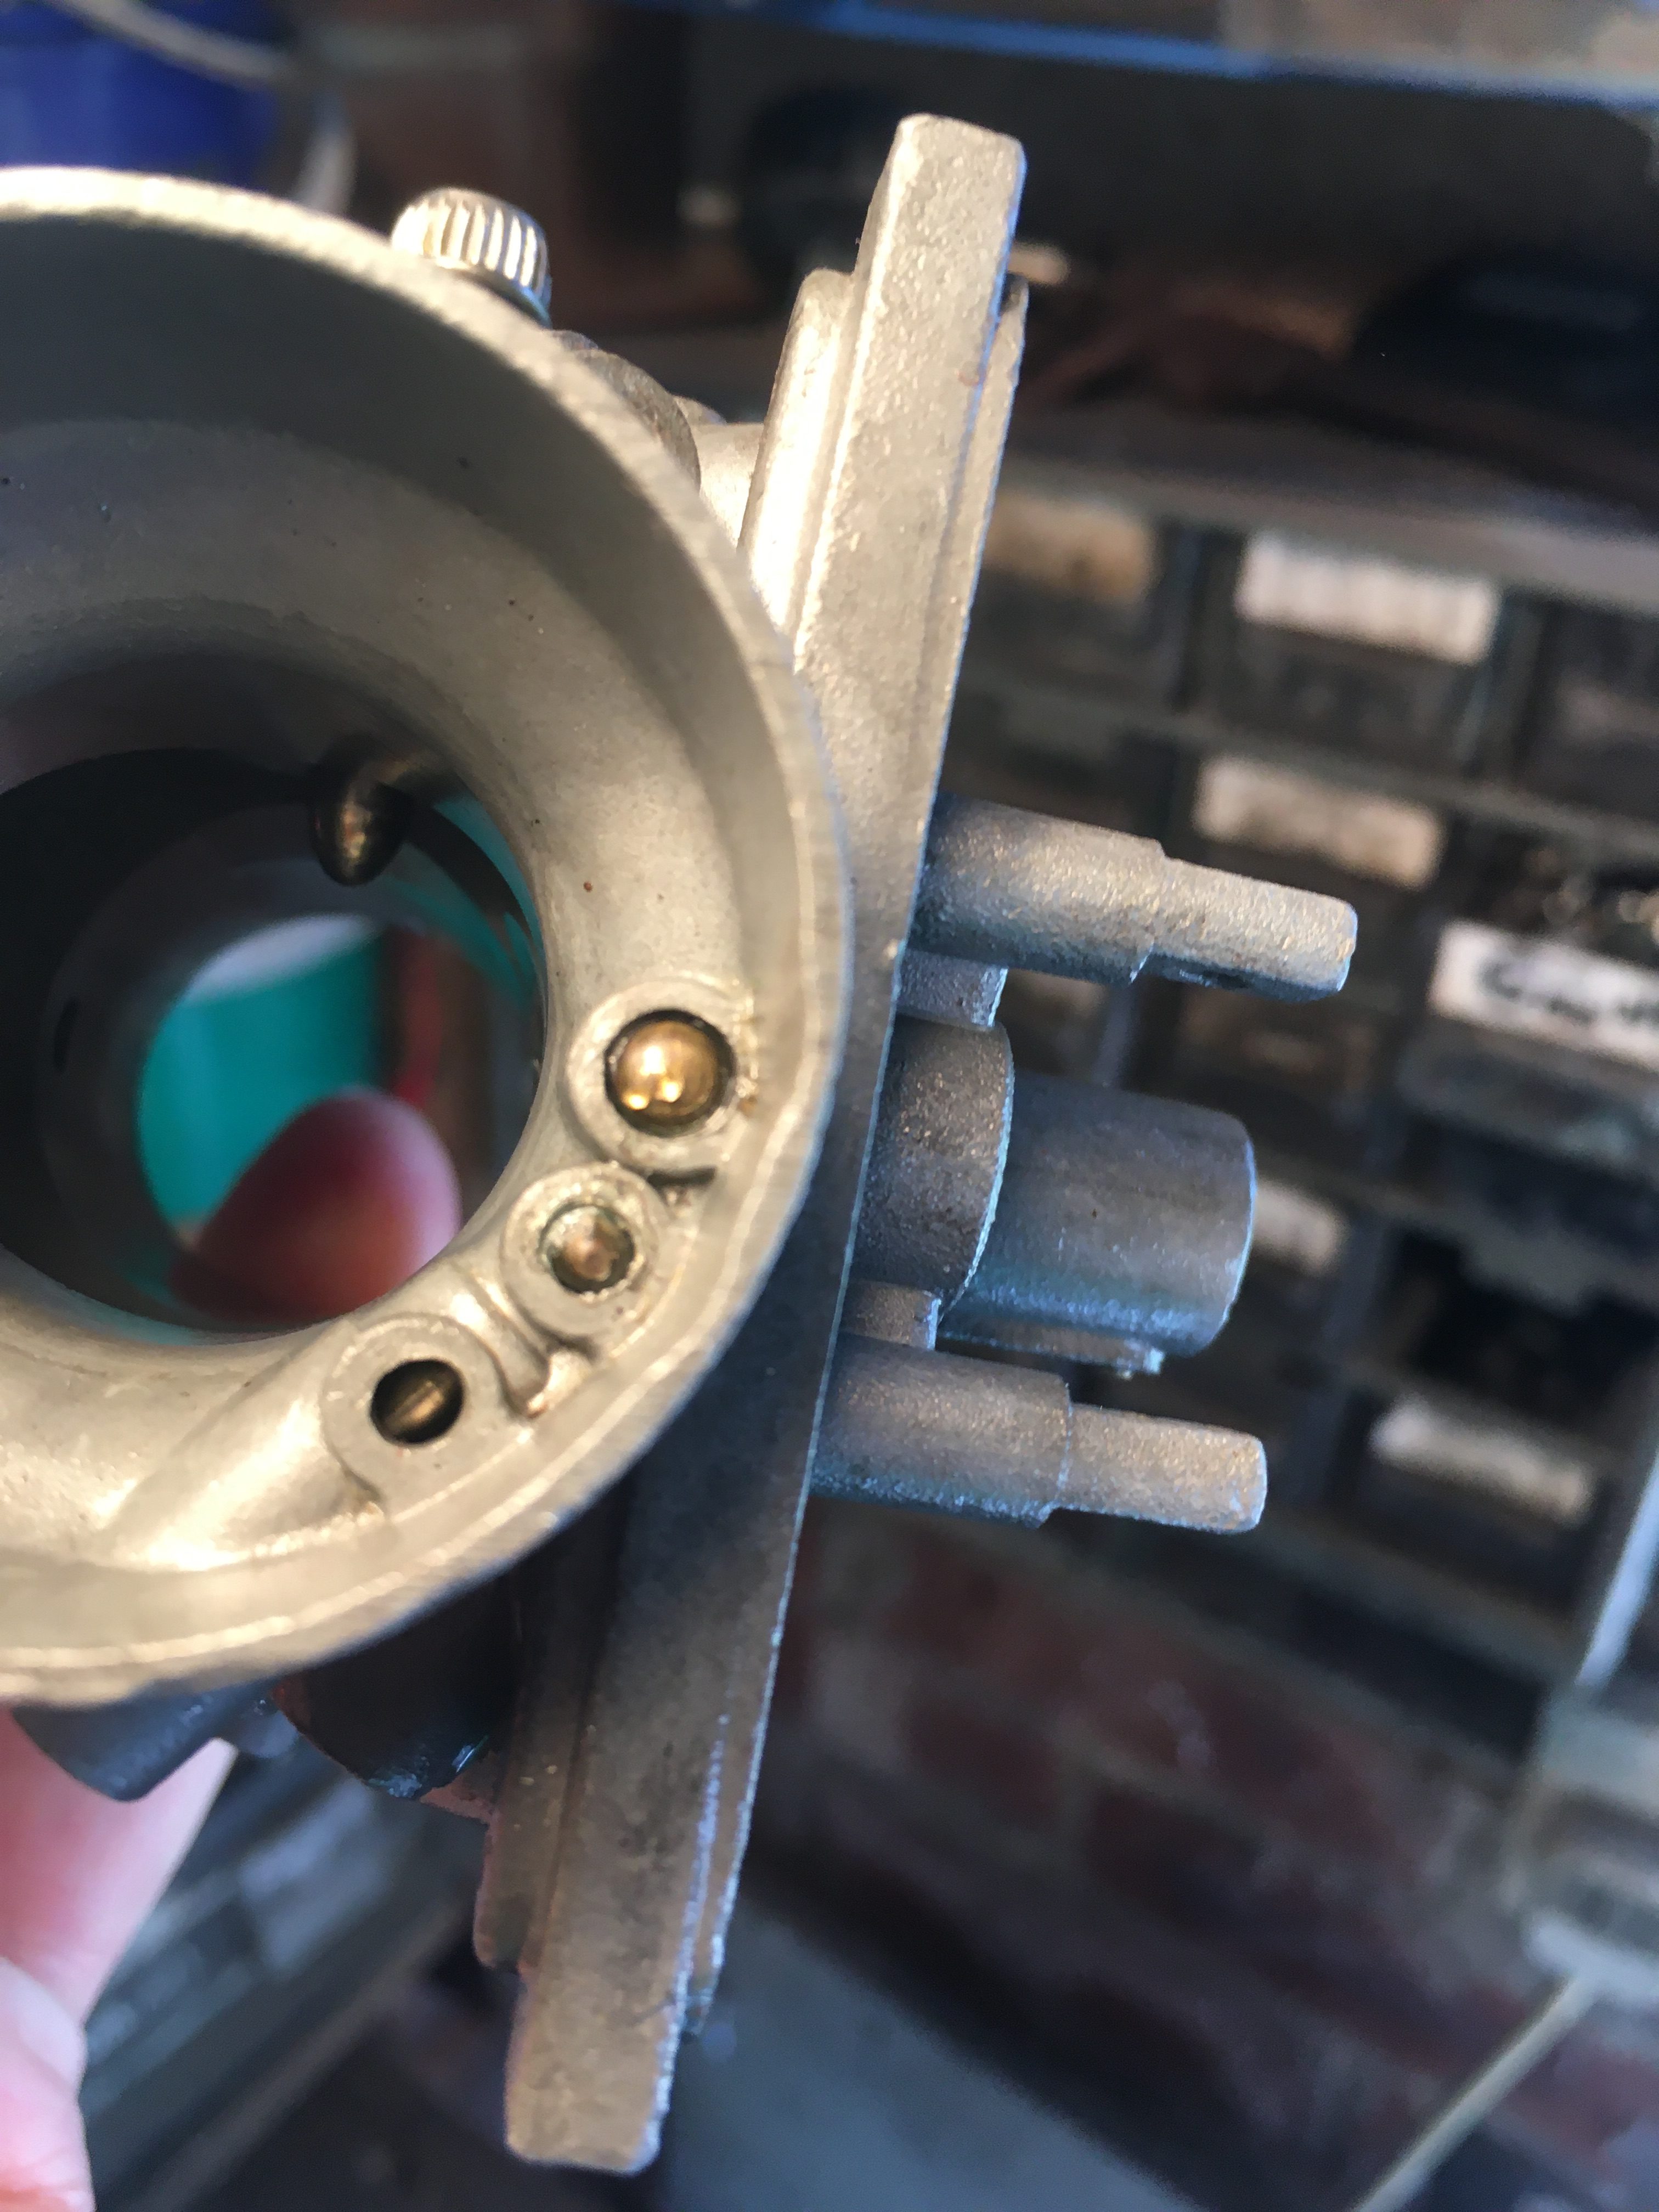
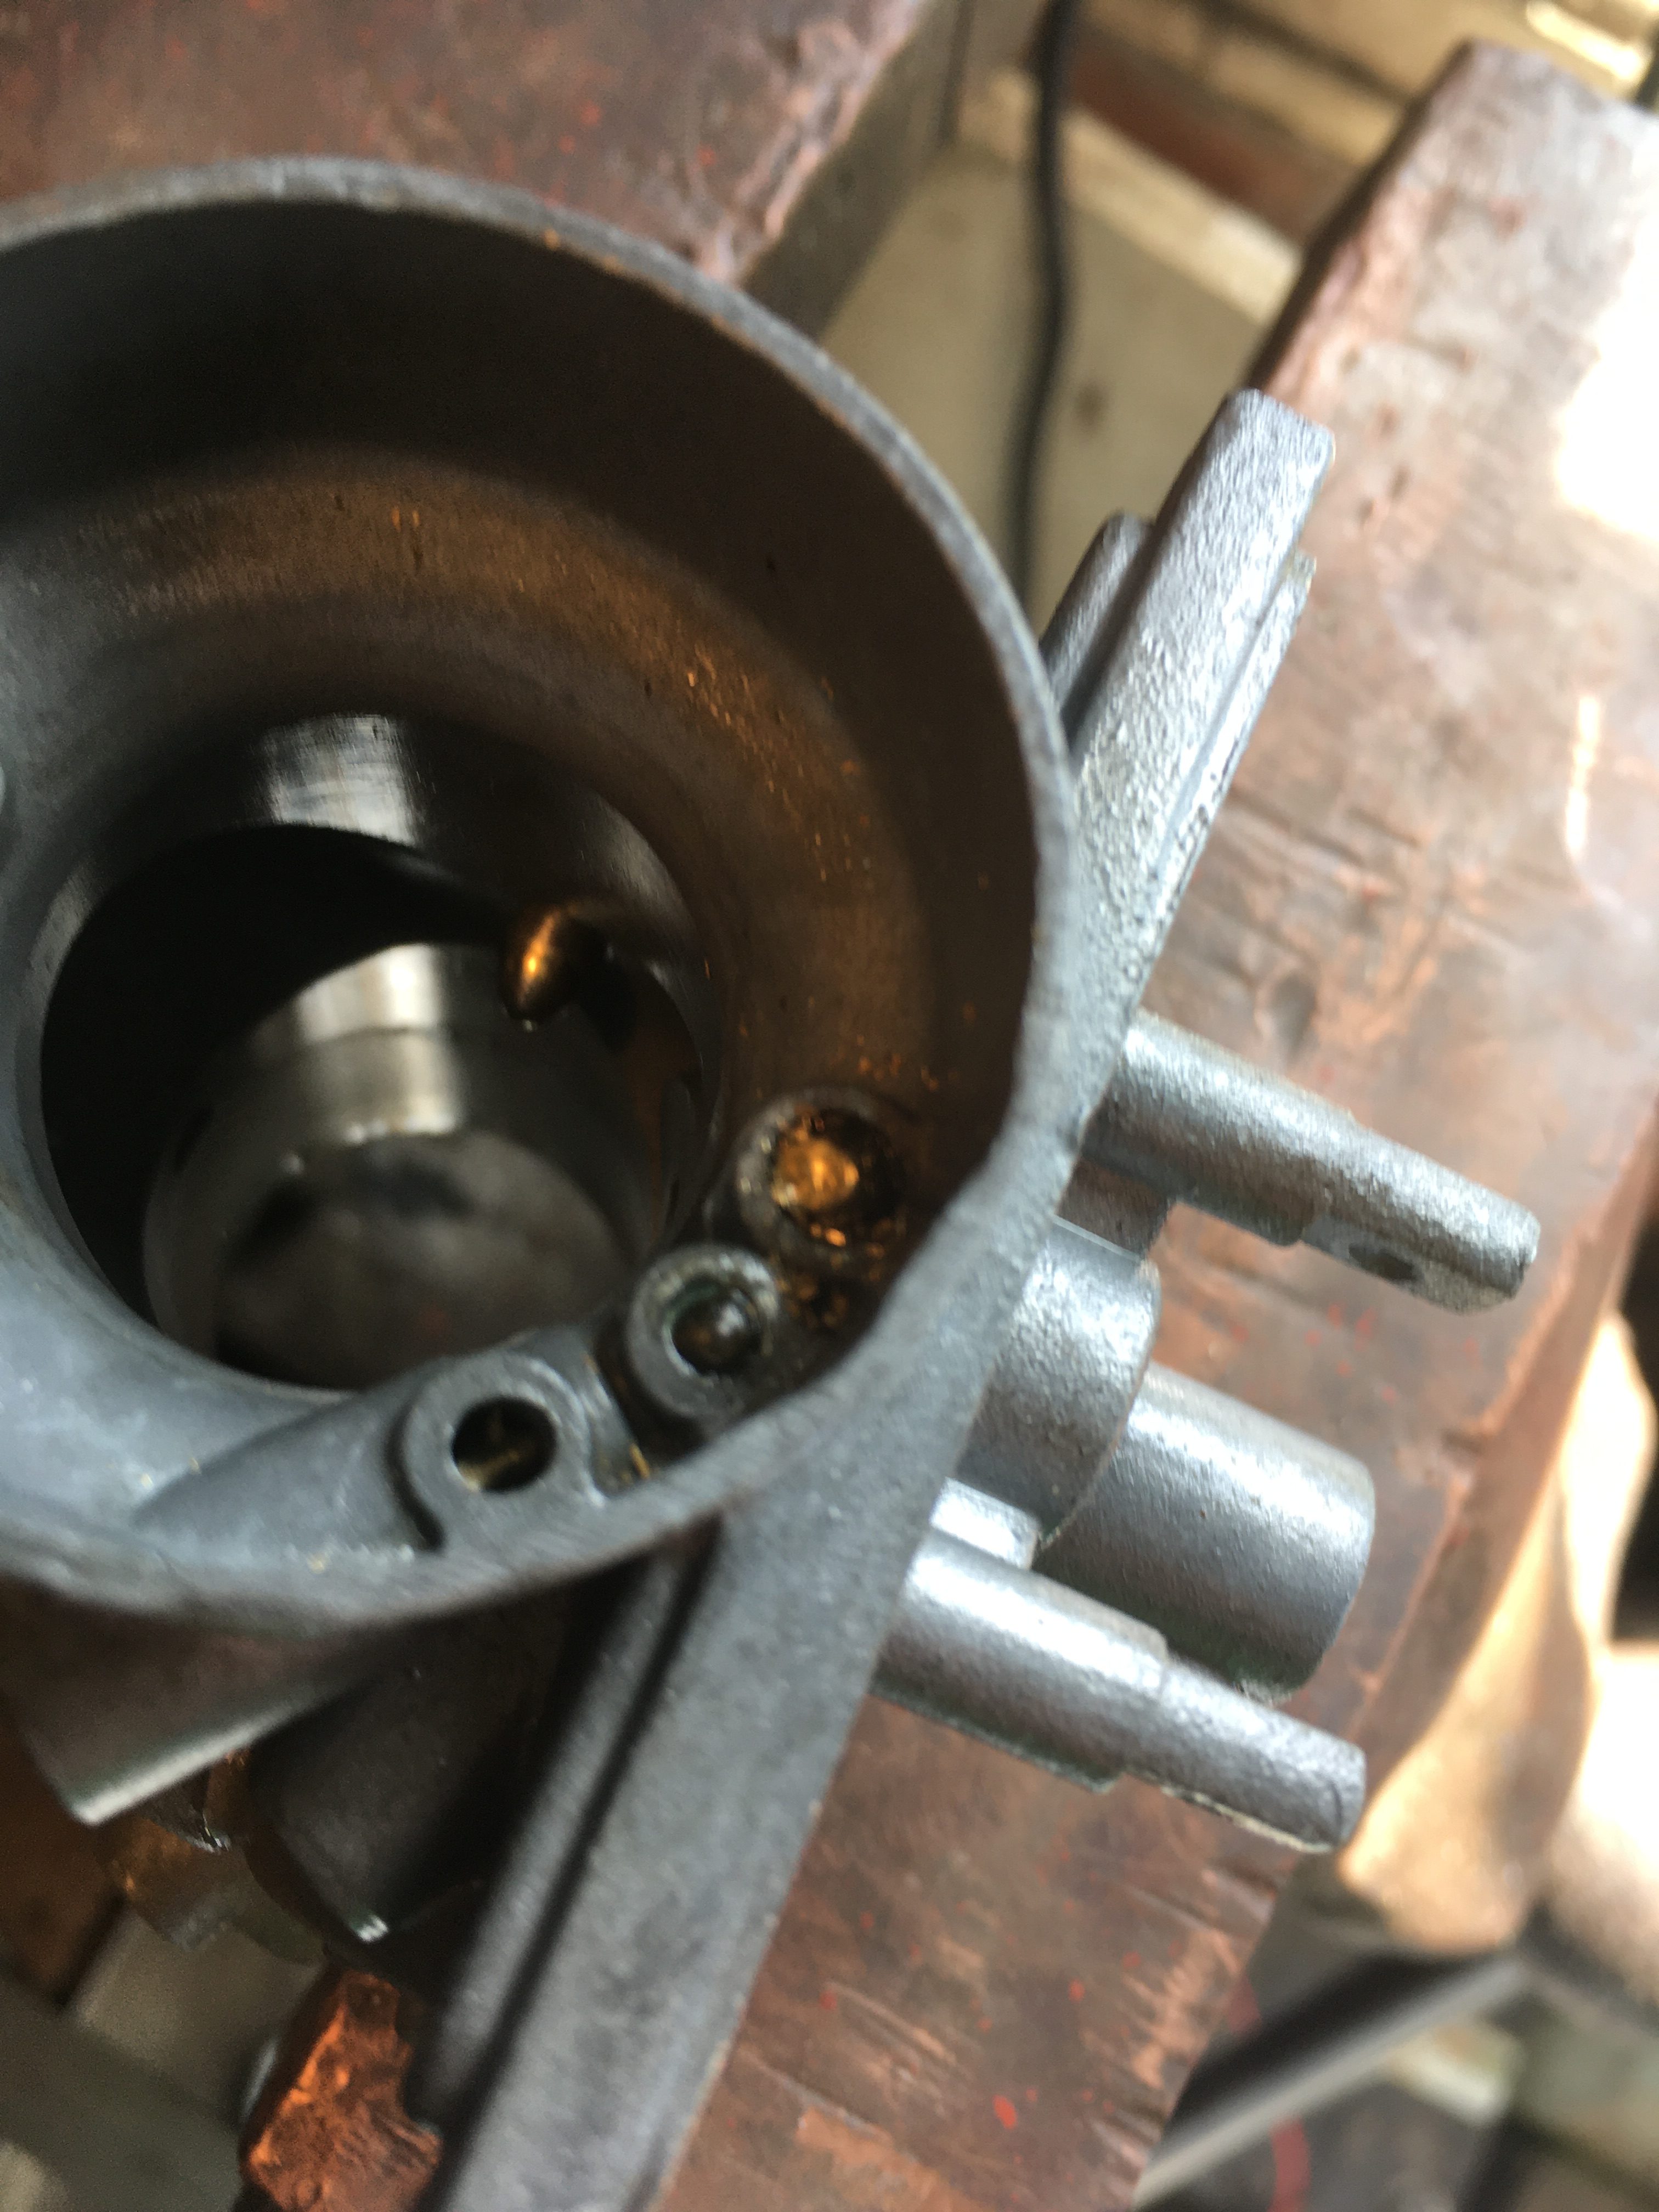
You can probably see from the picture that I have had two attempts at this ball, and neither is actually central on the top.
I chose the topmost detent, and drilled at a slight angle towards the centre of the ball.
this is brass, so drill at a slow rotational speed. You can tell what a good speed is because the brass will emerge from the drilling in a spiral, (as opposed to chips of metal).
Drill about 3 mm down to give your lever sufficient purchase, but don’t drill right through the ball.
I’m using a 2mm drill bit, in a Bosch electric drill.
Once you have your hole, take your 2mm drill bit, and put the non-cutting end into the hole, and gently work it back and forth until the ball rotates cleanly in it’s socket.
Then you can apply gentle pressure against the sides of the carb housing to lever the ball out.
One of my balls didn’t need to be levered, it having spun out of its housing stuck to the end of my drill bit.
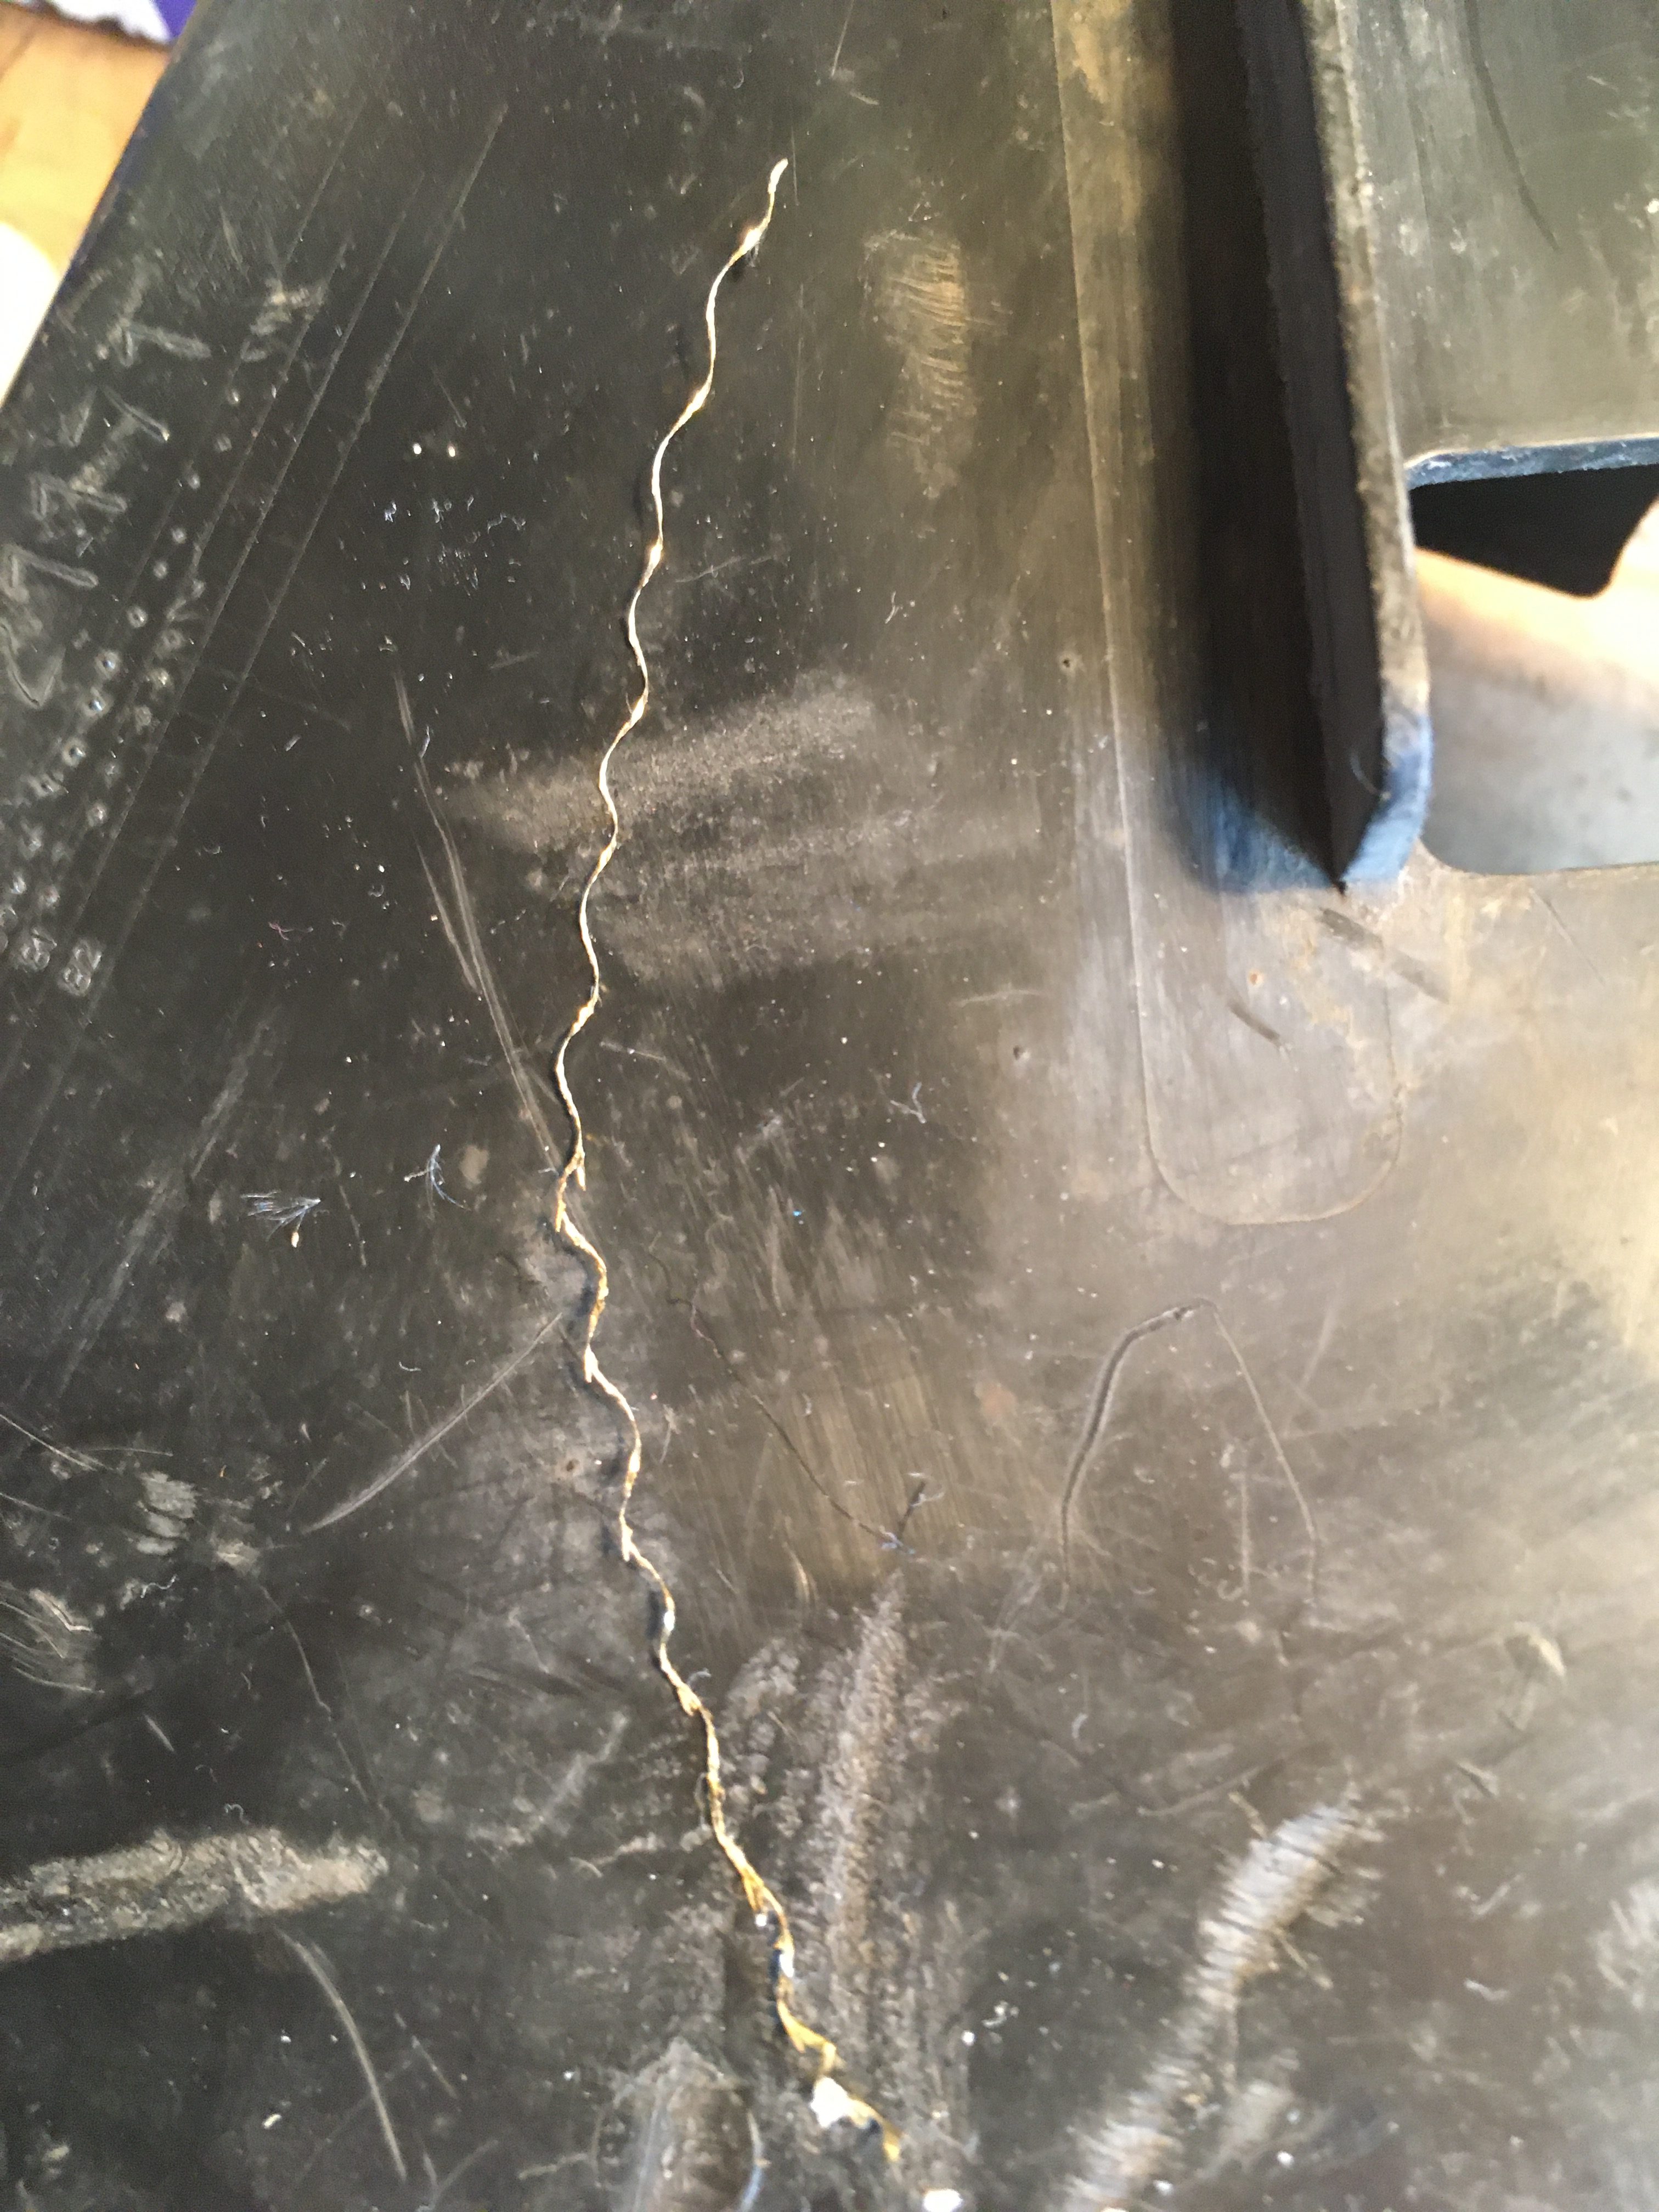
In the second picture, you can see a tiny ring of epoxy resin which was used to seal the ball in place after it had been fitted.
Insert drill bit end 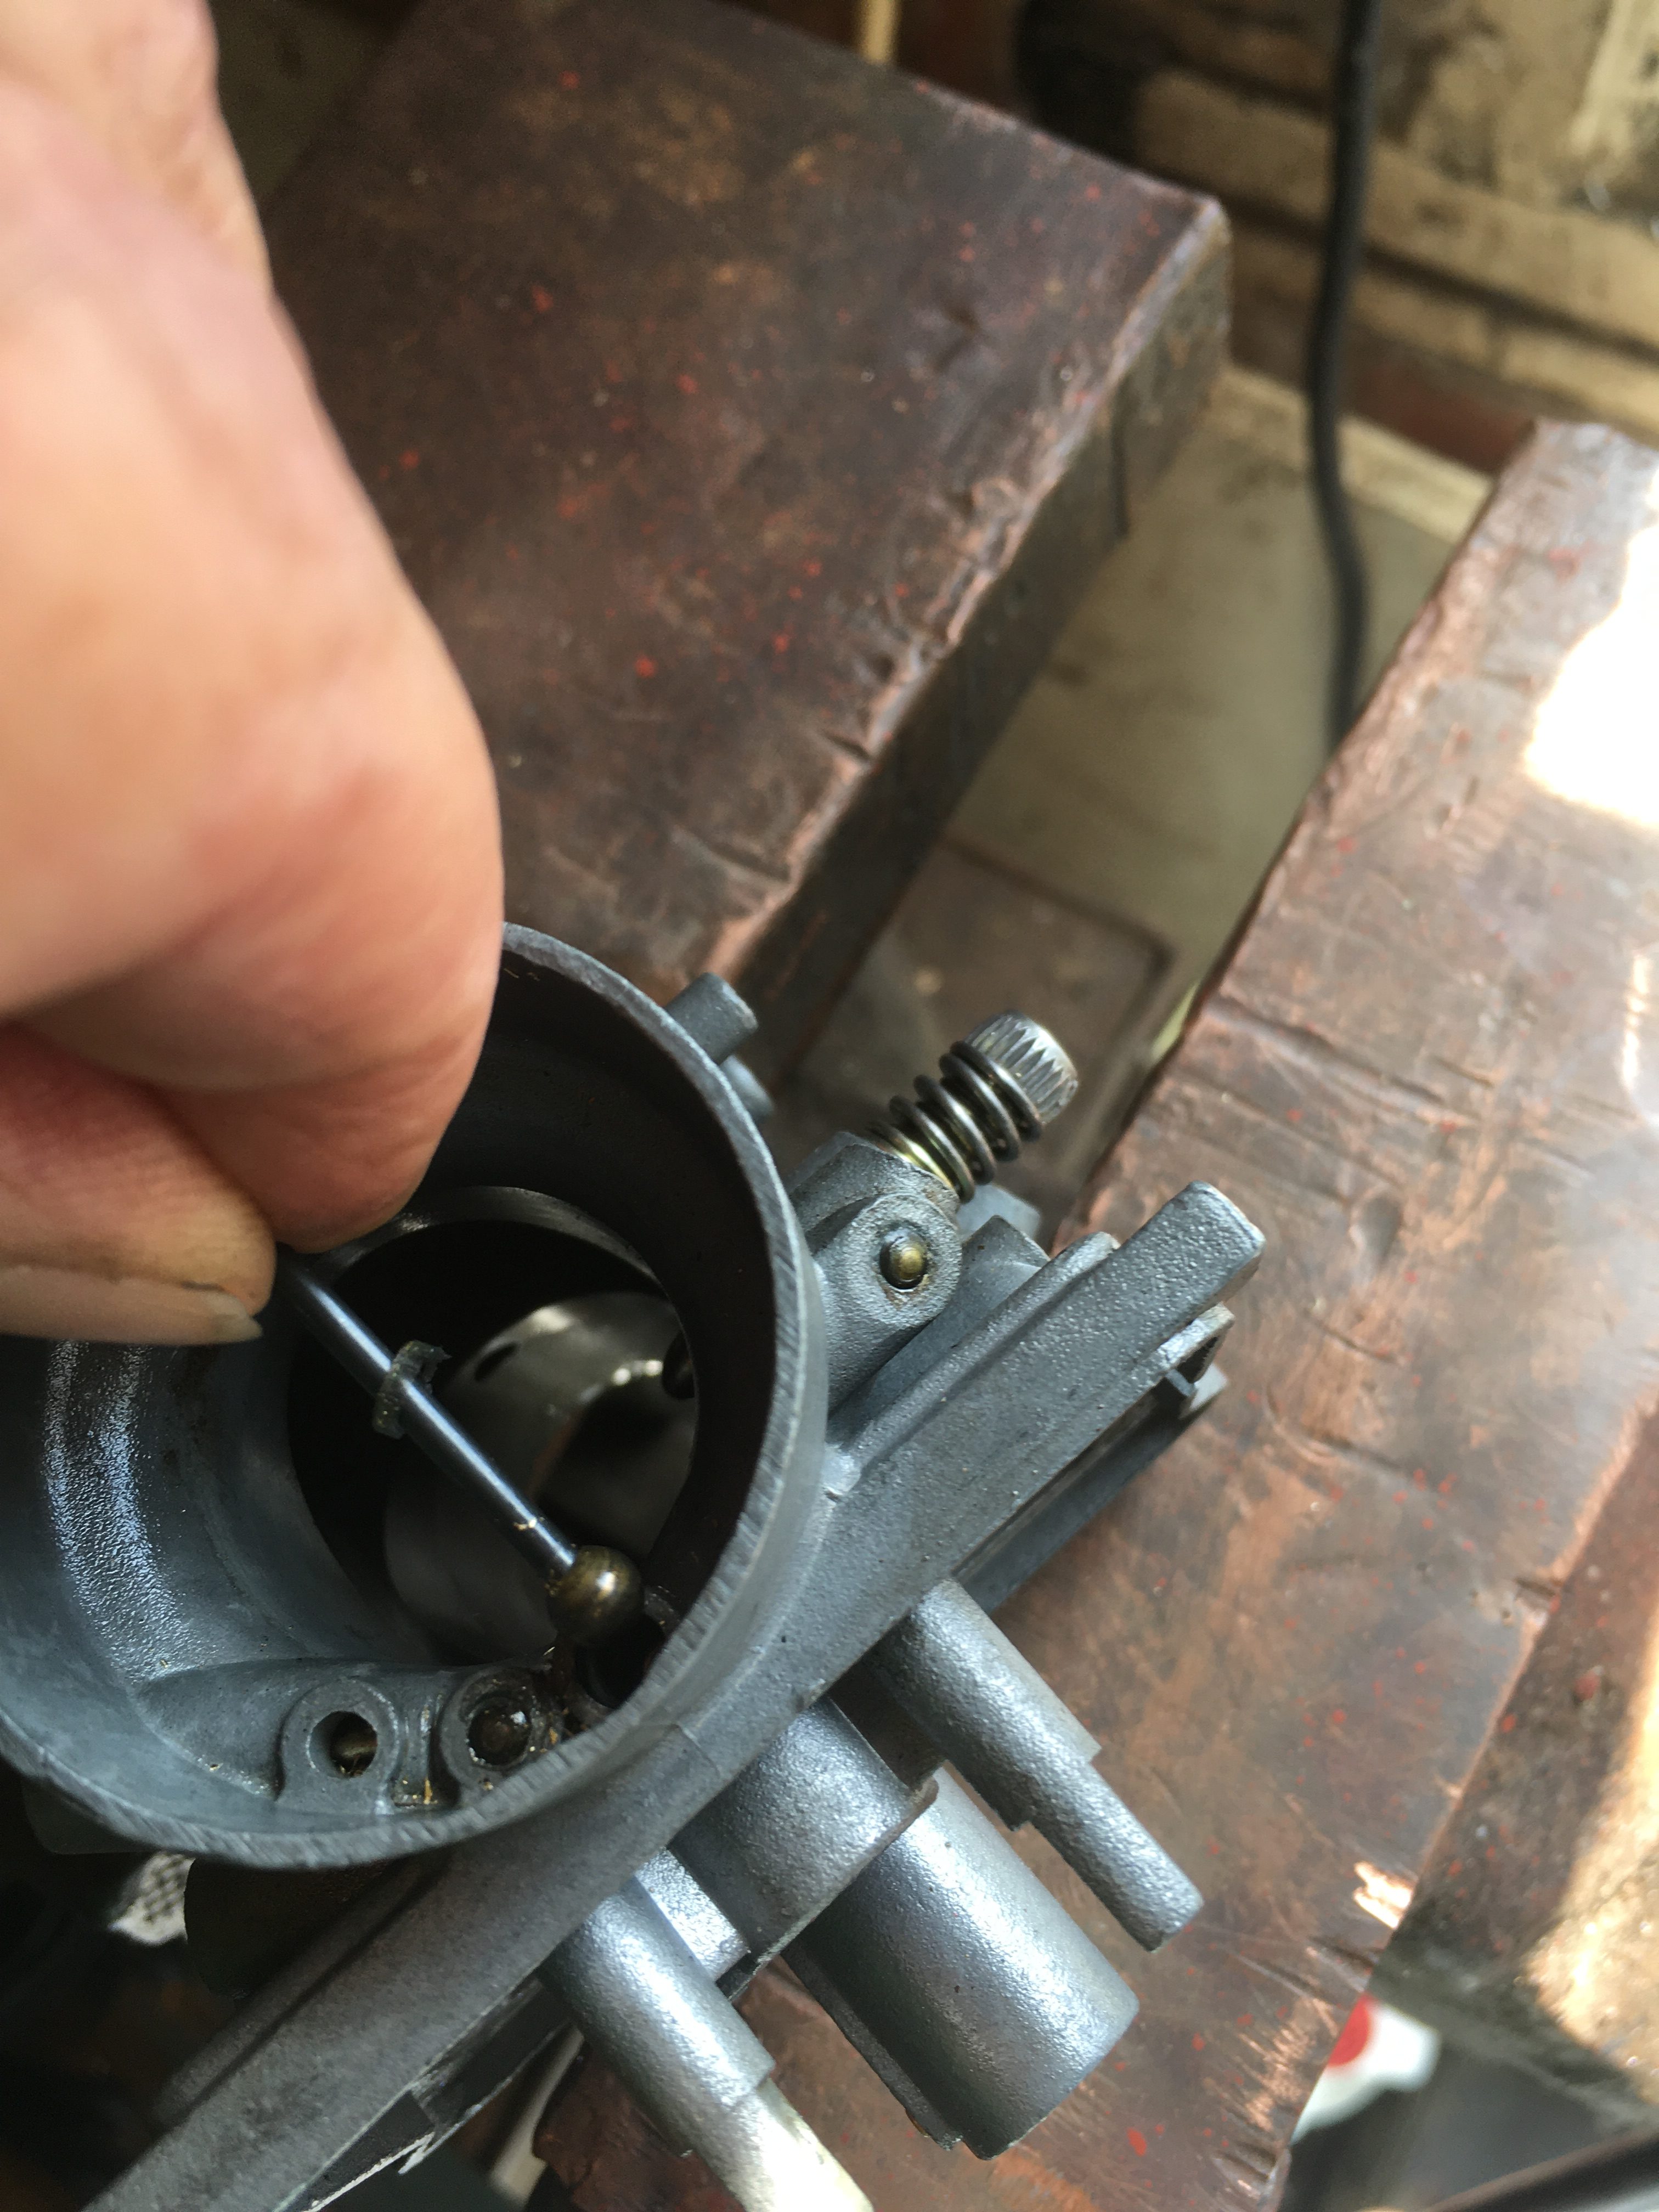
and gently wiggle and lever 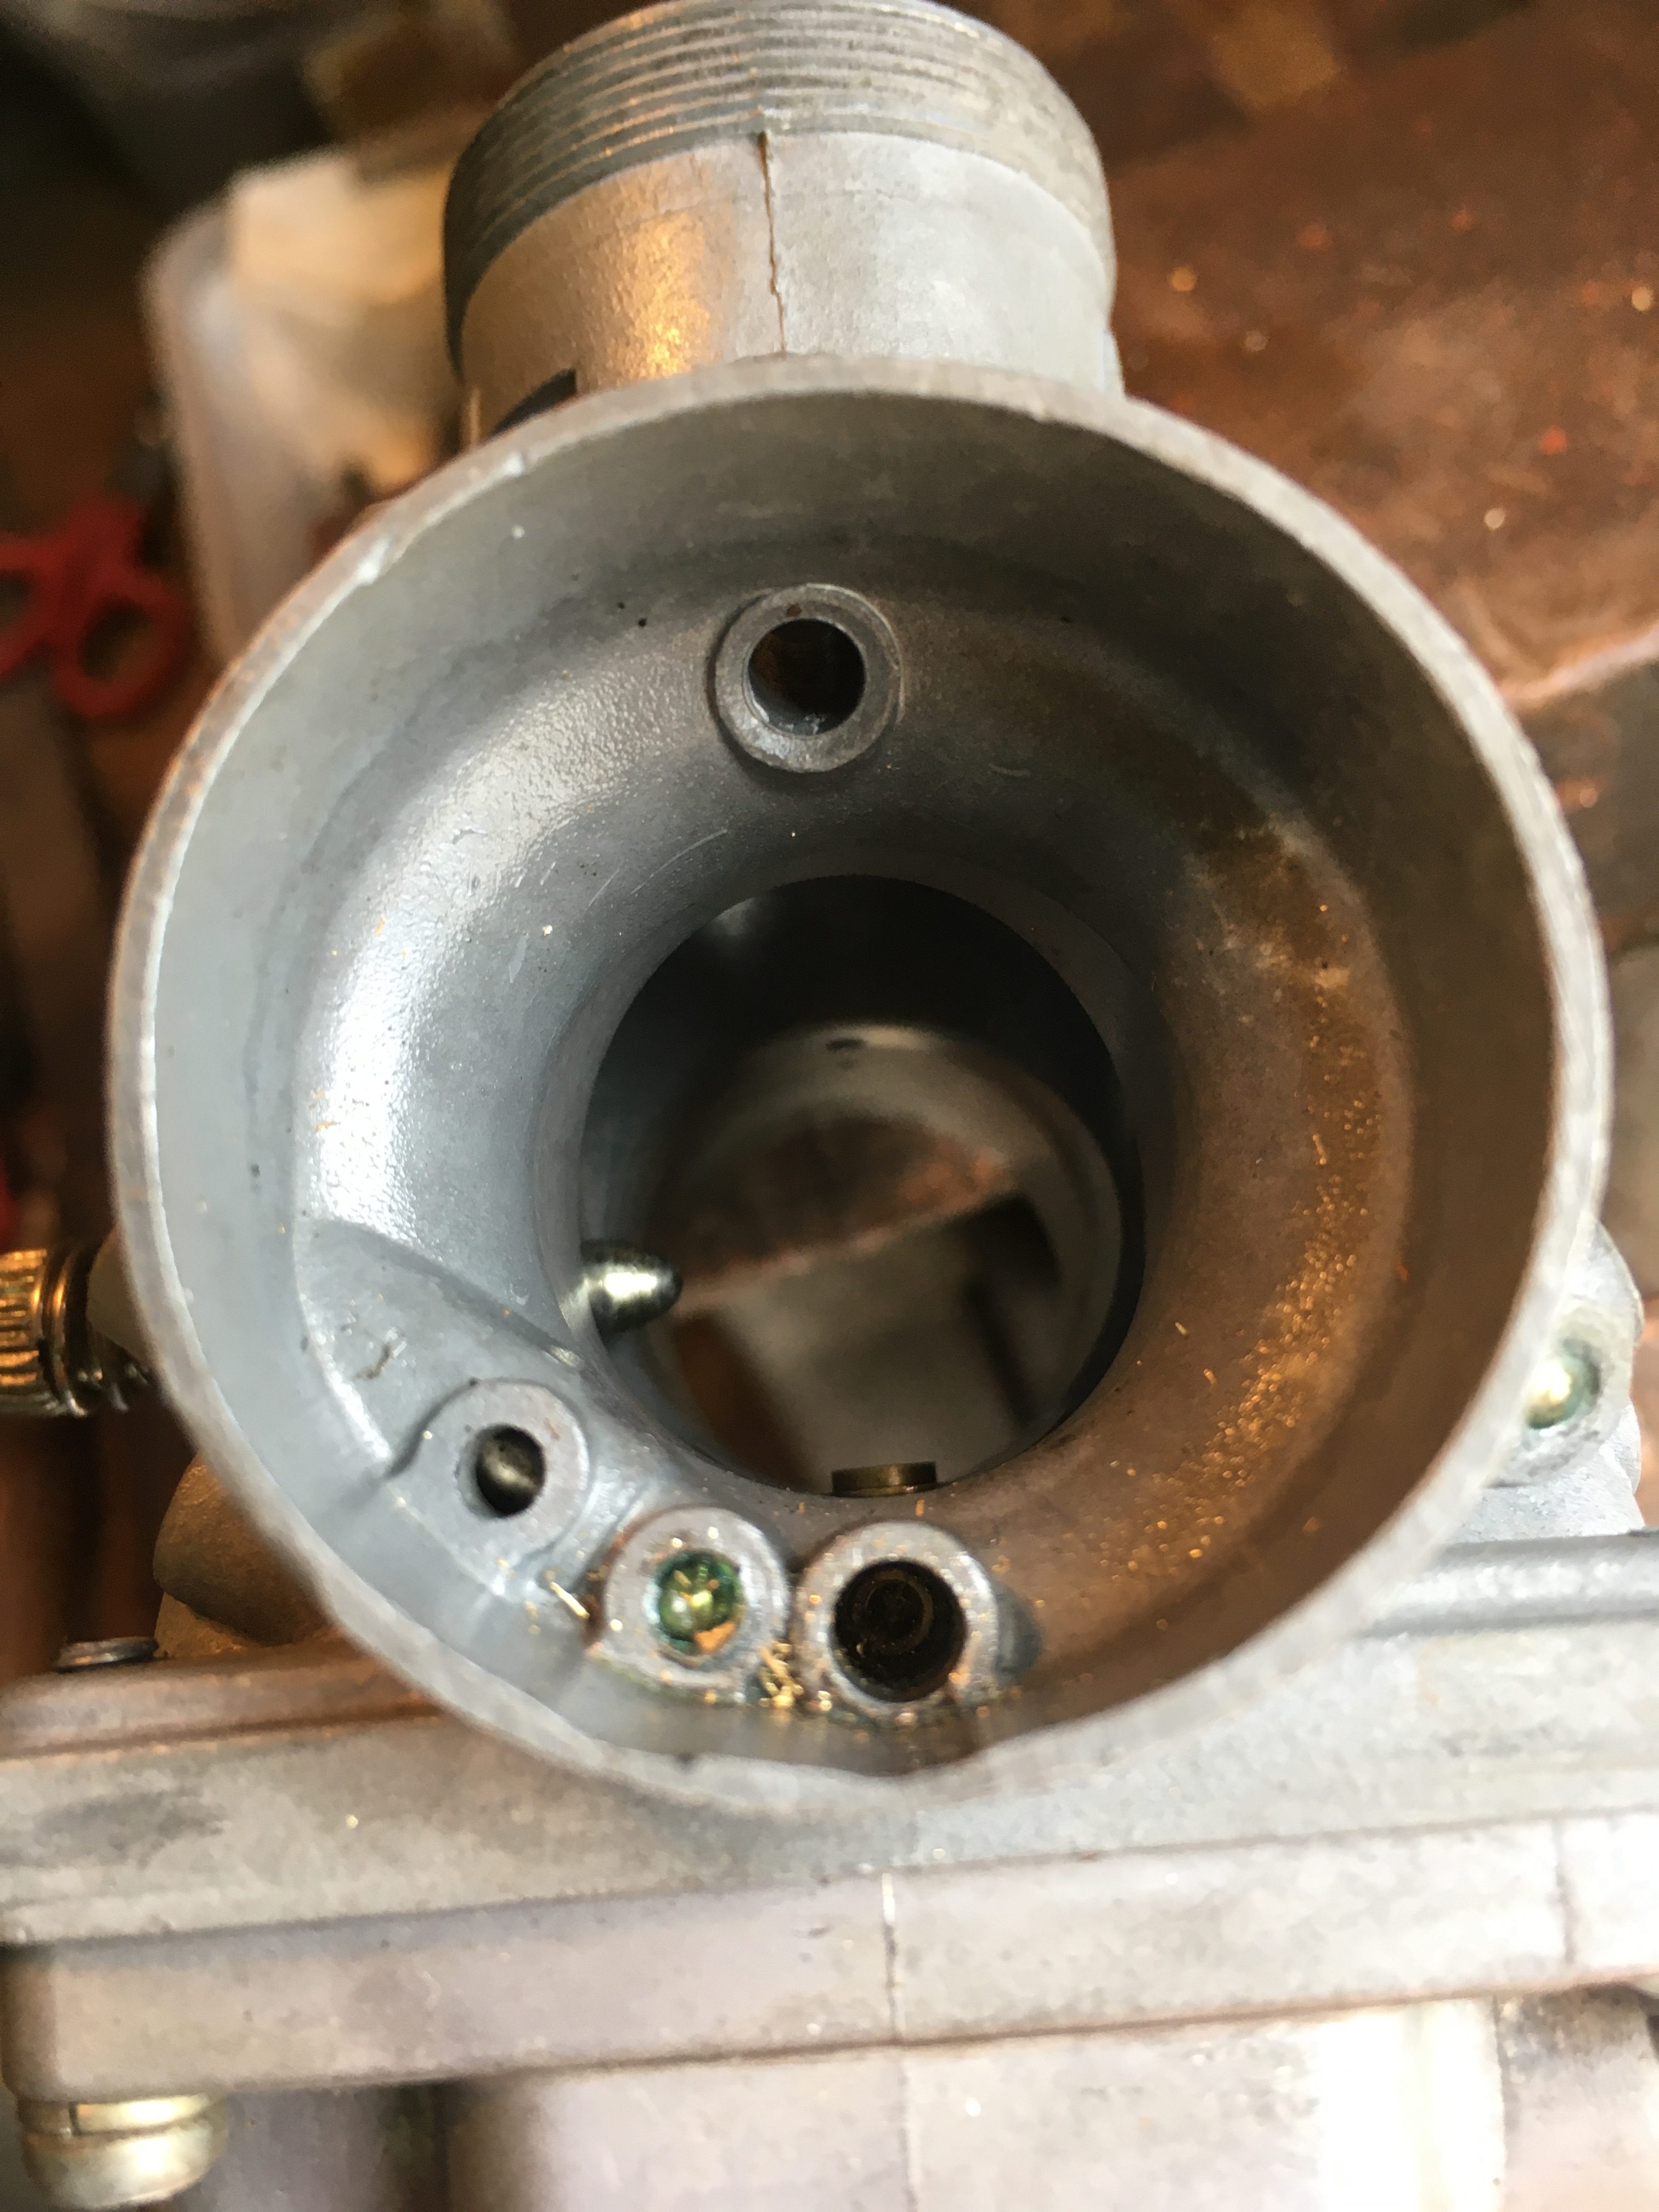
until it comes out 
unless it has already stuck to the drill bit!
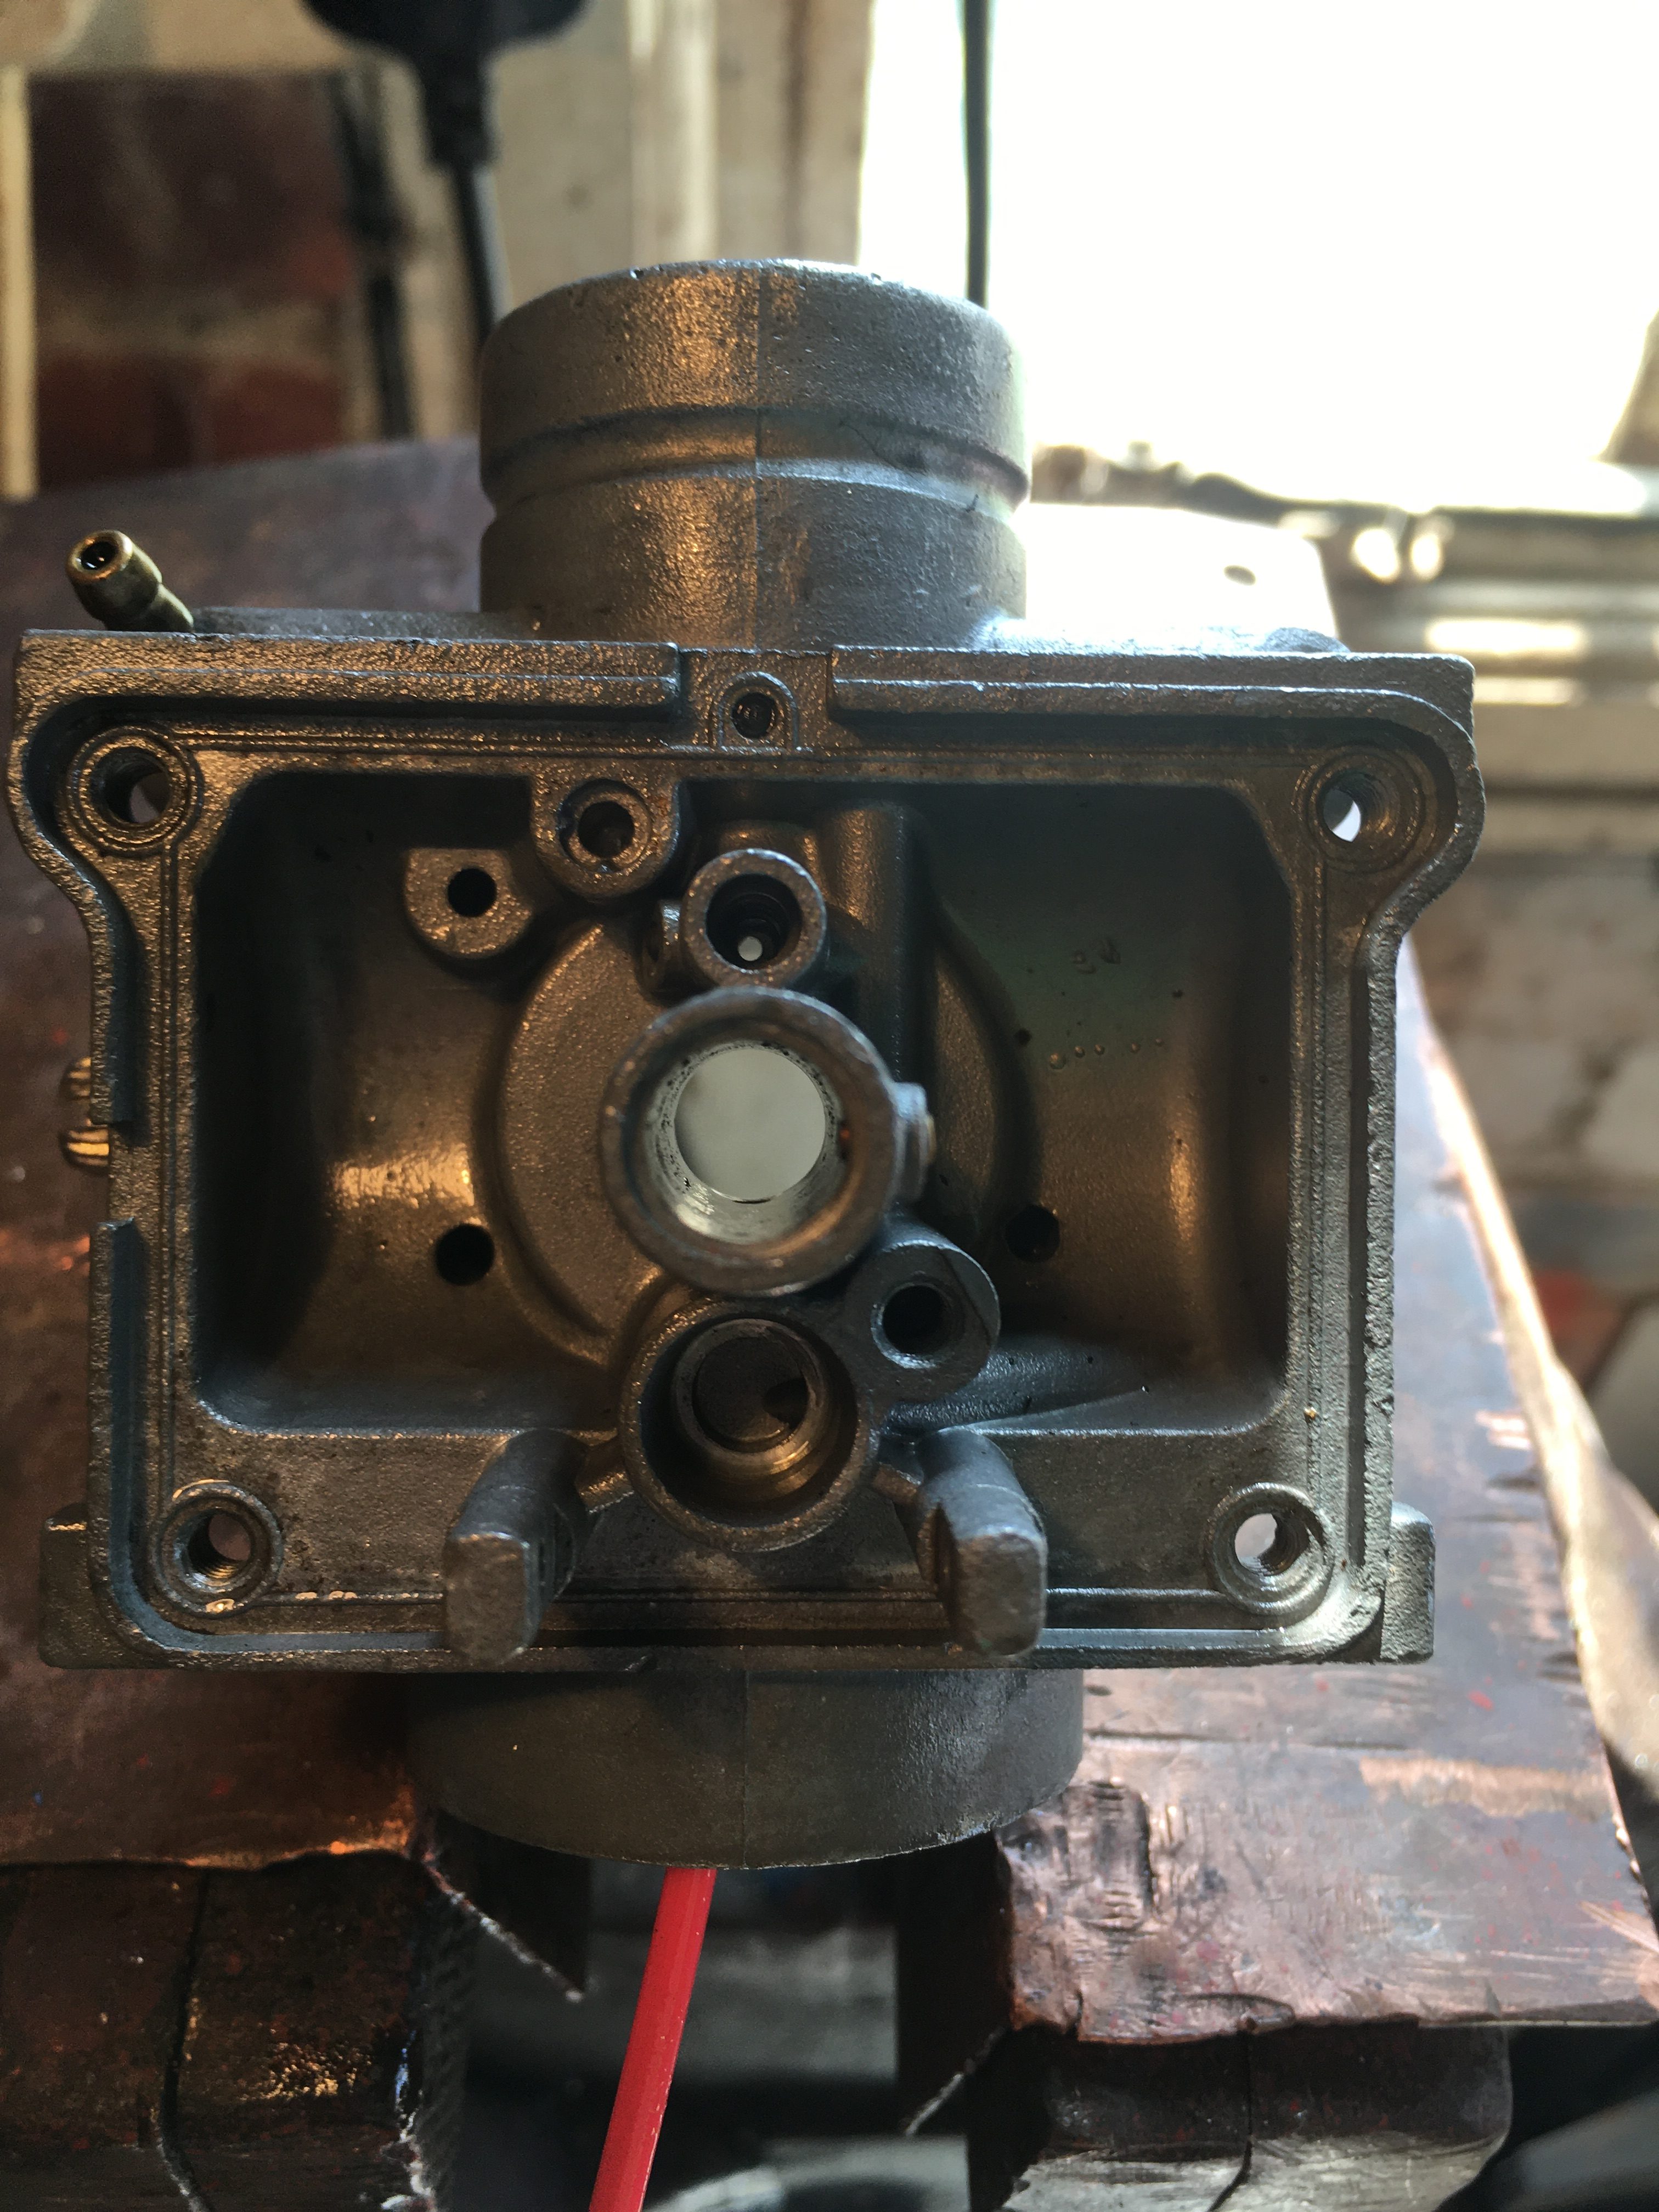
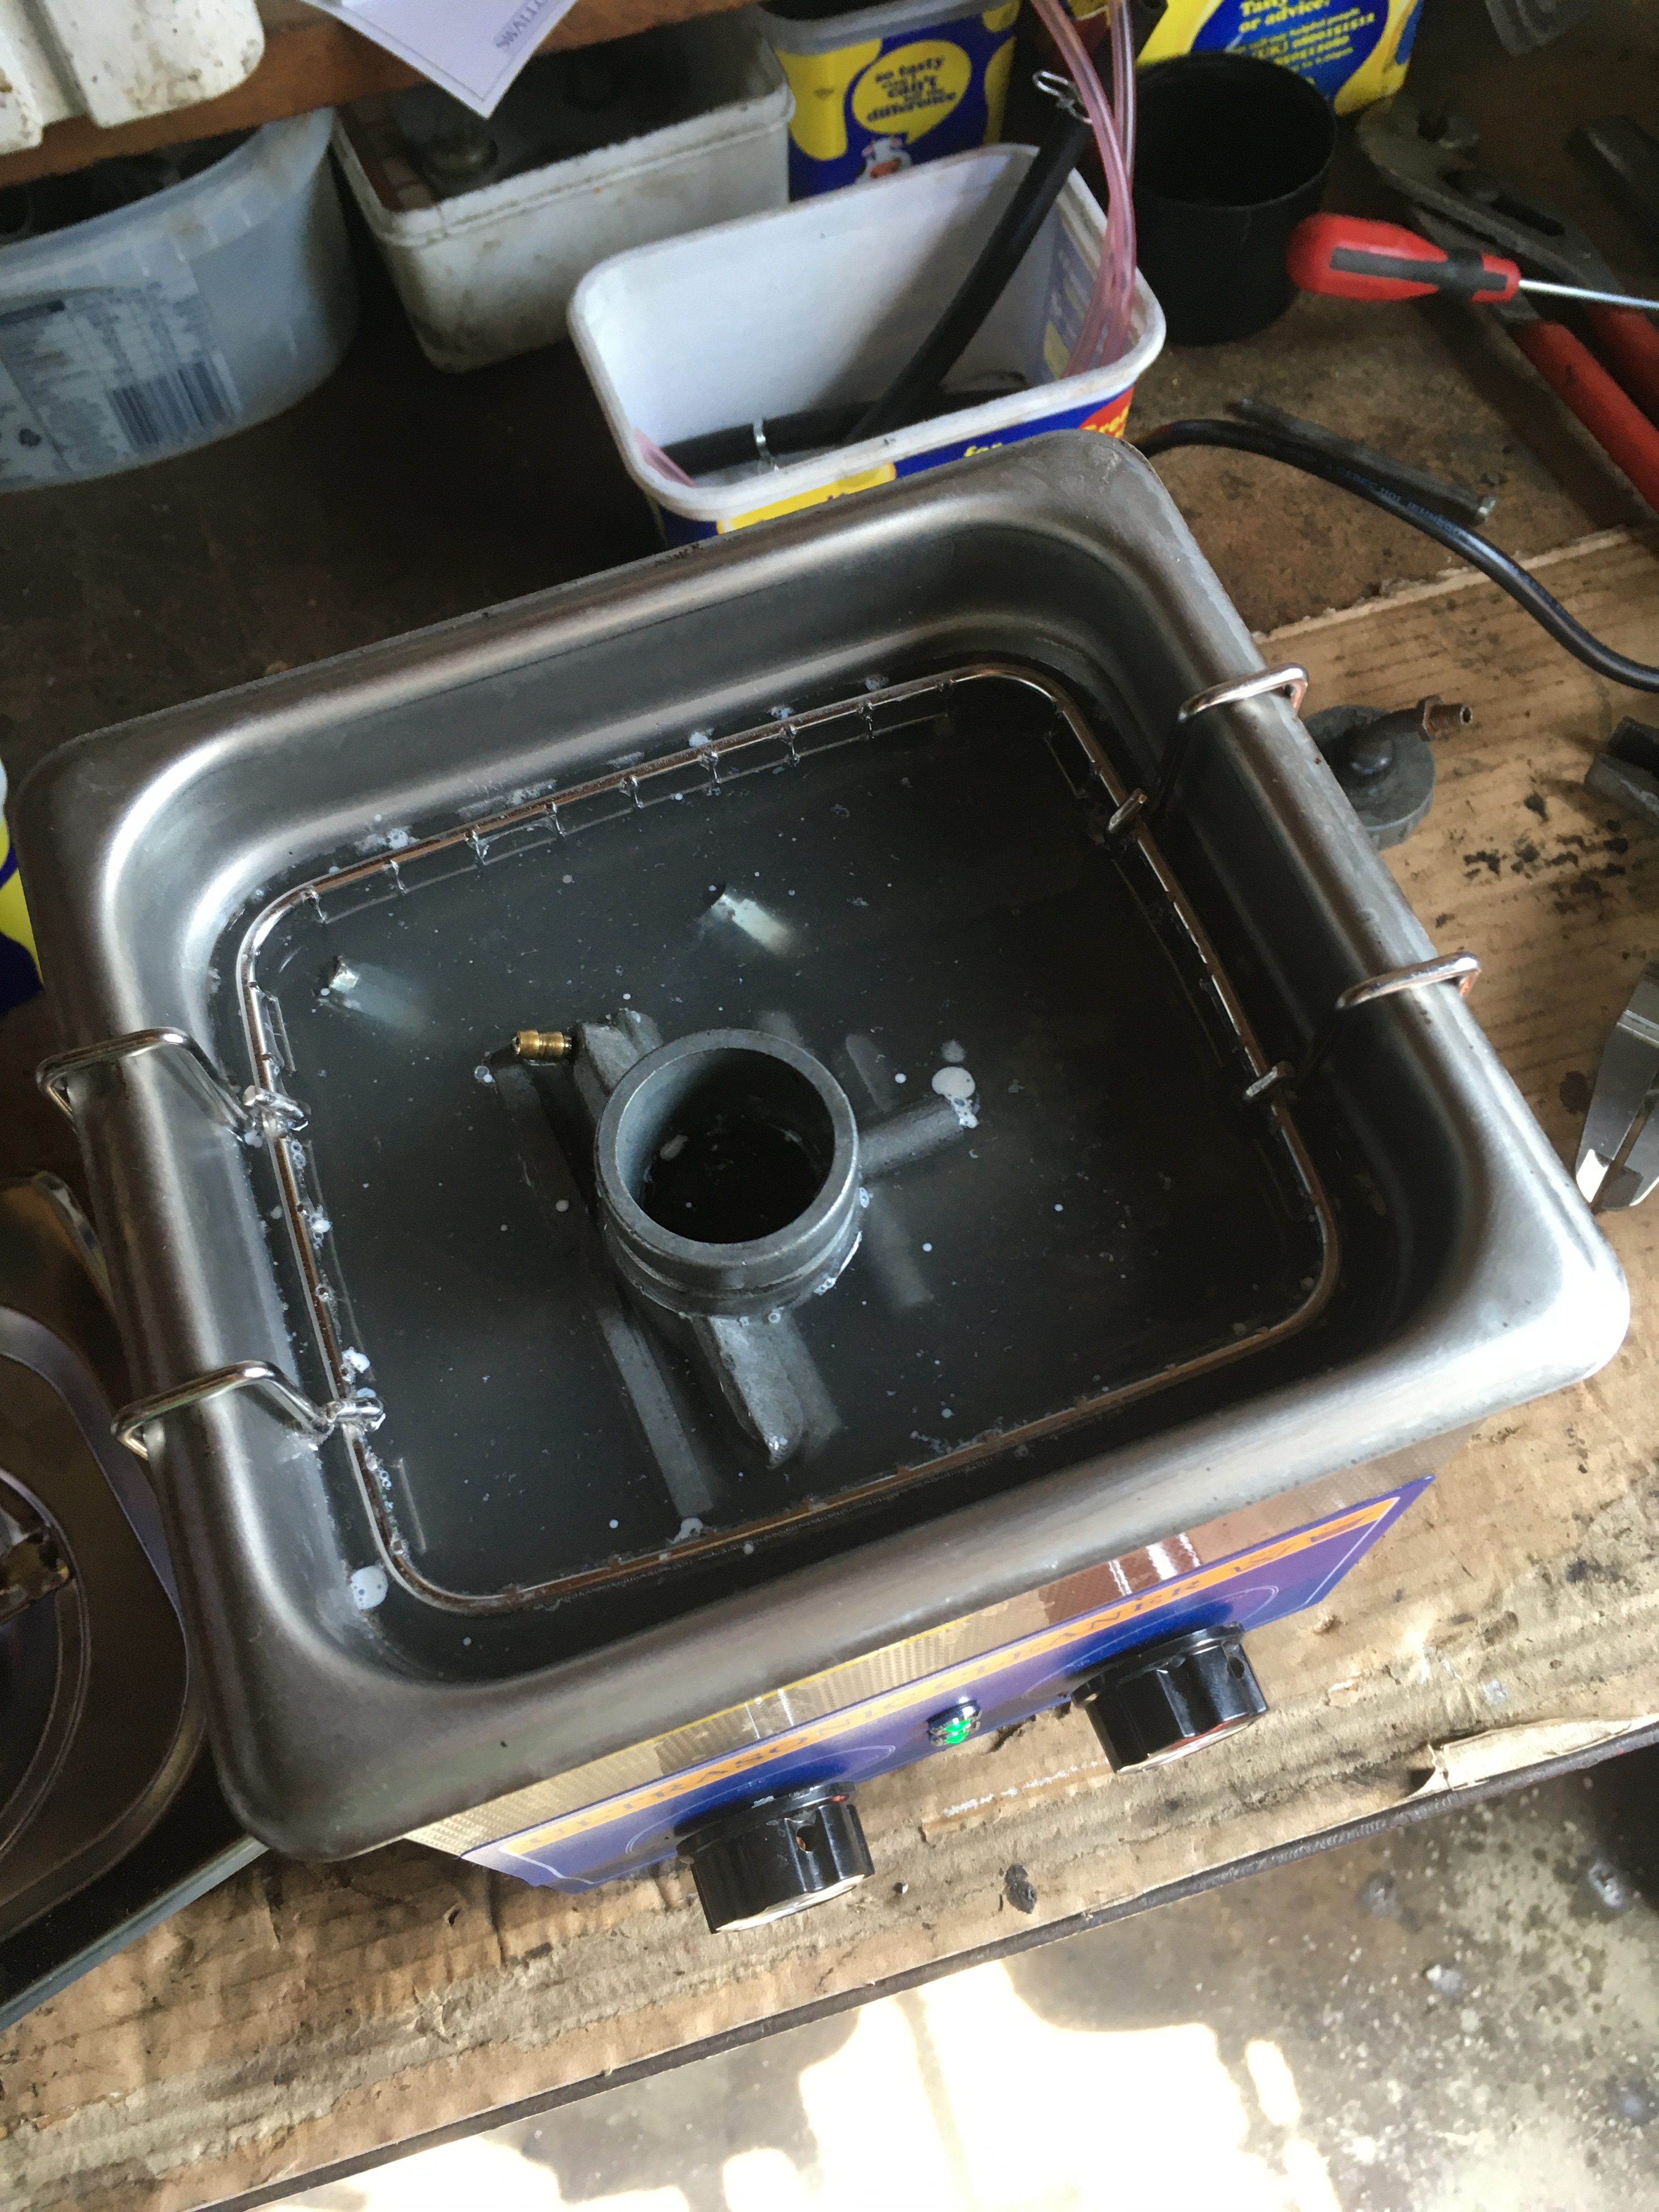
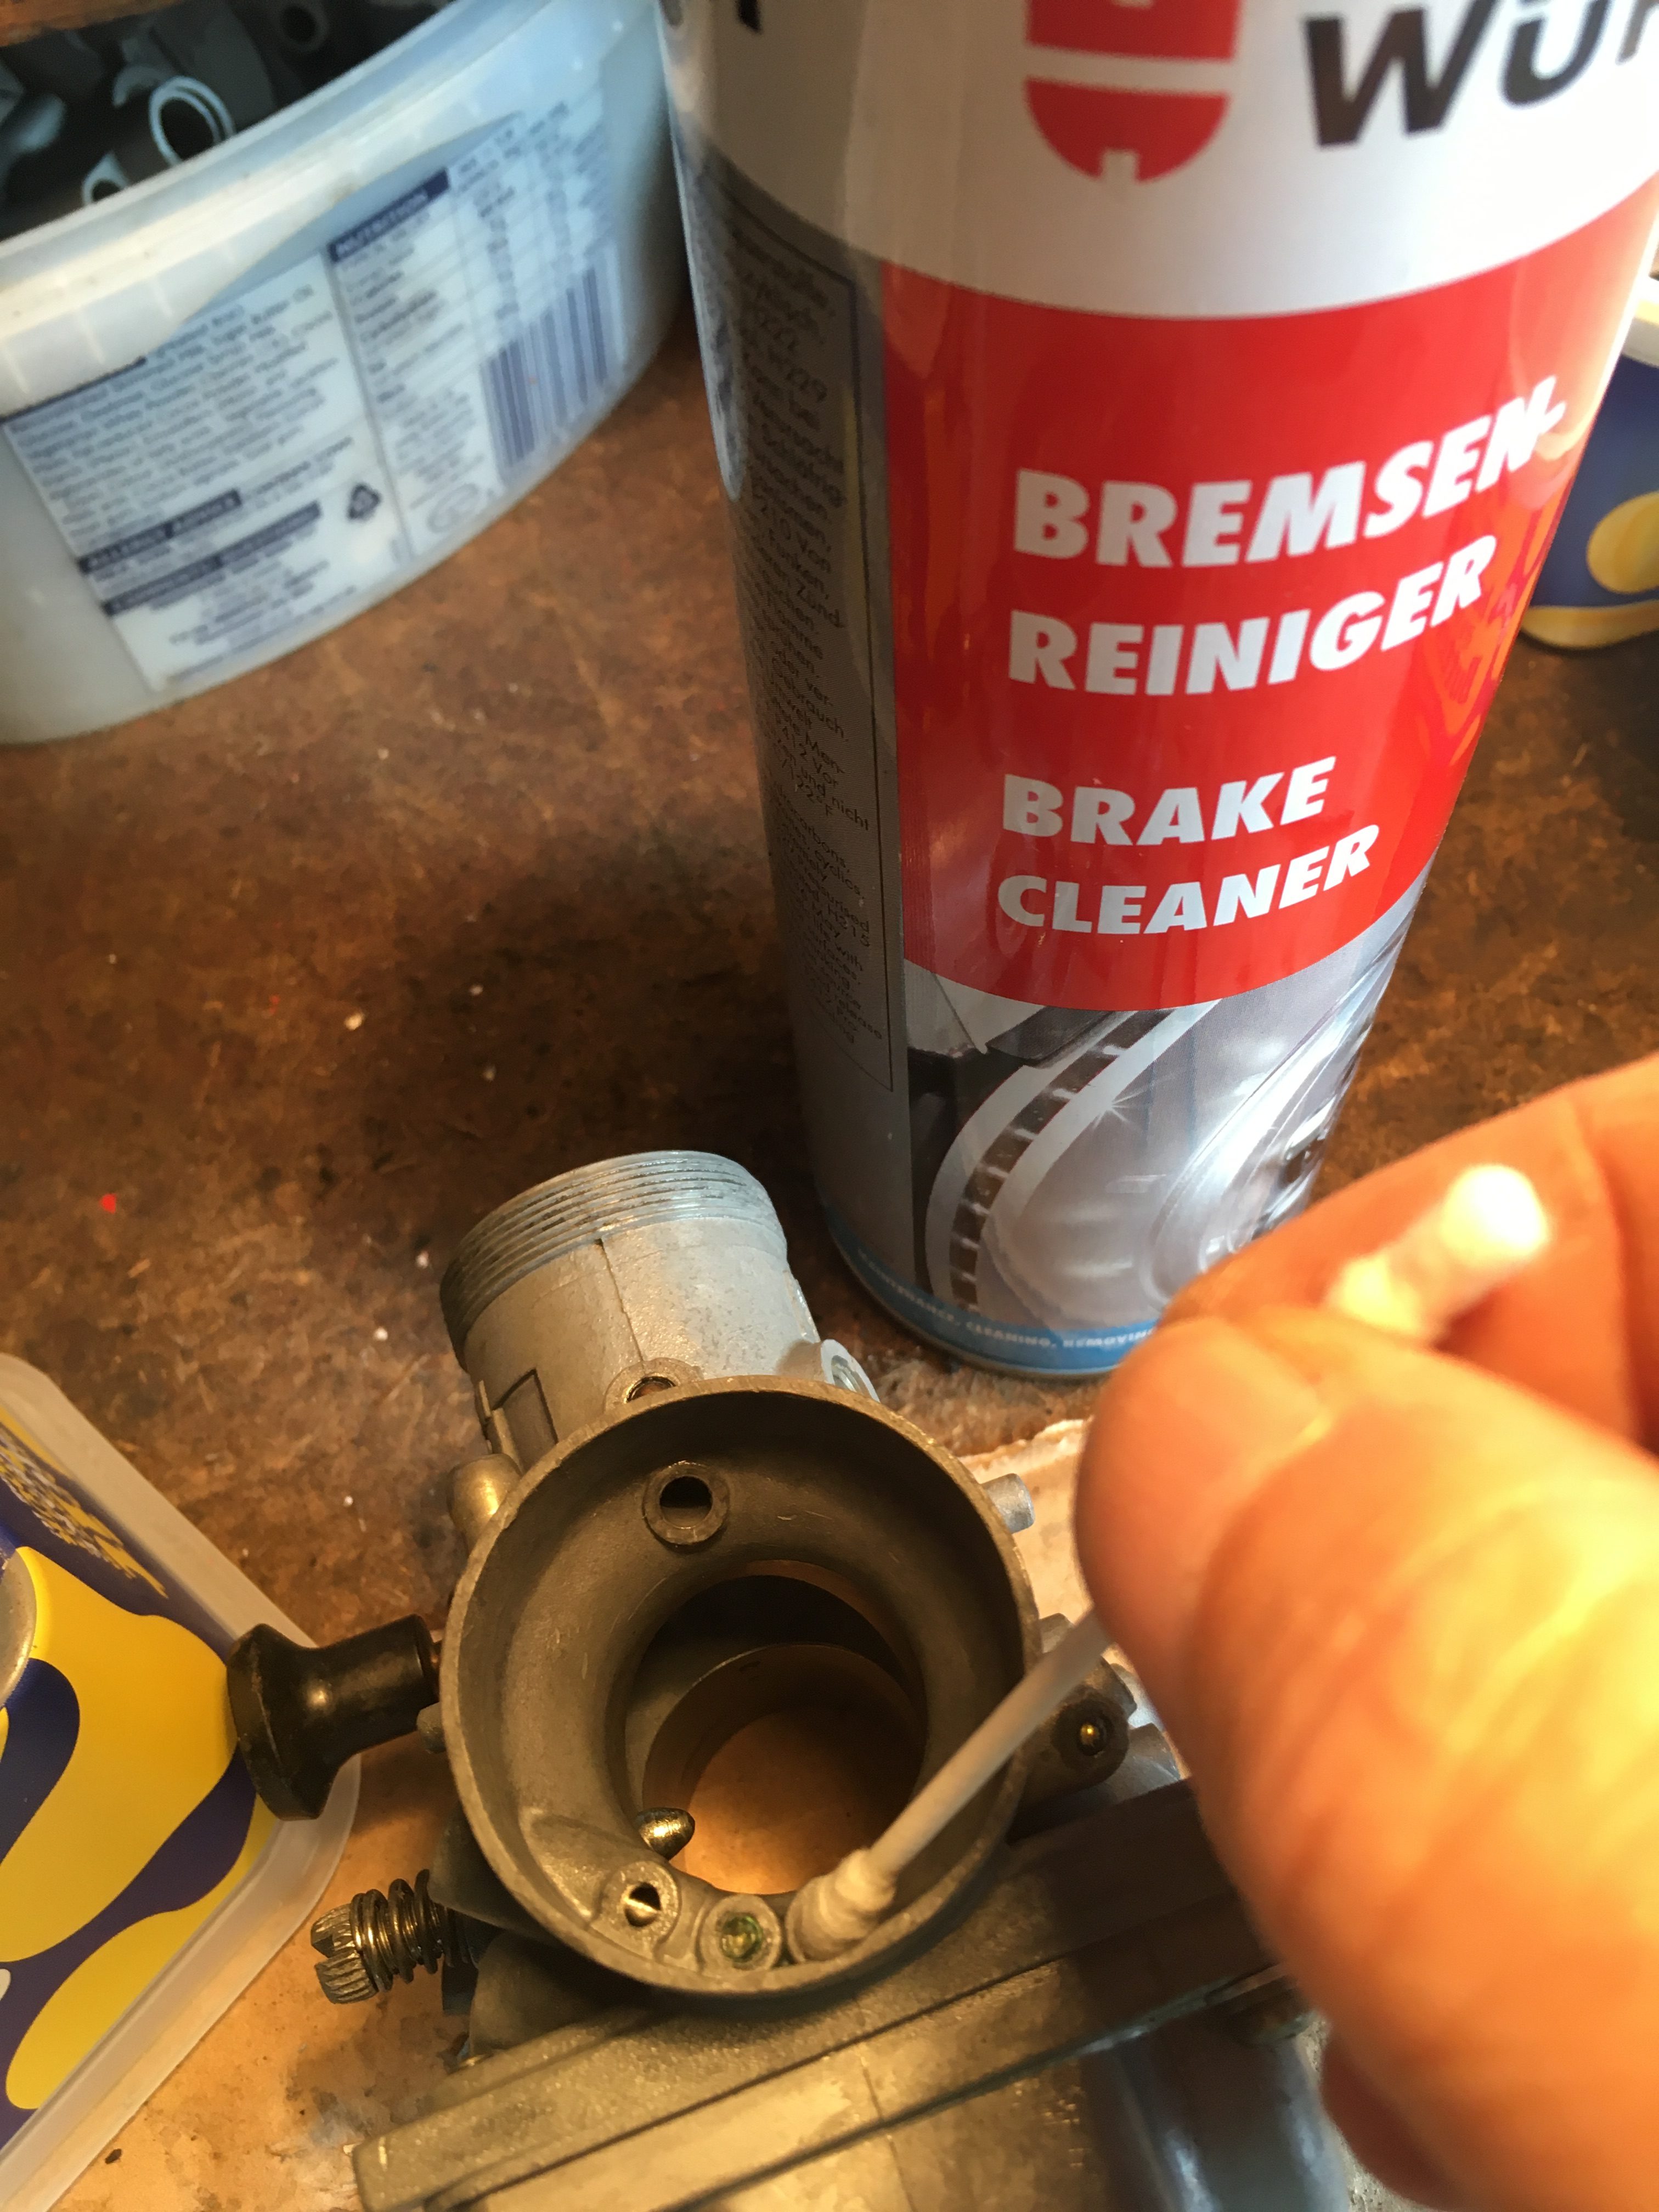
Now the balls are out, I can spray the carbs with cleaner to remove all of the brass swarf.
Then I inserted a tube from a WD 40 can into the place where the brass ball had been, and squirted.
Both carbs showed the spray emerging from both the hole in the float chamber roof, and from the drilling in the emulsion tube.
The spray from one was much stronger than the other, indicating that one, (my LHS carb) was partially blocked.
Before spraying… 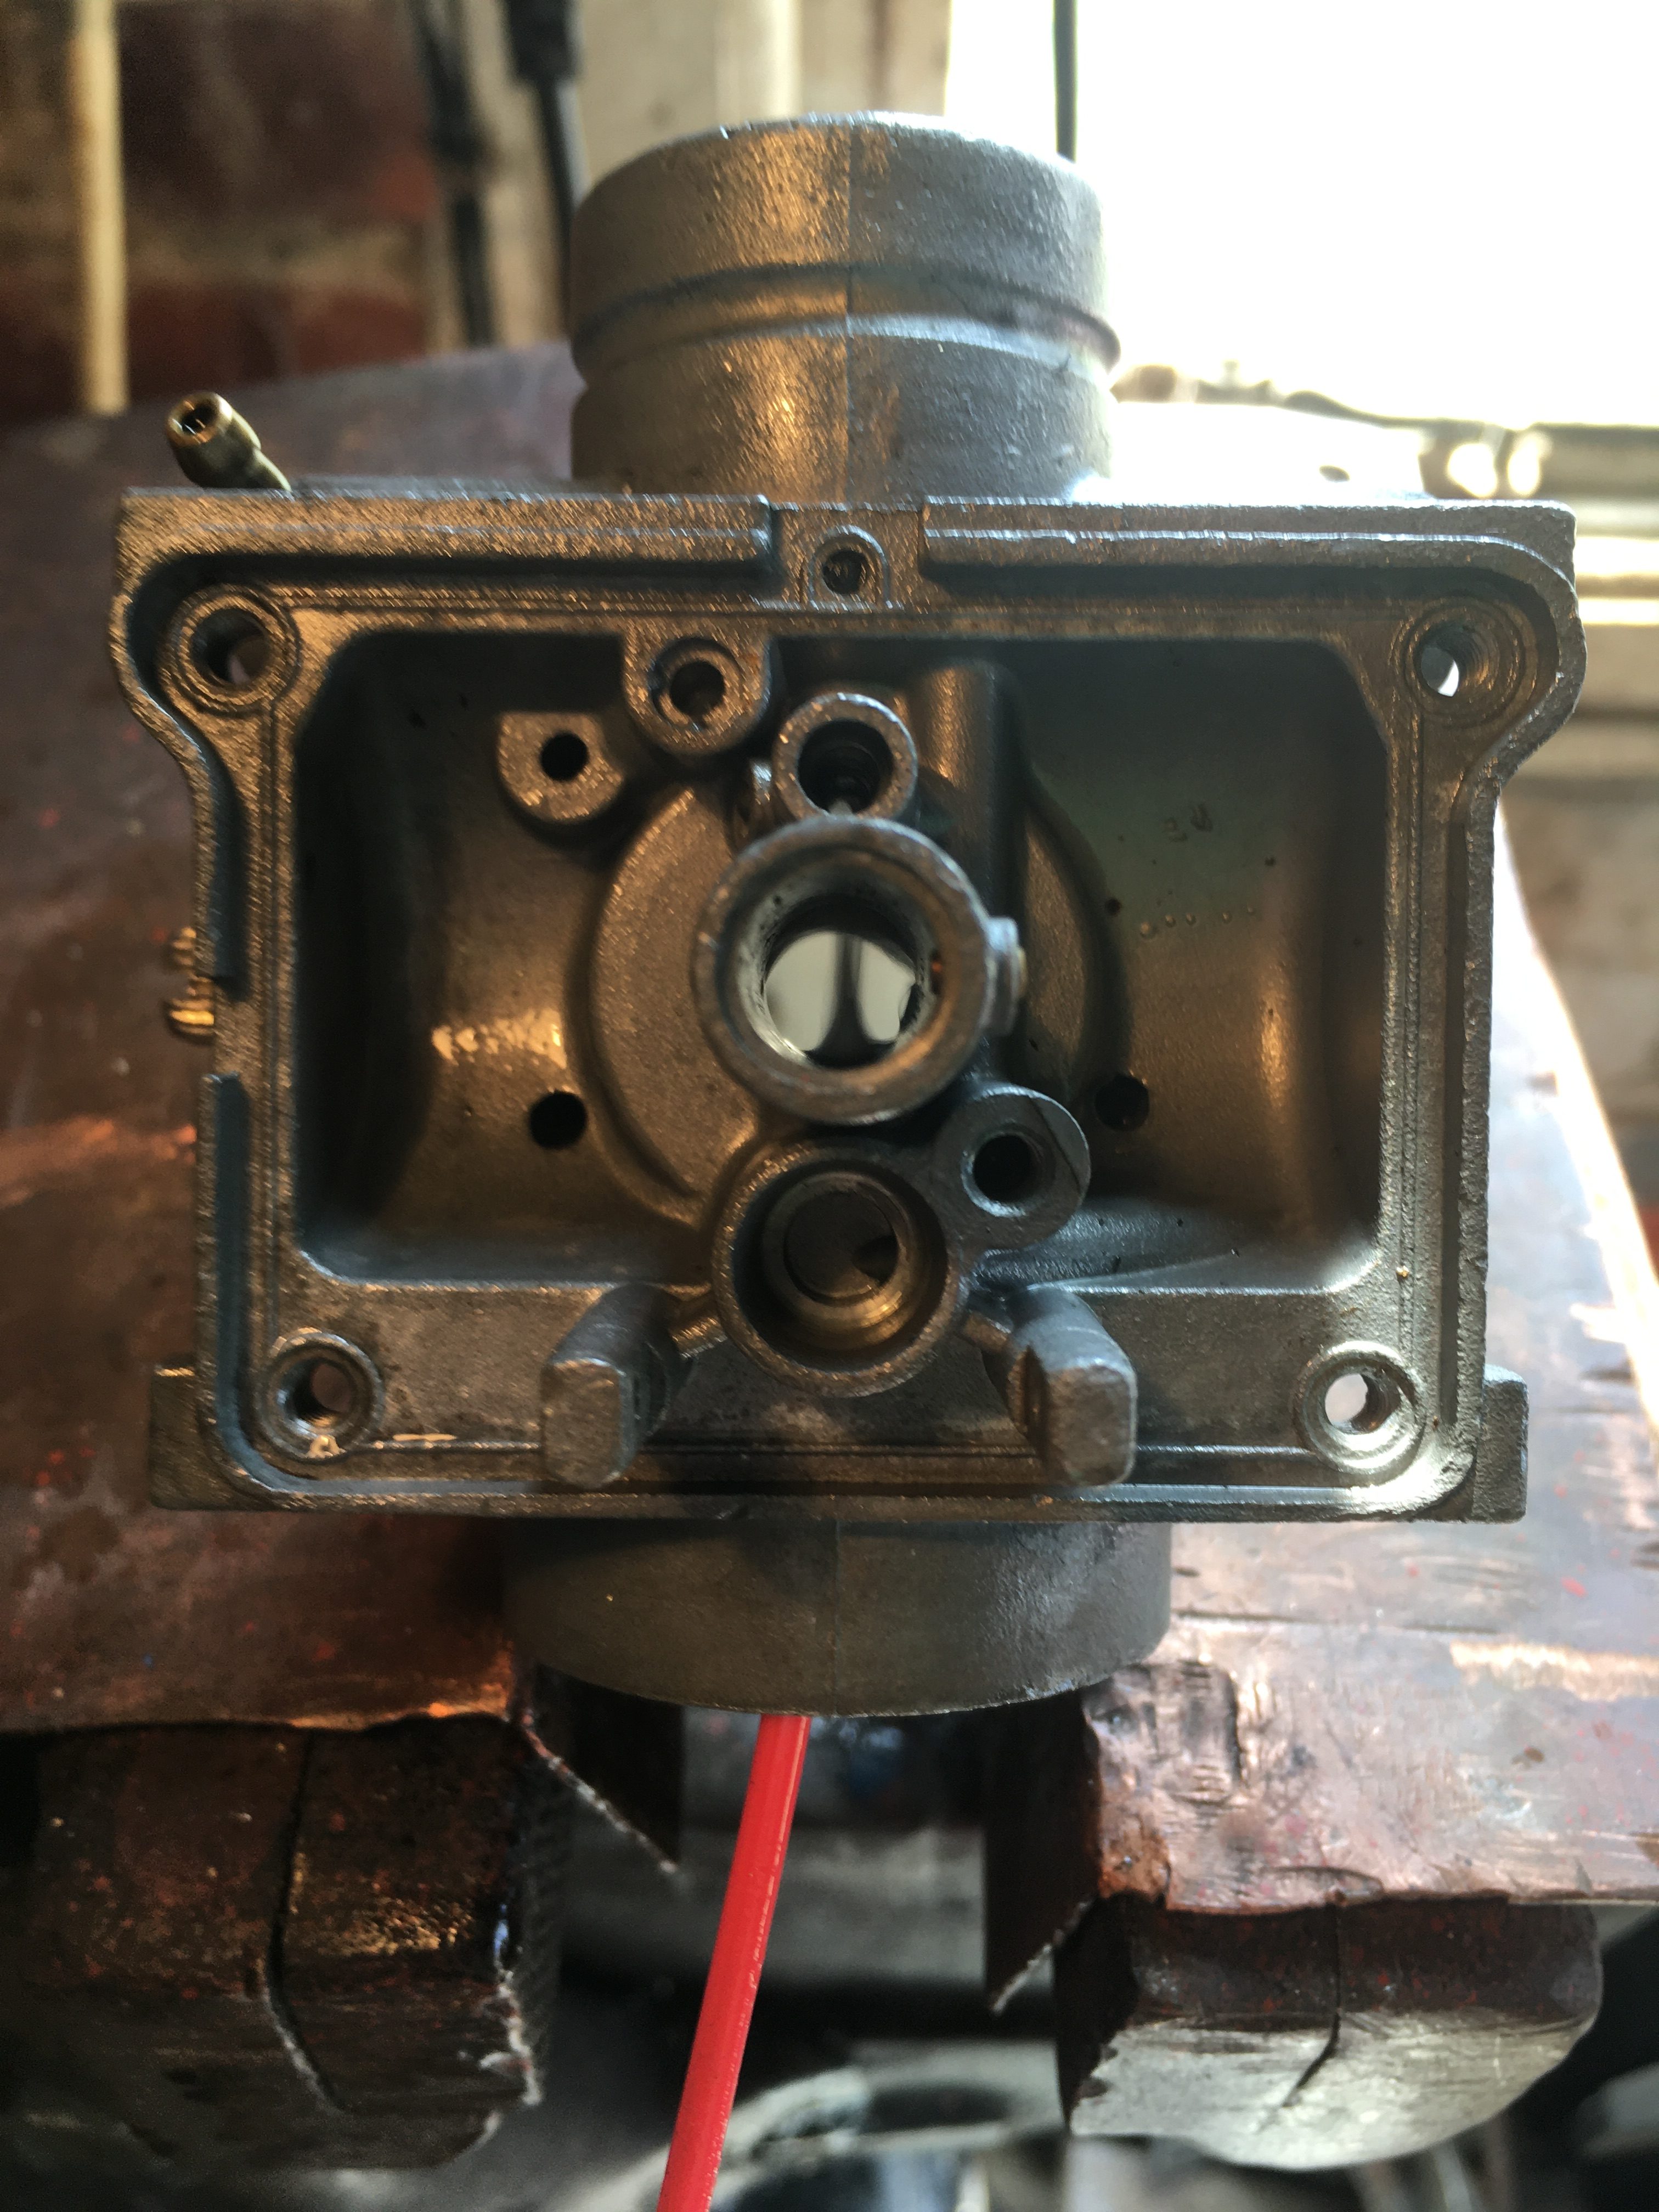
See the spray!
Both carbs went for another bath in the ultrasonic cleaner, with the air corrector circuit hole, where the brass ball had been, pointing down so any detritus released can fall down.
The 4.5 brass balls need to be replaced, and they are readily available from a number of ebay vendors.
Alternatively, some people tap the hole to 5mm, and insert a brass grub screw to make the seal.
After all of this effort, I discovered that the pilot jet in the LHS carb was completely blocked, (and will be replaced with a clear one), so this may have been the entire reason for my carburation woes!
No matter, The LHS carb seemed blocked a bit, and I feel much better about the carbs having completed this cleaning procedure, knowing that it has already been done when I come across the inevitable carburation problems in future.
I waited a week for my new brass balls to arrive in the post, but I waited in vain. (They eventually turned up about 4 weeks later).
As I had not drilled entirely through the extracted balls, I decided to replace them rather than wait any longer.
Clean thoroughly 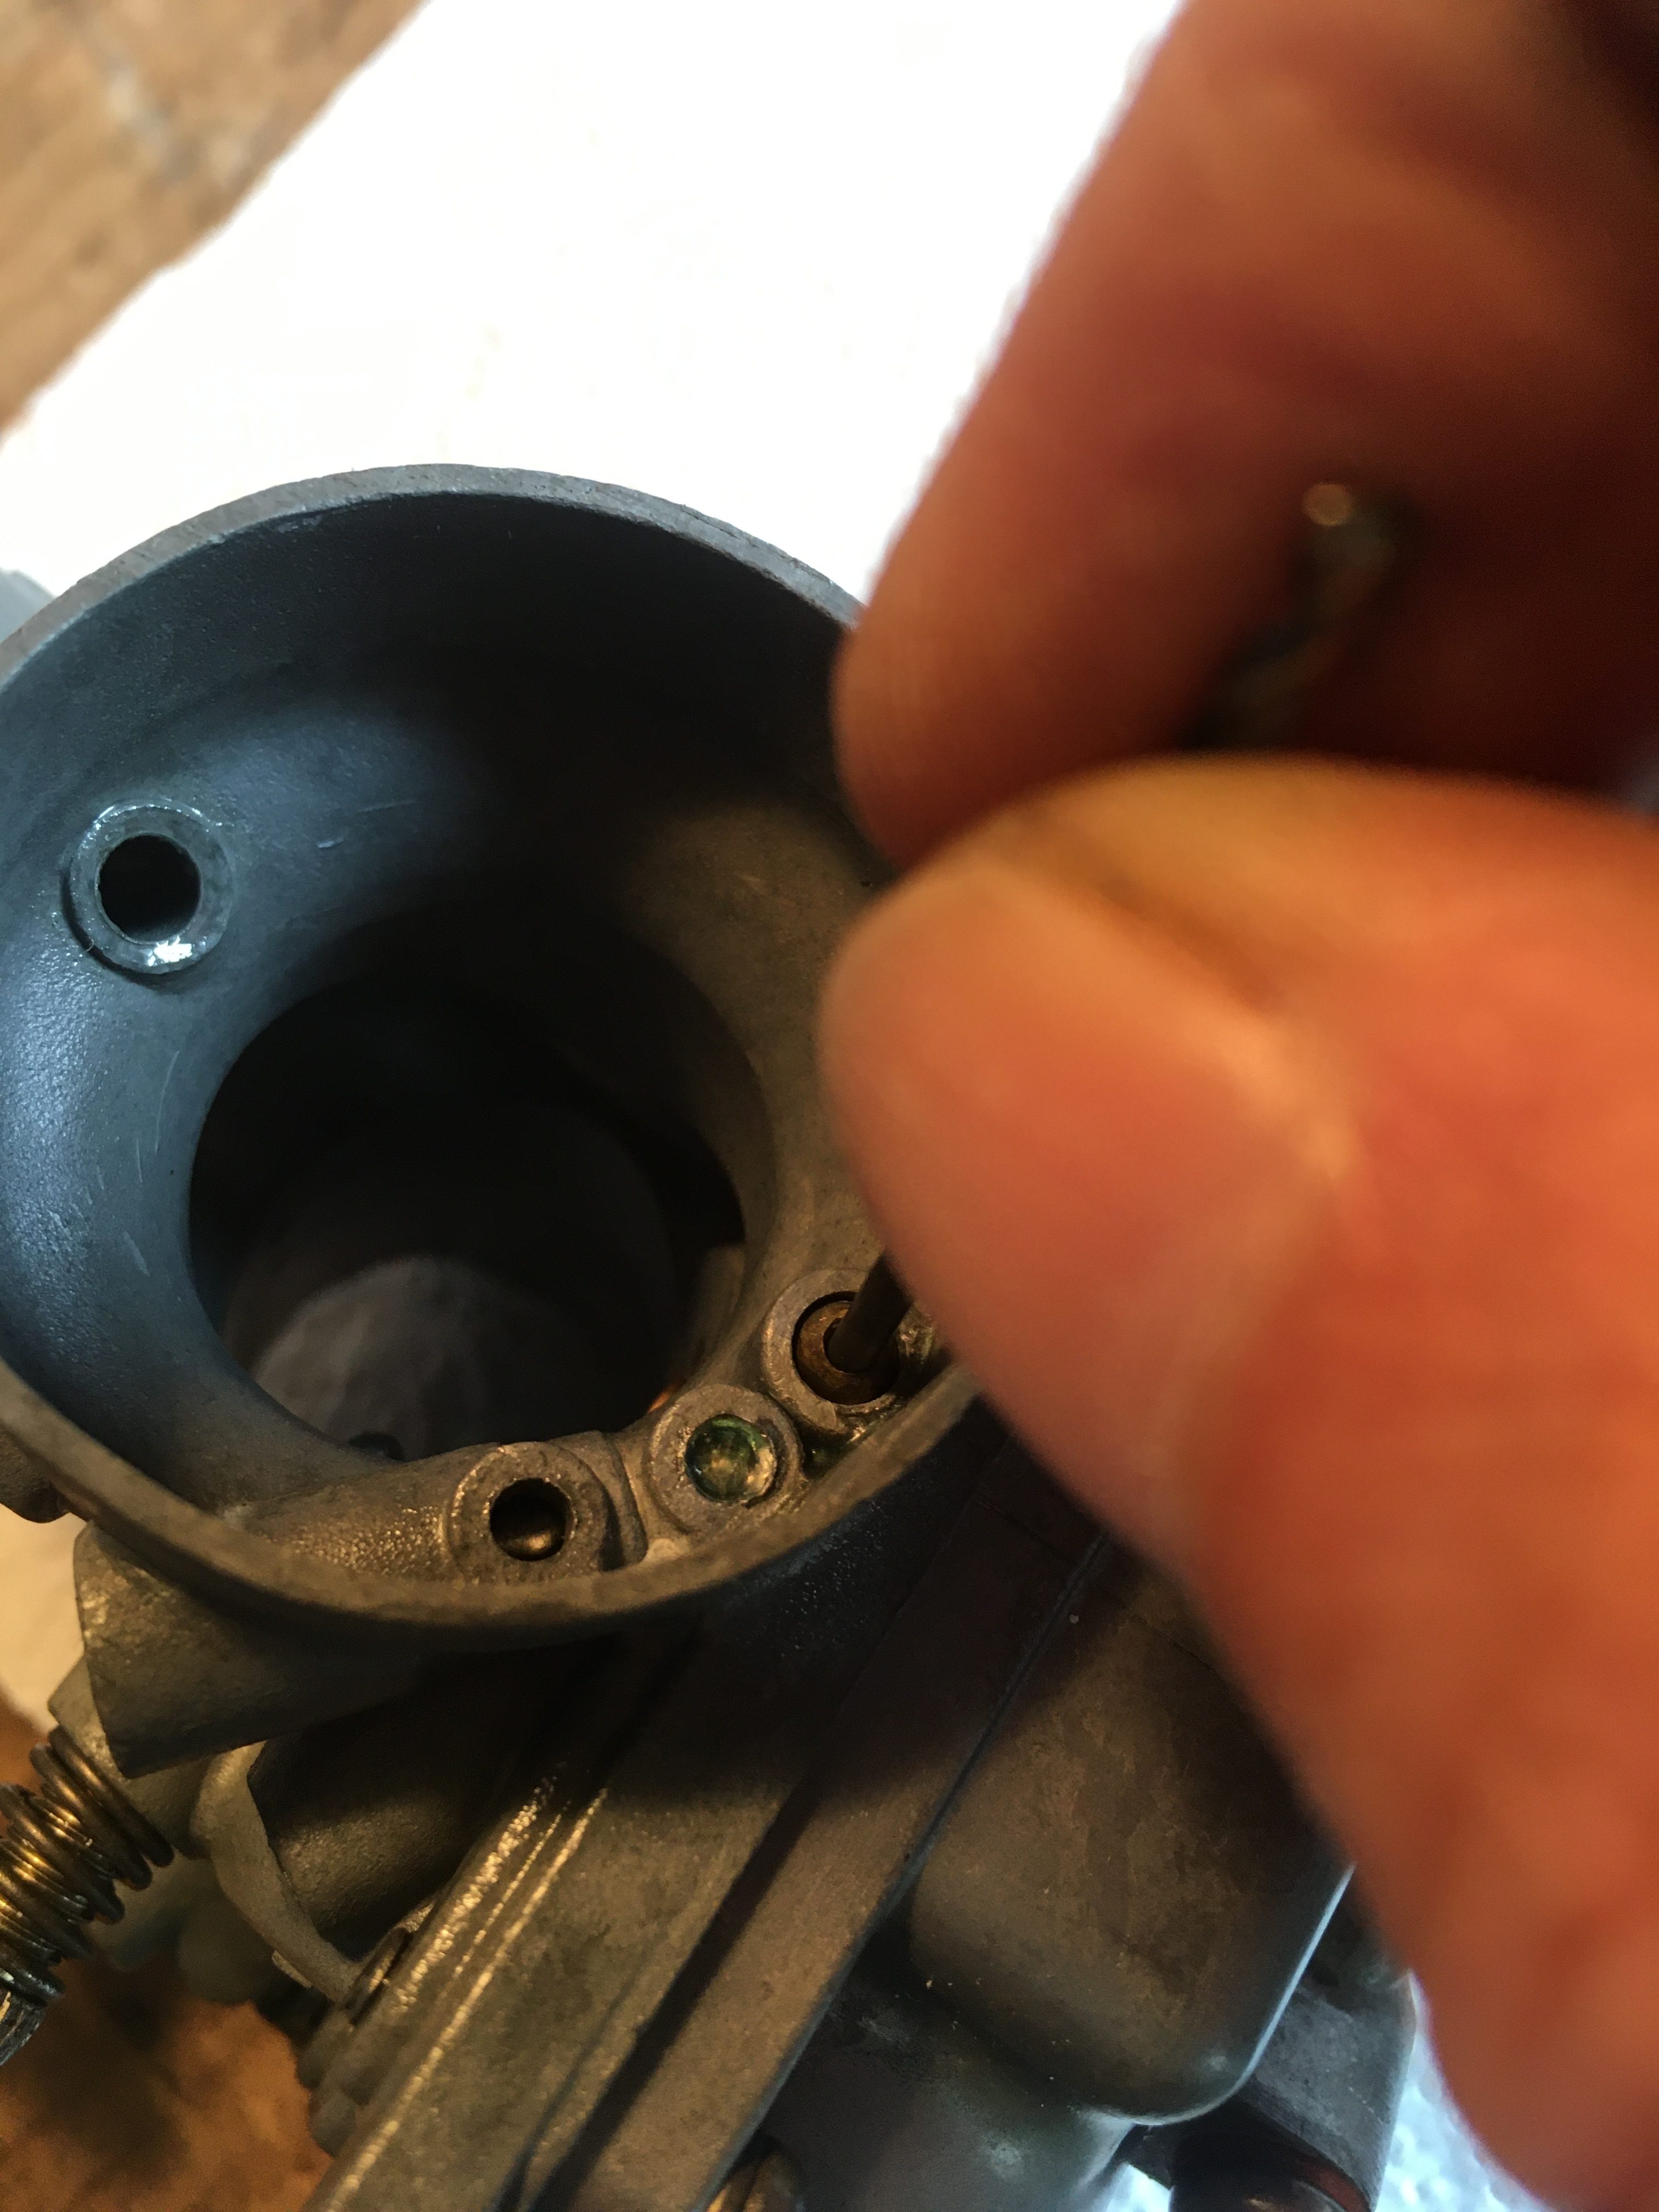
Ease the ball back in 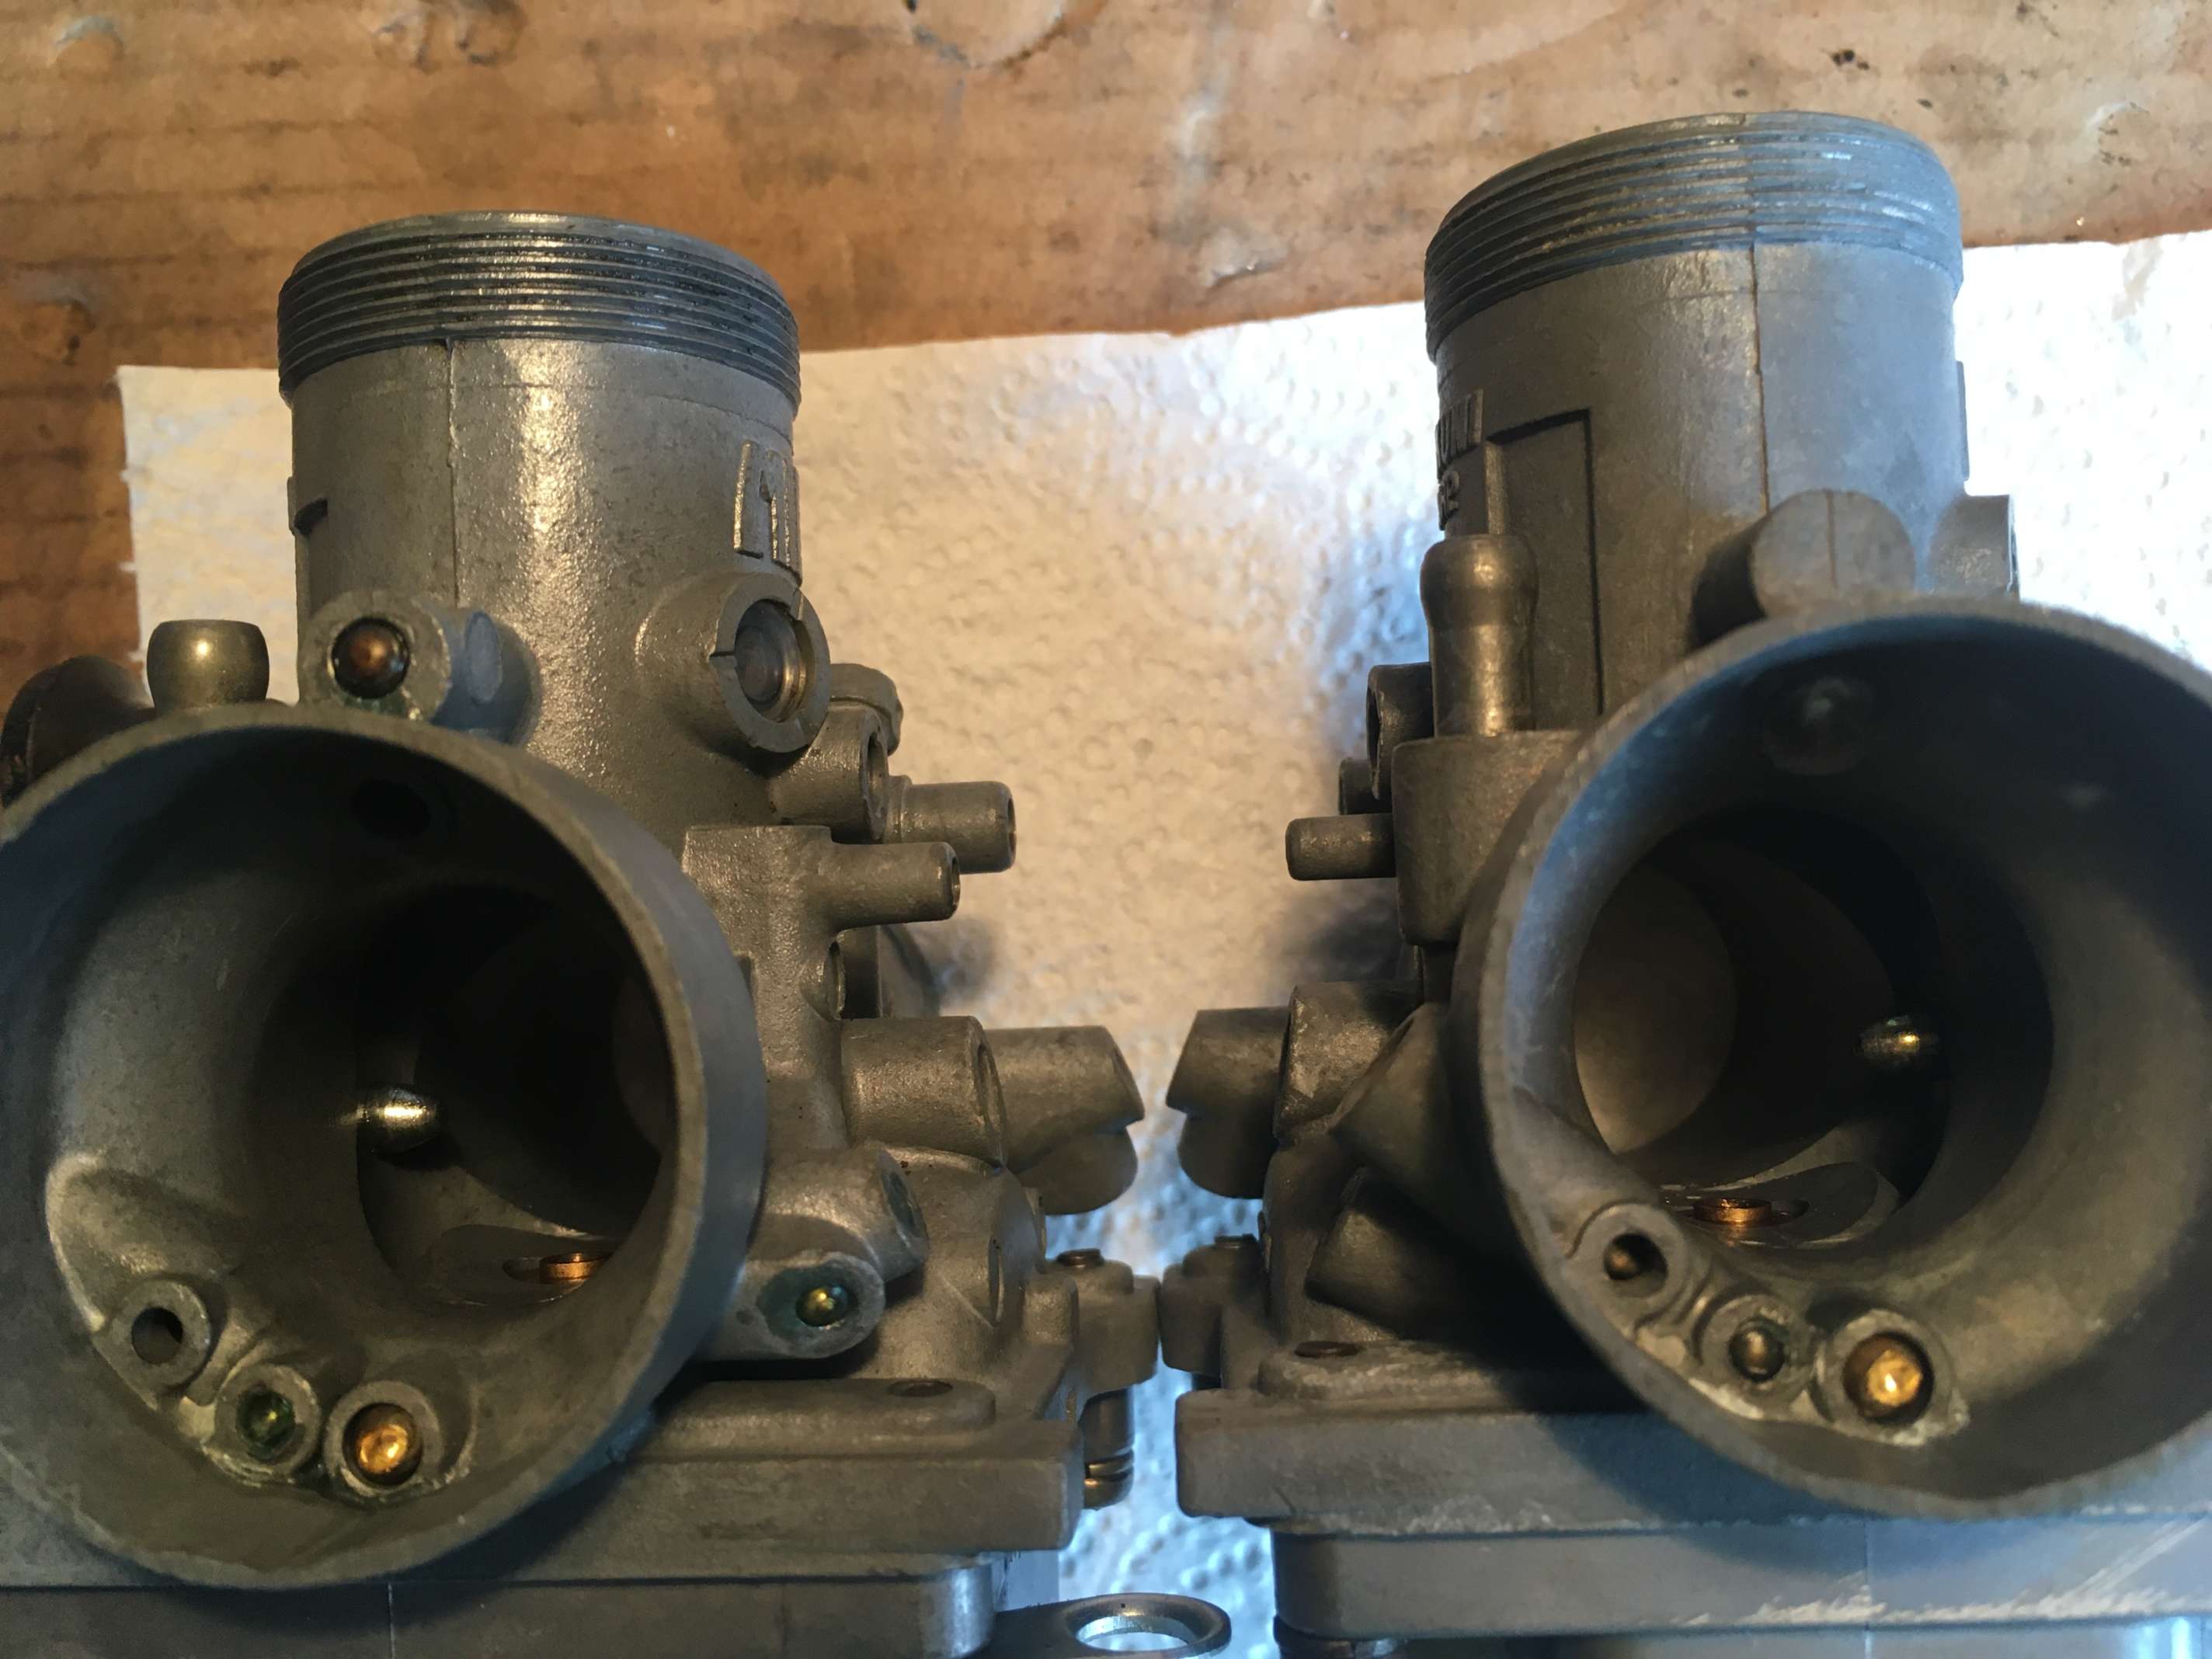
A press fit. no need for a hammer! 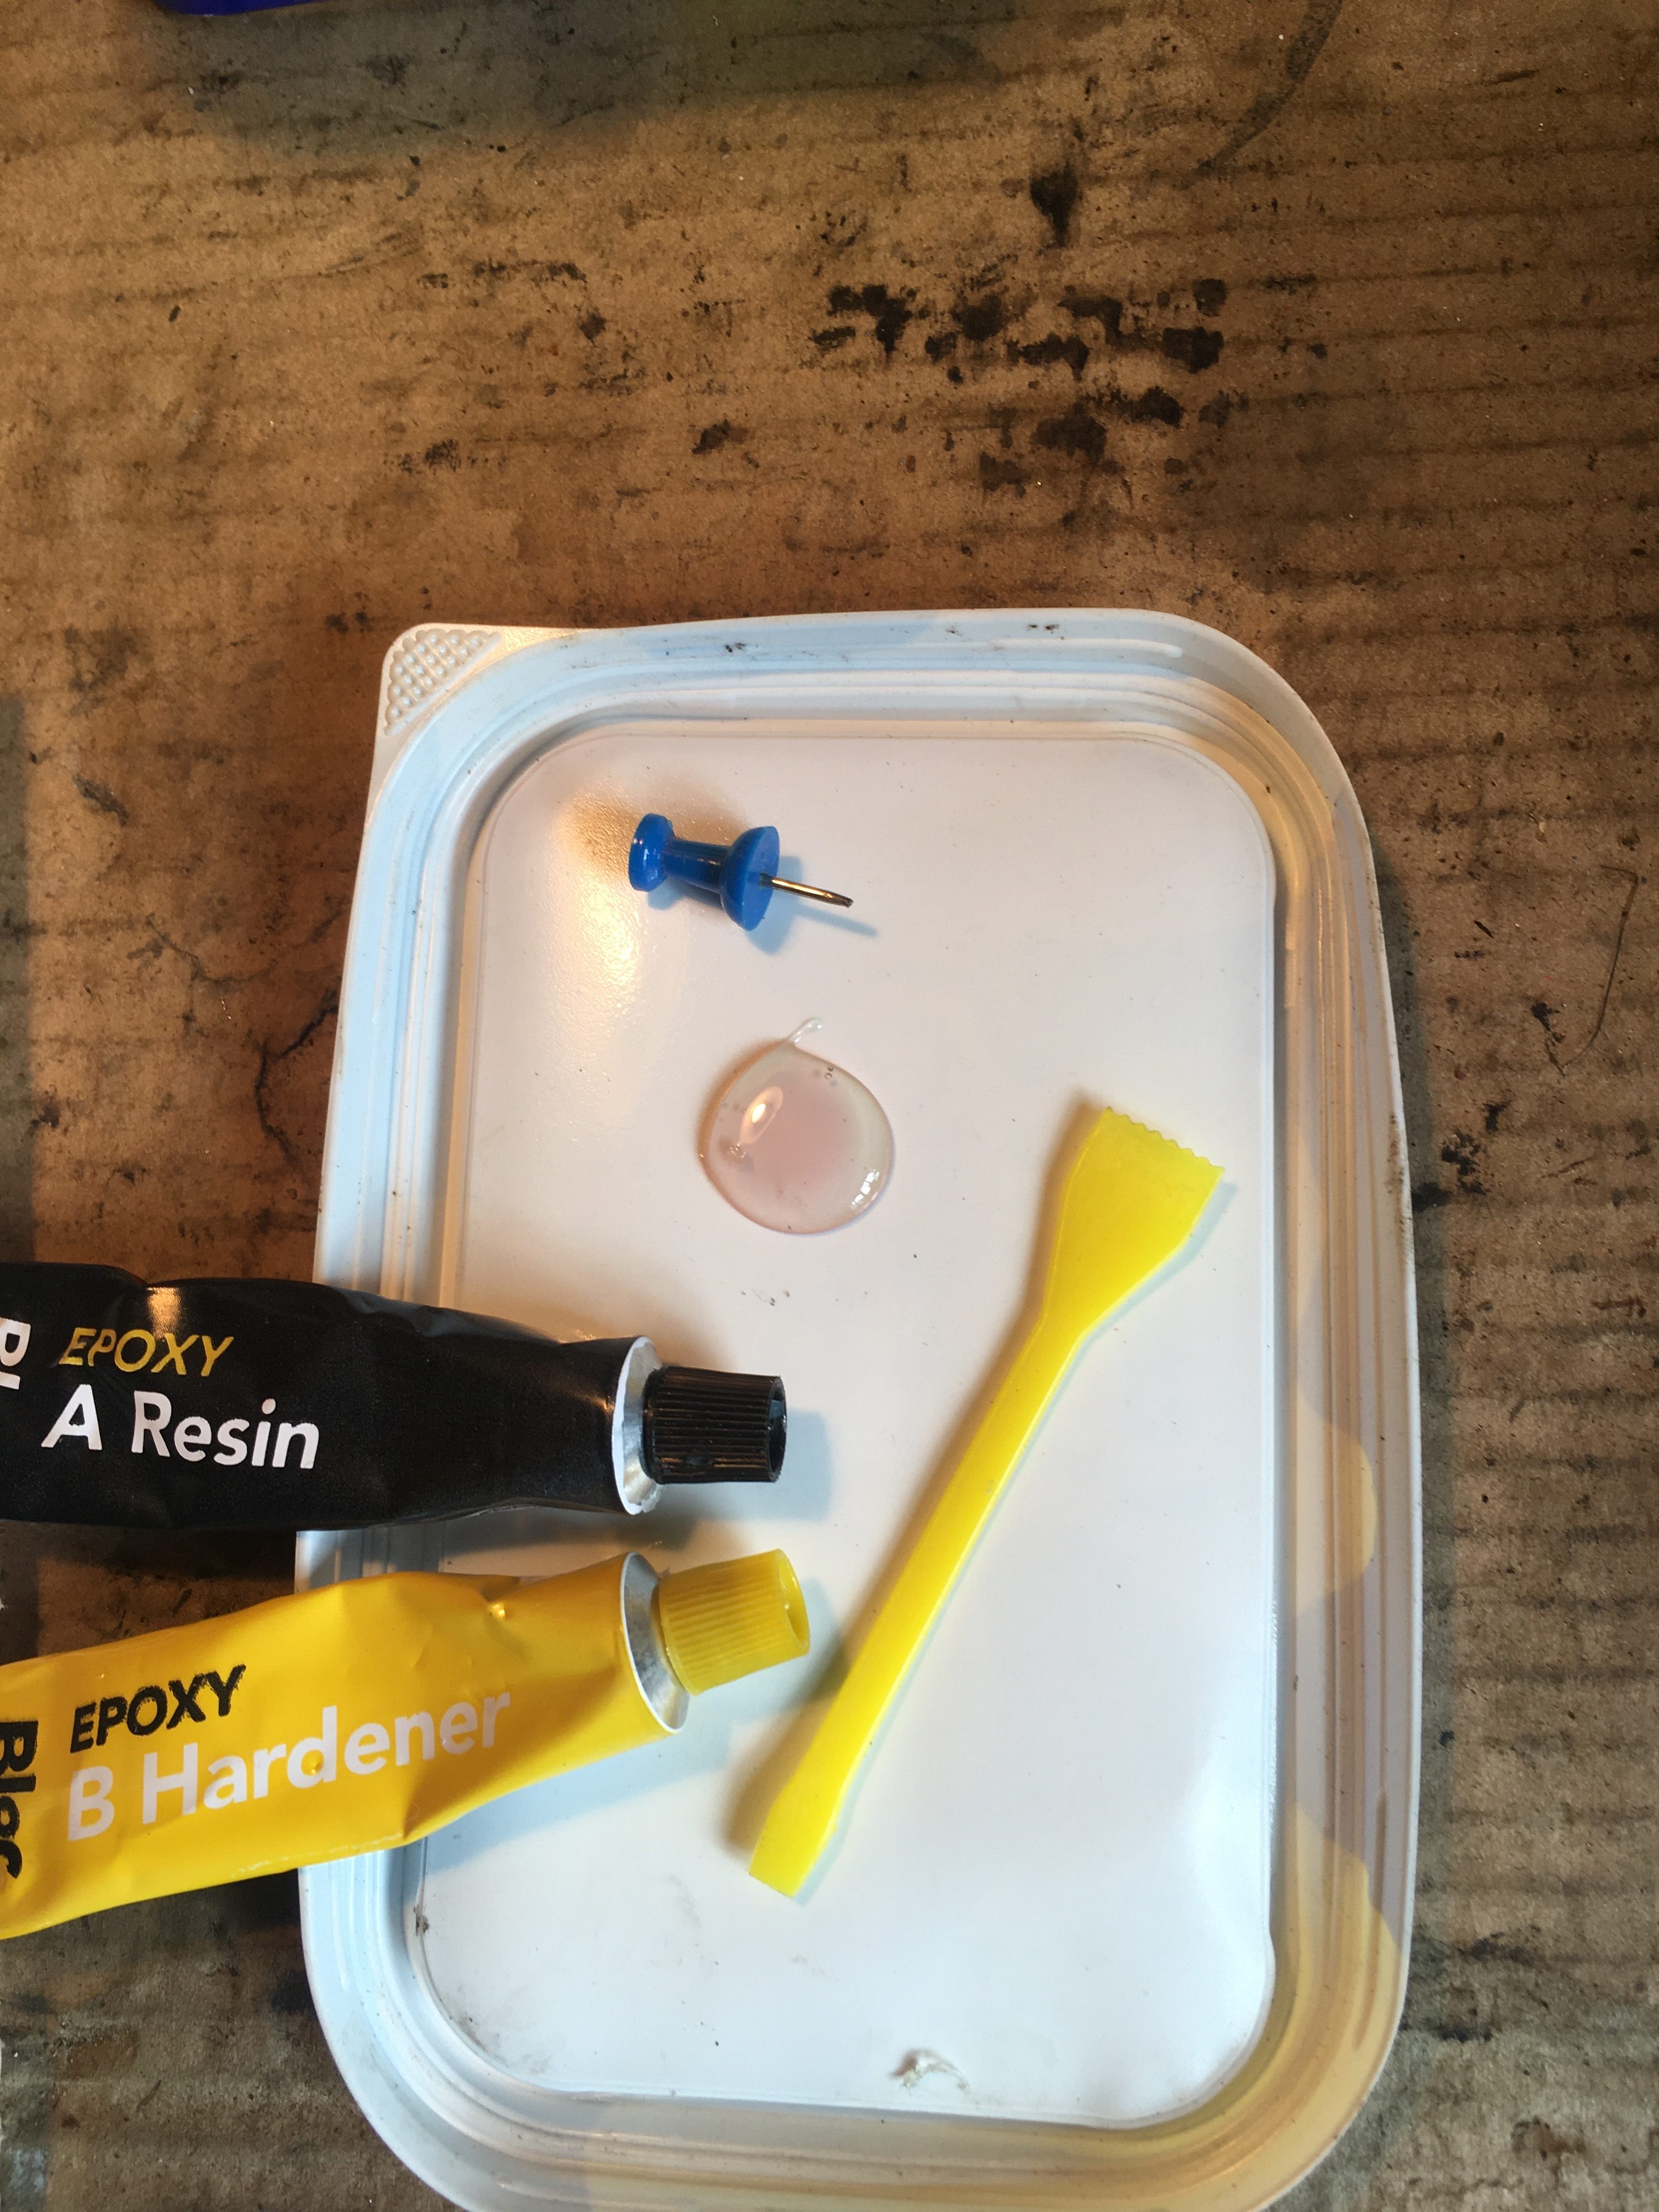
Mix up some epoxy 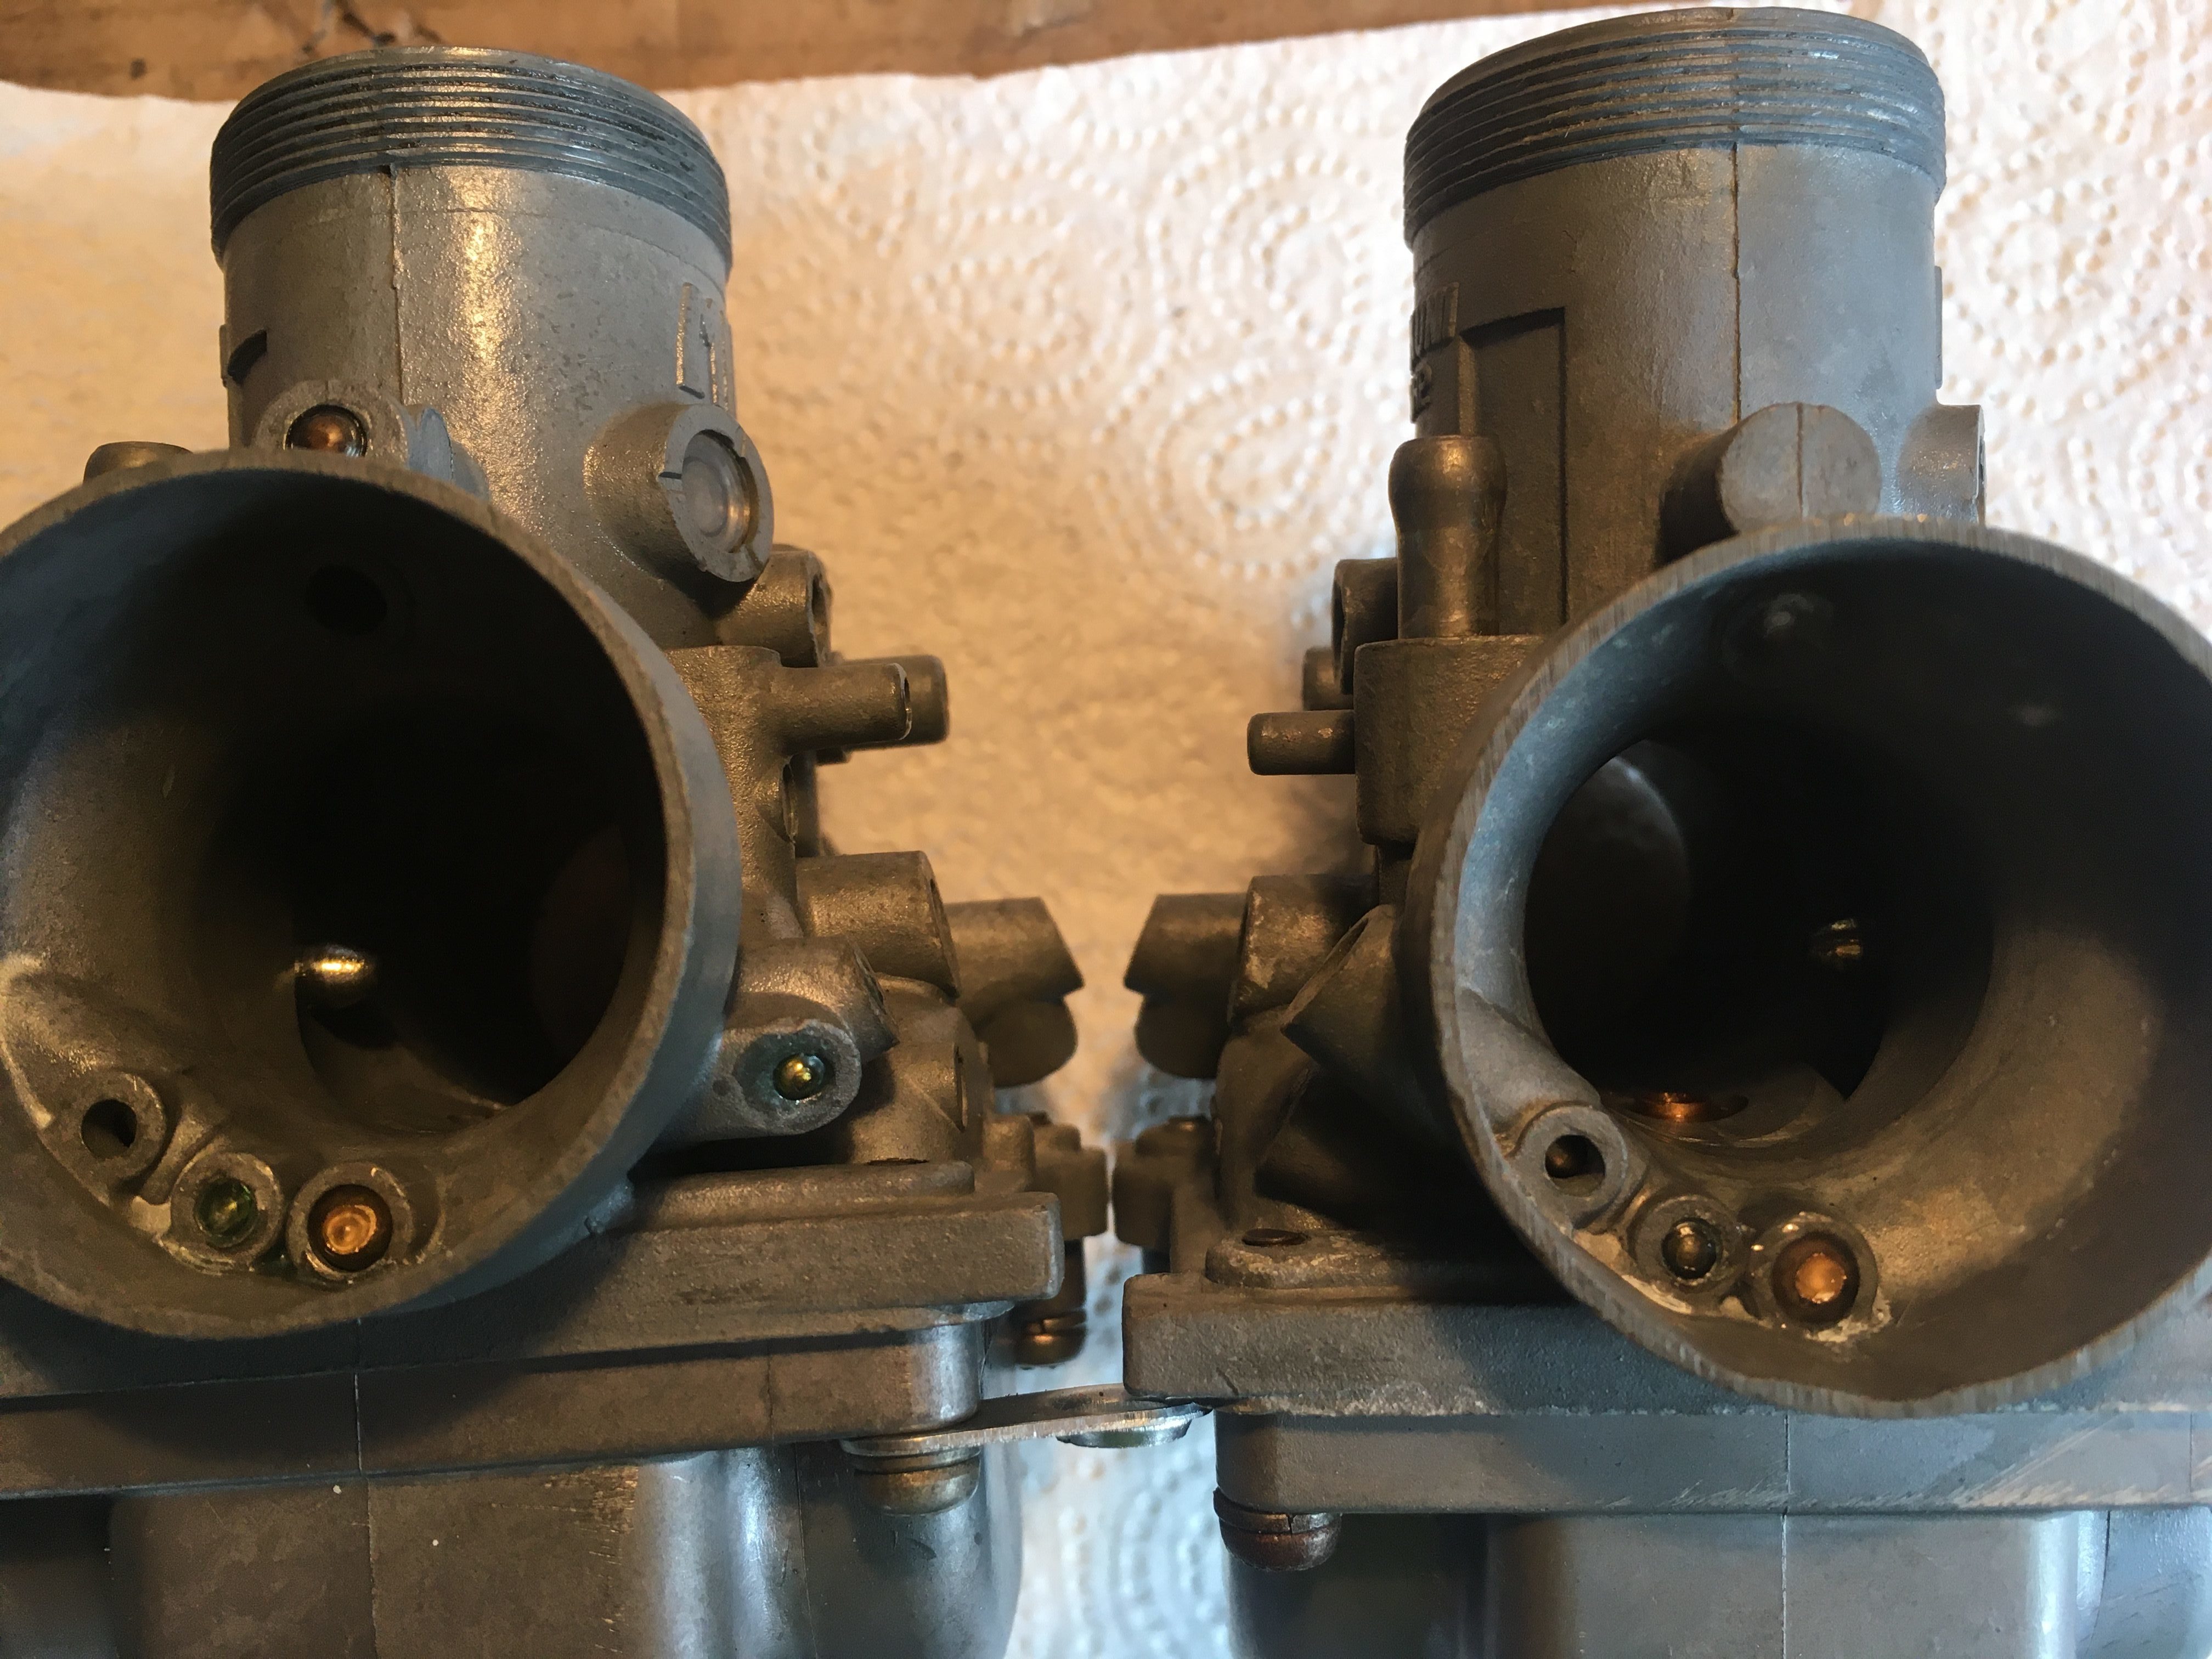
and gently spread around the balls with a pin.

After refitting them to the bike, (allowing 24 hours for the epoxy to cure), the bike started first kick, and ticked over with no problems.
the choke could be disengaged after a couple of minutes, and she still ticked over… Nice.
On the road, on the way to the MOT station, the tickover is a bit high once warmed up, so I have a bit of tweaking to do with air jets and slide height.
It takes a few more revs to get her off the mark than my 350, but I guess this is par for the course for a 250. (I’ve never owned a 250 LC before. All 350s. Well 350 top ends at any rate).
So job done on the carbs. Lots of ultrasonic cleaning, brass ball removal, and blasting through the airways with alternate WD40 and Brake cleaner.
I’ve never had a pair of OEM carbs carburate so well. In the past, they have been so bad I switched to either RD250/400 carbs or RG250 flatslides.