Lets have a look at what I have as options.
The donor bike came with a pair of RD400E/F (2R8-00) carbs, which were a goto modification when I started riding LCs.
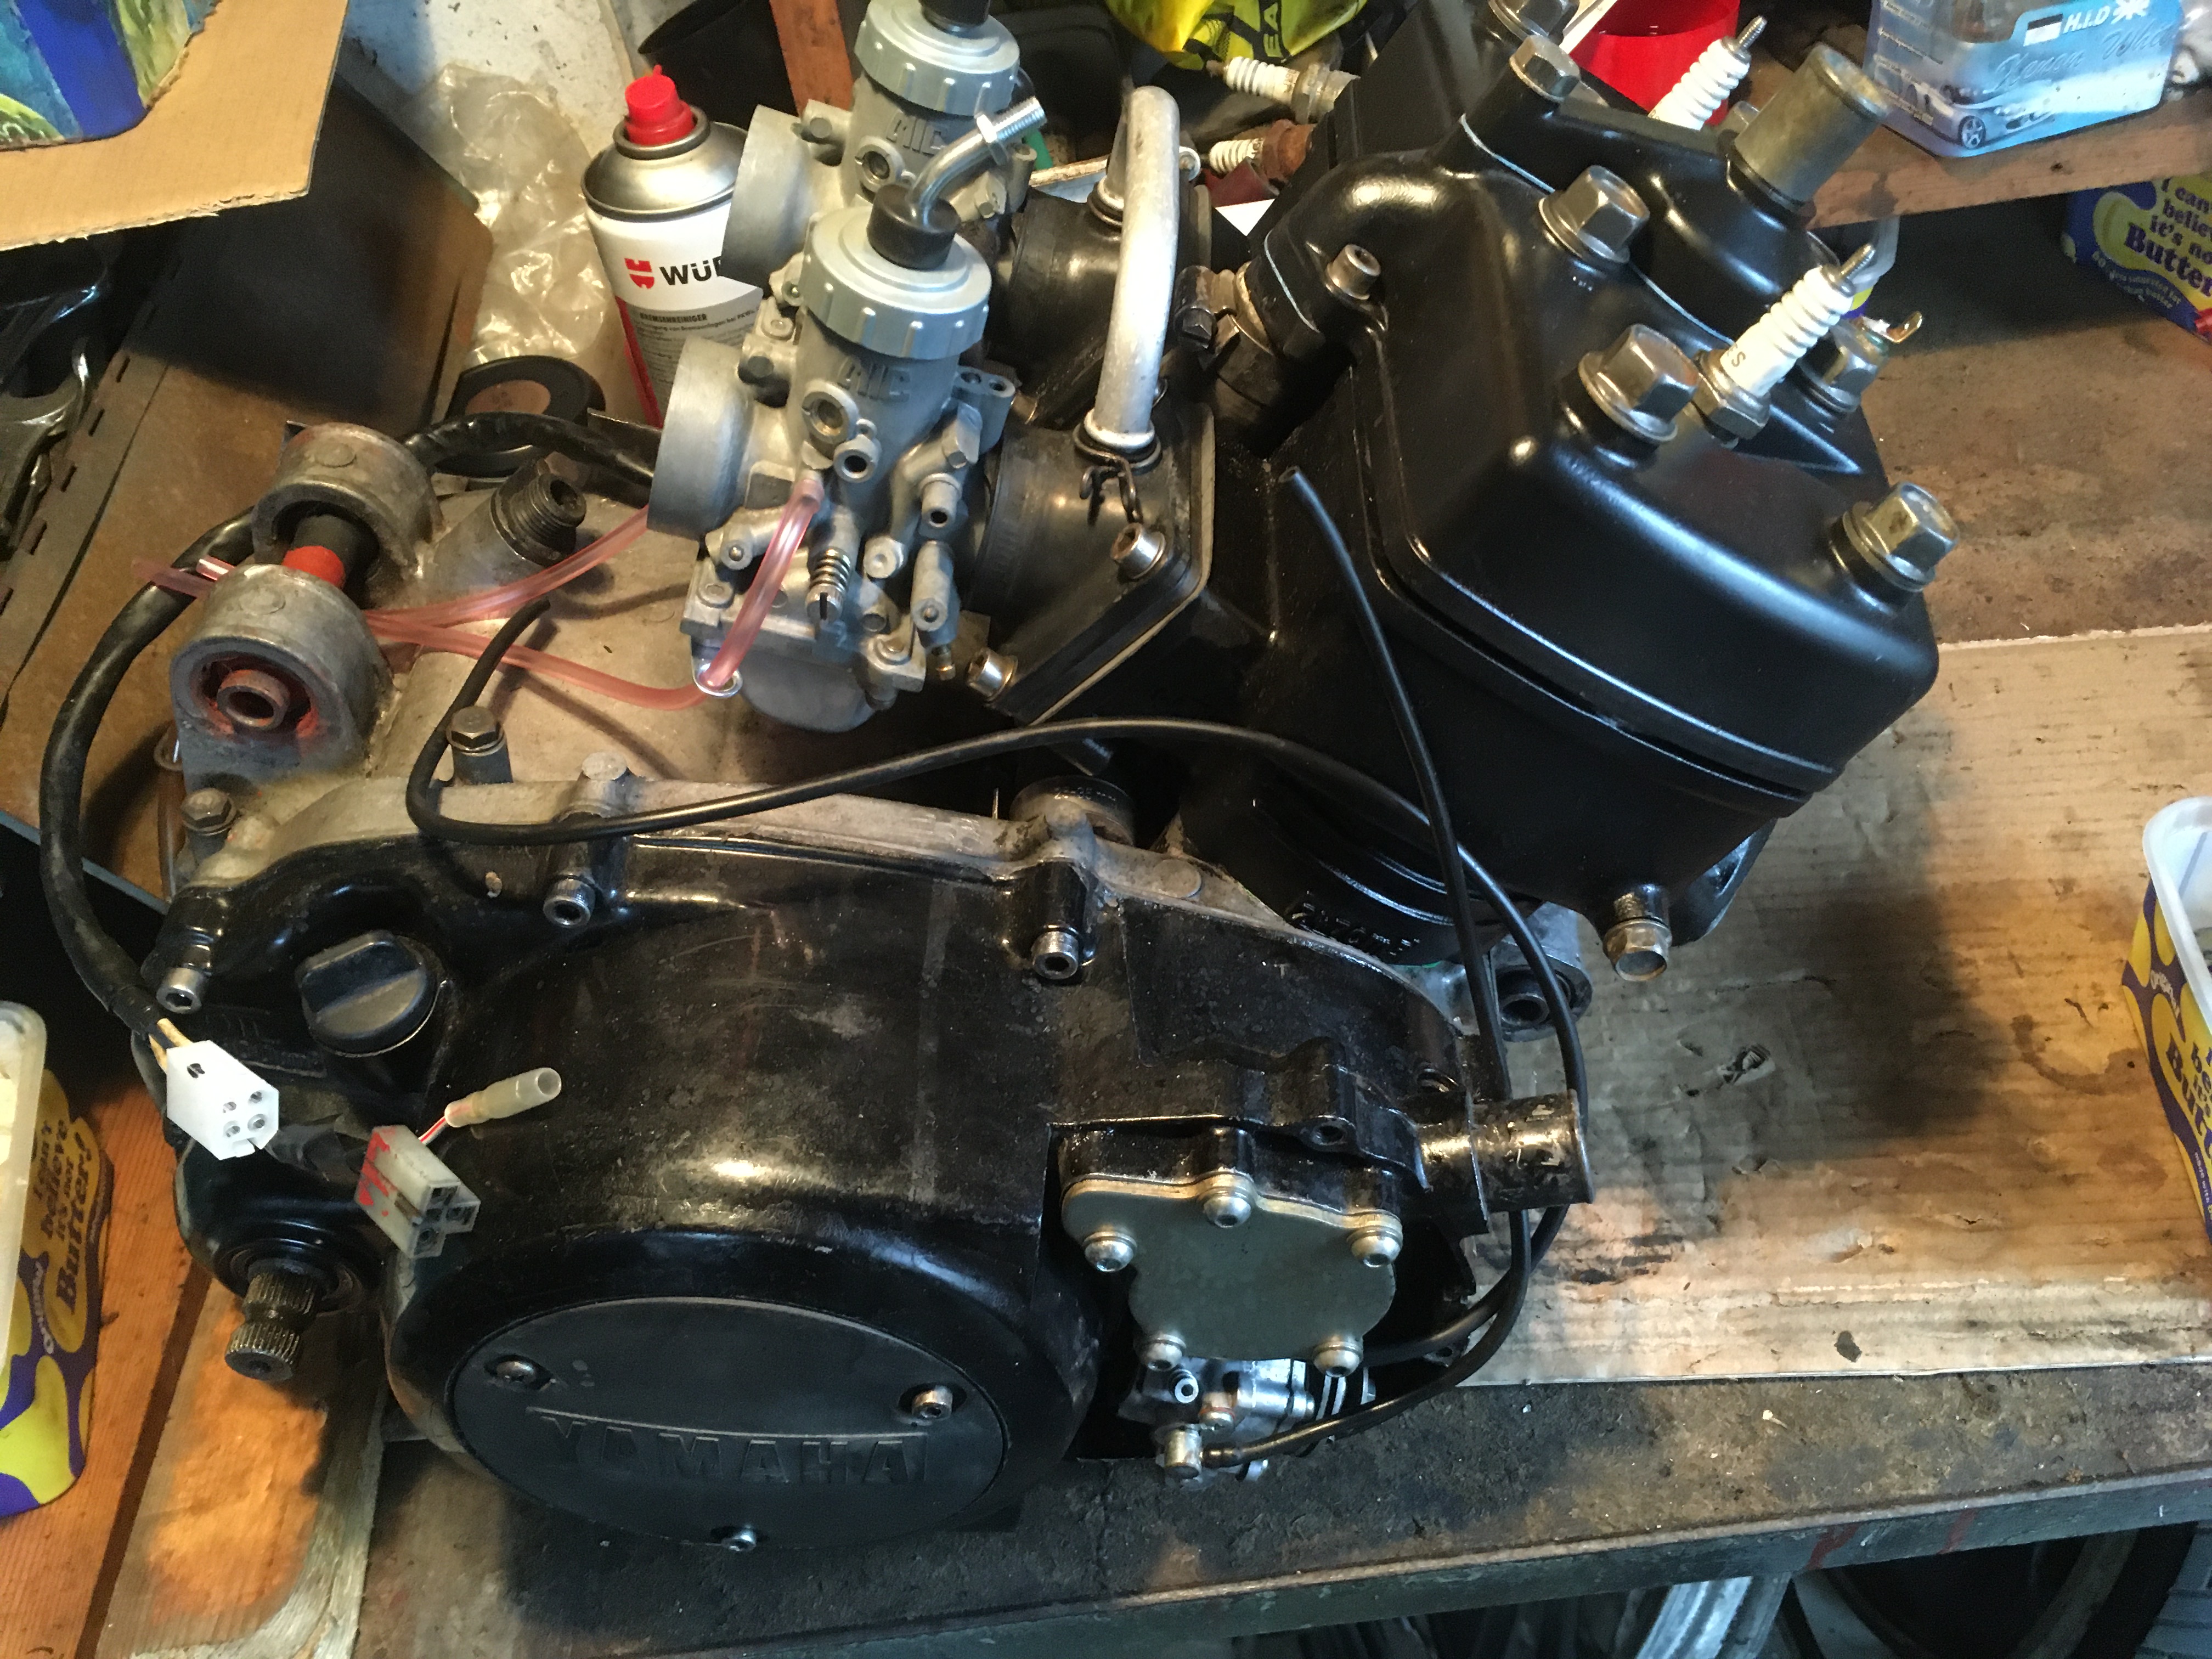
Later, I tried all kinds of carbs to replace the worn out, leaky carbs on the LCs which I have owned, and settled on RG250 28mm flatslide Mikuni carbs, which remain on my runaround LC350 to this day, and work very well.
I found a “spare” pair in the parts box.
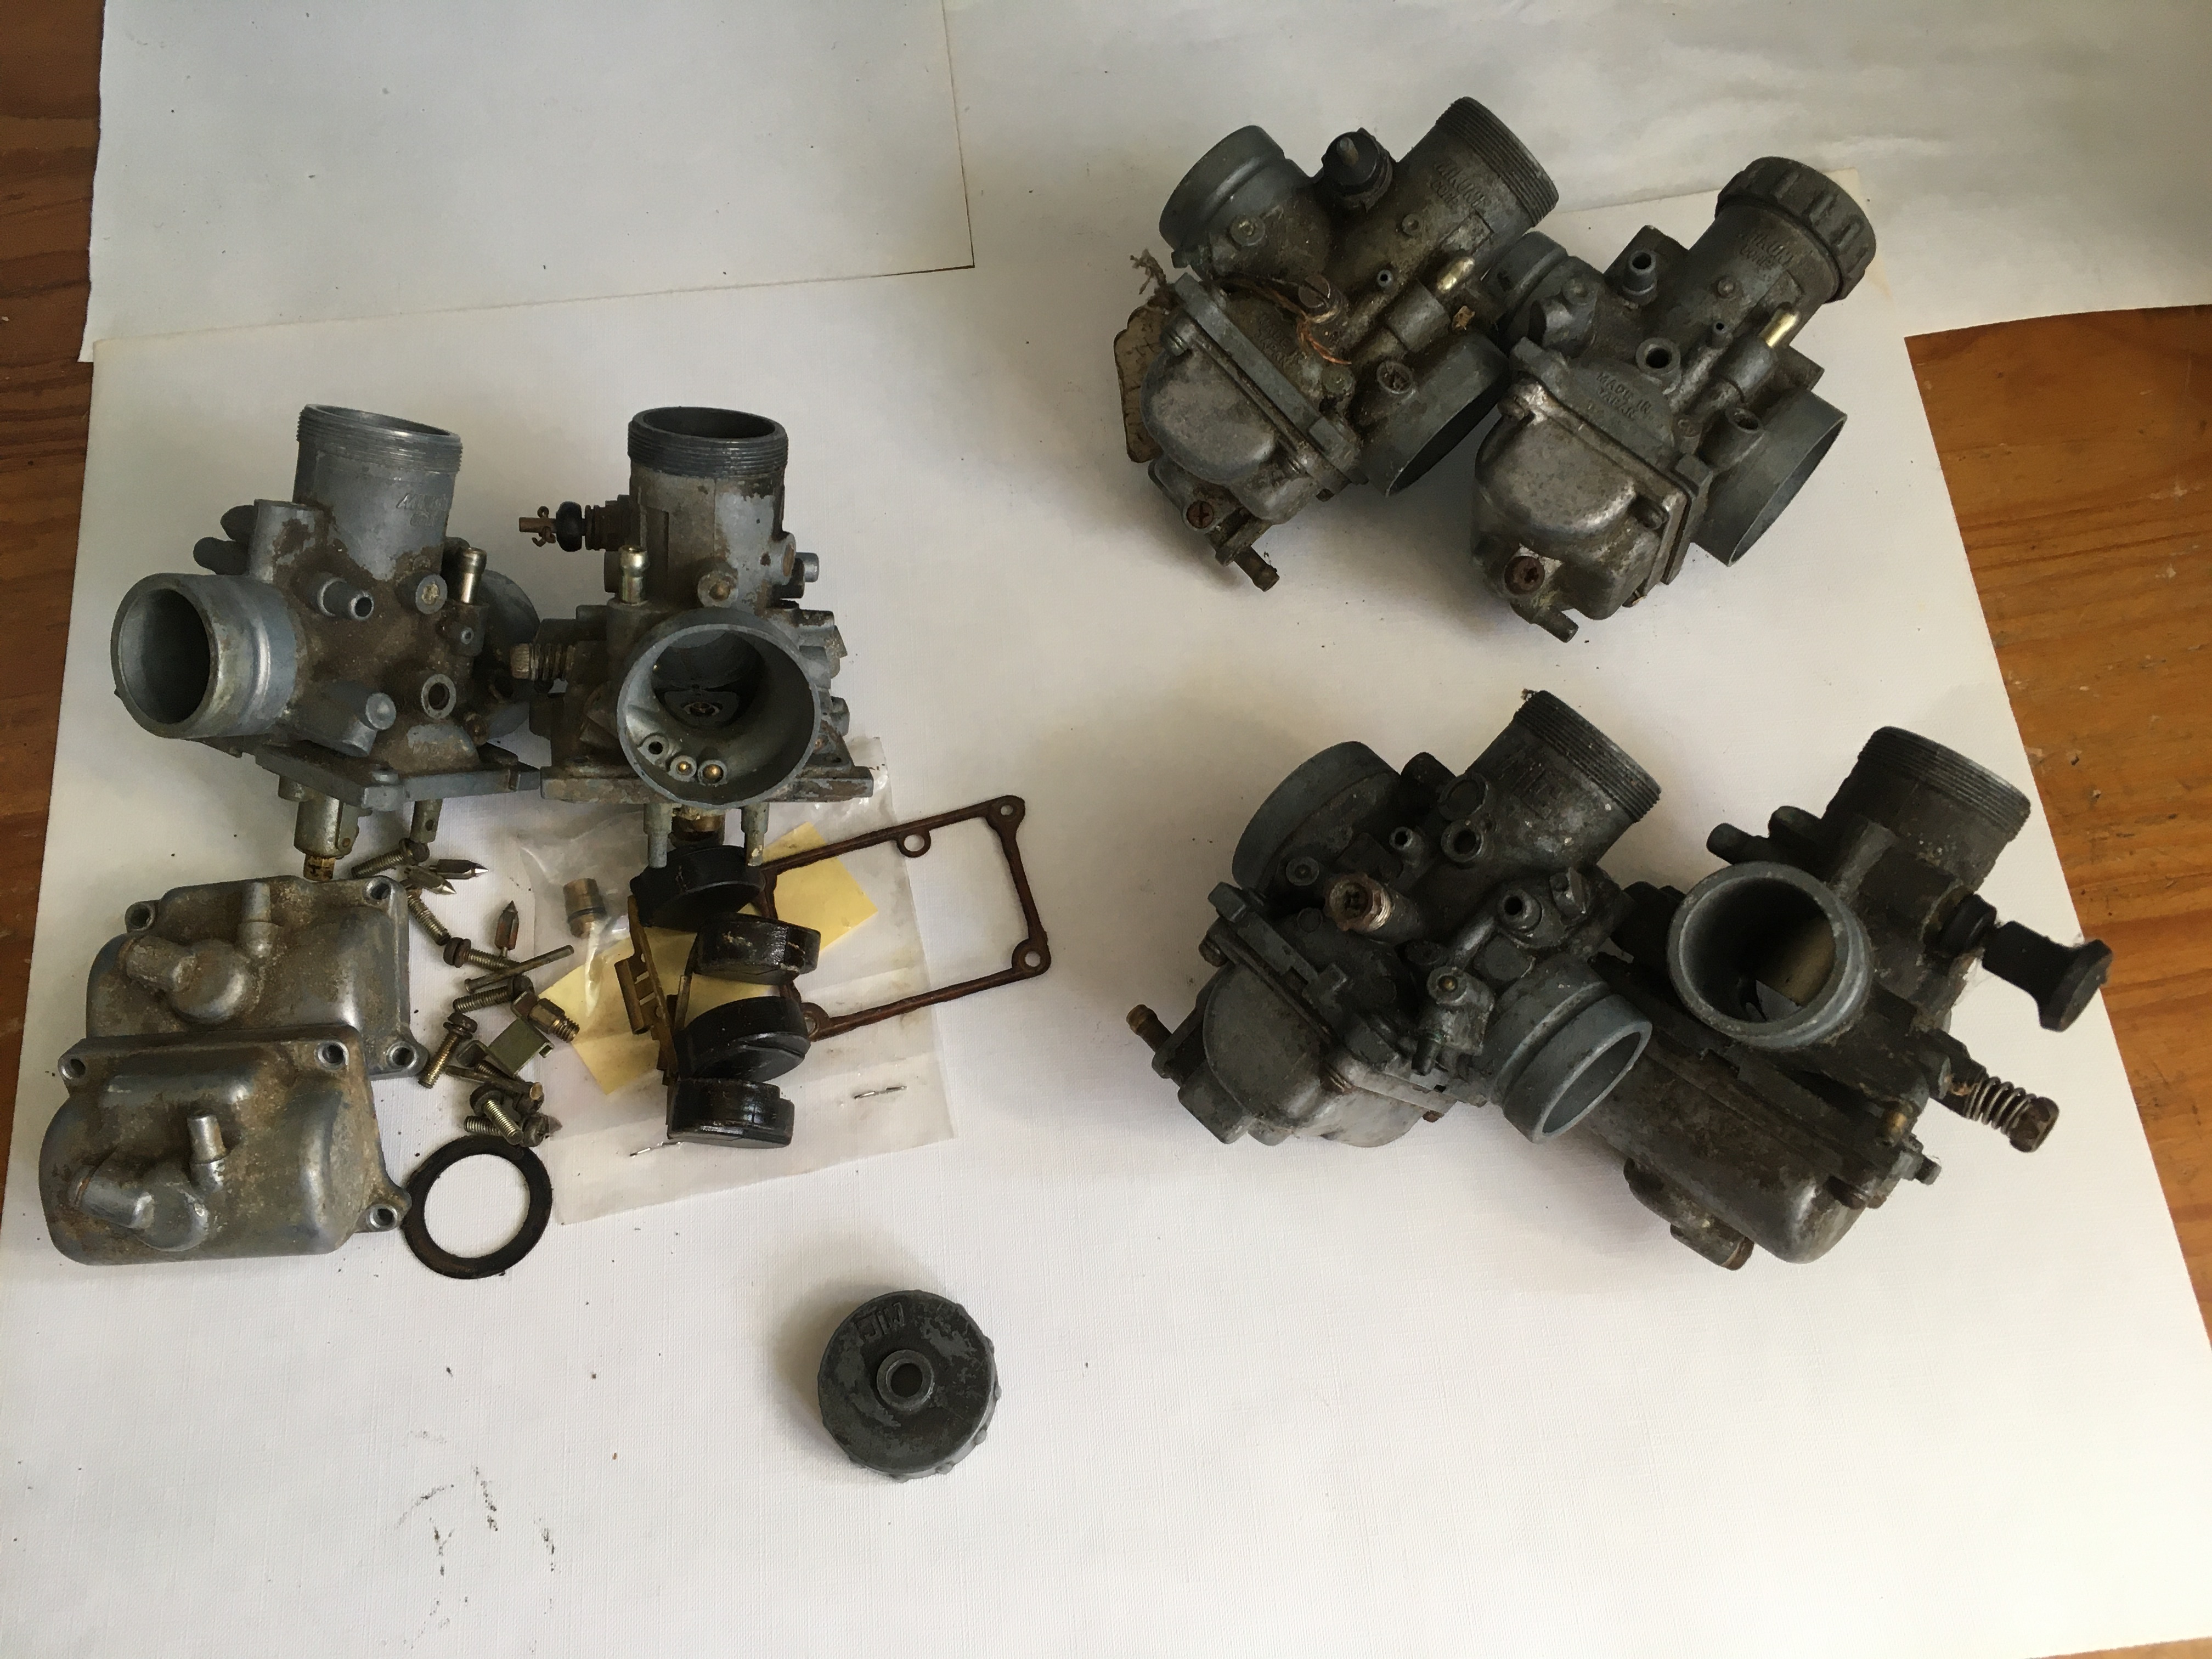
- One pair of RD400E/F (2R8-00) carbs from donor bike (not pictured)
- One pair of RG250 flatslides
- One pair of 31W (from German restricted YPVS 350 bike?)
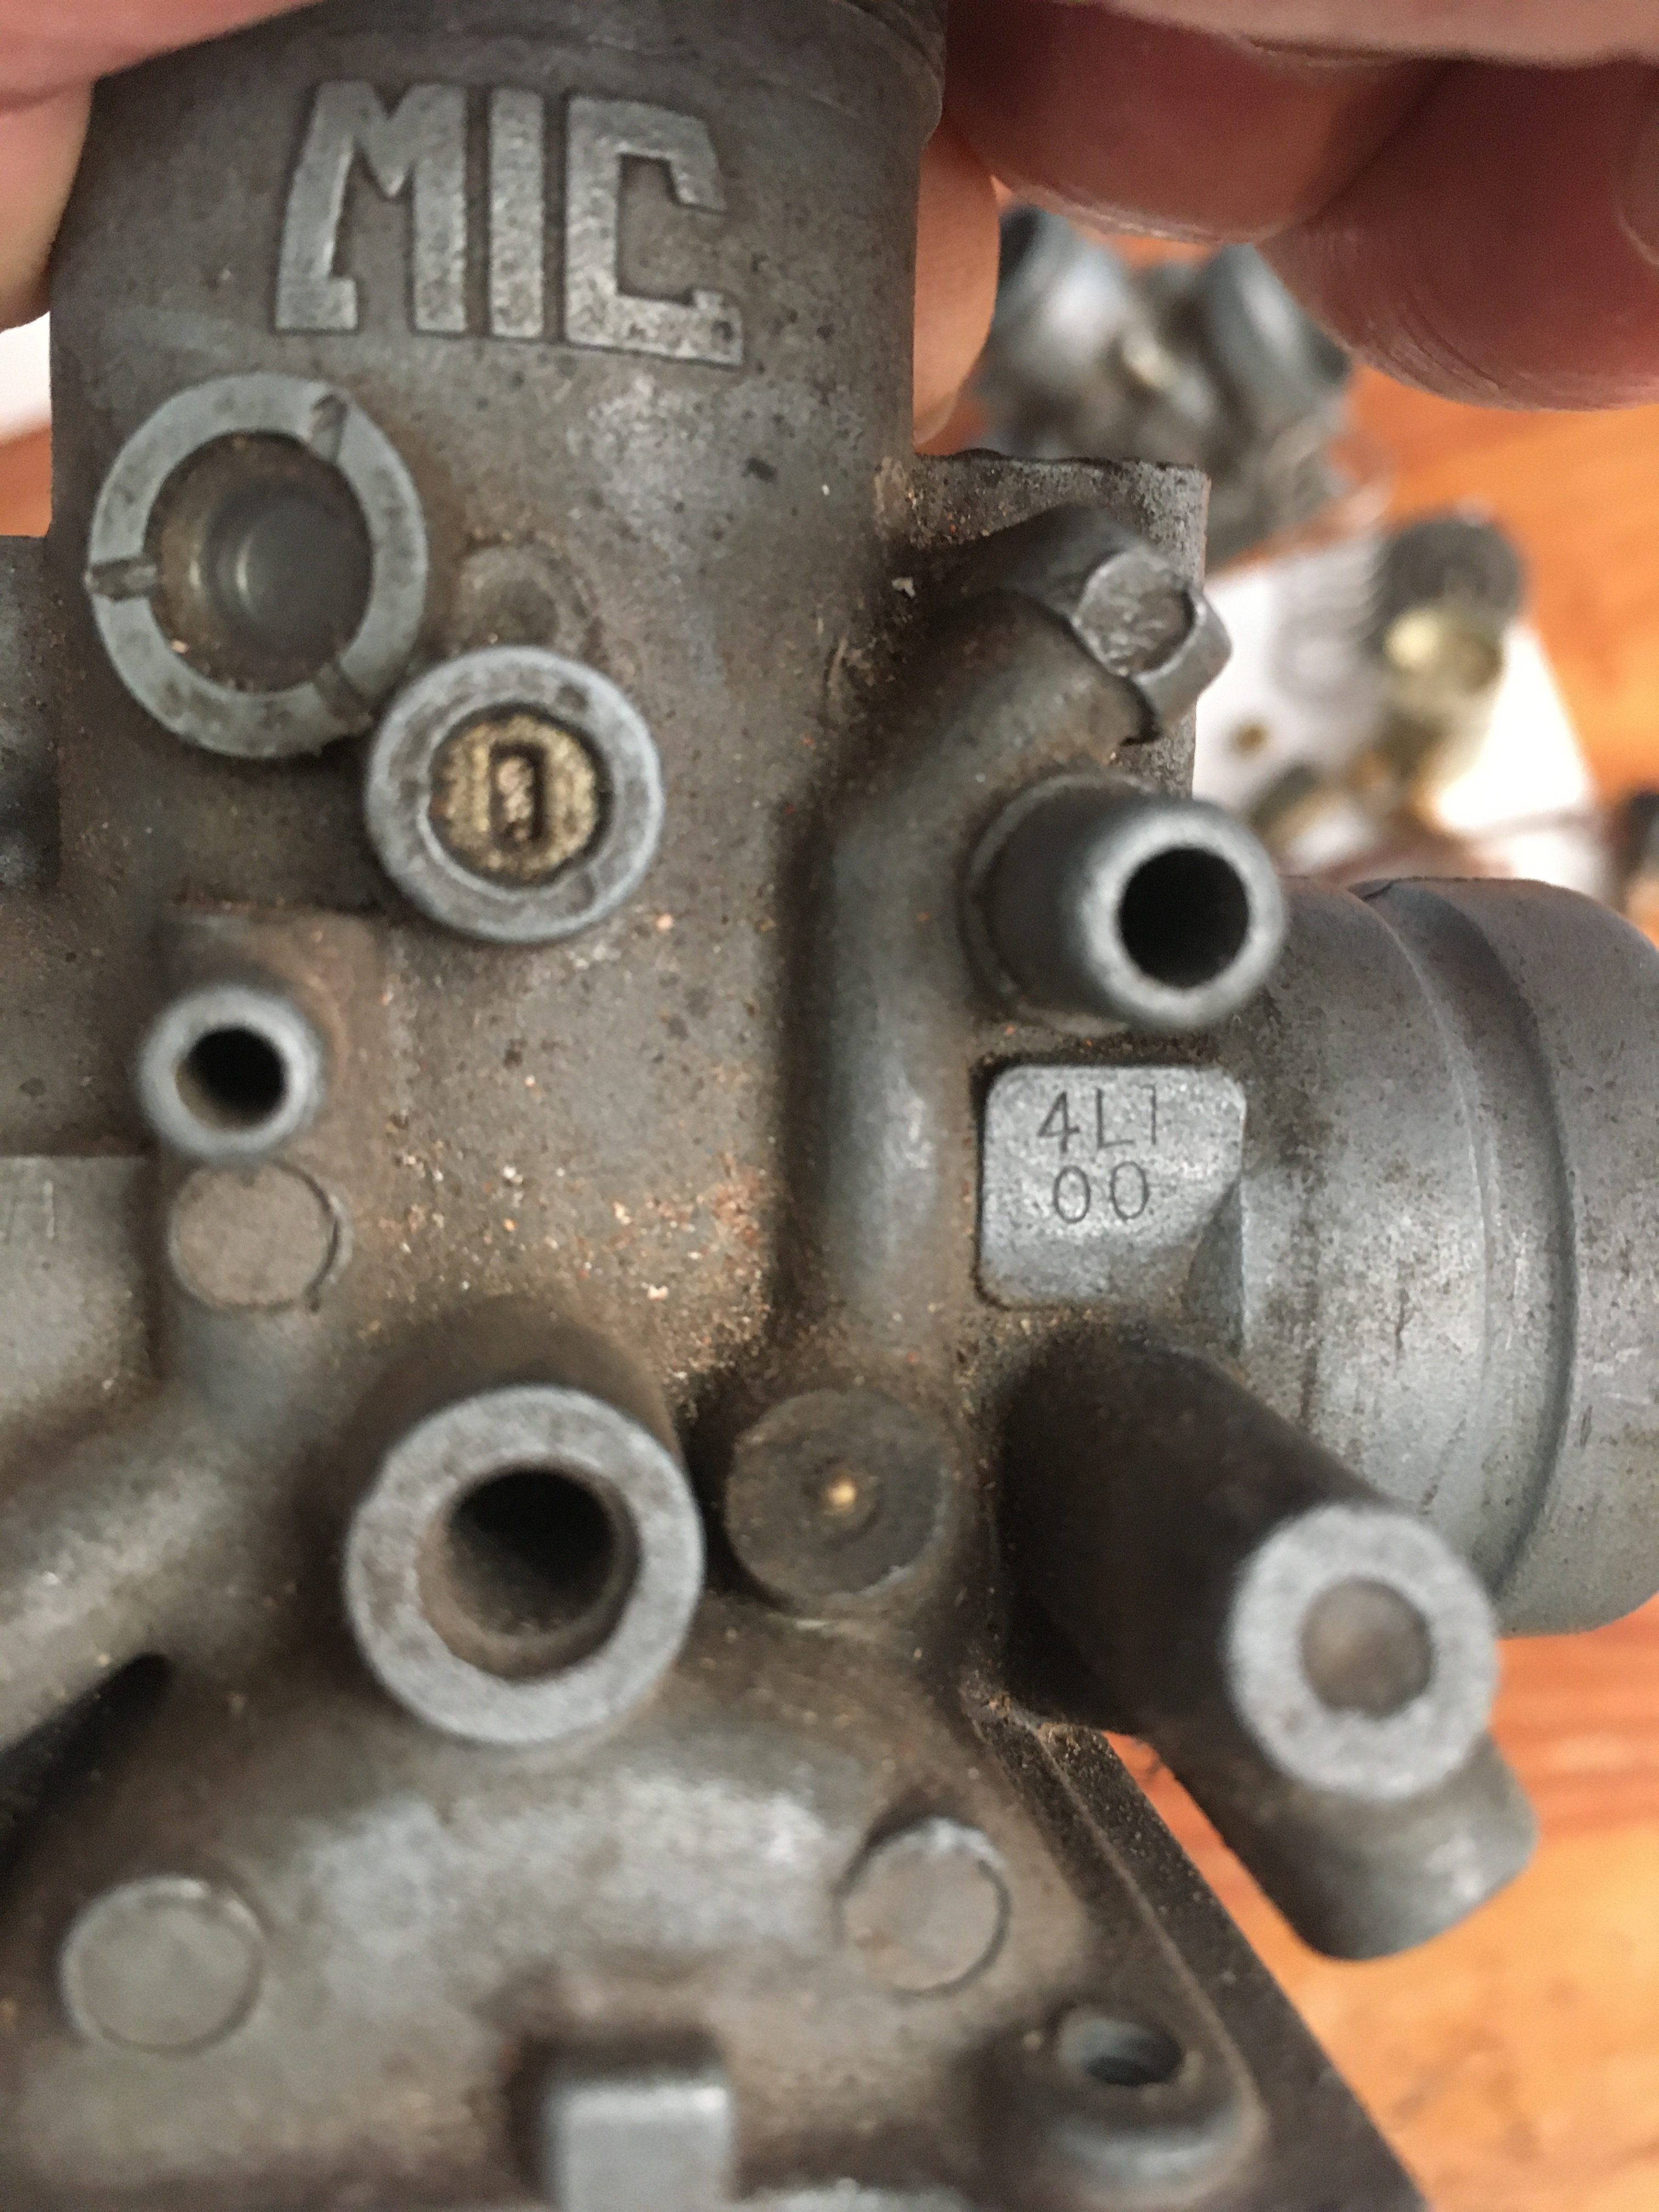
- Two pairs of 4L1-00 original 1980 250 carbs.
- One pair of 4L0-01 updated 1981 350 carbs
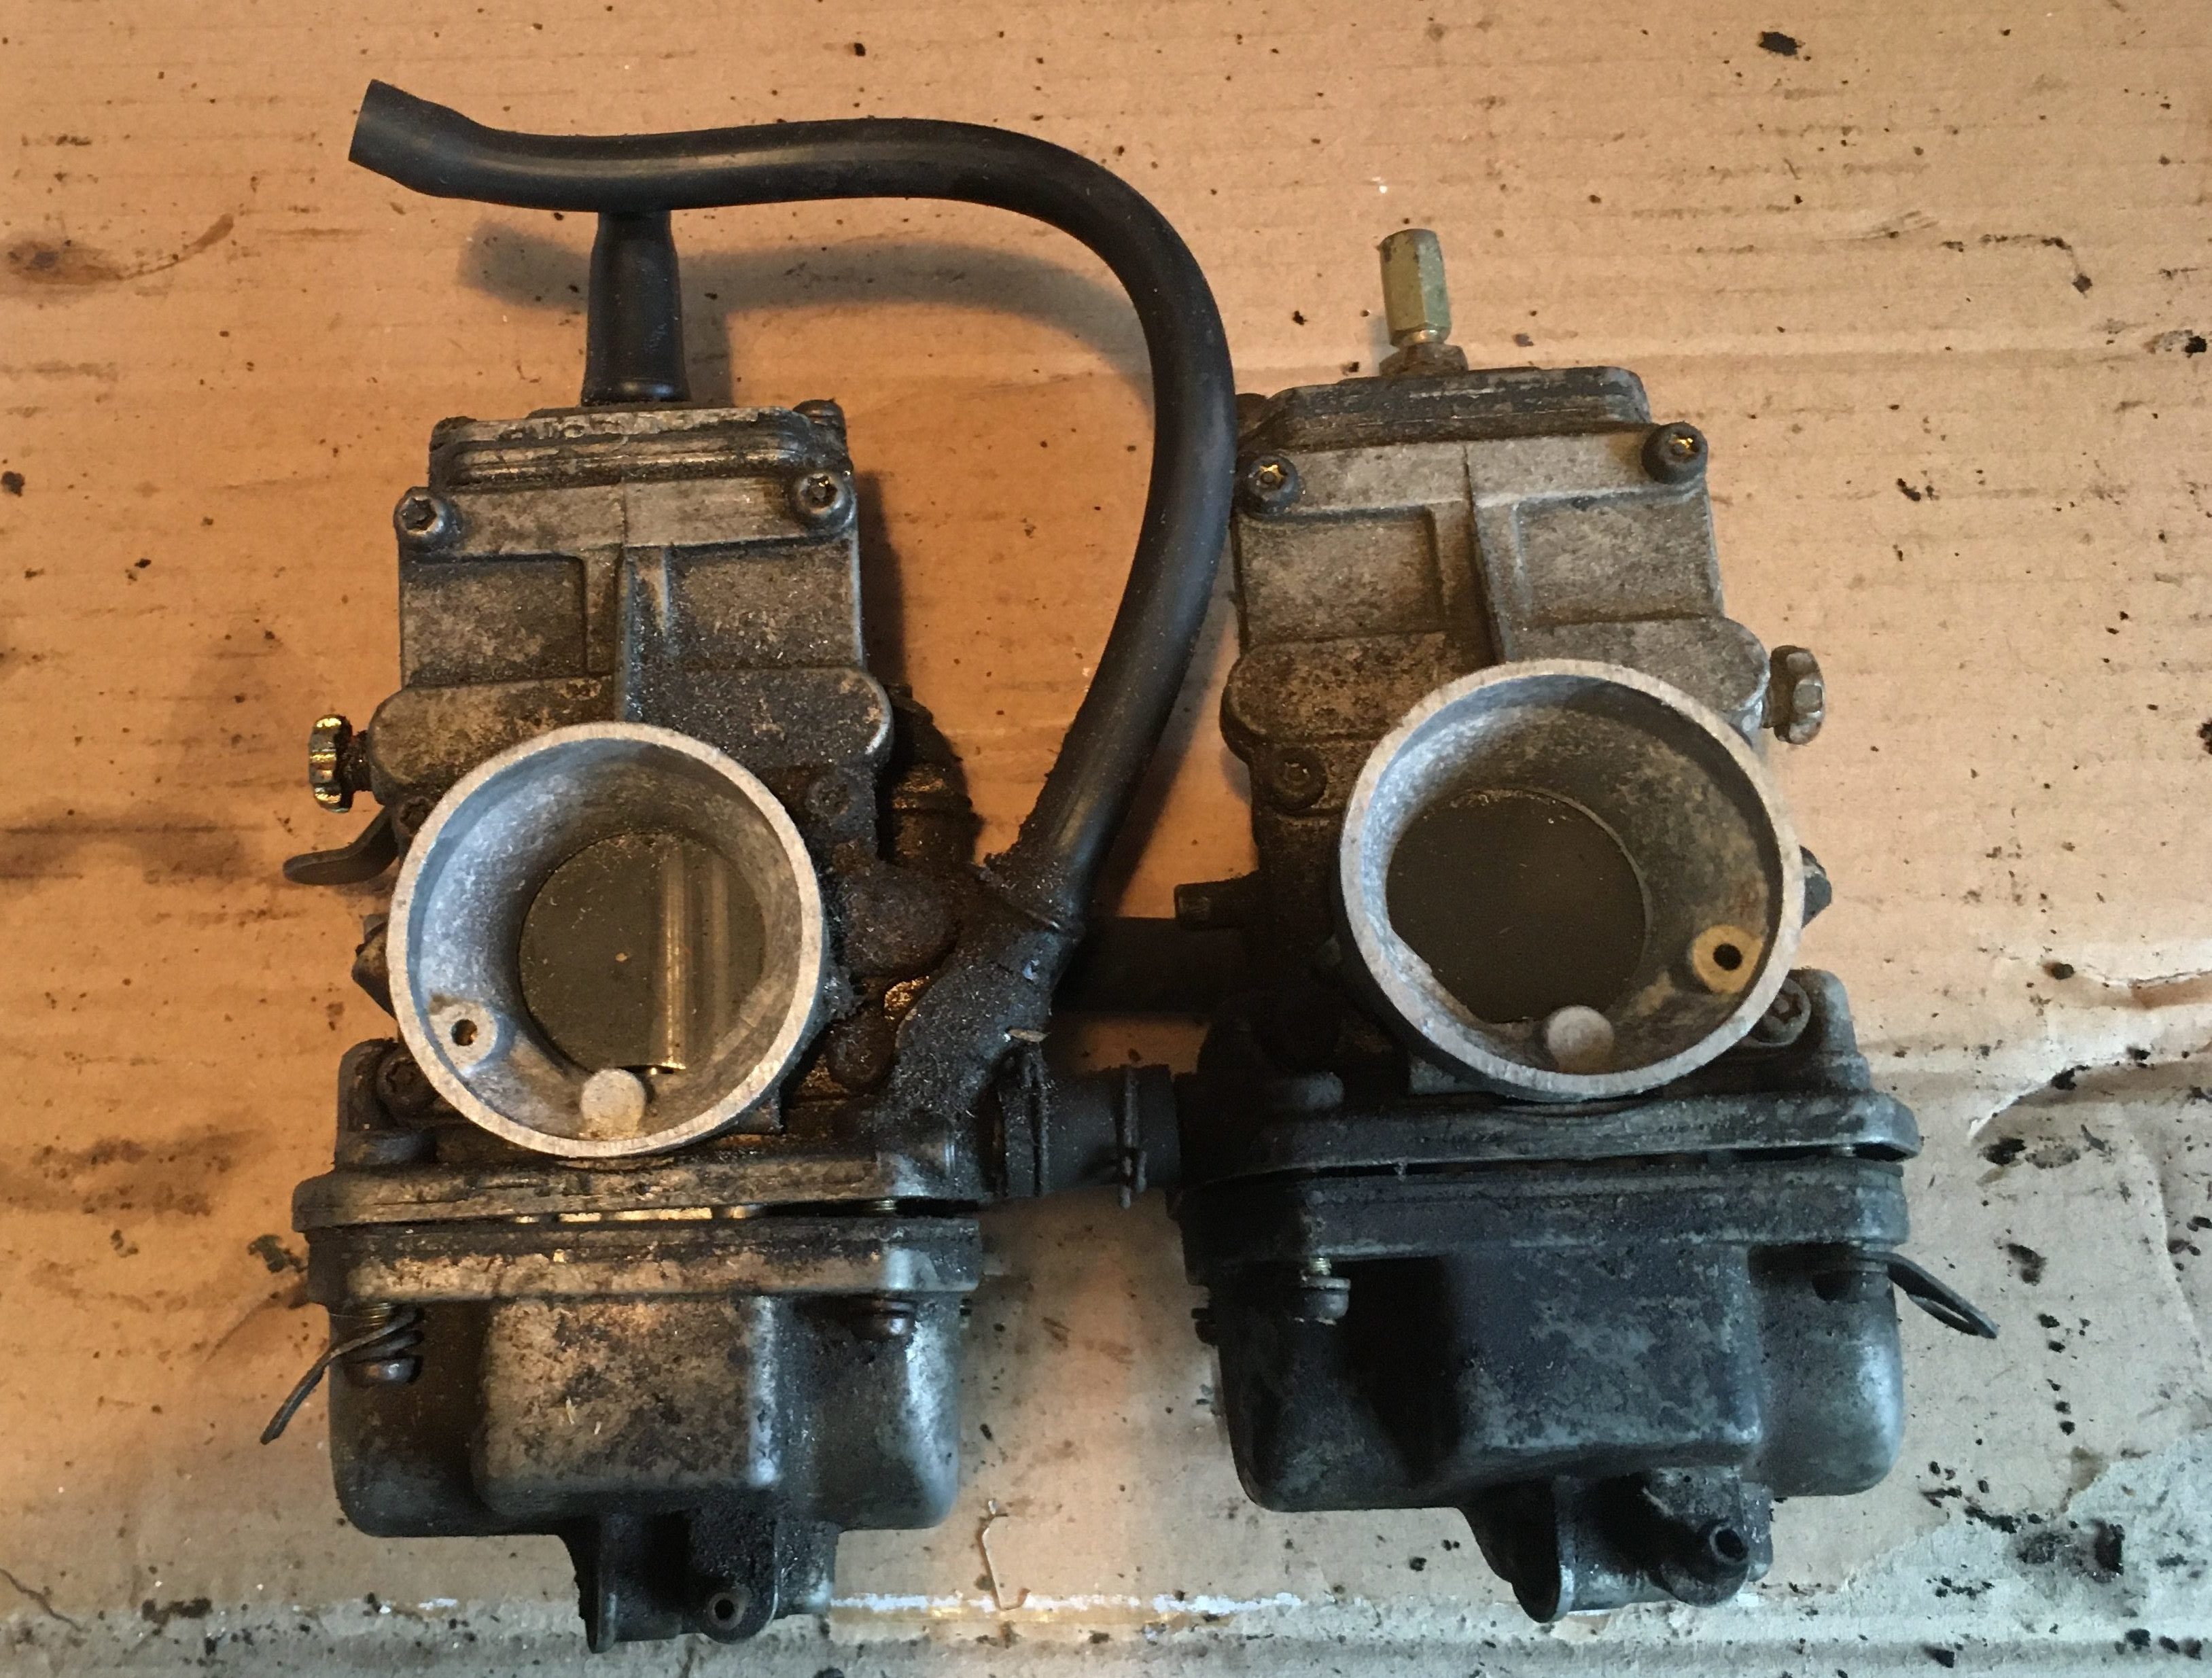
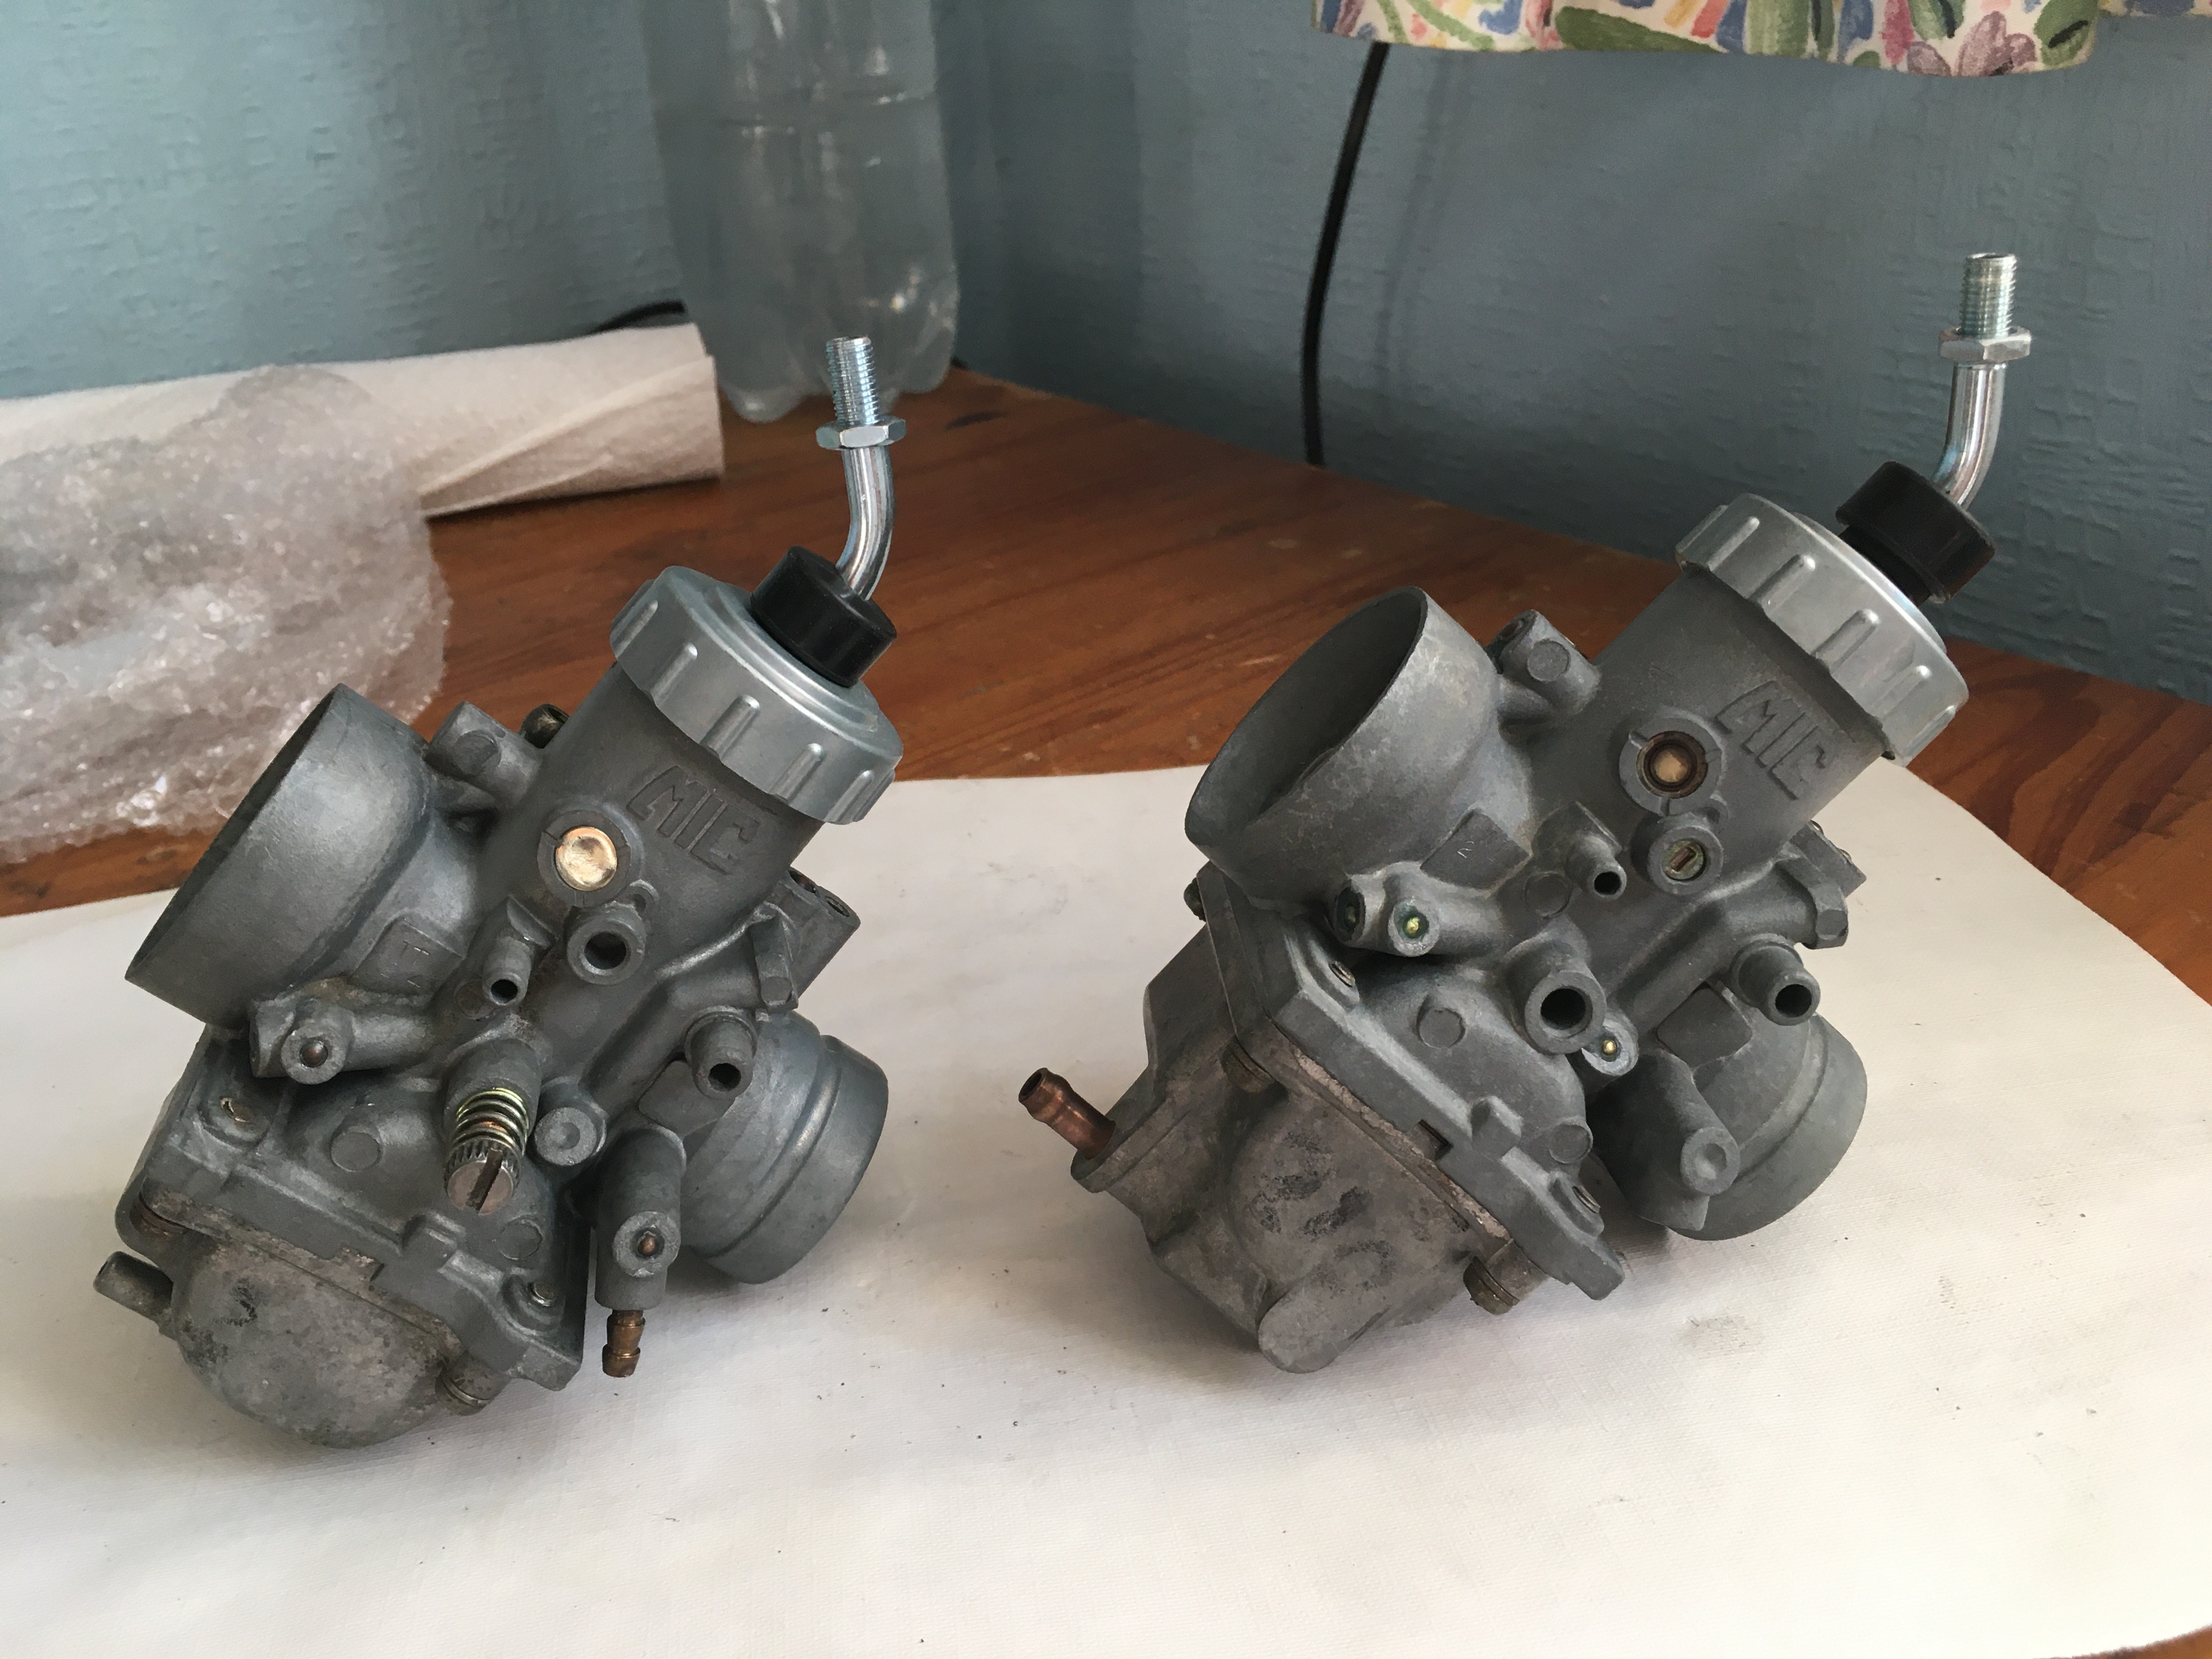
I have selected the least filthy set of 4L1-00 carbs to use.
Out of all the carbs, and spares, and boxes of bits which I have, I found precisely 1, (one), genuine LC carb top and that is missing the 45 degree angles cable guide.
Genuine carb tops seem to be made from unobtanium, and the 45 degree inserts are very expensive, (for what they are), largely driven by supply and demand i should have thought rather than profiteering.
It would be useless to invest the money in the angled guides if I don’t have a pair of carb tops to go with them. ebay was bare, so I needed another solution, beyond just using two of the many many aircooled RD carb tops I have along with stacked adjusters or some copper piping, as I have in the past.
While browsing ebay for parts, I came across some extremely cheap carbs marked…
Carburettor Carb For Yamaha DT100 RT100 DT125 RT180 DT175 BW200 YZ80 YZ85 Carb.
or
Yamaha DT125 1979-198 Carburettor Carburettor Carb Complete DT 125
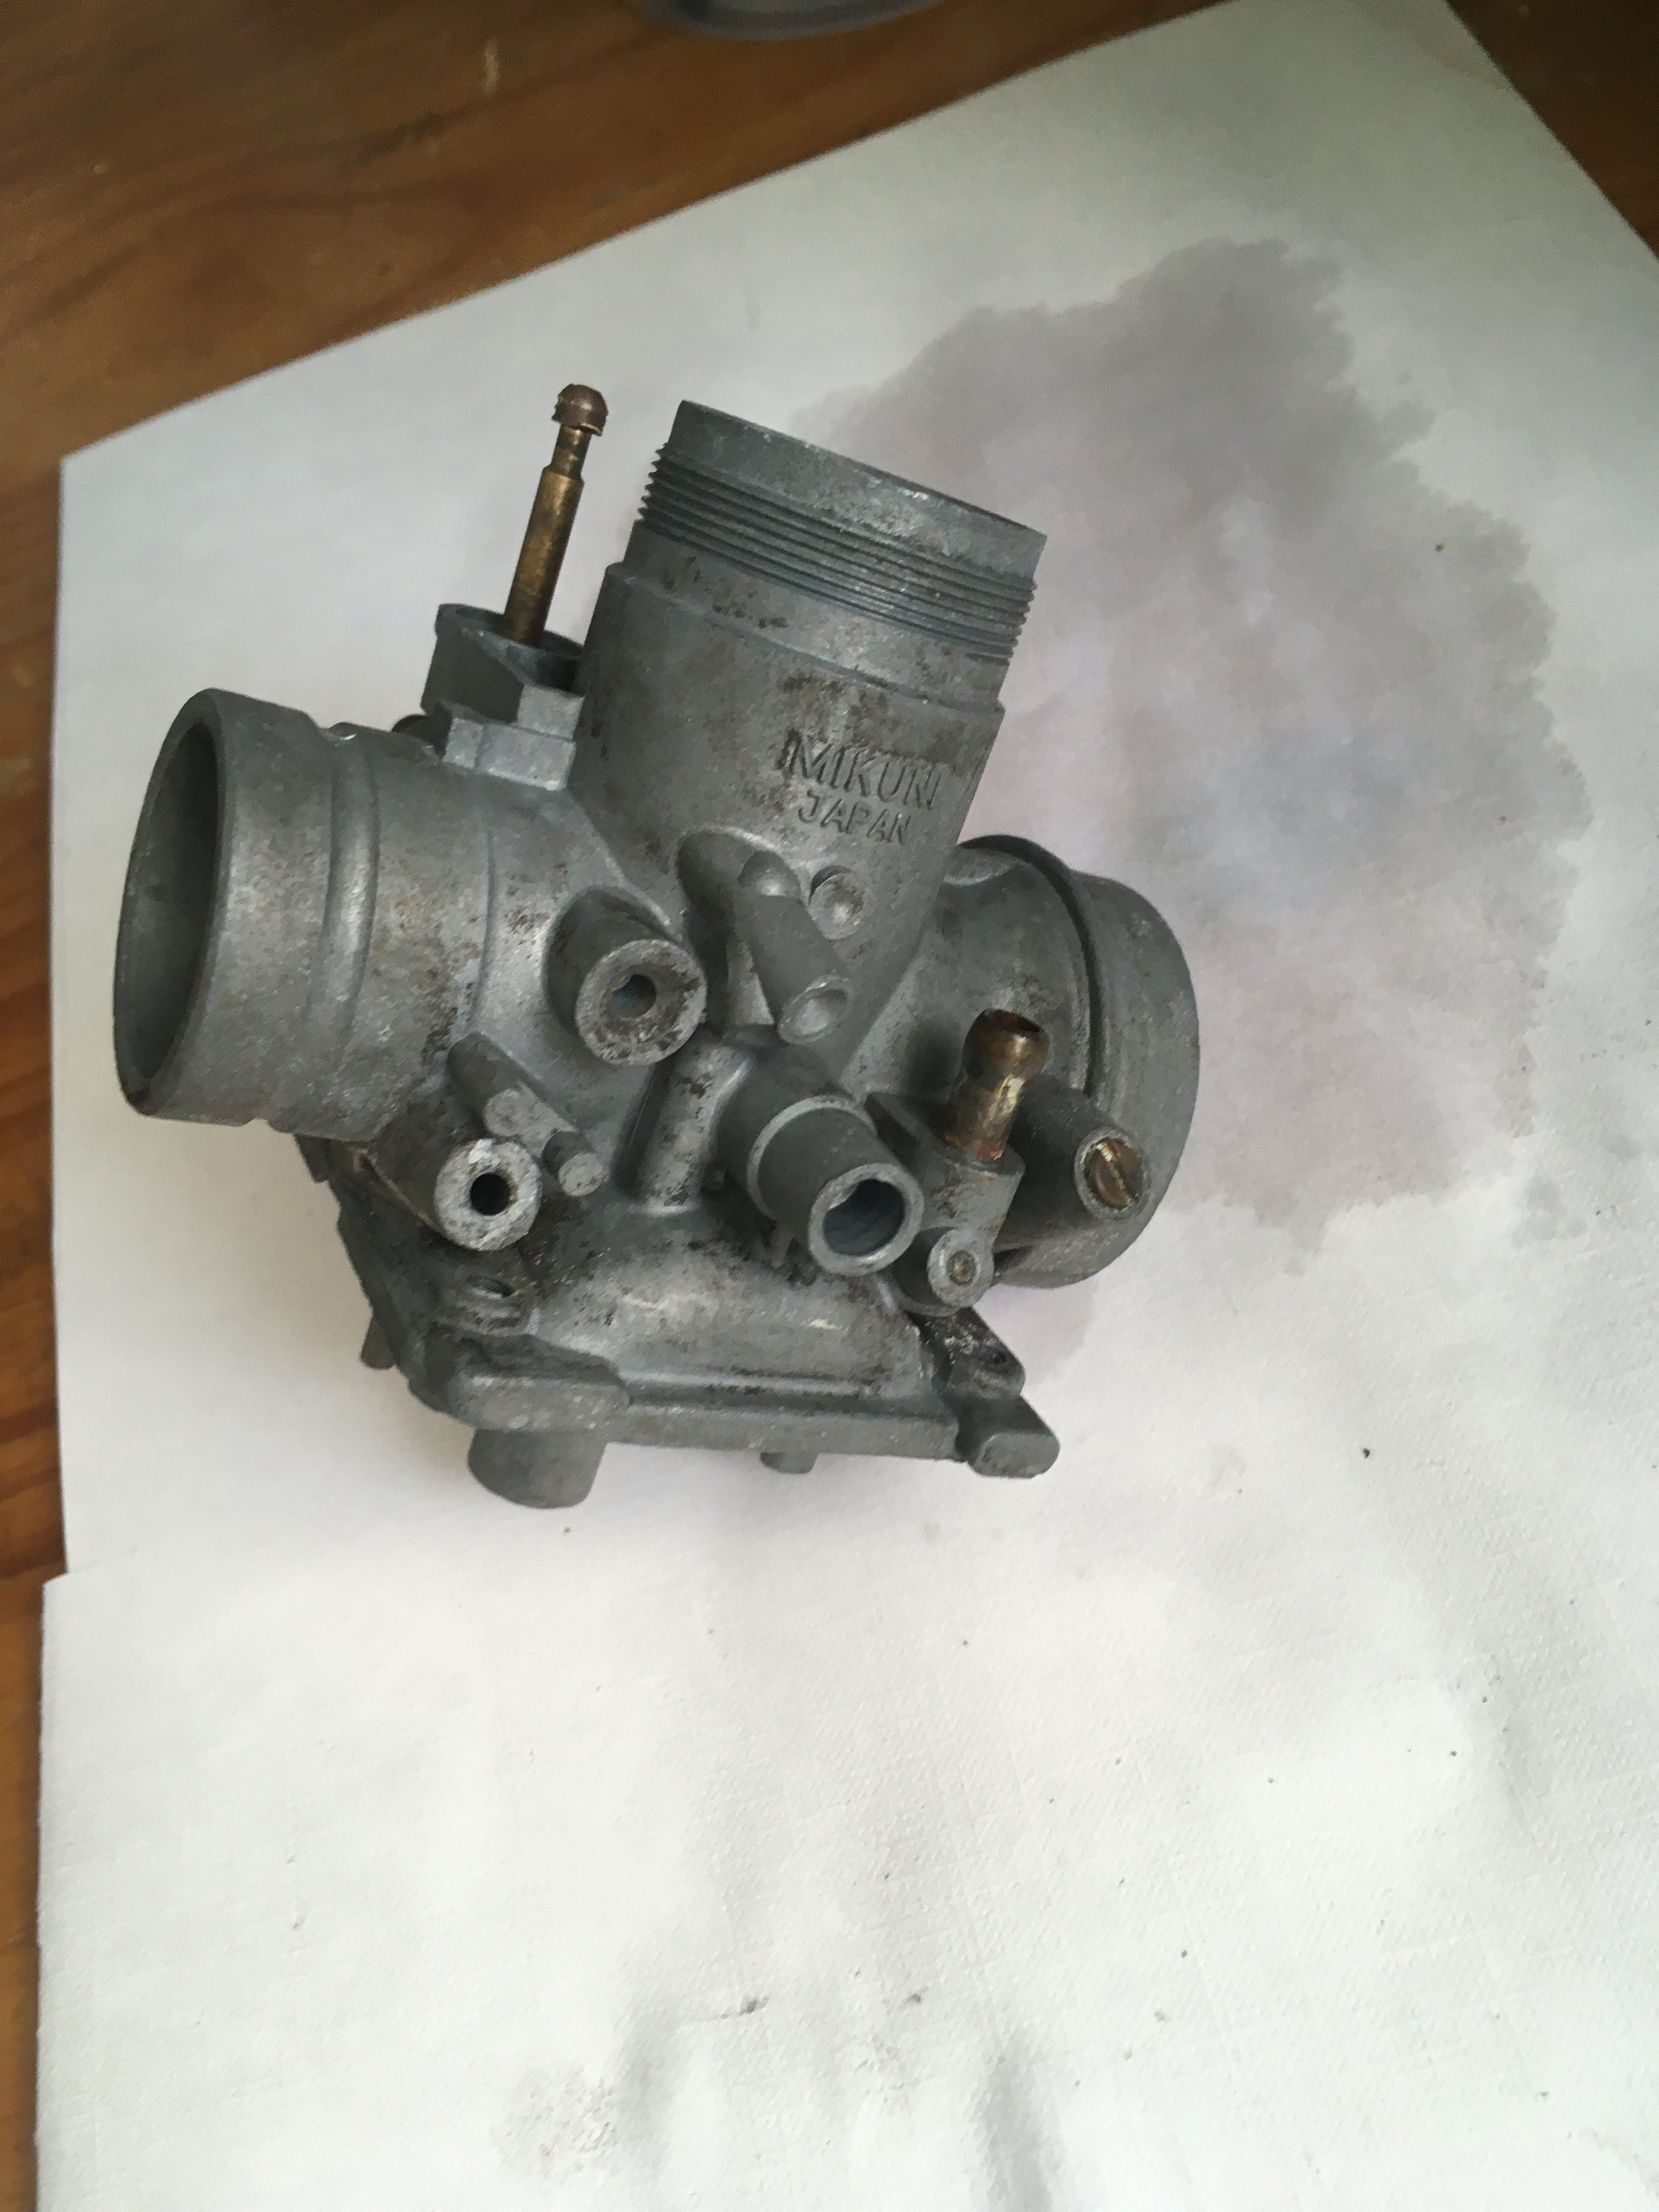
…which seemed to be a Mikuni 28mm copy.
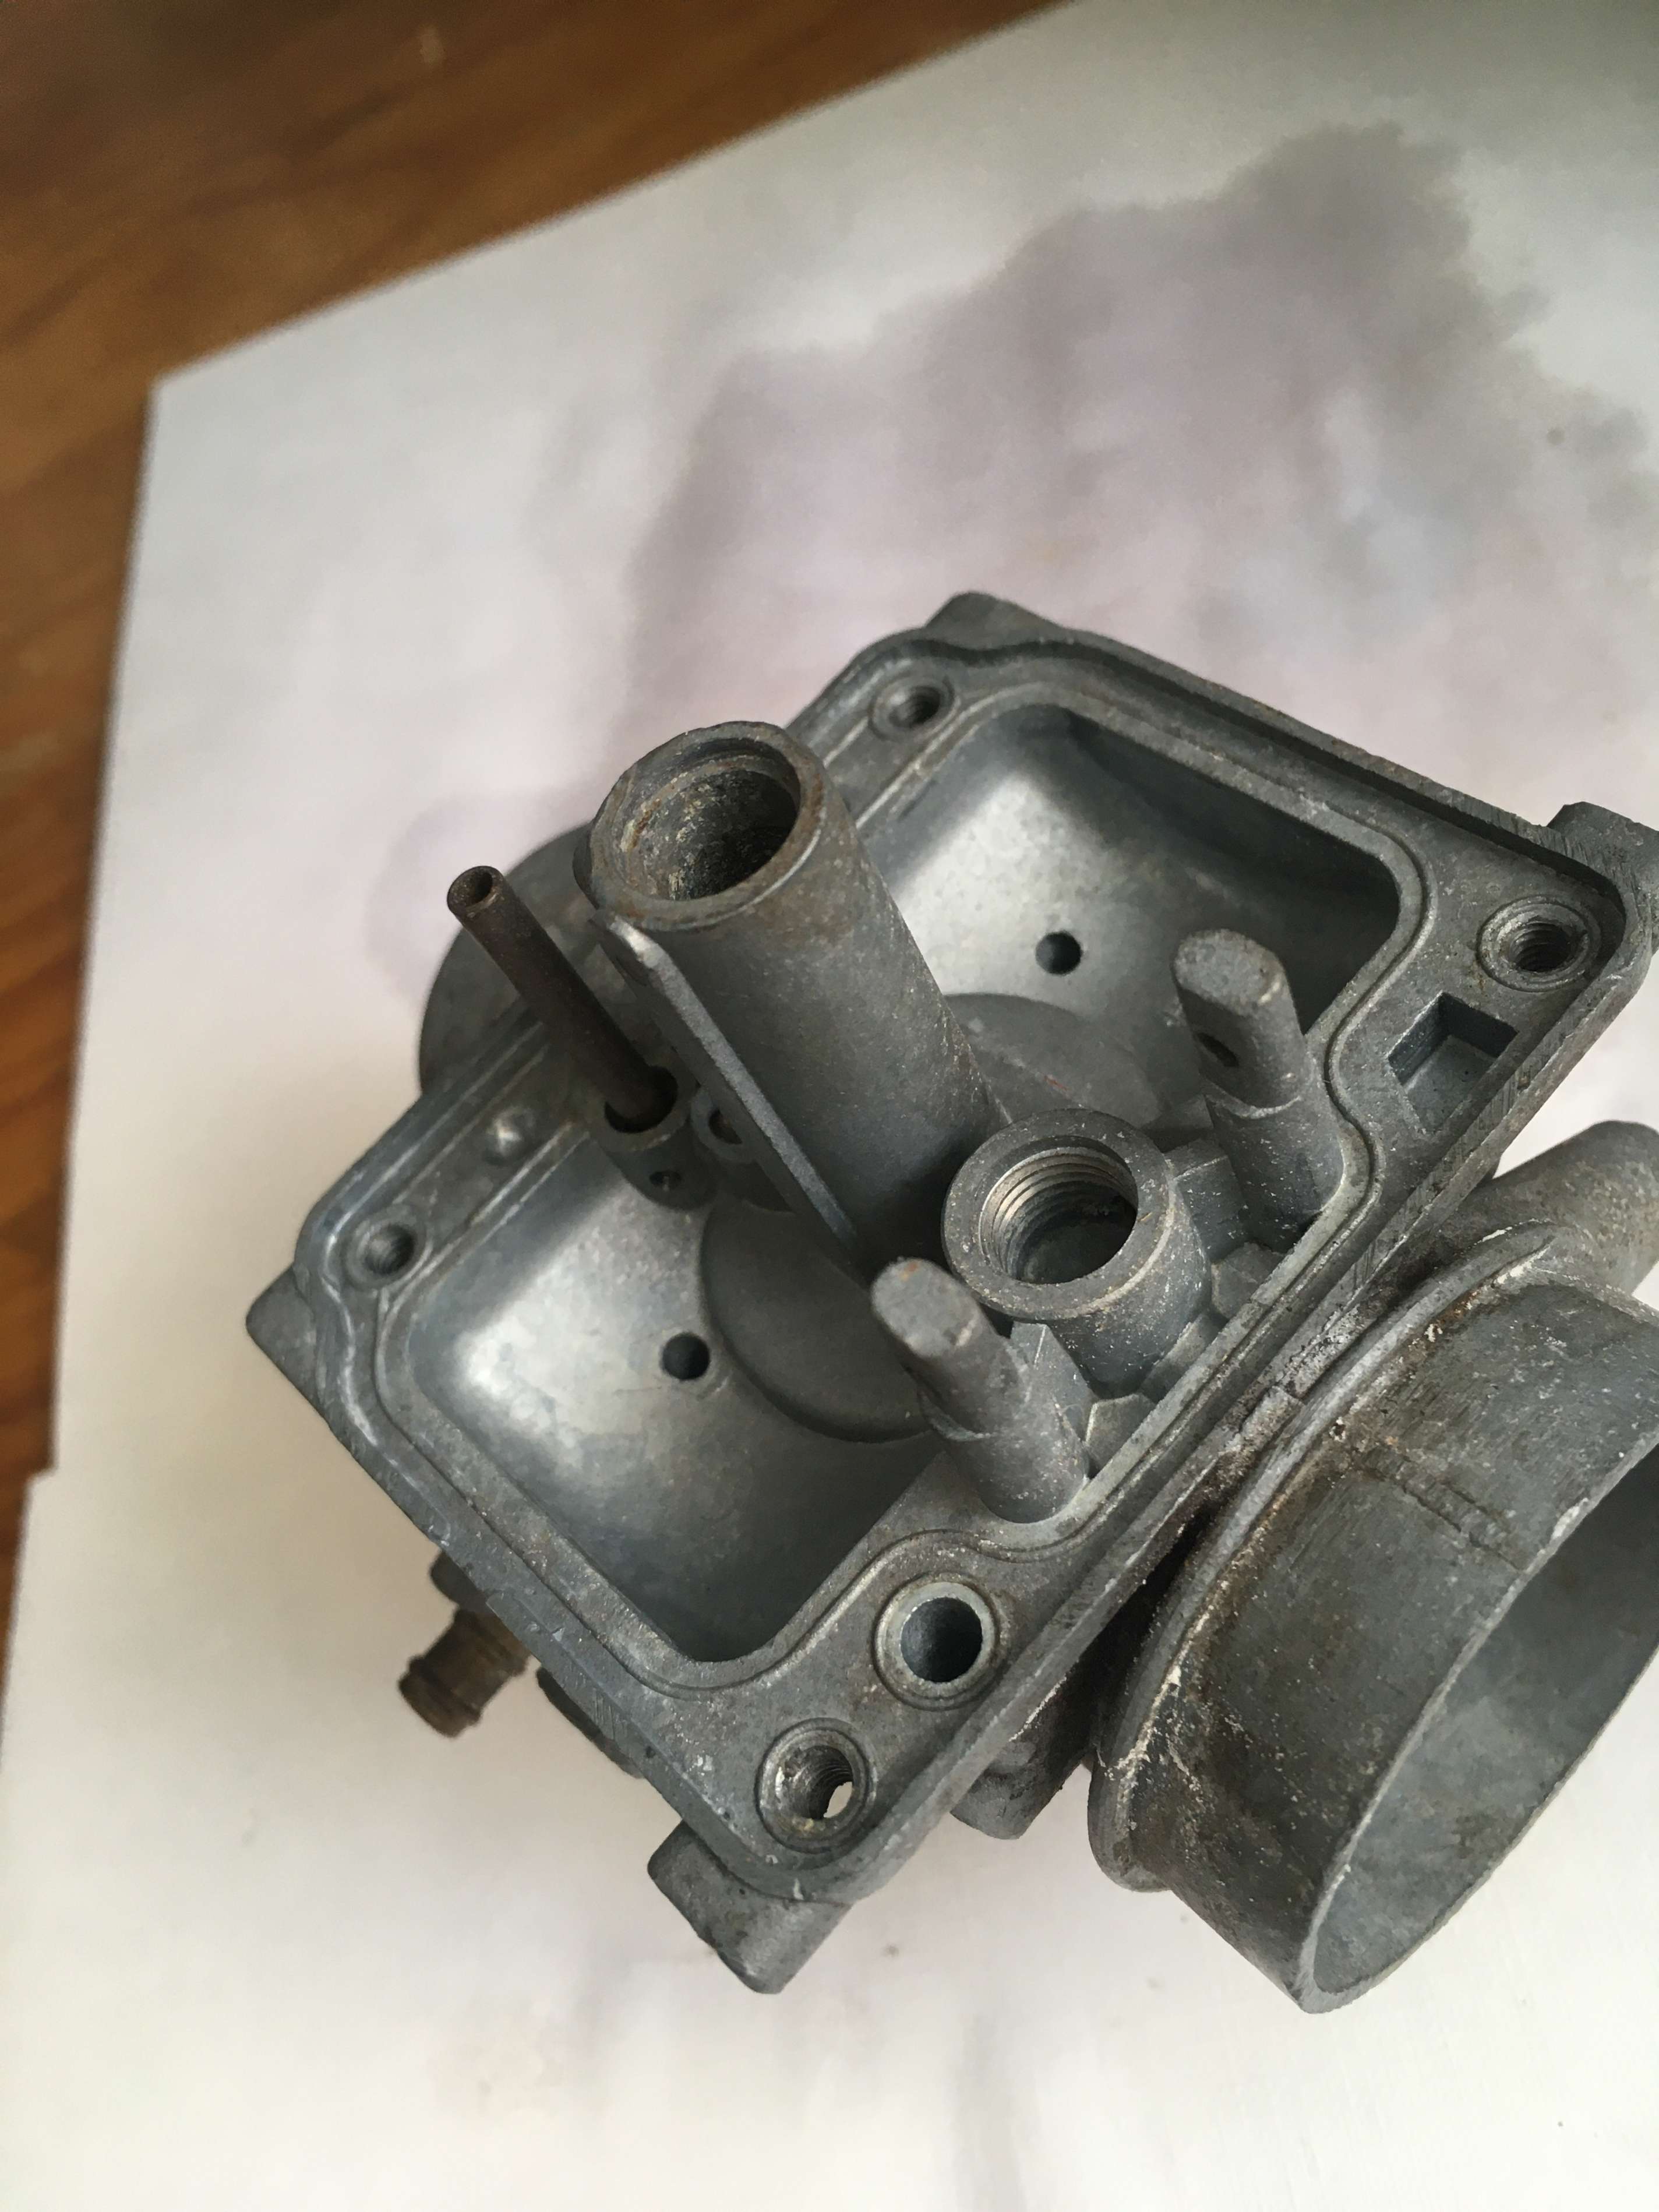
Clearly made in China, they did have tops with a angled cable guide, so I gambled and bought a pair, reasoning that even if they were useless, I could rob them for parts.
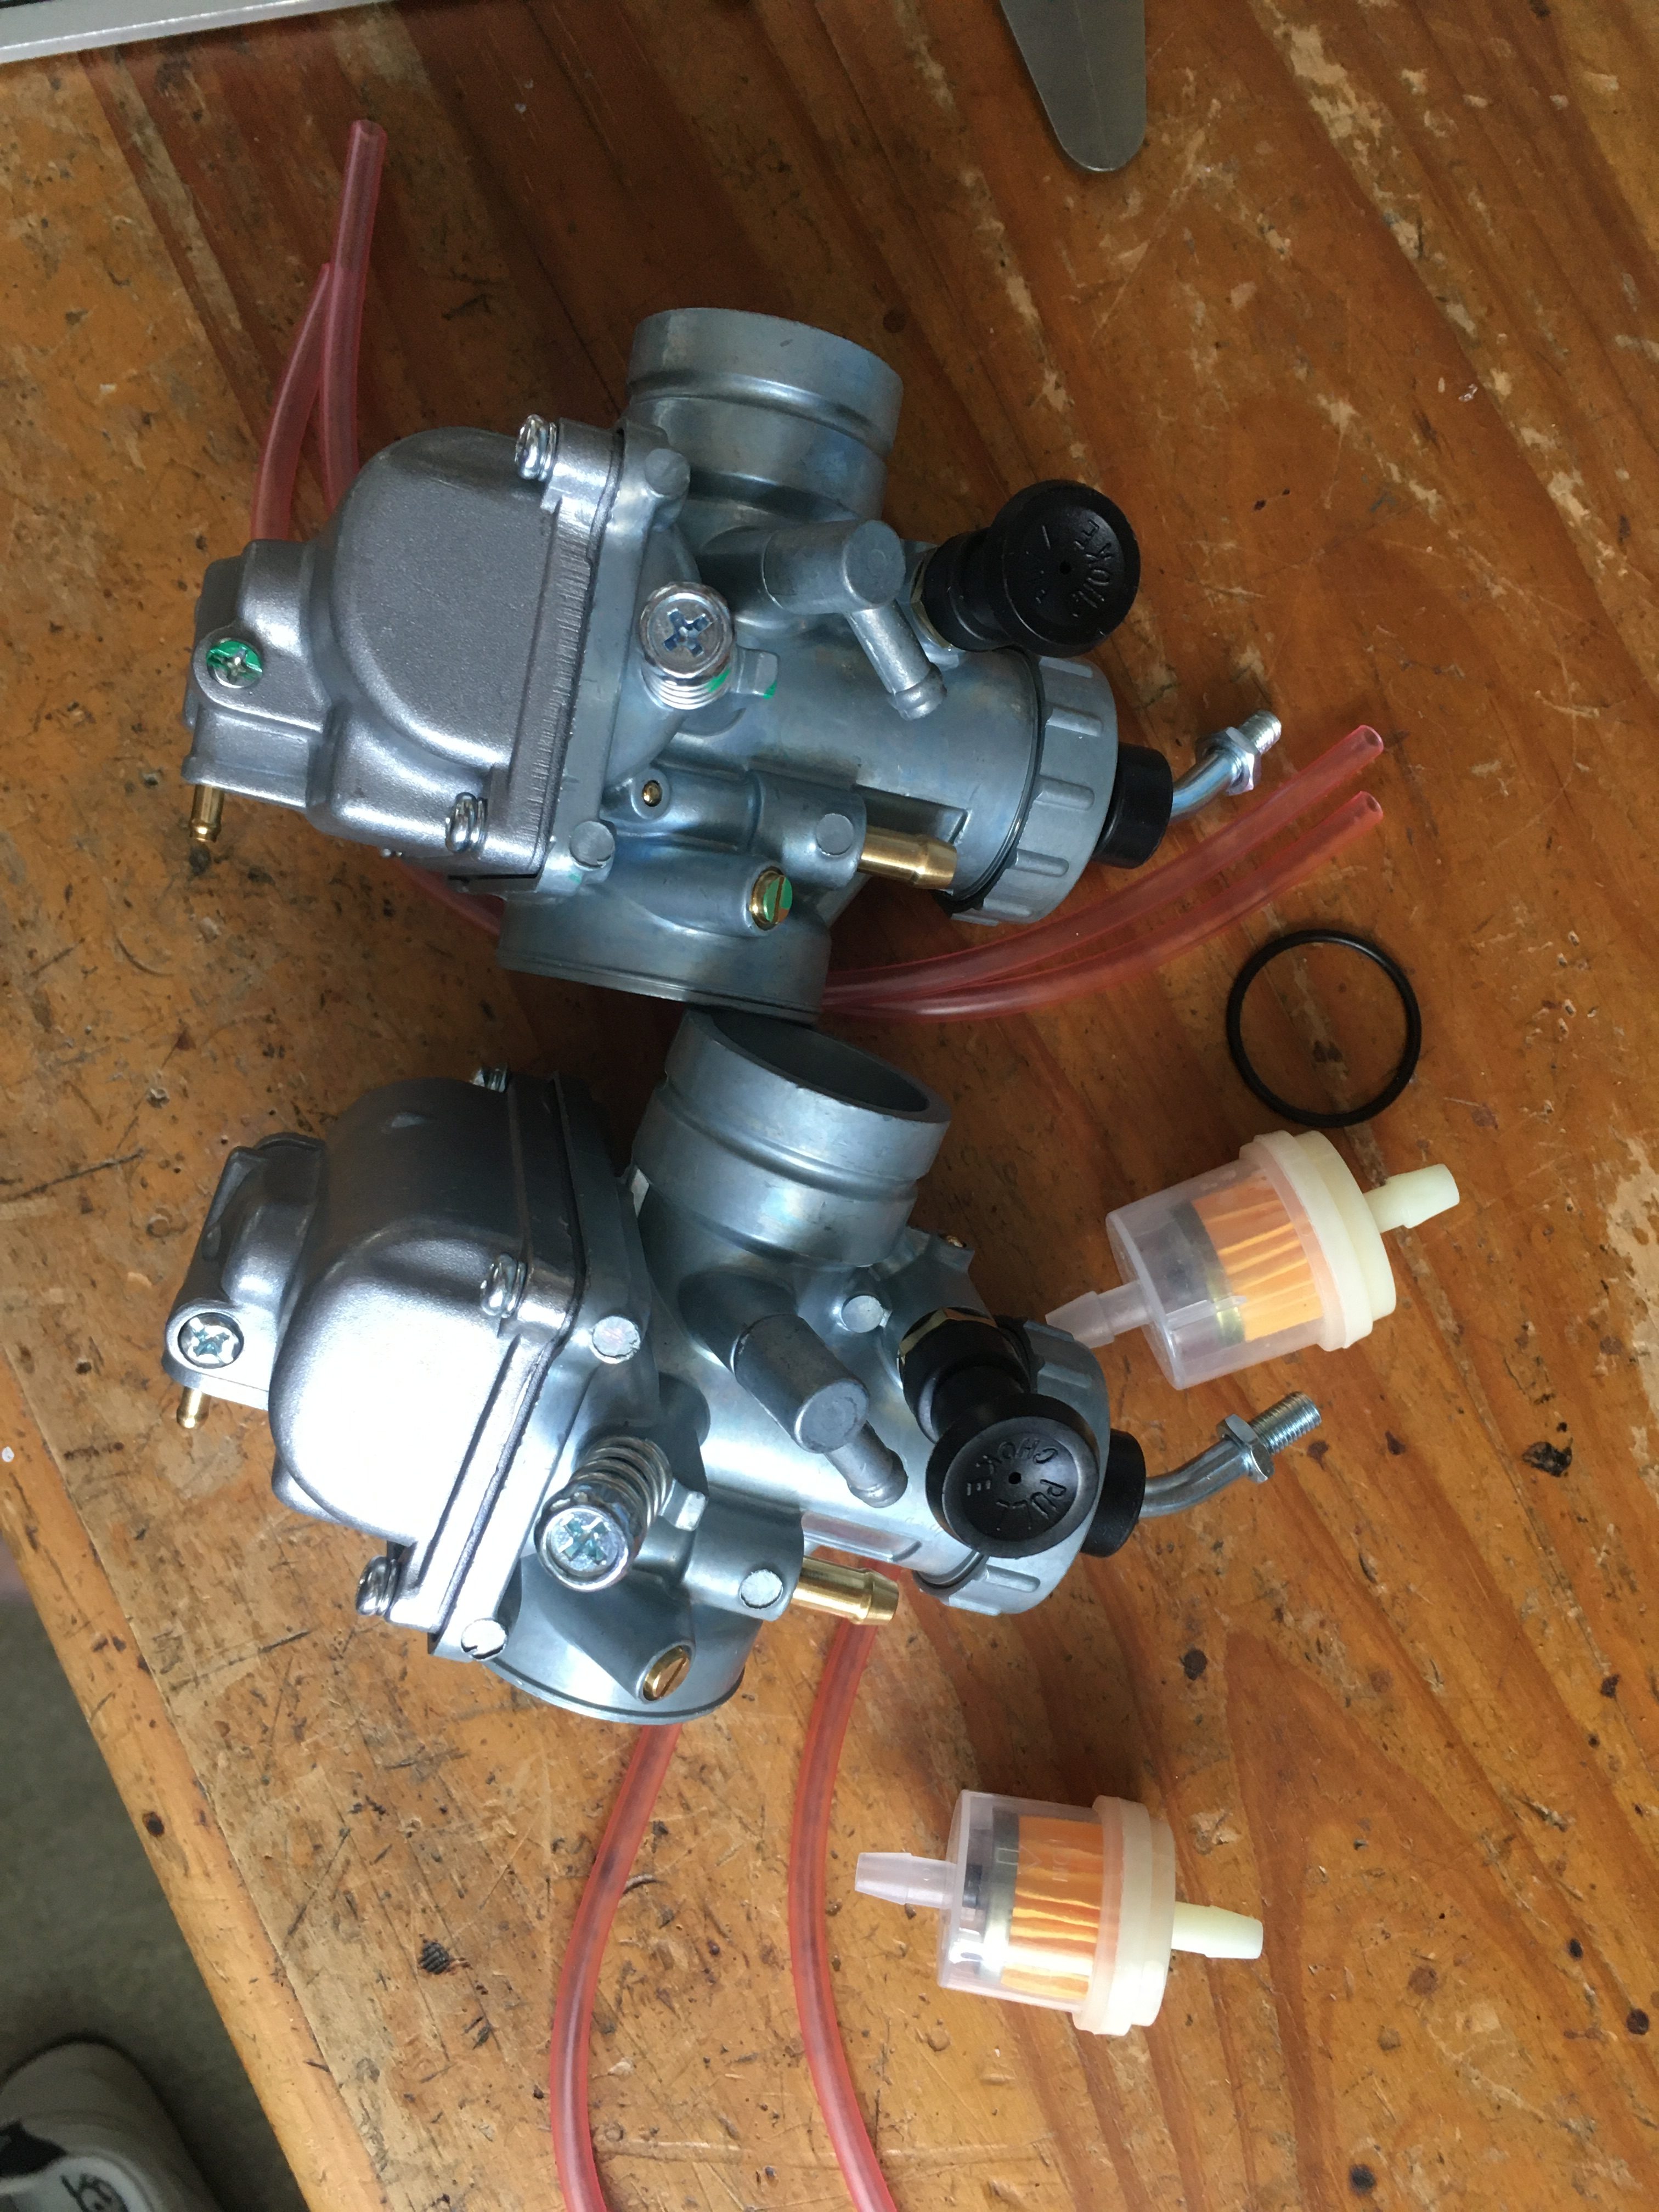

They come with an inline fuel filter, which given the state of my fuel tanks may be useful, and 2 lengths of pink fuel drain pipe.
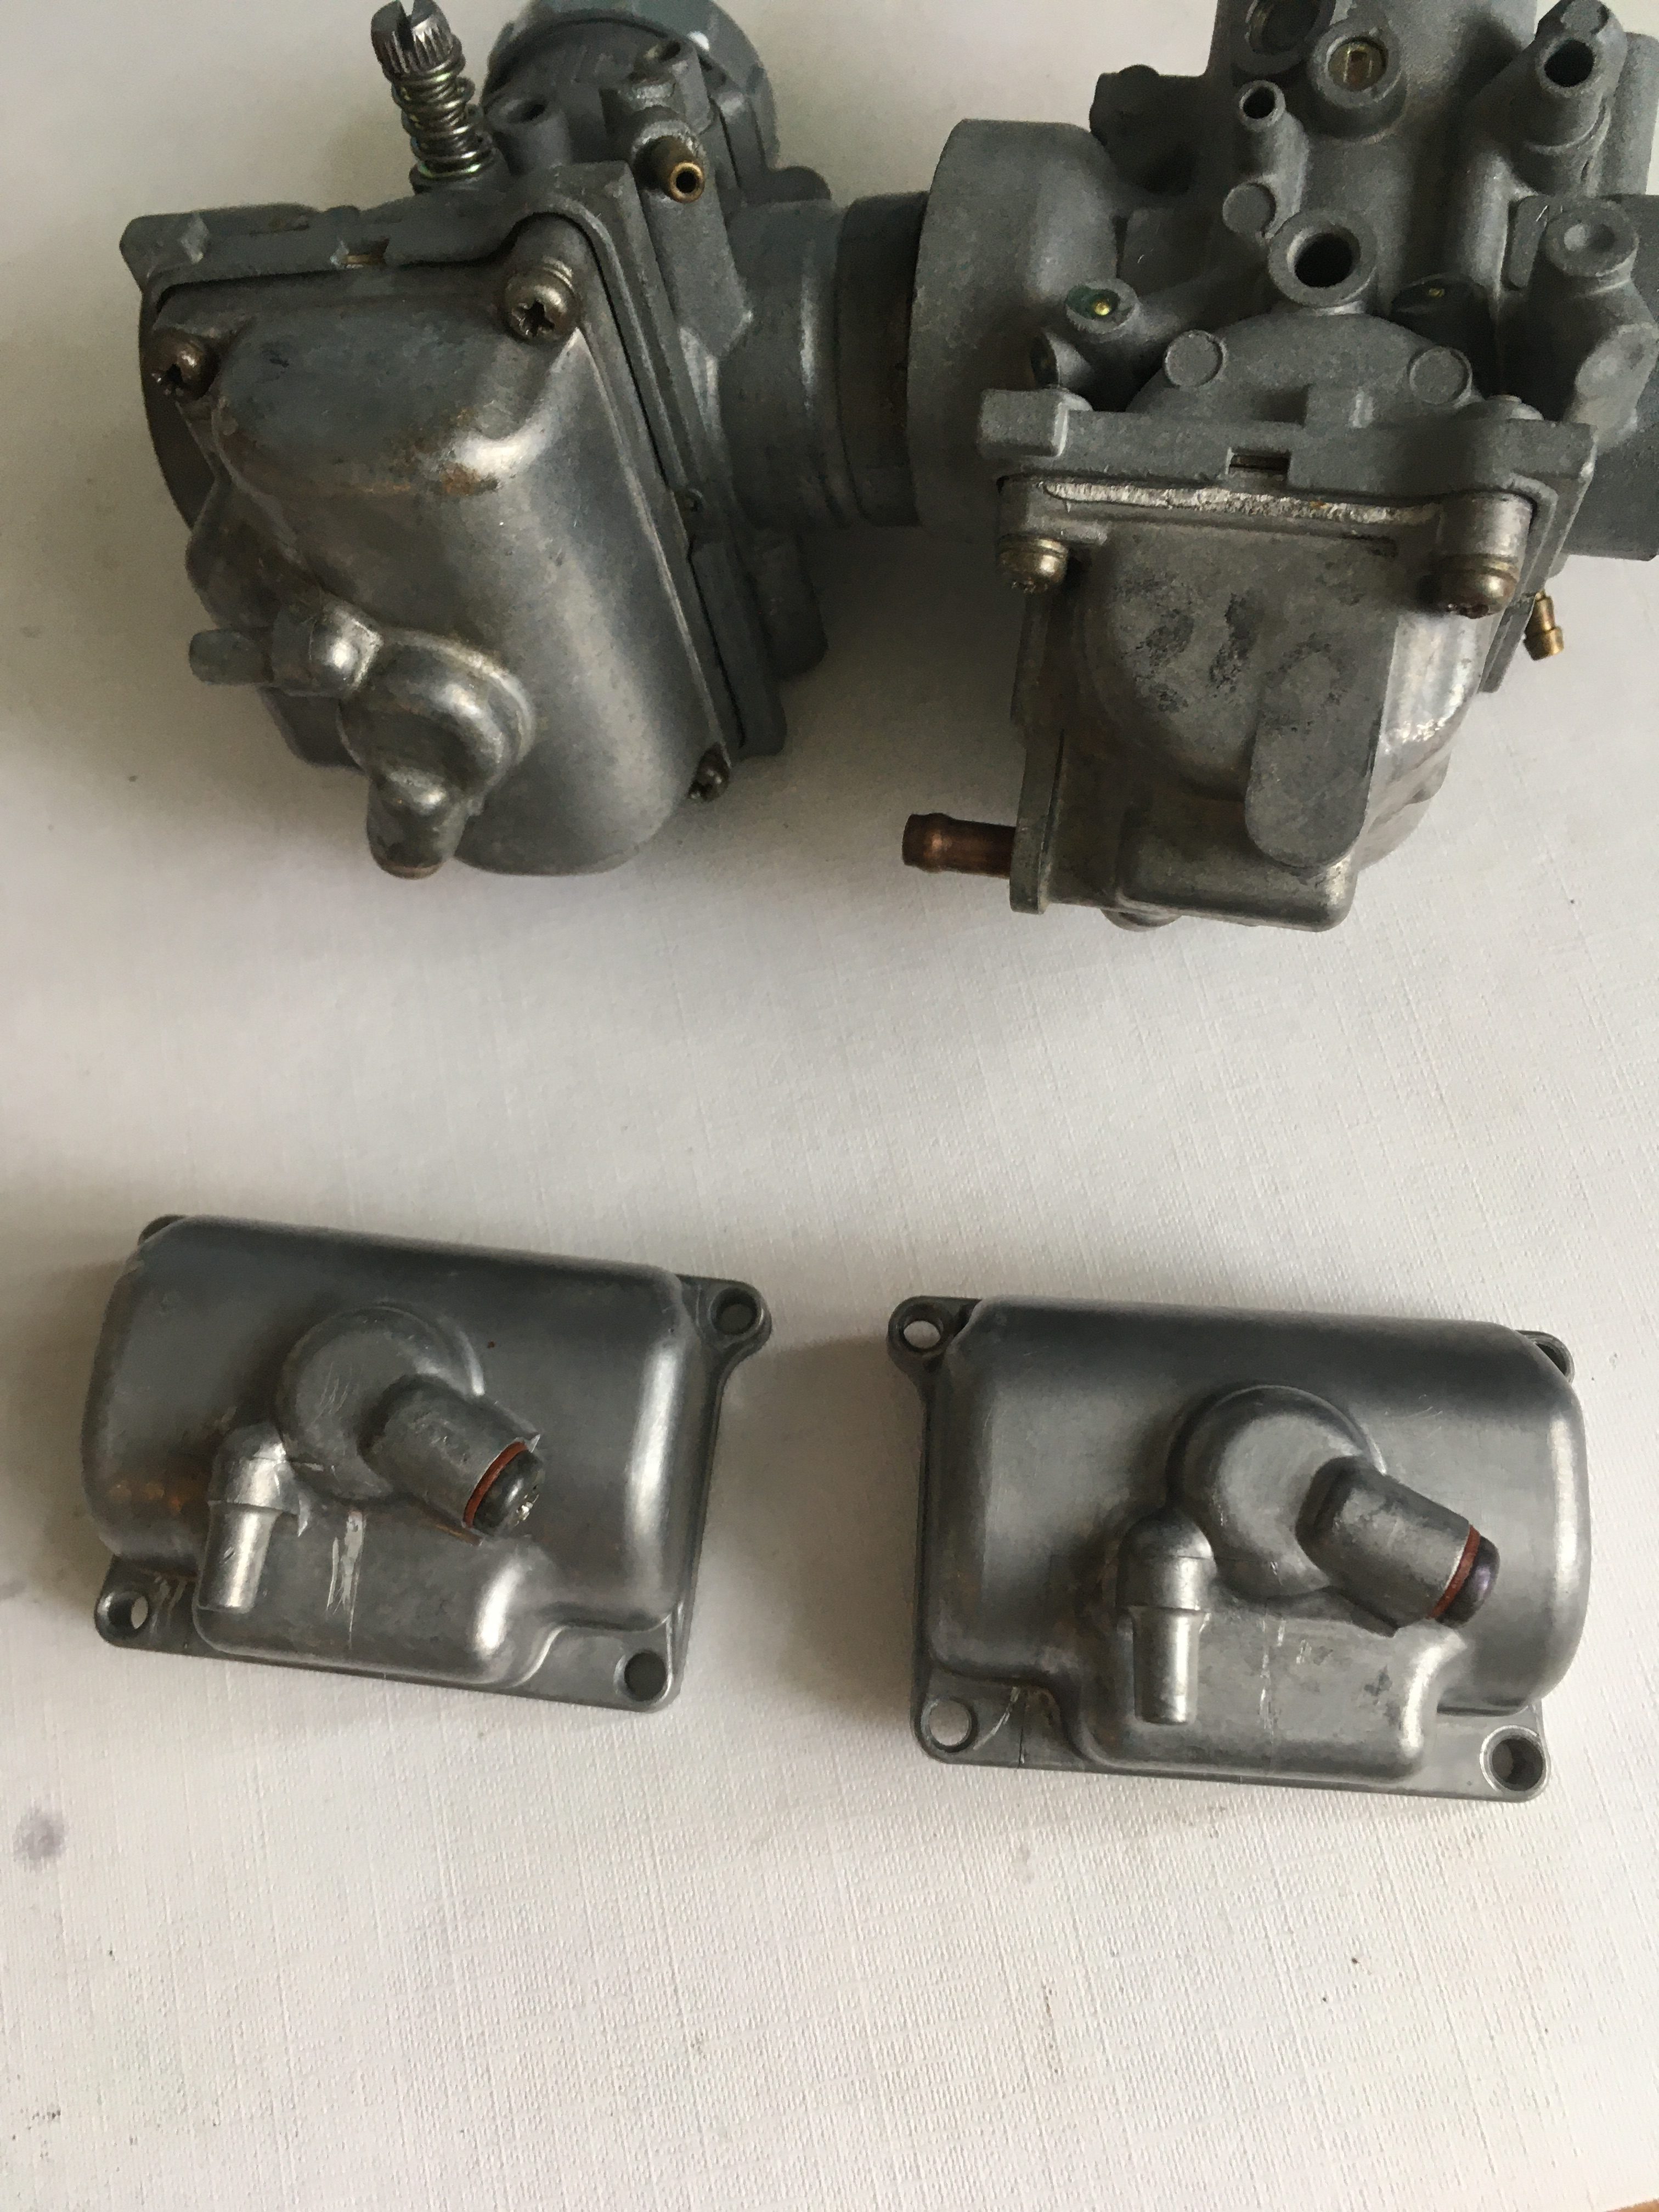
The tops, for which I bought them, fit onto the LC carbs, but the guide tubes are hard fitted into the holes rather than retained with a circlip like the real thing.
They are shorter than LC carbs, so the slide is useless, the needle is a slightly different profile to a standard LC one, and the float bowls have holes, pipes and jets in the wrong places to be of any use.
The floats might work, but the float needle seat is shrink fitted to the carb body so no o-ring and retainer.
i’m not going to trust the main jets, and the pilots are of a totally different design.
The choke is a bit stiff, but fits onto the LC carb body, and appears to seat properly.
So all told, buying two of these horribly low quality items was probably a waste of money, however I DID get the two tops, and a pair of in-line fuel filters, at a cost less than one LC carb top cable guide, so I have something which will at least LOOK right on the carbs when I rebuild them.
I’m also going to use the choke mechanism, and of course I have a pair of brand new float chamber gaskets which fit fine.
NOTE: i’ve just checked ebay again for these things, and the price has more than doubled, (from £15 to £38), in the past 2 months since I bought them, which throws the whole VFM equation out of the window.
Still, I hope this evaluation and pics of the inside helps someone.
Now to cleaning!
I set to, scrubbing with a toothbrush and a paraffin bath, but made little progress, although I did manage to remove much of the surface filth.
I don’t have a vapour blaster… and funds are running low for just sending stuff off for blasting, as much as I’d like to, so I made an investment.
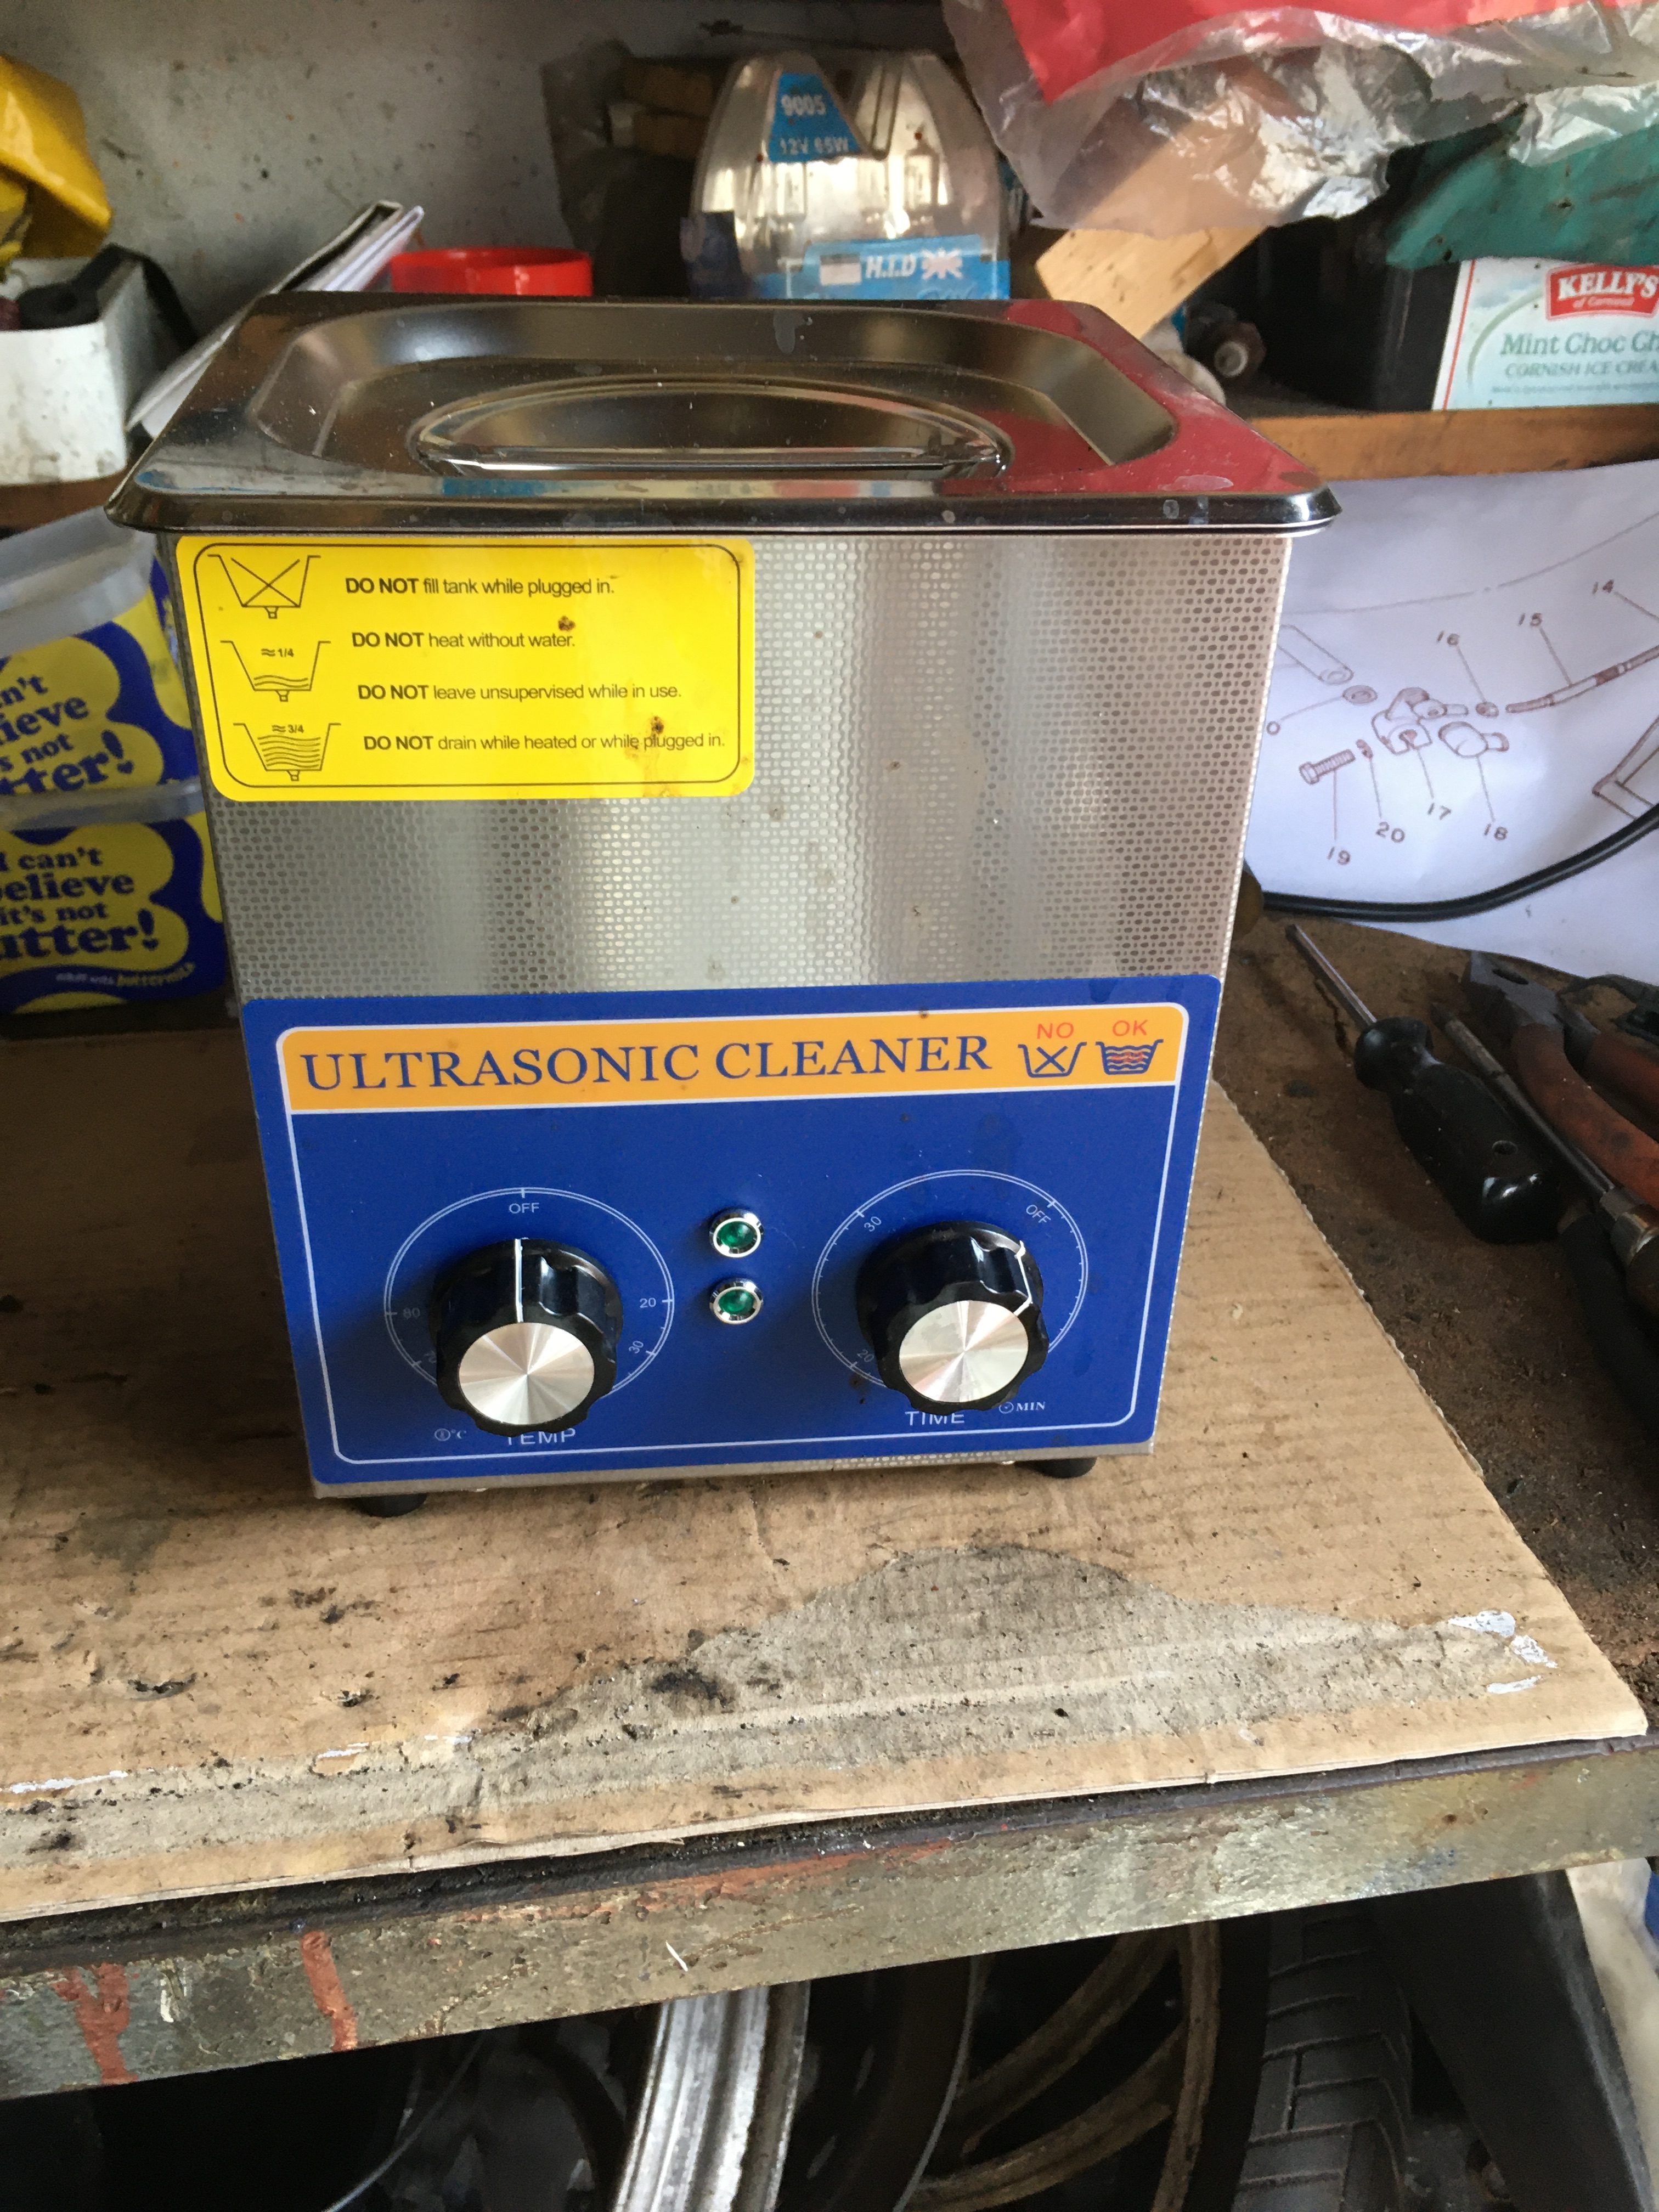
i bought an ultrasonic cleaning bath.
Honestly, I wasn’t expecting much, and initially, that’s exactly what I received for my carefully researched £45.
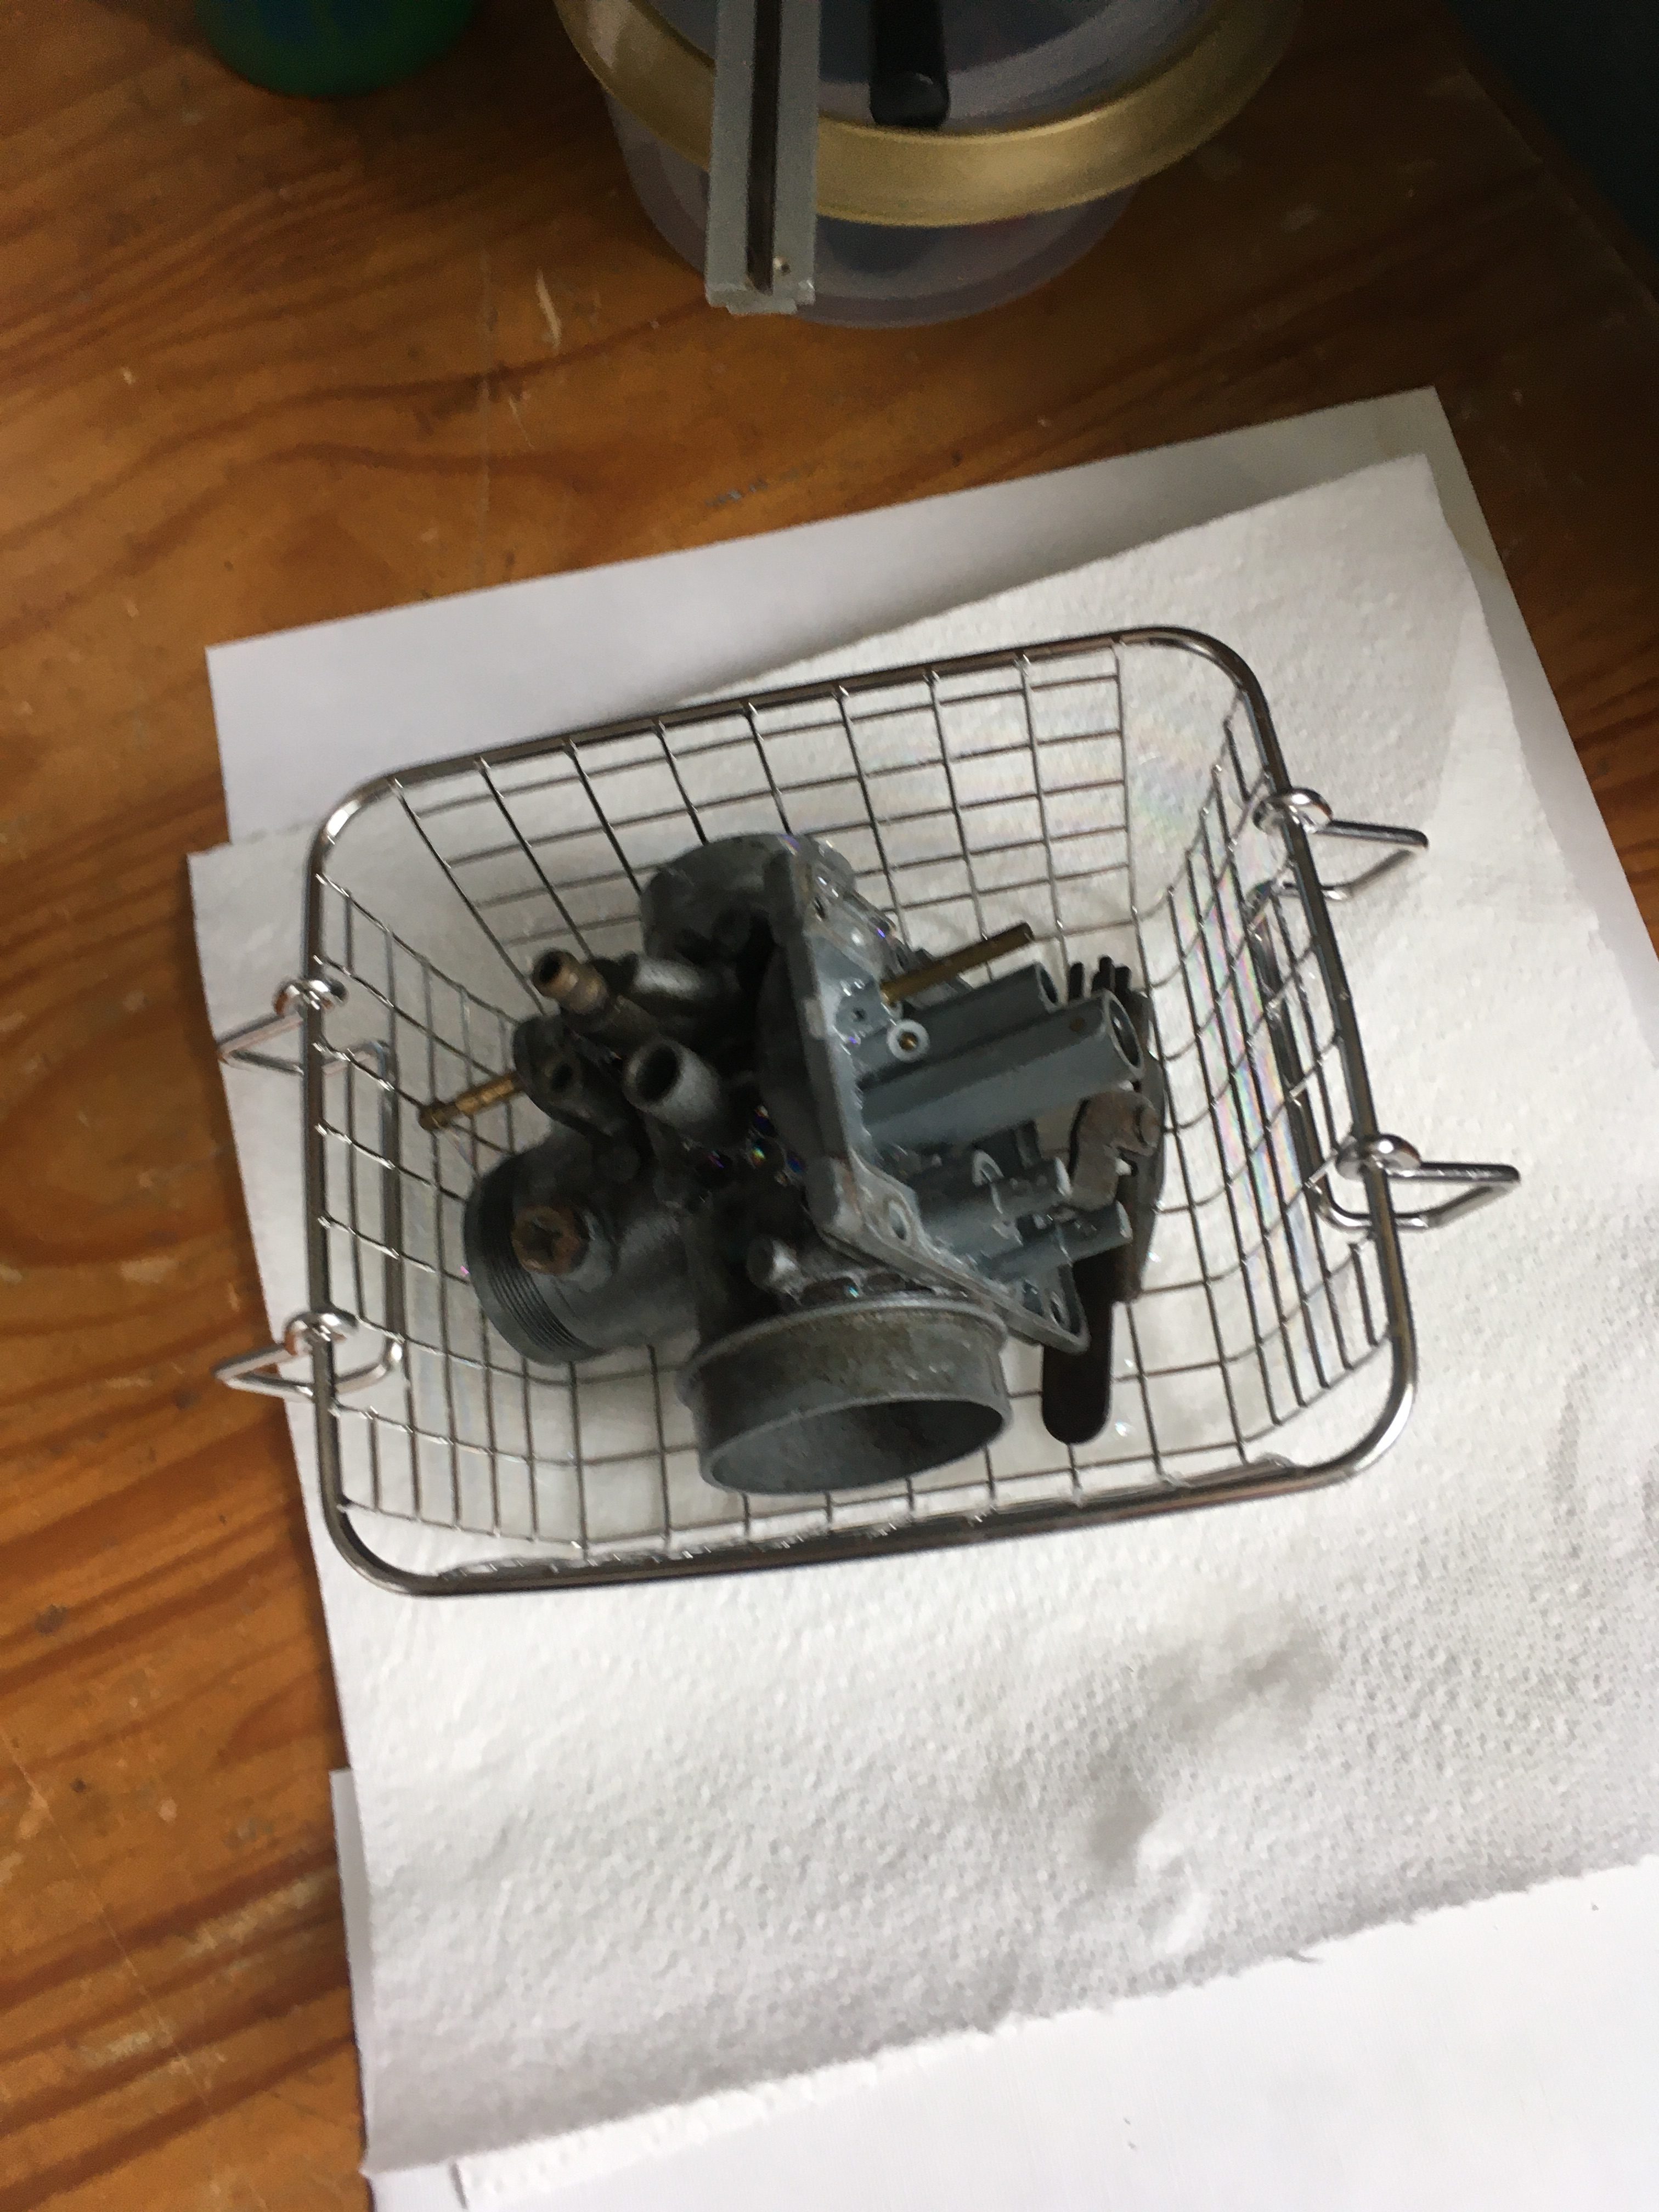
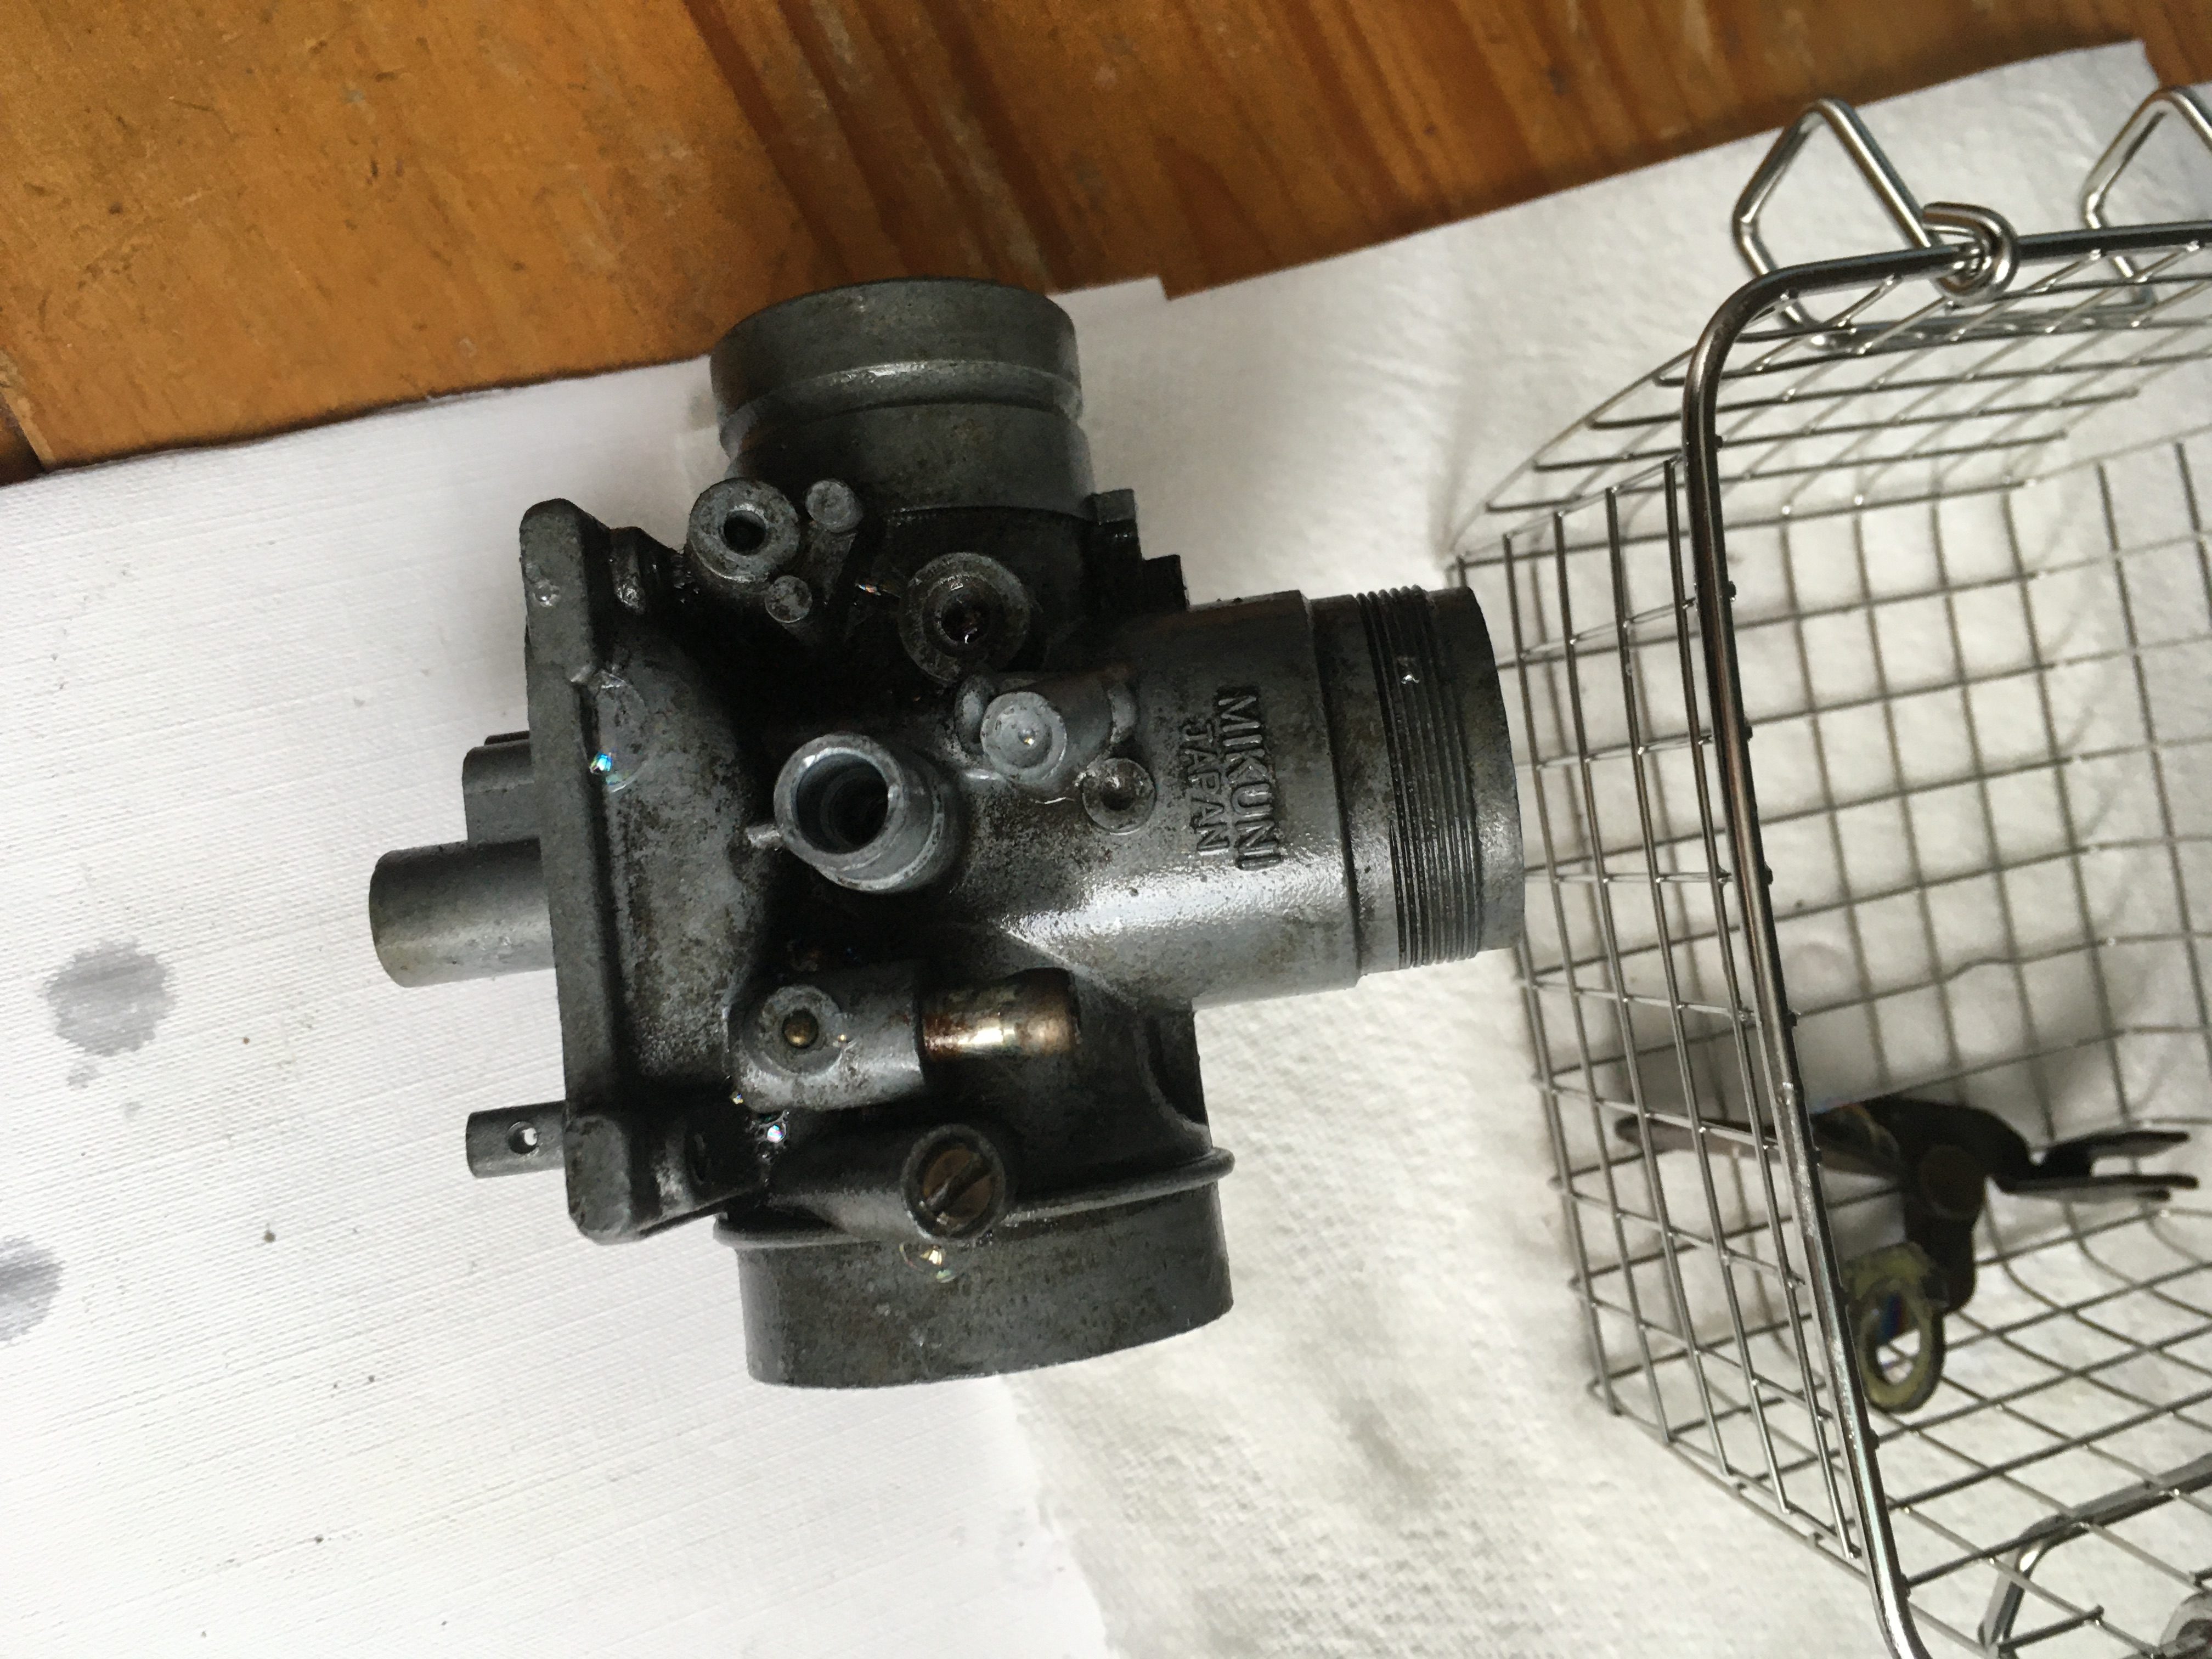
Before i dunked my valuable LC parts in there, I wanted to run some tests, so I dug out a single, siezed, old carb which had lain at the back of my workbench for at least 30 years.
I stripped it down, as far as possible, filled the ultrasonic bath with a water and fairy liquid mix, set the temperature to 40 degrees, and plonked the carb body in.
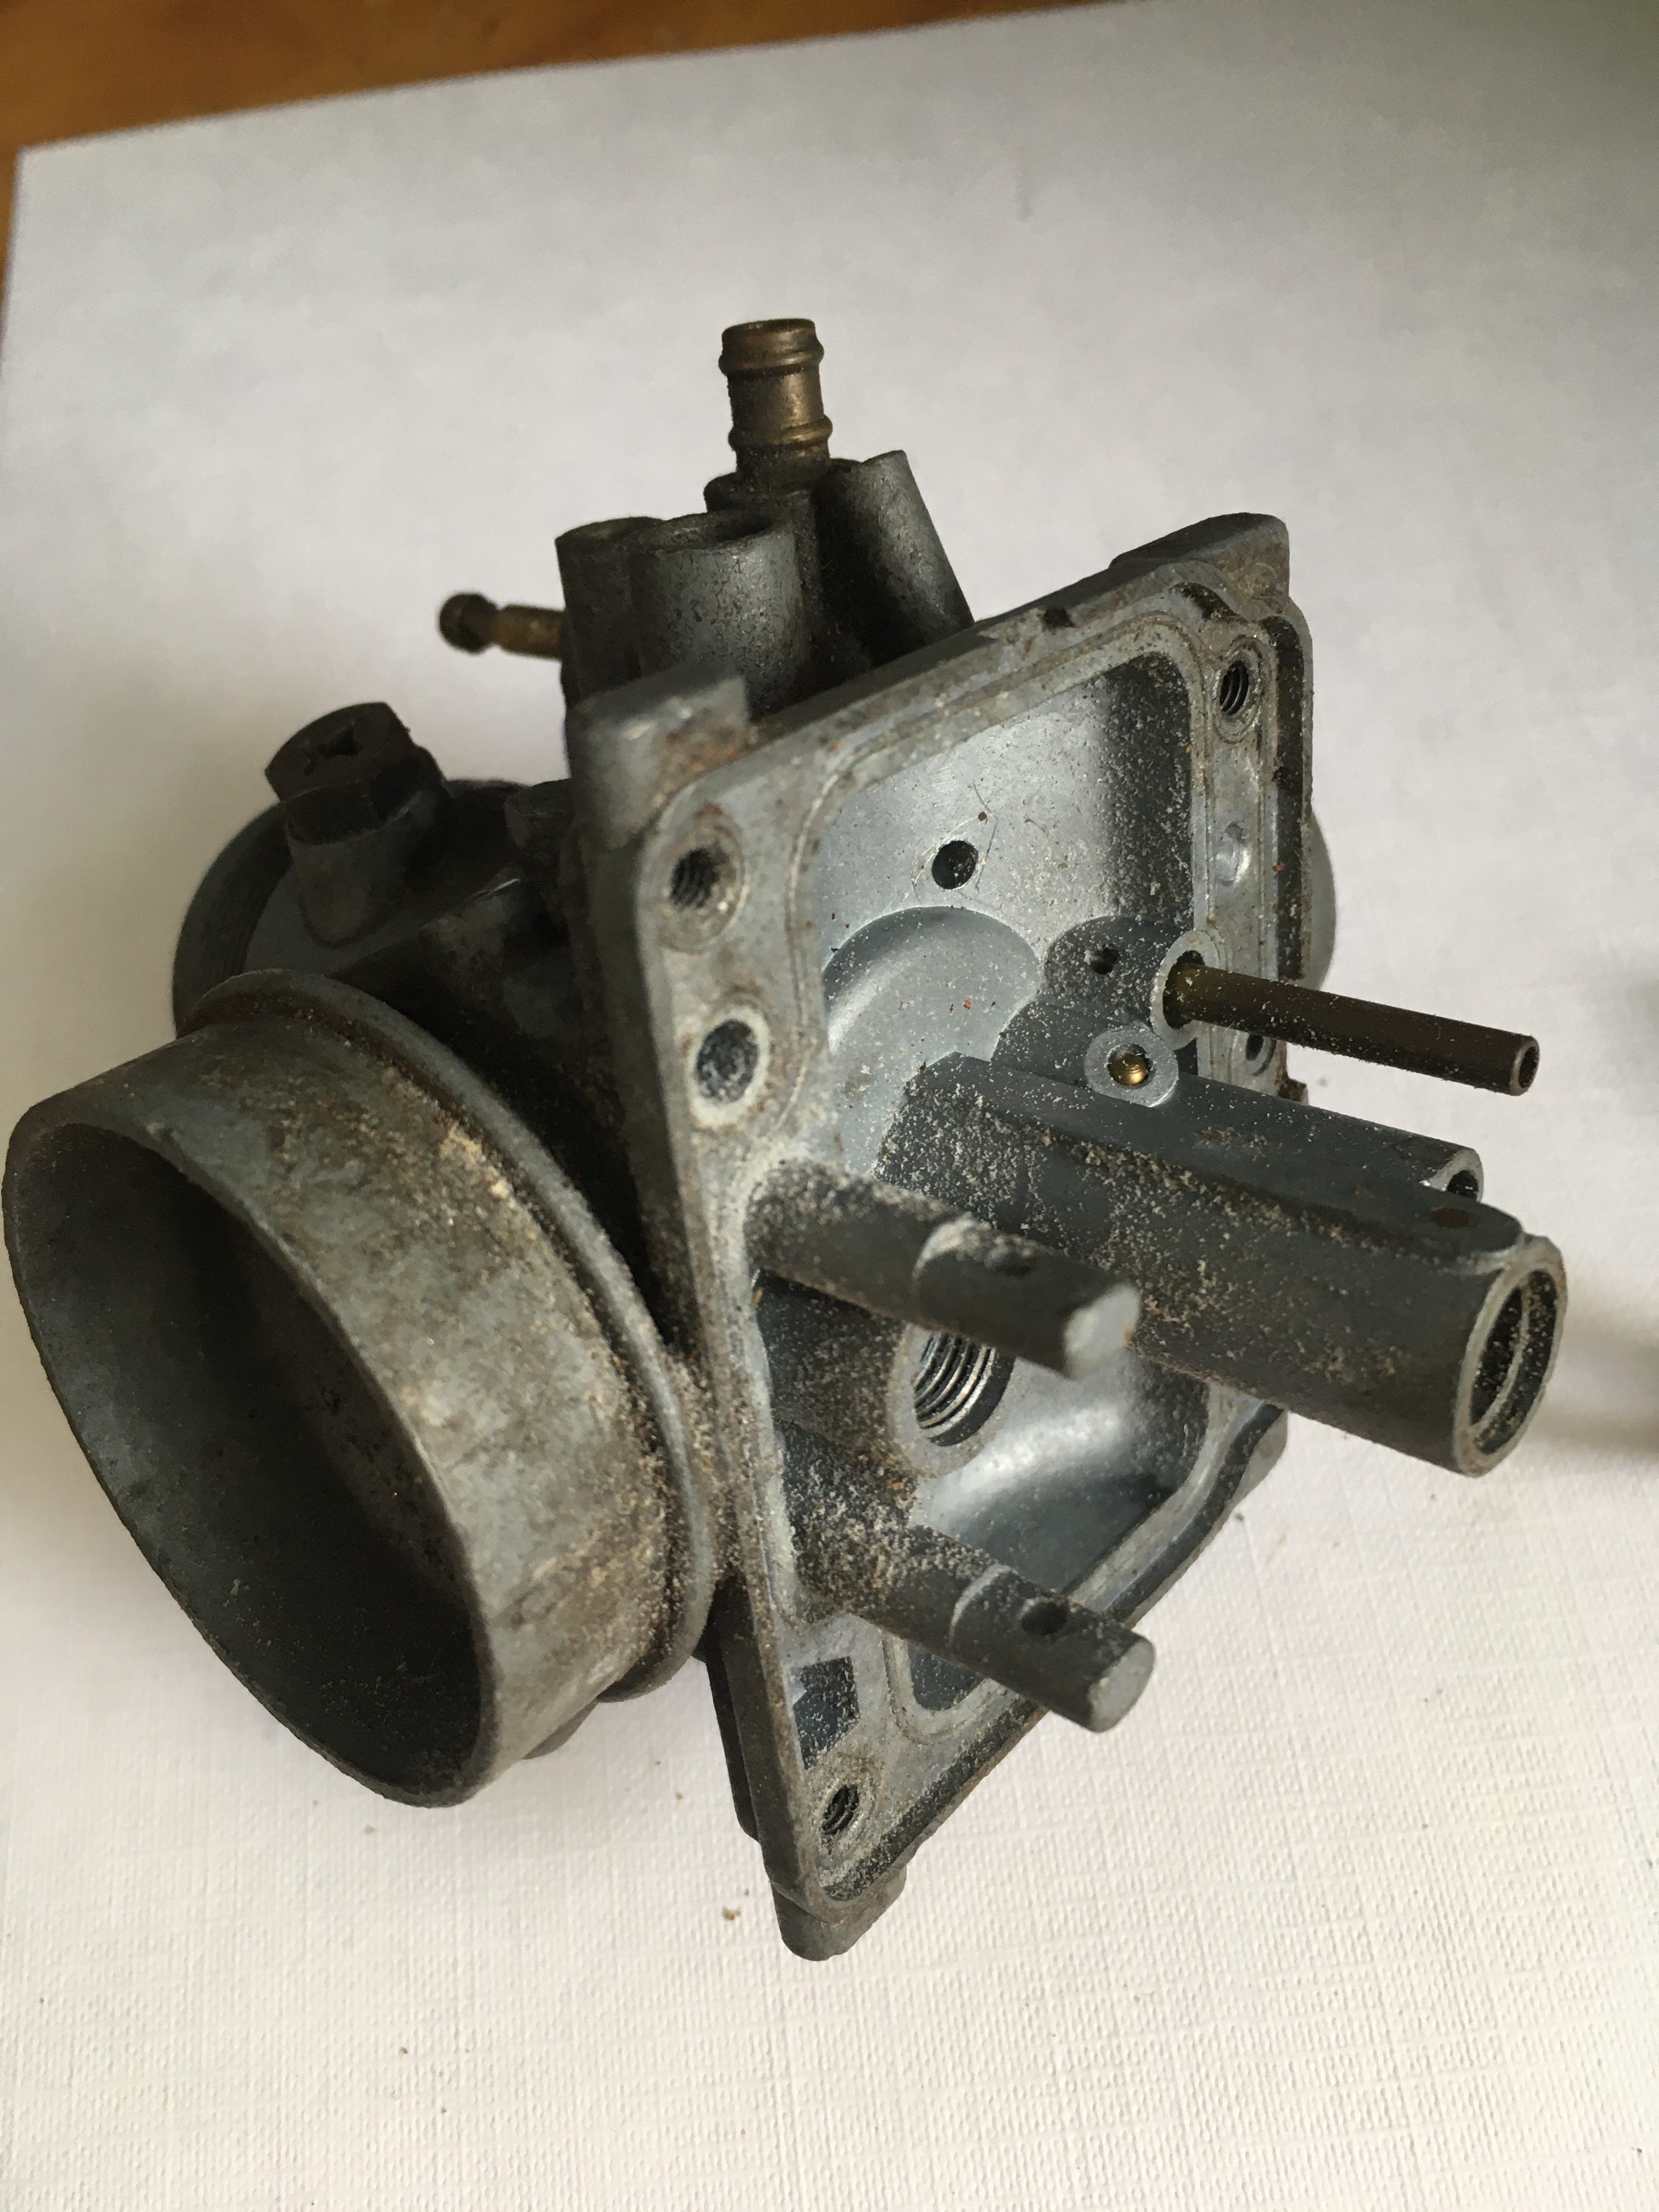
It emerged marginally cleaner, and to be fair, there was a fair amount of debris in the bottom of the bath, but I was not wowed.
Further experiments with temperature, and other household cleaning and non cleaning liquids followed. All the while I avoided acids, (vinegar), and Bases, (bleach), and inflamables, (petrol and paraffin), nothing much changed.
i ramped the temperature up… and nothing much changed.
An evening spent googling showed me that I had simply replicated a large number of peoples other experiments.
while much entertainment was provided by people videoing themselves using cleaners which heated flammable materials, this didn’t help me or answer to my problem.
What was, (apparently) needed was a commercially mixed carb cleaning fluid, made by someone who knew what they were doing!
…So I bought a litre.
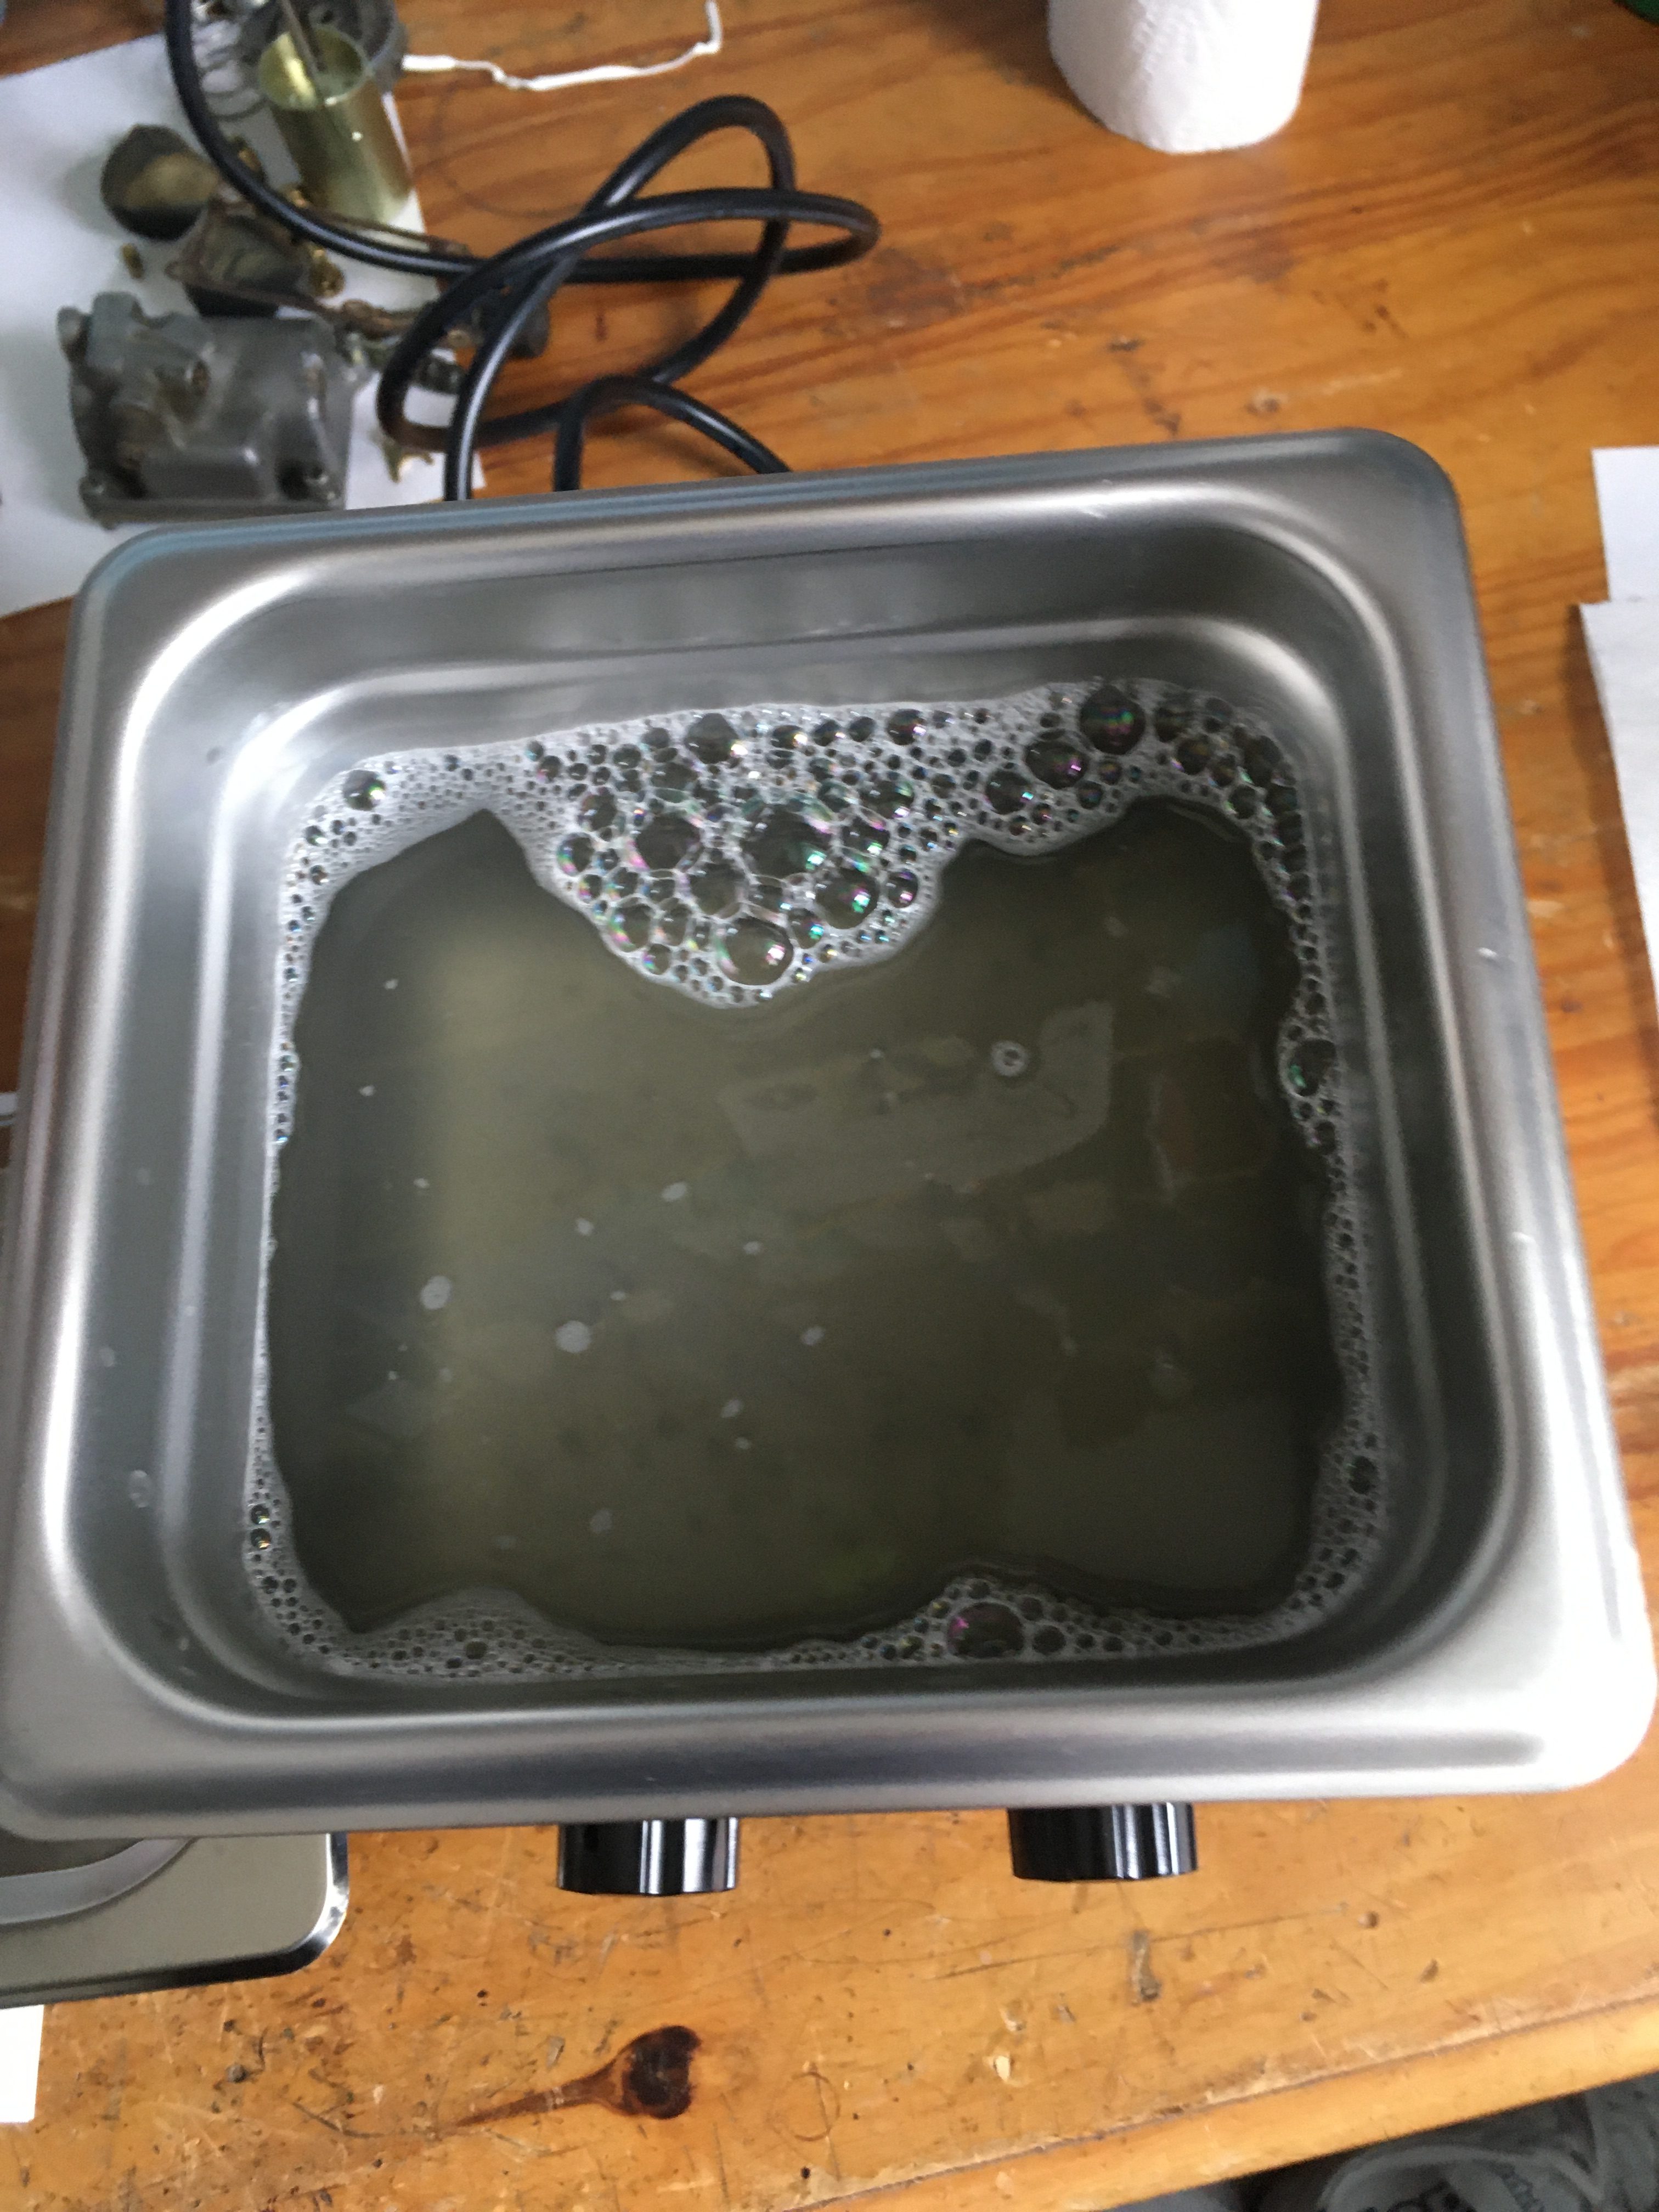
Now we are cooking!
Mixed at 10%, or 1 part cleaning fluid to 9 parts tap water, (having run out of distilled), heated up to 60 degrees, the results were everything I had hoped for after 2 x 30 minute treatments.
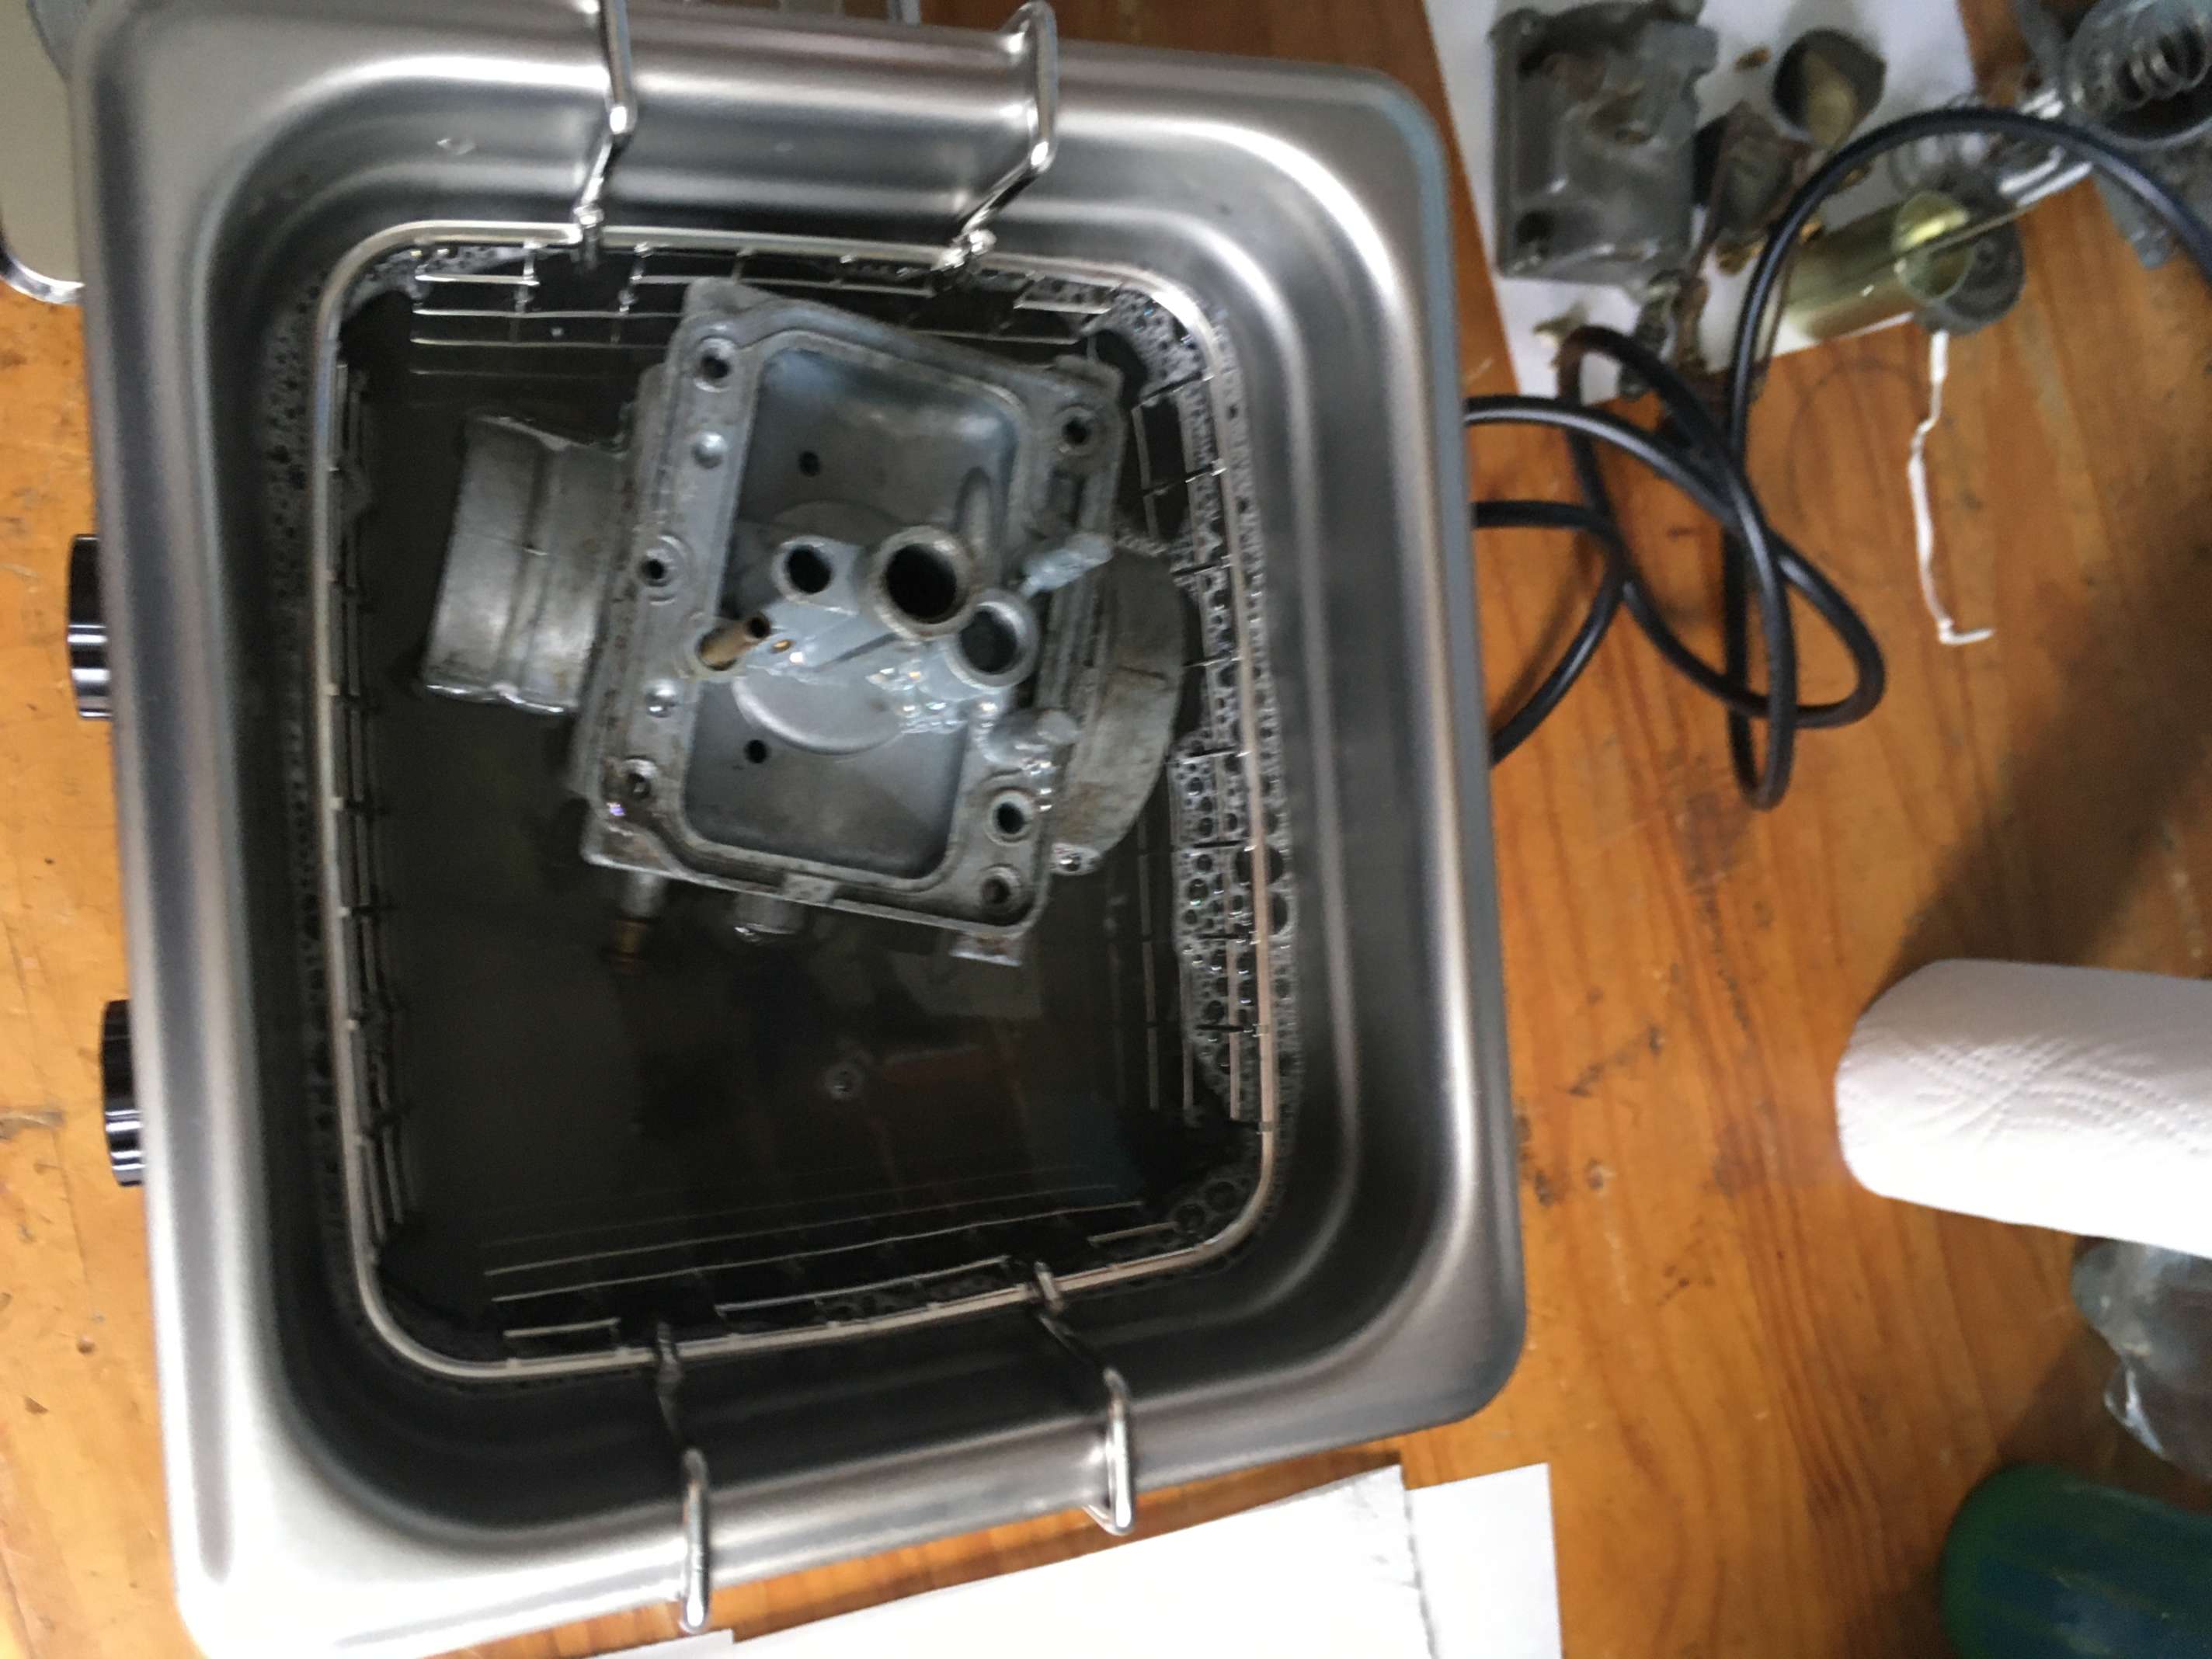
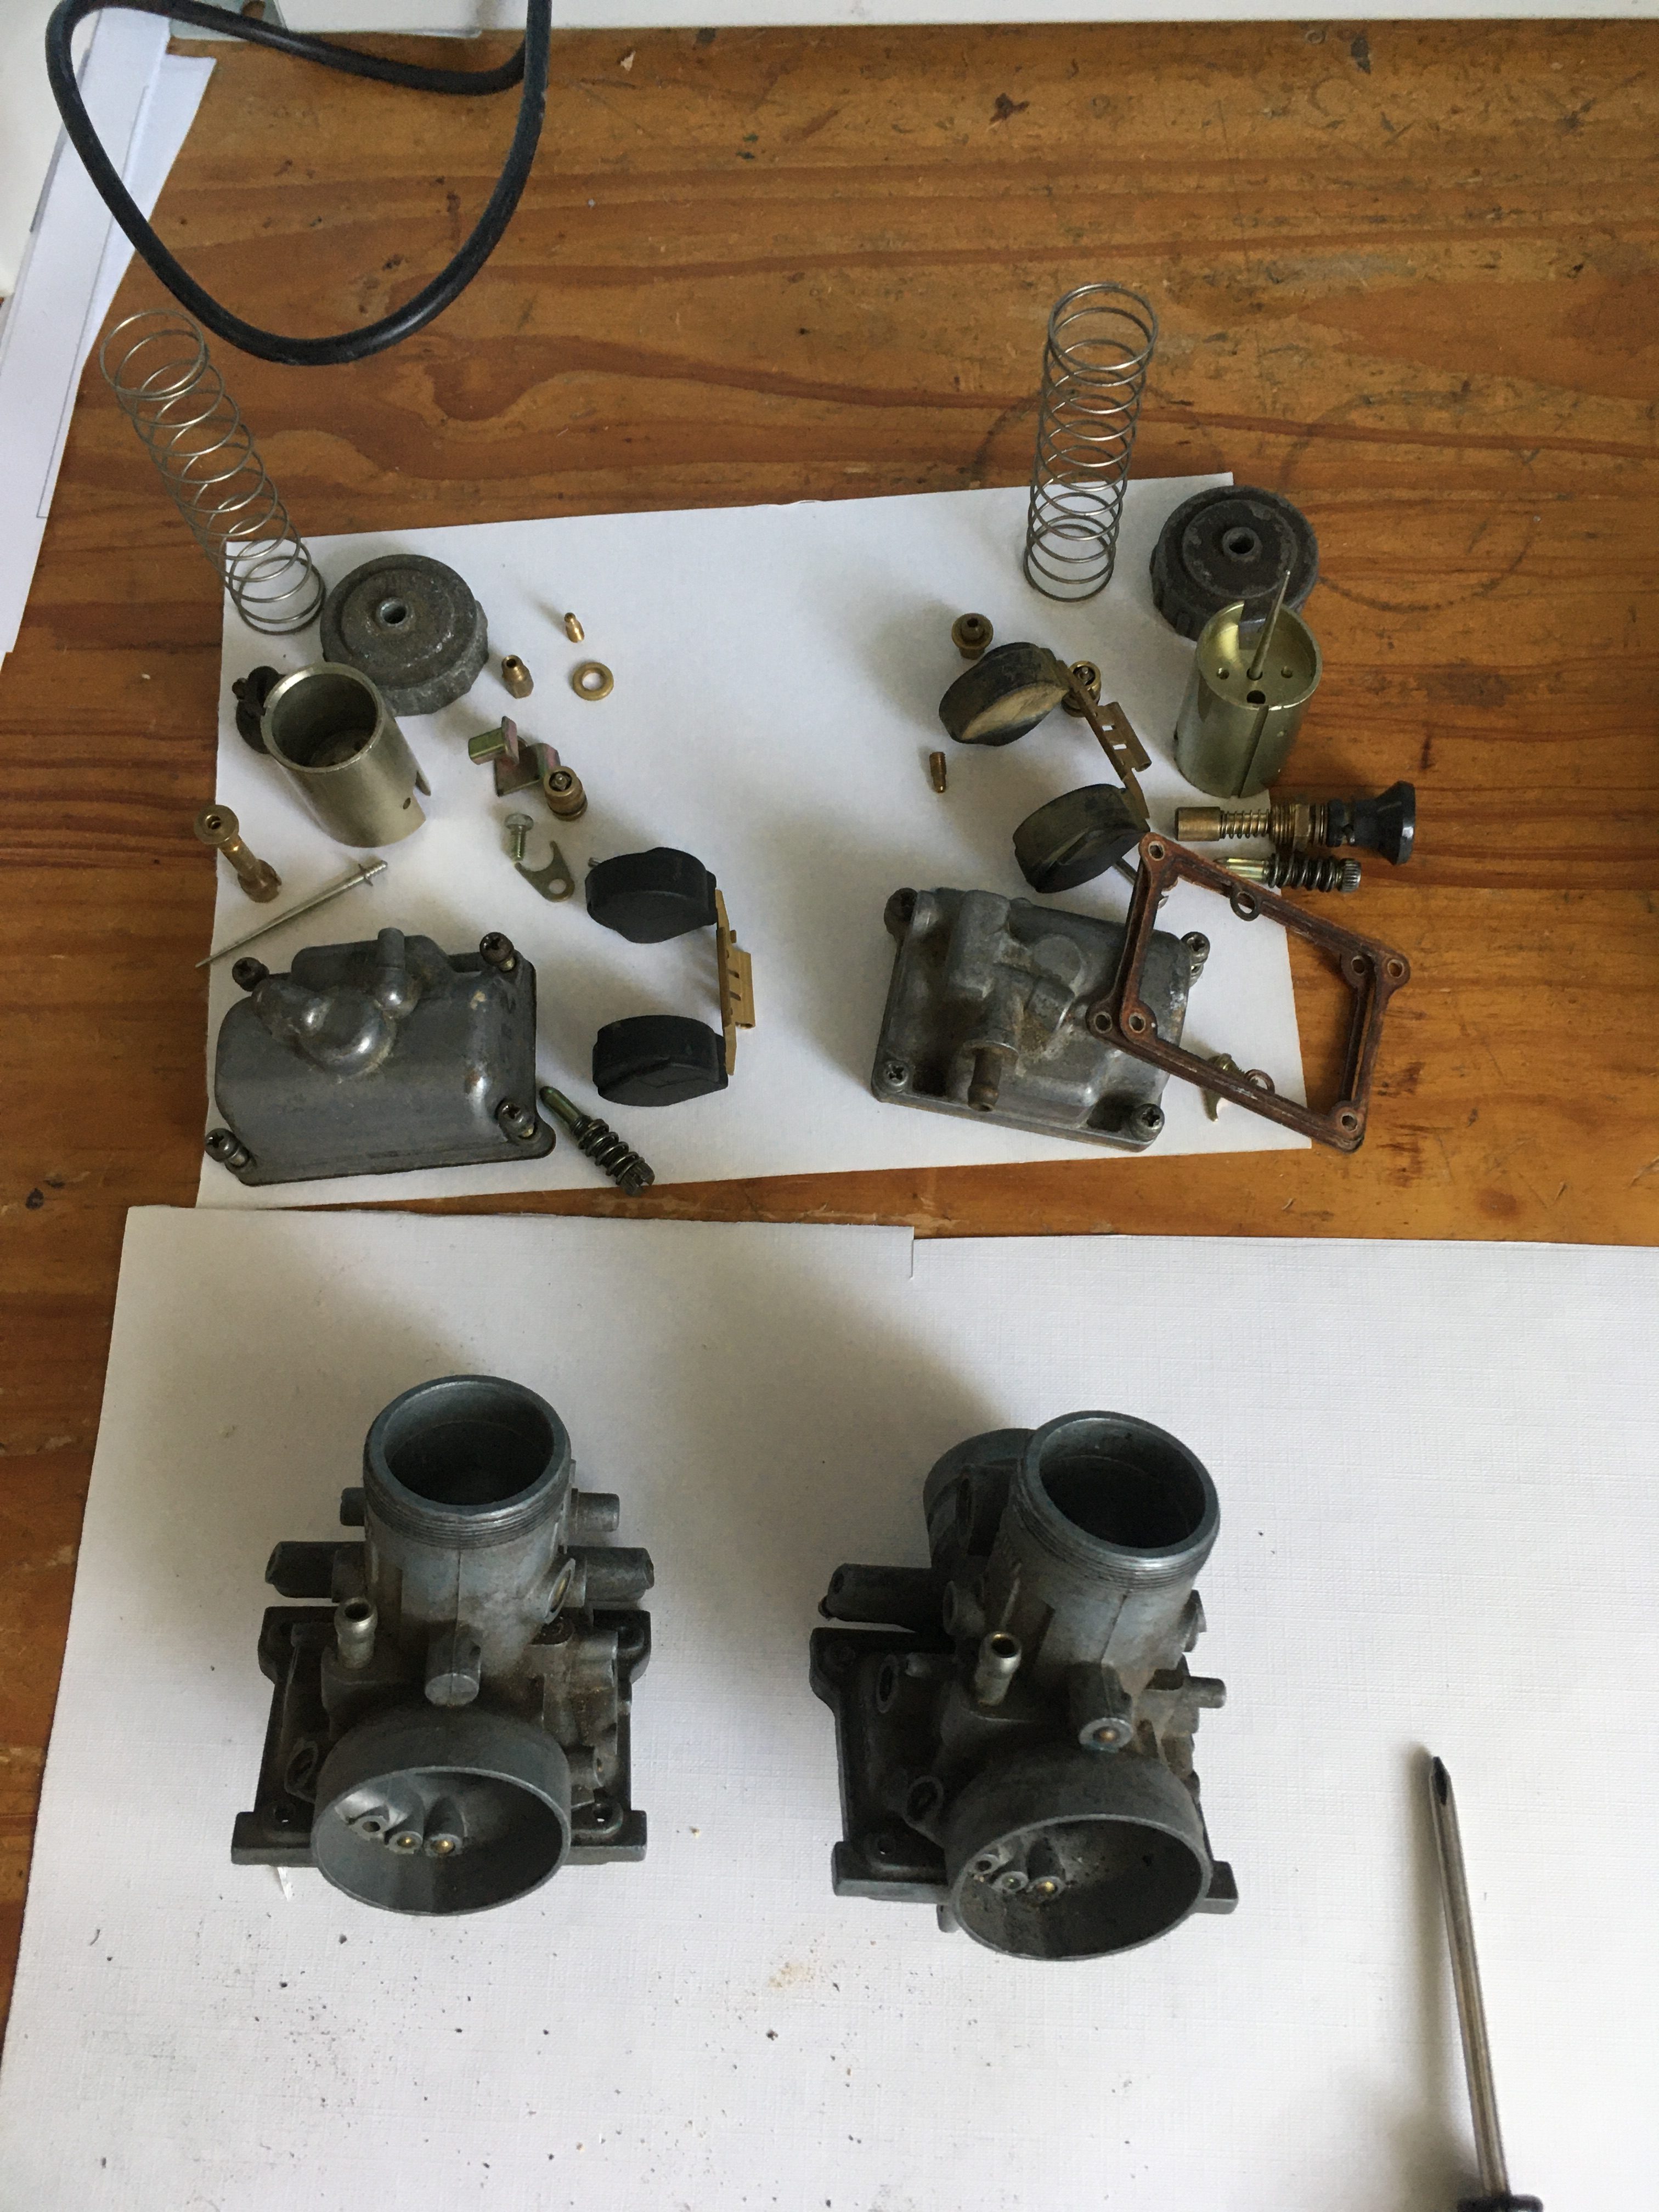
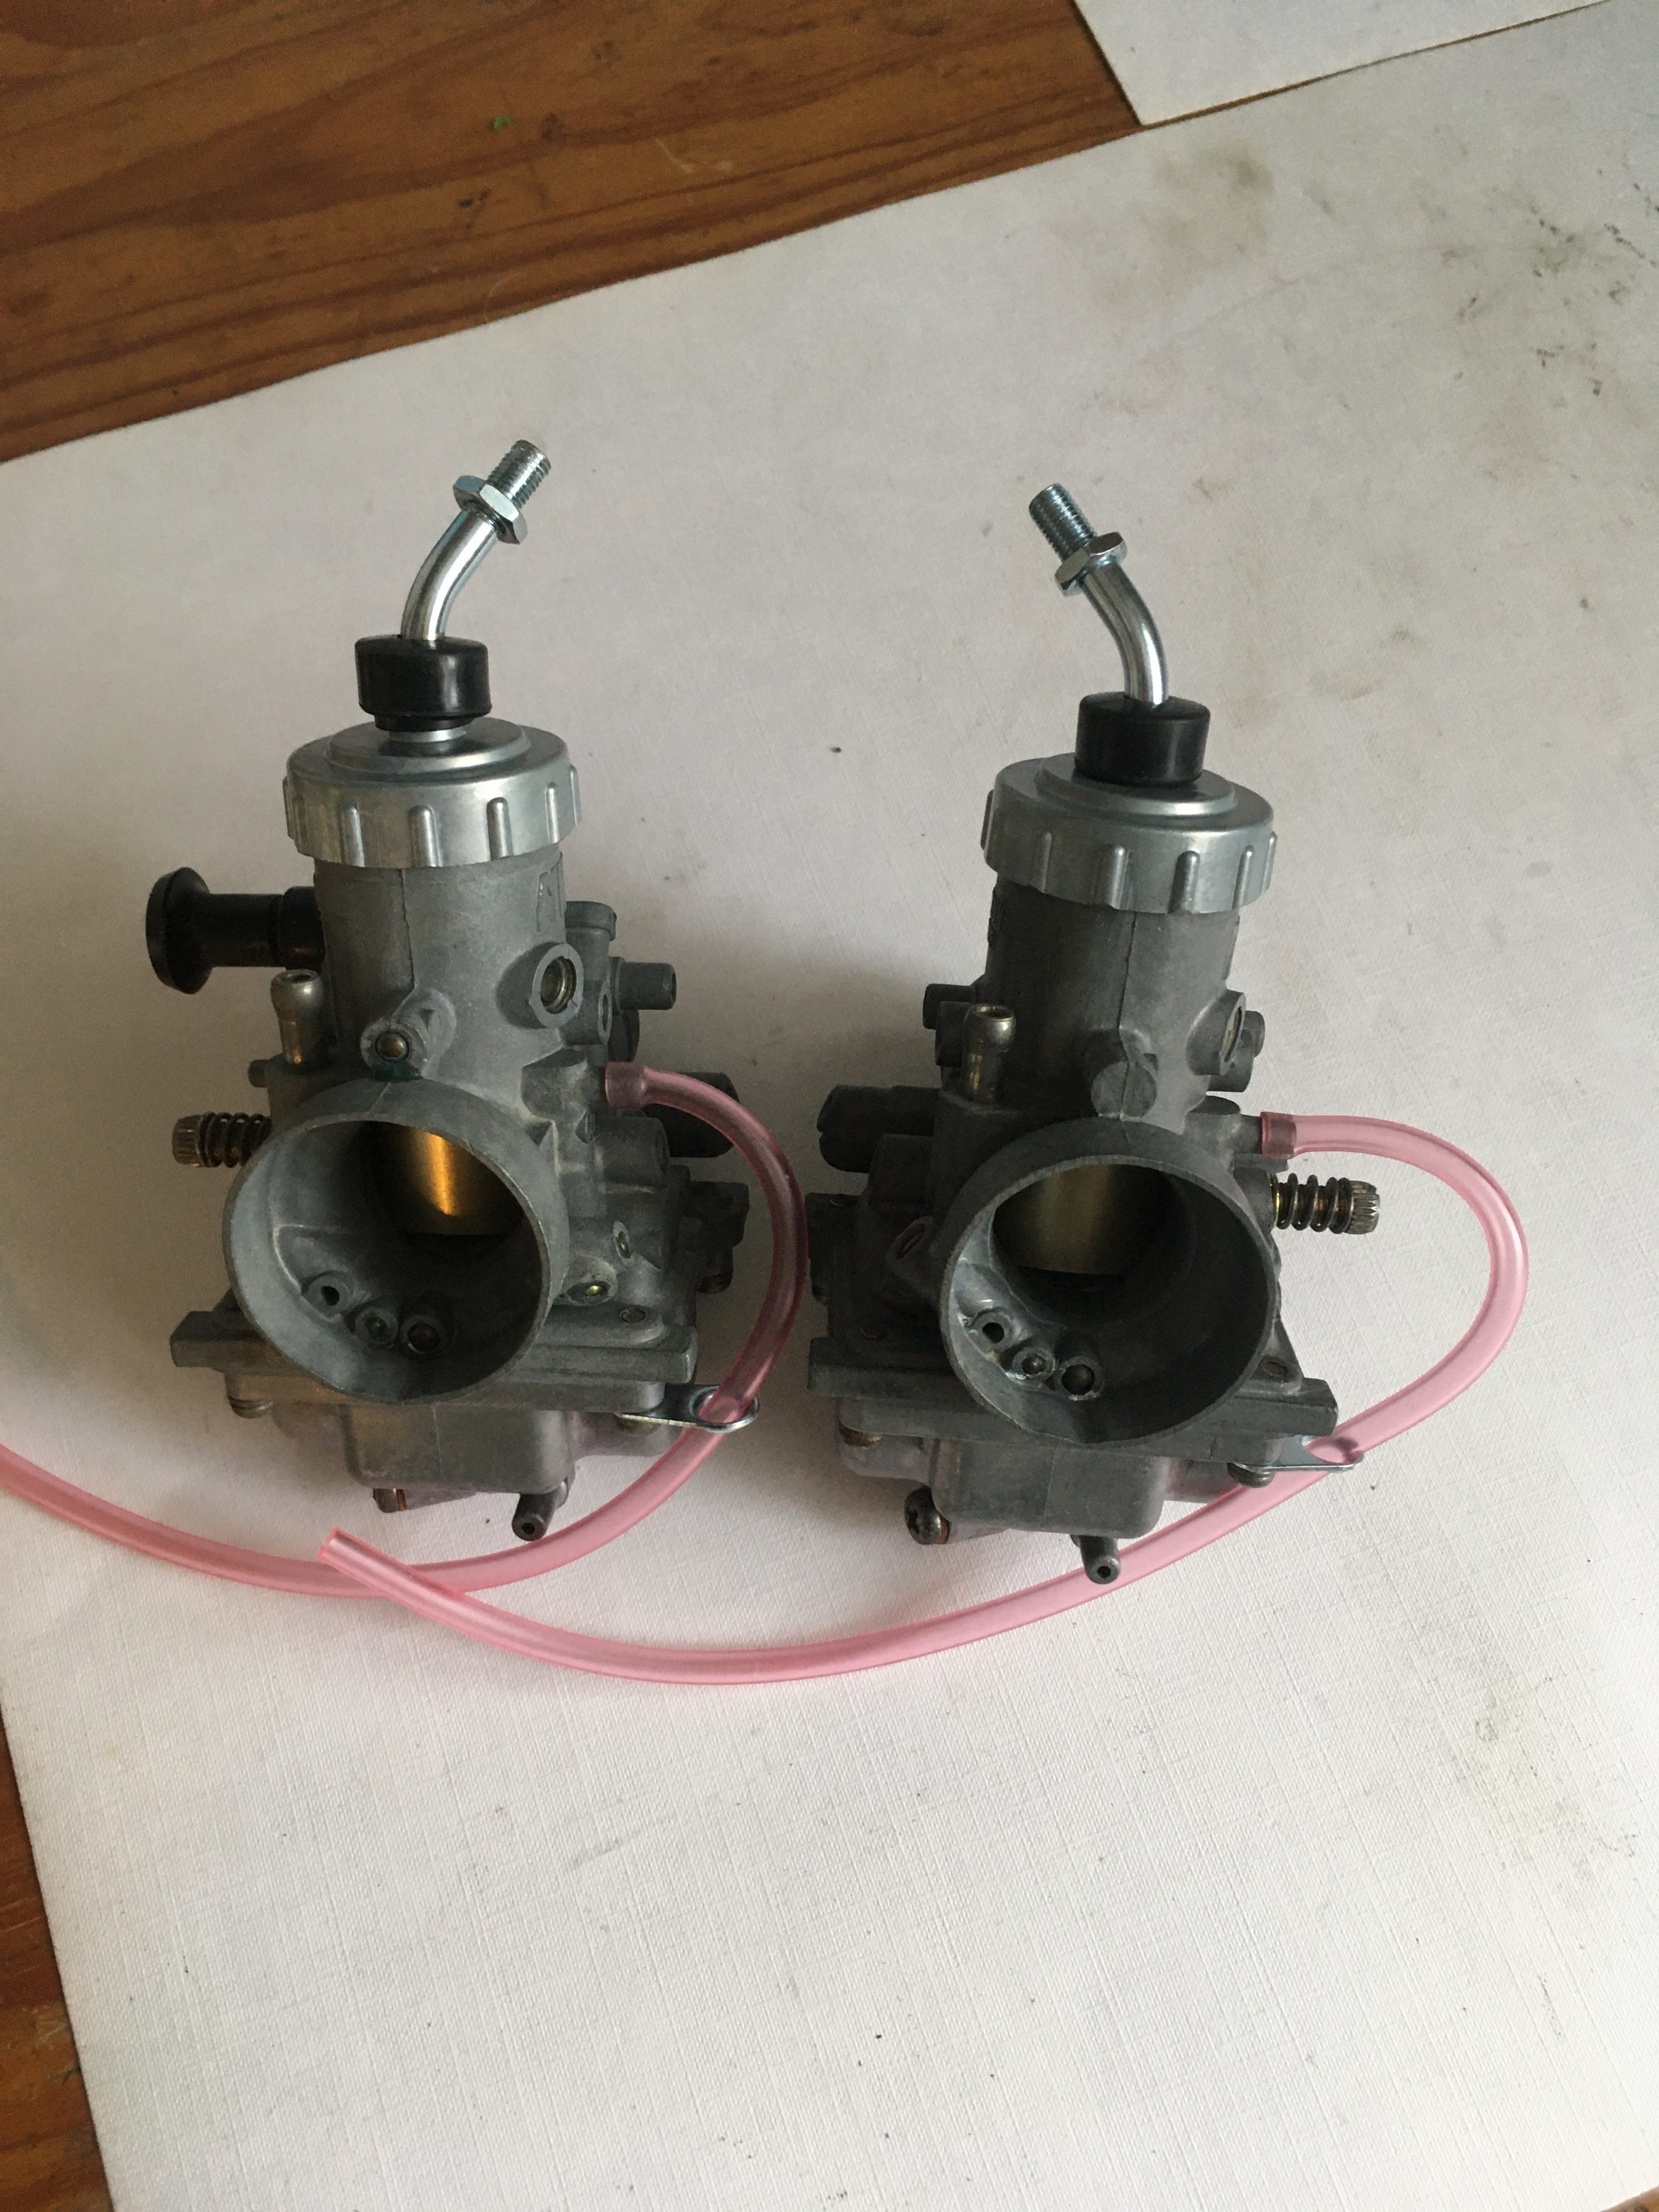
It was time to clean my selected pair of LC Carbs.
Pretty much everything went through the bath, which was buzzing away all day. (It is loud!).
Jets, slides, floats, bowls, and bodies all were cleaned, and then reassembled, ensuring that the correct jets and settings were used for the 4L1-00 bodies.
i.e.
- – Main : 190
- – Pilot : 20
- – Needle : 4N10
- – Needle Jet 345 O-6
- – Slide Cuttaway : 2.0
- – Air screw 1 & 1/8th turns out
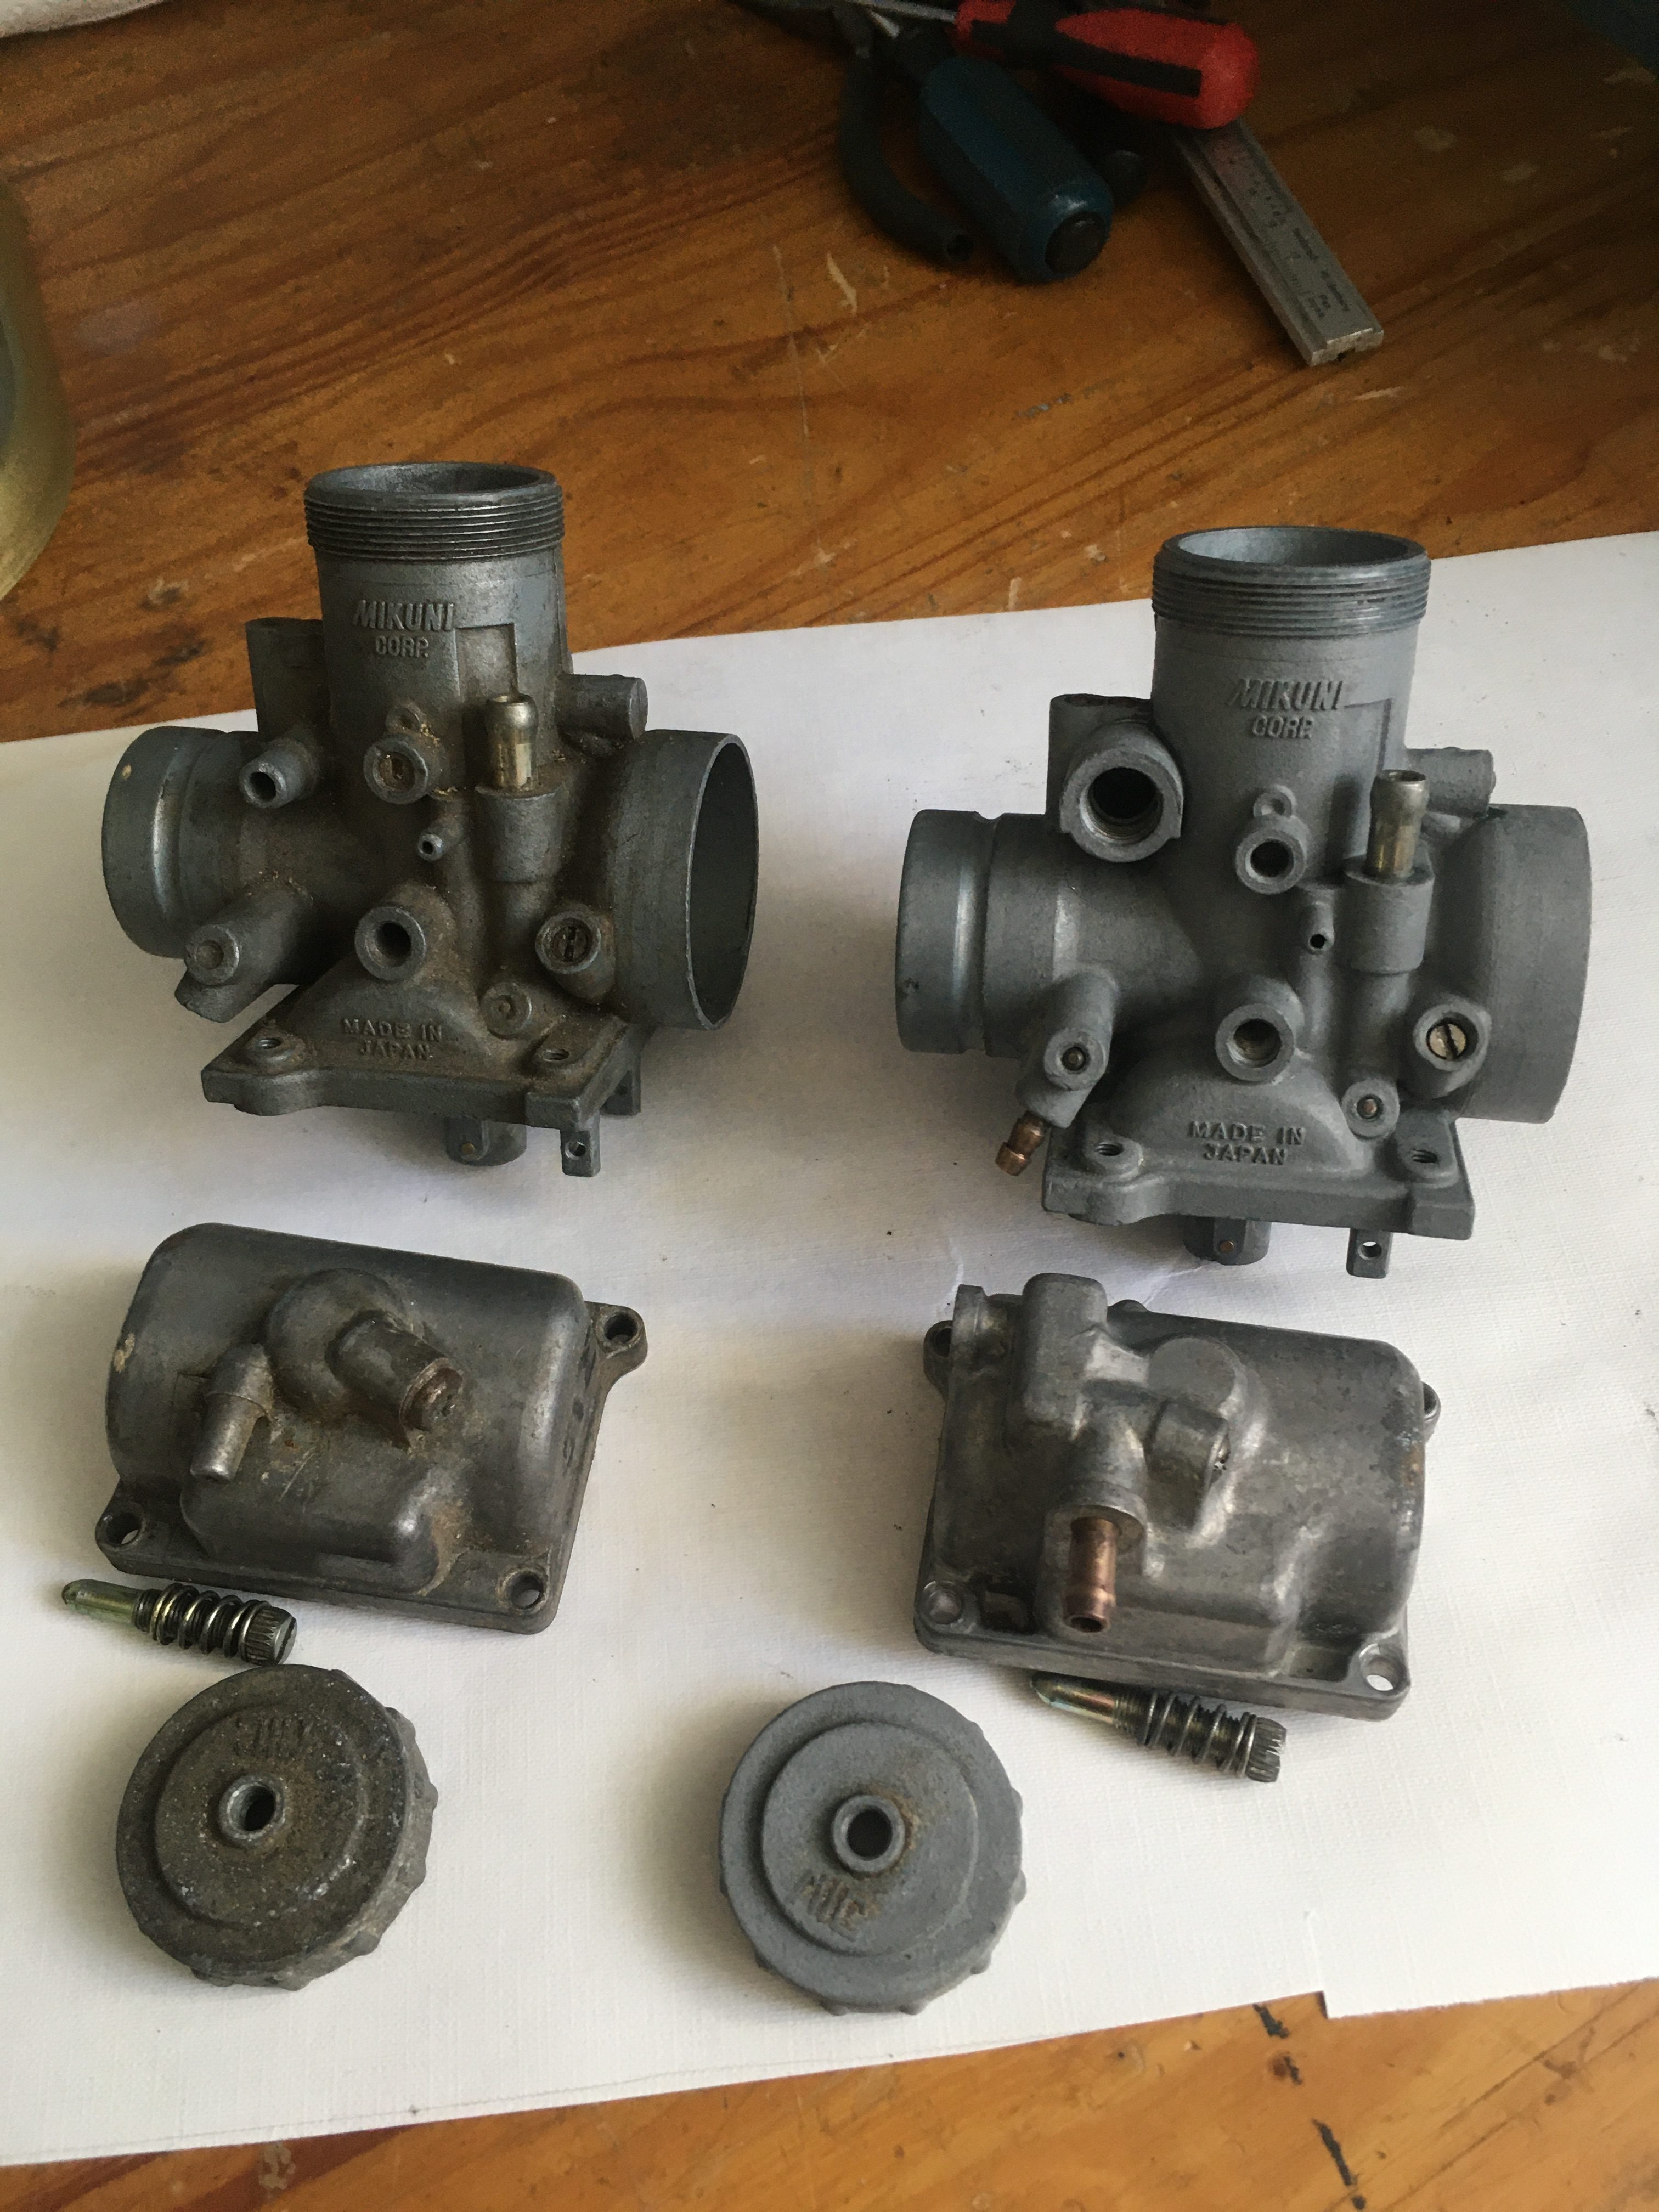
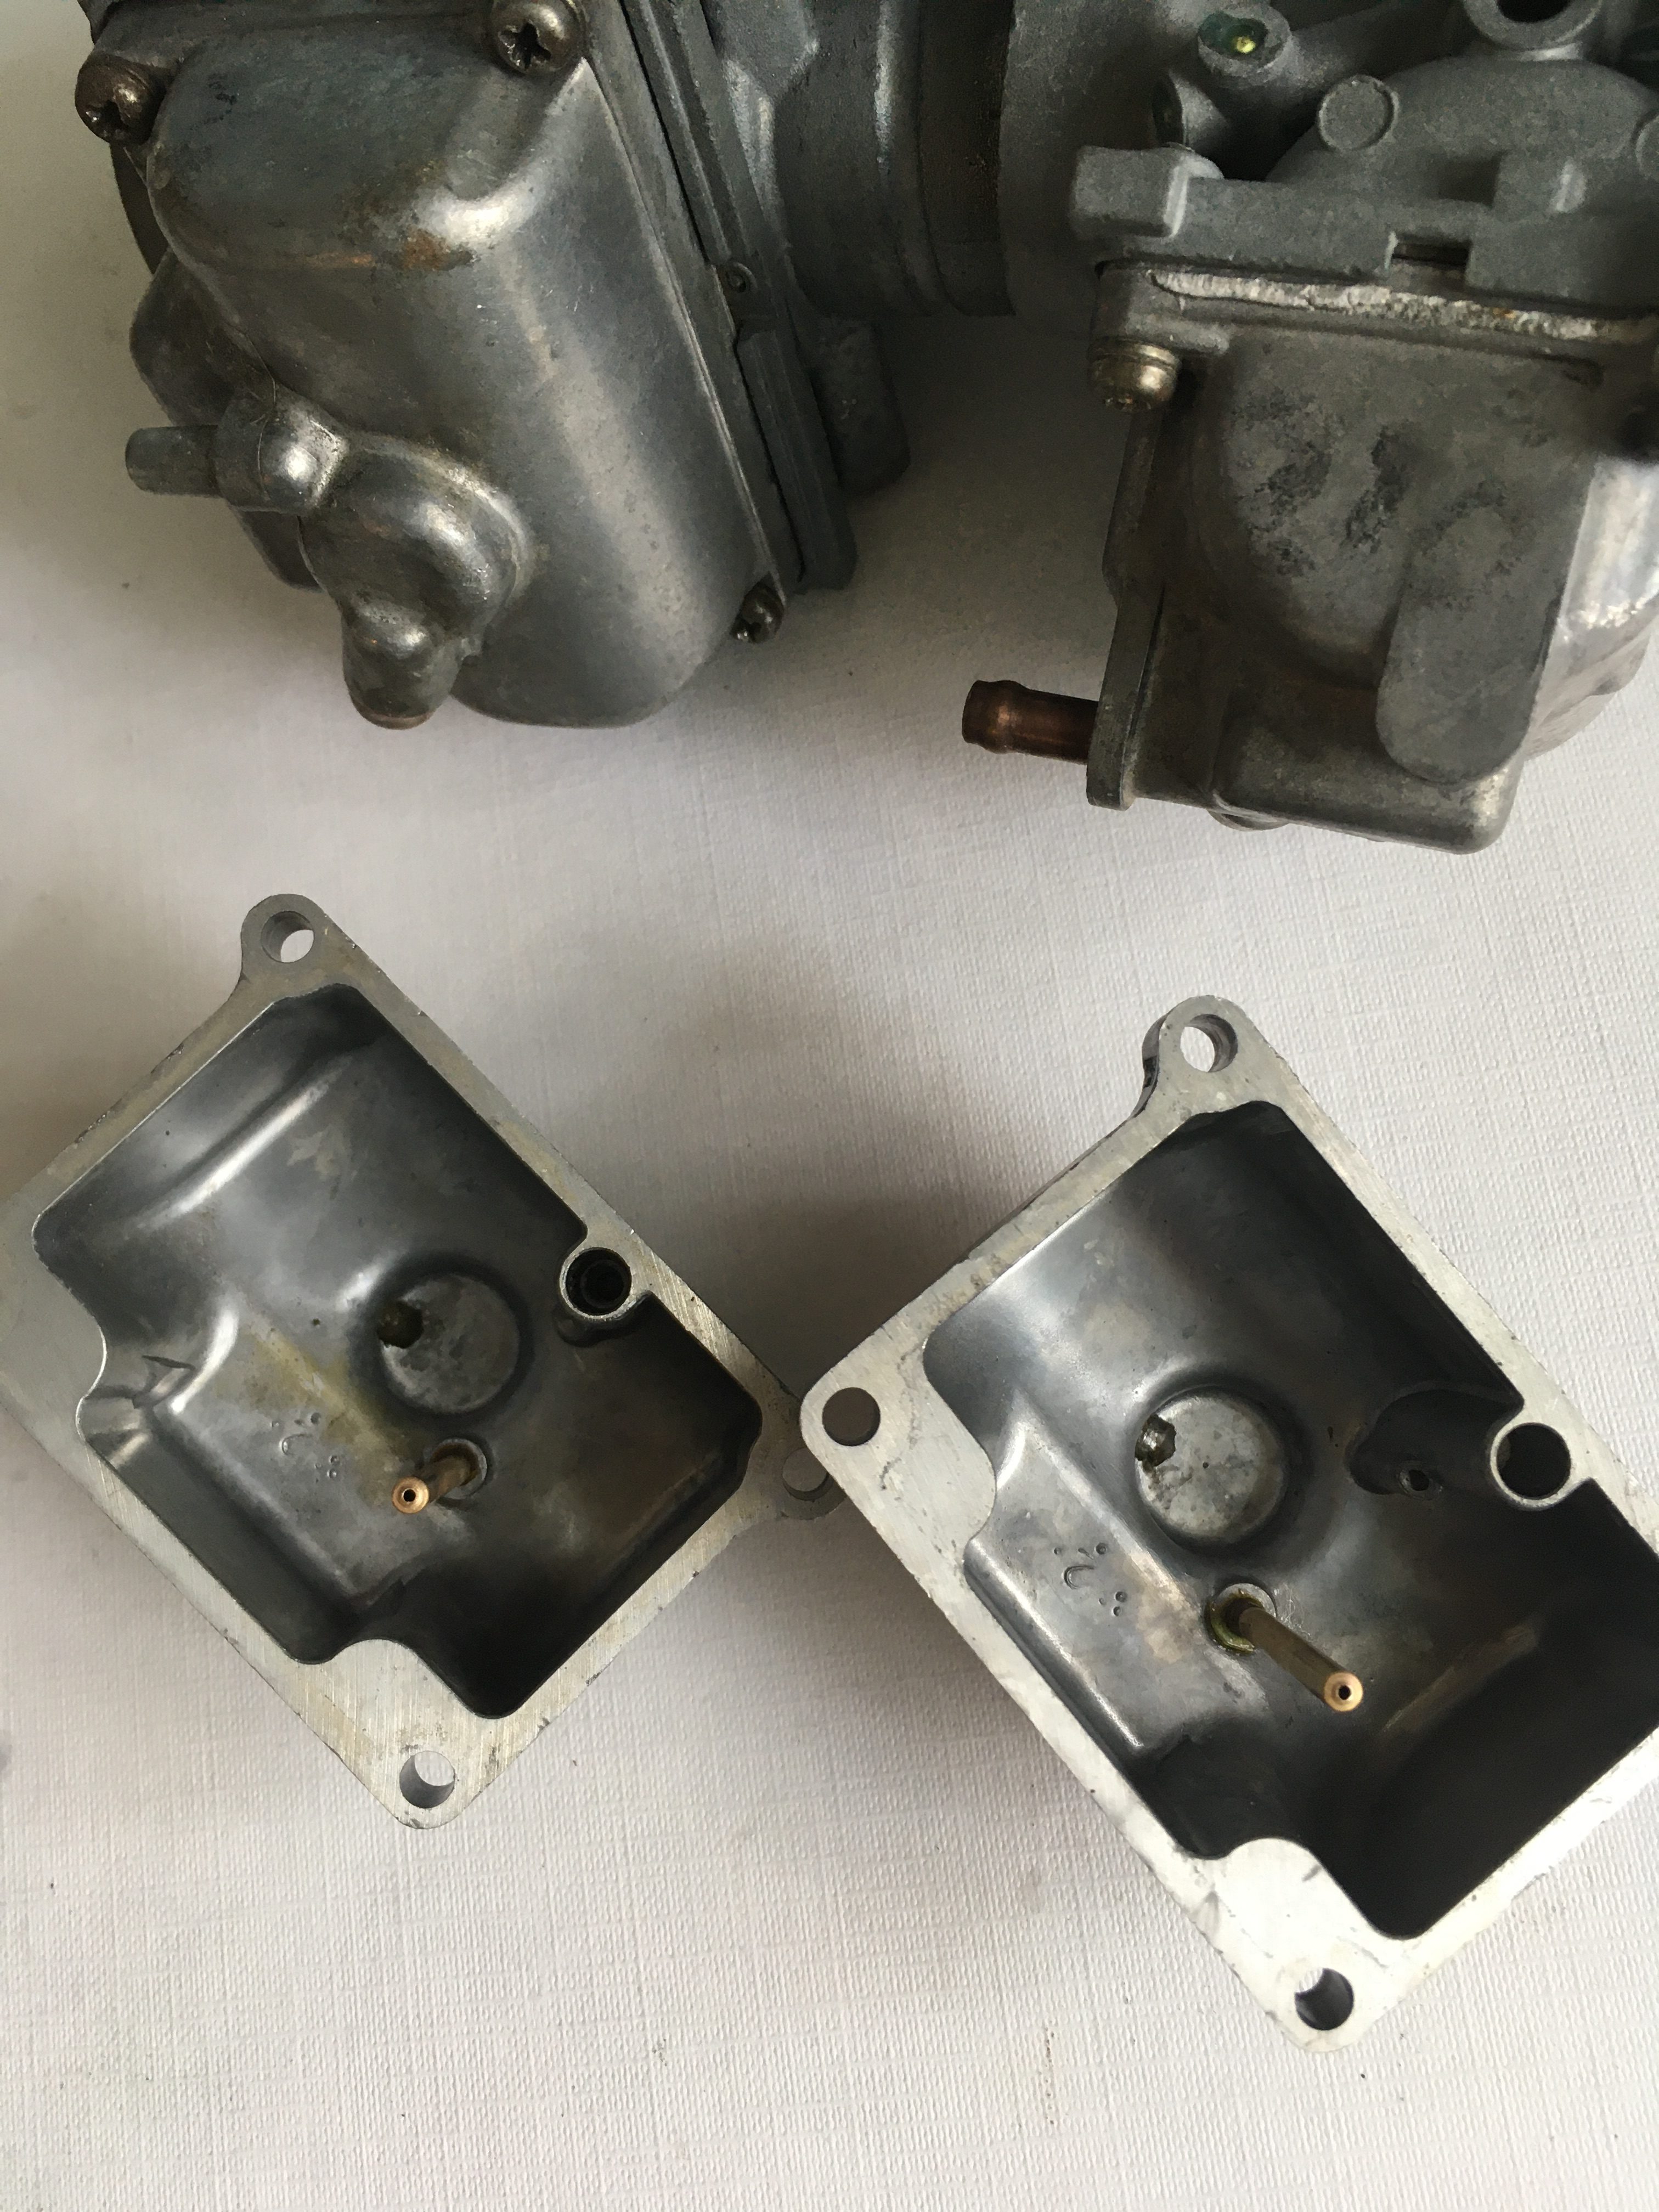
All ready to go except for the fact that I seem to have mismatched float chambers.
One has a brass insert overflow stub on the bottom, and the other has moulded alloy.
Referring to pictures on t’internet, it seems that the moulded alloy is “correct”.
i’ll be breaking out the ultrasonic cleaner again so I can have a nice pair of matching ones.
I wonder what the float bowls with the brass insert are from?
(edit: From an LC2/YPVS)
I had assembled the carbs using the float valves from the cheap Chinese knockoffs I had purchased, on the basis that new ones would be better than old used ones.
This was a mistake. The Chinese ones are fractionally longer, which meant that I couldn’t set the float height correctly.
On bench testing, the petrol height in the bowls was too high and the RHS carb overflowed out of what seemed to be every orifice.
Sorting out my carb spares box revealed 9 float valves, 2 of which had sufficiently strong springs to support the weight of the floats.
Once these were fitted, I could adjust the float heights correctly.
in the end, the only usable parts of the Chinese carbs were the gaskets, the breather pipe guides, the choke mechanism, and the screw tops.
I probably would have been better off trying to source a genuine carb top, and spending circa £40 on new angled cable guides for them.