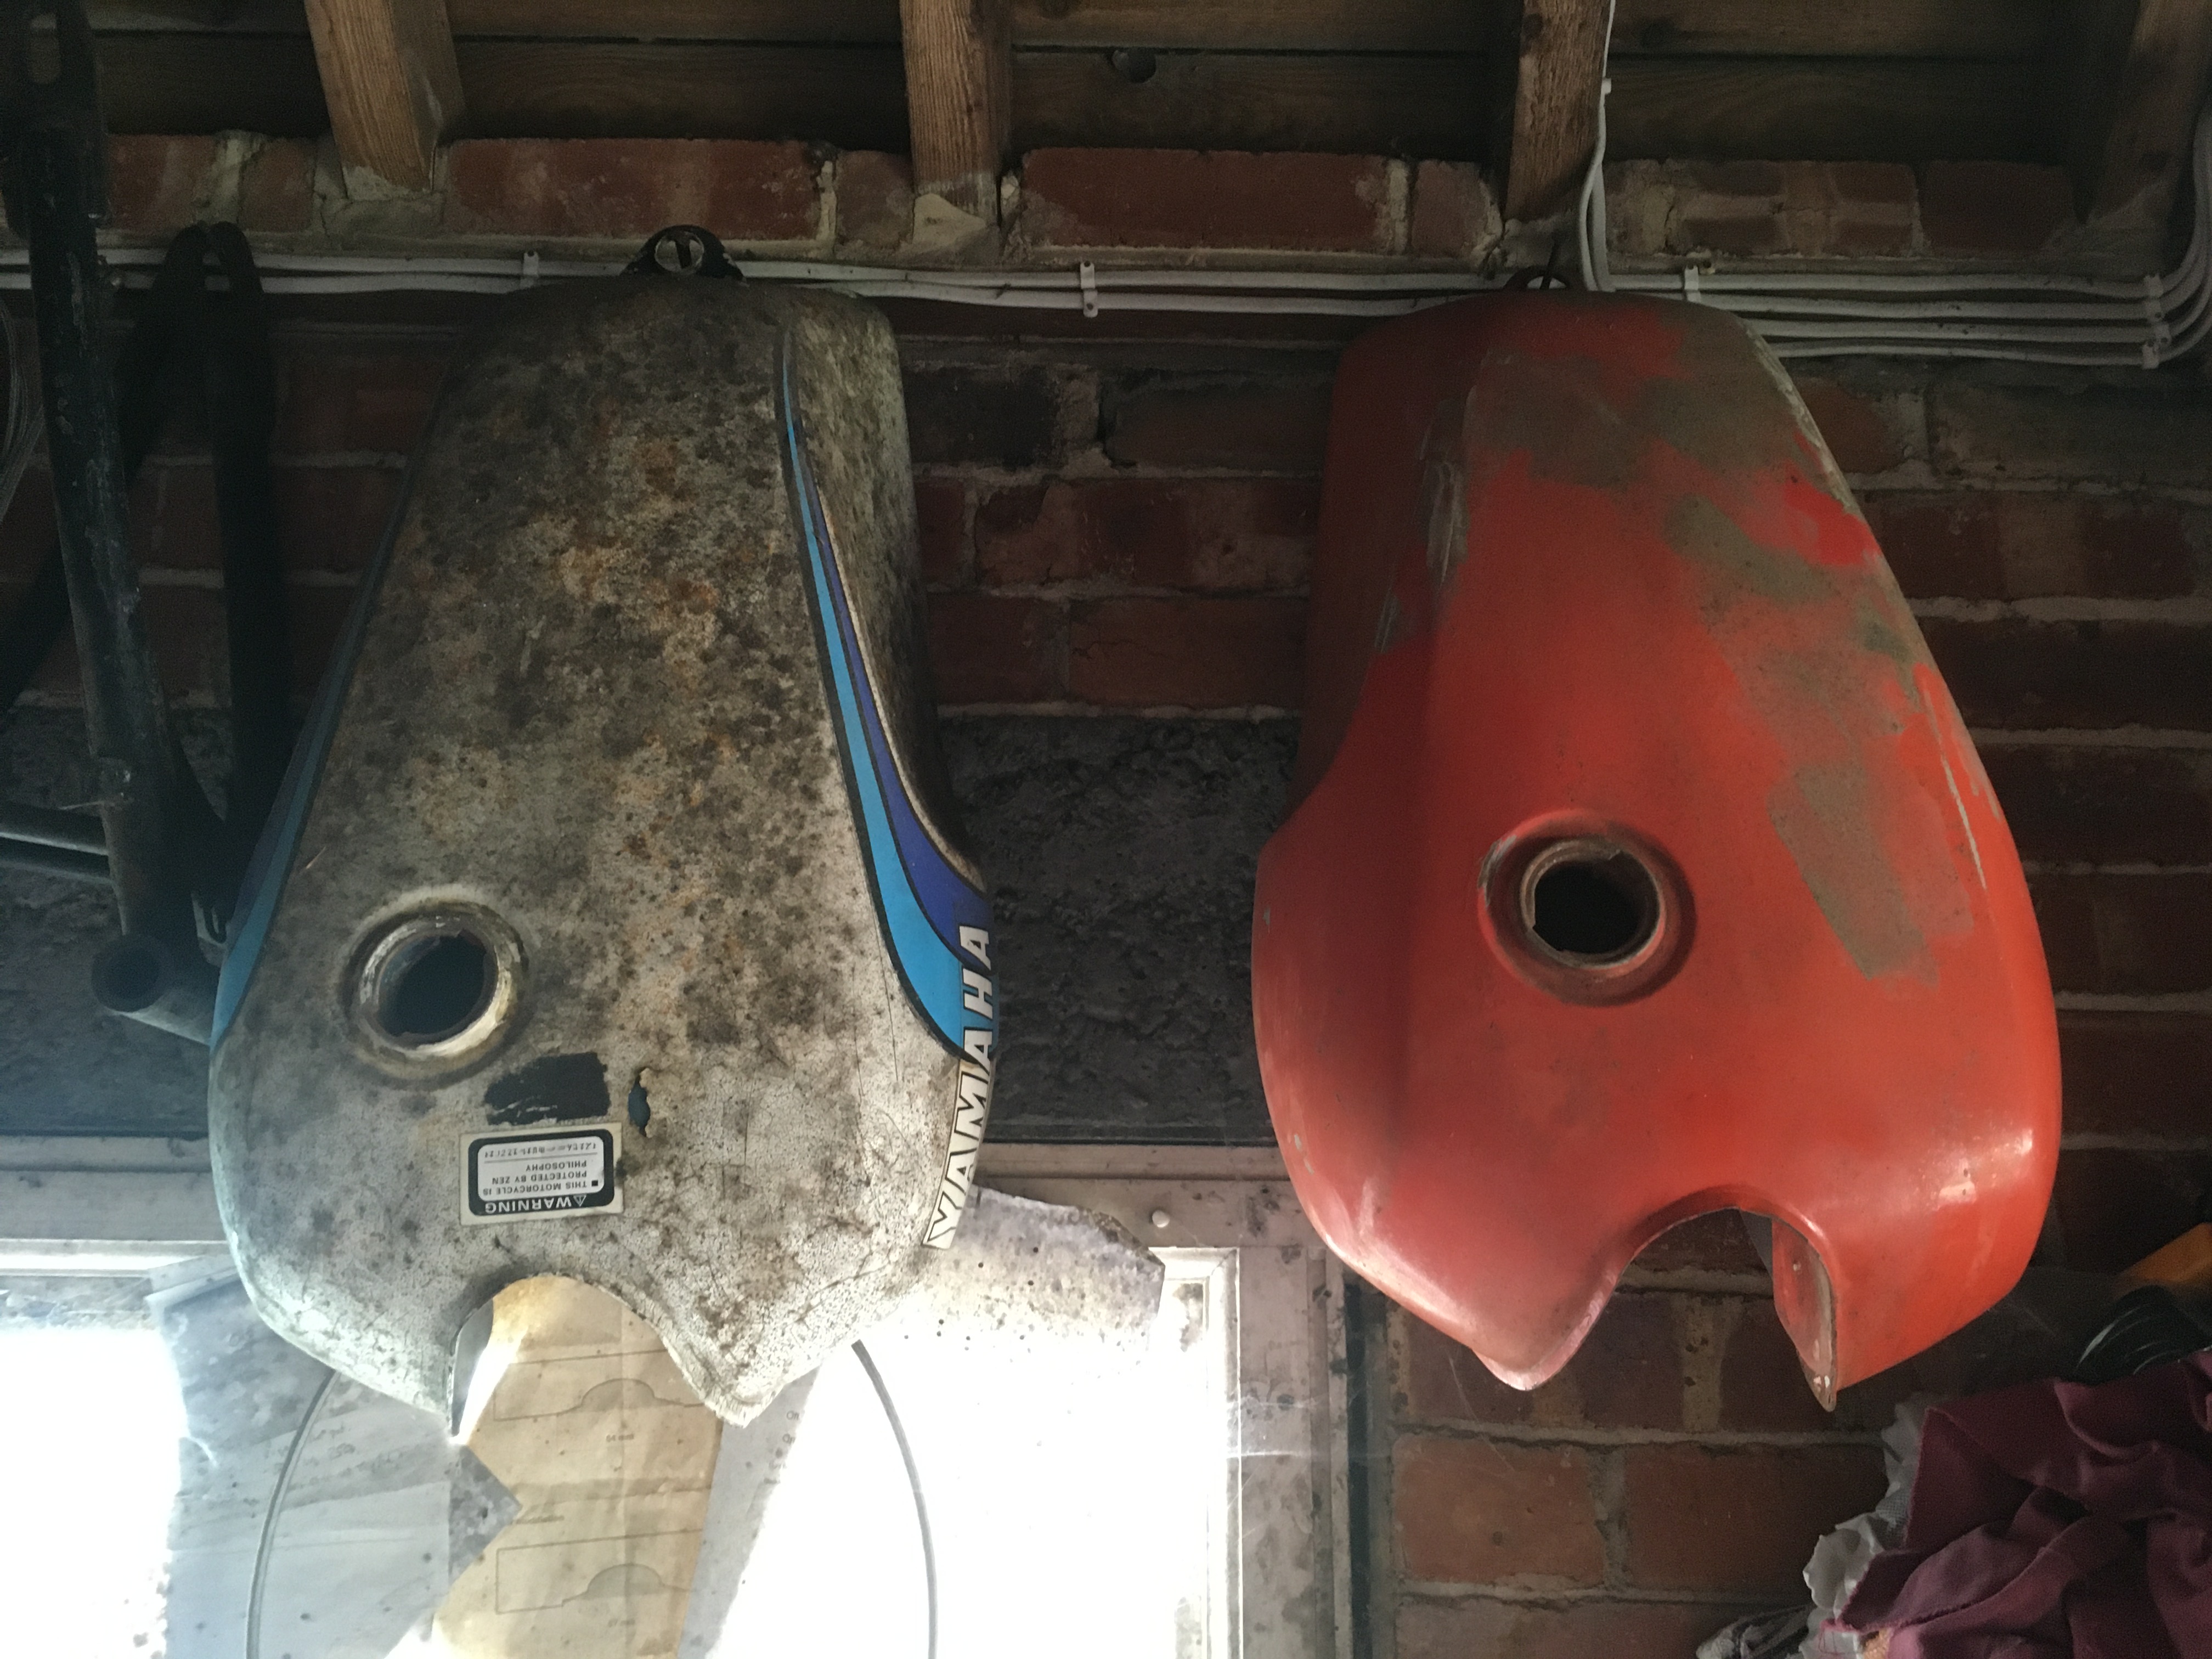
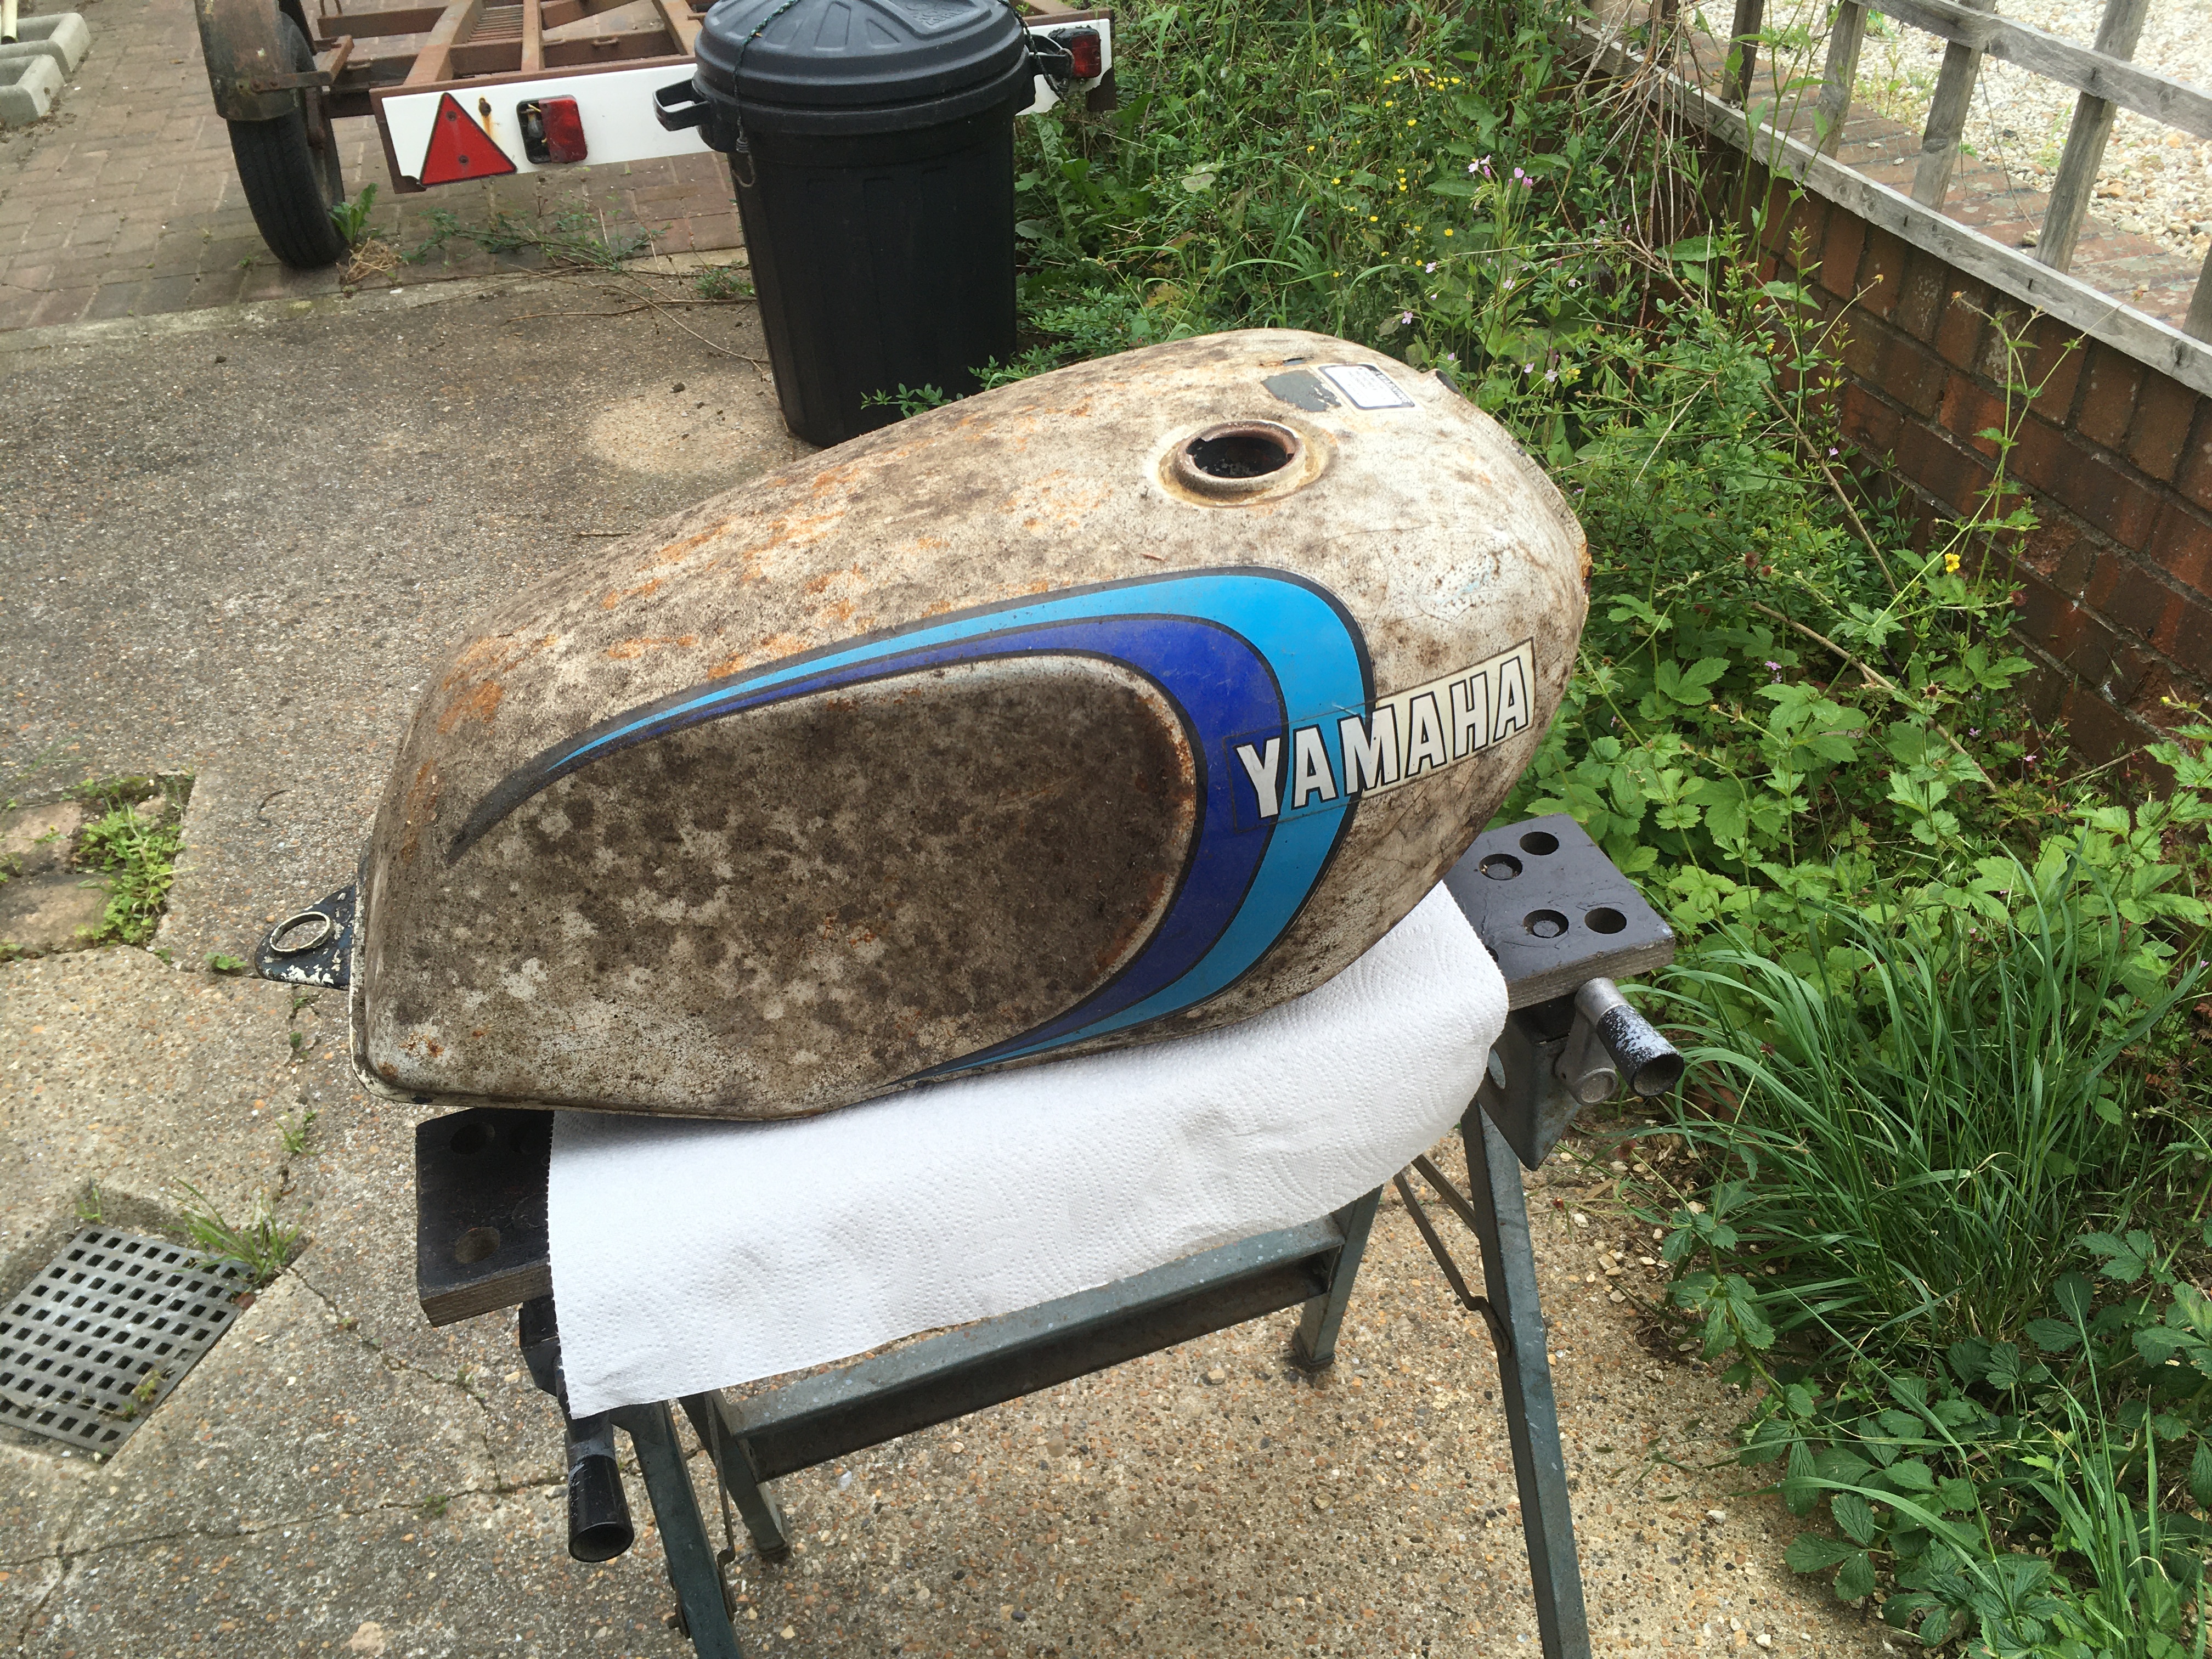
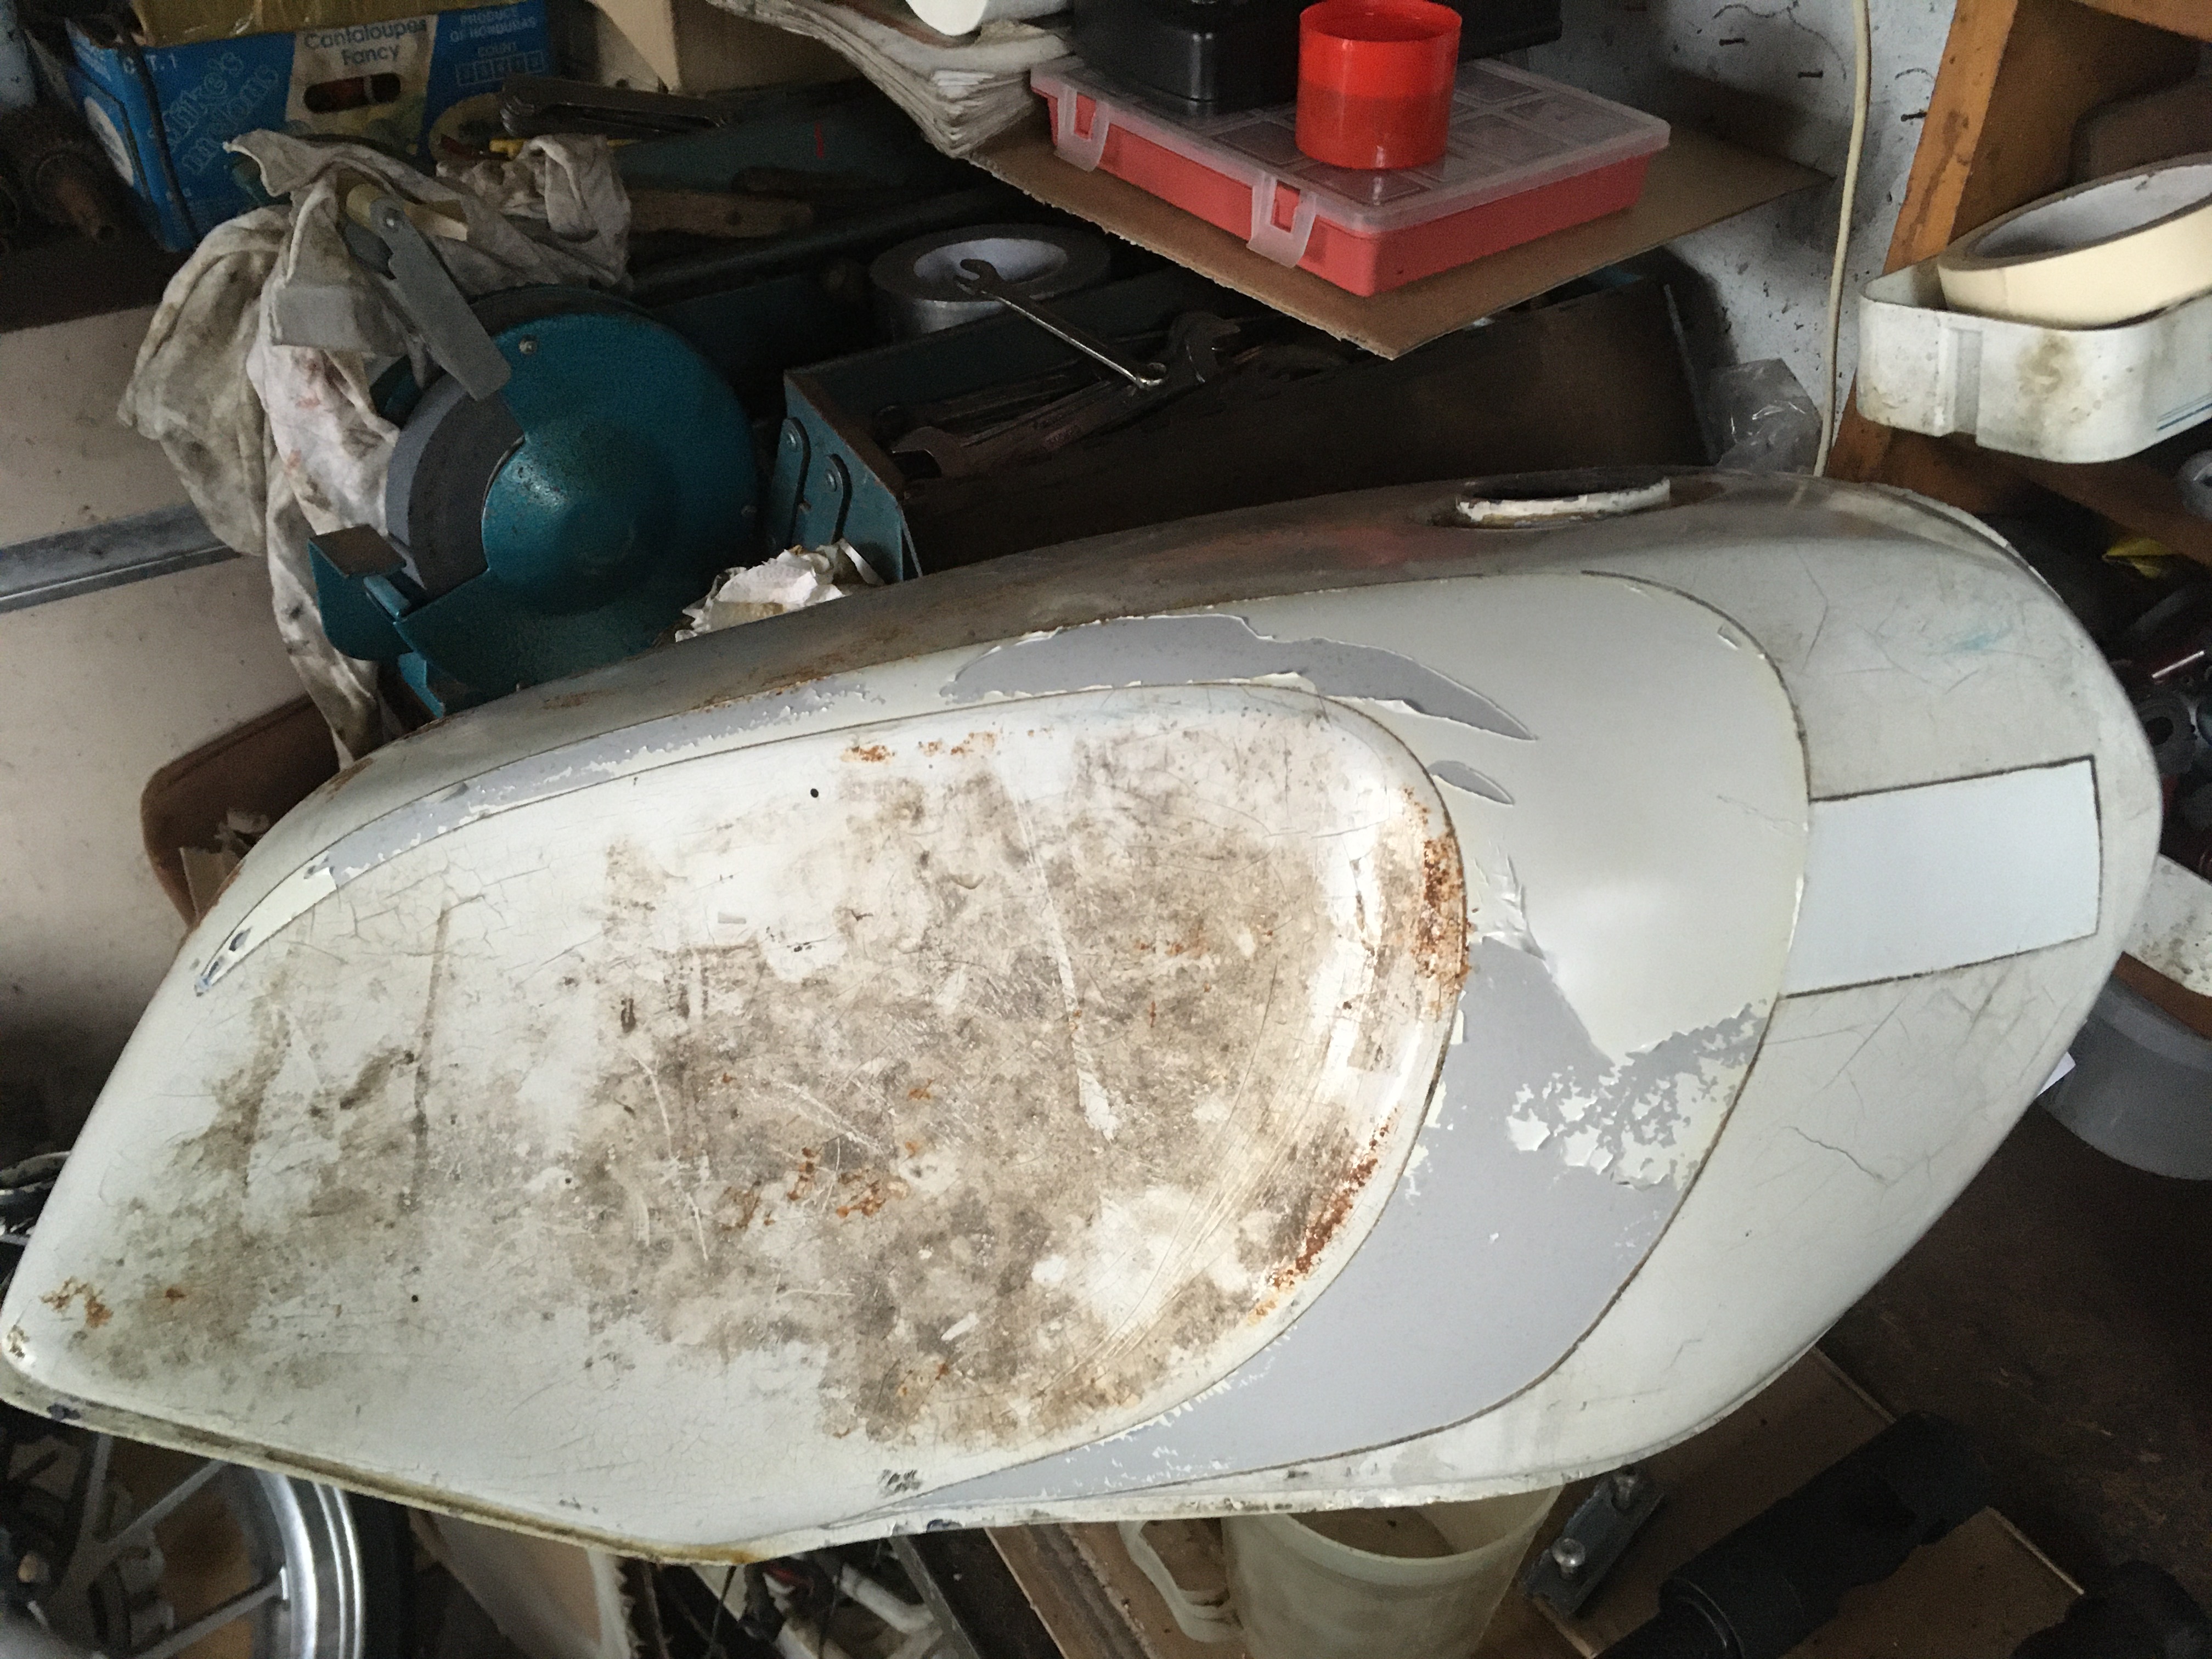
I have 3 available tanks, all known to have been repaired with quantities of pug some years ago. The donor bike tank, and these two which have been hanging on the wall for 25 years.
i have chosen the oldest and dirtiest to try and clean up as an experiment, having found some instructions for interior cleaning using household chemicals, on a website… this page.
1) Caustic soda, will apparently dissolve the old sealant.
2) Hydrochloric acid (Gets rid of the rust)
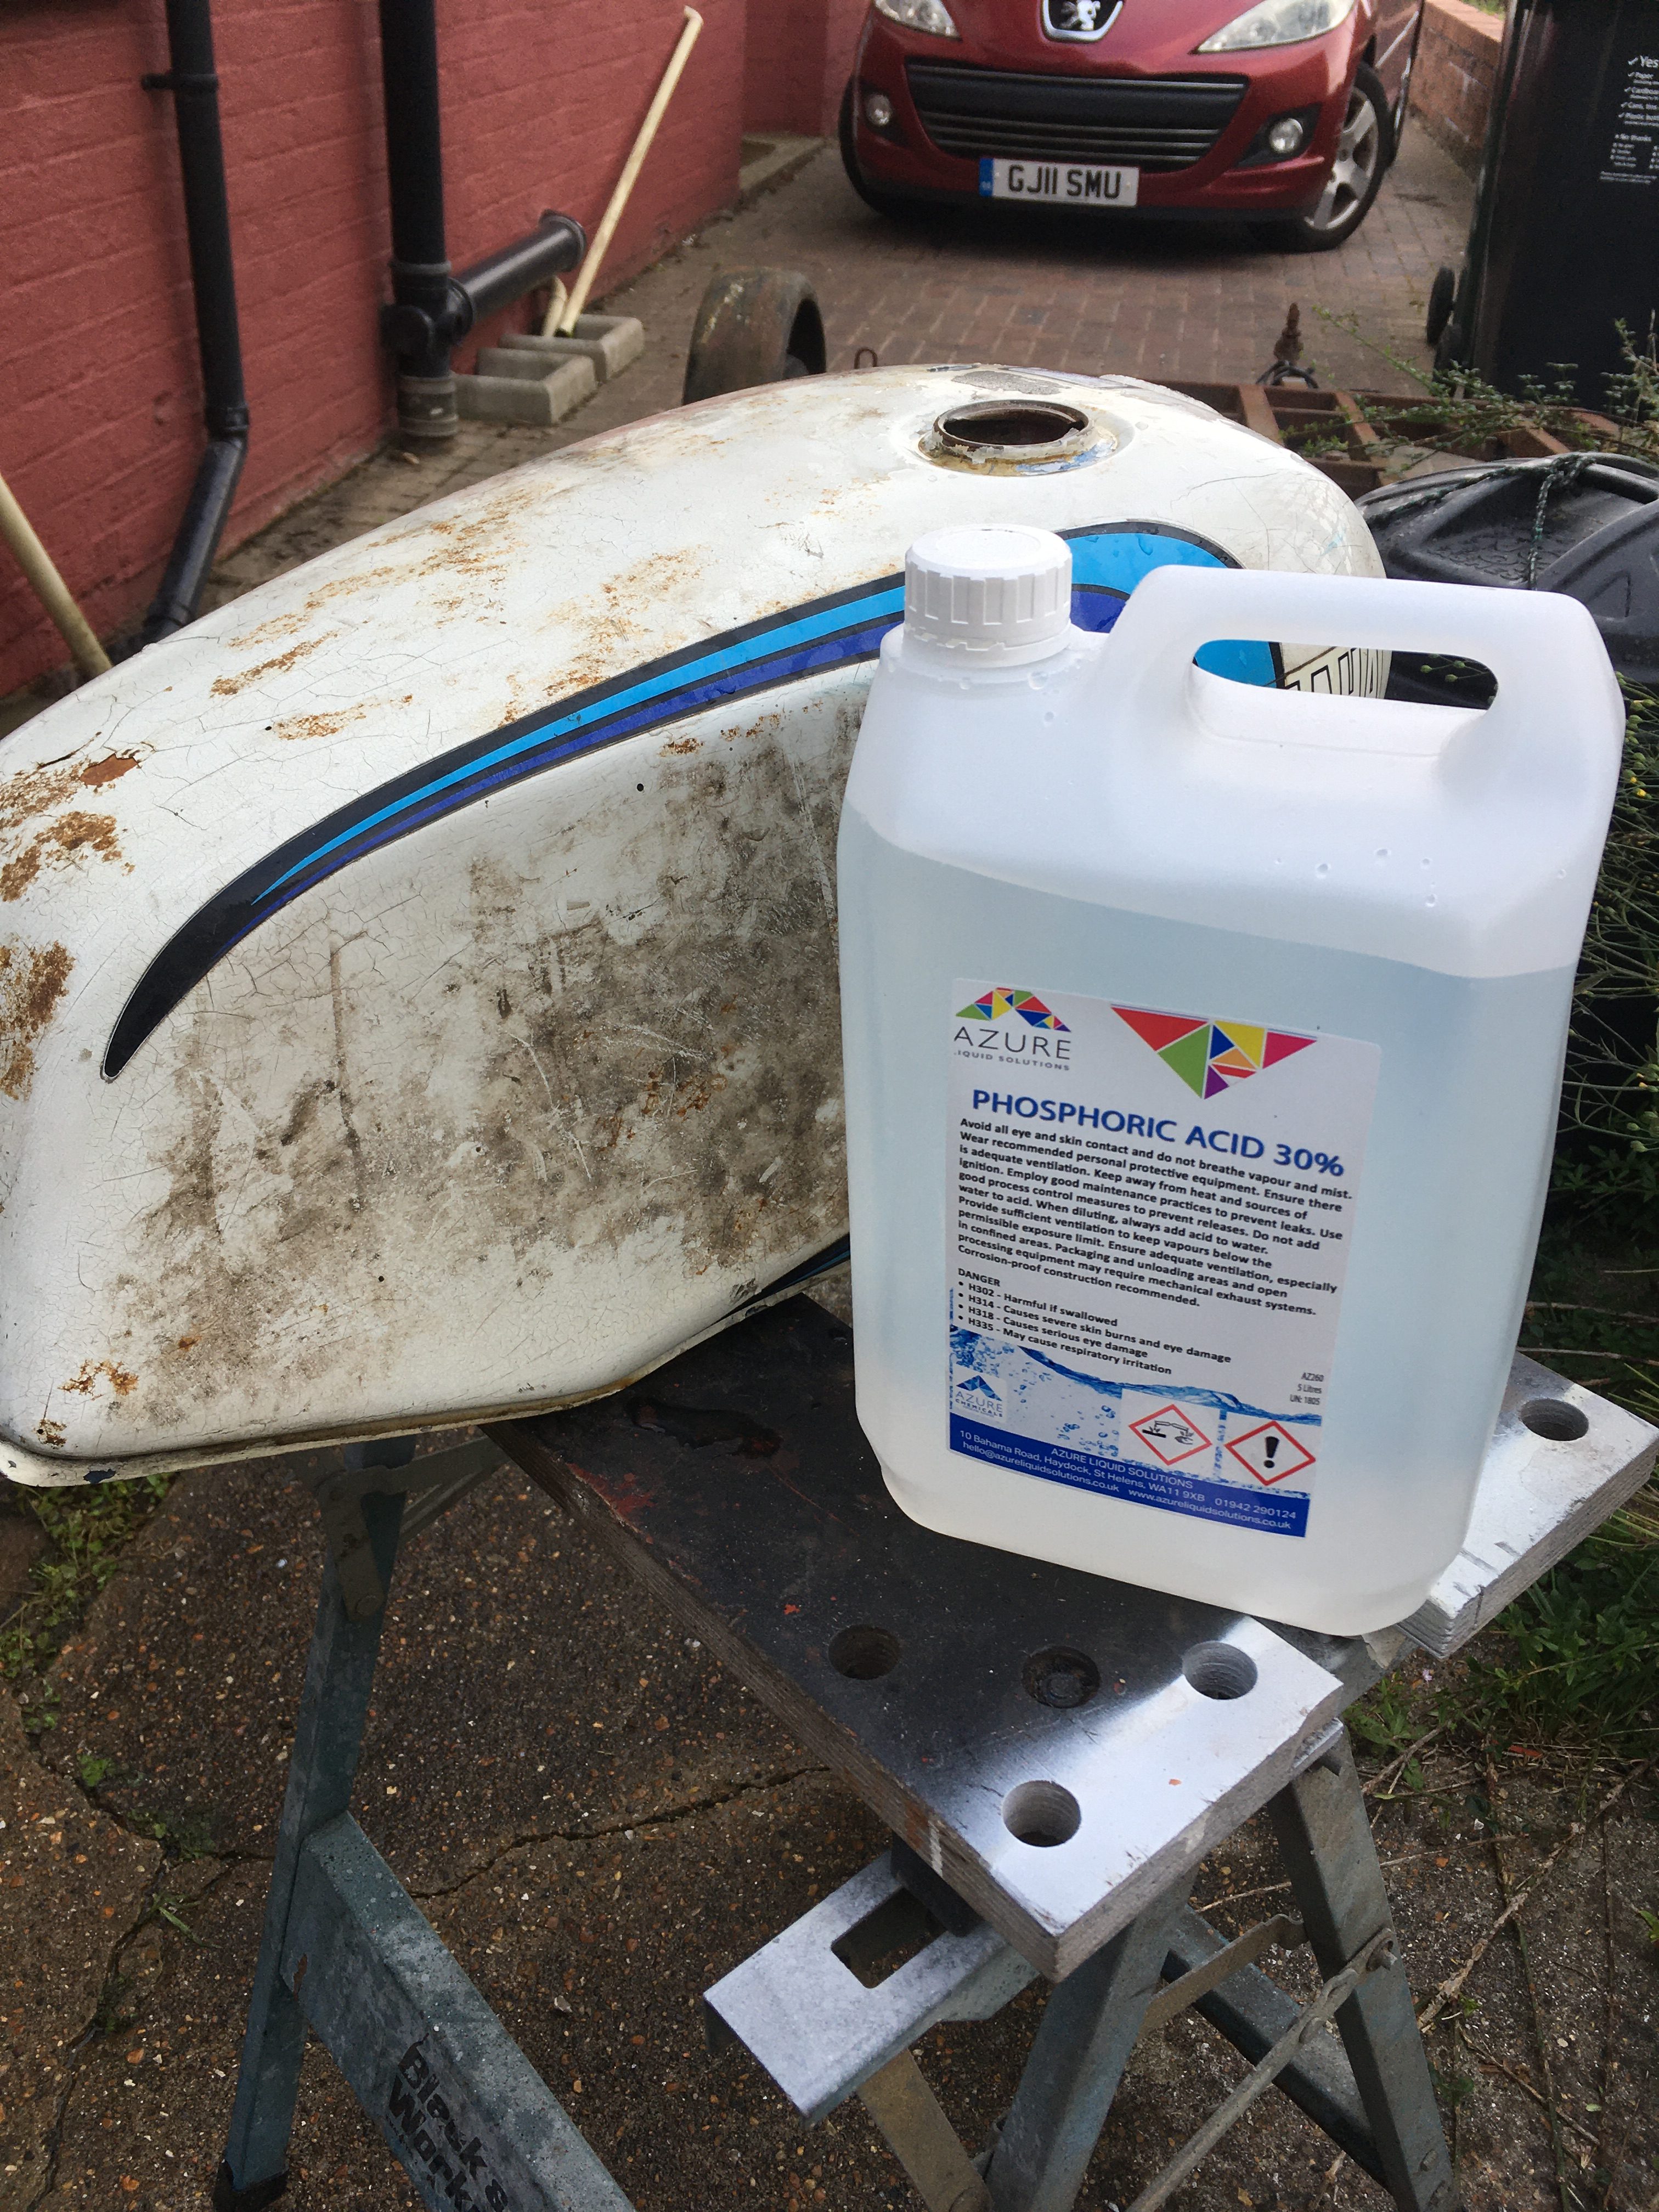
3) Phosphoric acid (Etches the surface and provides a protective layer)
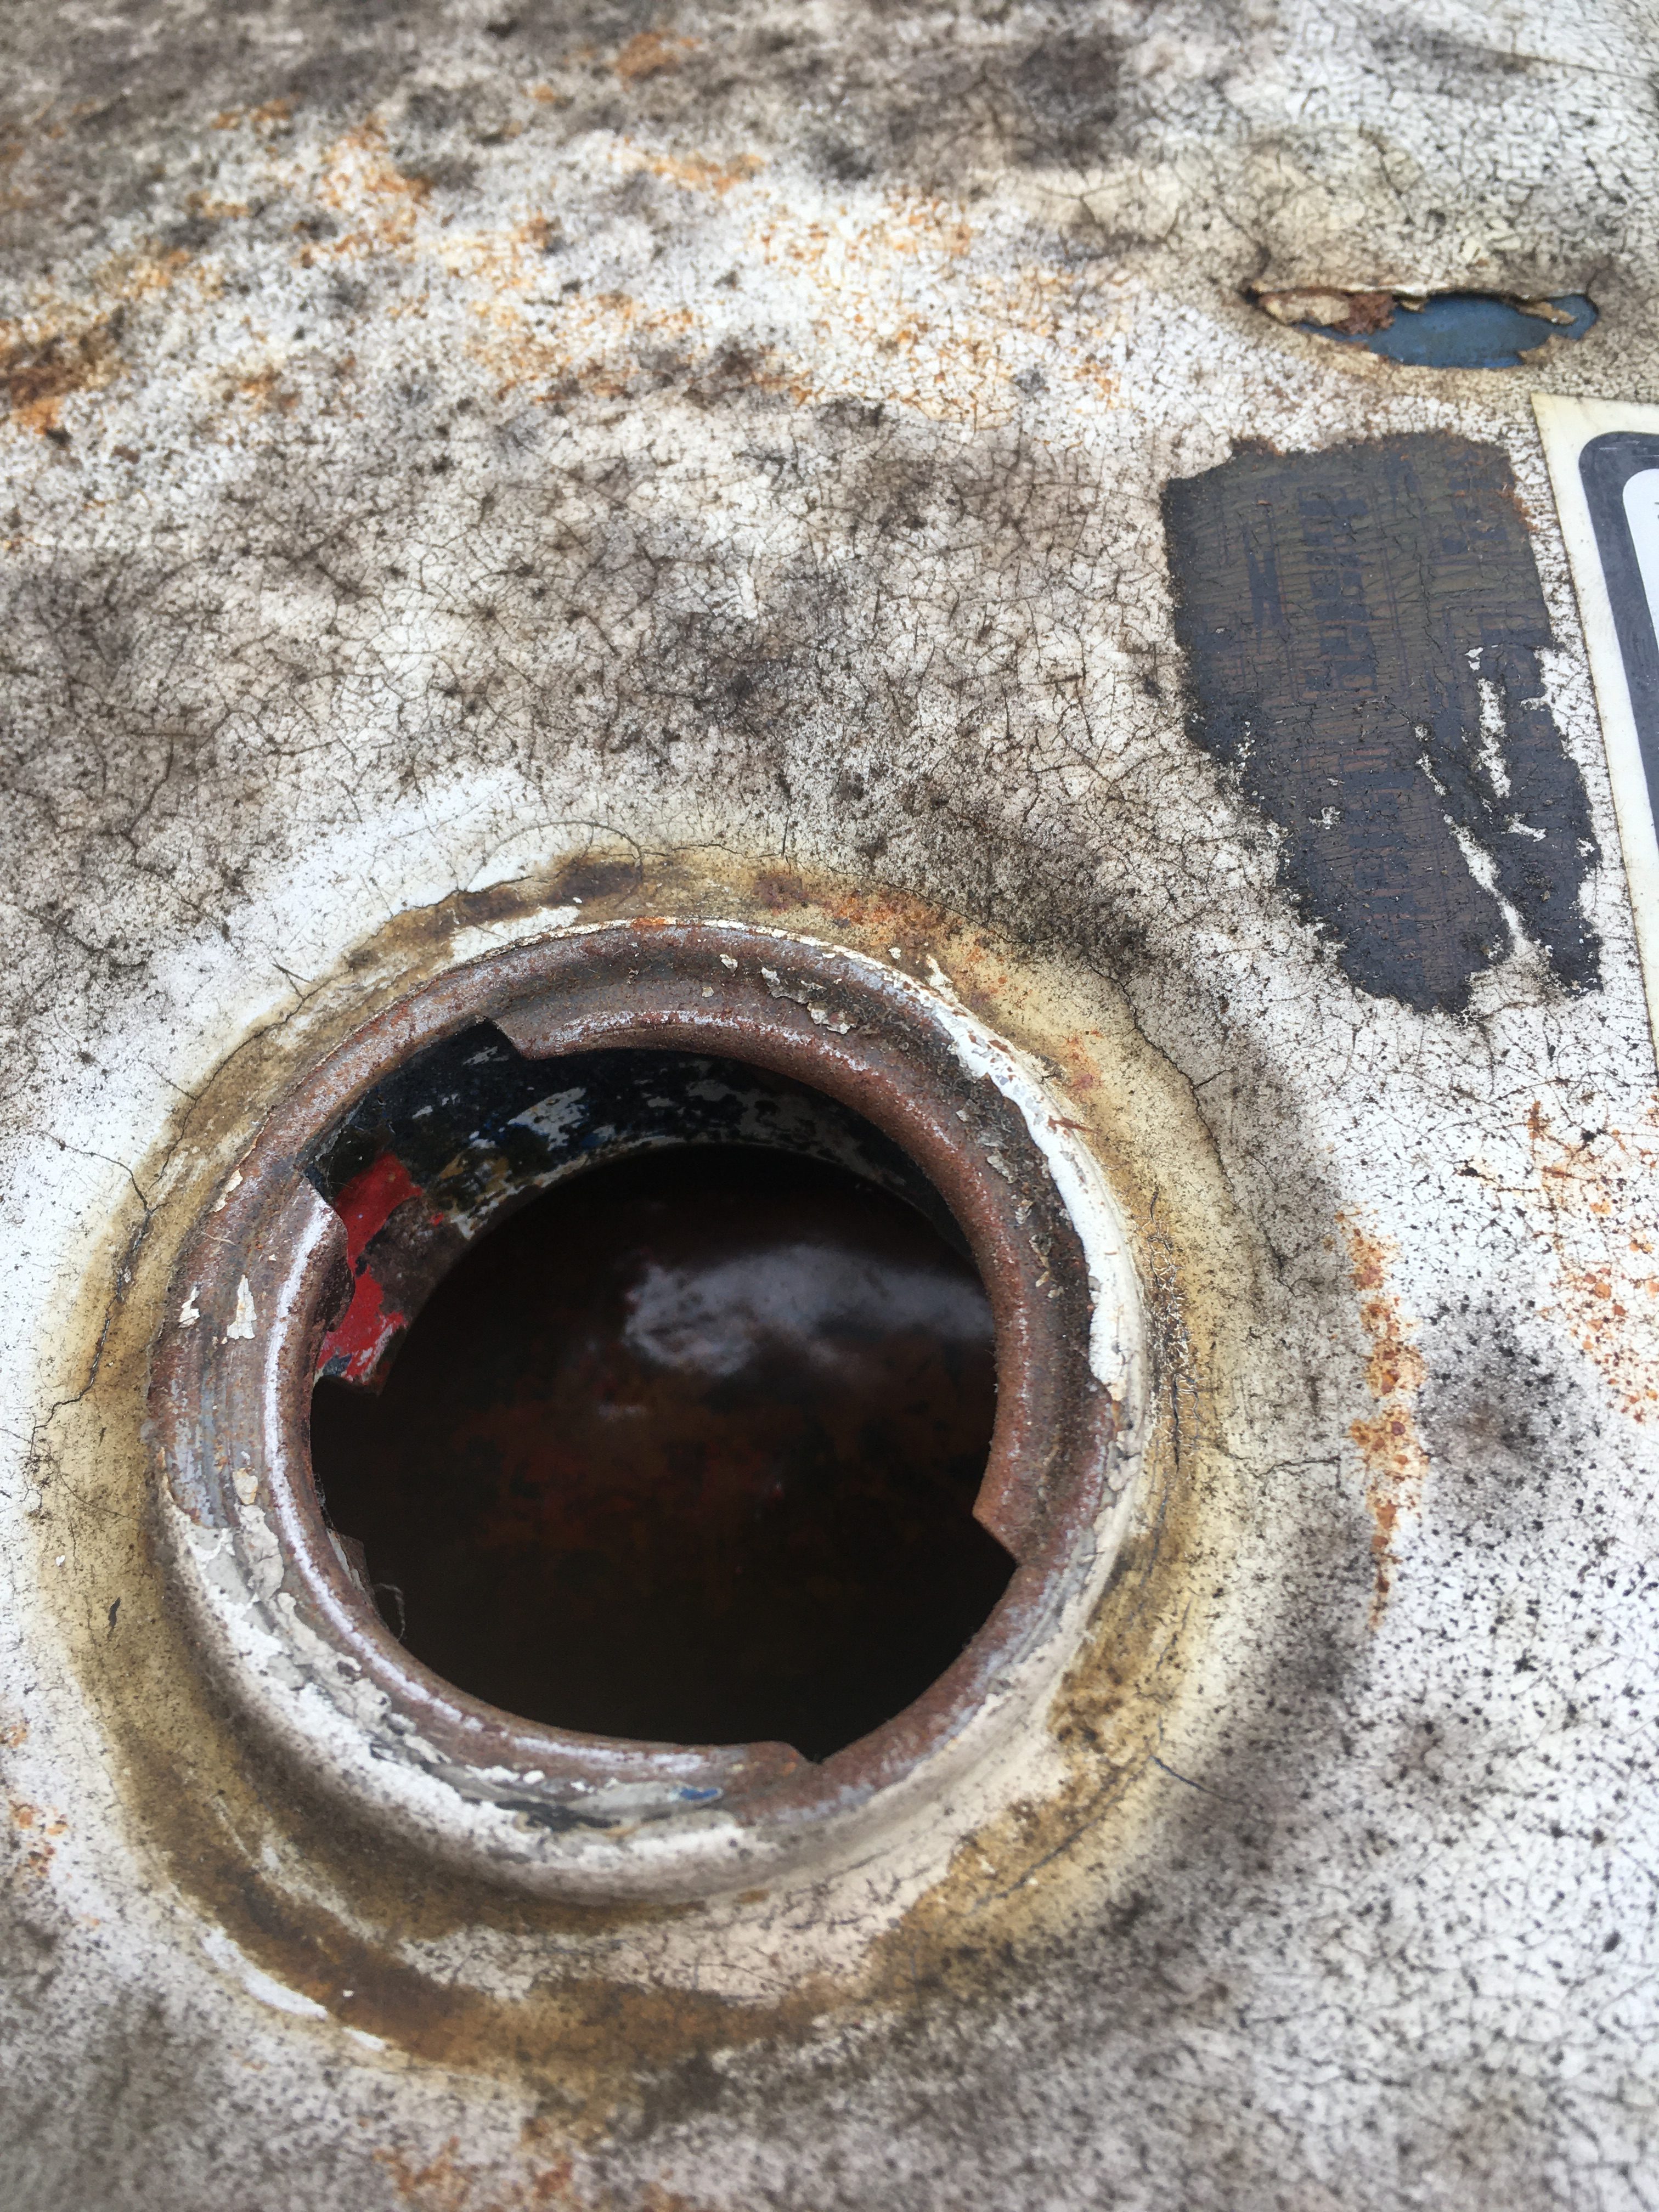
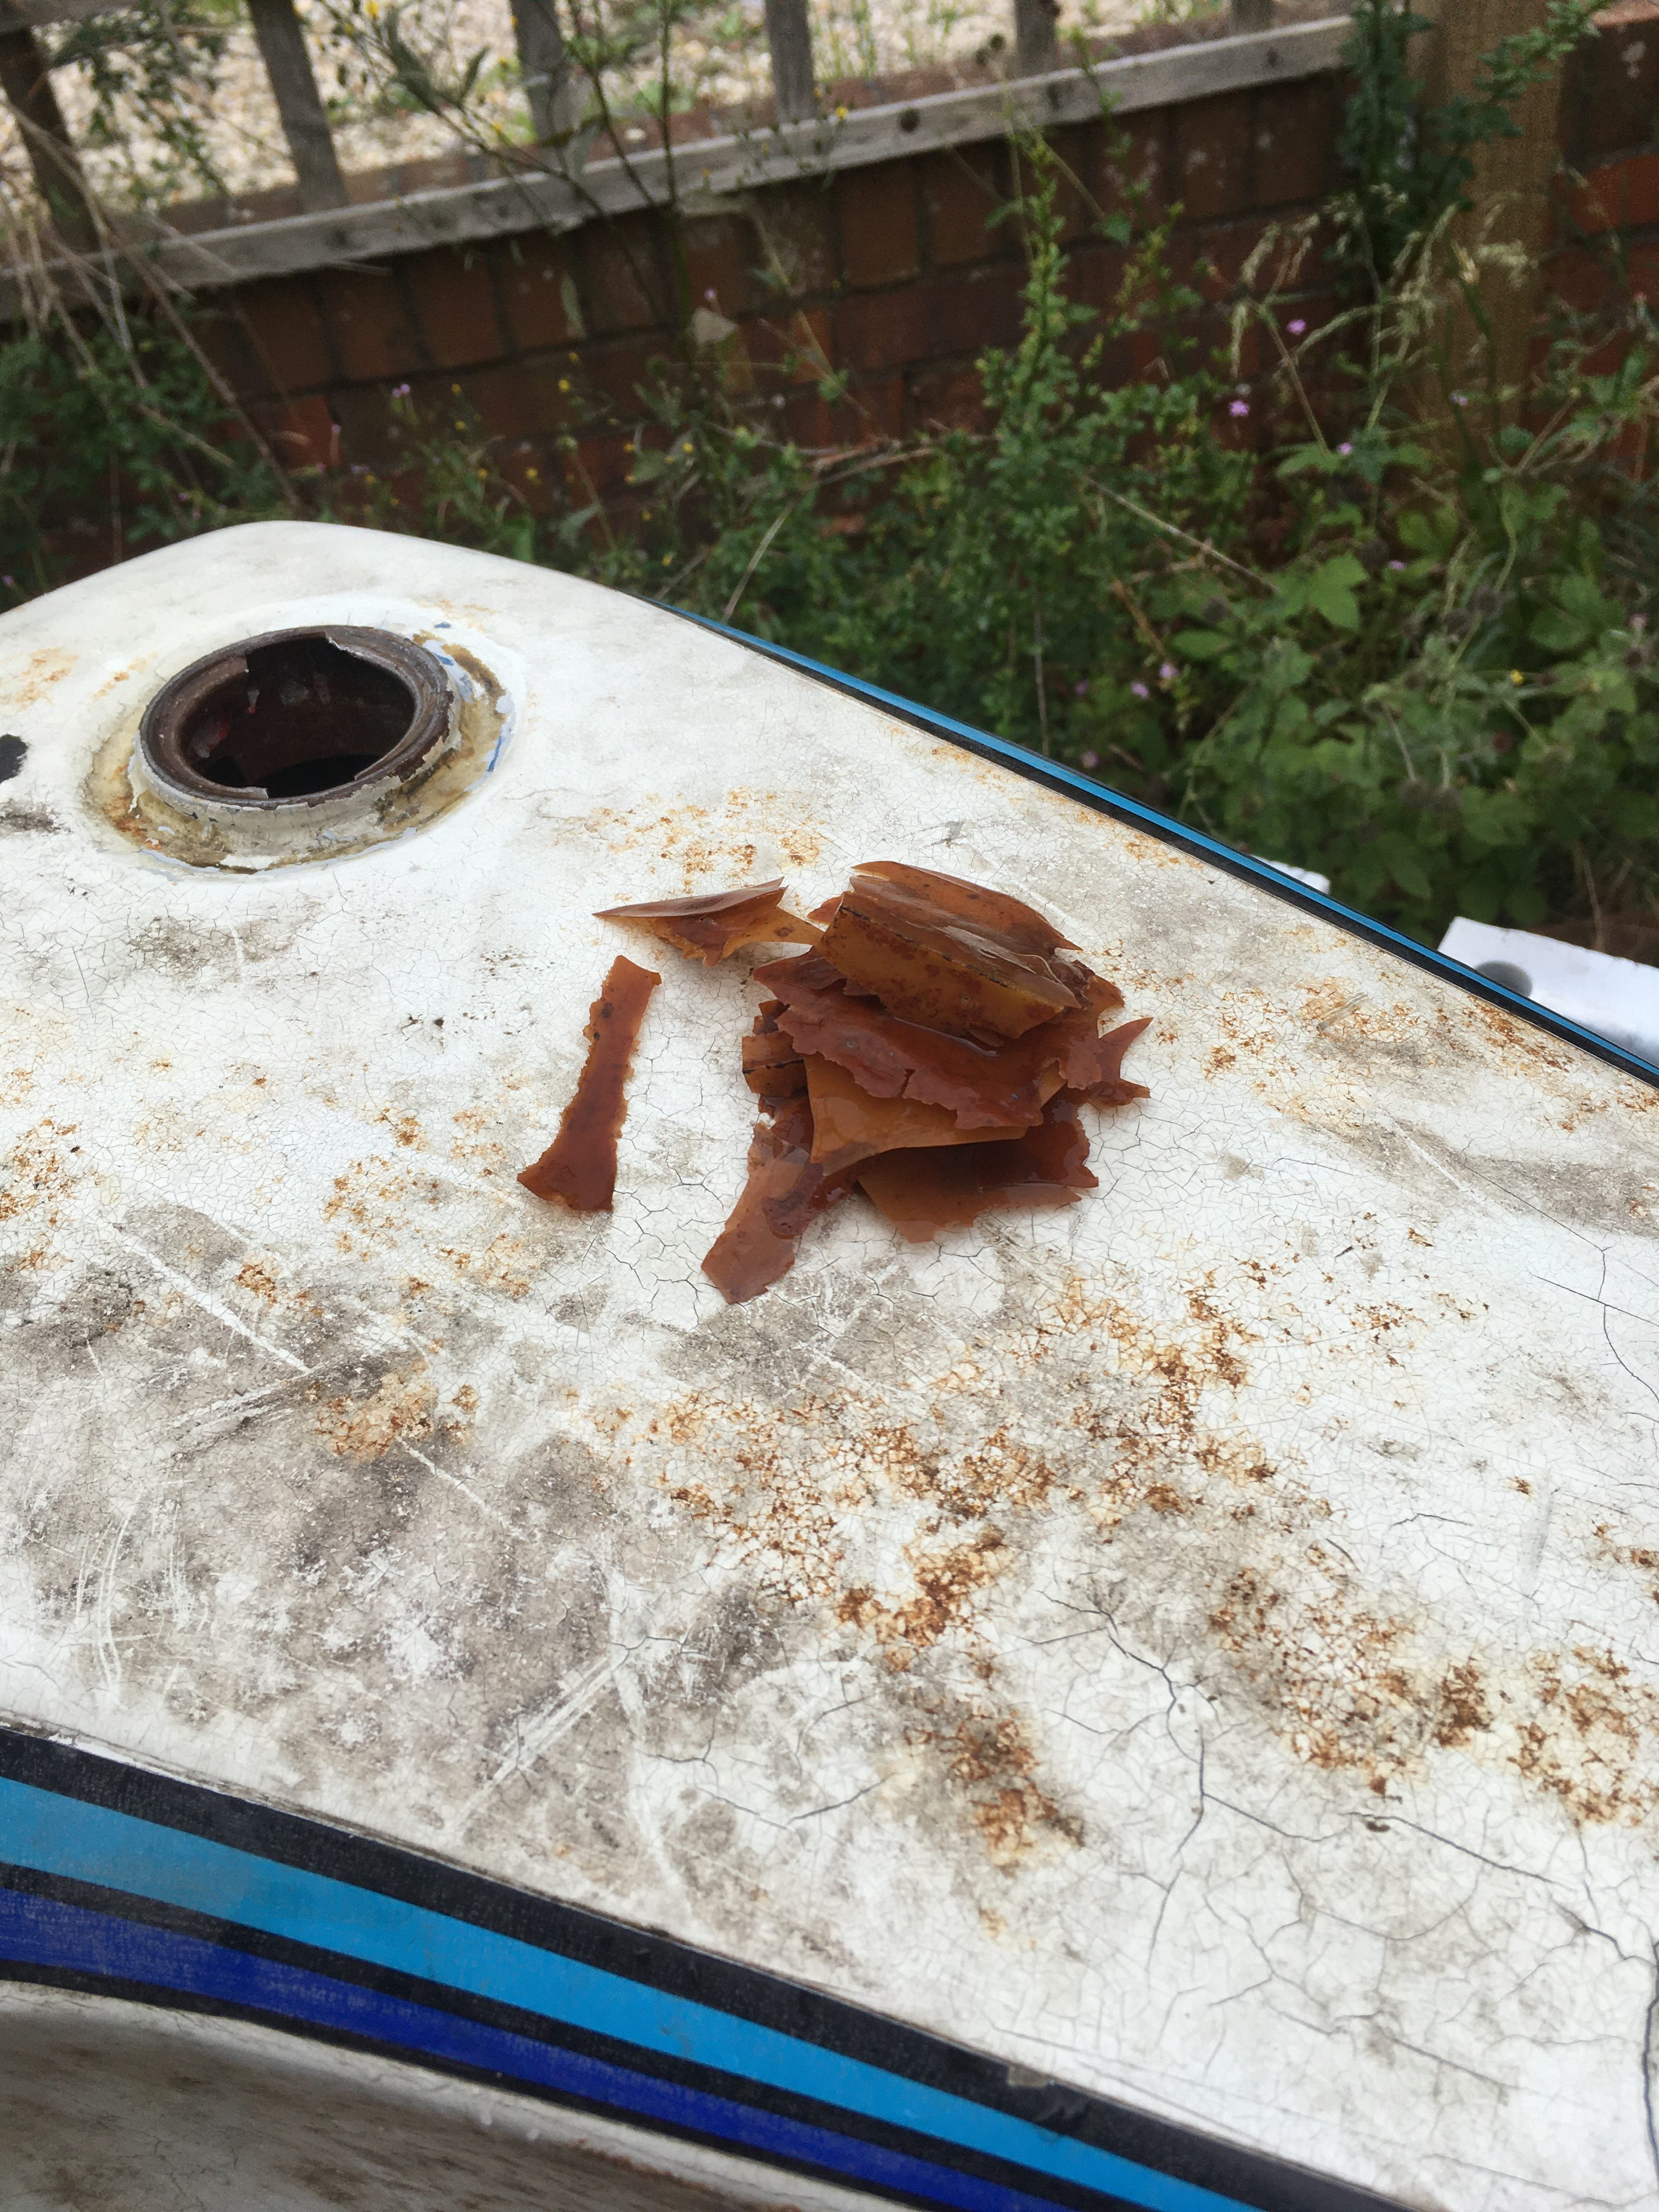
This tank has been lined with some kind of sealant in the past. It looks like a thick epoxy type of covering, and parts of it are breaking off and rattling around in the tank. It all has to come out.
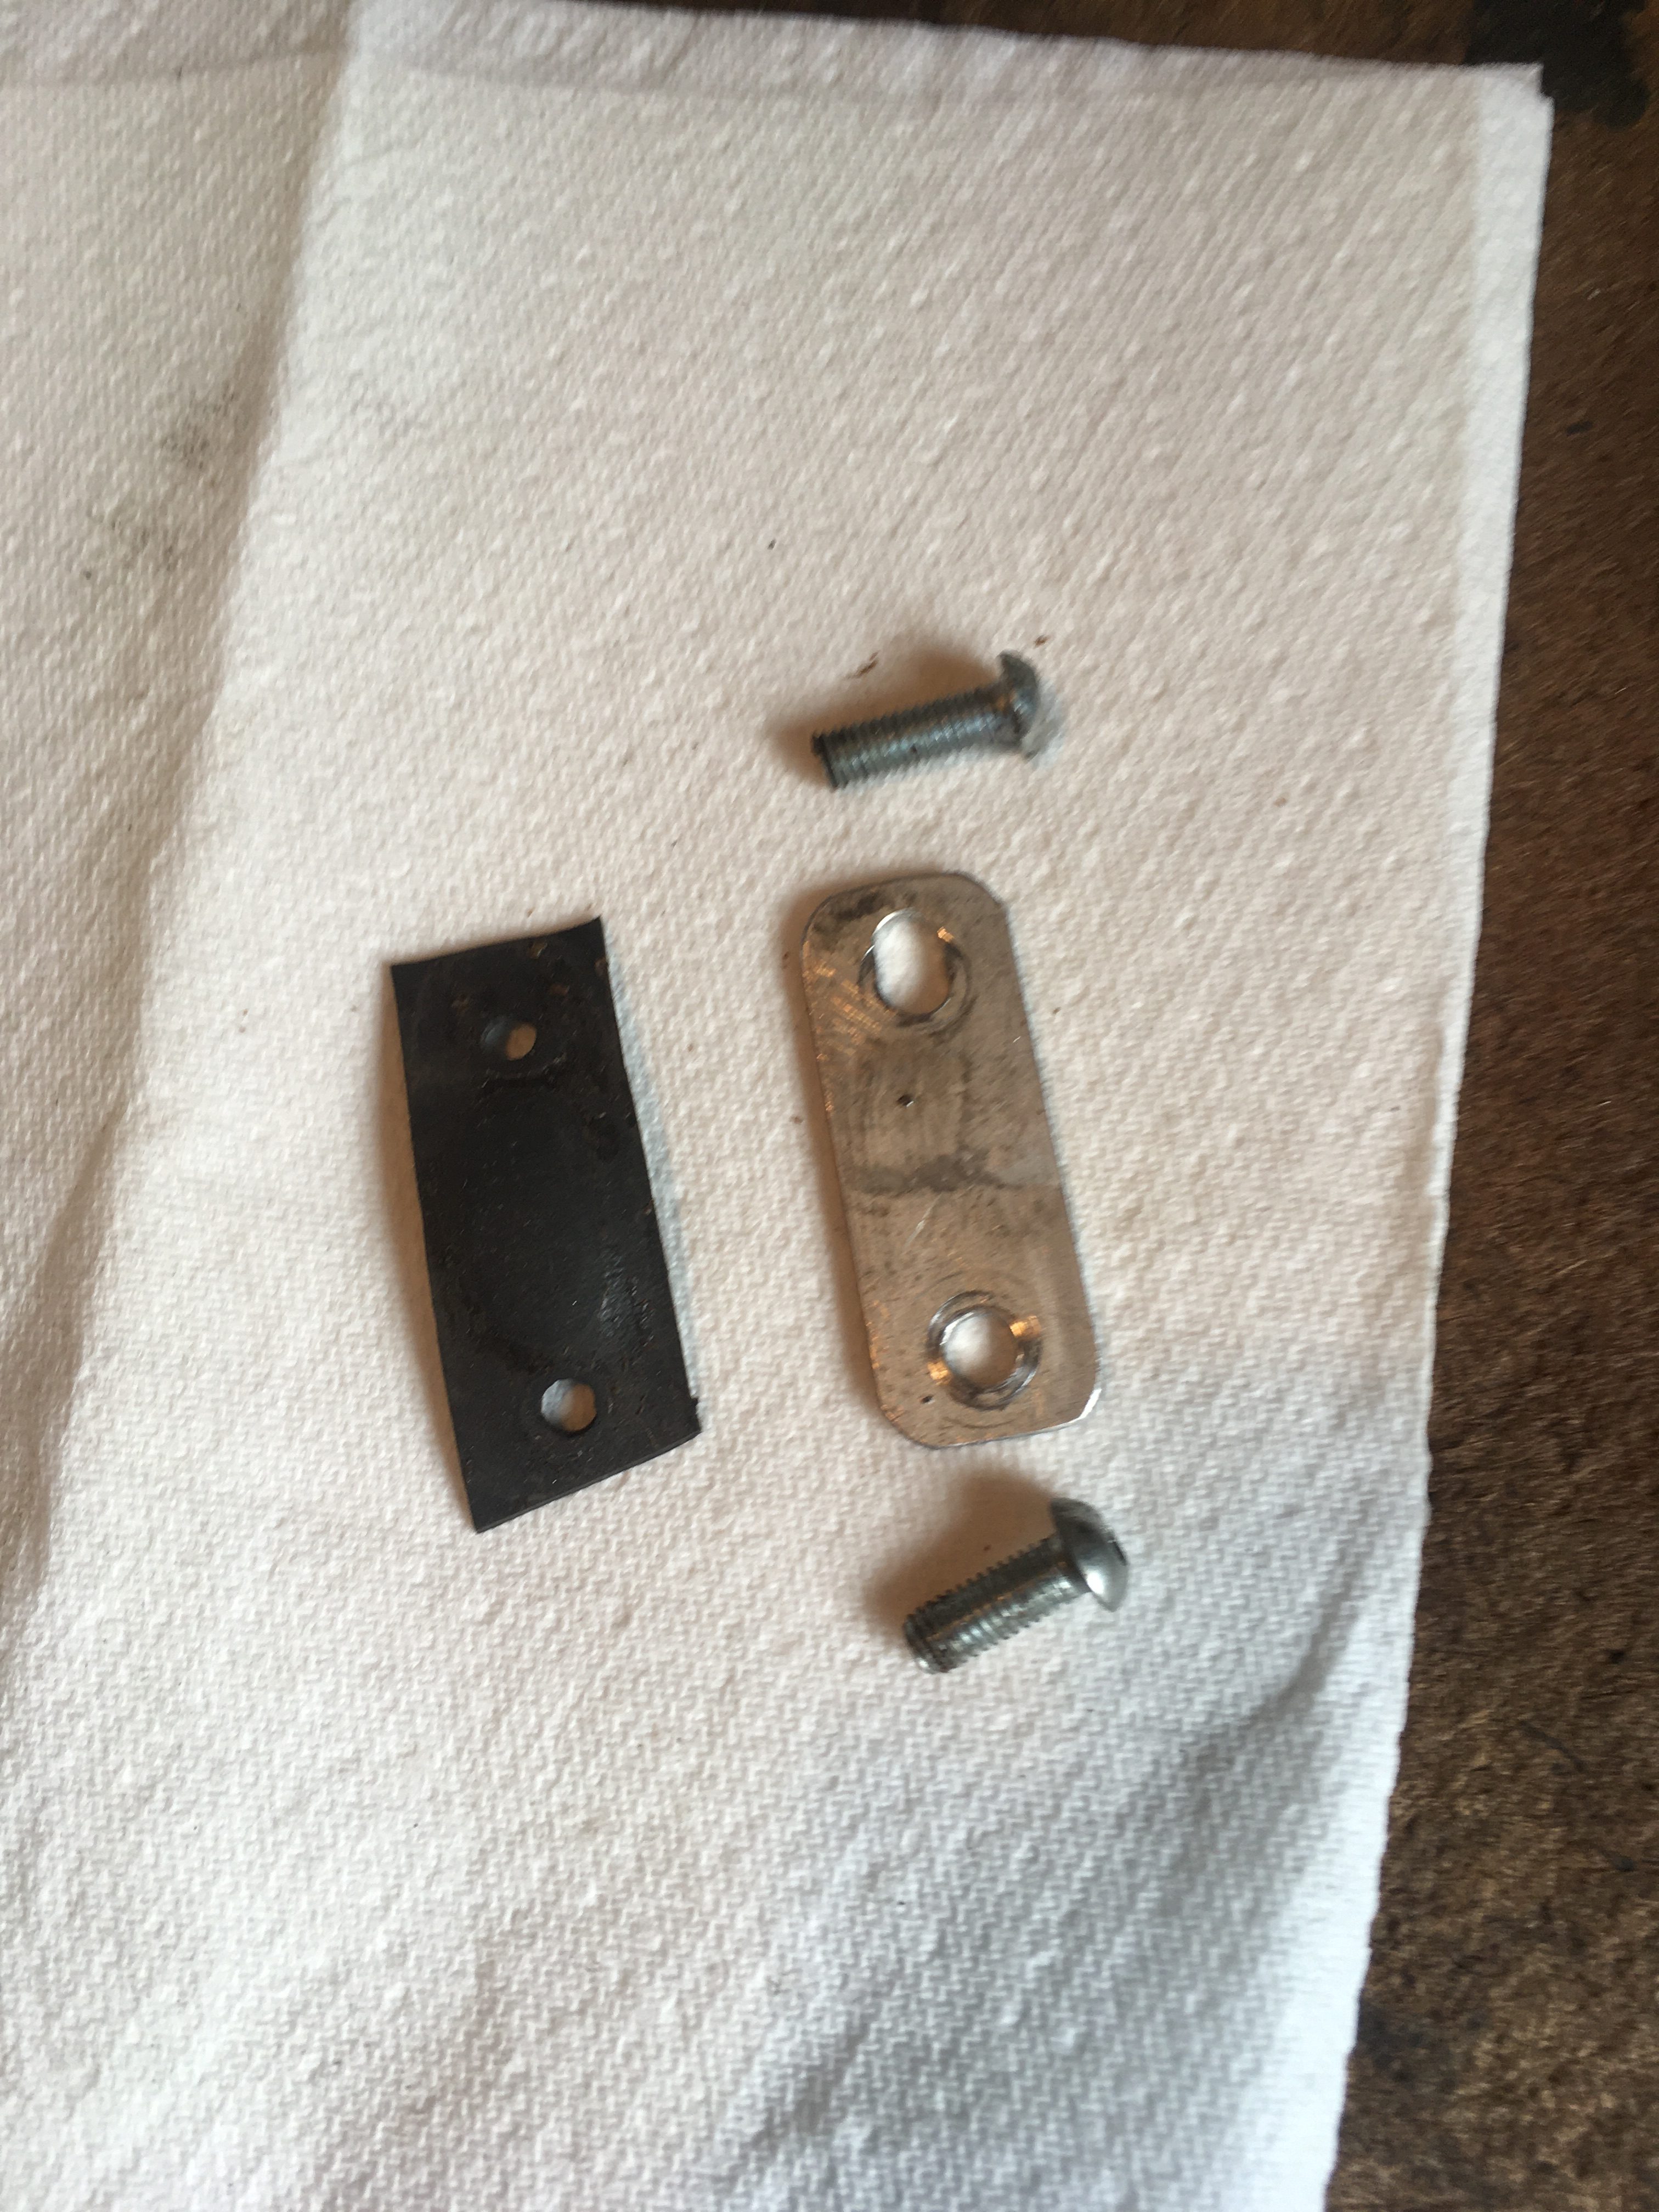
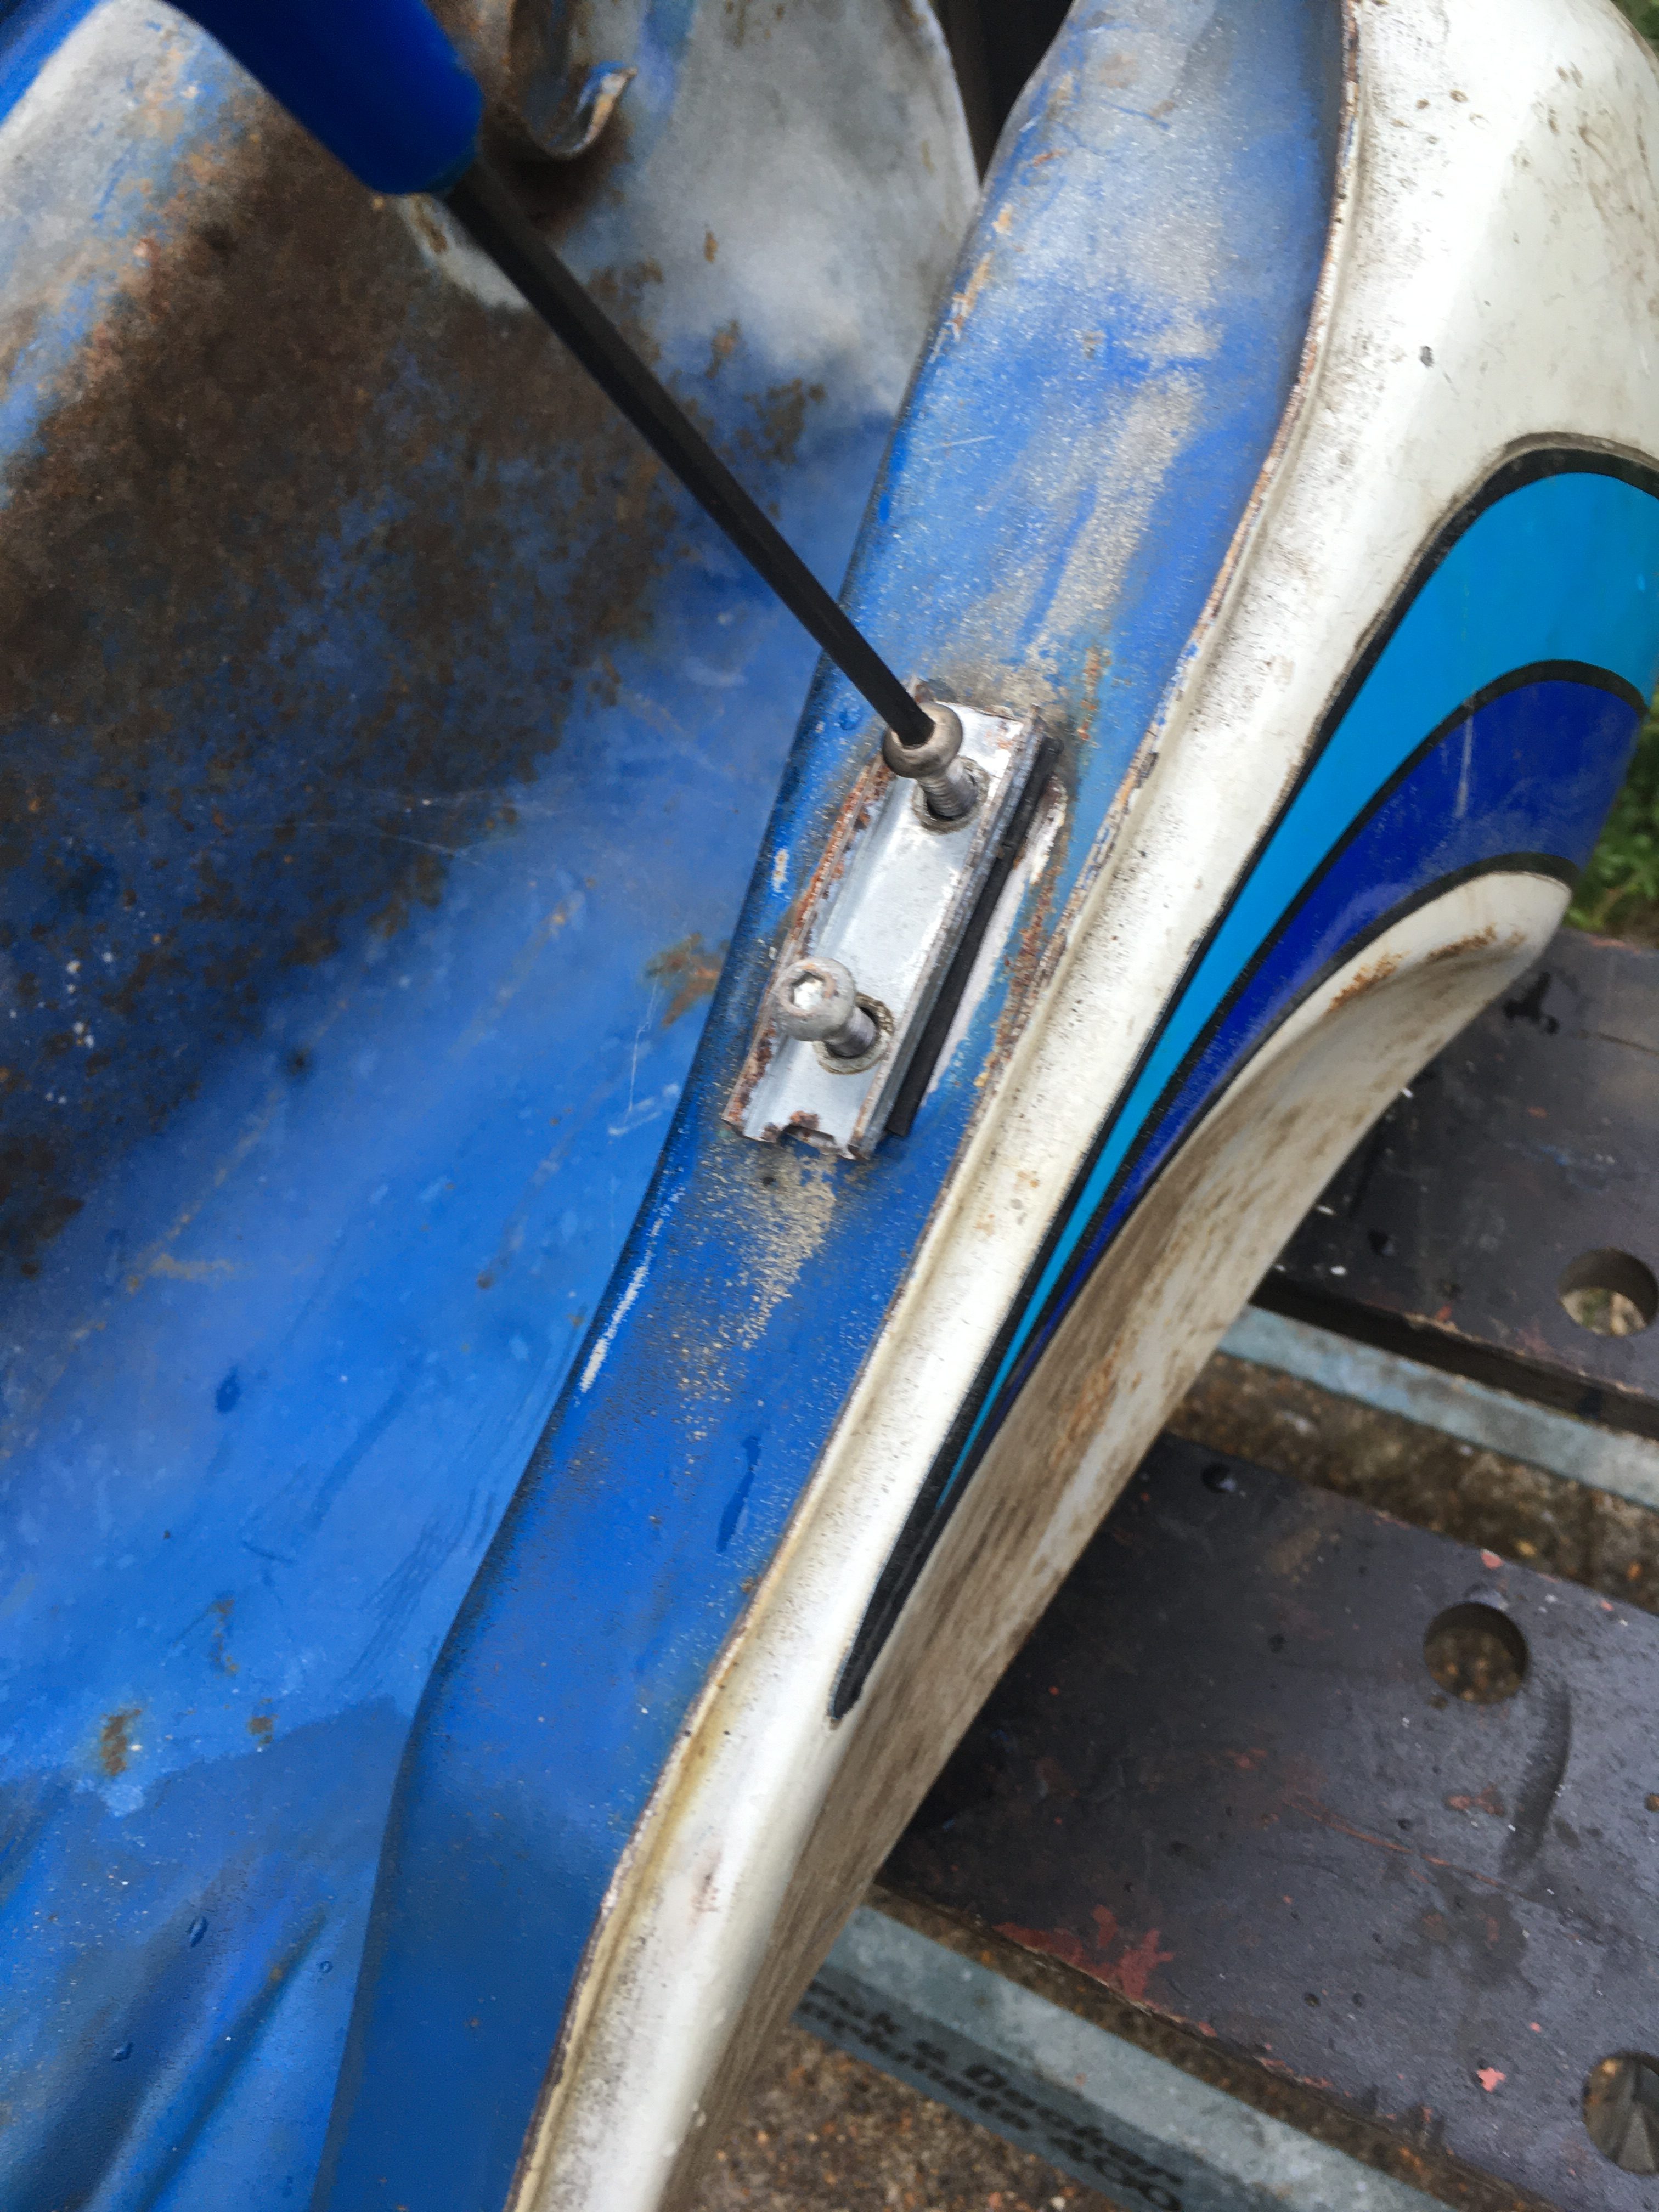
I filled the tank to within a couple of inches of the filler hole with water, after fashioning a blanking plate from a bit of scrap steel and a strip of rubber from an old inner tube. (Don’t use aluminium as I did for my first attempt, the caustic does seem to travel down the screw threads a bit, and completely dissolved the aluminium away.
Tip a whole 500g tub of caustic soda into the tank, and gently rock from side to side to dissolve it in the water. Then fill the tank to the brim, and tightly seal with a petrol cap on which the breather hole has been plugged. (I just used a bit of gaffer tape).
I then let the mixture in the tank sit for 5 days, gently rocking once or twice a day to swirl the contents around, and checking for any leaks which might be exposed by the dissolution of the sealant in the tank.
After 5 days, I emptied the drain cleaner in the tank down the drain, and hosed it out with water.
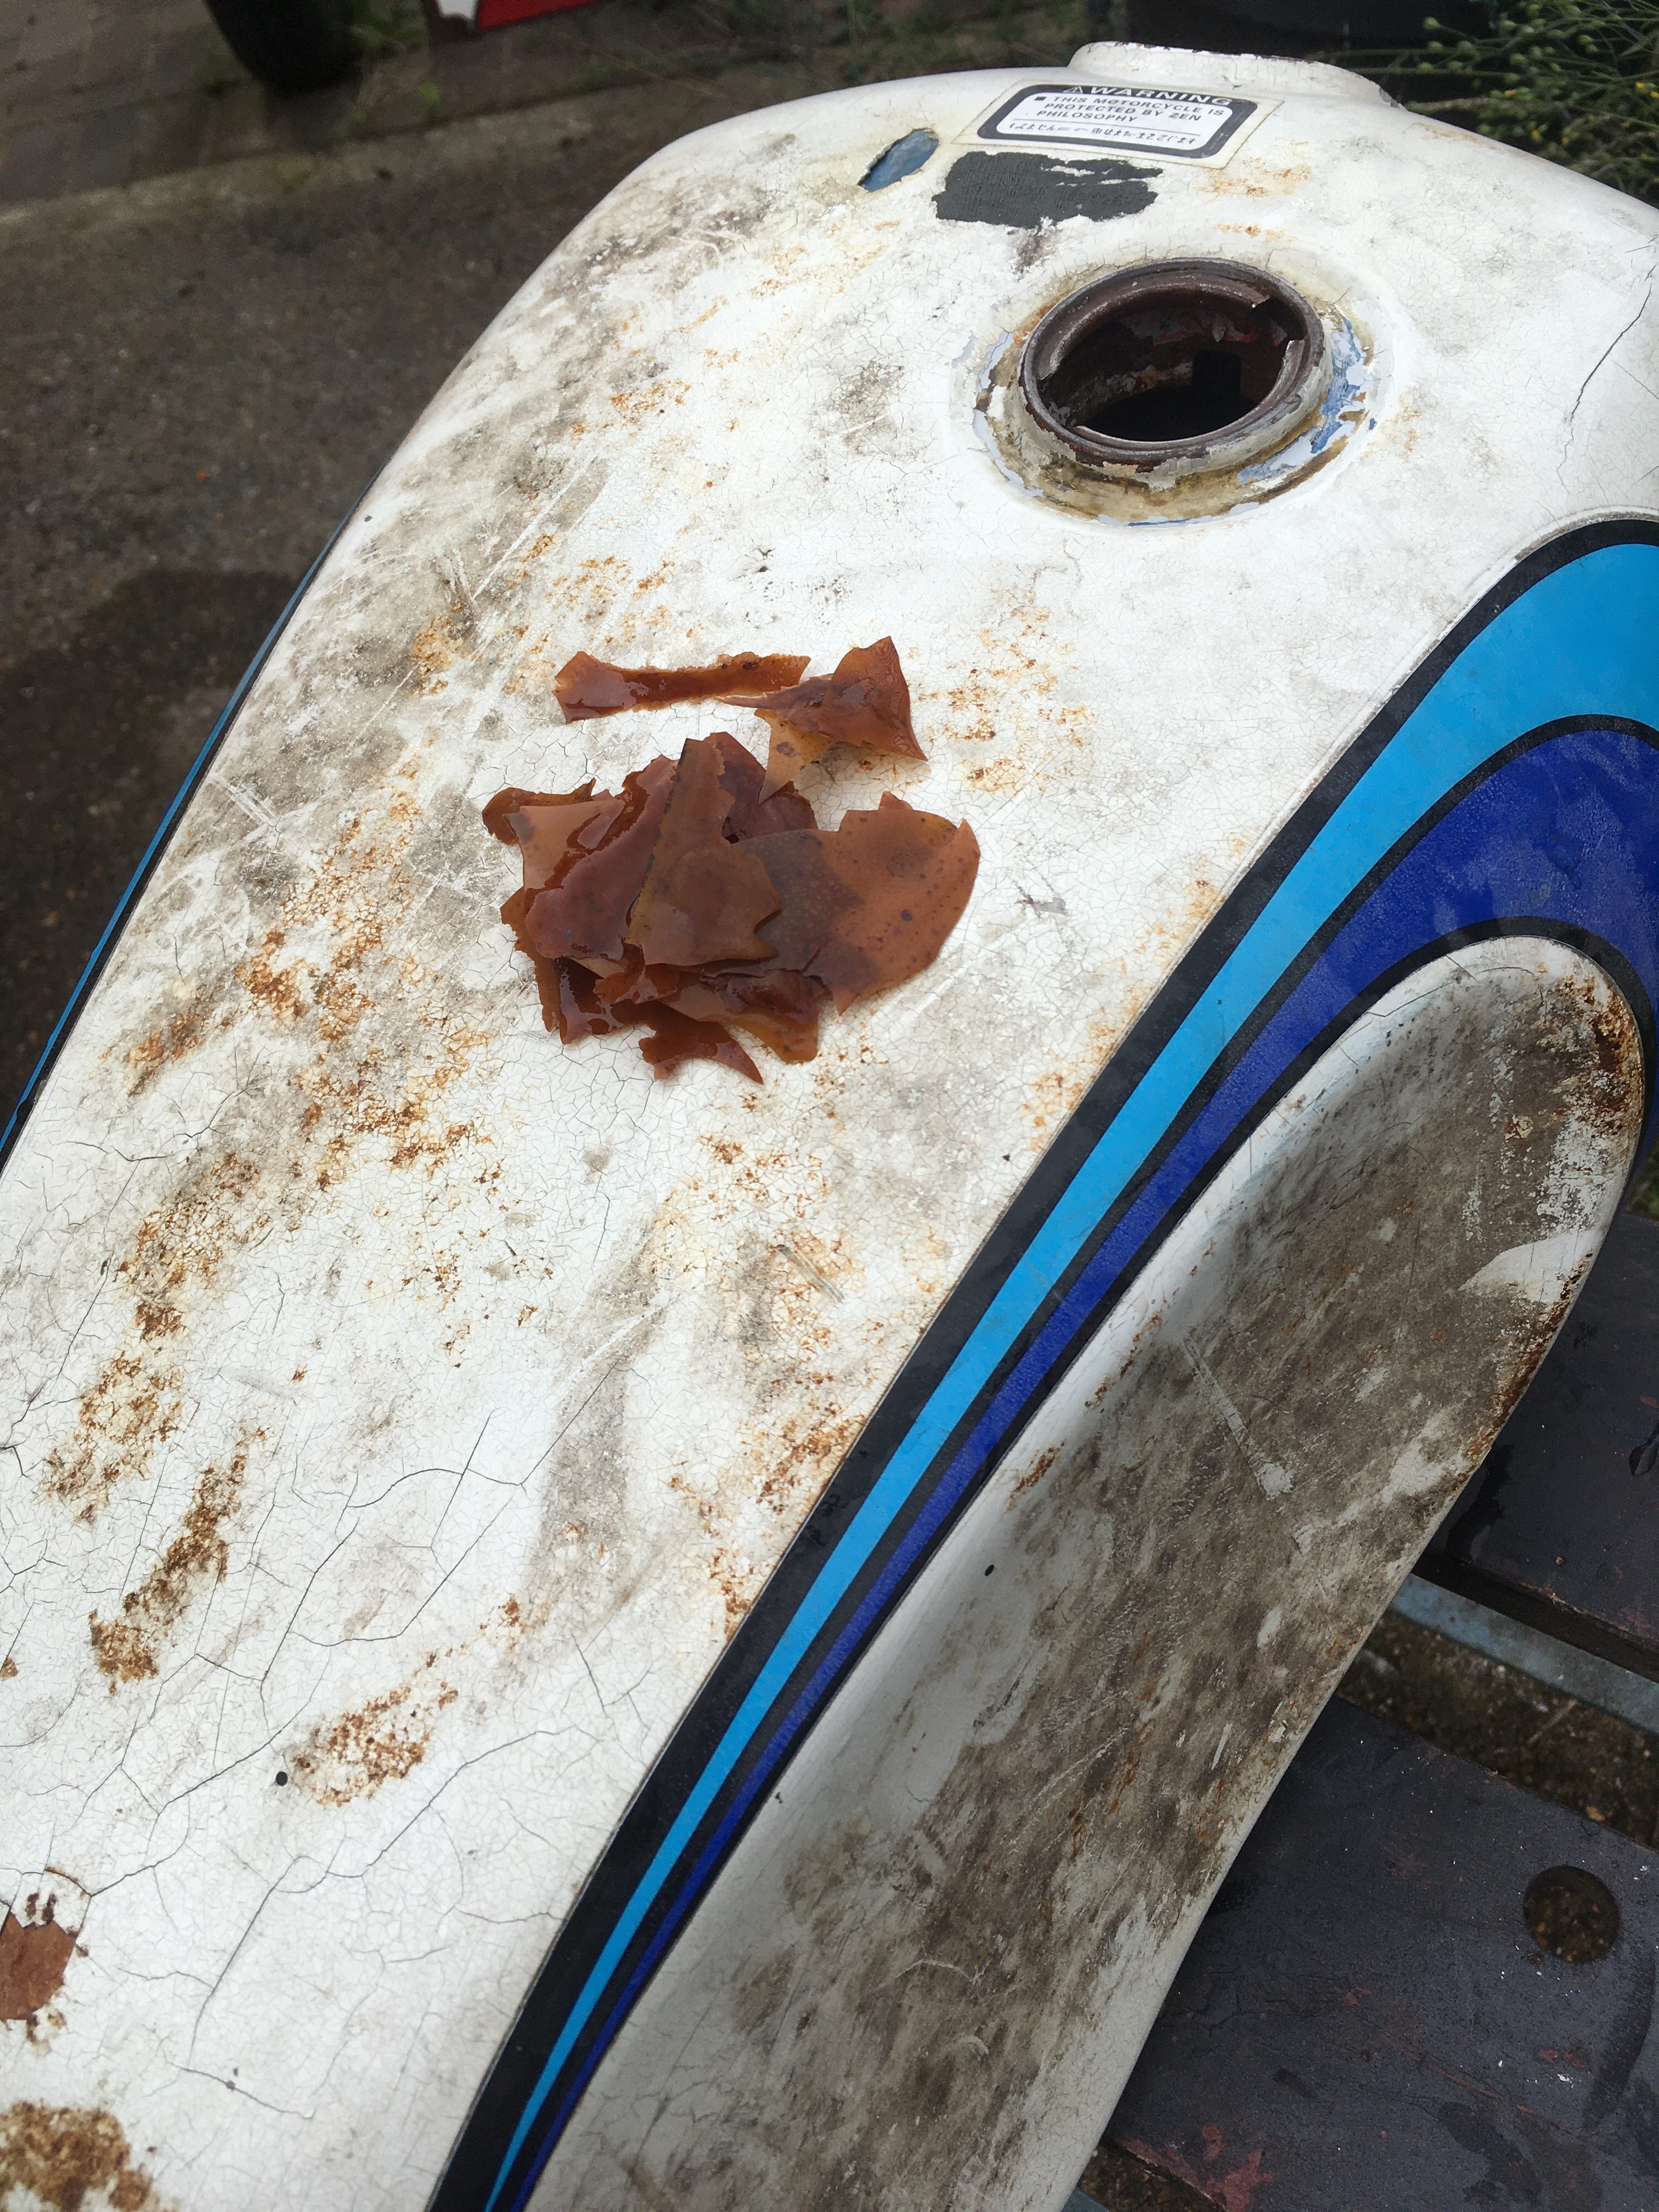
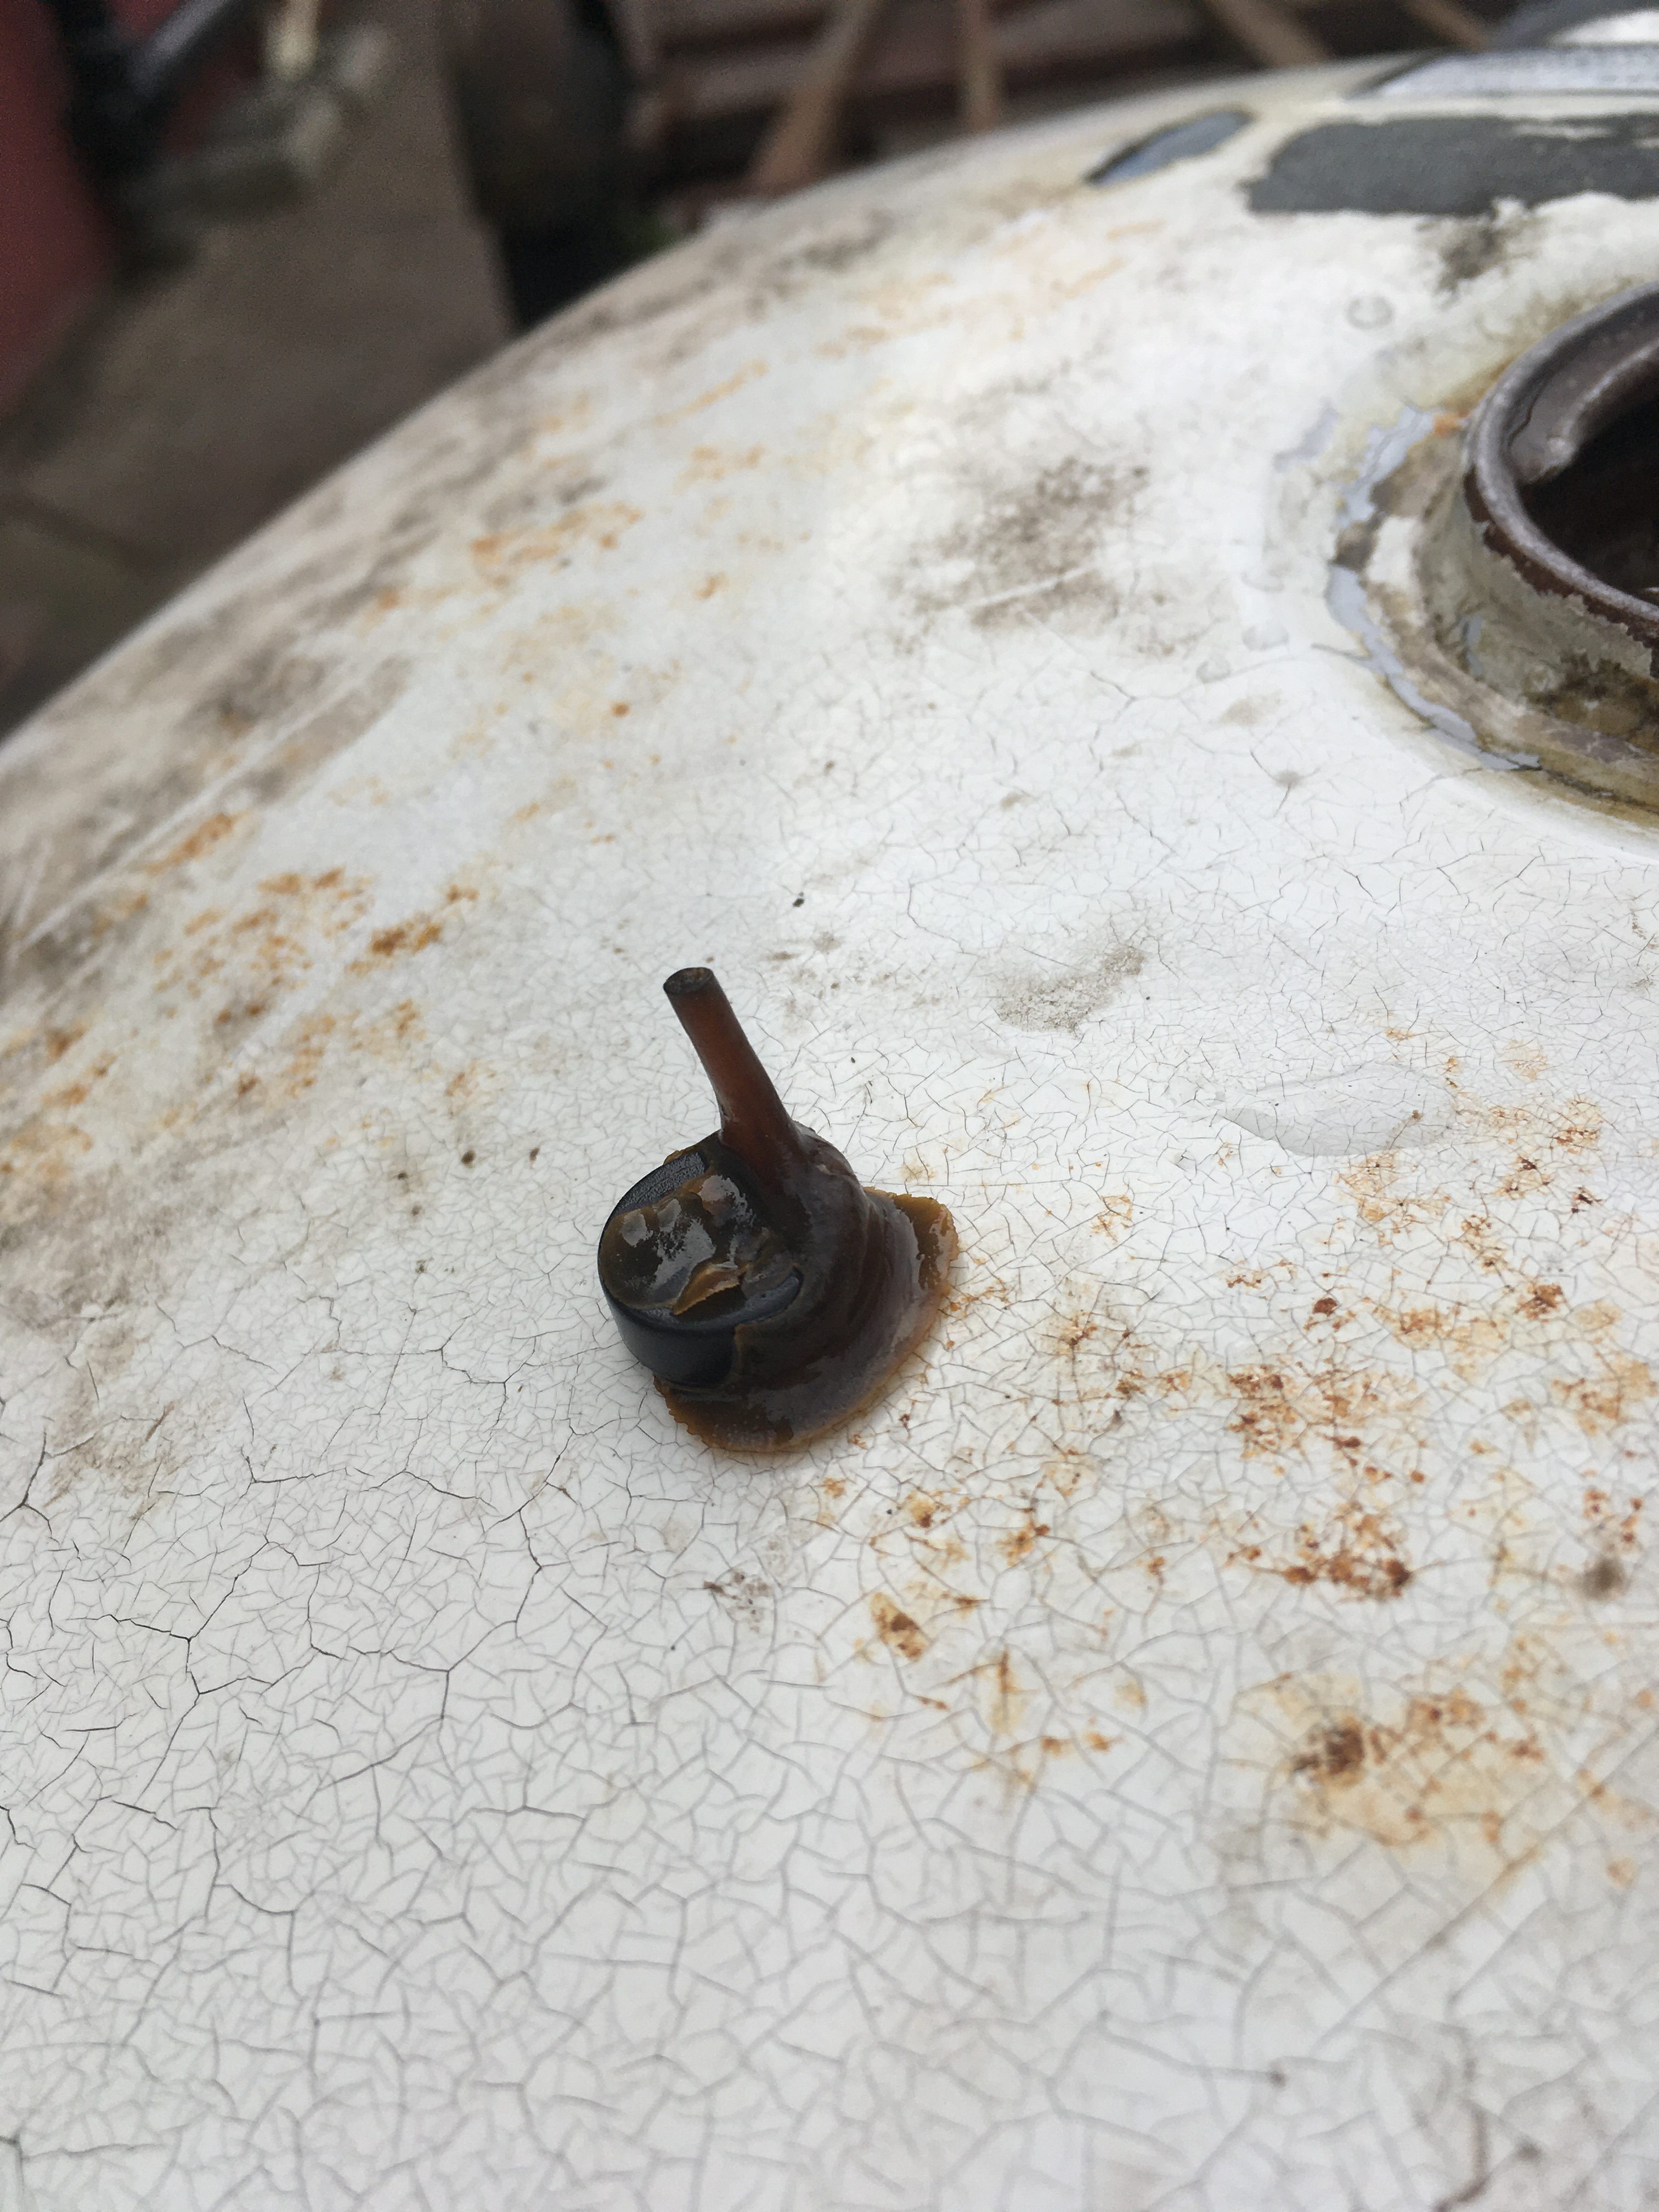
Some flakes of sealant emerged.
It took circa 15 “fill with water, shake, empty” cycles to get the last of the fragments out of the tank, along with what looks like a Datatag chip.
This all took a couple of hours of effort before I could declare the tank “empty”, and proceed to the next step.
Having reduced the interior of the tank to, (mostly… i’m sure some epoxy still lurks), bare metal, it’s time to clear out the rust.
This step is much shorter and less physically intensive, but hydrochloric acid is nastier stuff than caustic soda, so it is even more important to take proper precautions.
I dressed in my wet weather riding gear, wore protective gloves and eye protection.
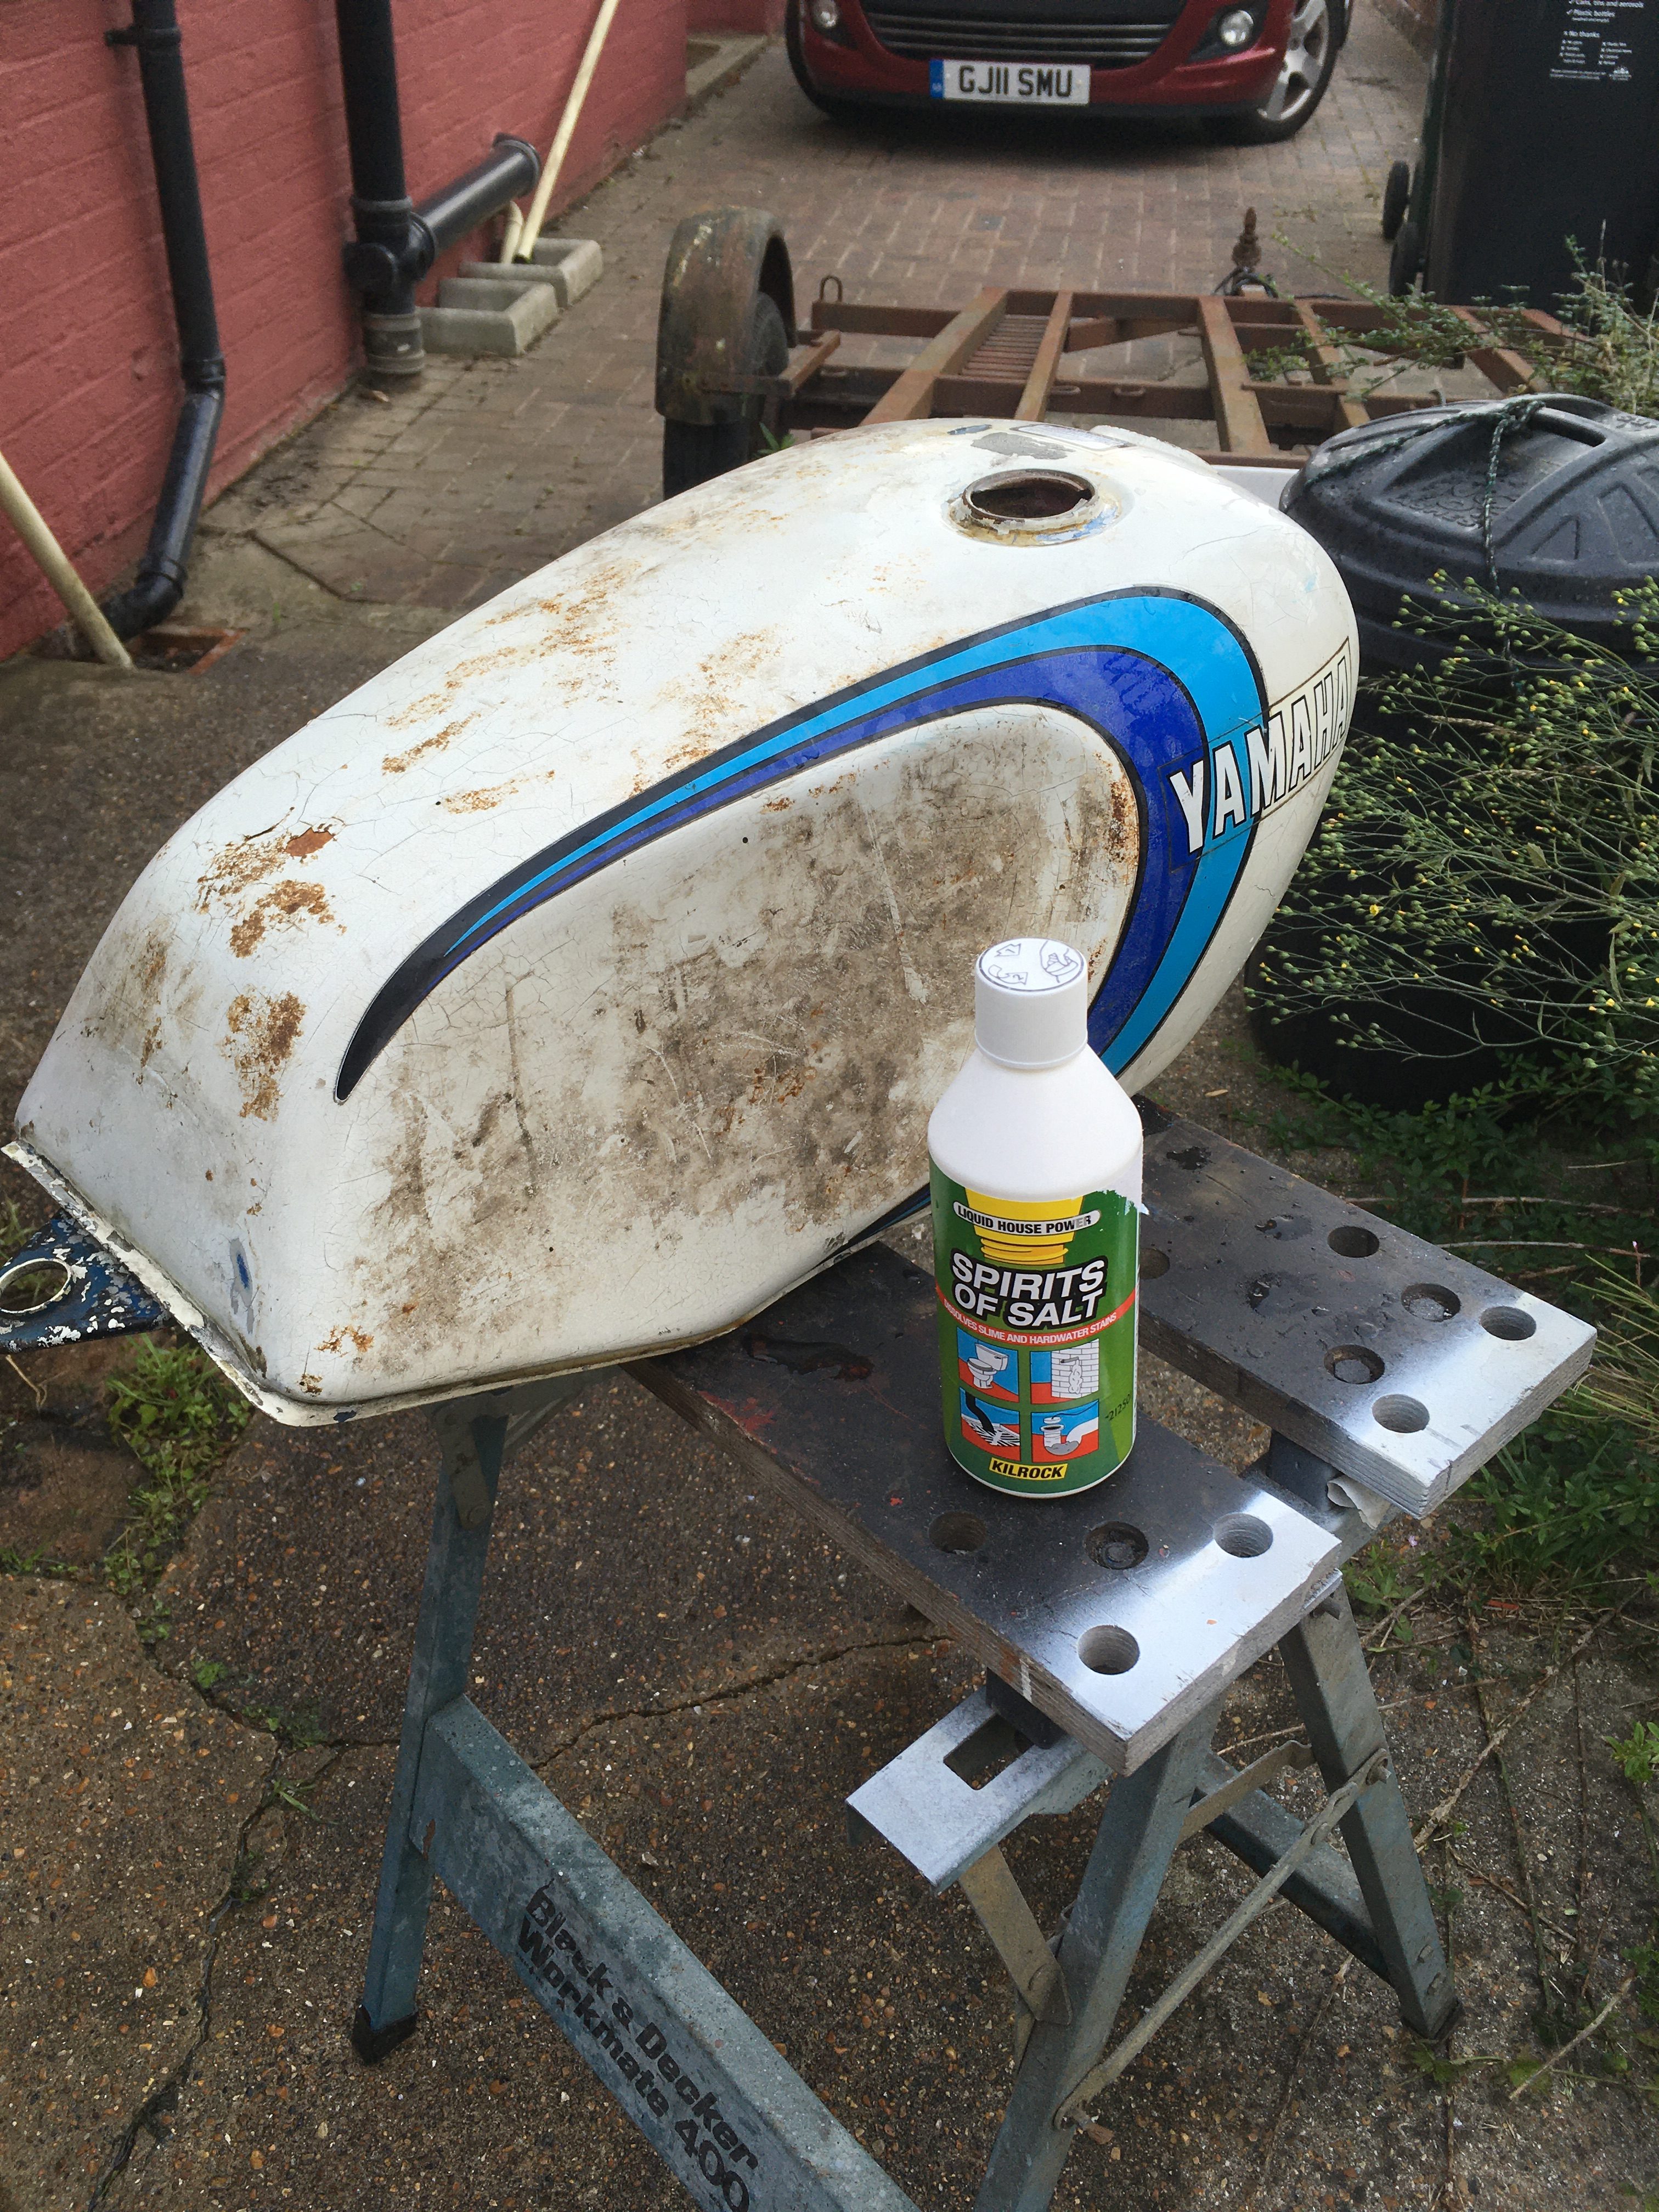
The acid is provided by yet another drain cleaner… Spirits of salts.
Tip approx. 500ml of water into the tank, and follow up by adding about a third of a 500g bottle of spirits of salts.
Seal the tank by putting the cap on, (remember, you have sealed the air breather so the acid cant escape through it), and gently rock the tank to mix it all together.
then shake the tank, and invert it, the idea being to ensure the solution reaches every part of the interior of the tank.
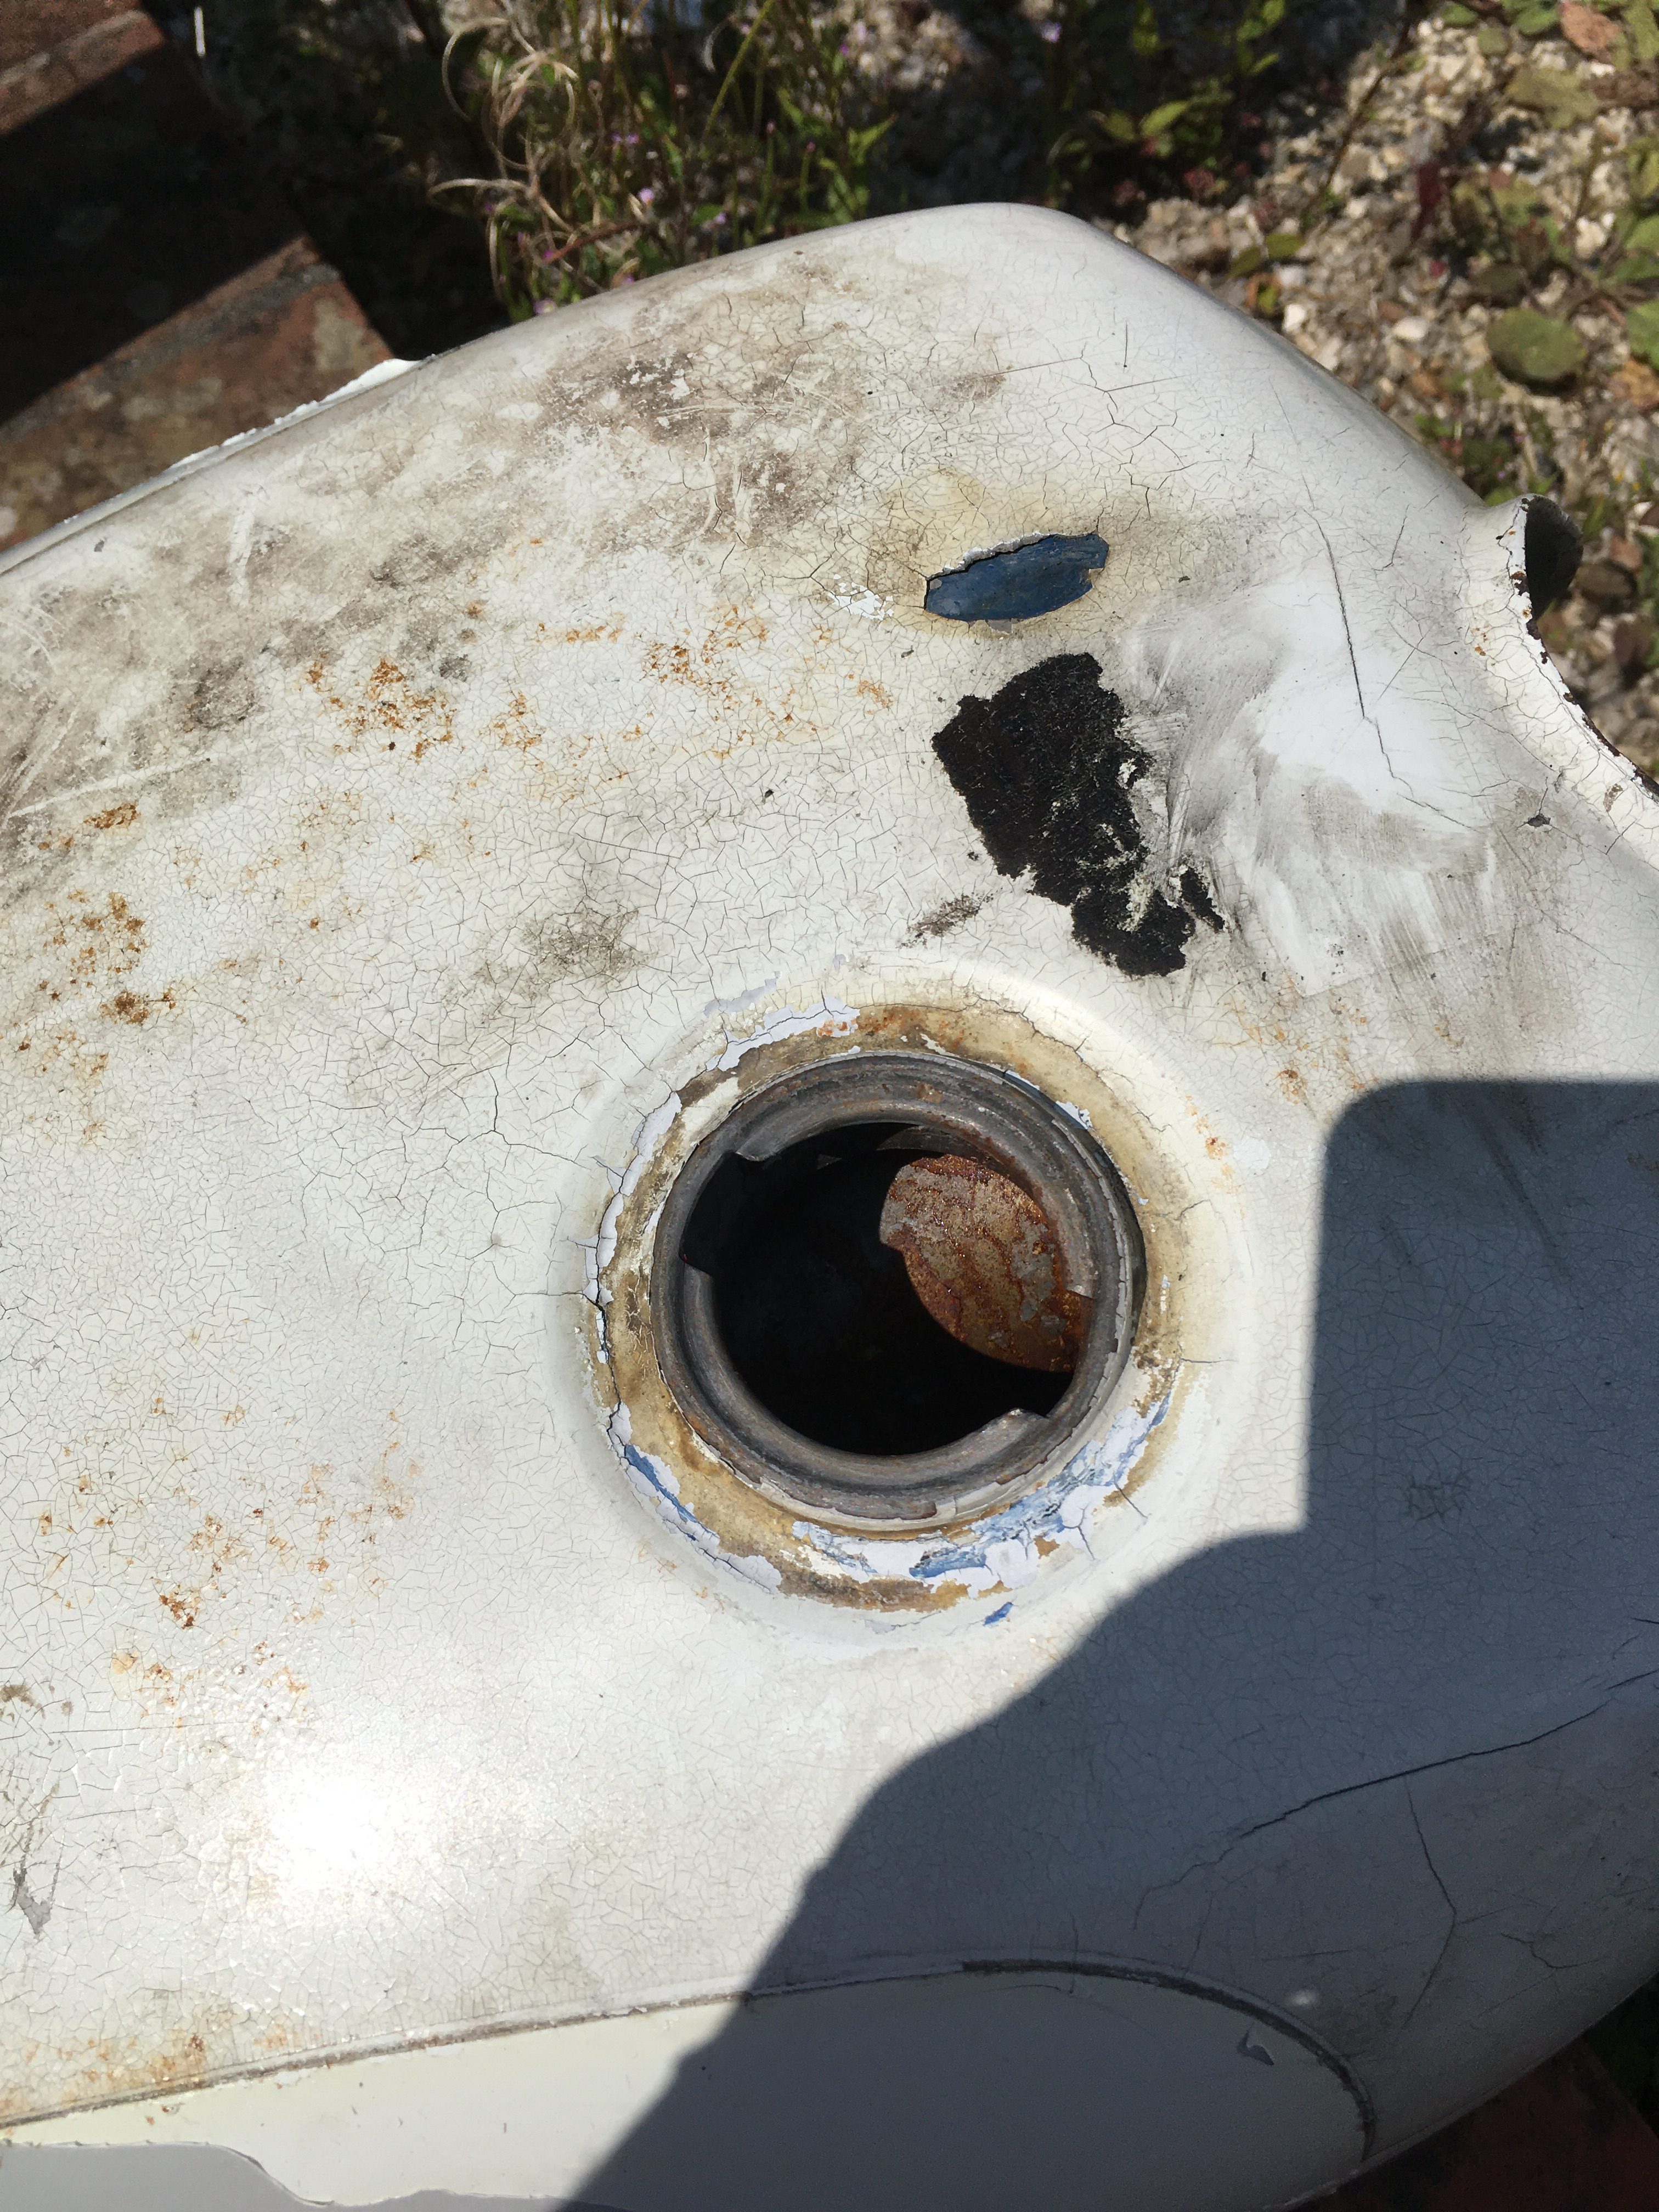
Then leave the tank resting (right side up) for ten minutes.
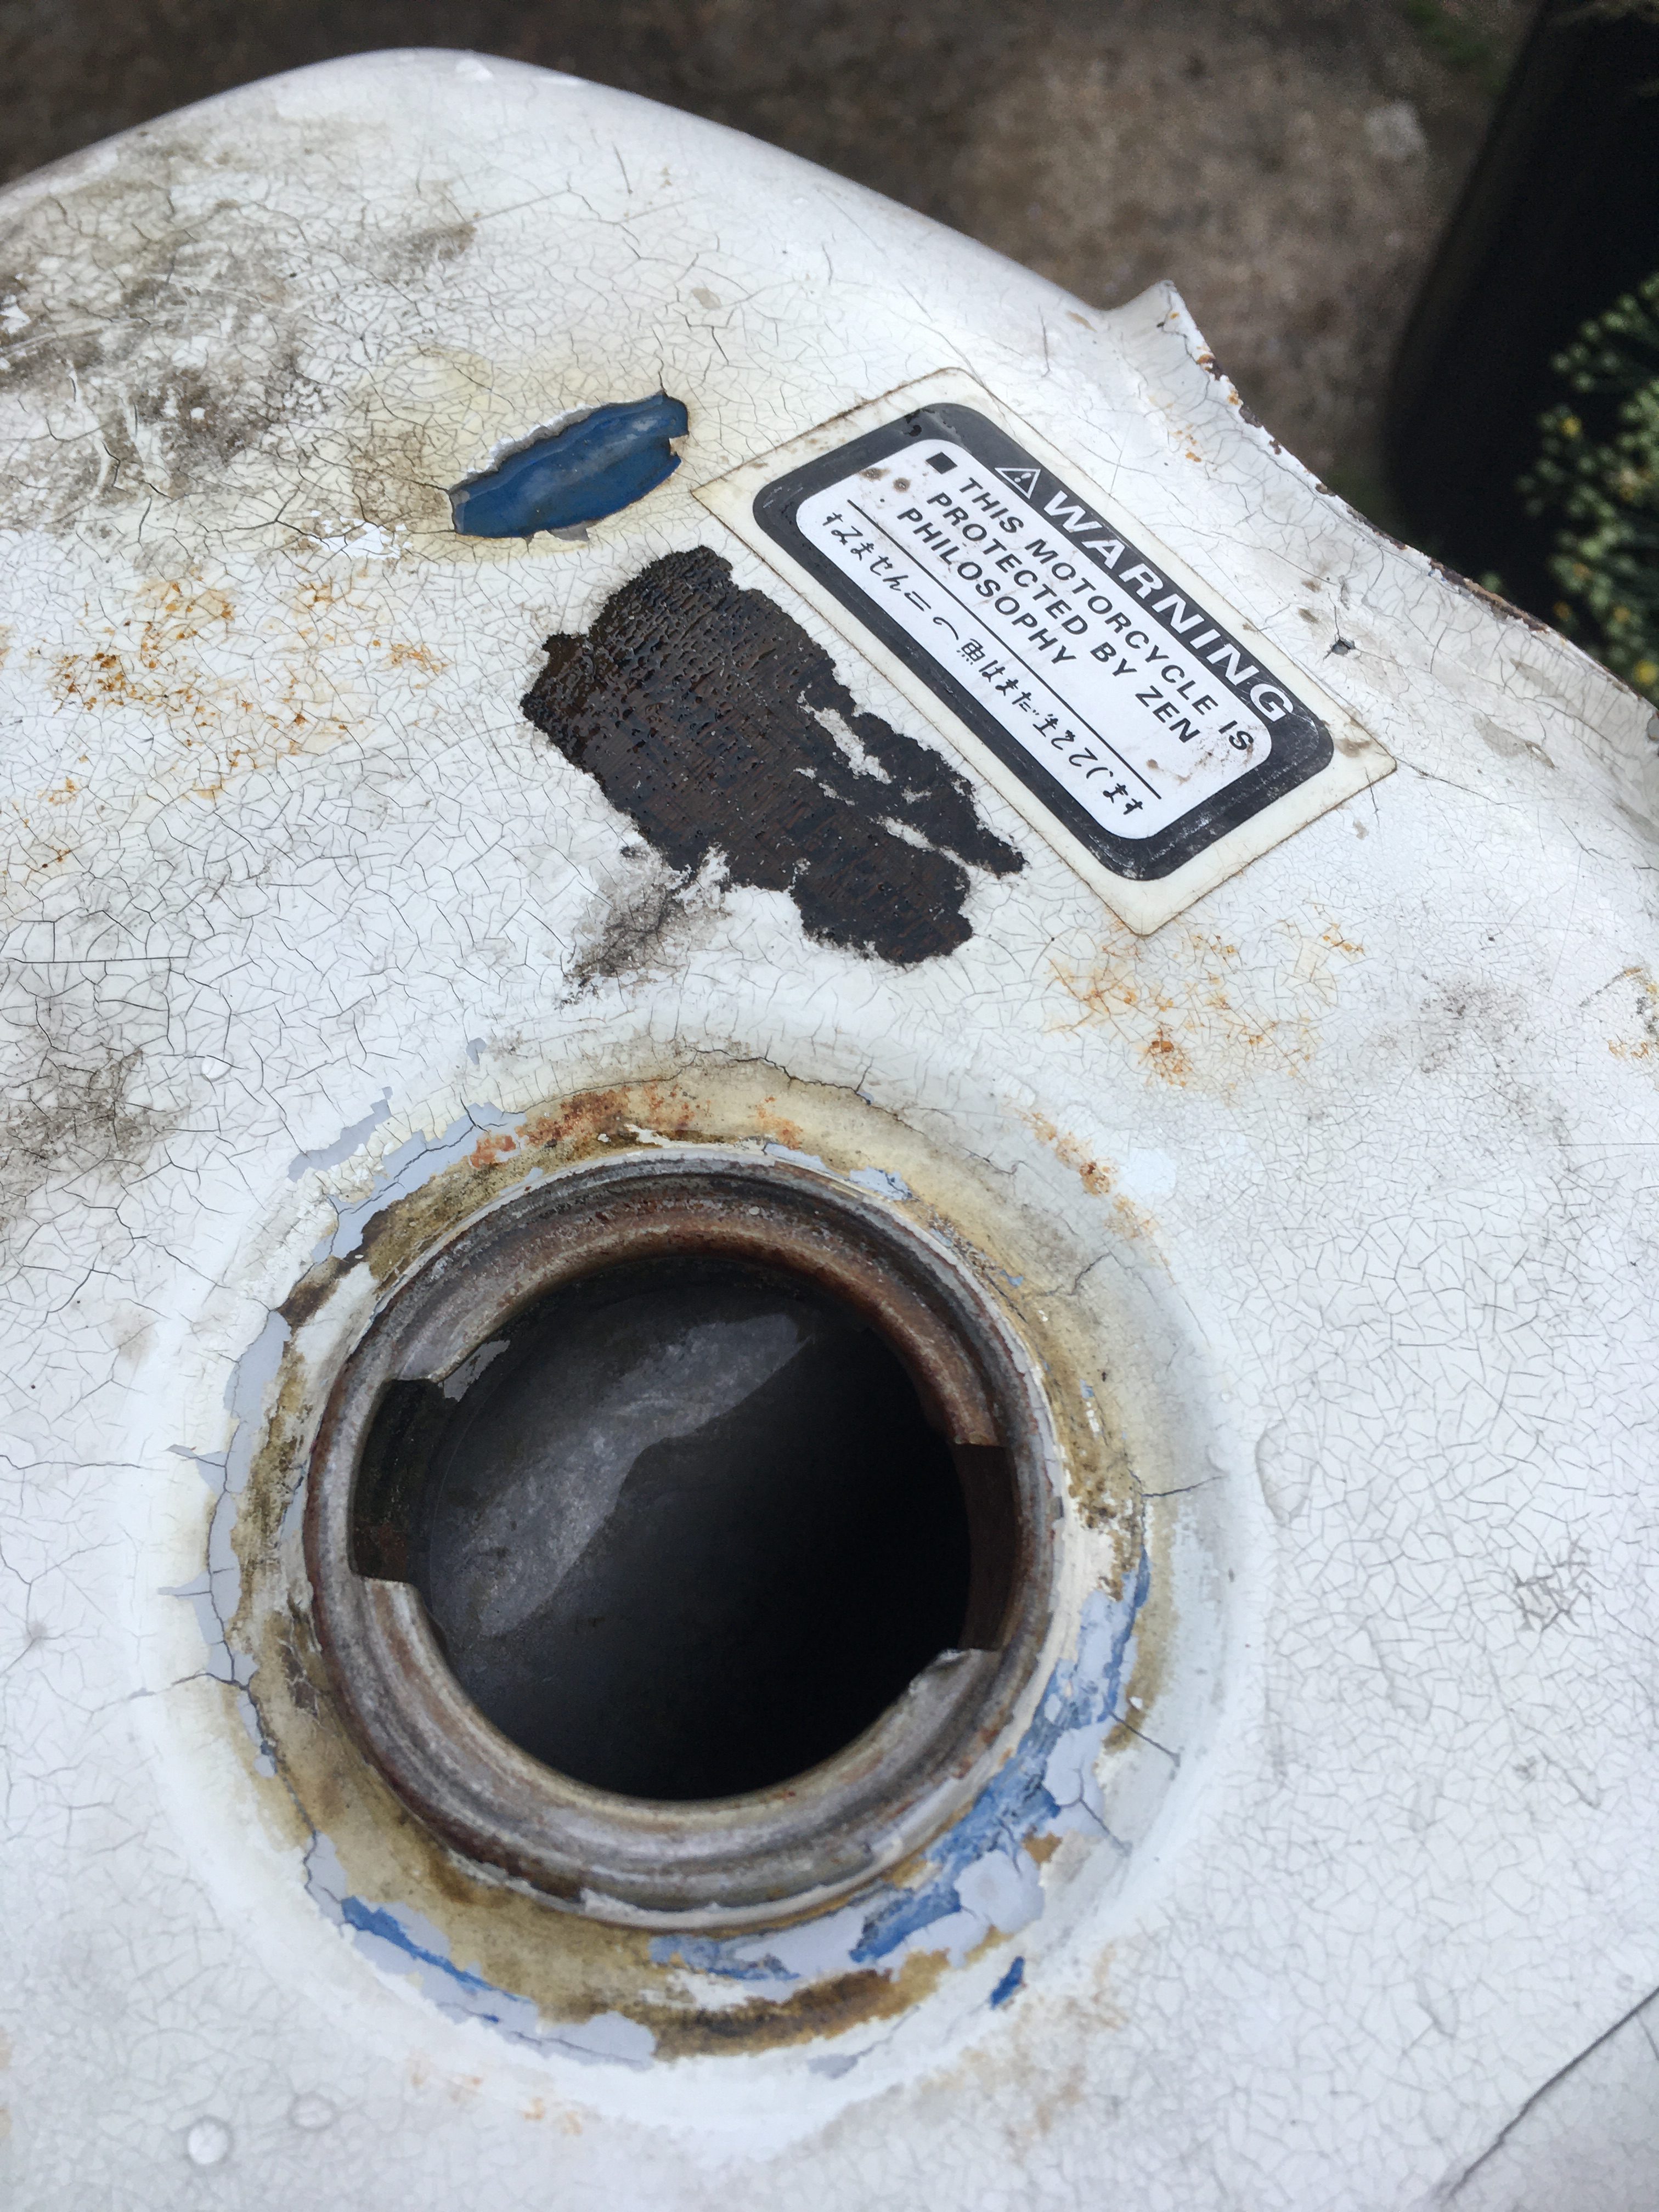
The picture above is what the view through the filler hole looked like after one treatment, so I then added water and rinsed out the drain cleaner, again disposing of down the drain.
if you can still see traces of rust, then you can add another third of a bottle of the acid and repeat, or start the step again with a fresh 500ml of water.
After this step rinse out thoroughly with multiple tankfuls of water. You do not want to leave any of the Hydrochloric acid in the tank as once it has consumed the rust, it will continue its meal by eating away the steel.
You can stop here, dry the tank out, and protect the inside with a coating of oil.
The original article referenced however suggests a third step of using phosphoric acid, which reacts with the steel to form a protective coating.
I used circa 500ml of 30% phosphoric acid.
This is sold on various sites online as a rust remover. Many commercially branded rust removers are simply gels containing phosphoric acid.
Add the acid to the tank, close the cap, invert and shake the tank, then rest for 10 minutes before rinsing out.
It is not as essential to multiply rinse the phosphoric out, as it is a weaker acid to start with, and while it reacts strongly with rust, once it has formed it’s protective coating on the steel, it stops reacting with it.
I rinsed out once, and proceeded to drying.
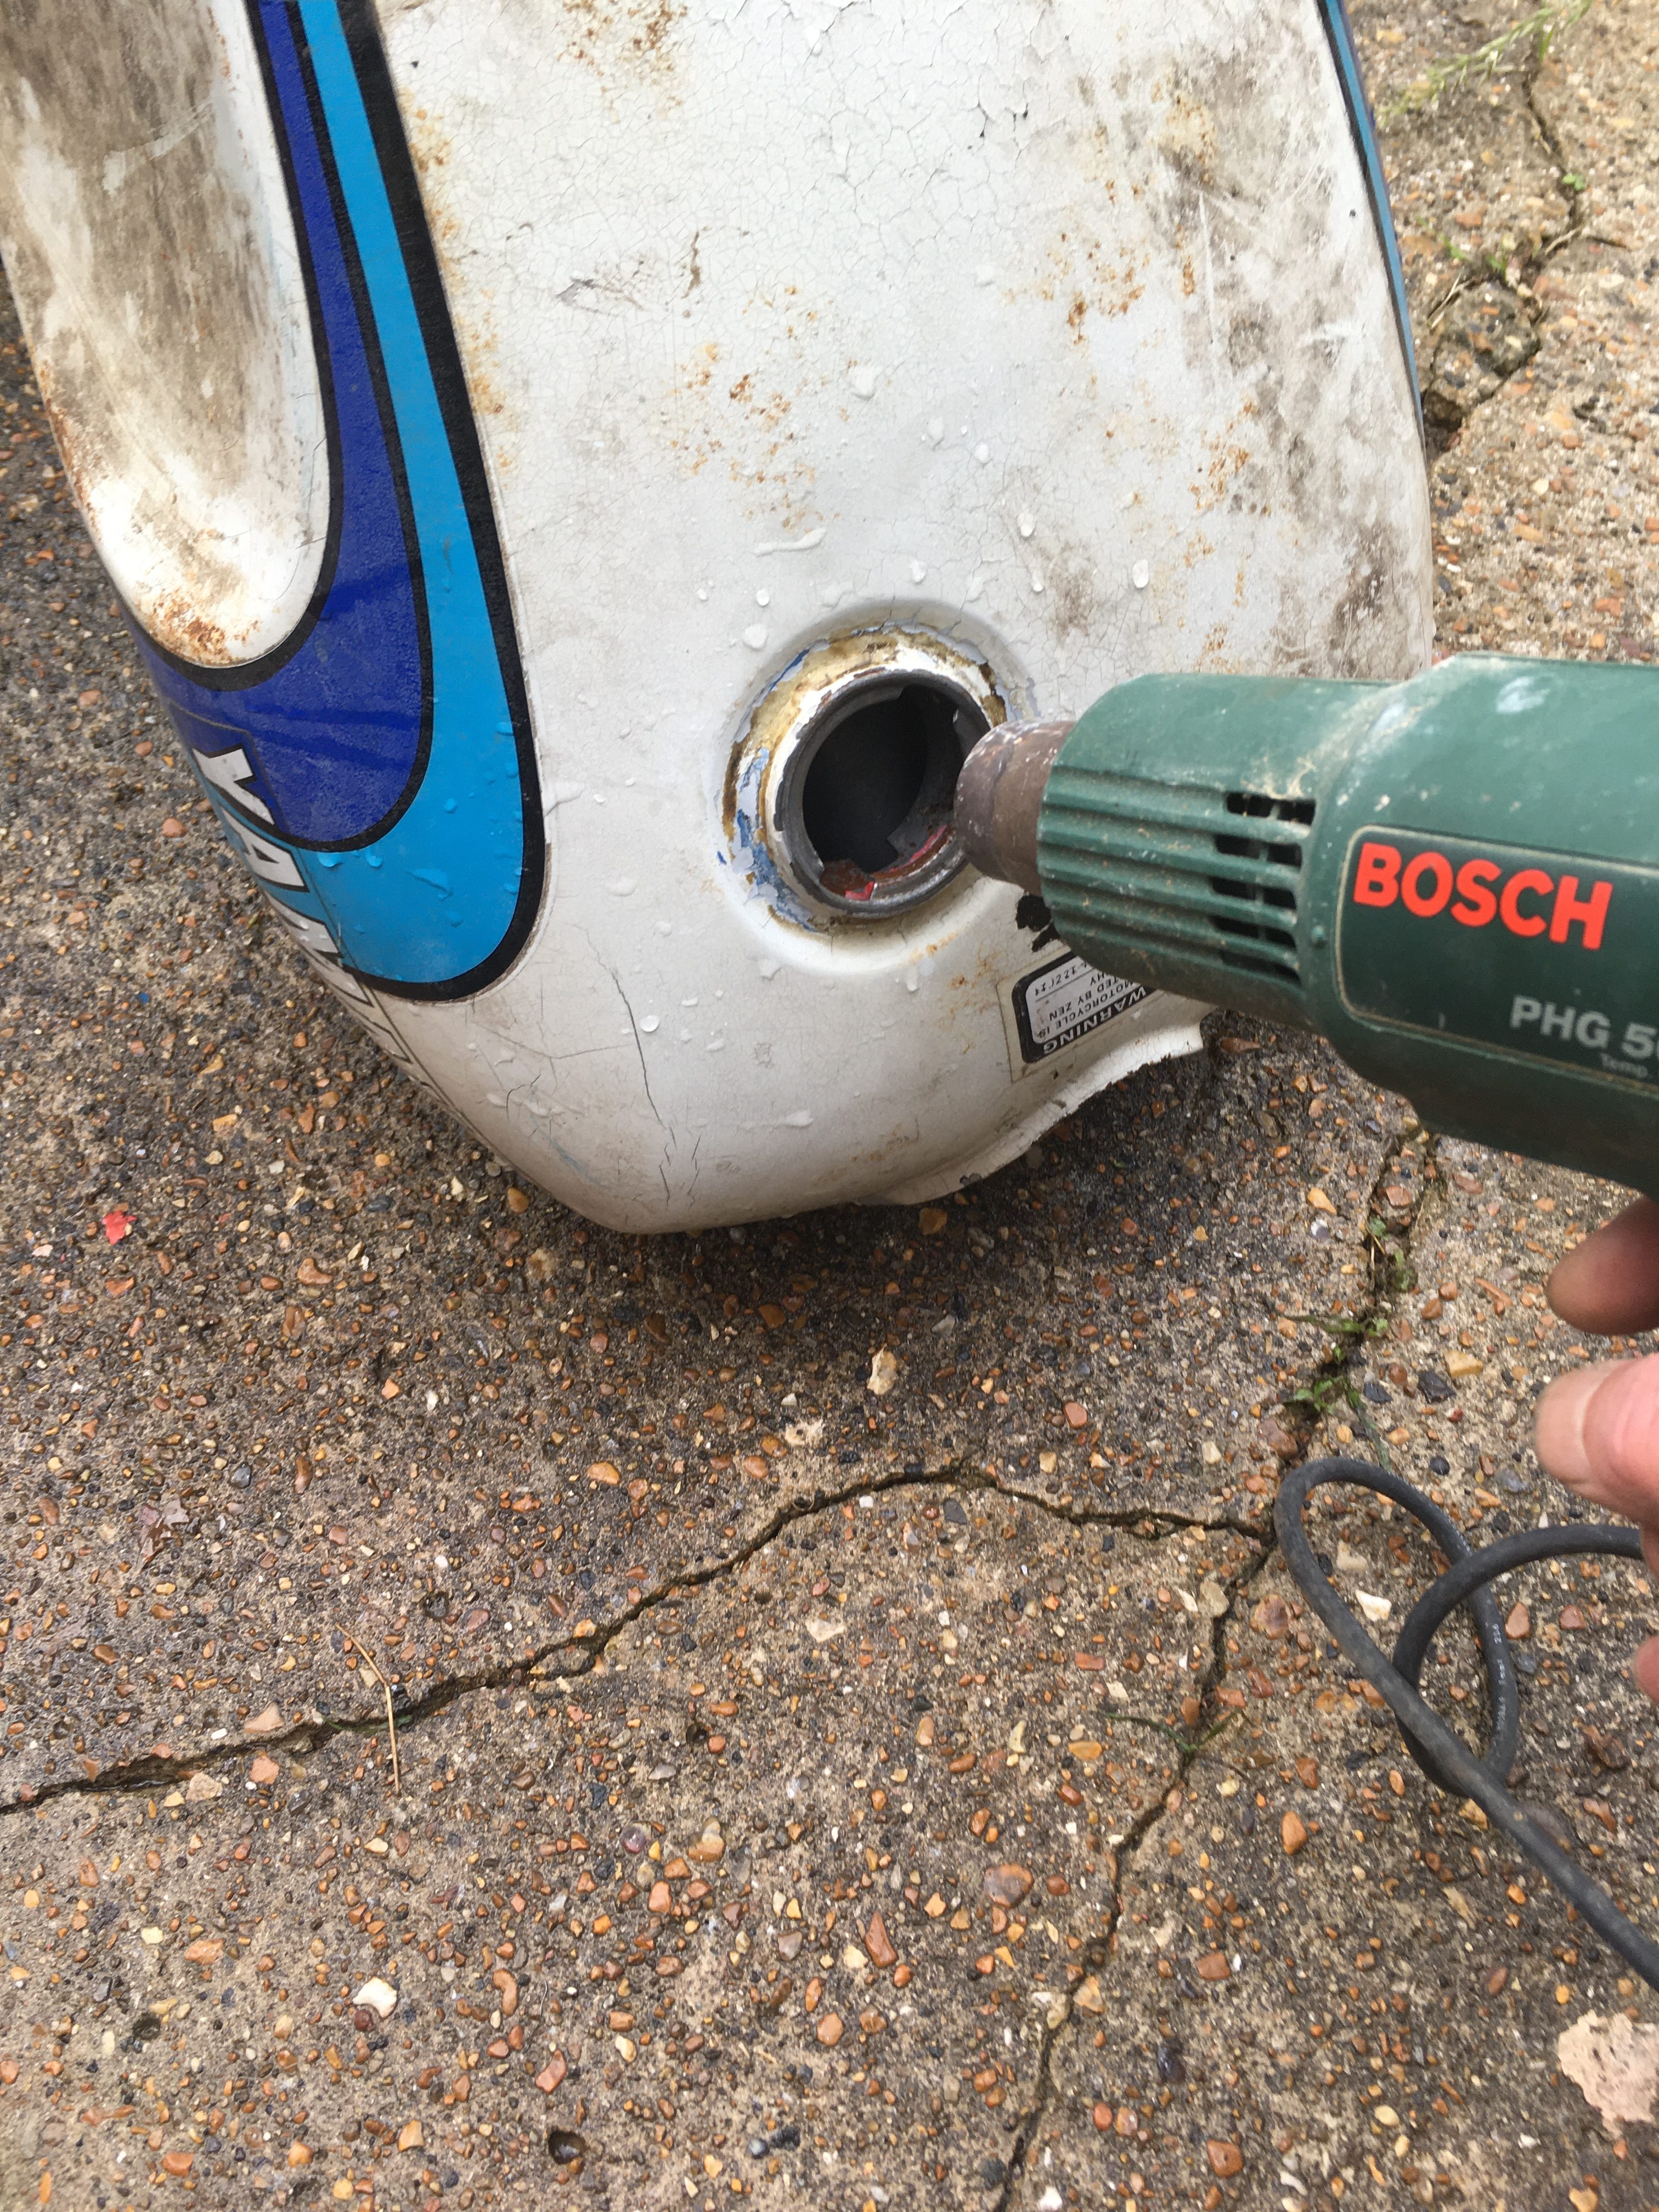
Remove the blanking plate from the fuel tap hole to allow the air to circulate. it’s also easier to get the last drops of liquid water from the tap hole rather than the filler hole.
Once you have emptied all the liquid out that you can, warm the tank with a hot air gun, I guess a hair dryer would do the same job albeit more slowly.
As the metal warms up, you can again, shake the tank such that any remaining water inside evaporates on the warm metal.
Repeat until dry, and you are done.
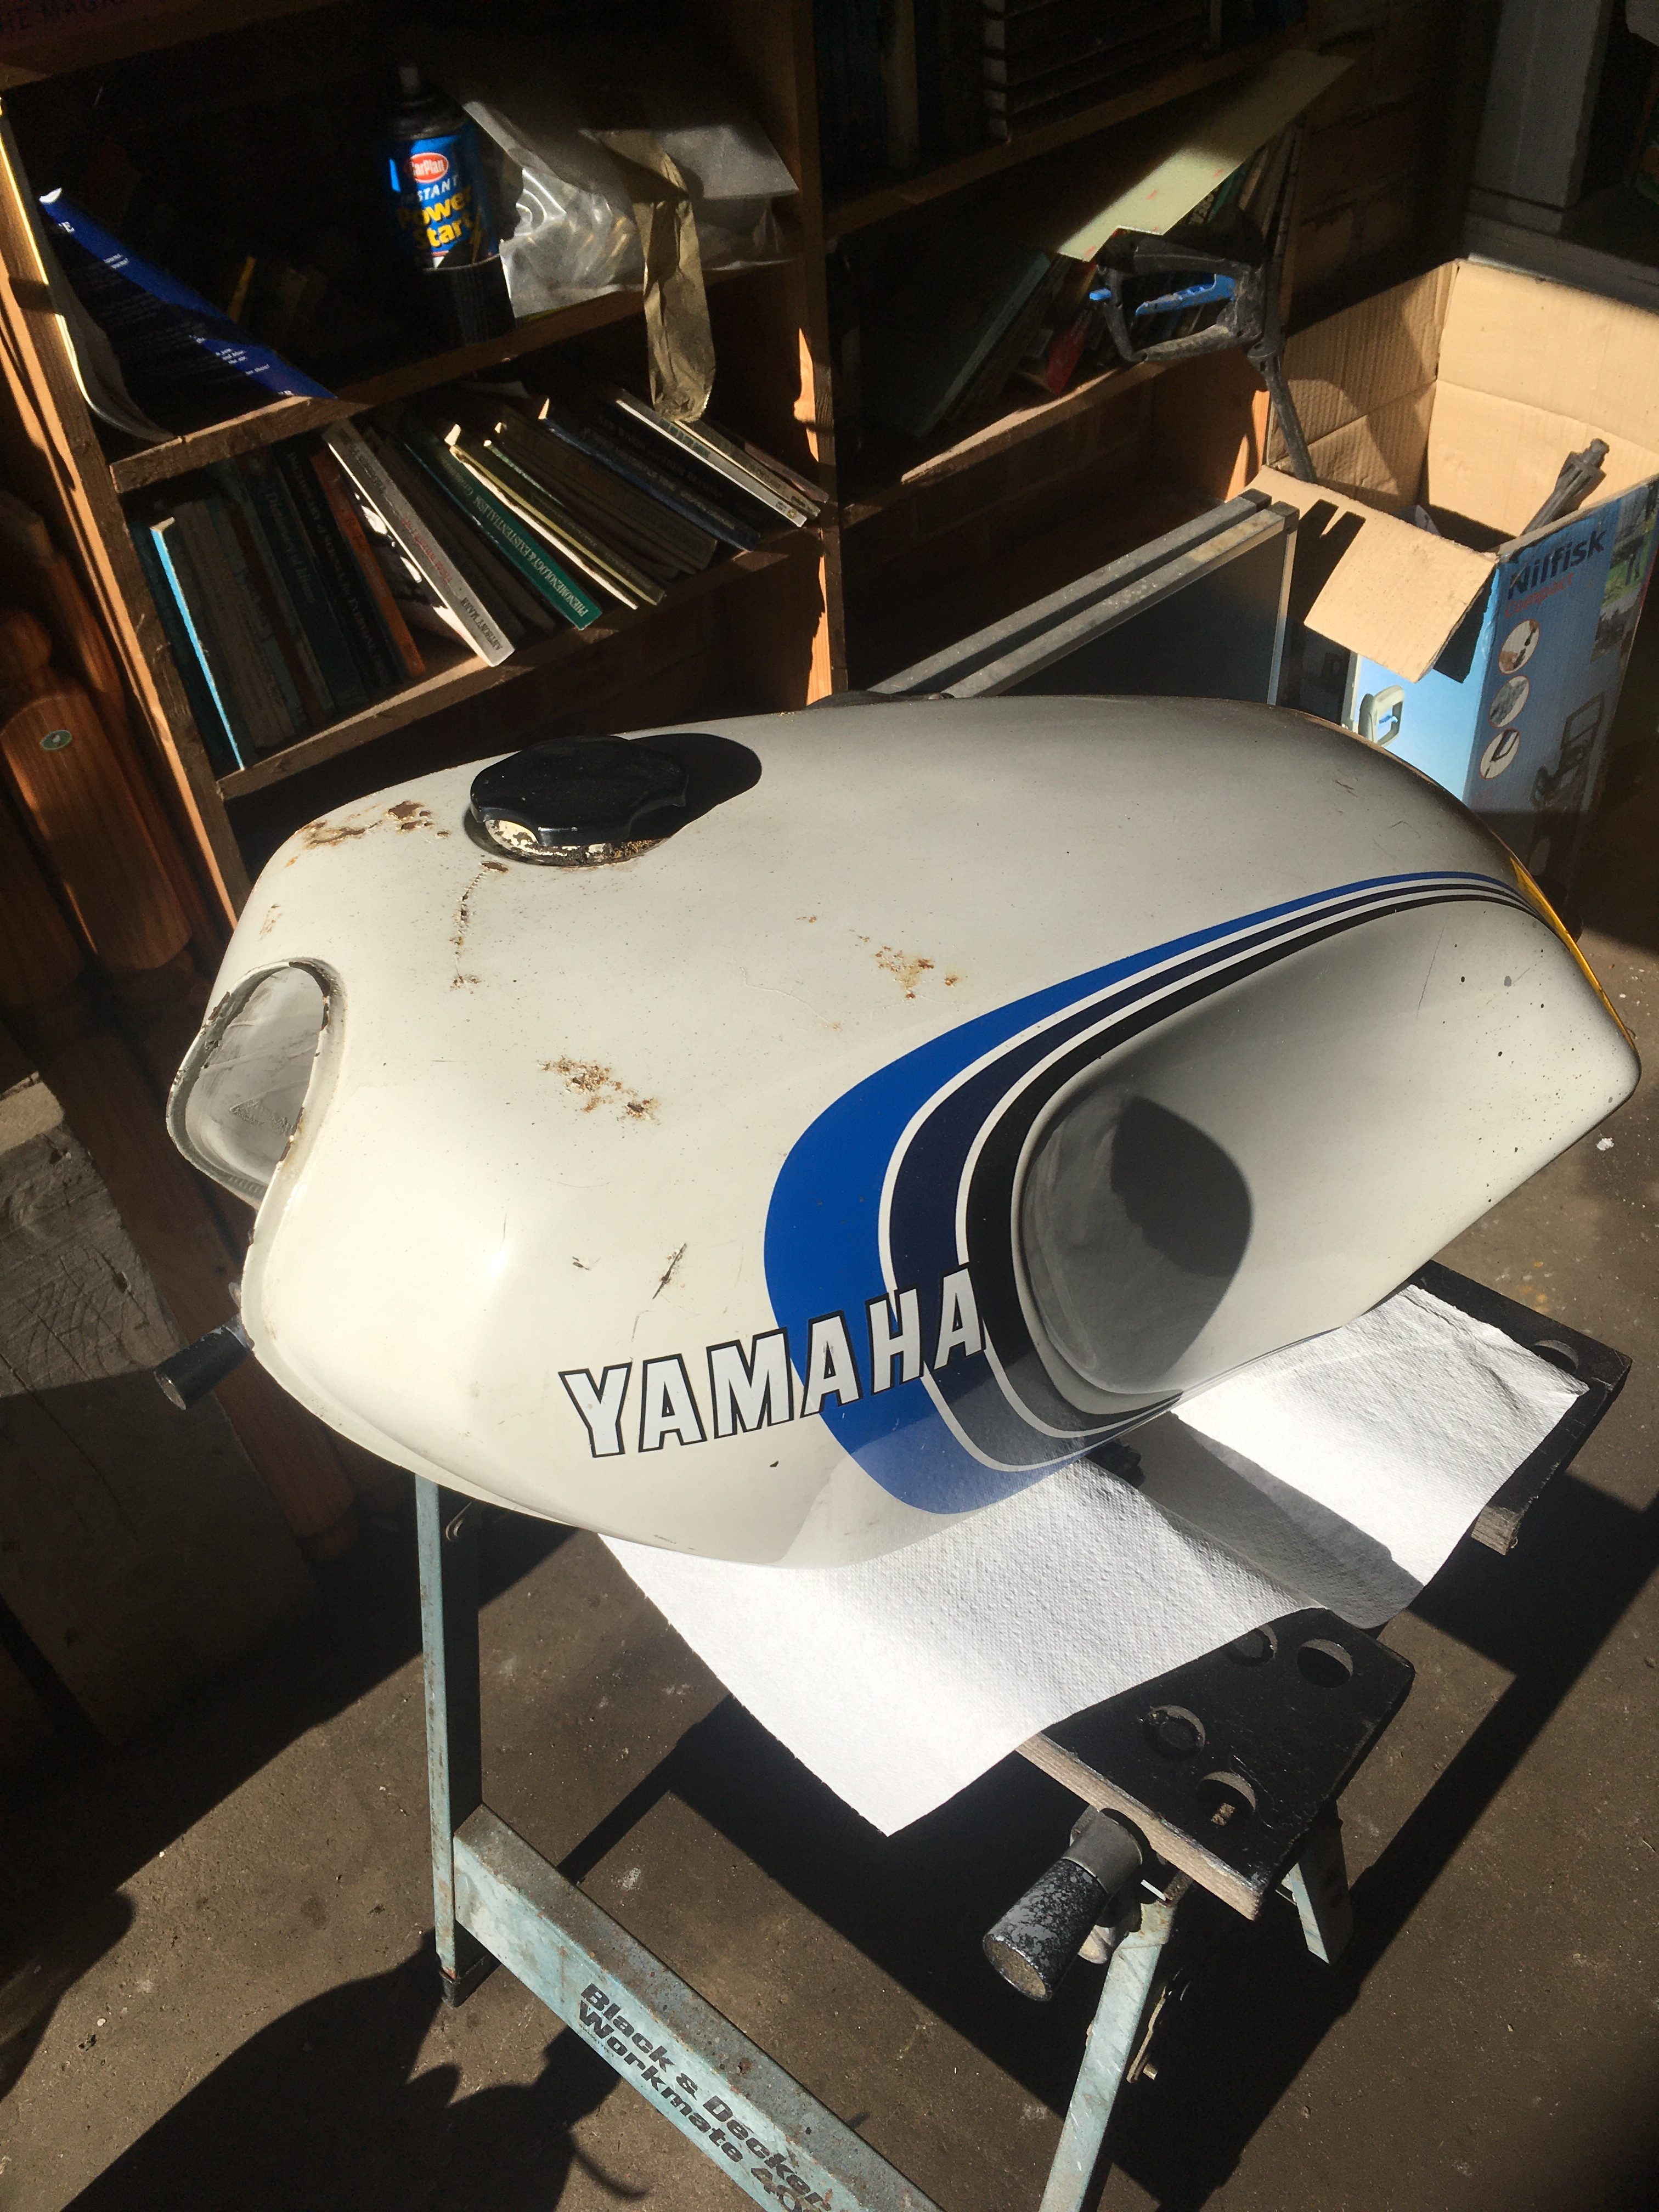
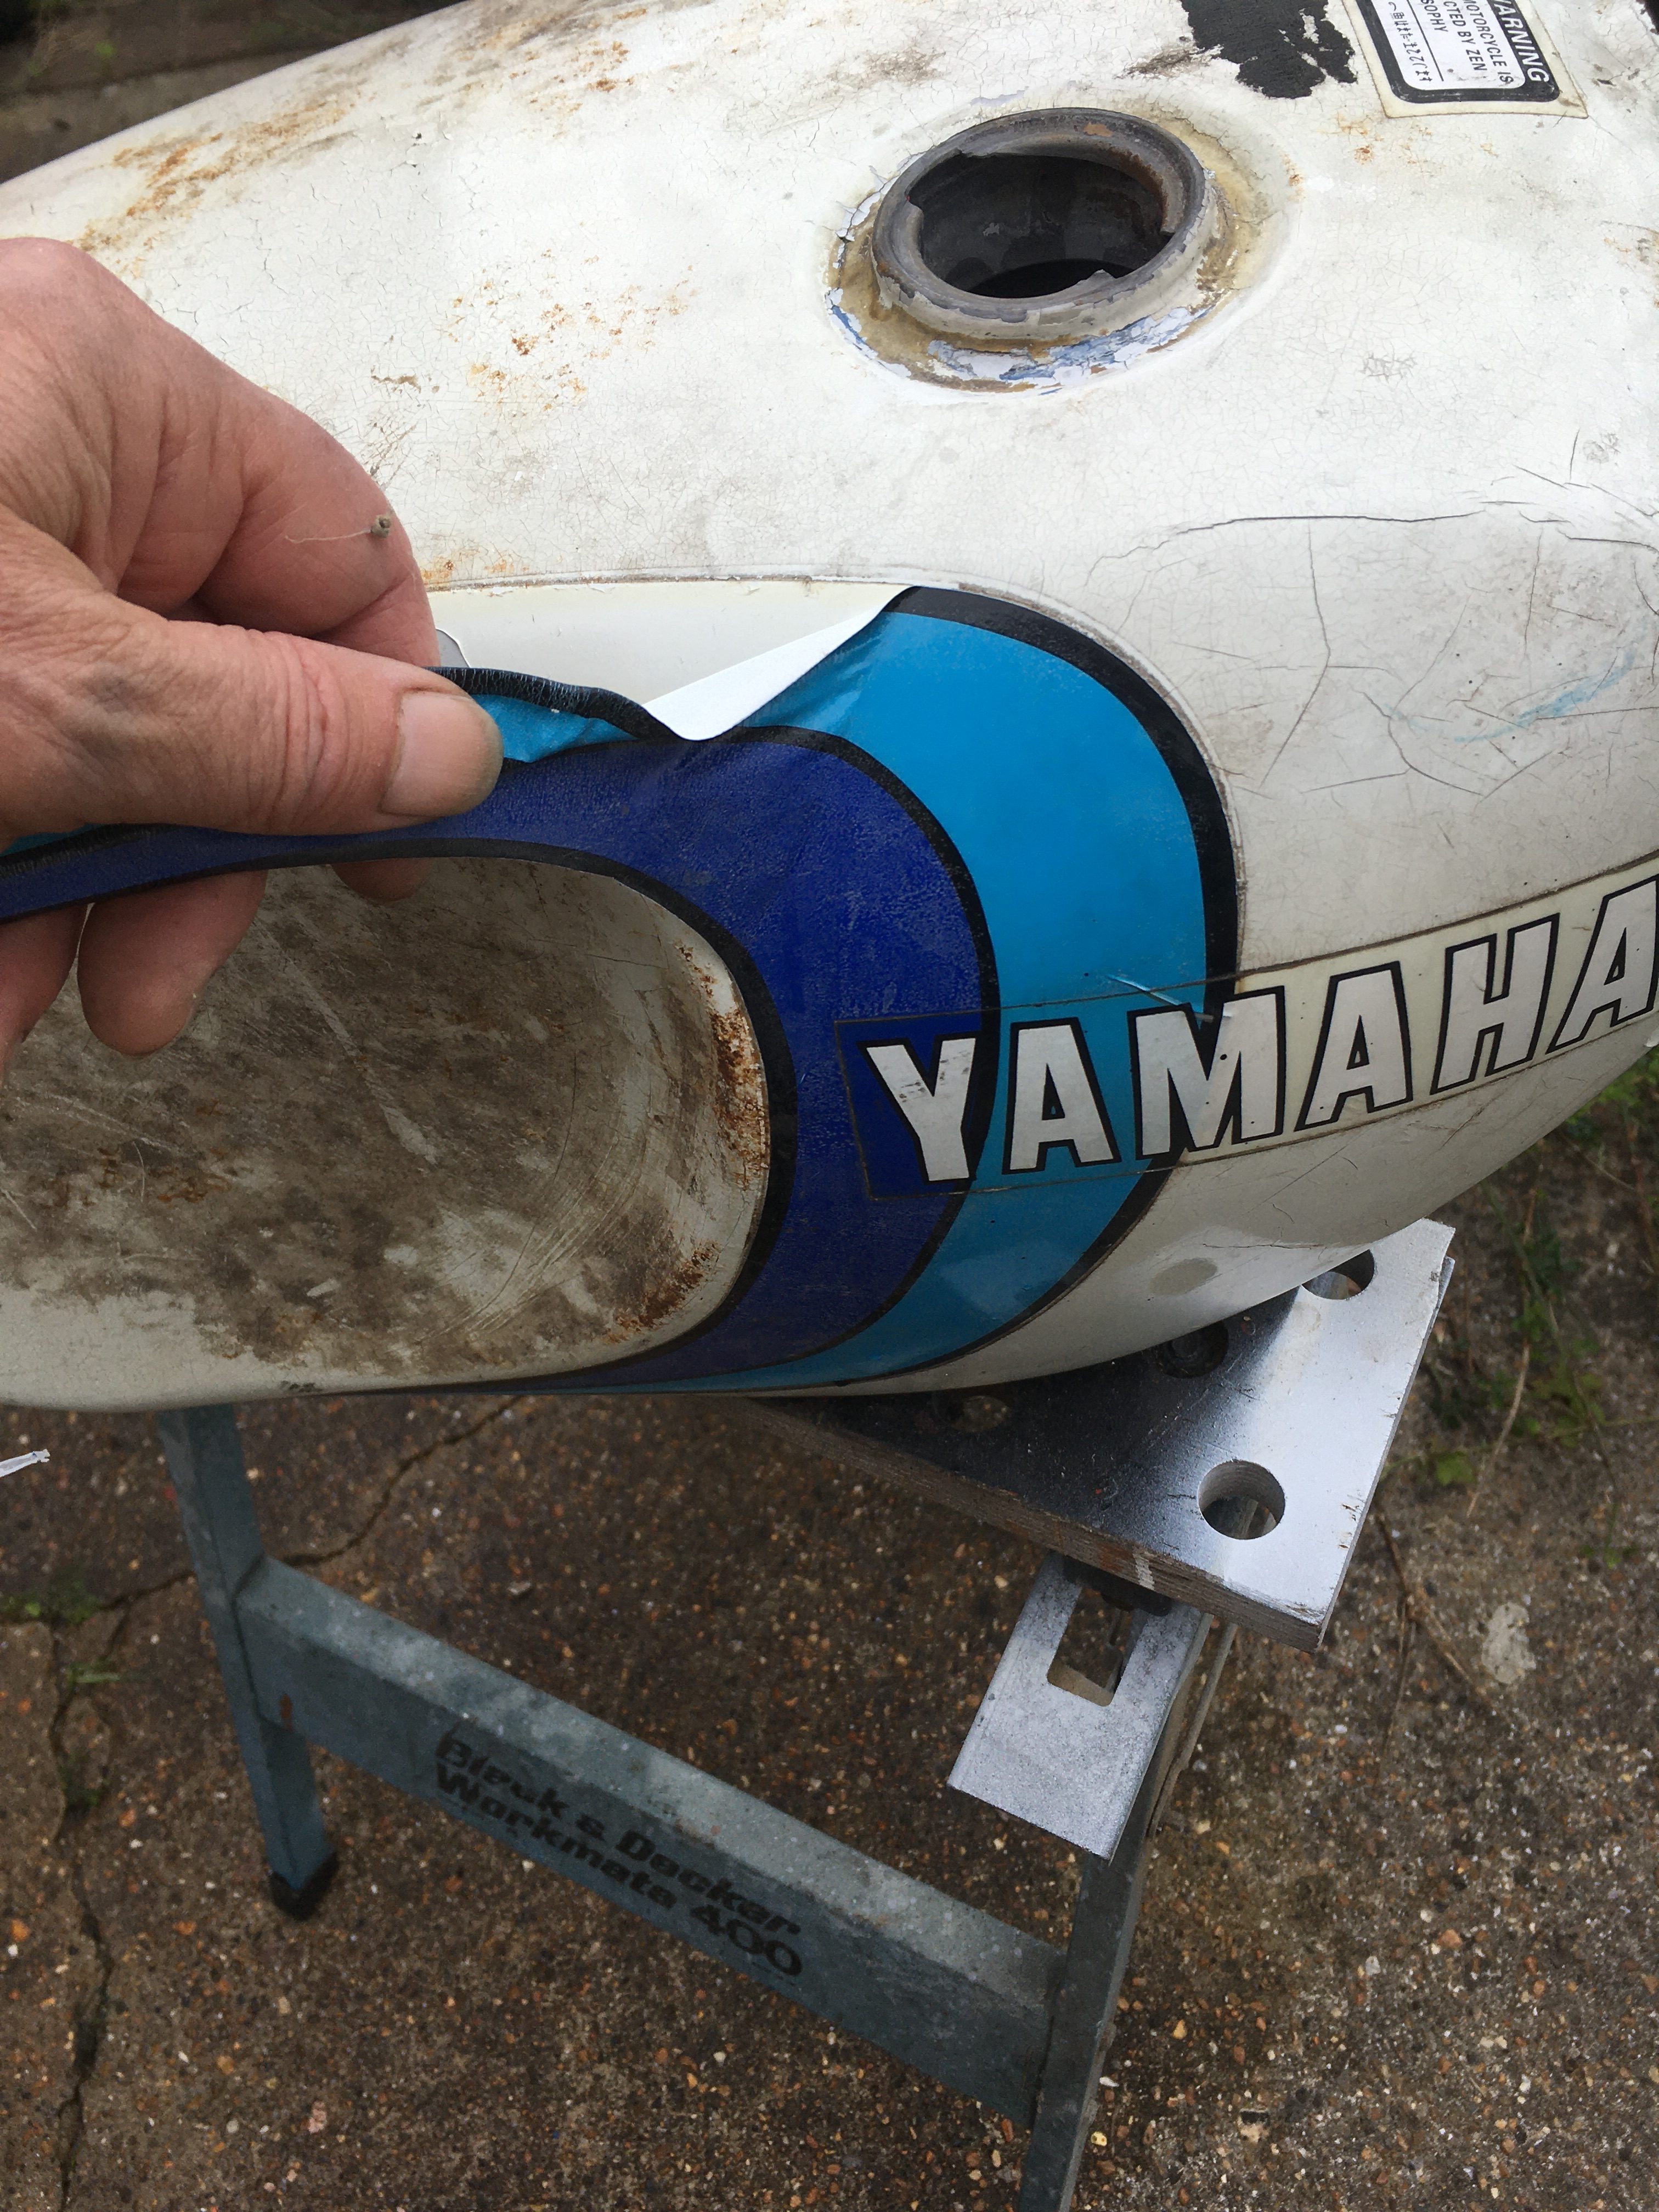
While I had the hot air gun out, I used it to remove the stickers from the tank, leaving a surface ready for rubbing down.
While this started out as an experimental exercise, the project costs are spiraling out of control now, an experience with which I guess every restorer can sympathise.
consequently, “buying a new tank, and getting the bodywork professionally resprayed”, has been replaced on the todo list by “Clean and repair a decent tank, and spray bodywork with rattlecans”.
One of these three tanks will end up on the finished project.
<Interim>
Two weeks later, I peered down the filler hole and… yes, there is some rust.
I probably didn’t dry it sufficiently, and the “plating” properties of phosphoric acid may be exaggerated somewhat.
nonetheless, I think this treatment would be fine if you immediately re-line the tank with some kind of protective coating… or even put straight on a bike and fill with petrol/premix.