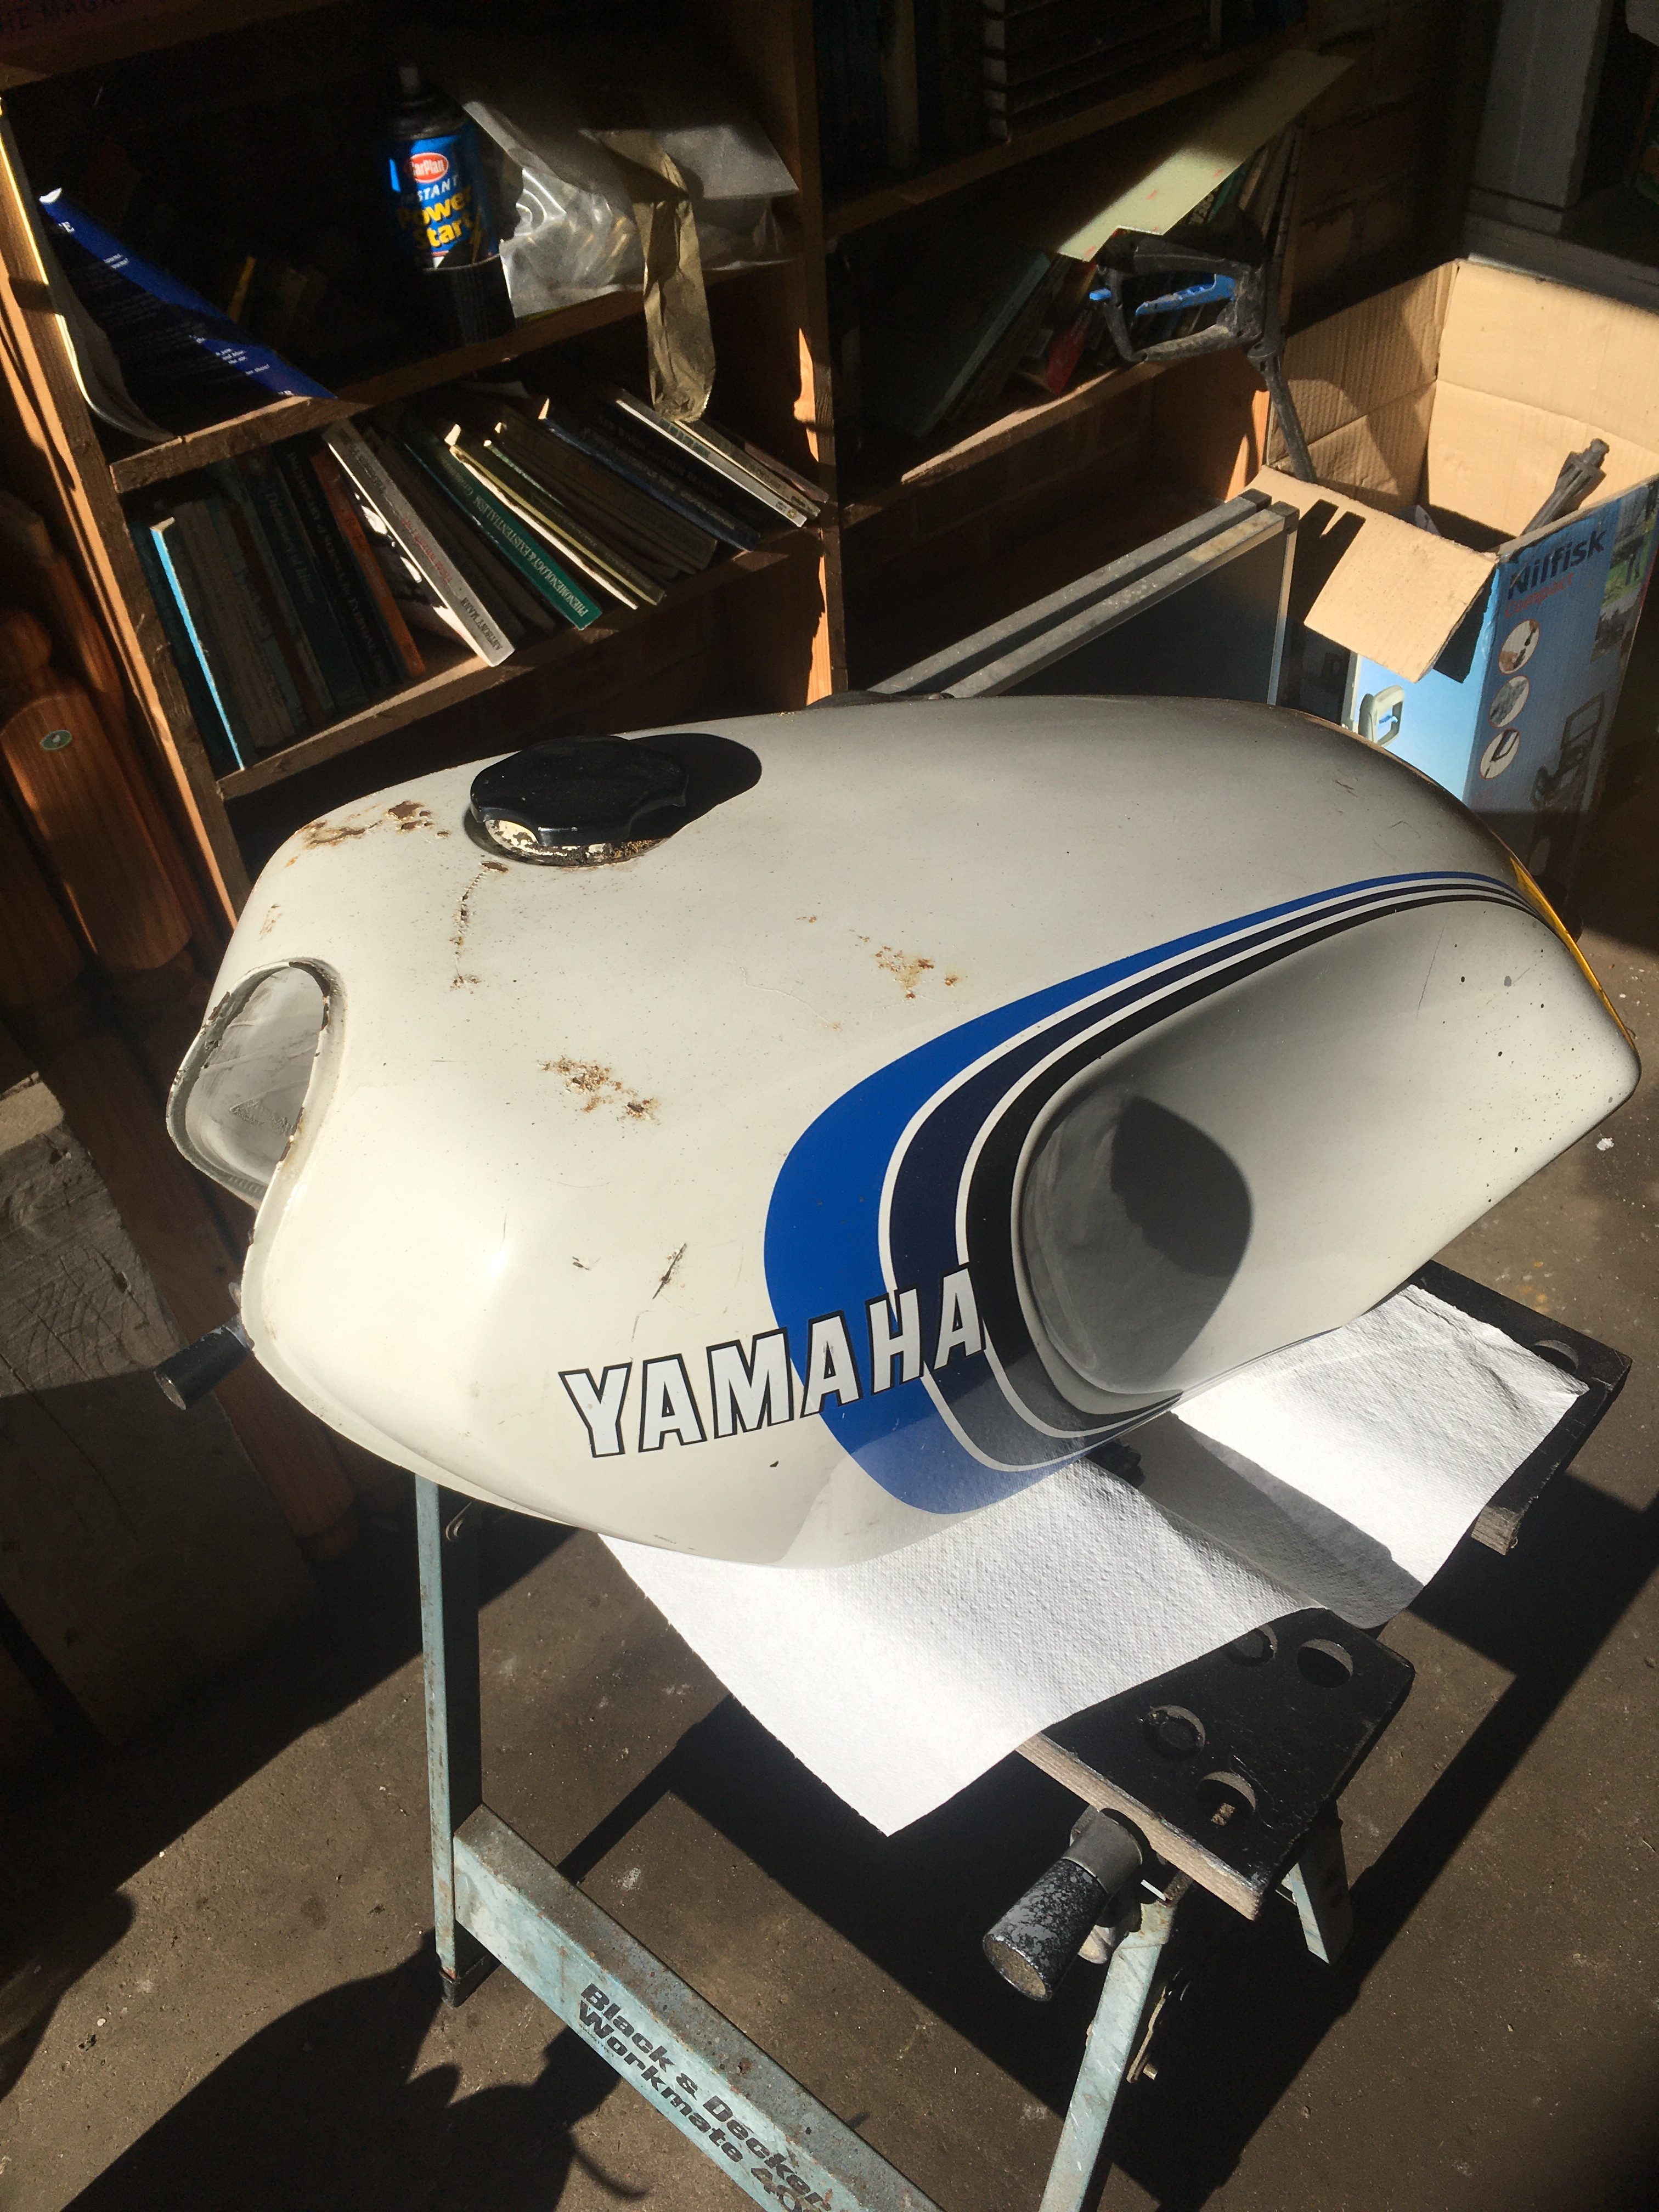
The tank which came with the donor bike is dented and scratched, but I know that when it was last rebuilt, the seams were carefully welded up, so It might be a good option for the initial build.
I have added a little petrol to the tank and left it for a few hours to see if any leaks develop around the seams.
Nothing leaks. Looks OK!
I have 2 other tanks which have been hanging on the garage wall, largely ignored and forgotten for over 20 years.
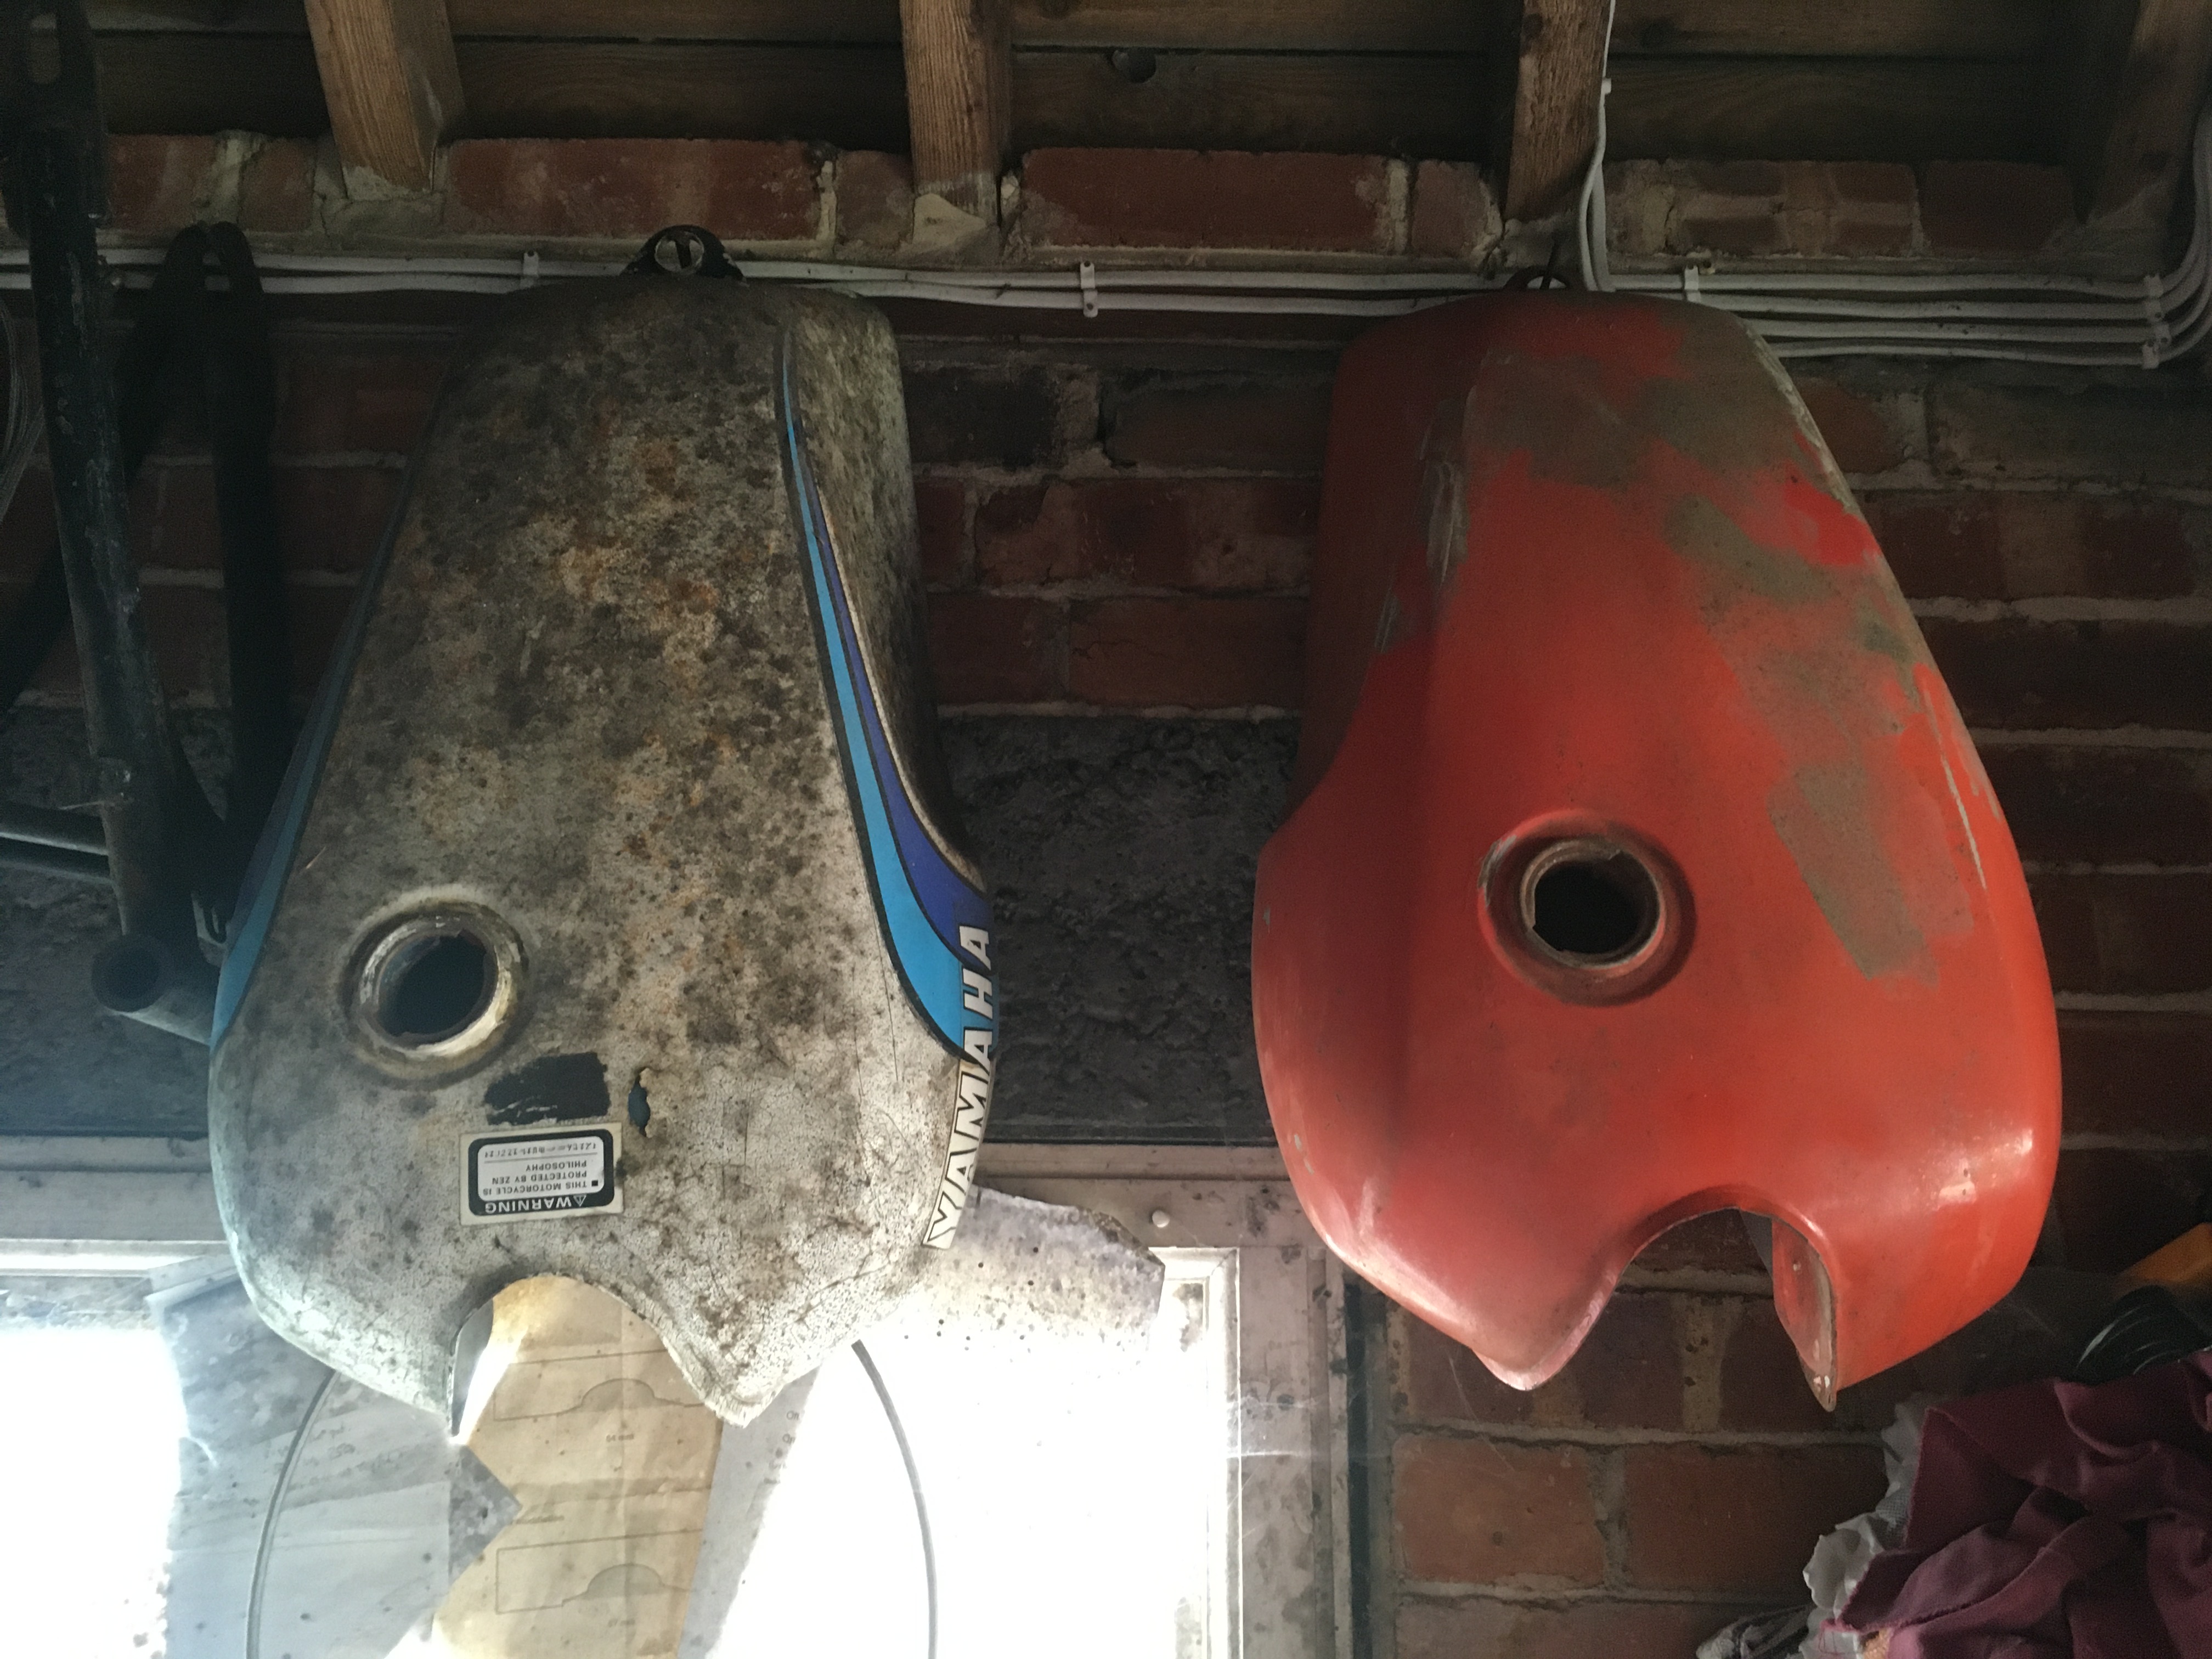
These may be worth considering also.
I would need to fit a fuel tap, so it’s off to the shed to visit the parts box.
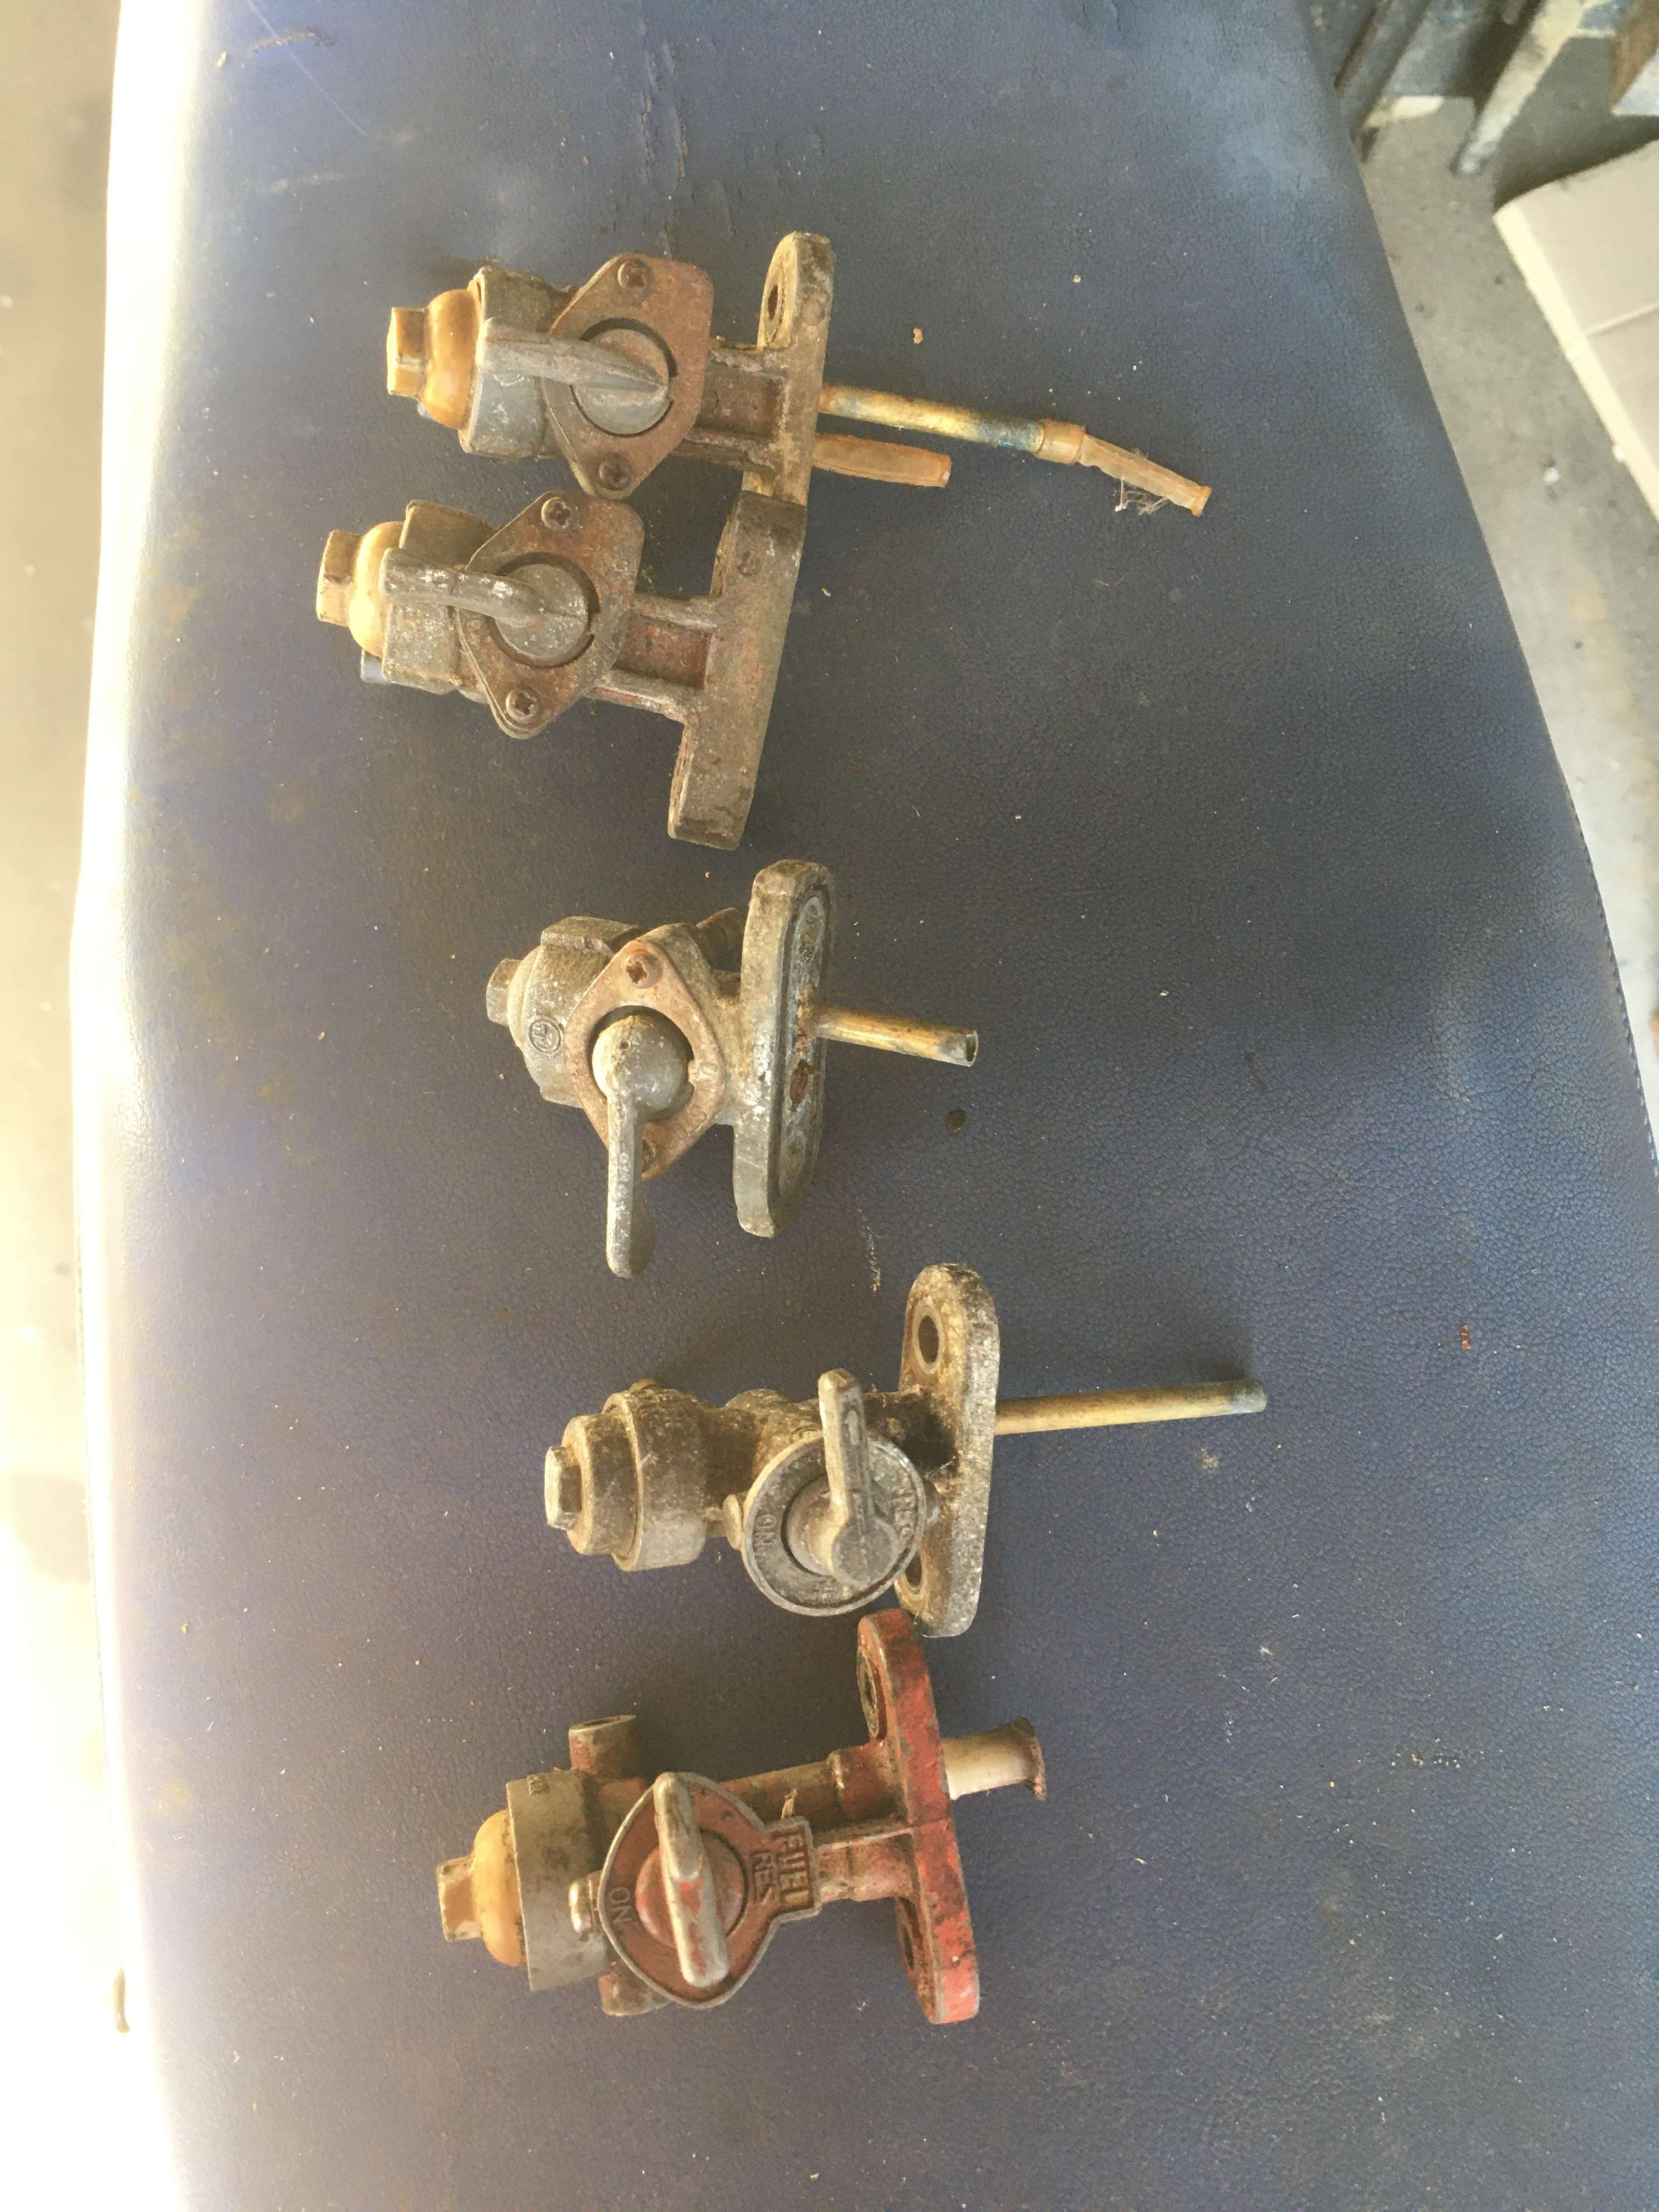
What a motley collection.
There appears to be only one LC fuel tap here, and that is lacking not only its filter, but also the two brass spigots, leaving nowhere to attach the fuel pipes.
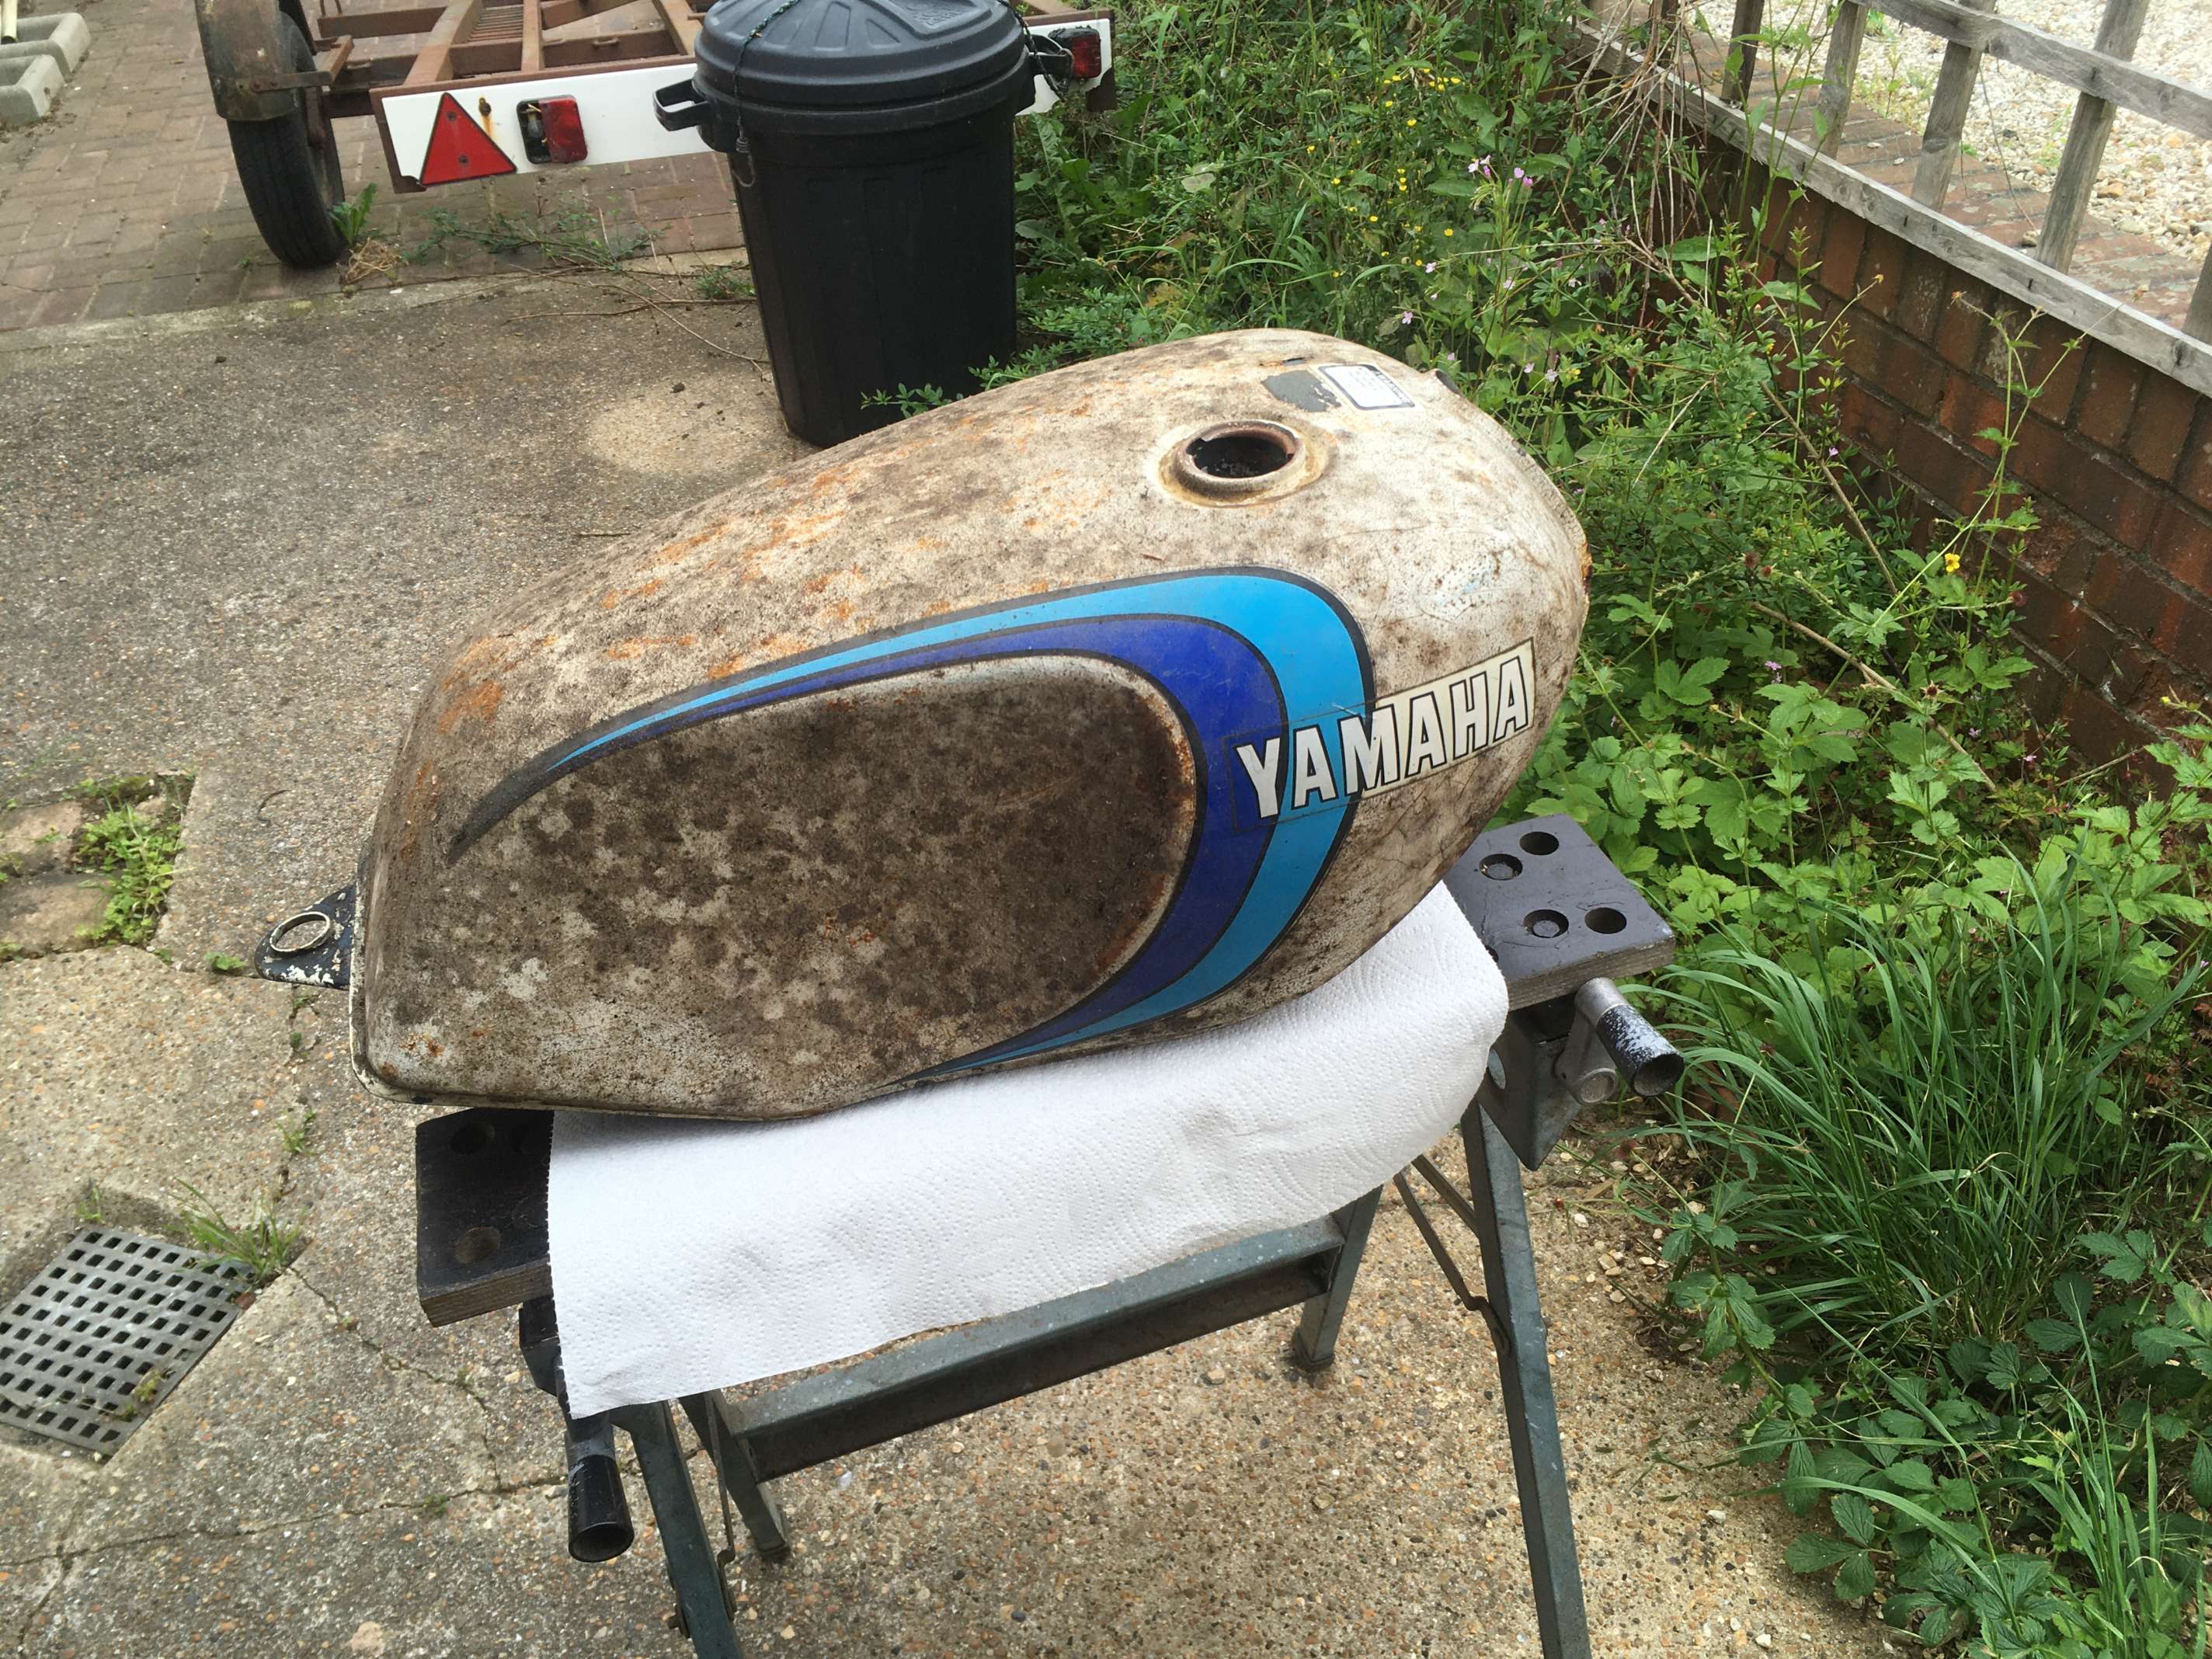
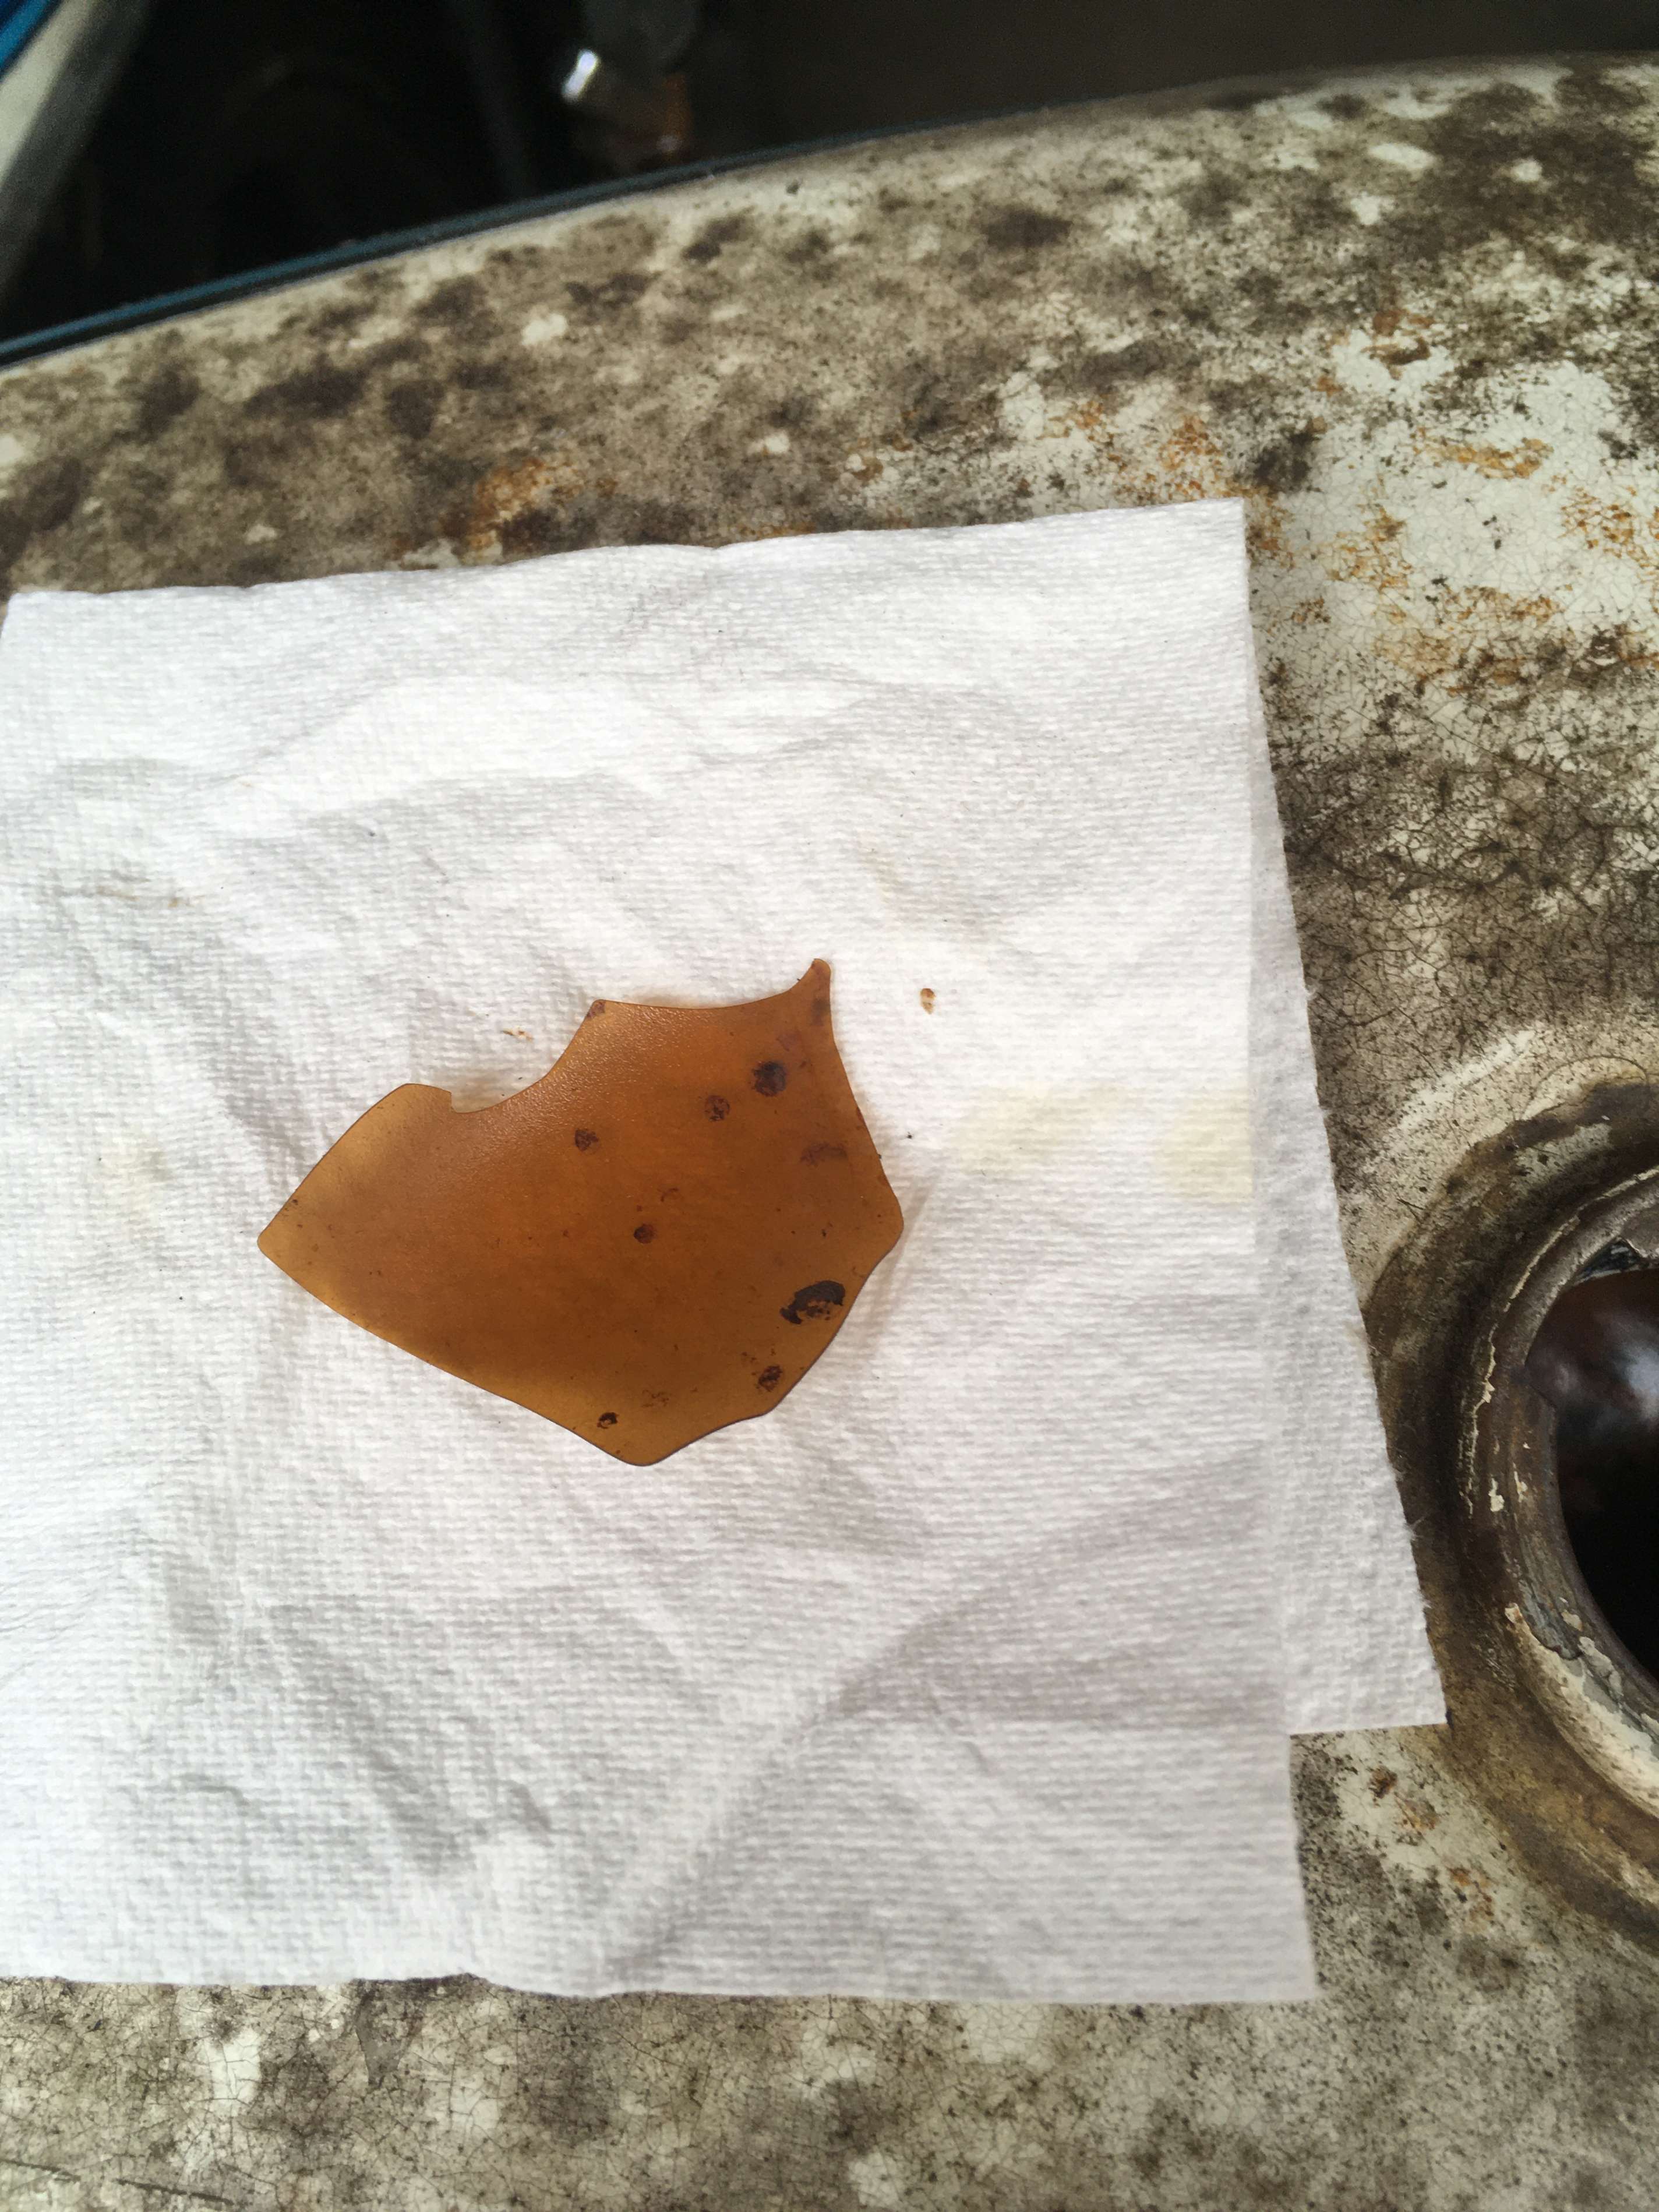
The tank from the donor bike is relatively rust free inside, but it had been coated with some kind of tank sealer, which is now flaking off. My preference would be to remove it.
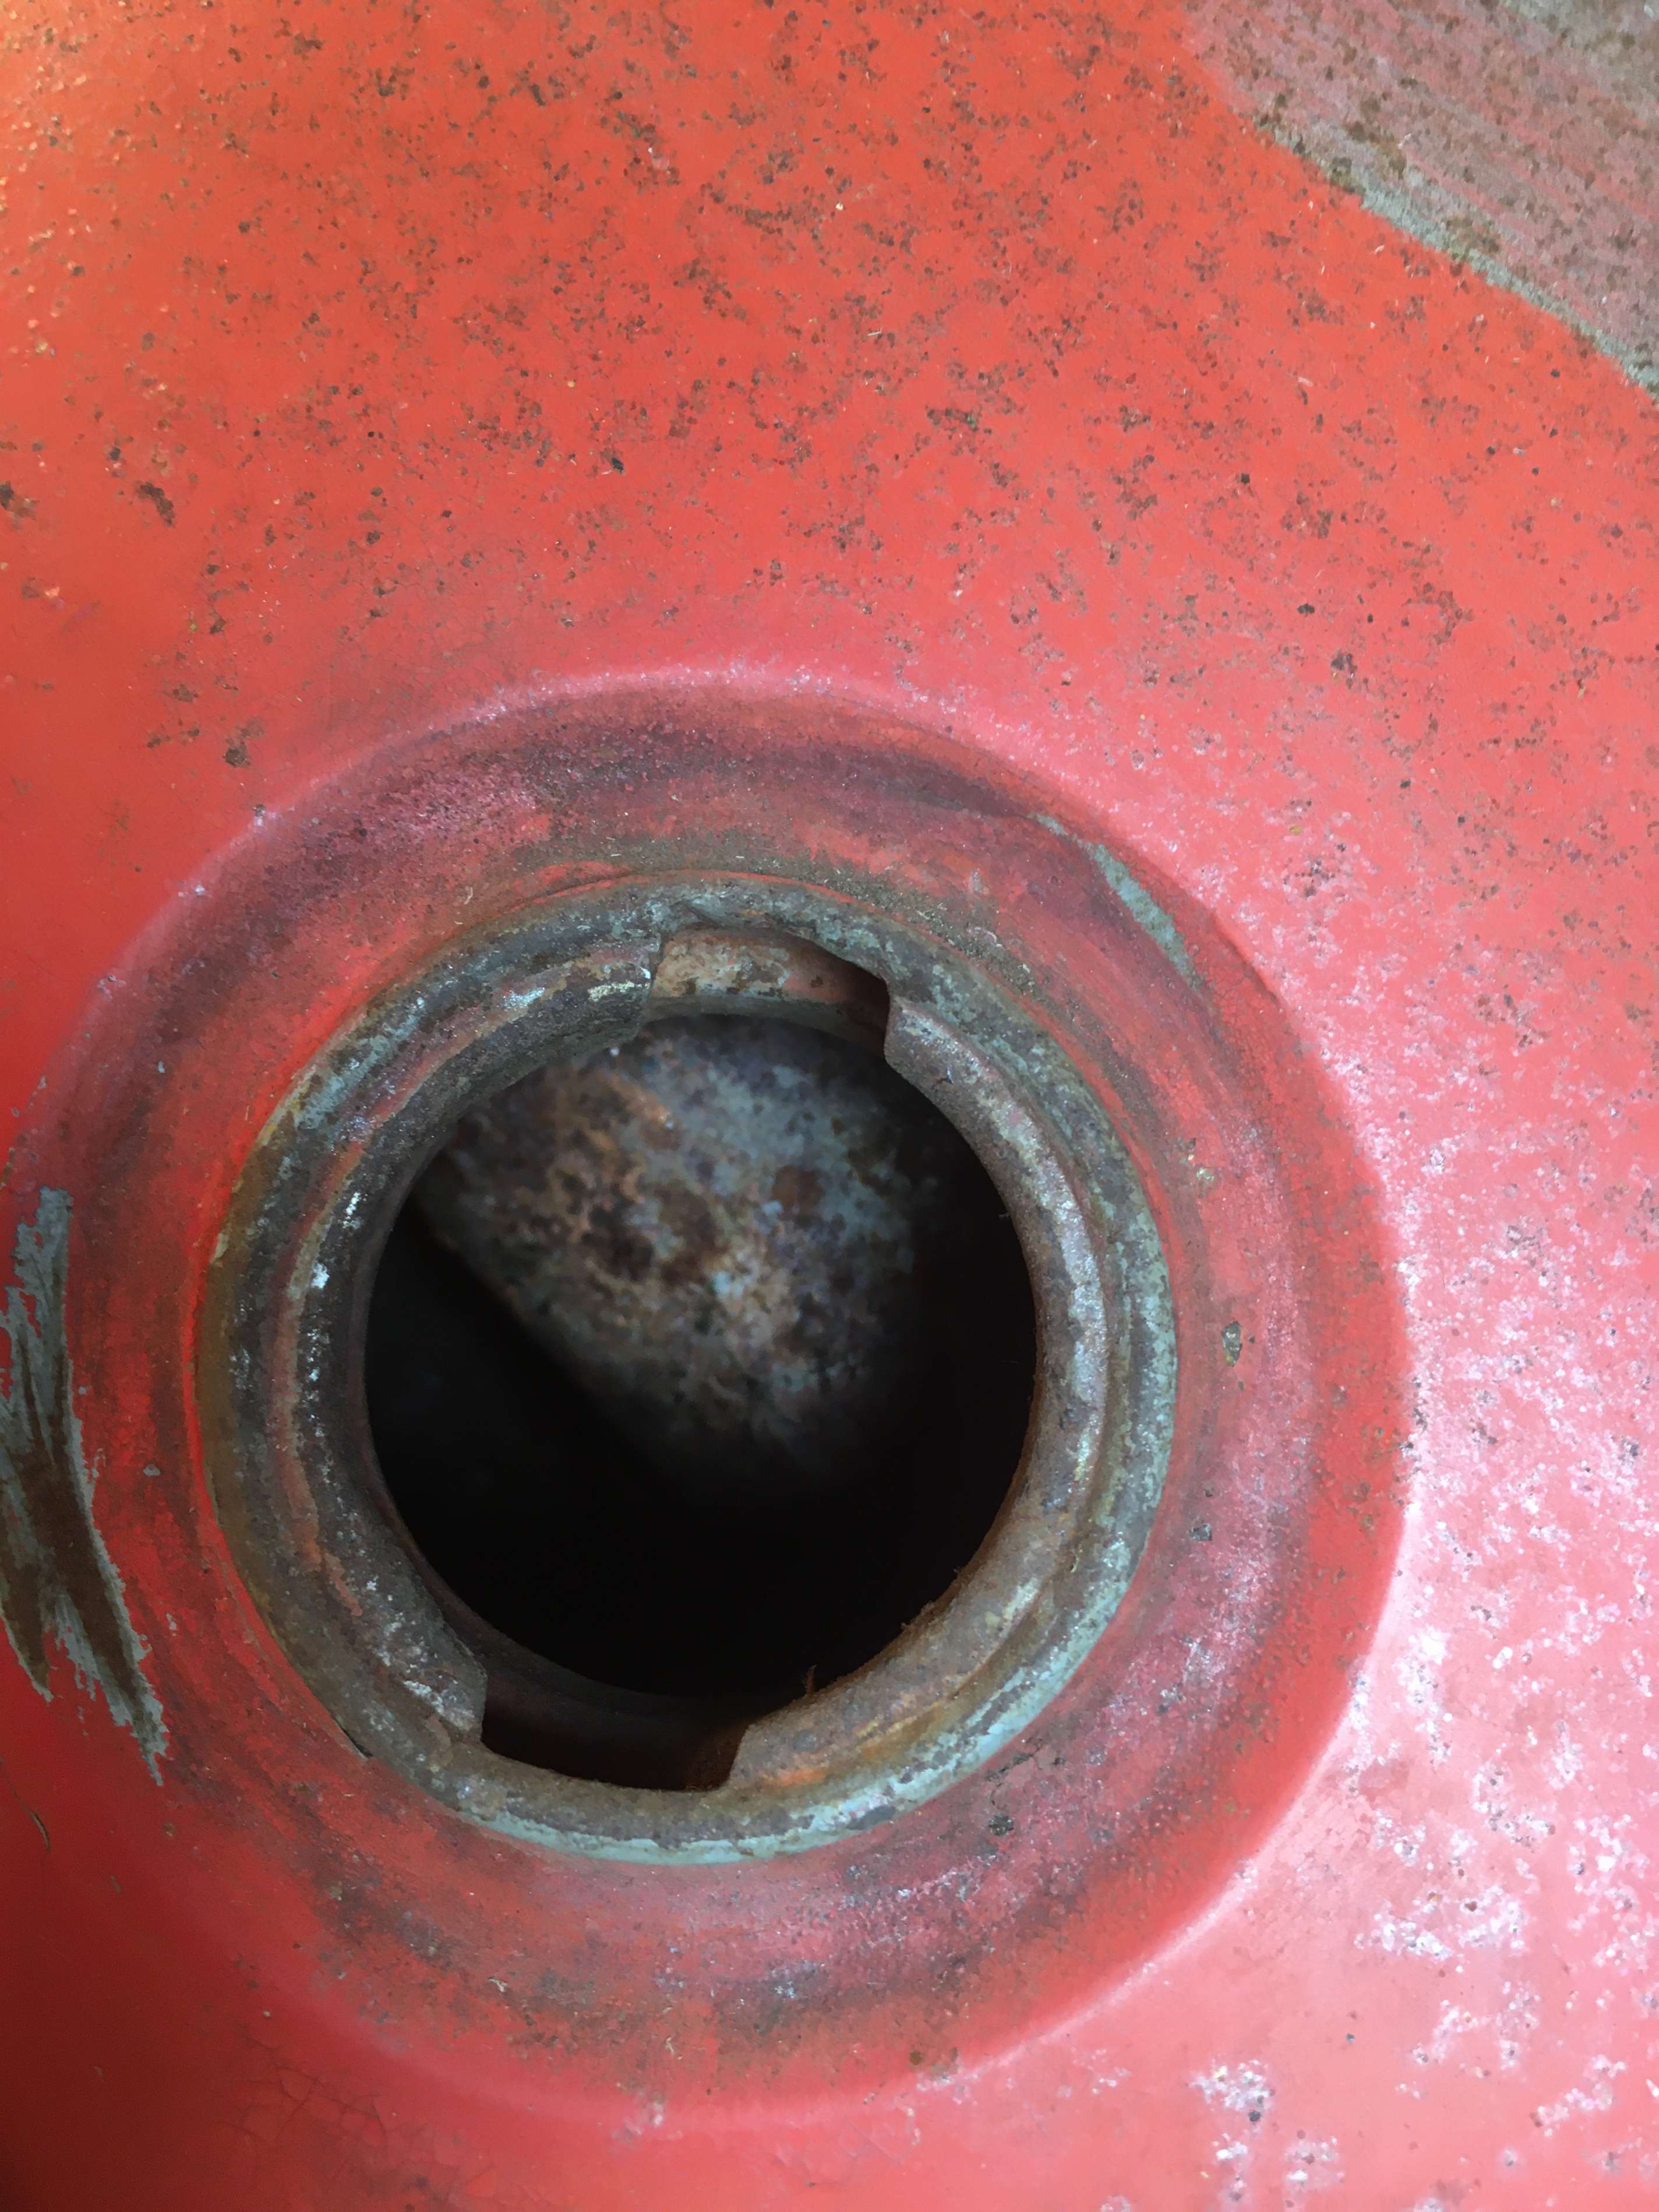
Of the two tanks on the wall, the red one is fairly rust infested inside, the dirty blue and white one has a thick layer of sealant inside the tank, some of which has broken of in large chunks and is rattling around inside. I suspect this one will have some leaks.

This led me to a bit of internet searching on how to clean the insides of fuel tanks.
Eventually i turned up this page, detailing a method using regular household cleaning supplies…
1) Caustic soda (will apparently dissolve the old sealant.)
2) Hydrochloric acid (Gets rid of the rust)
3) Phosphoric acid (Etches the surface and provides a protective layer)
I have ordered the chemicals, and will perform the method on each tank, recording the results here.