In order to complete the wiring loom endpoints, I still need to fit the instruments and the handlebar switches to the rolling chassis.
first the clocks, and their binnacle.
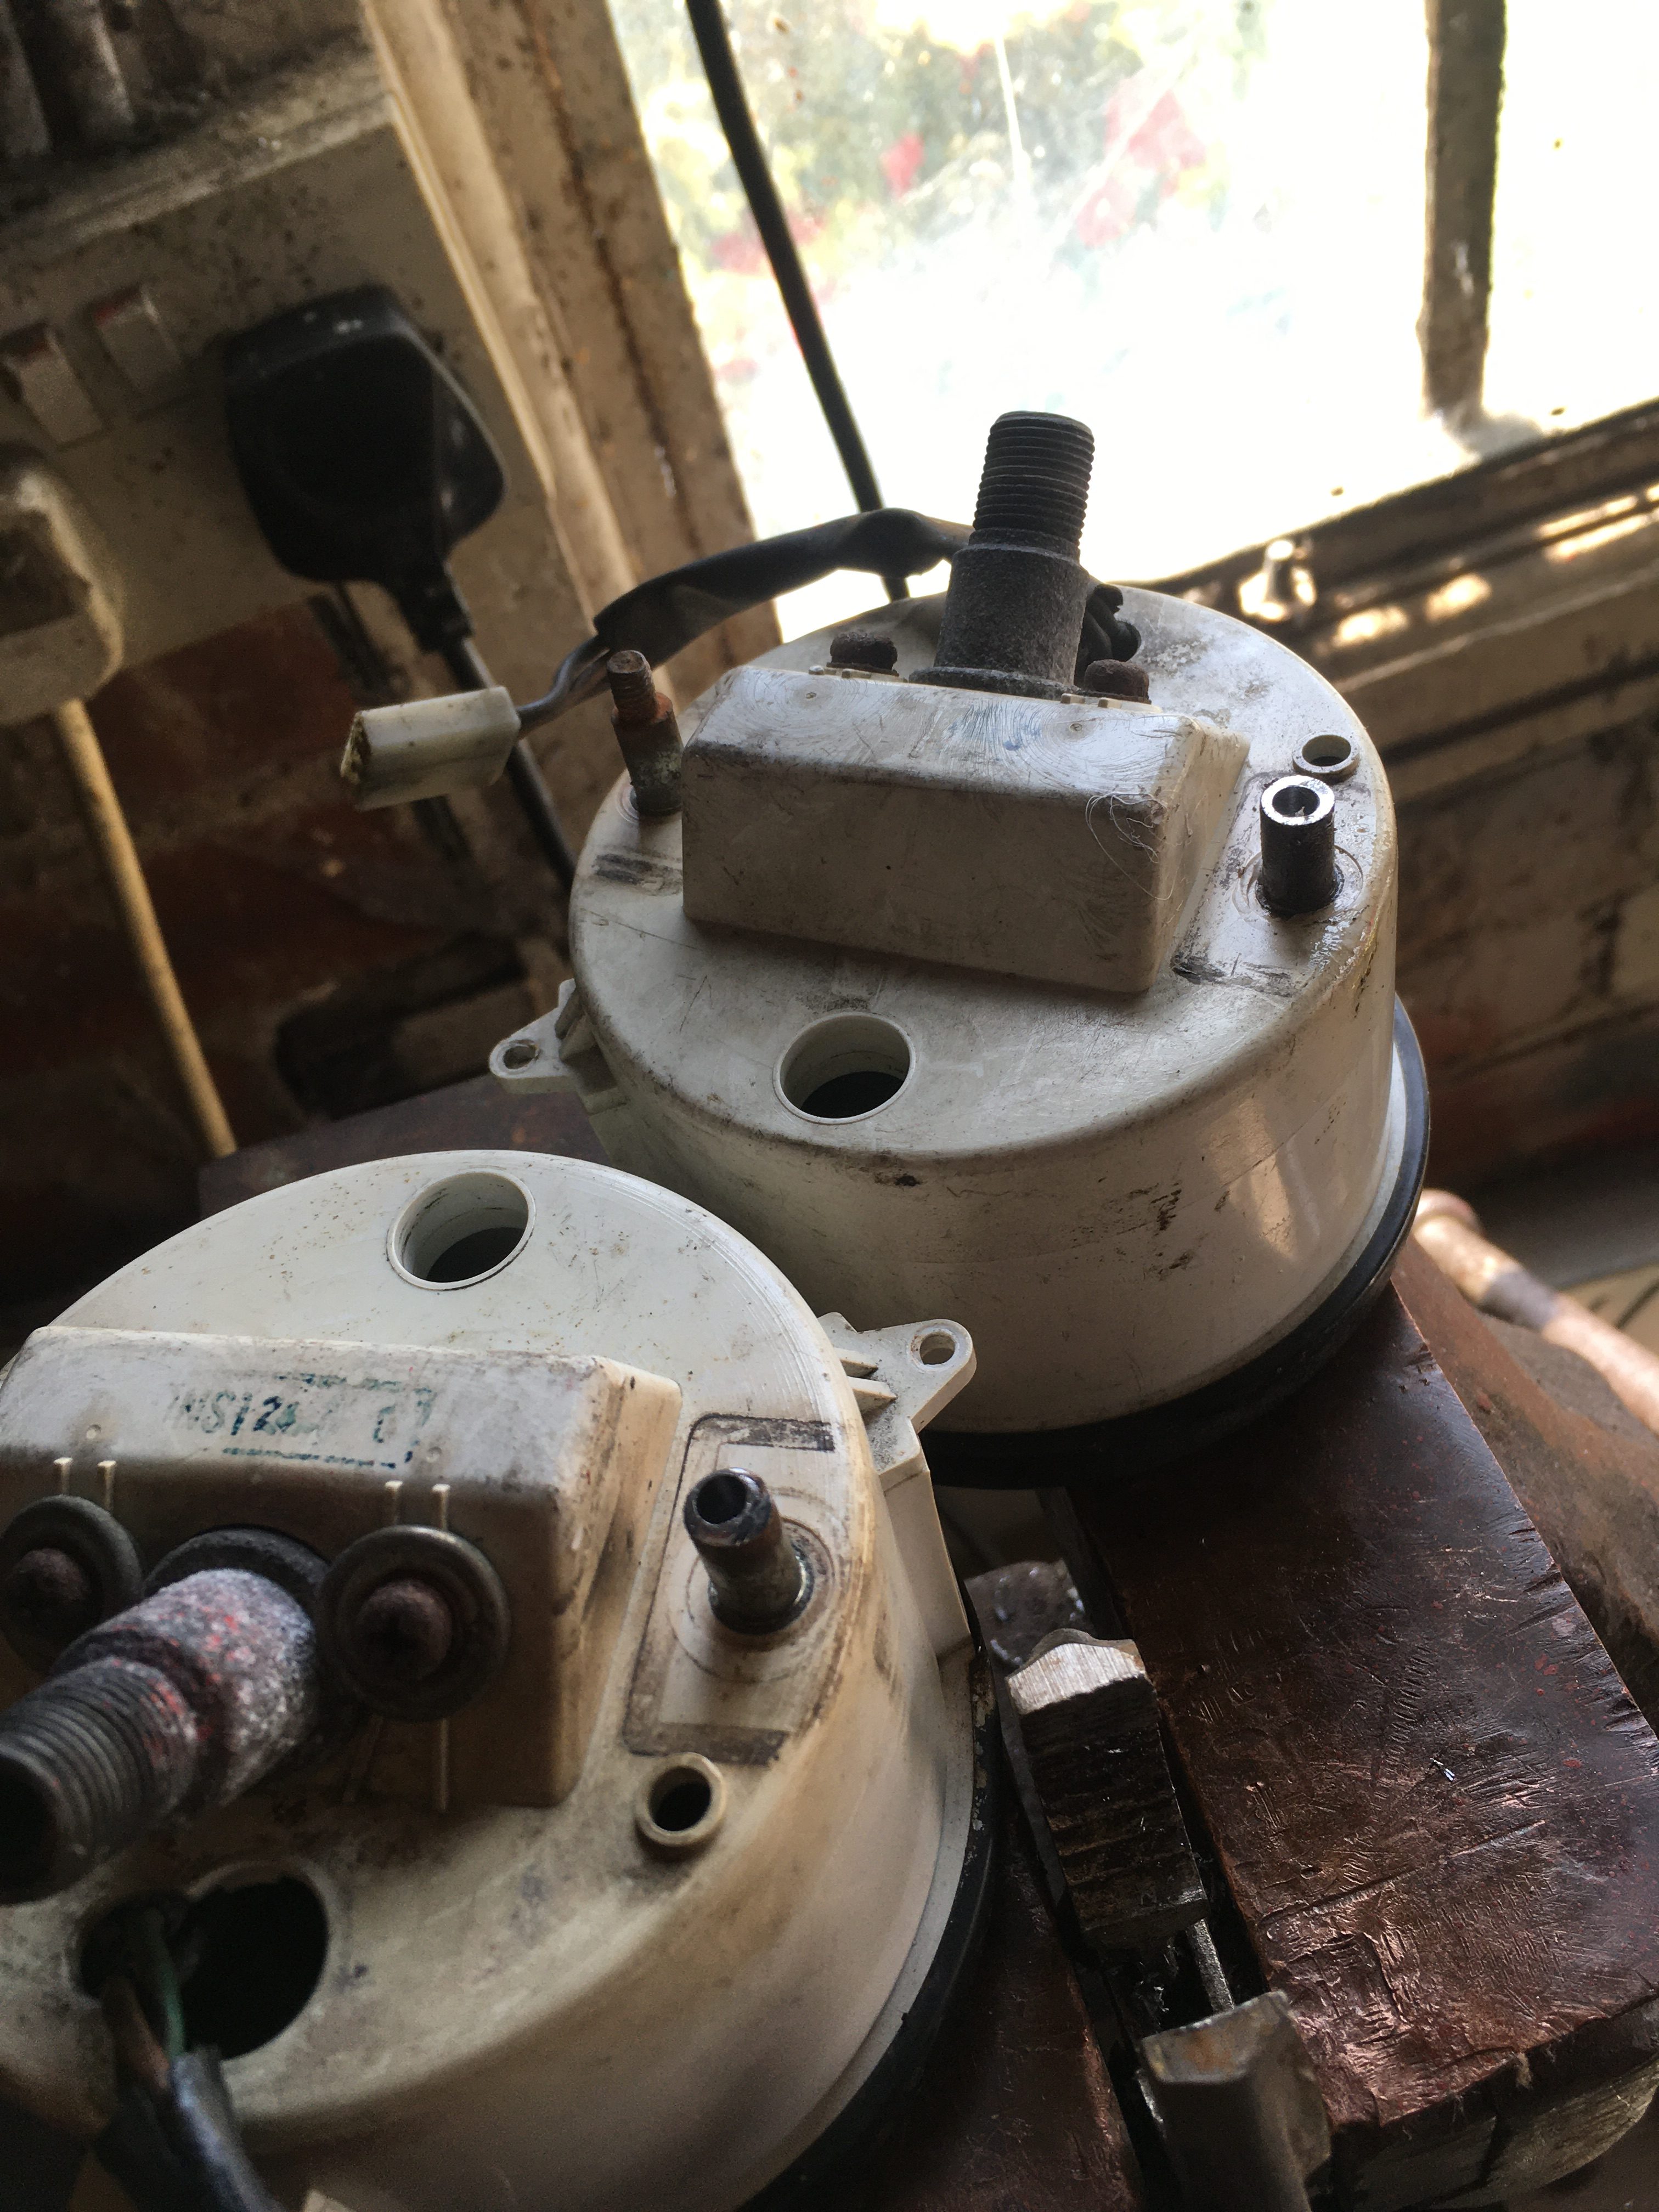
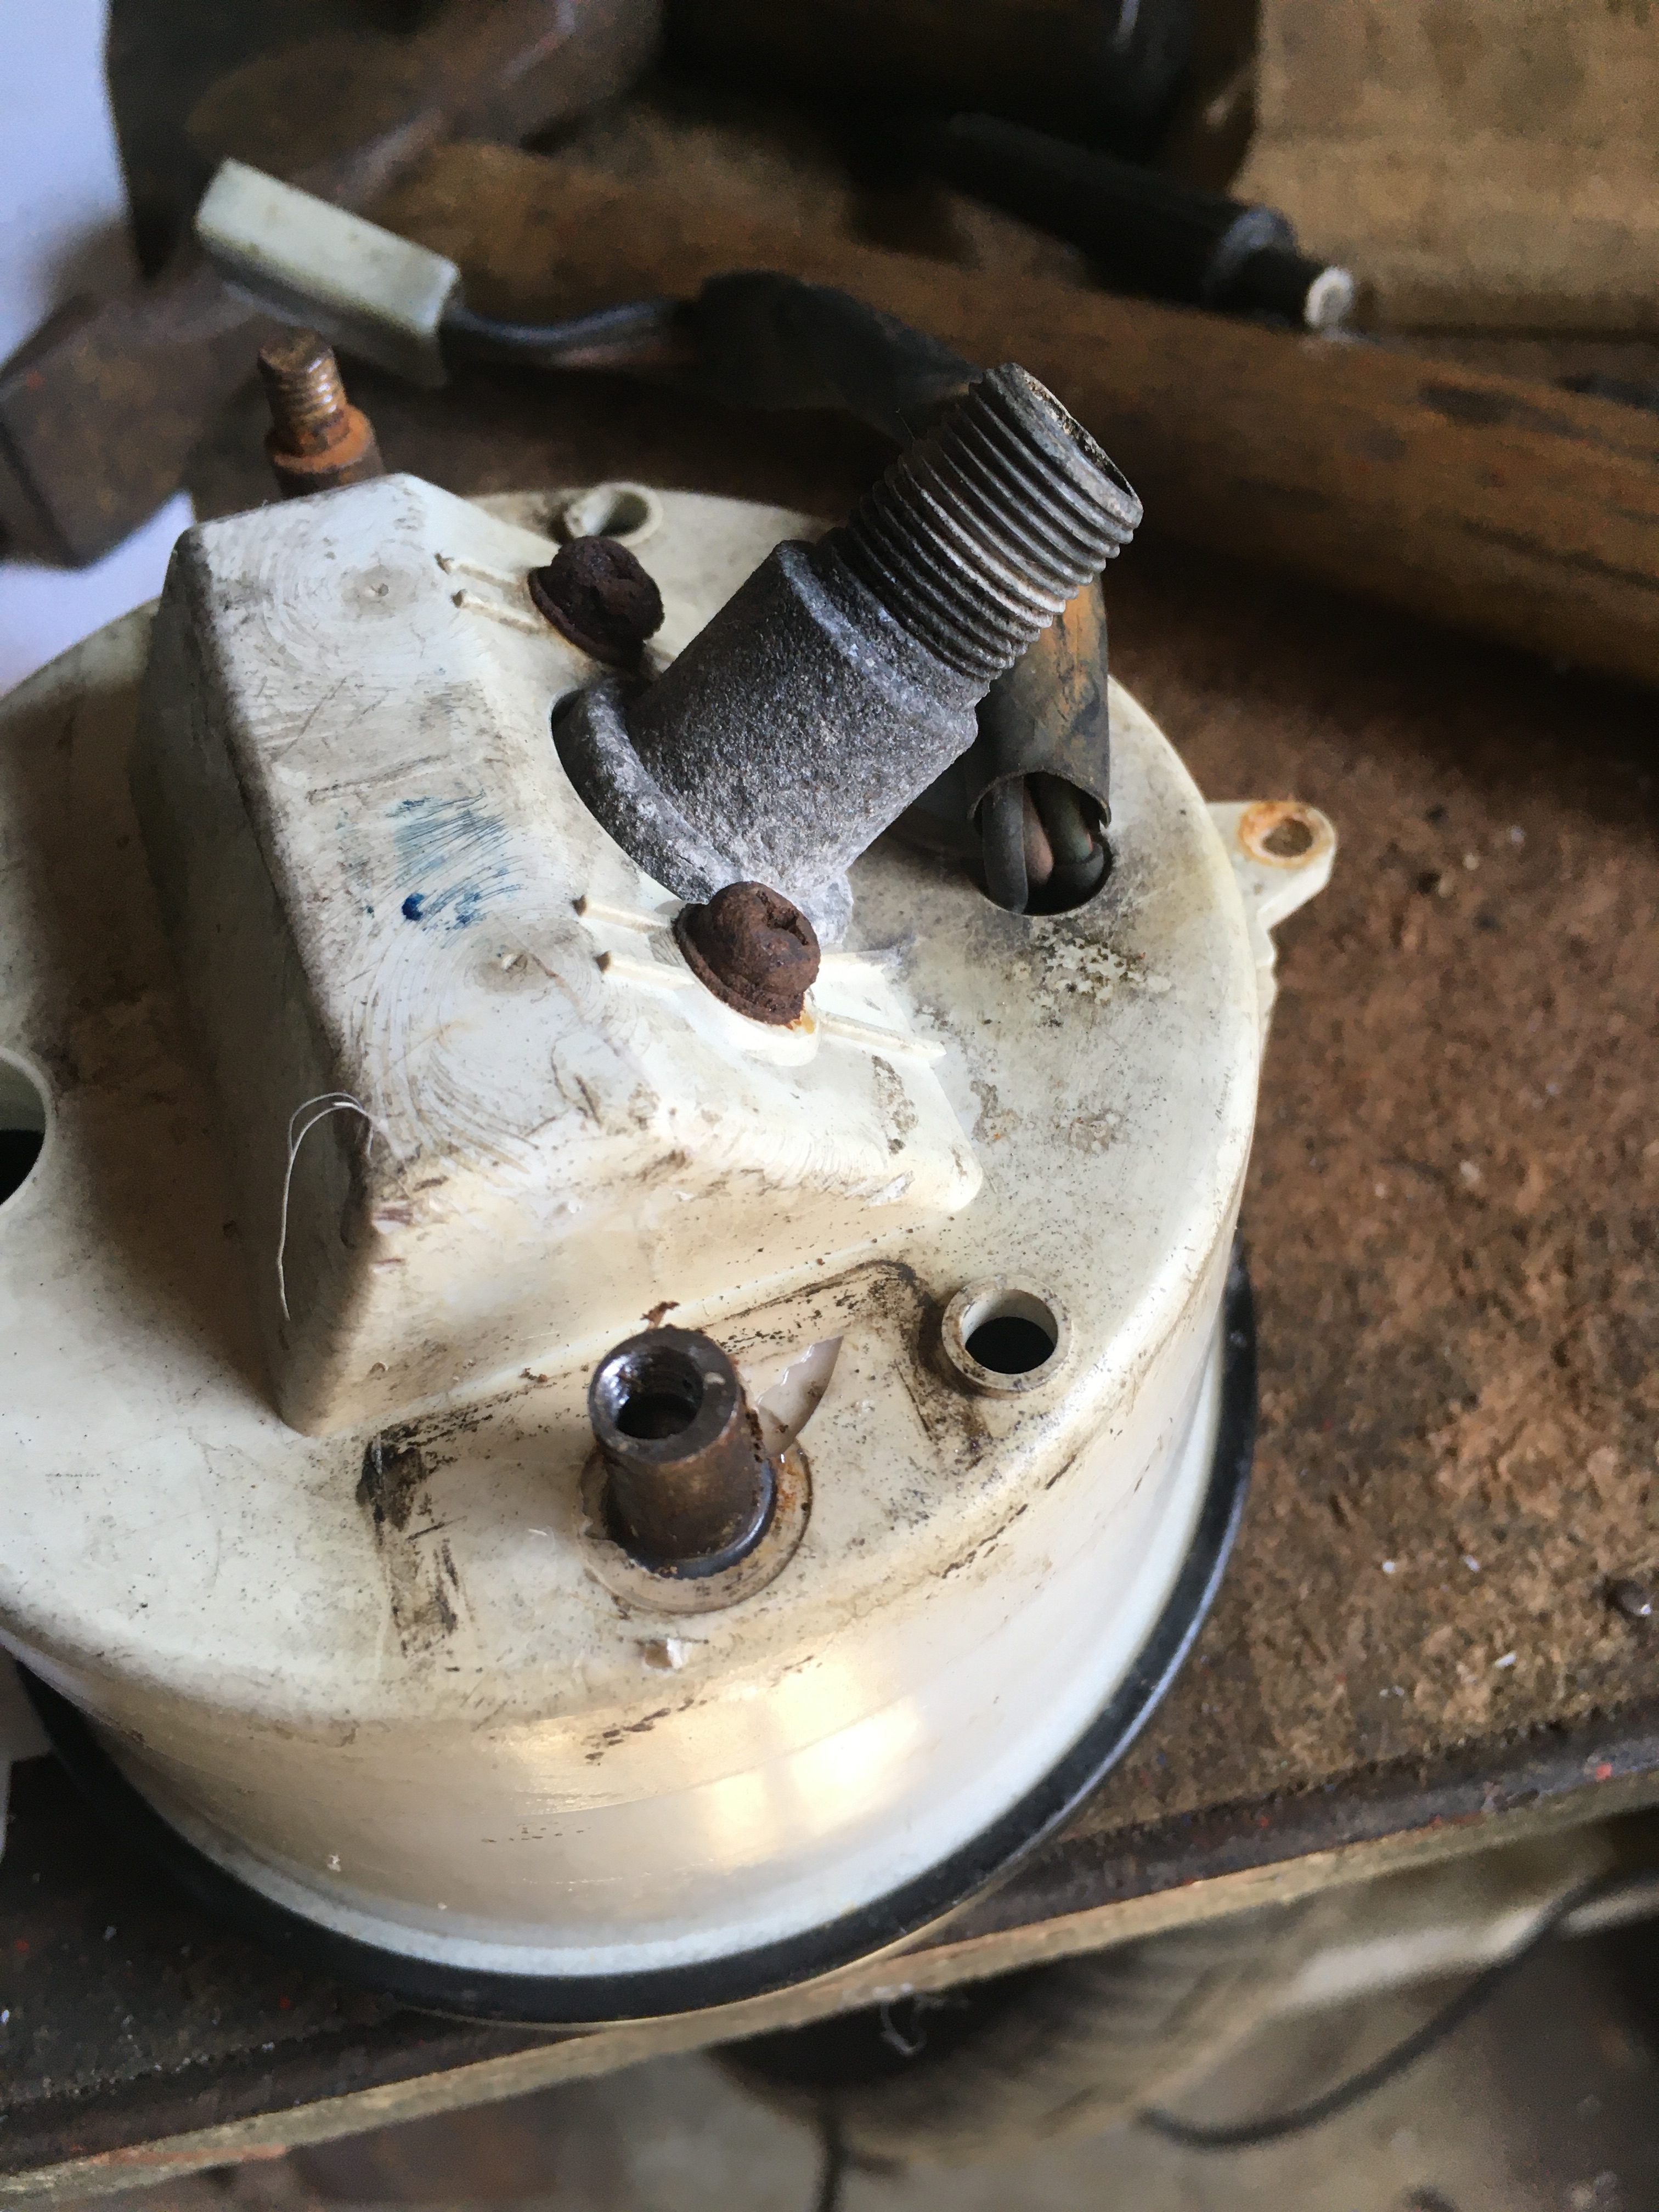
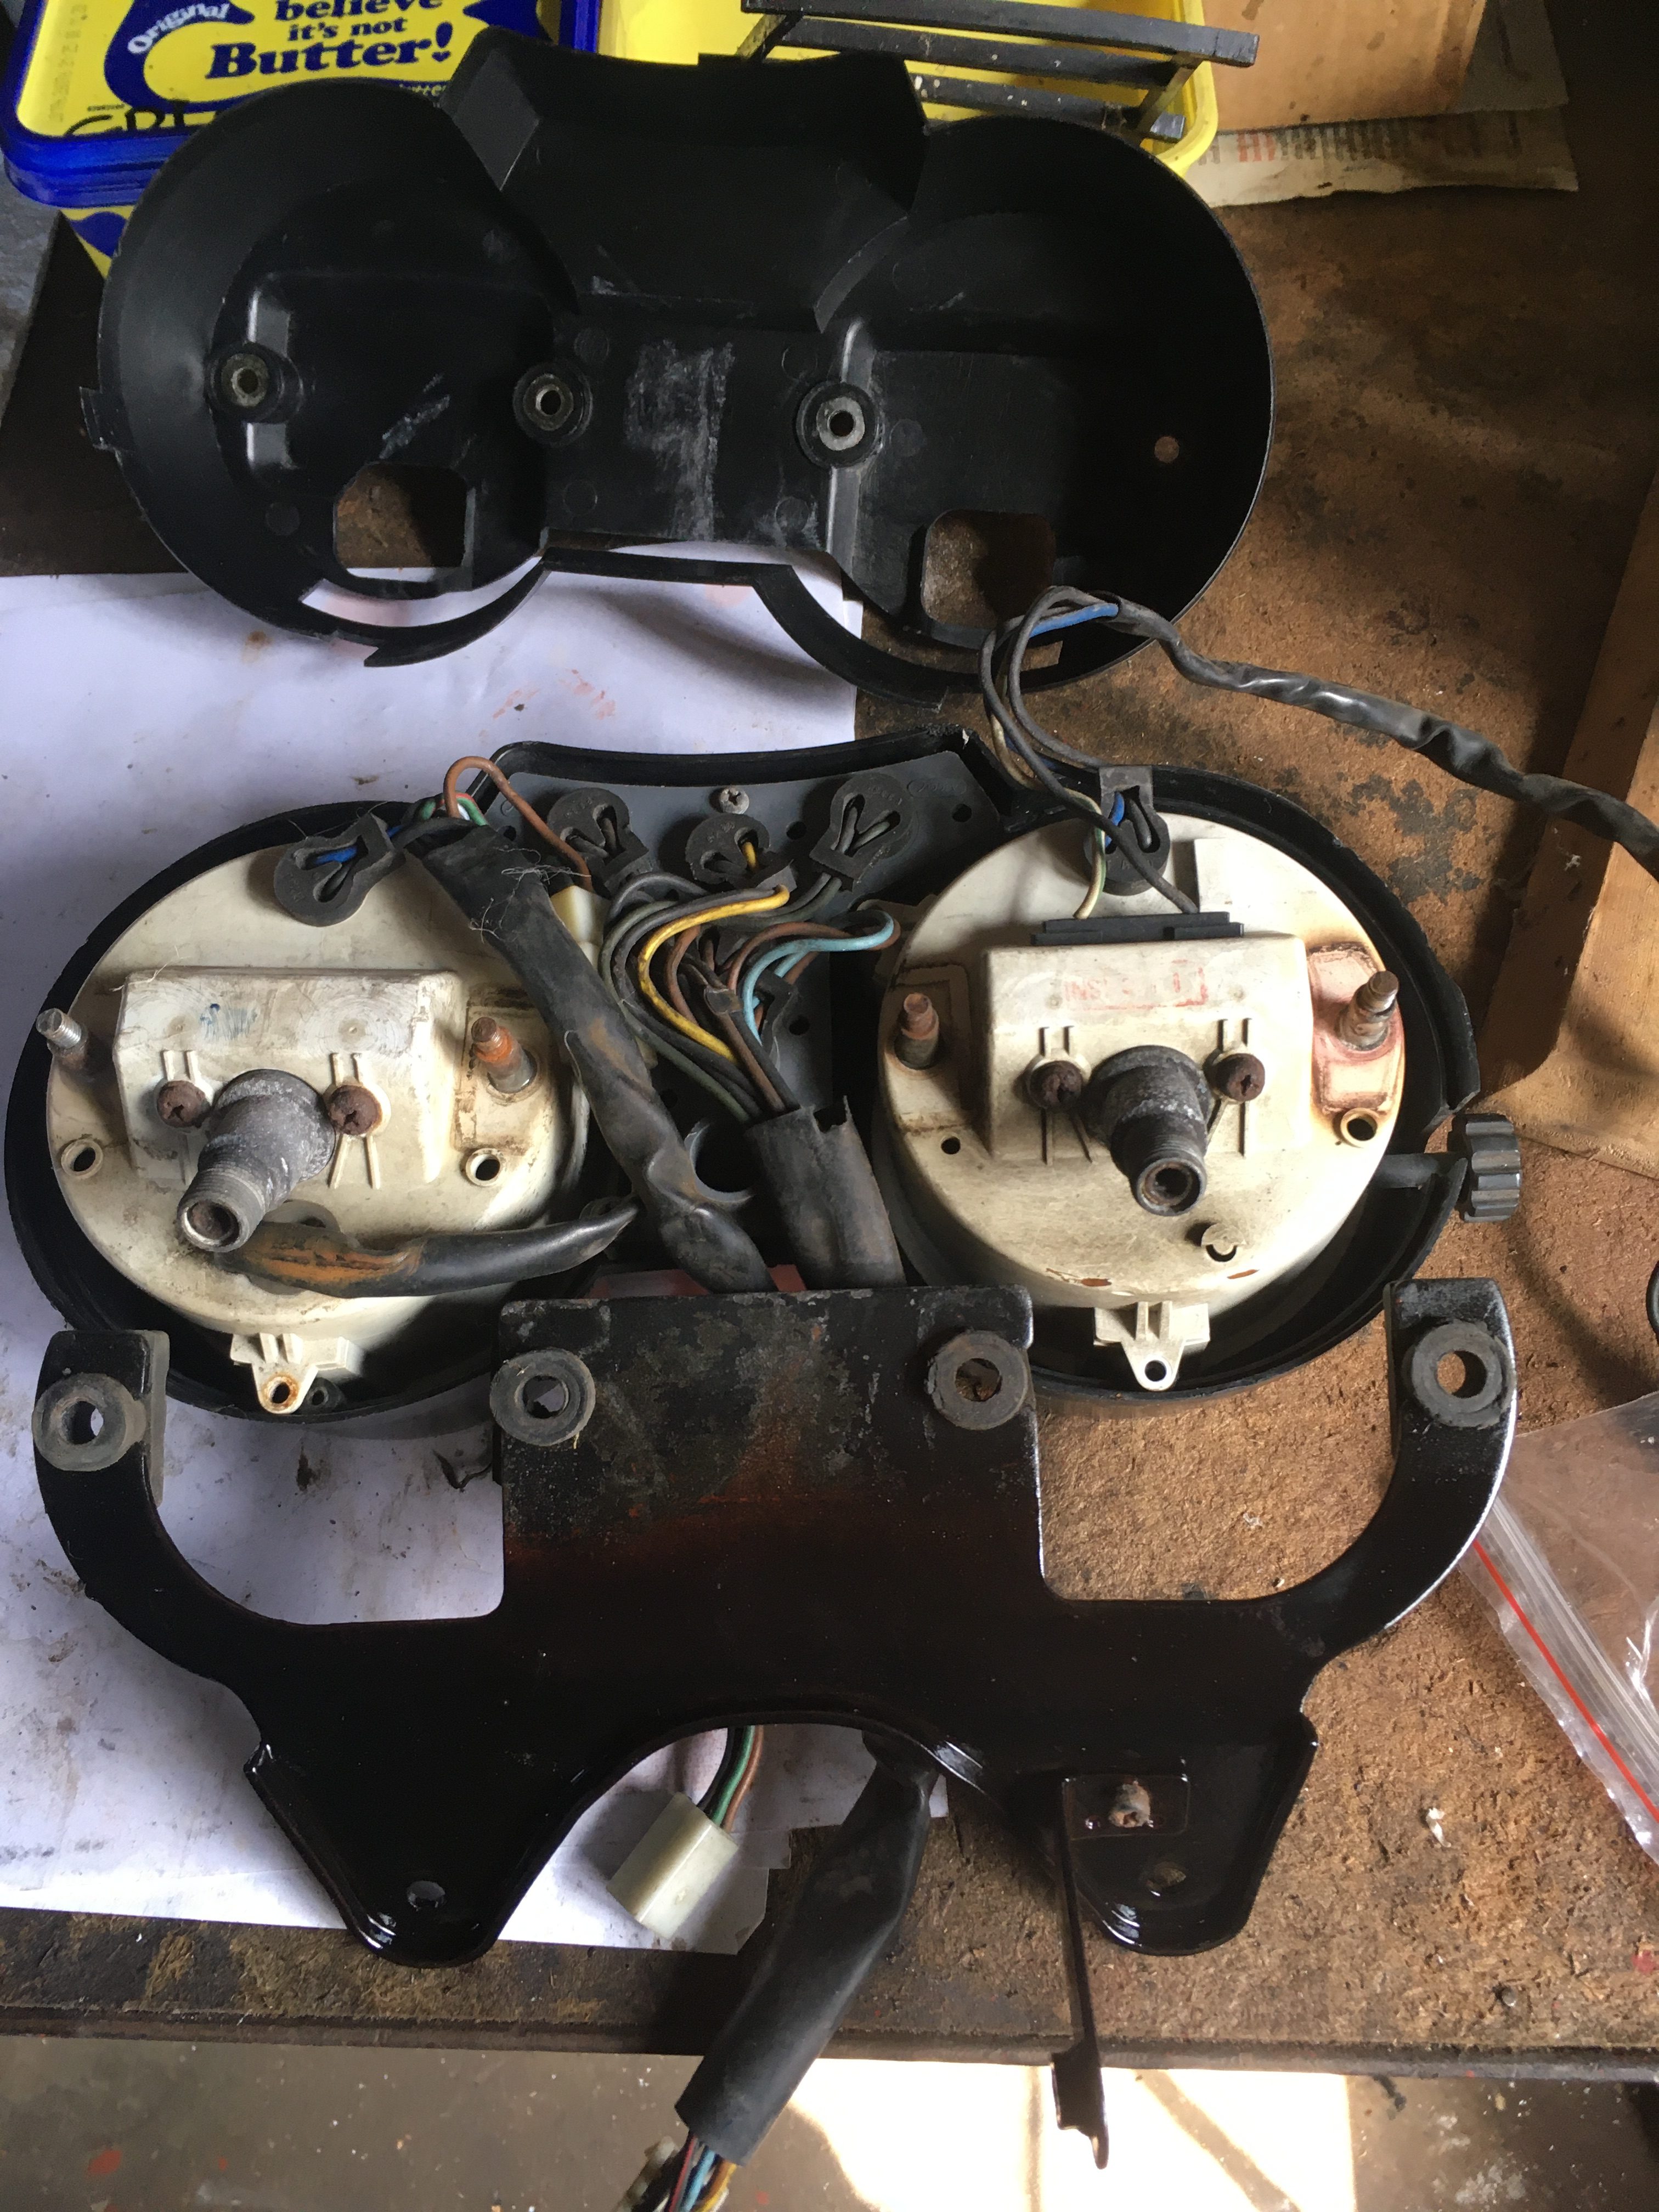
This is what i have to work with.

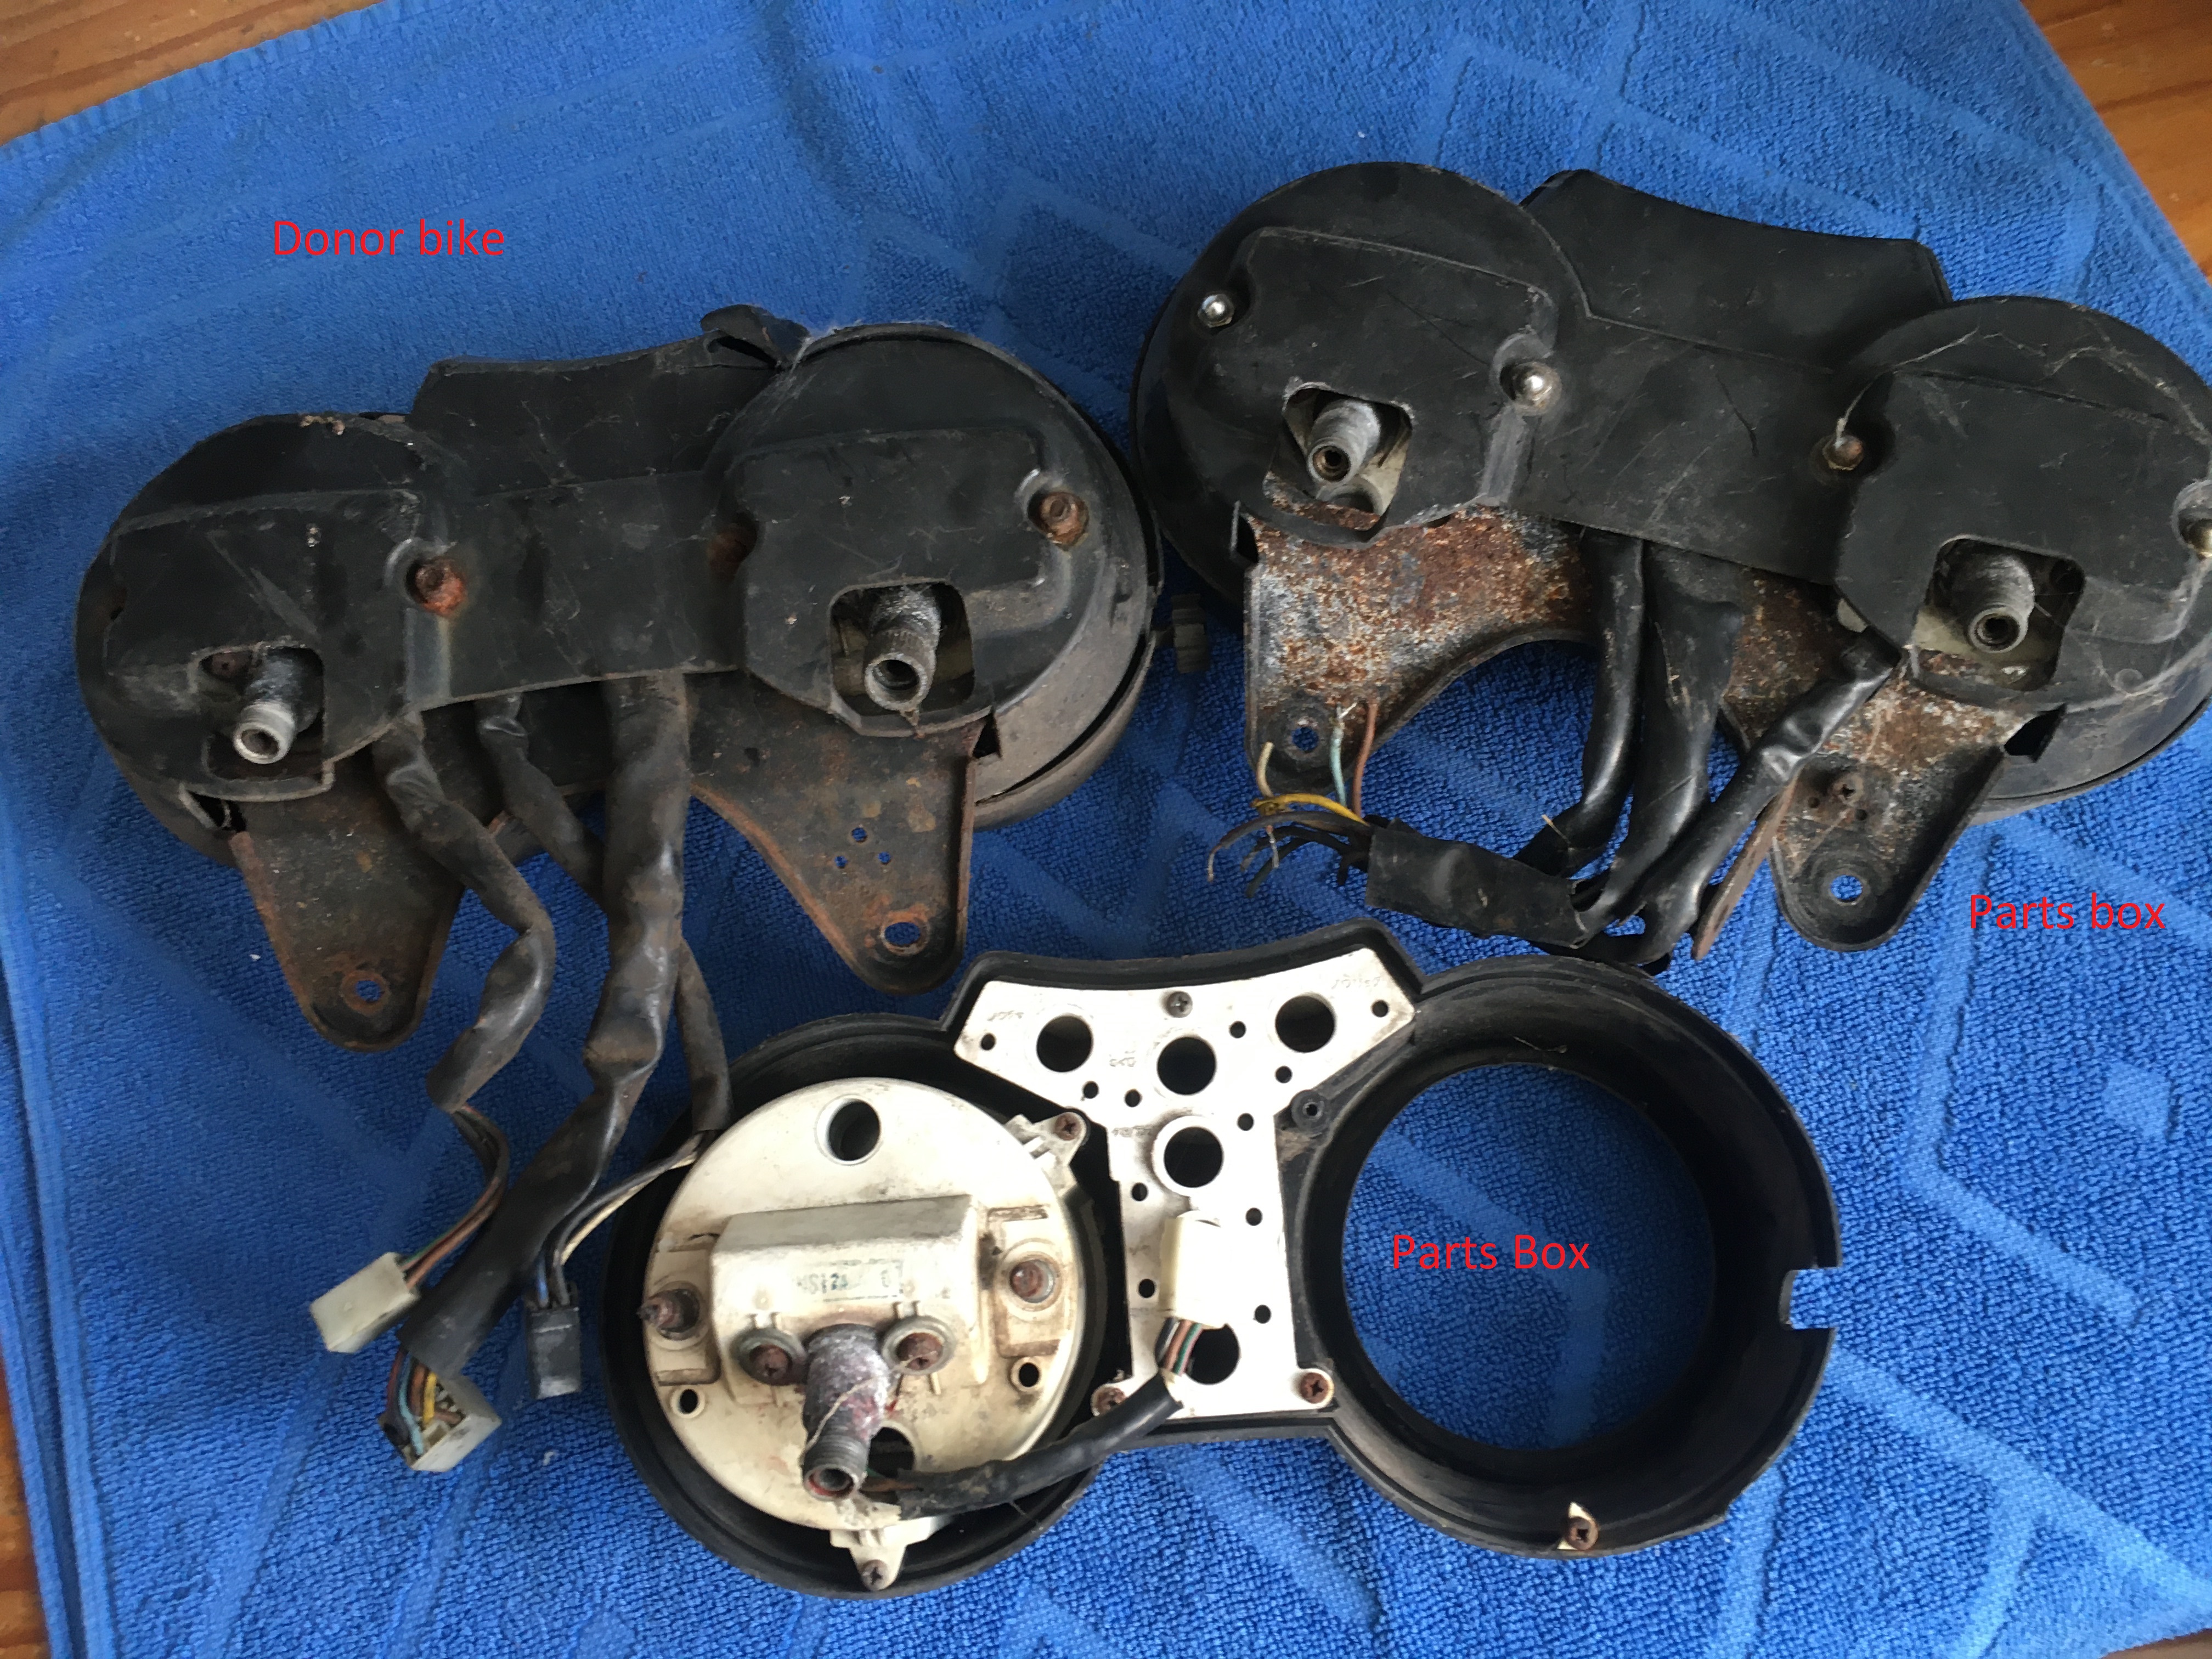
The basic premise will be the same as for everything else. i.e. use the donor bike parts unless they are terminally broken, in which case look to the parts box, or buying replacements from ebay, or new, if they are still available.
The donor bike clocks look reasonable on the face of it, although there are cracks in the idiot light plastic panel.
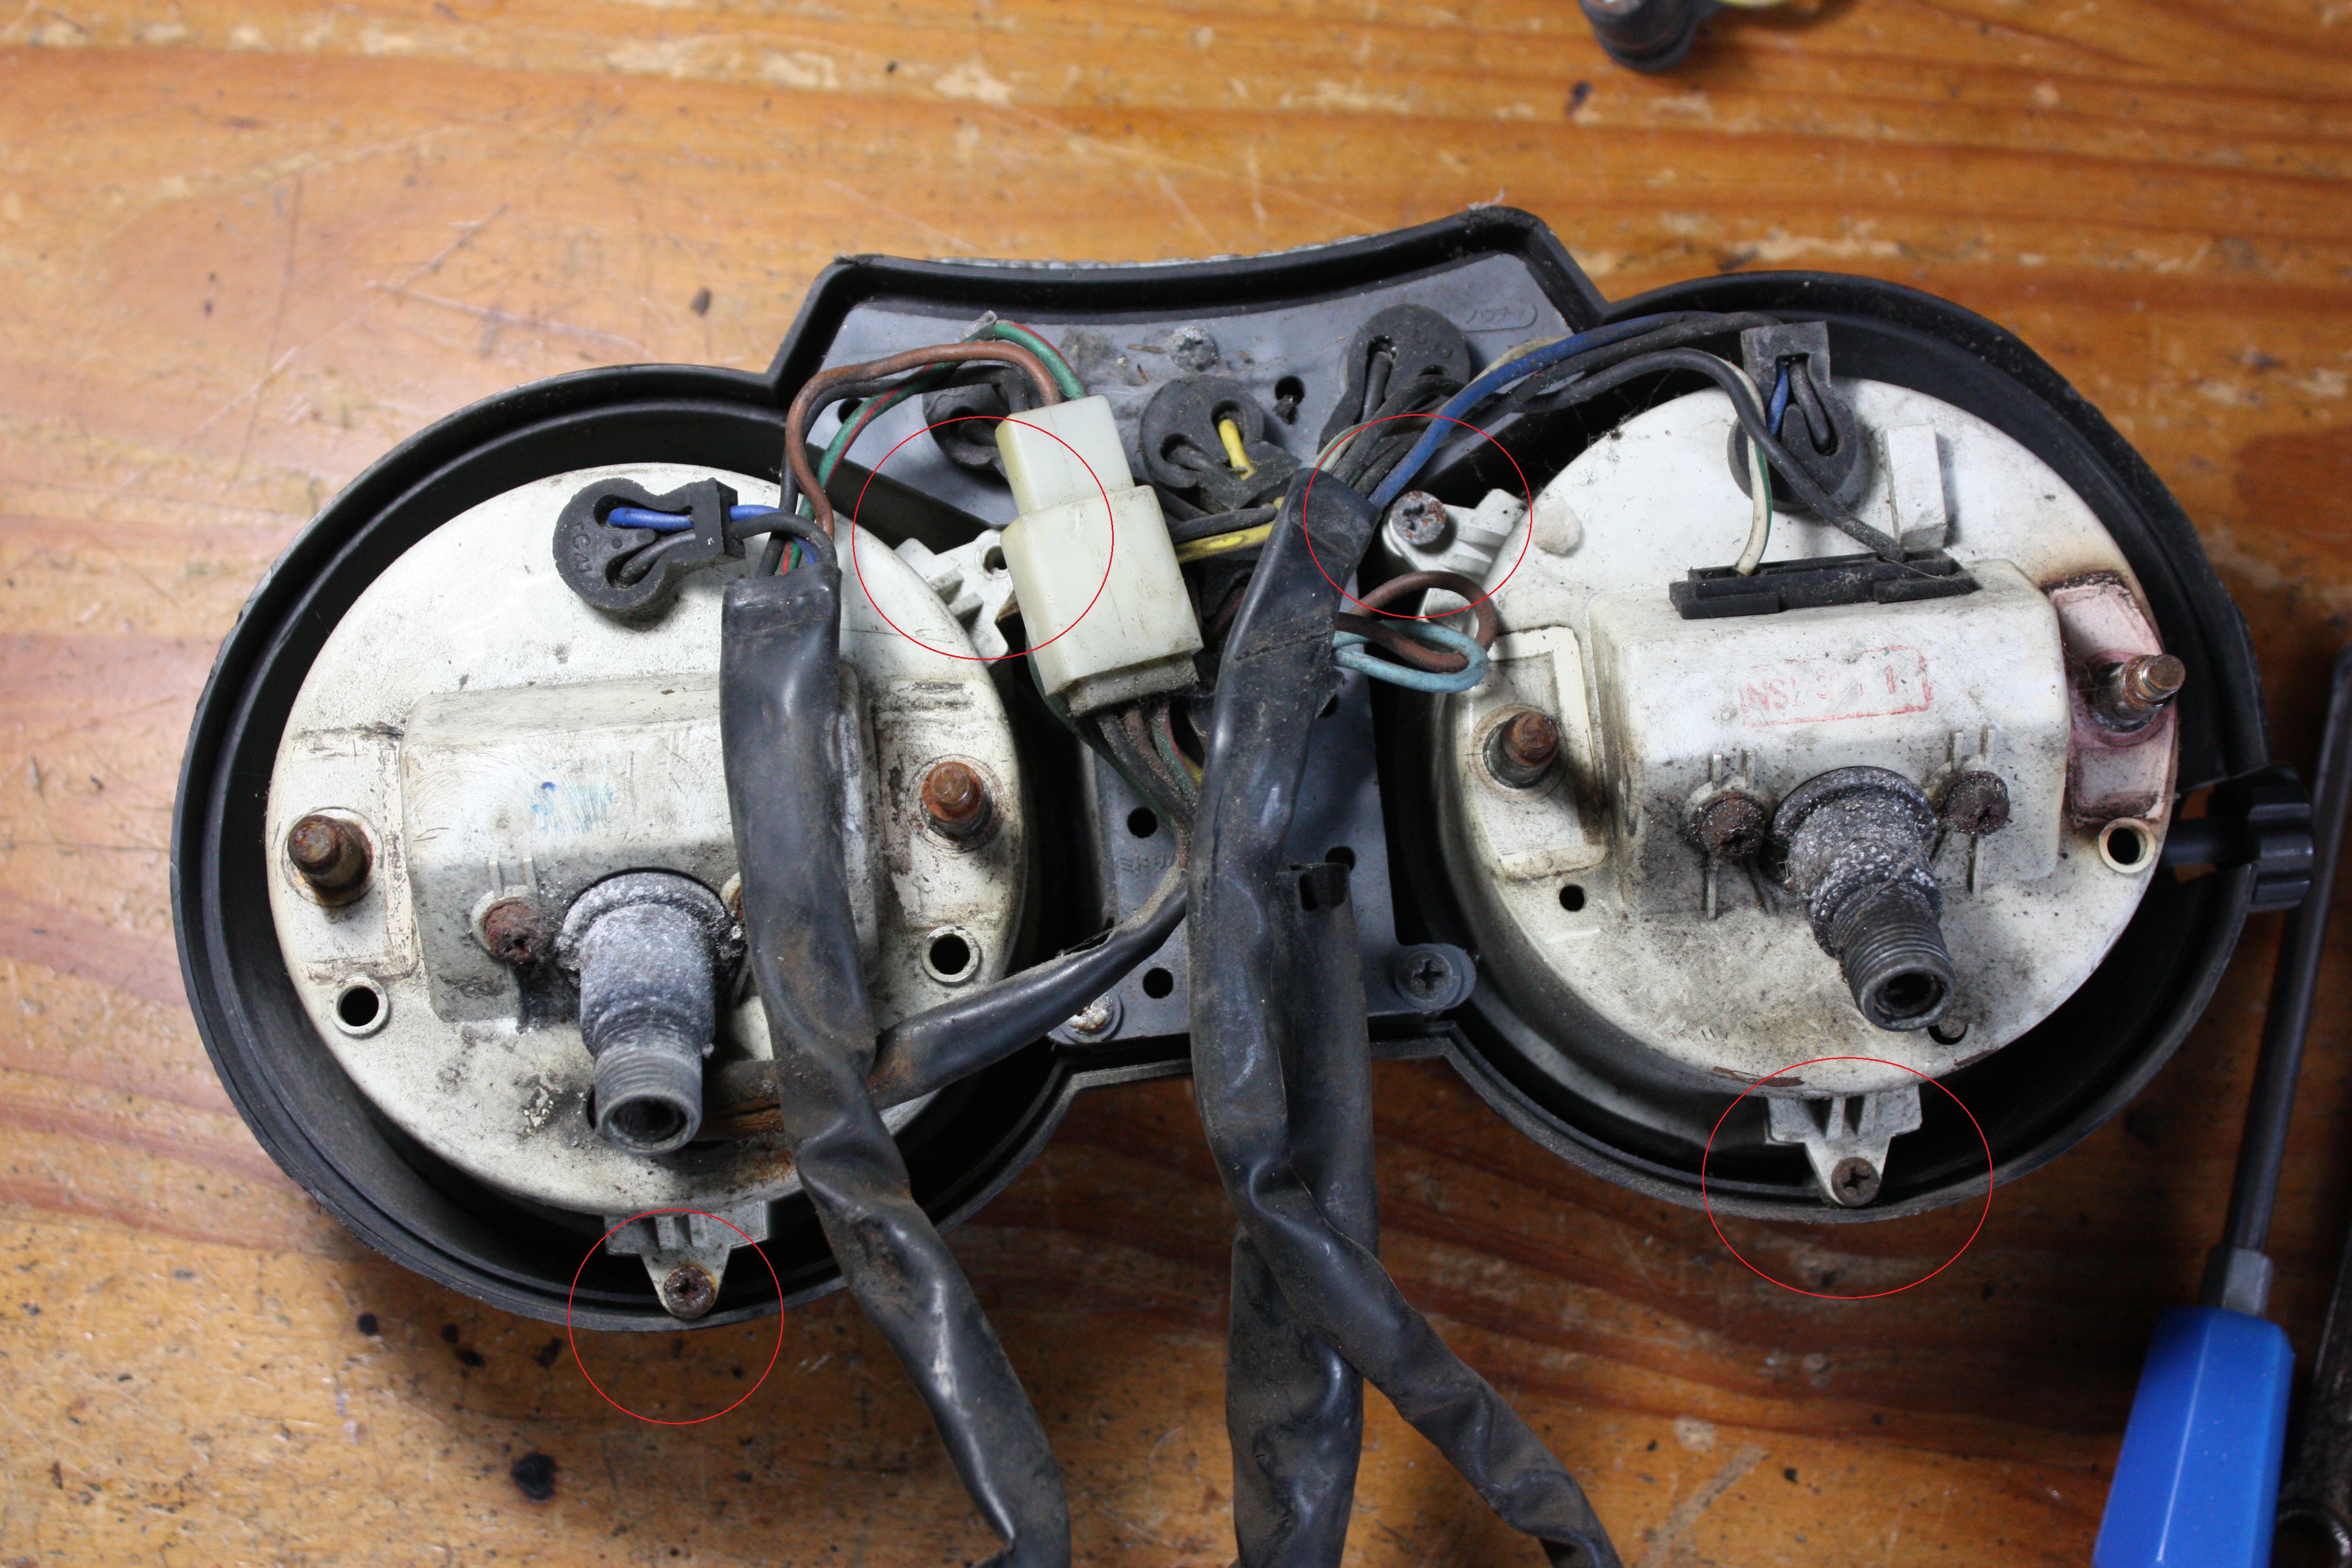
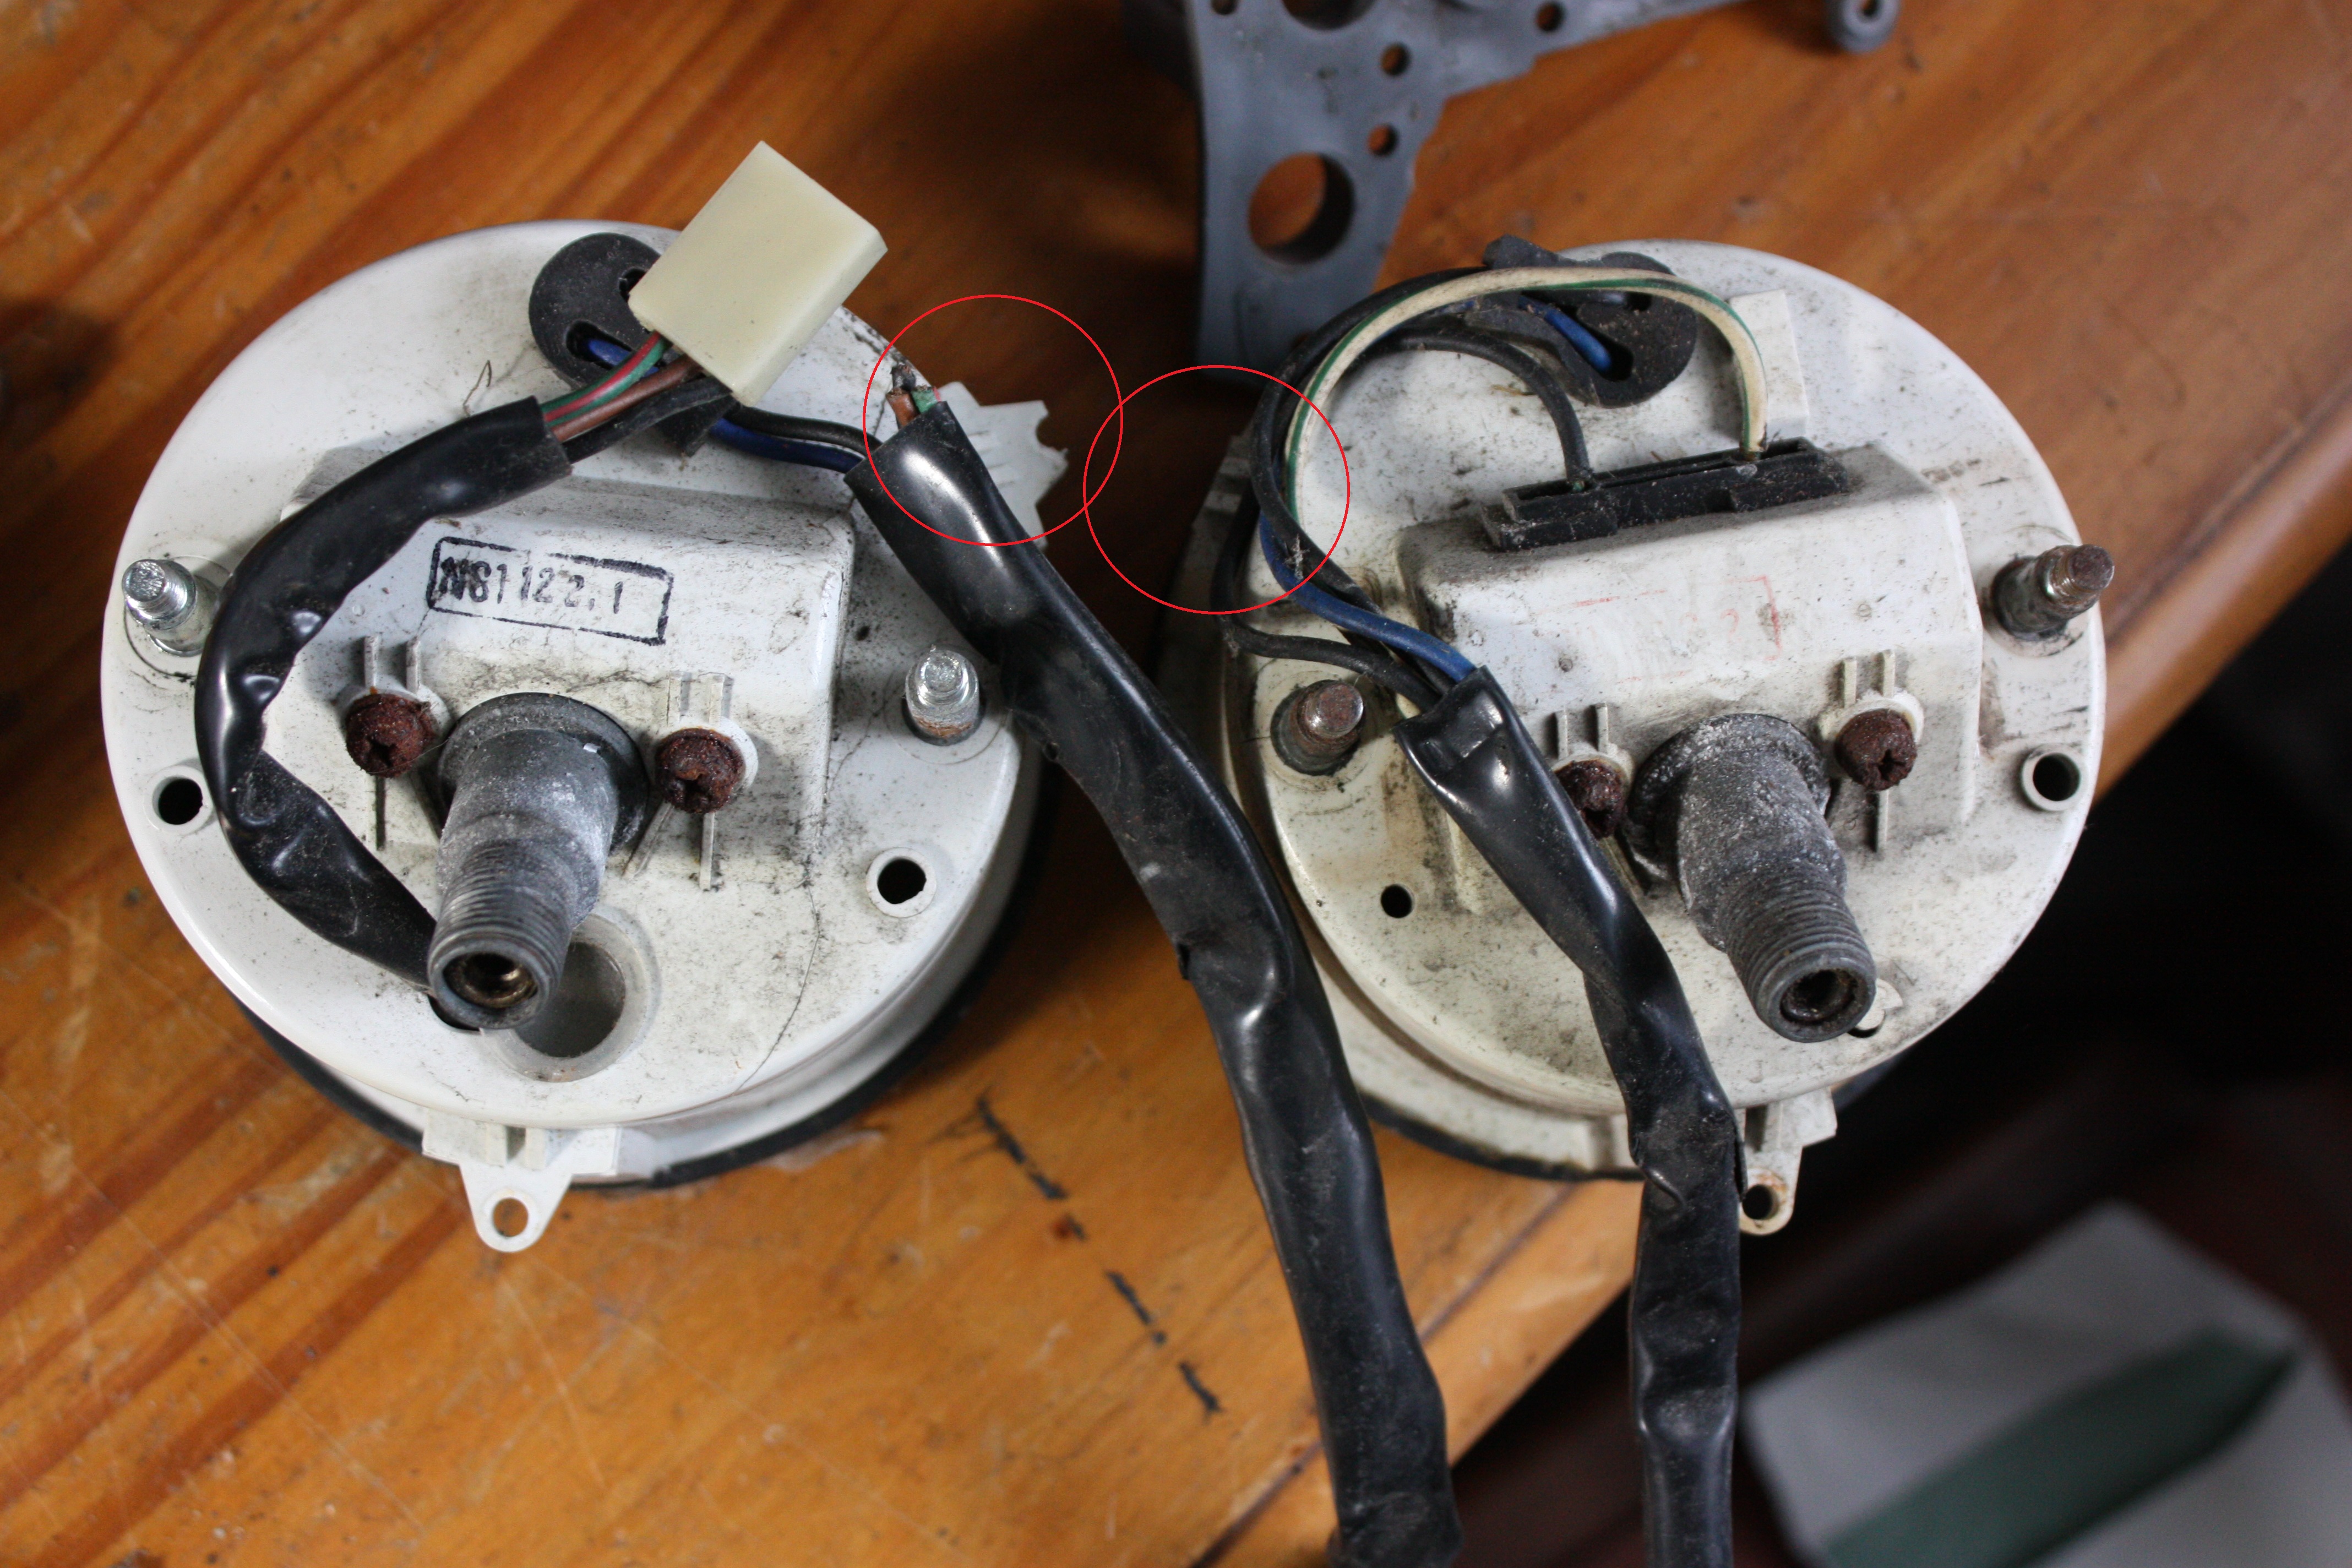
A major bonus is that the wiring on the donor bike clocks looks to be intact and still has the OEM connectors on the ends.
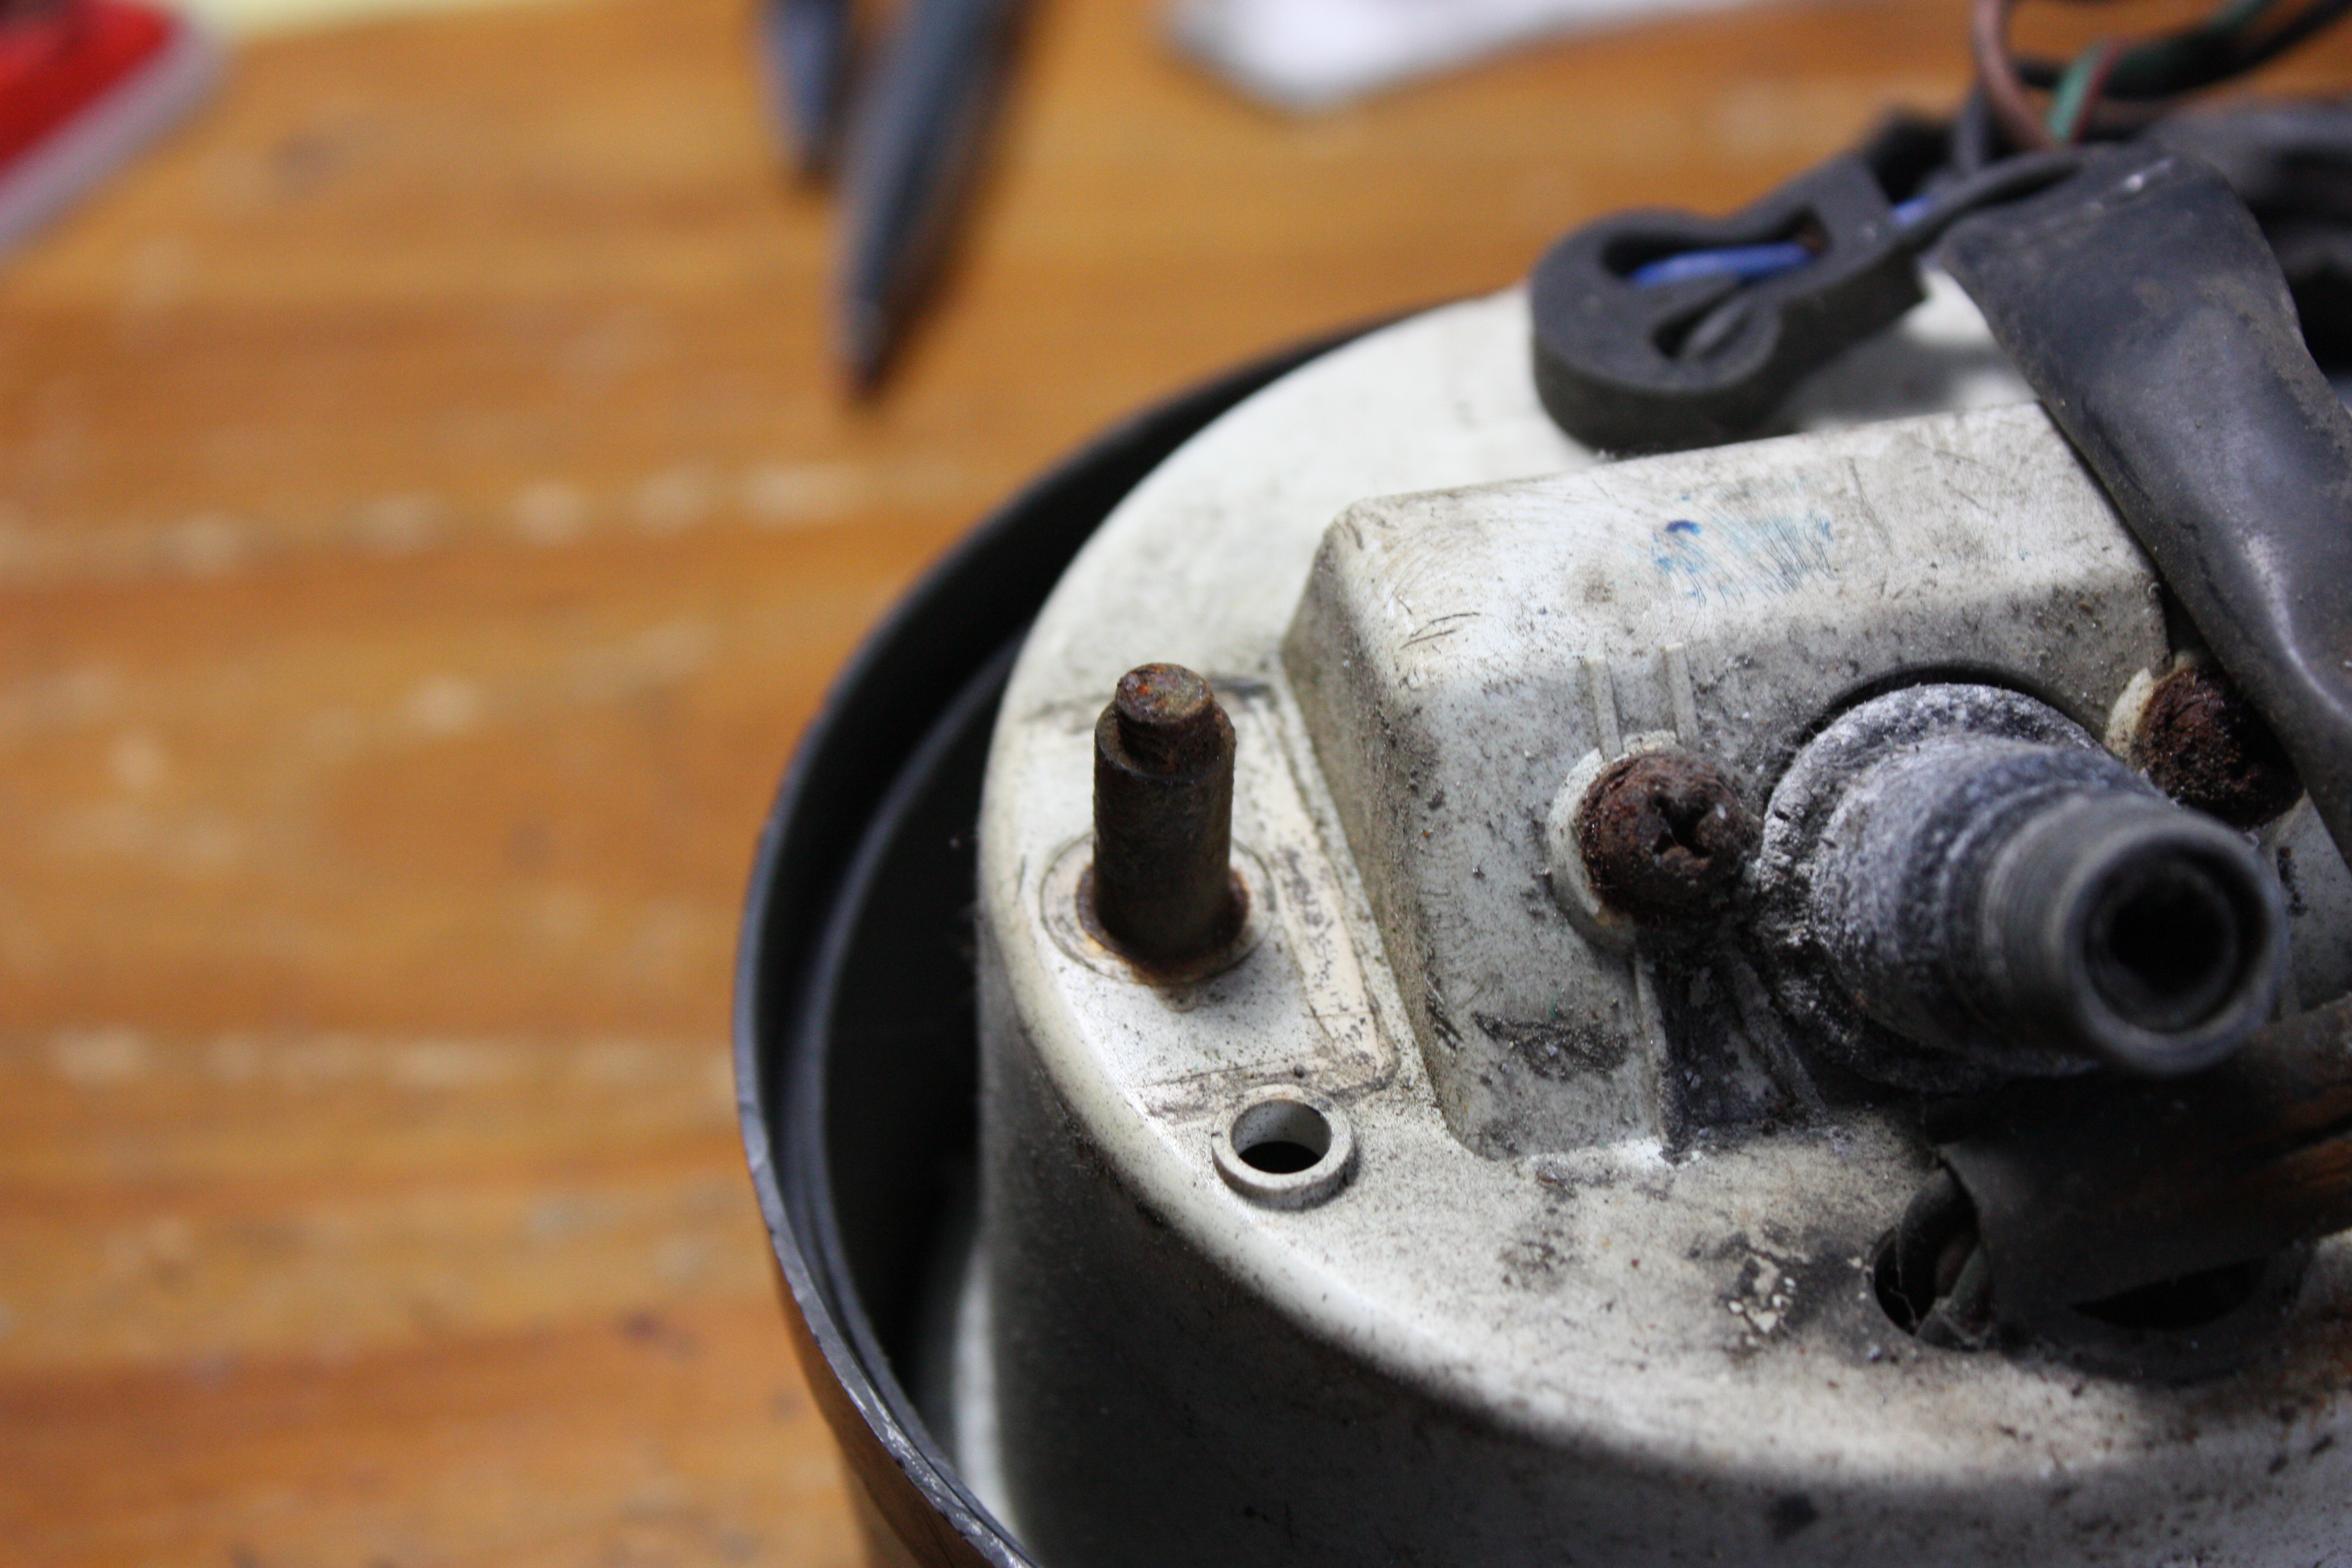
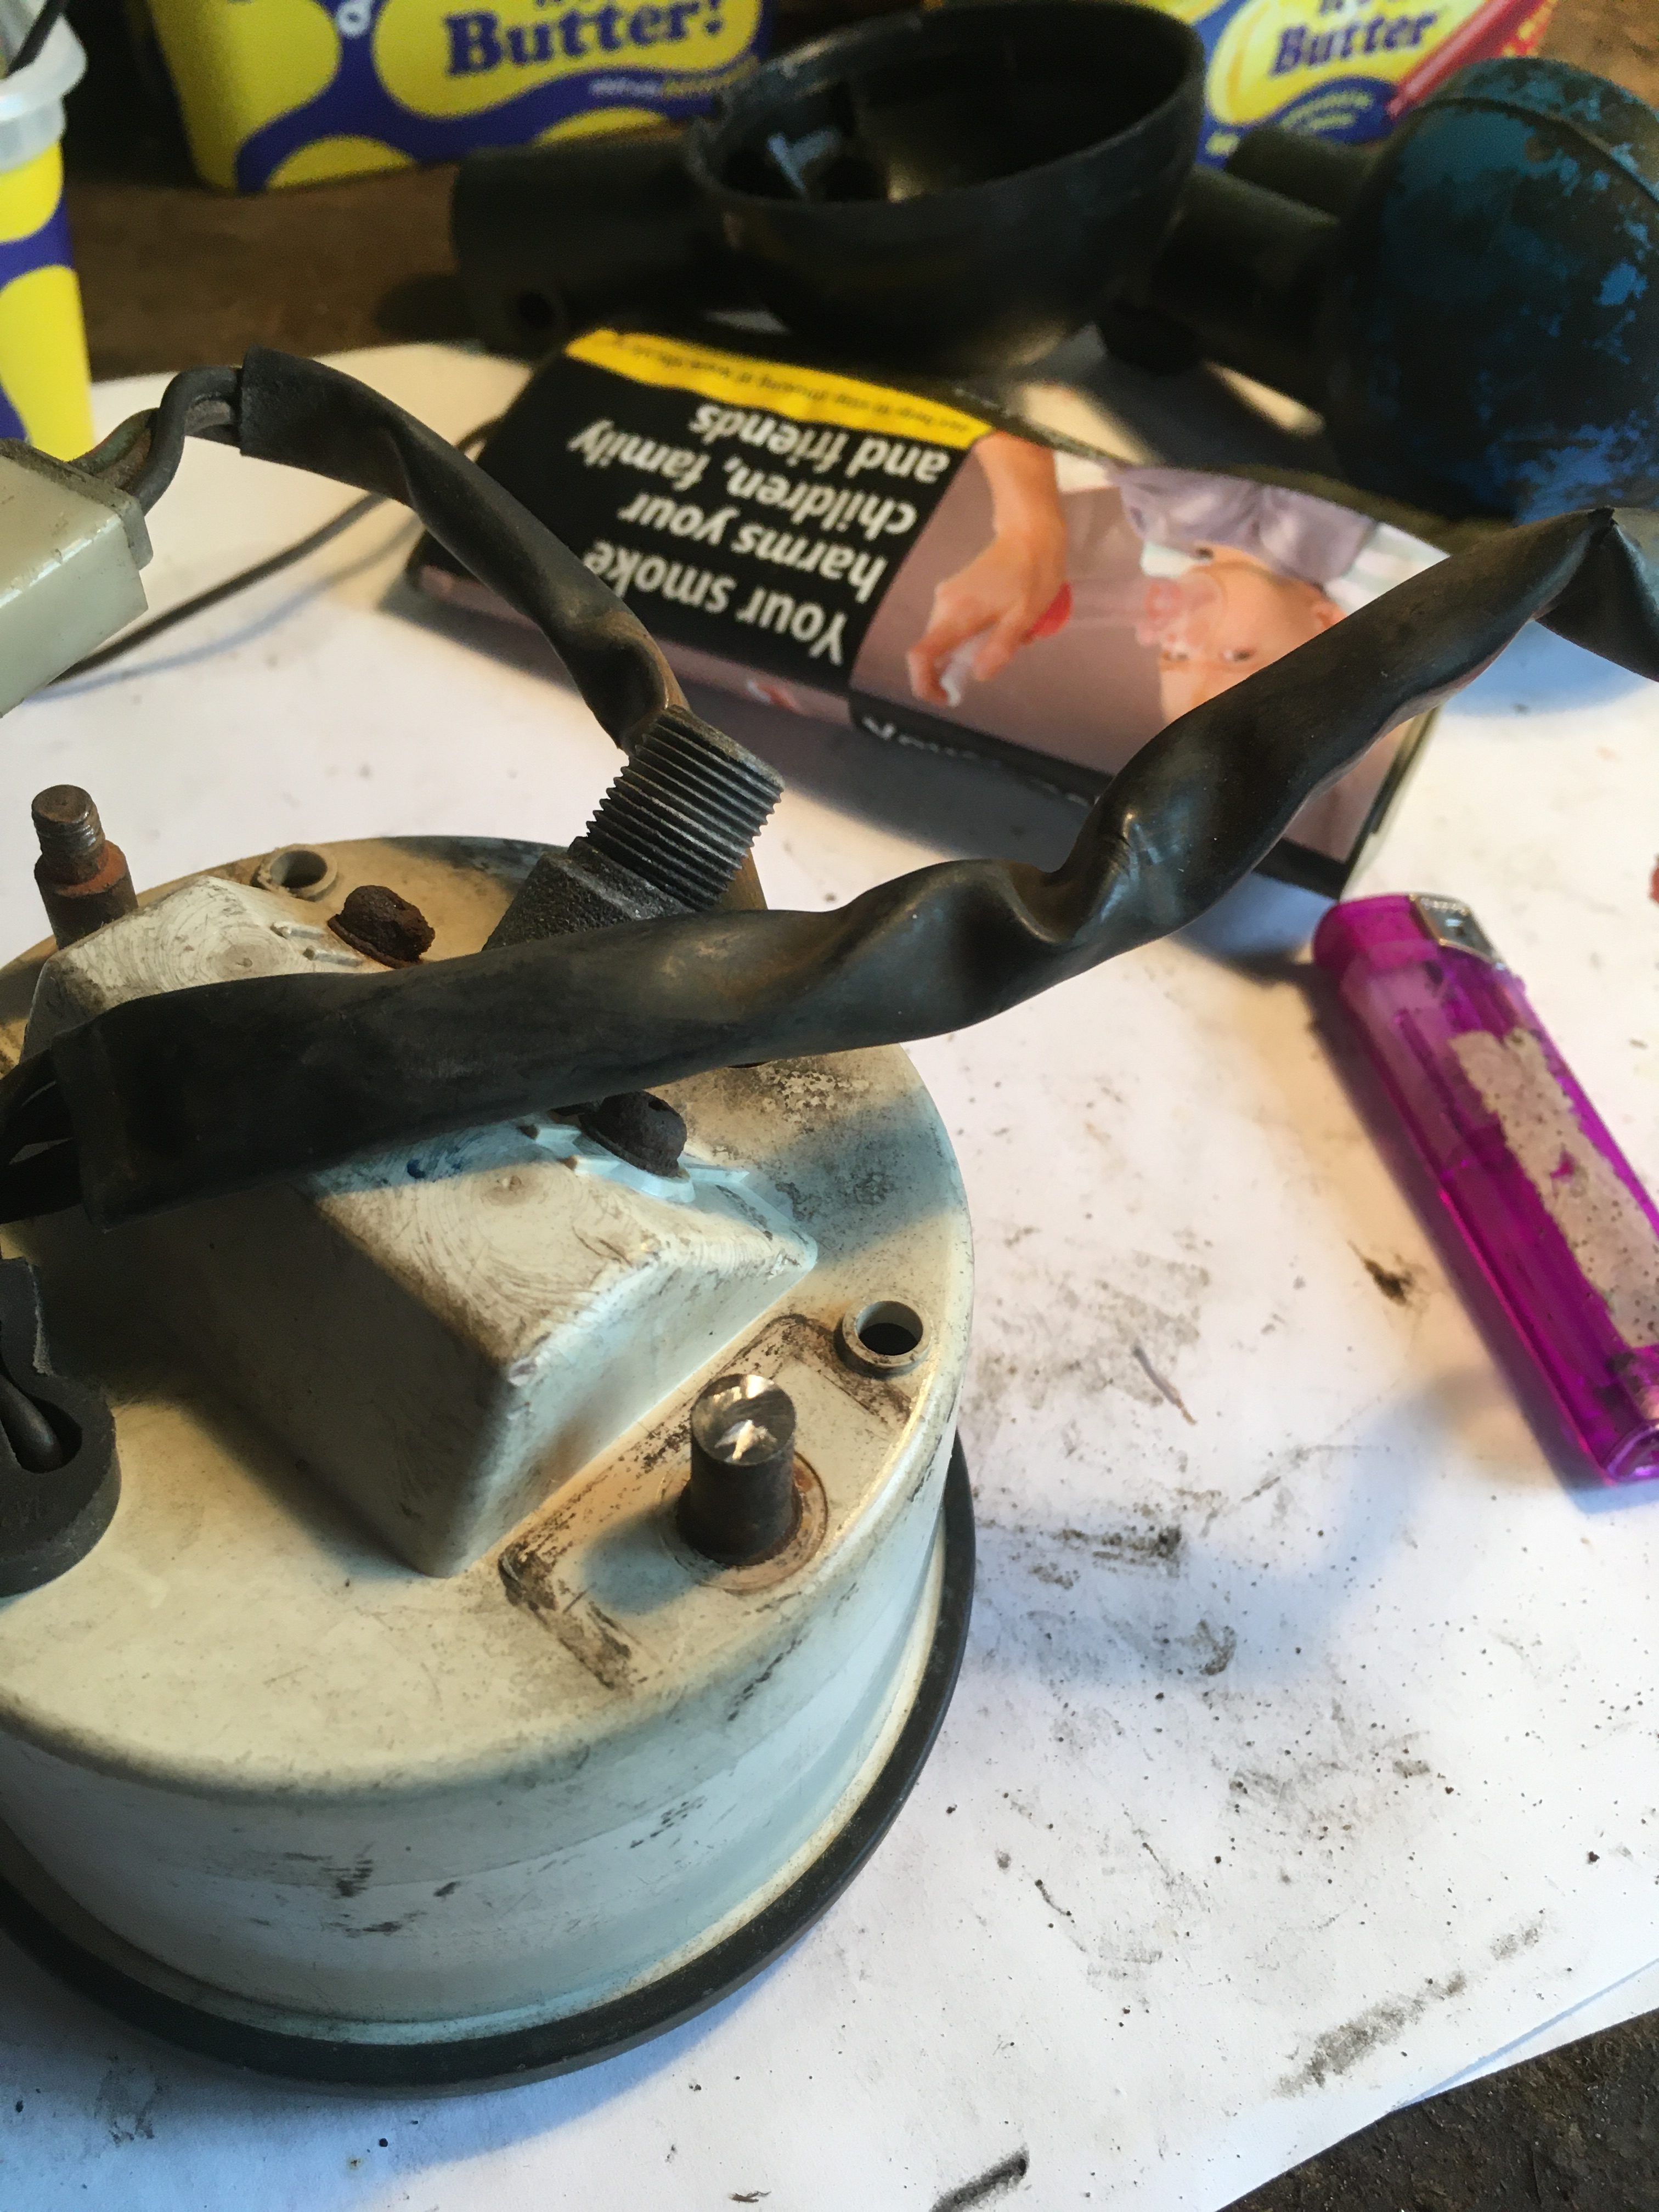
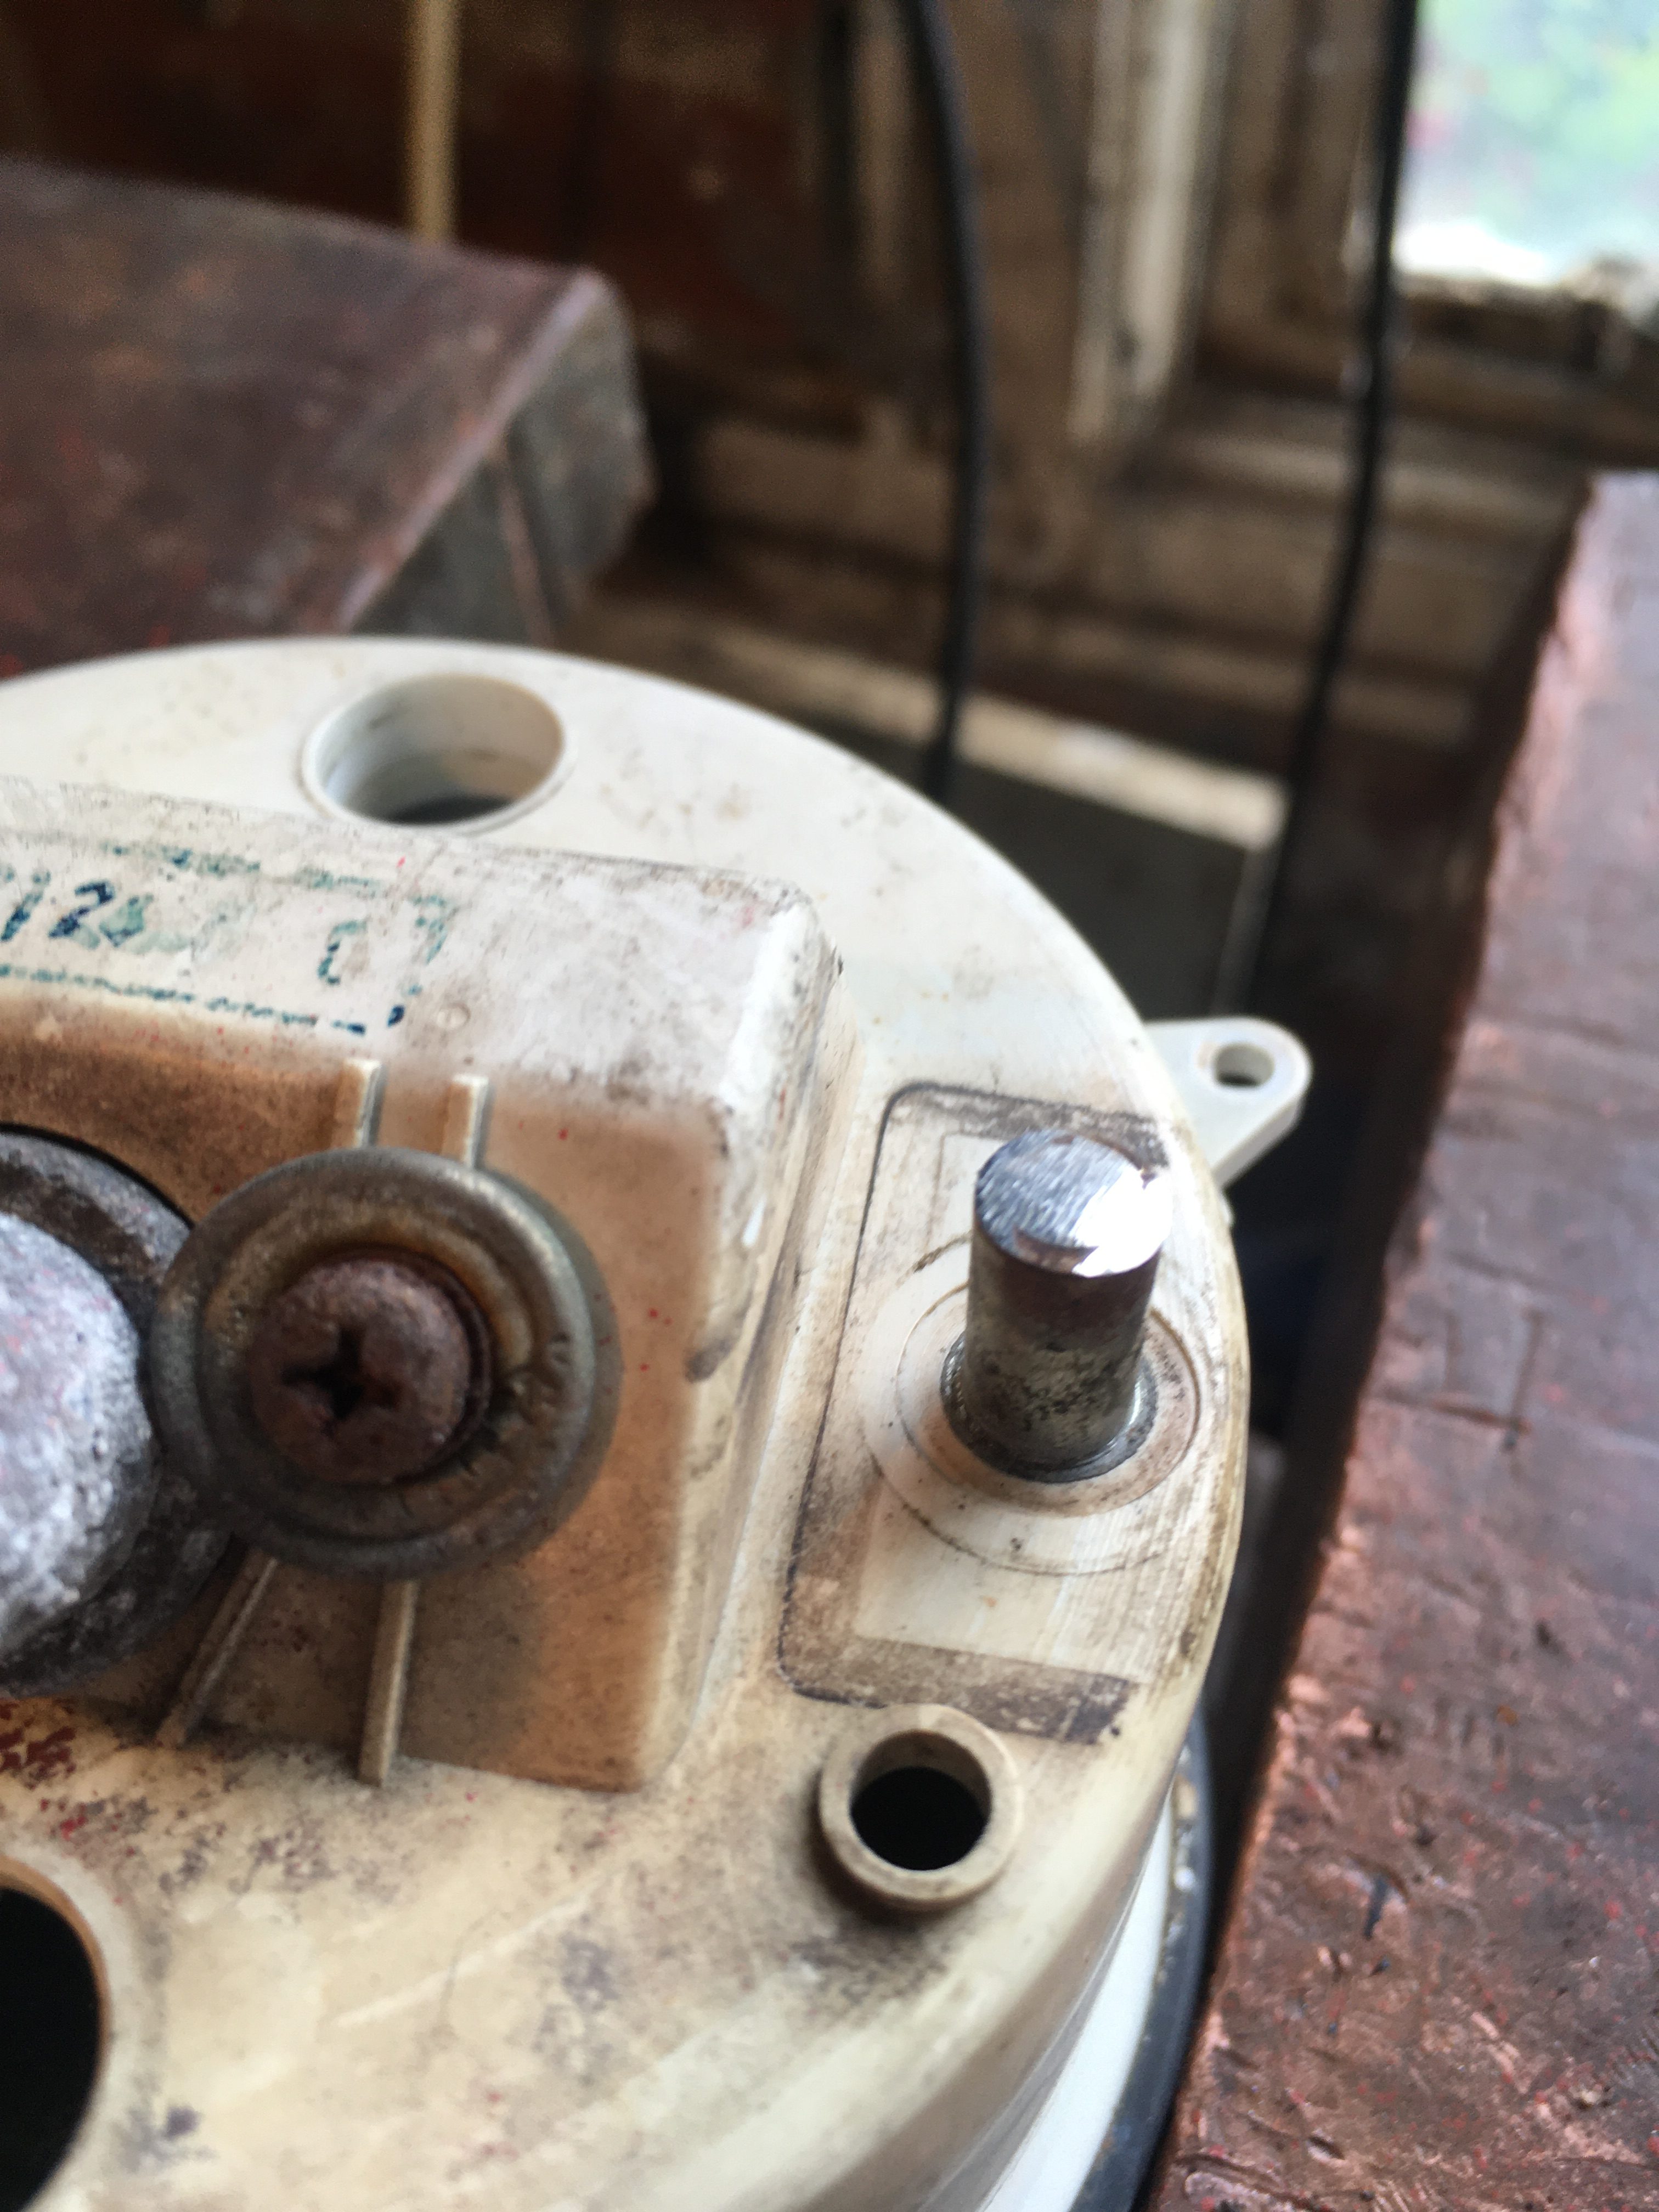
On disassembling the enclosure, it is apparent that there is a screw thread problem, where a seized nut has in the past been wrenched off, and the thread shortened.
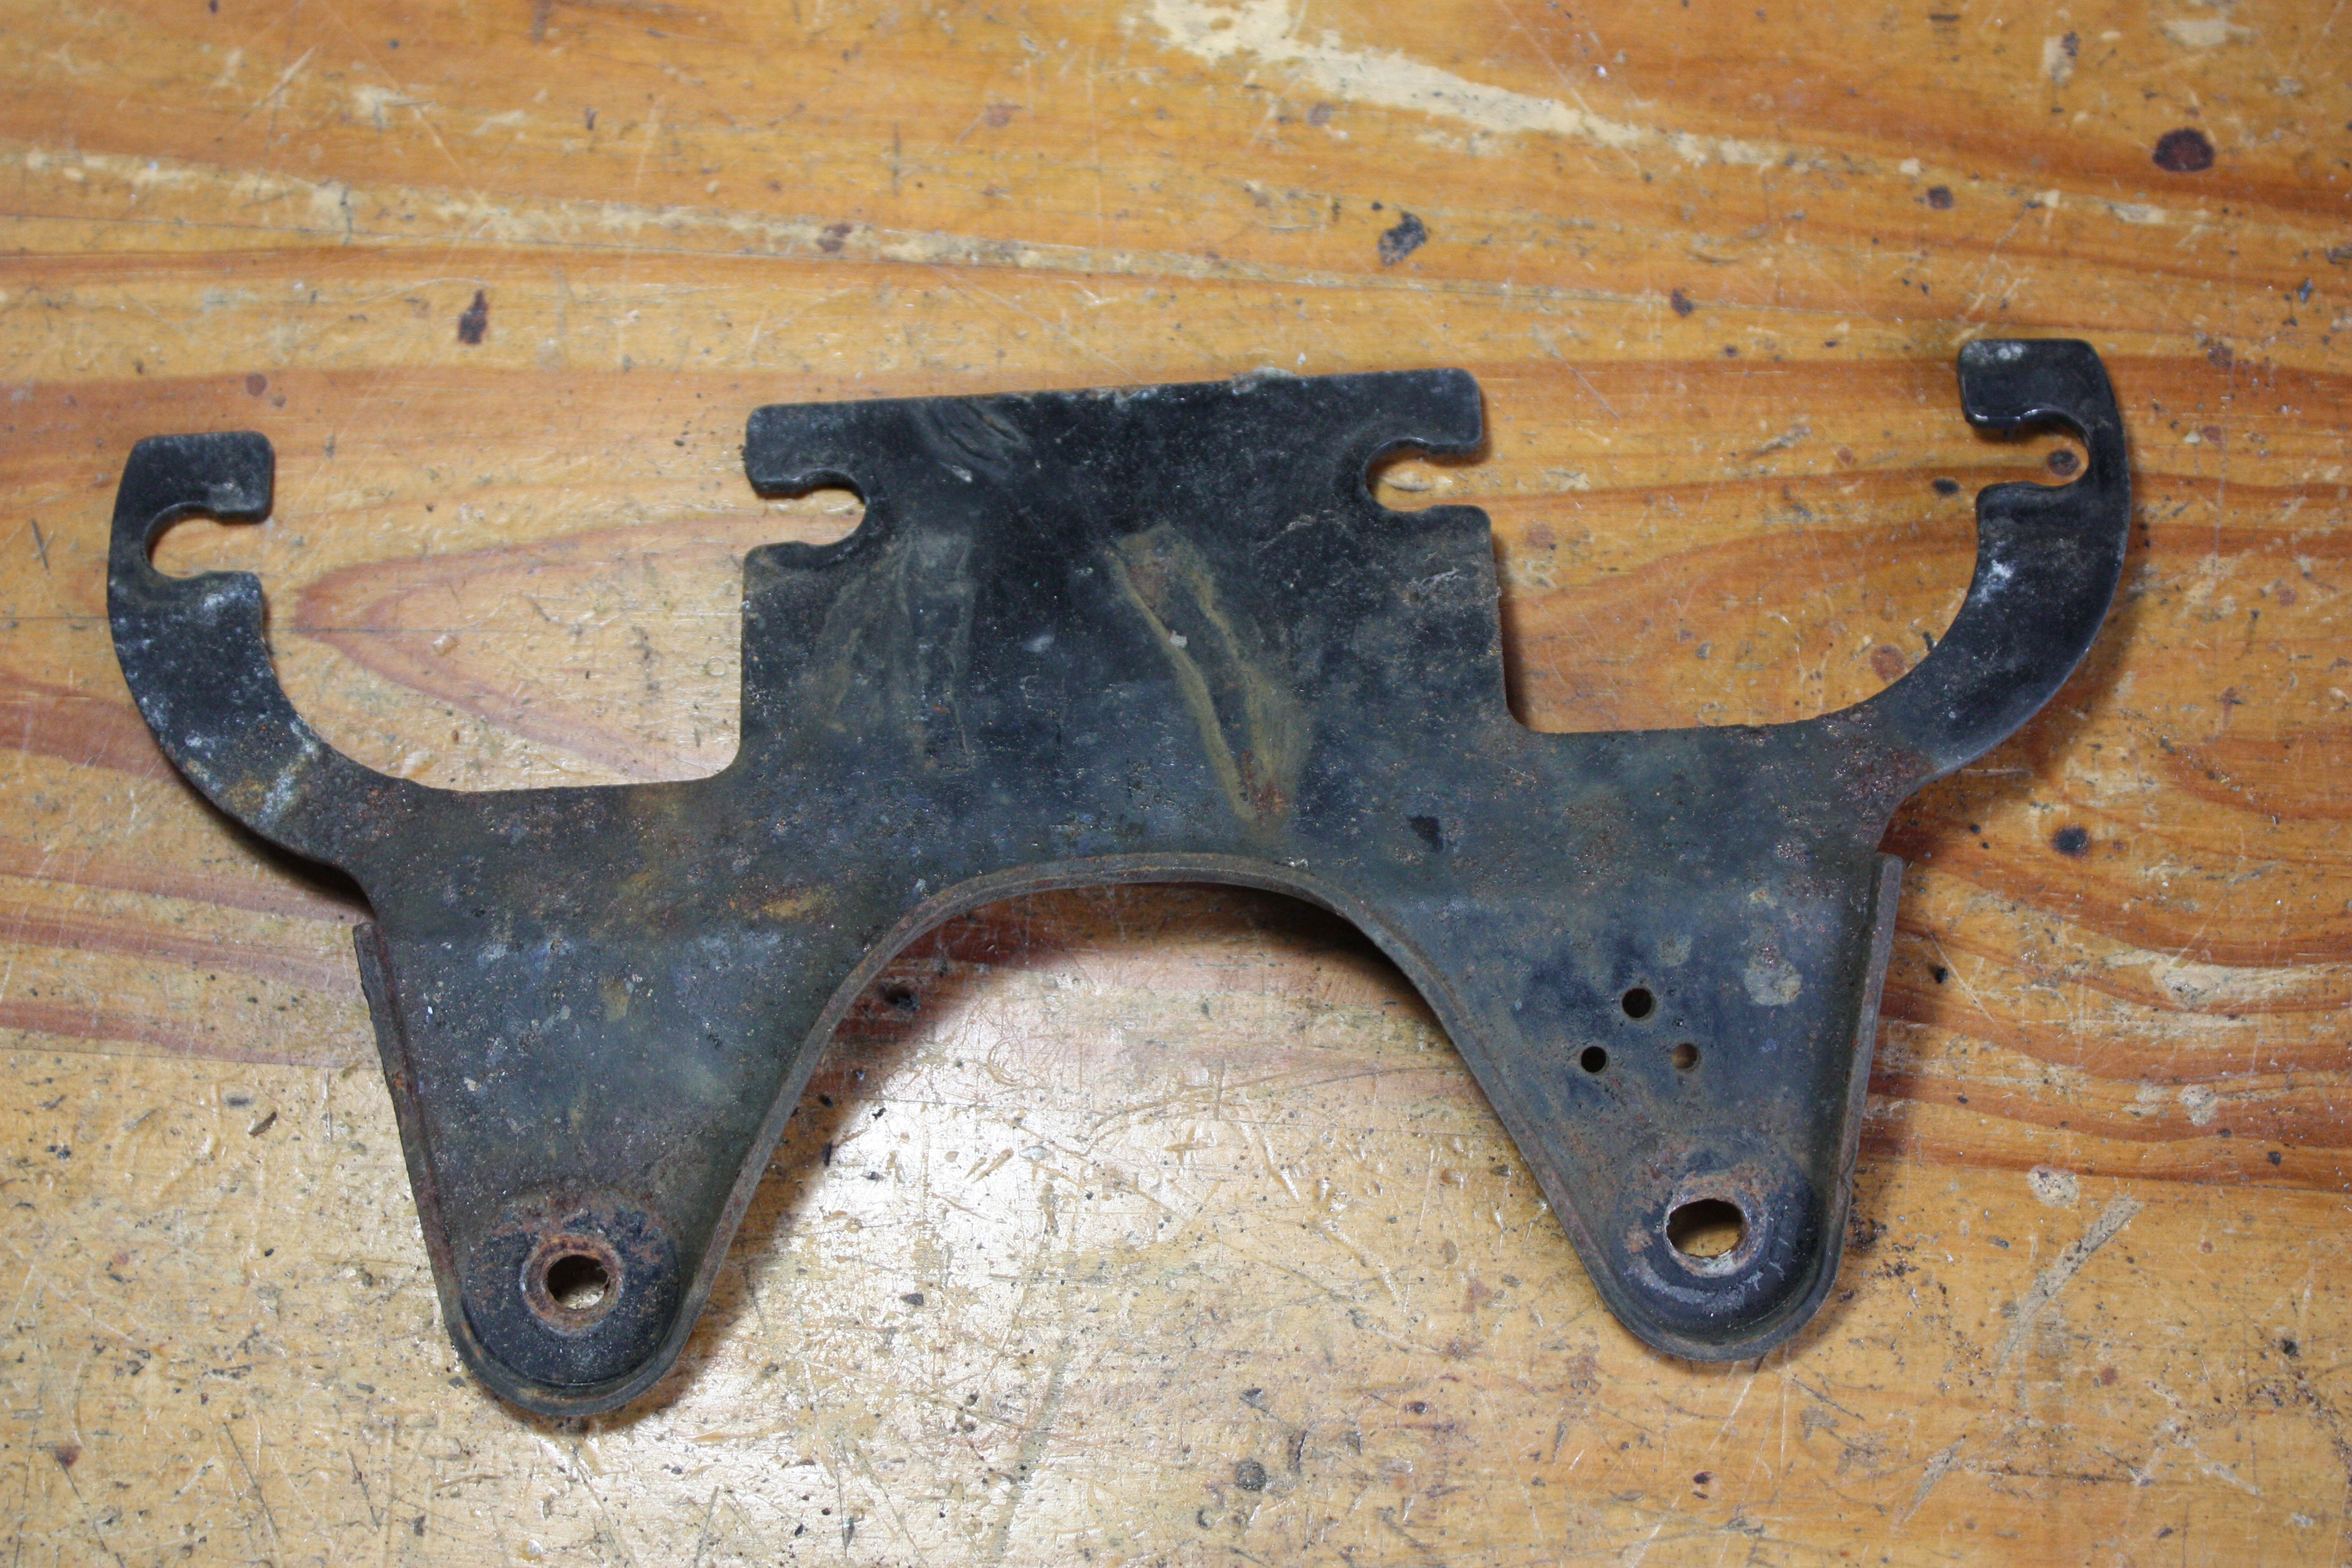
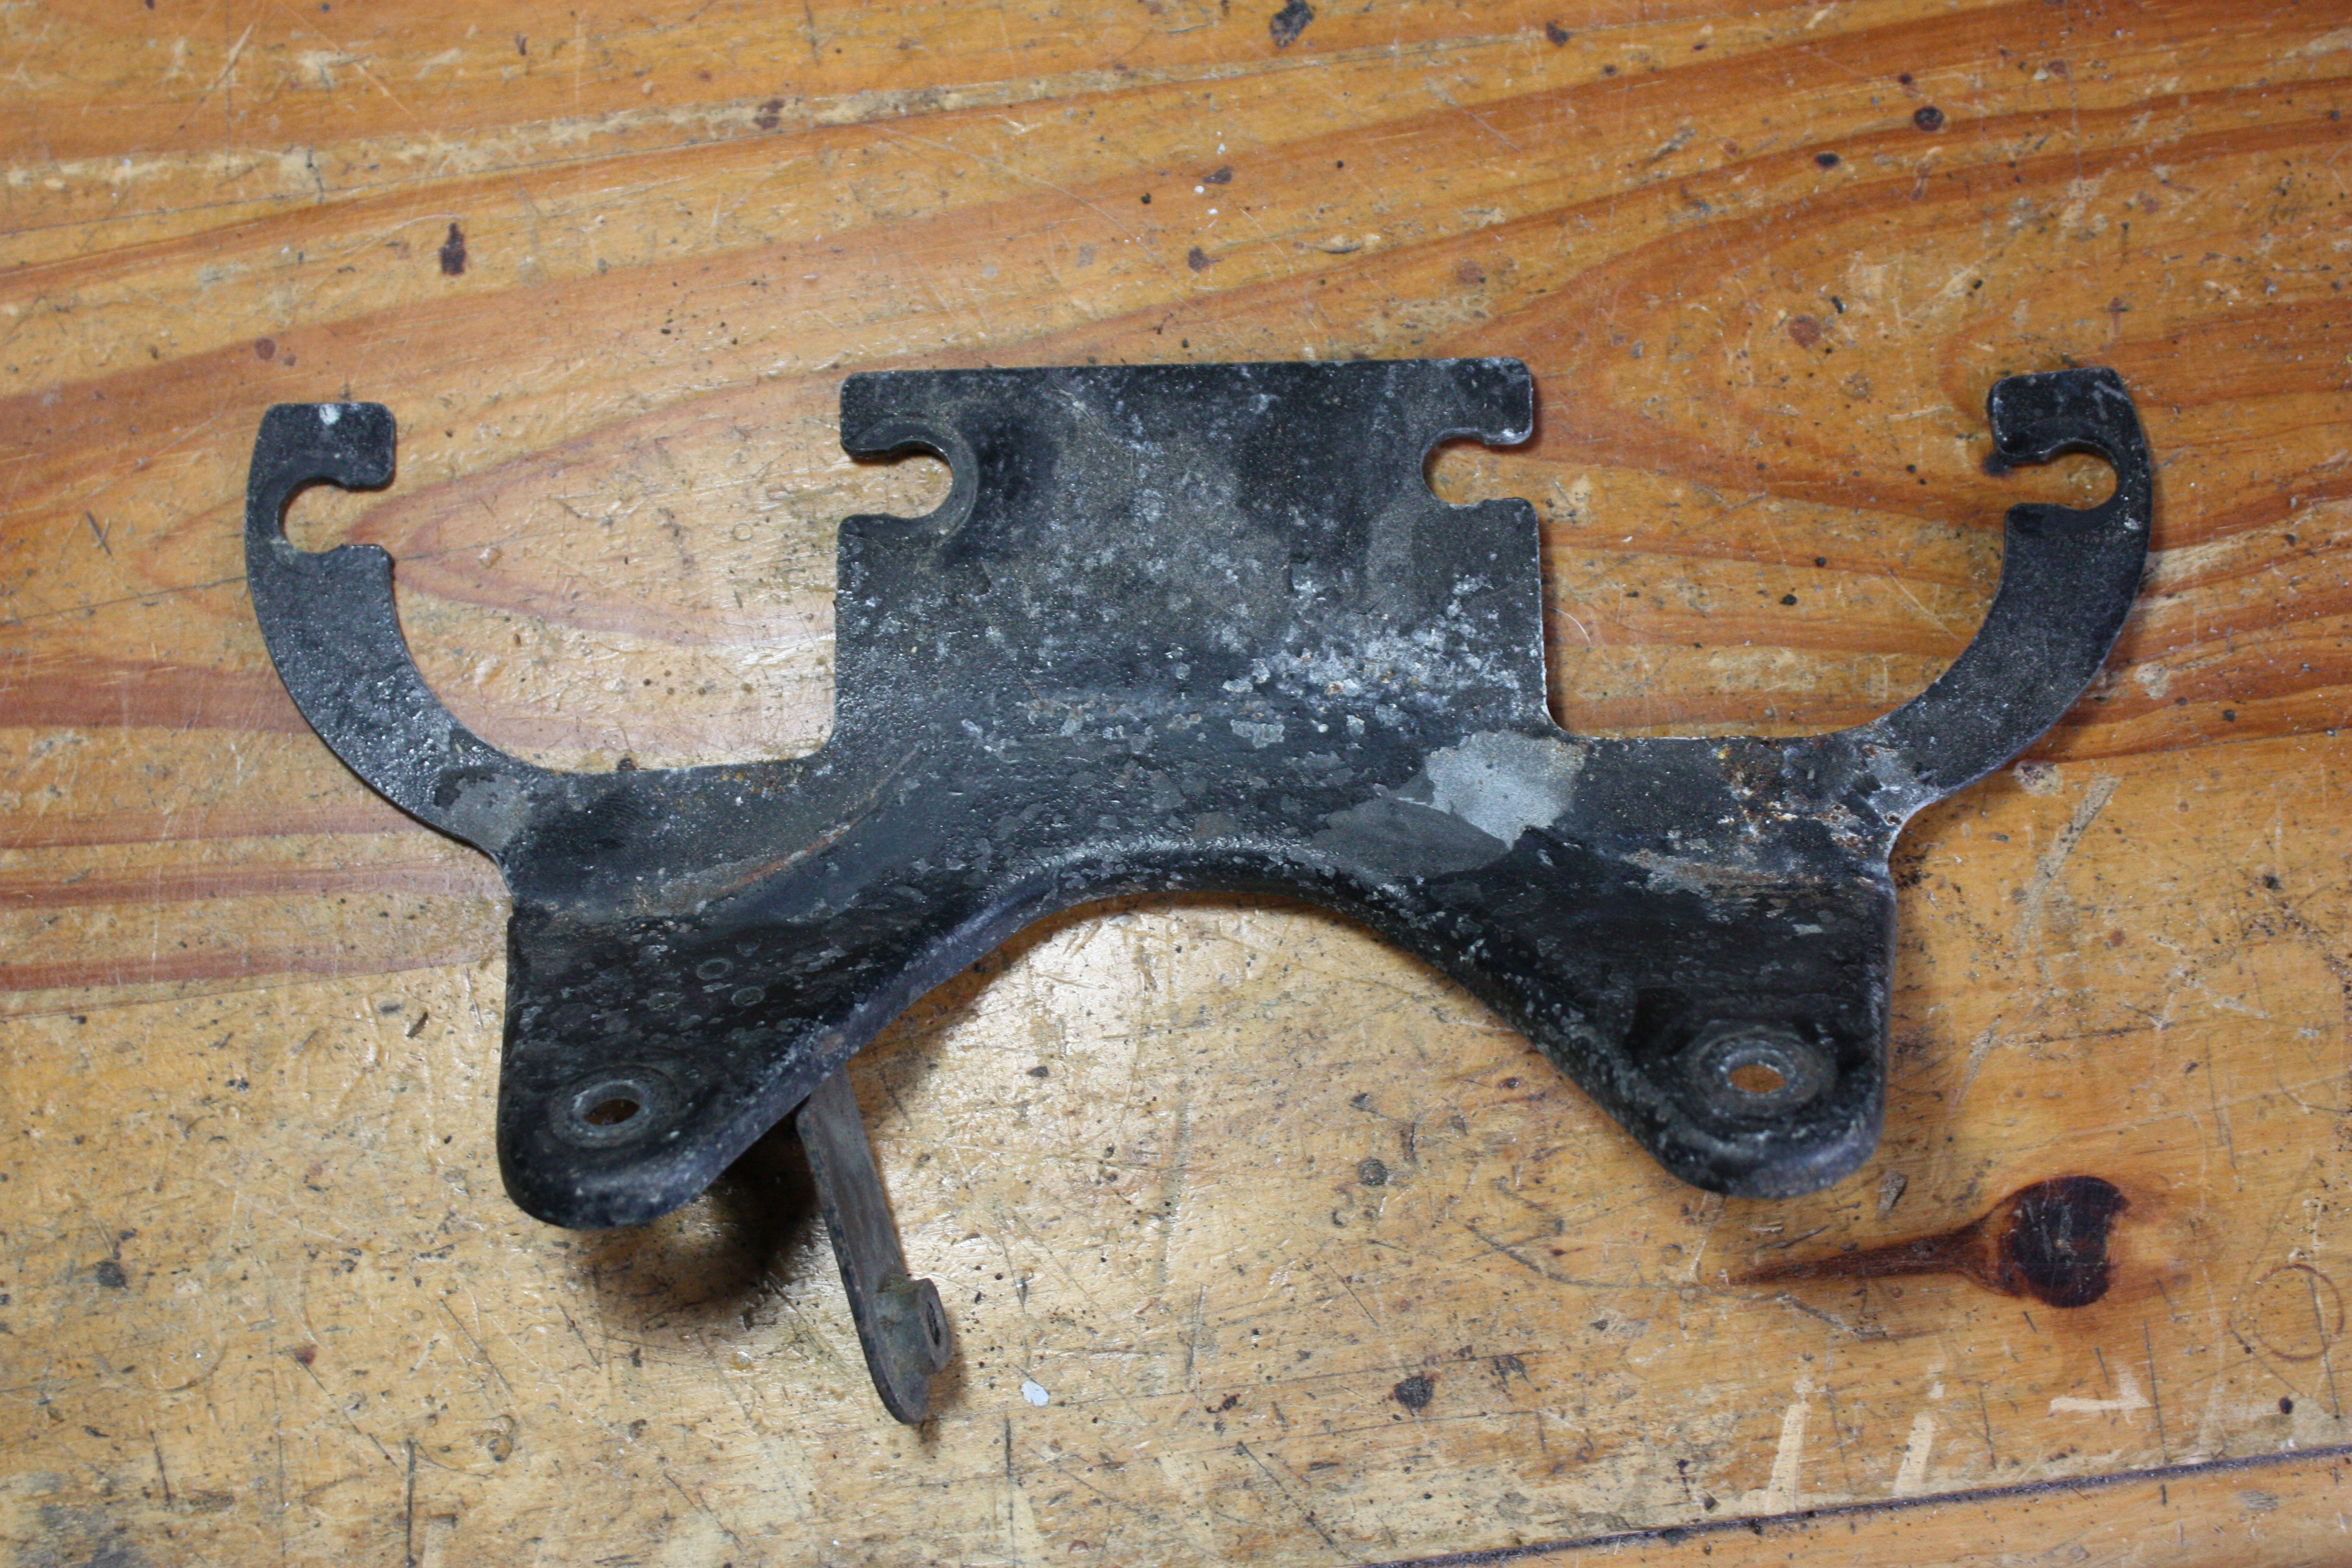
The mounting bracket, while superficially OK, lacks the little bracket which holds the headlamp steady in the vertical plane. Fortunately, such a bracket appears on another of the brackets, so I’ll use that one instead.
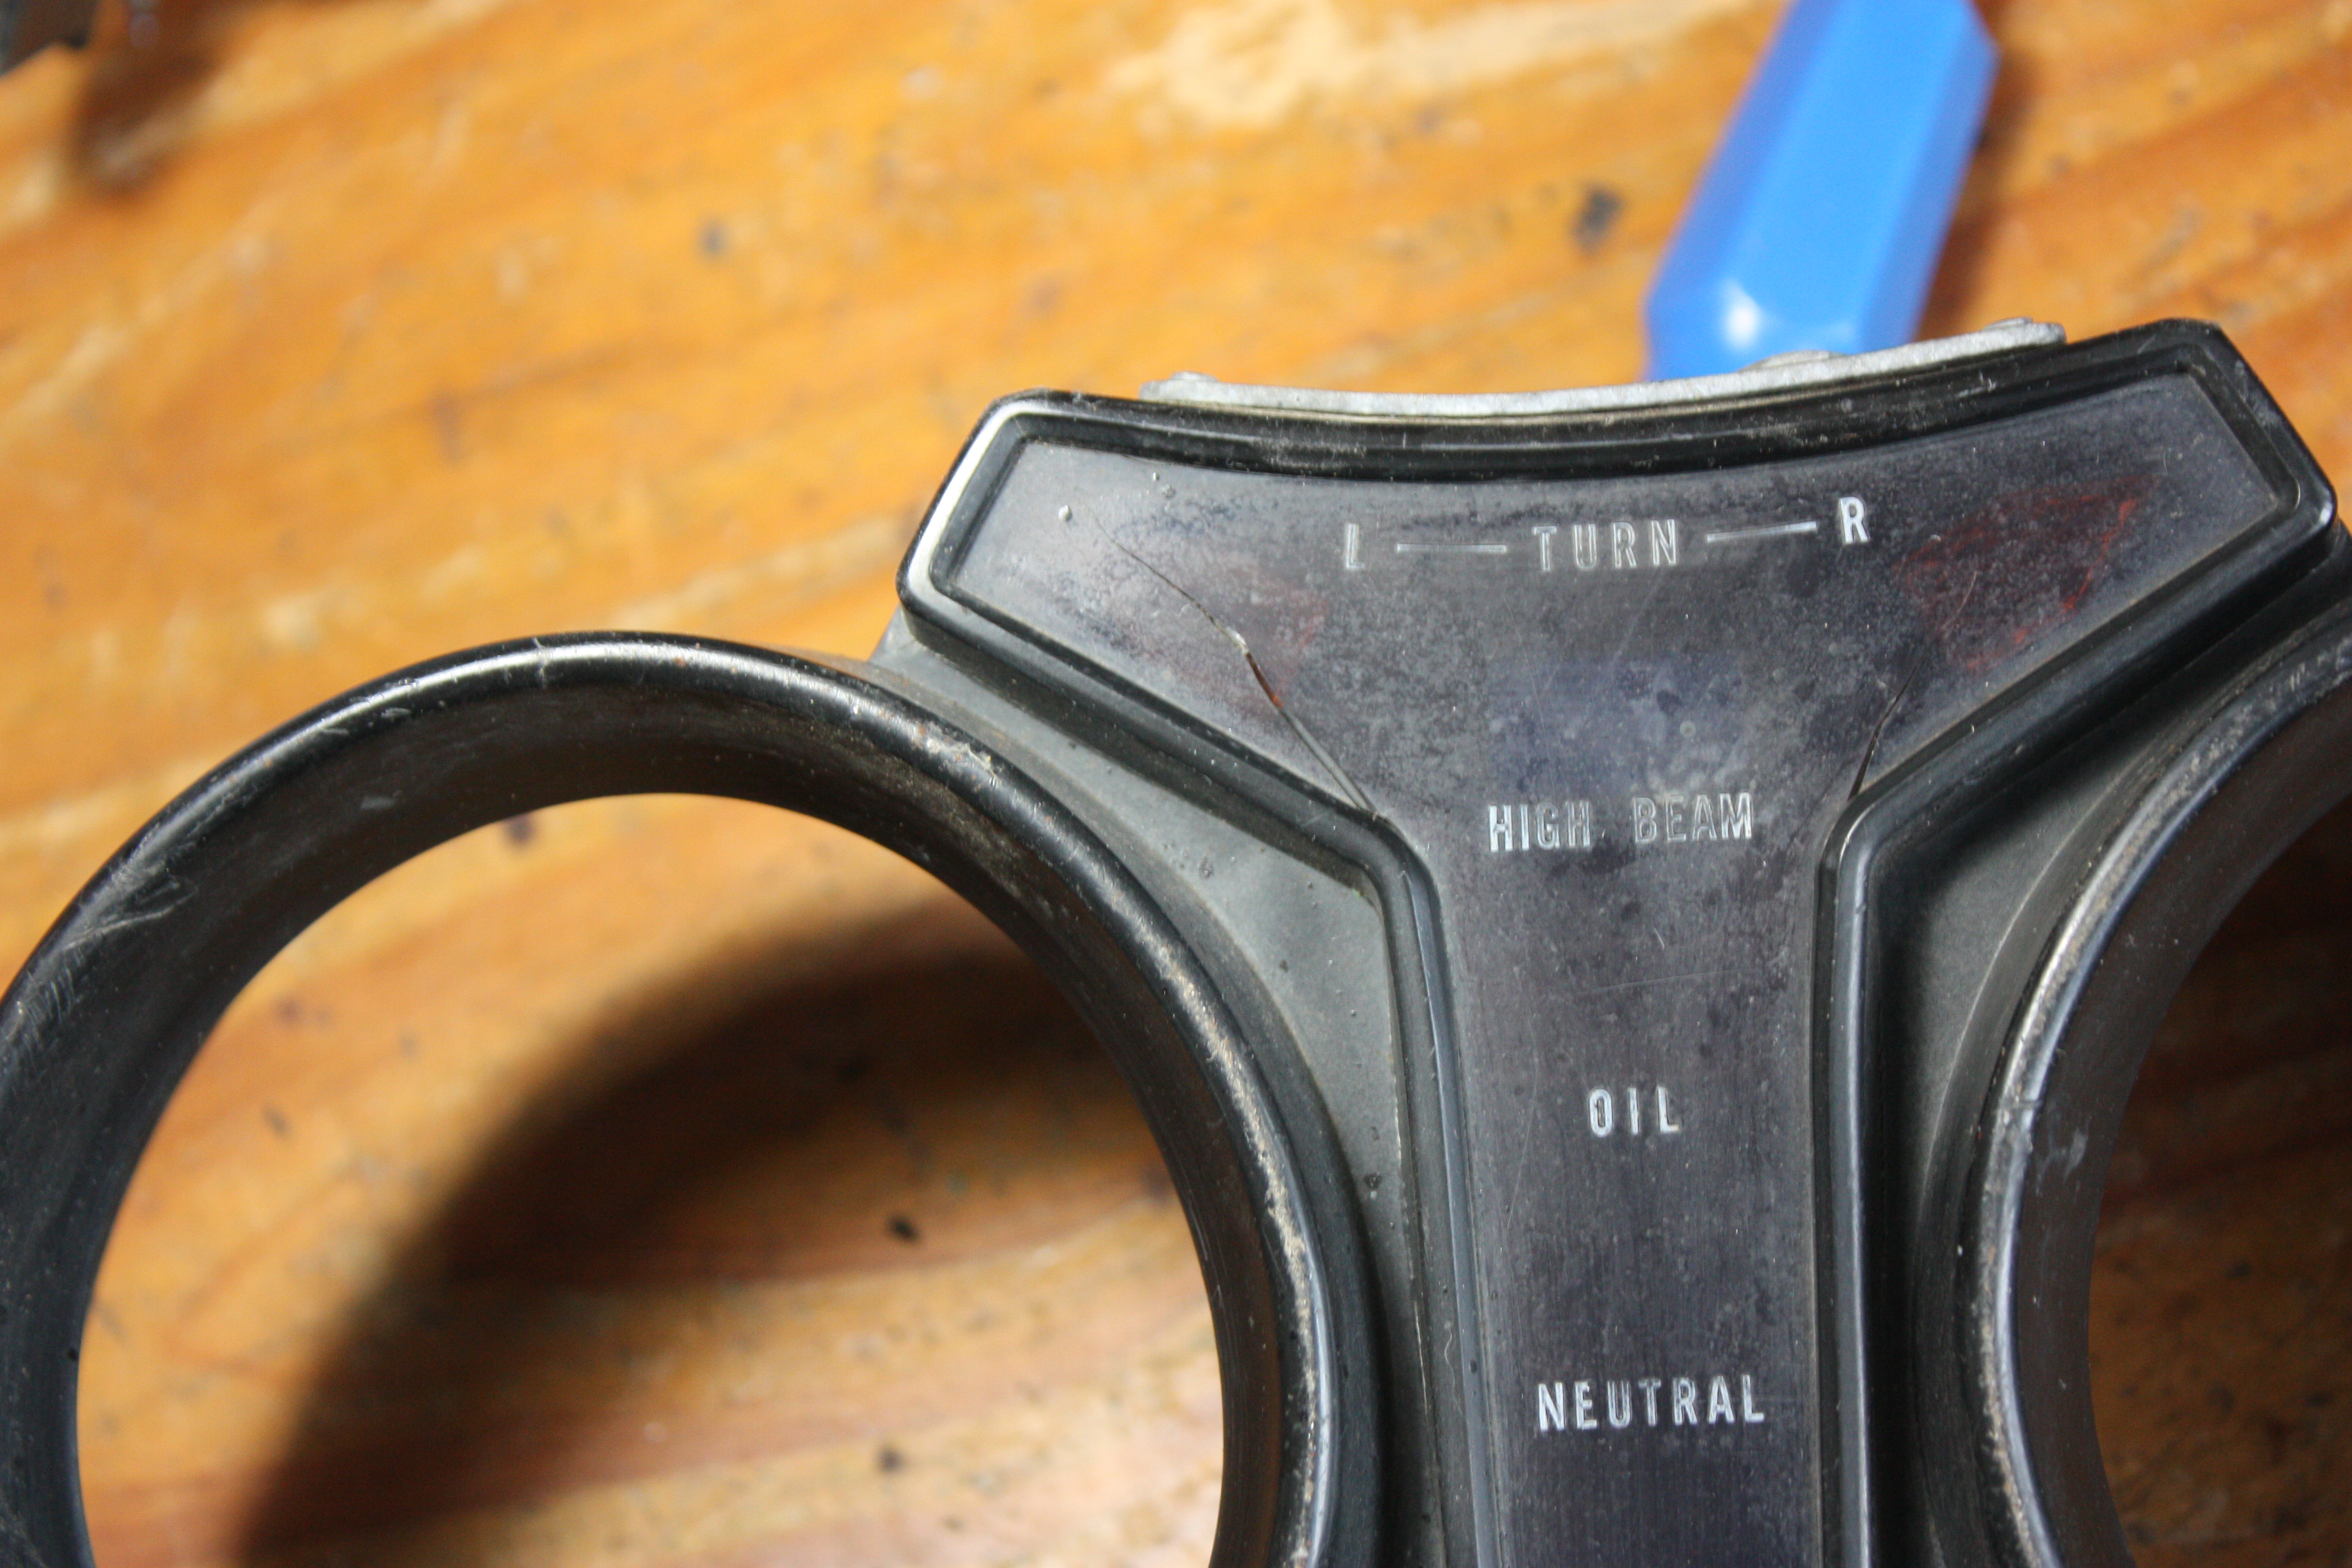
The top plastic housing is a bit battered, but apart from the lighting console in the center, it has no cracks.
This cant be said about the bottom housing which has been shattered.
I could substitute another rev counter, but the clock faces from the donor bike have been etched with the Datatag ID, so it makes sense to try and keep them together.
I’ll use the top plastic housing from the donor bike, but the bottom needs to come from the parts box, where there is one in remarkably decent condition.
Another benefit of using the donor bike clocks is that they still have all their mounting tags, which the slightly better condition alternatives don’t.
so having made the parts selection from those bits available, its time for cleaning of the plastic parts, and repairing the thread.
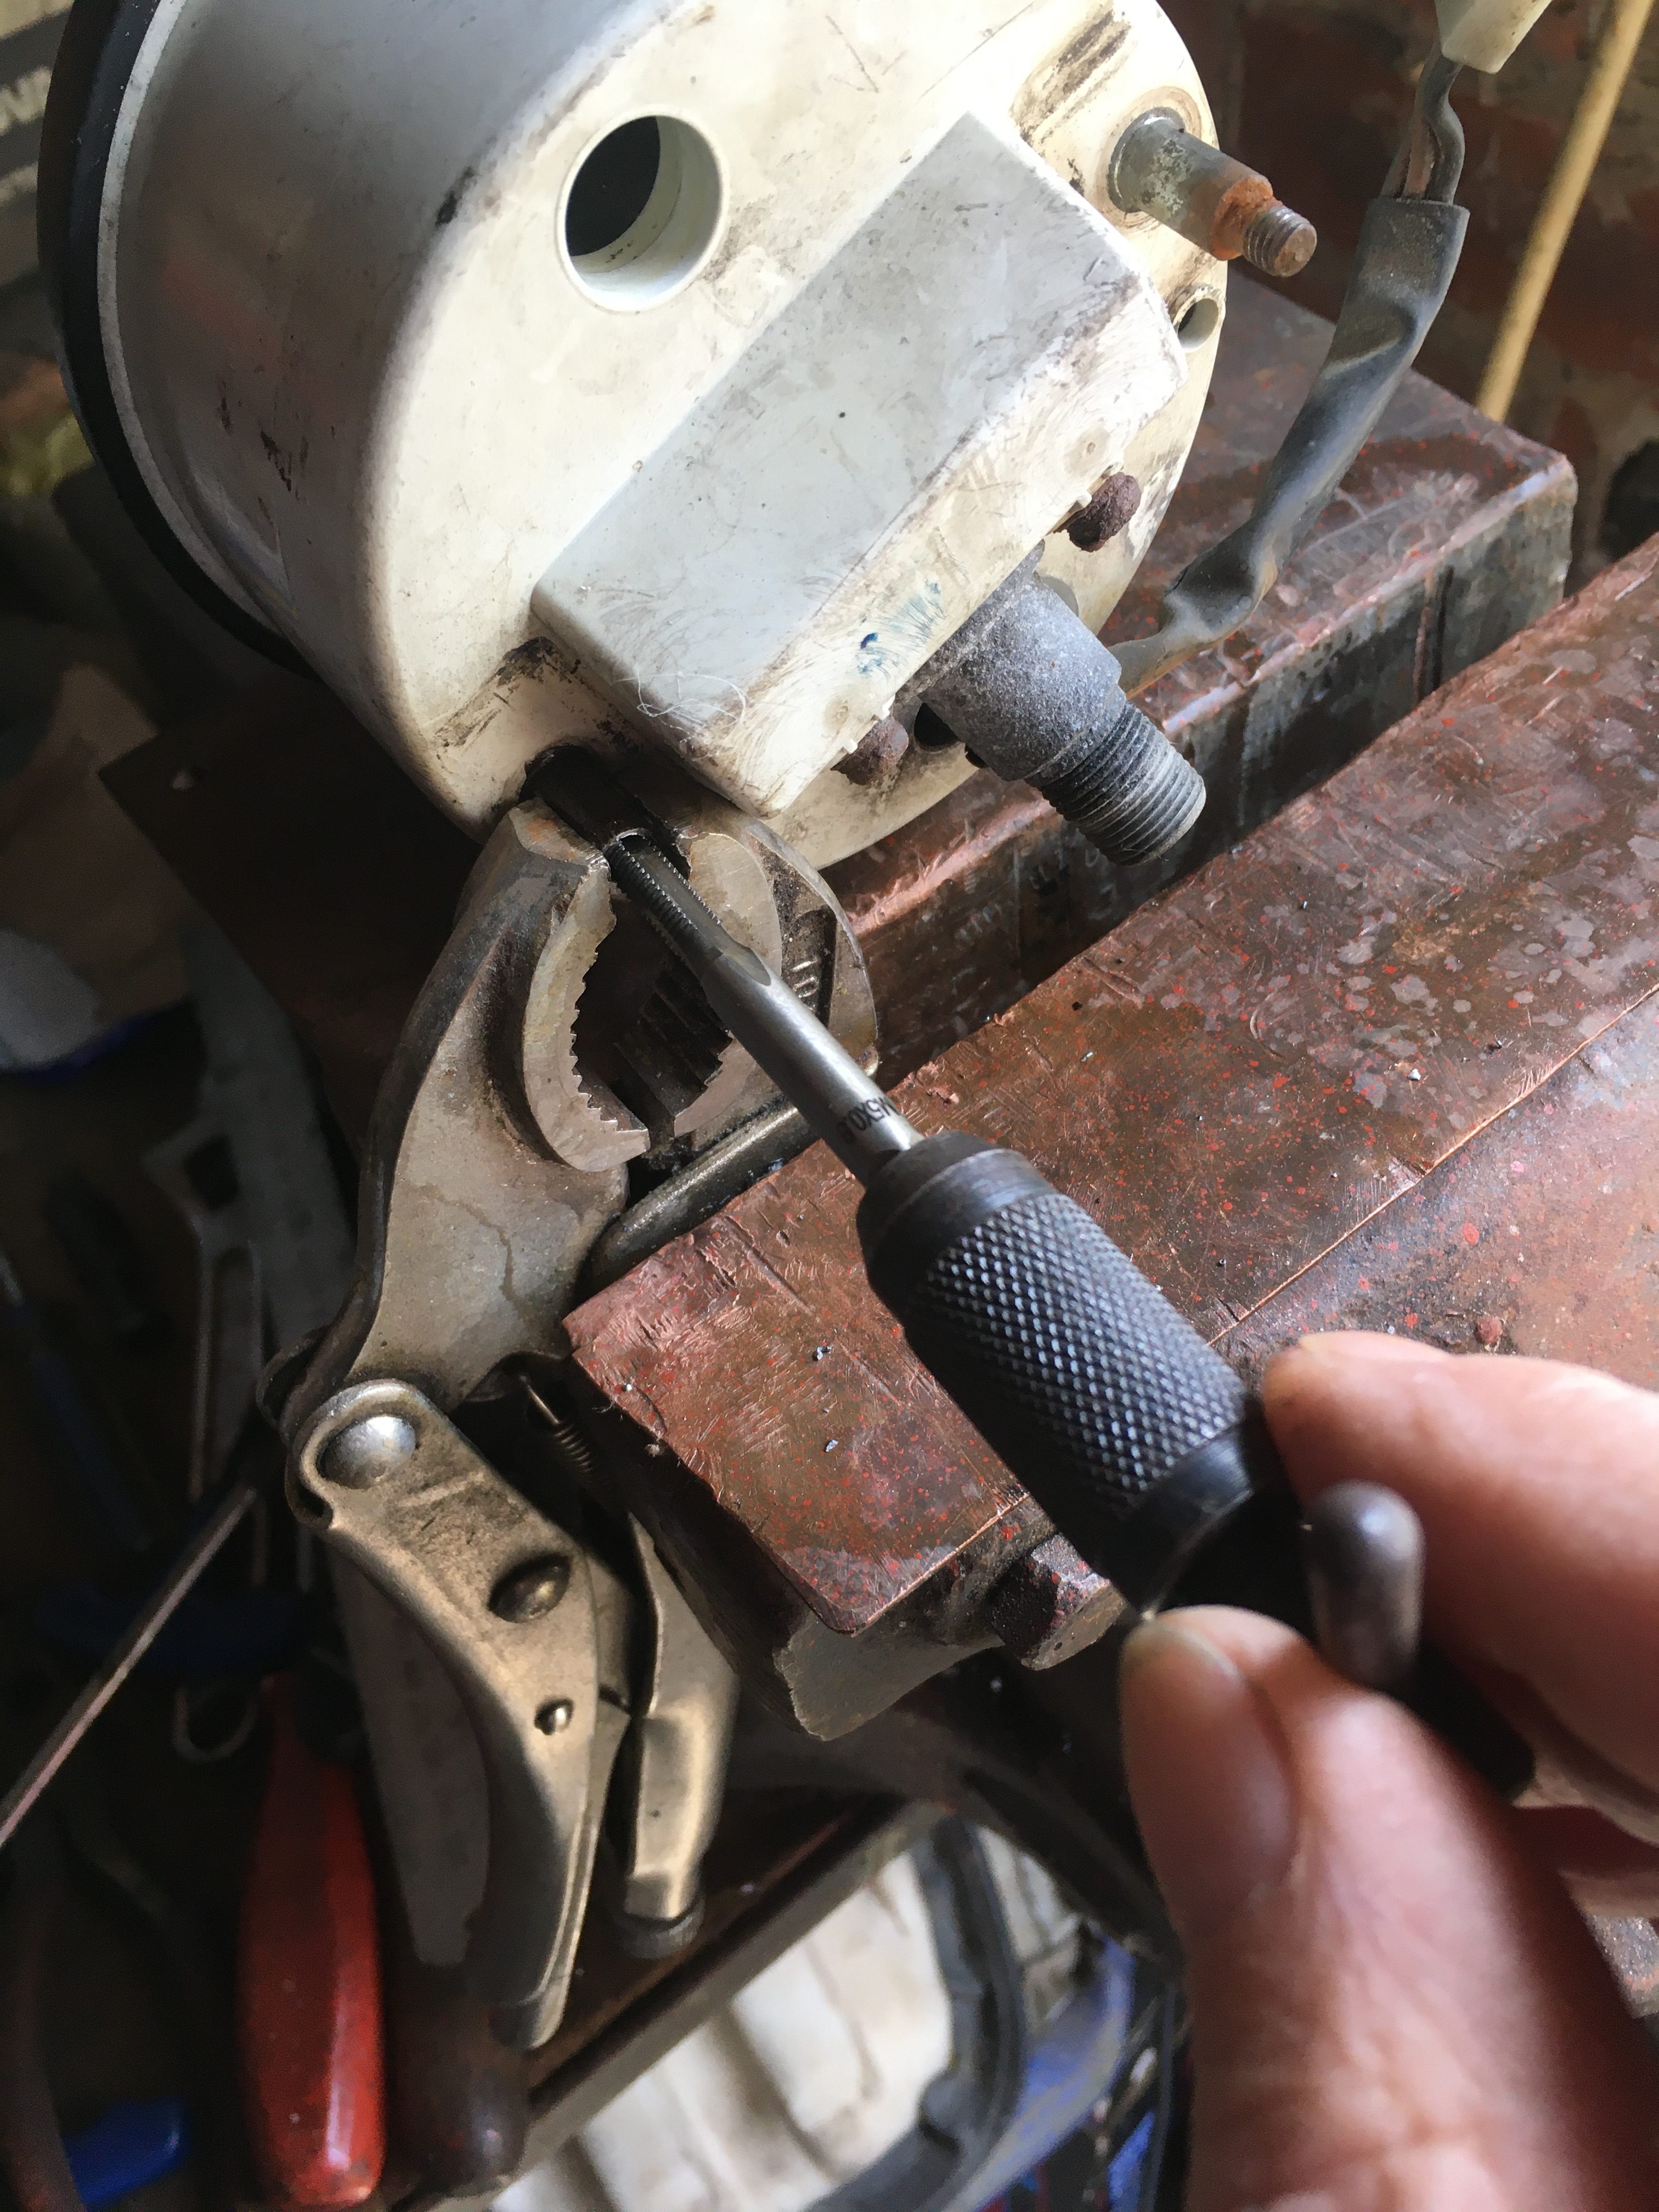
The shortened thread will be cut off flush with the stub, and a hole drilled as centrally as i can manage. A 5mm x 0.8 tap will be run down the hole allowing for a 5mm bolt to be threaded in and fastened in place with threadlock, before trimming to the same length as the others.
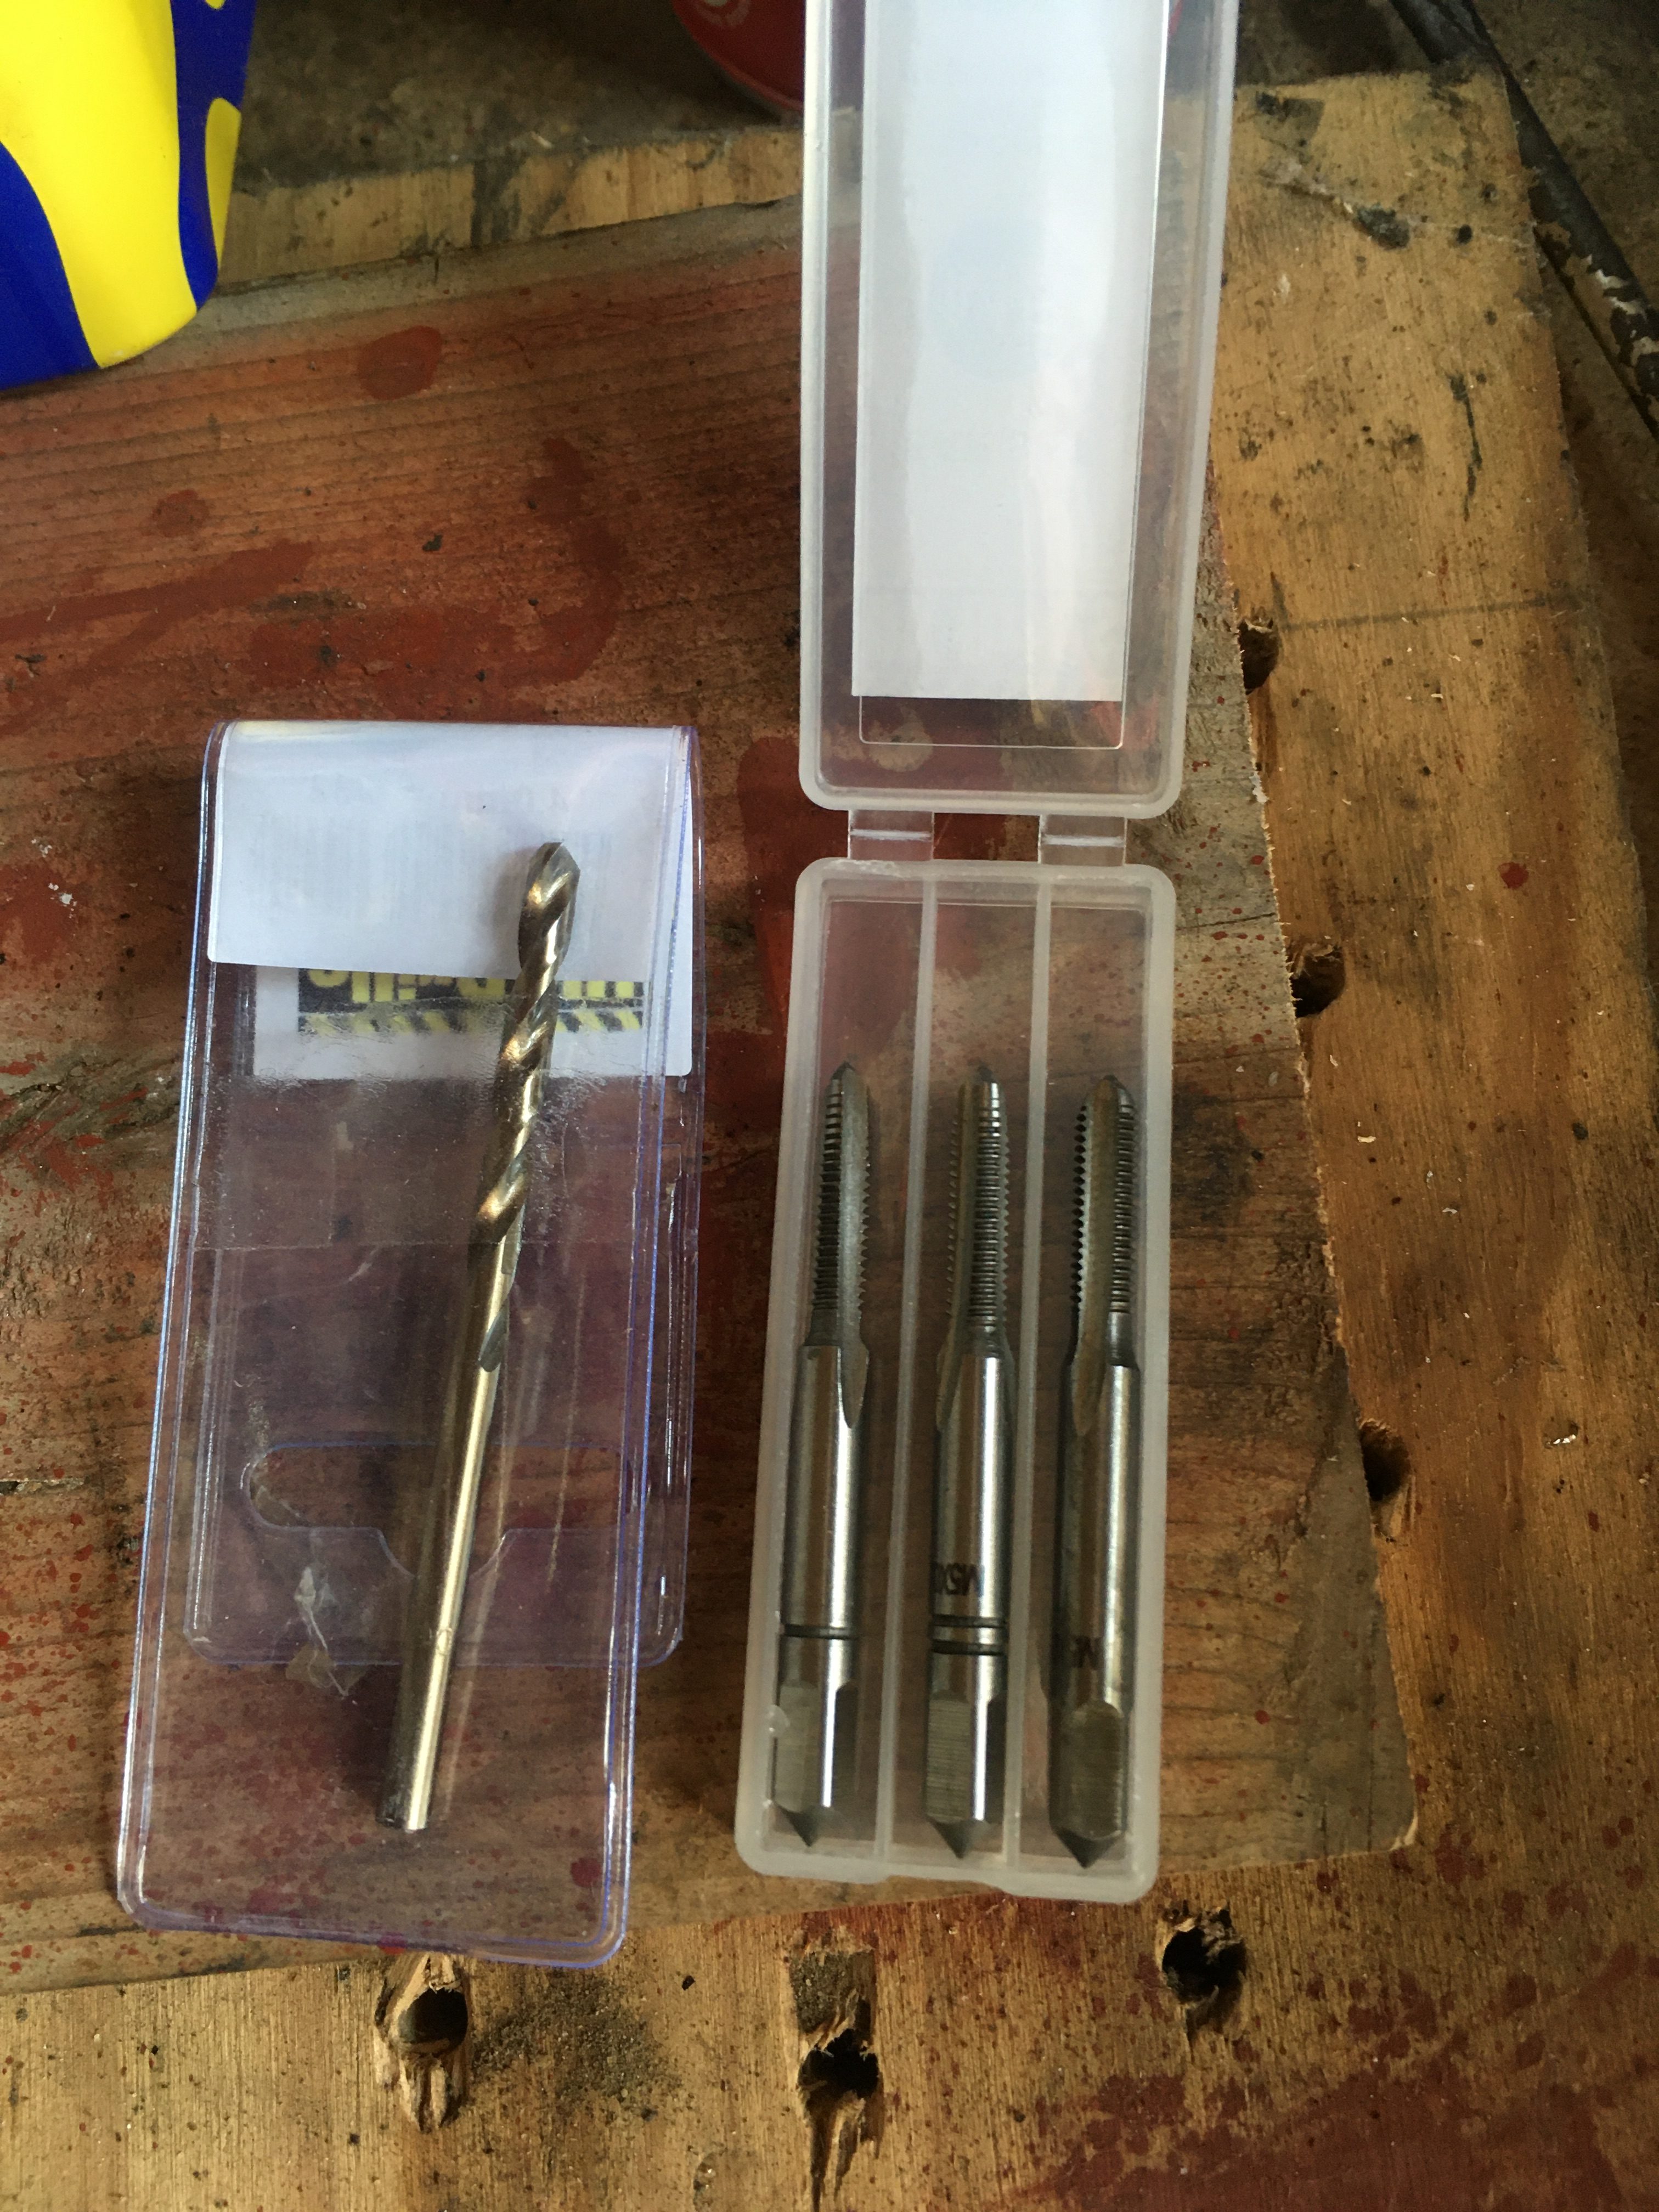
I need to buy a 5mm tap set, so we’re on hold again while we await delivery.
A few days later, the taps have arrived in the post along with a nice new sharp HSS cobalt drill bit, so to work.
The damaged shortened thread has been cut off with a dremmel, and awaits the attentions of the electric drill.
DISASTER!!!
When center punching the stub, the old and brittle plastic shattered, and the stub disappeared into the nether regions of the rev counter.
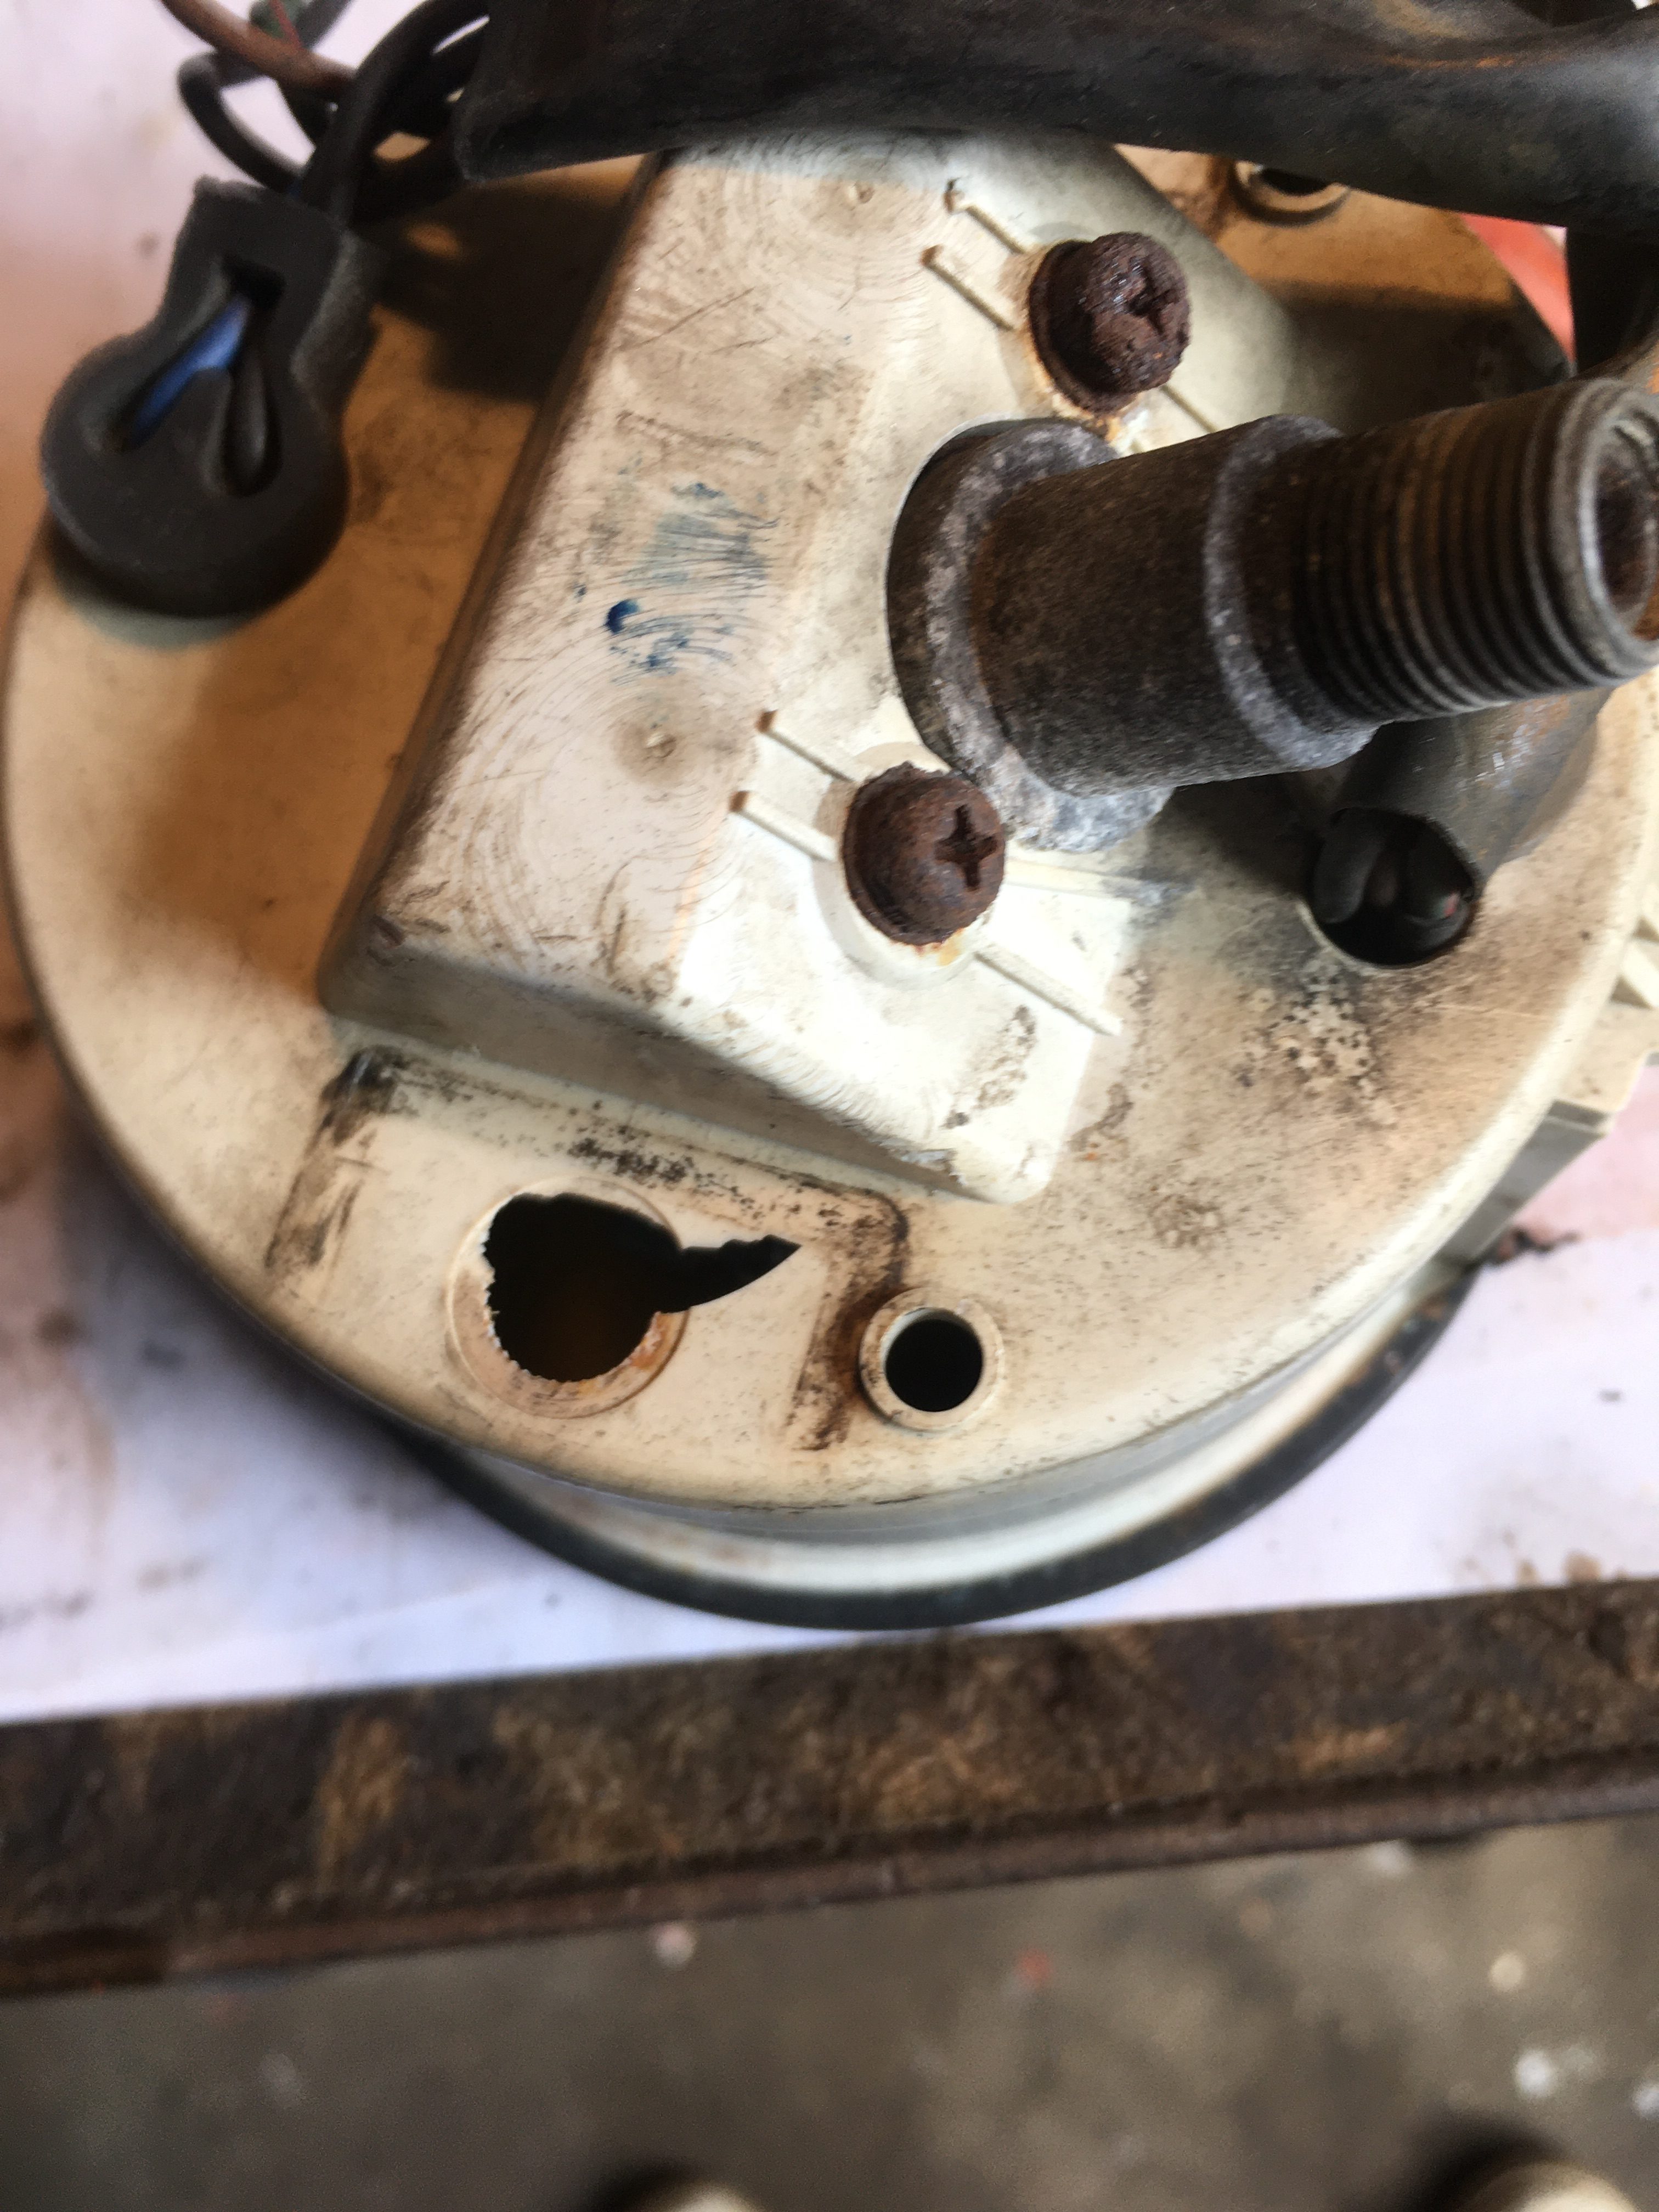
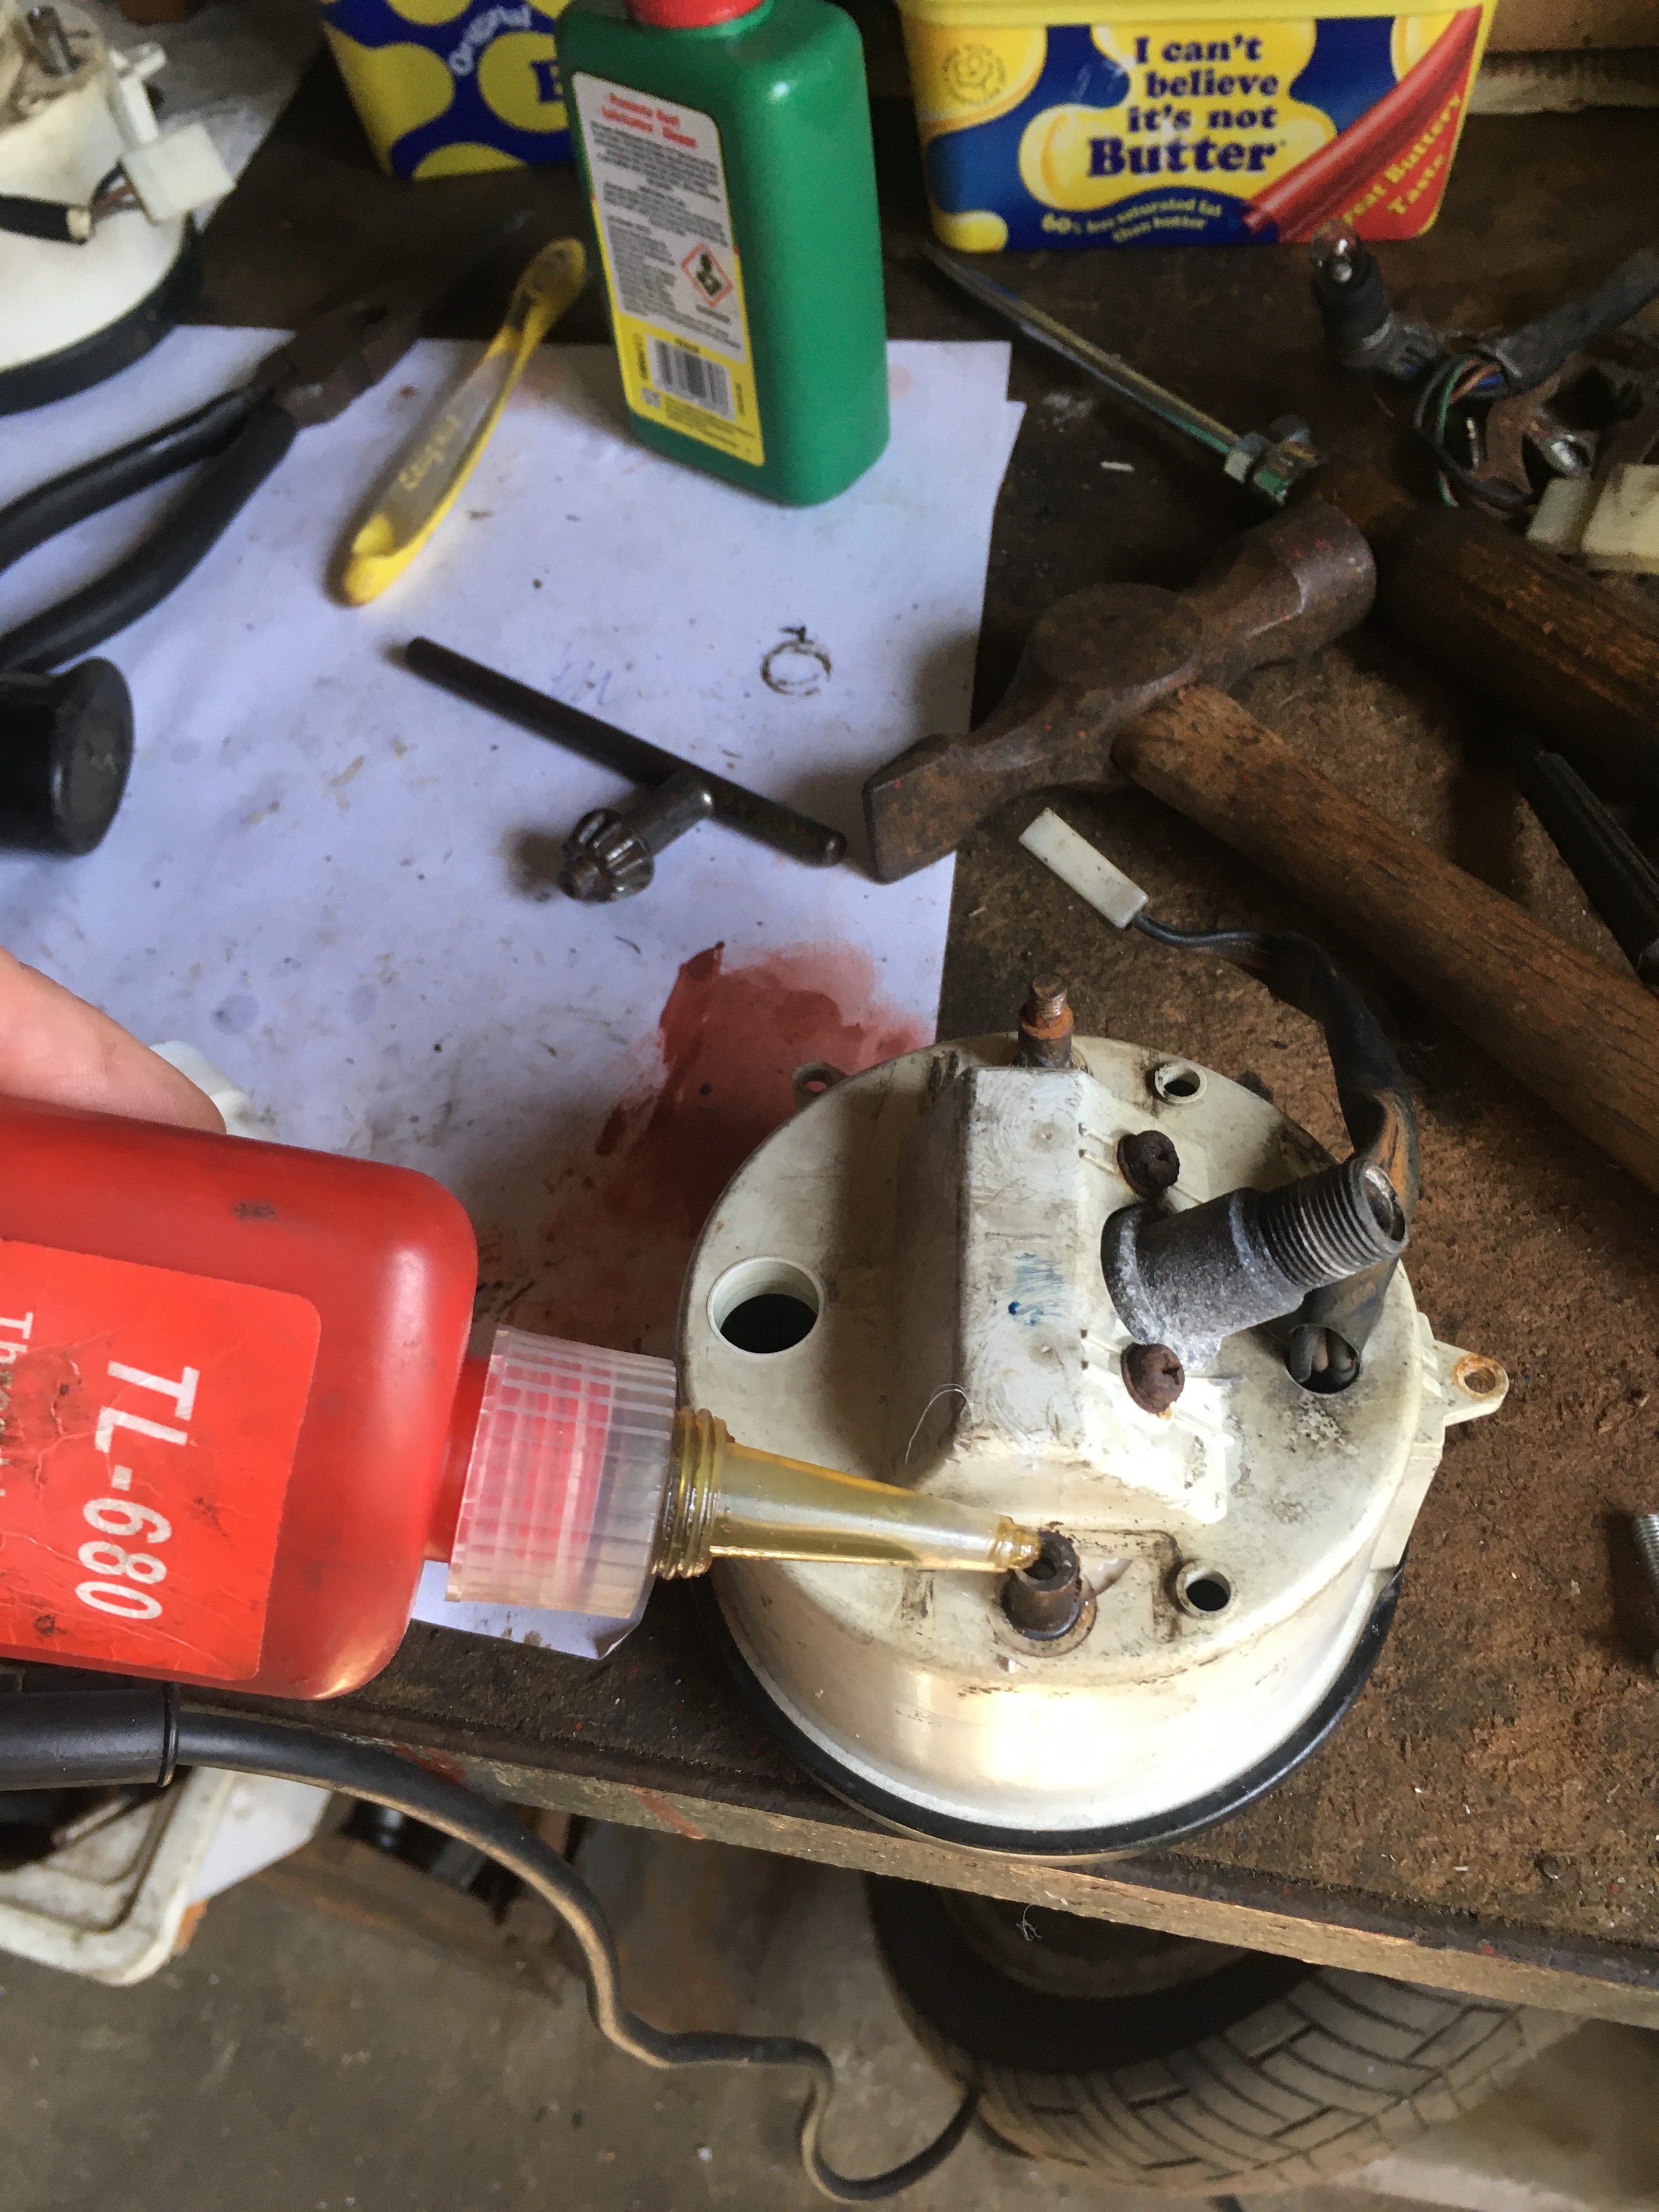
I managed to get some epoxy resin into the case, and pull the stud back through the hole, in the hope that it will be strong enough to drill and tap.
In the mean time, I have grabbed the spare, which has the same problem with a shortened thread, and started to grind it down to repair it.
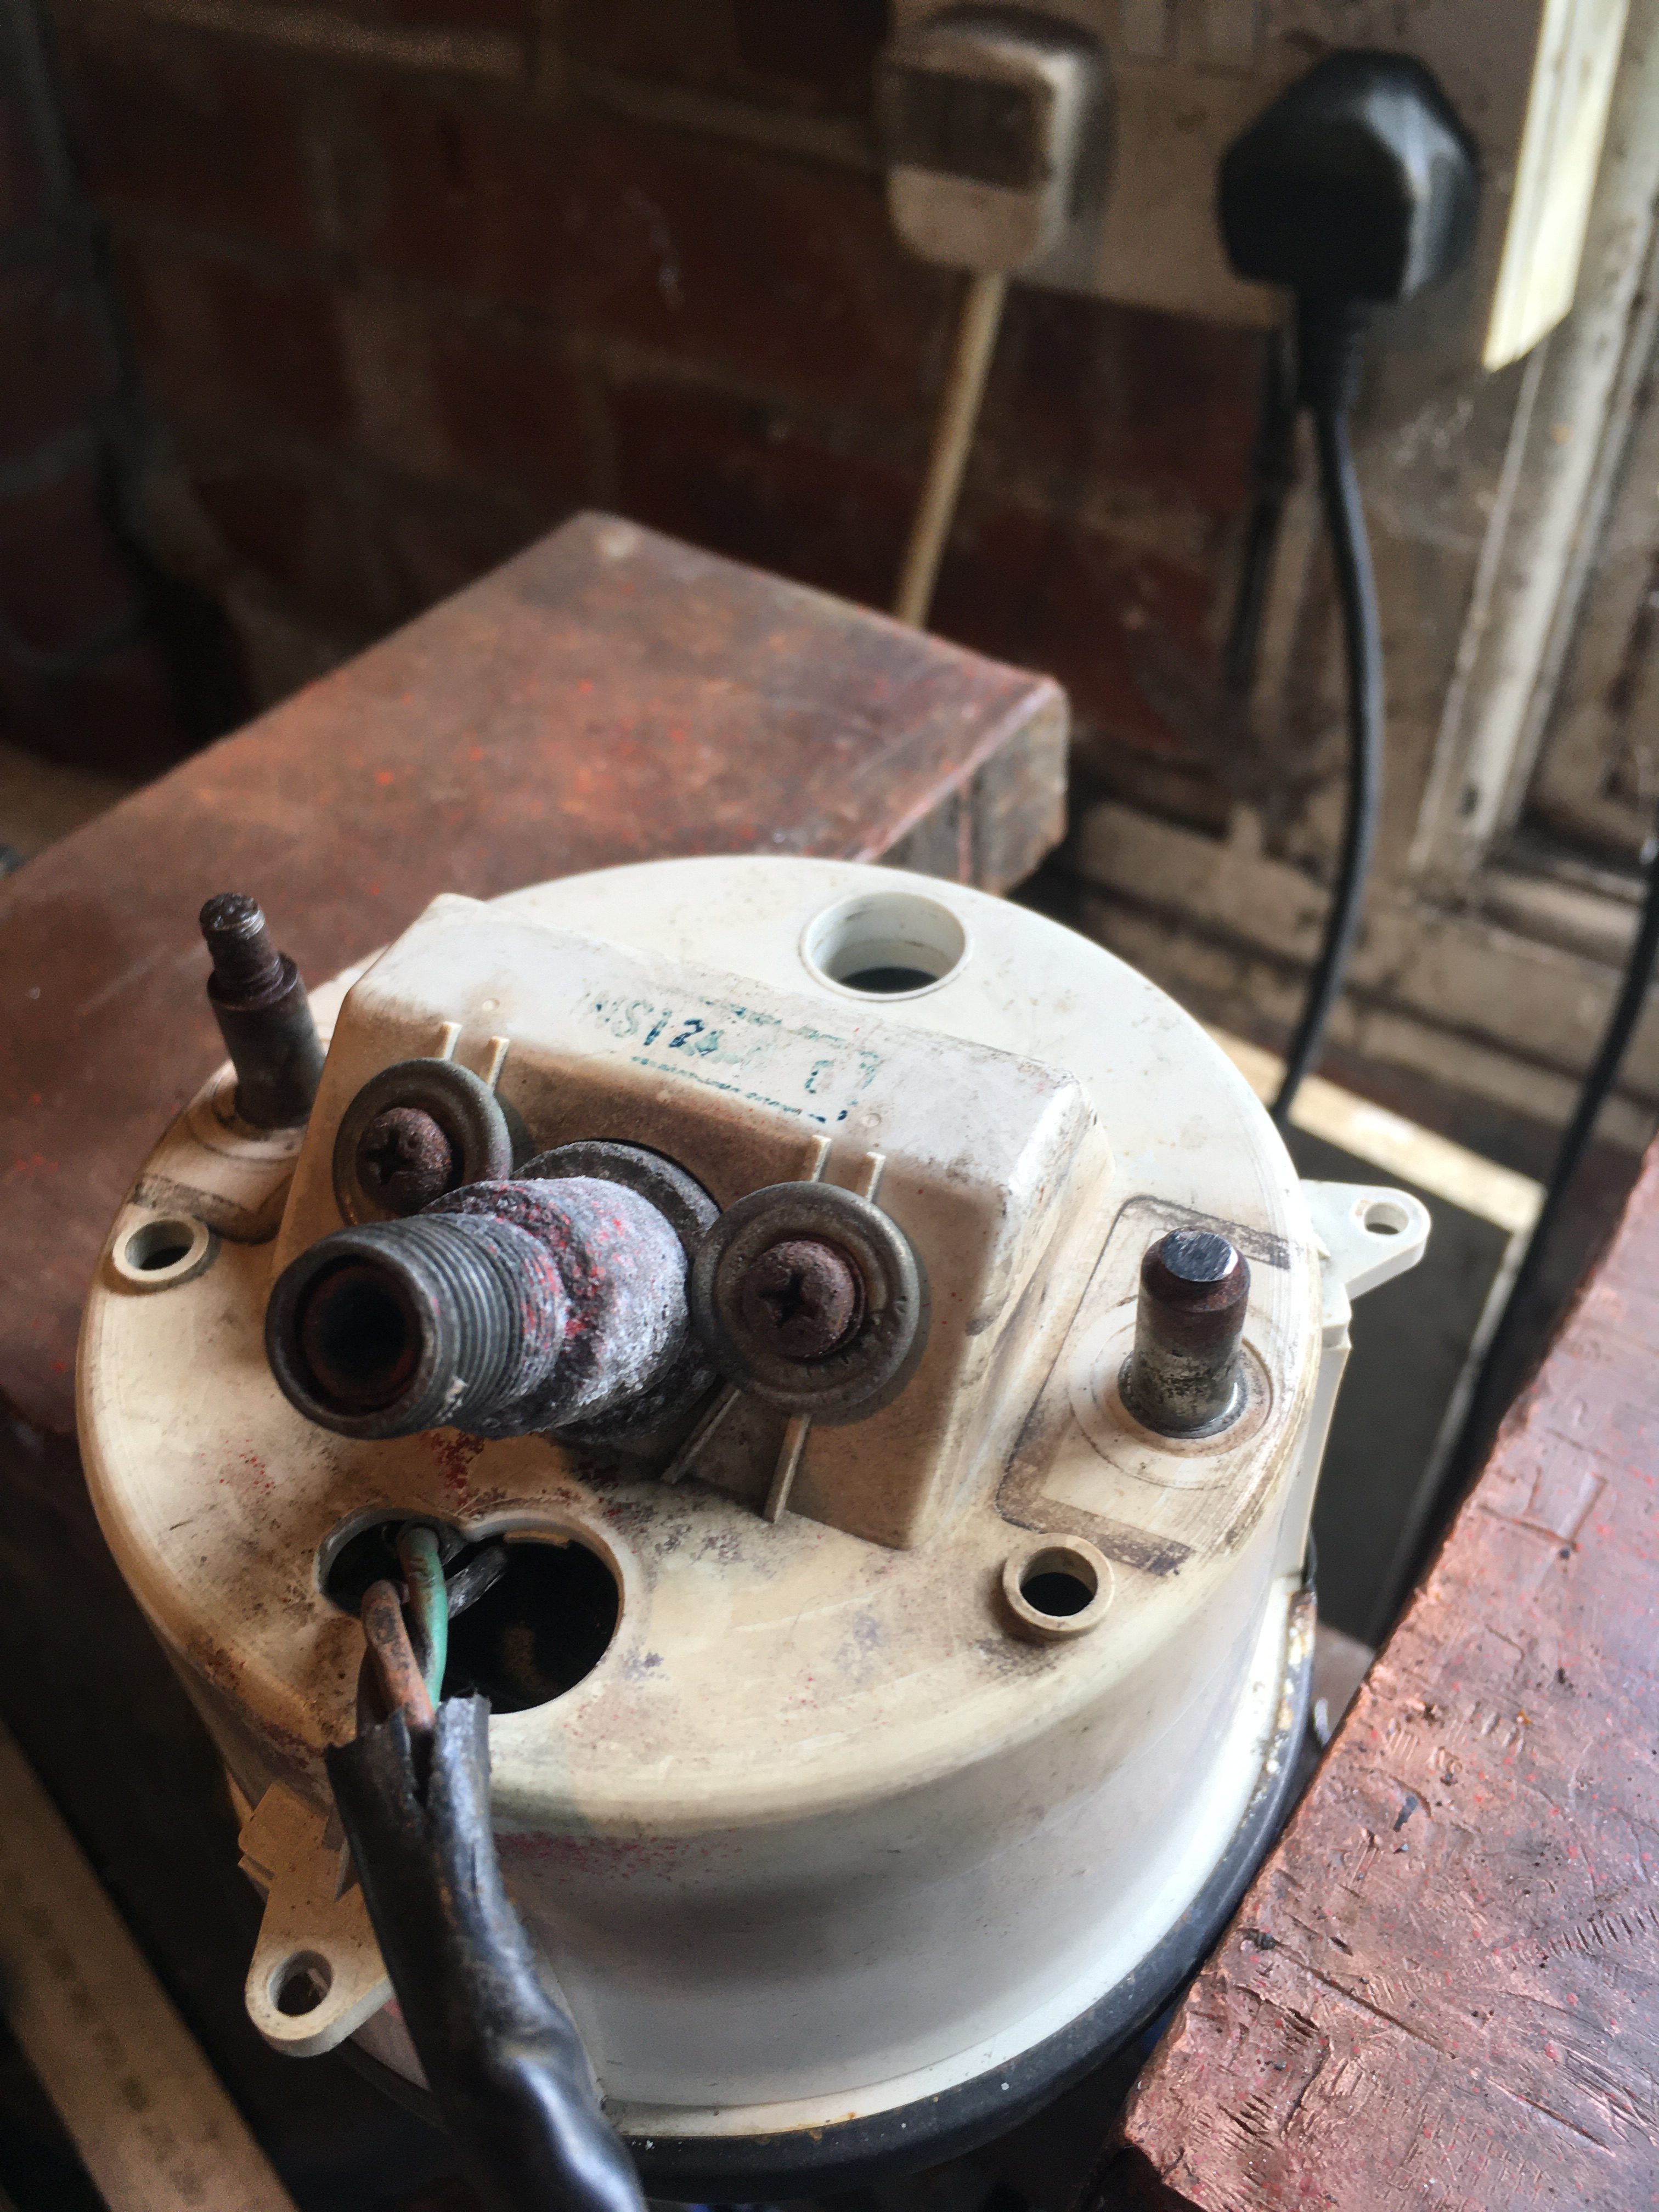
A day later and the Epoxy has been given a chance to reach full strength.
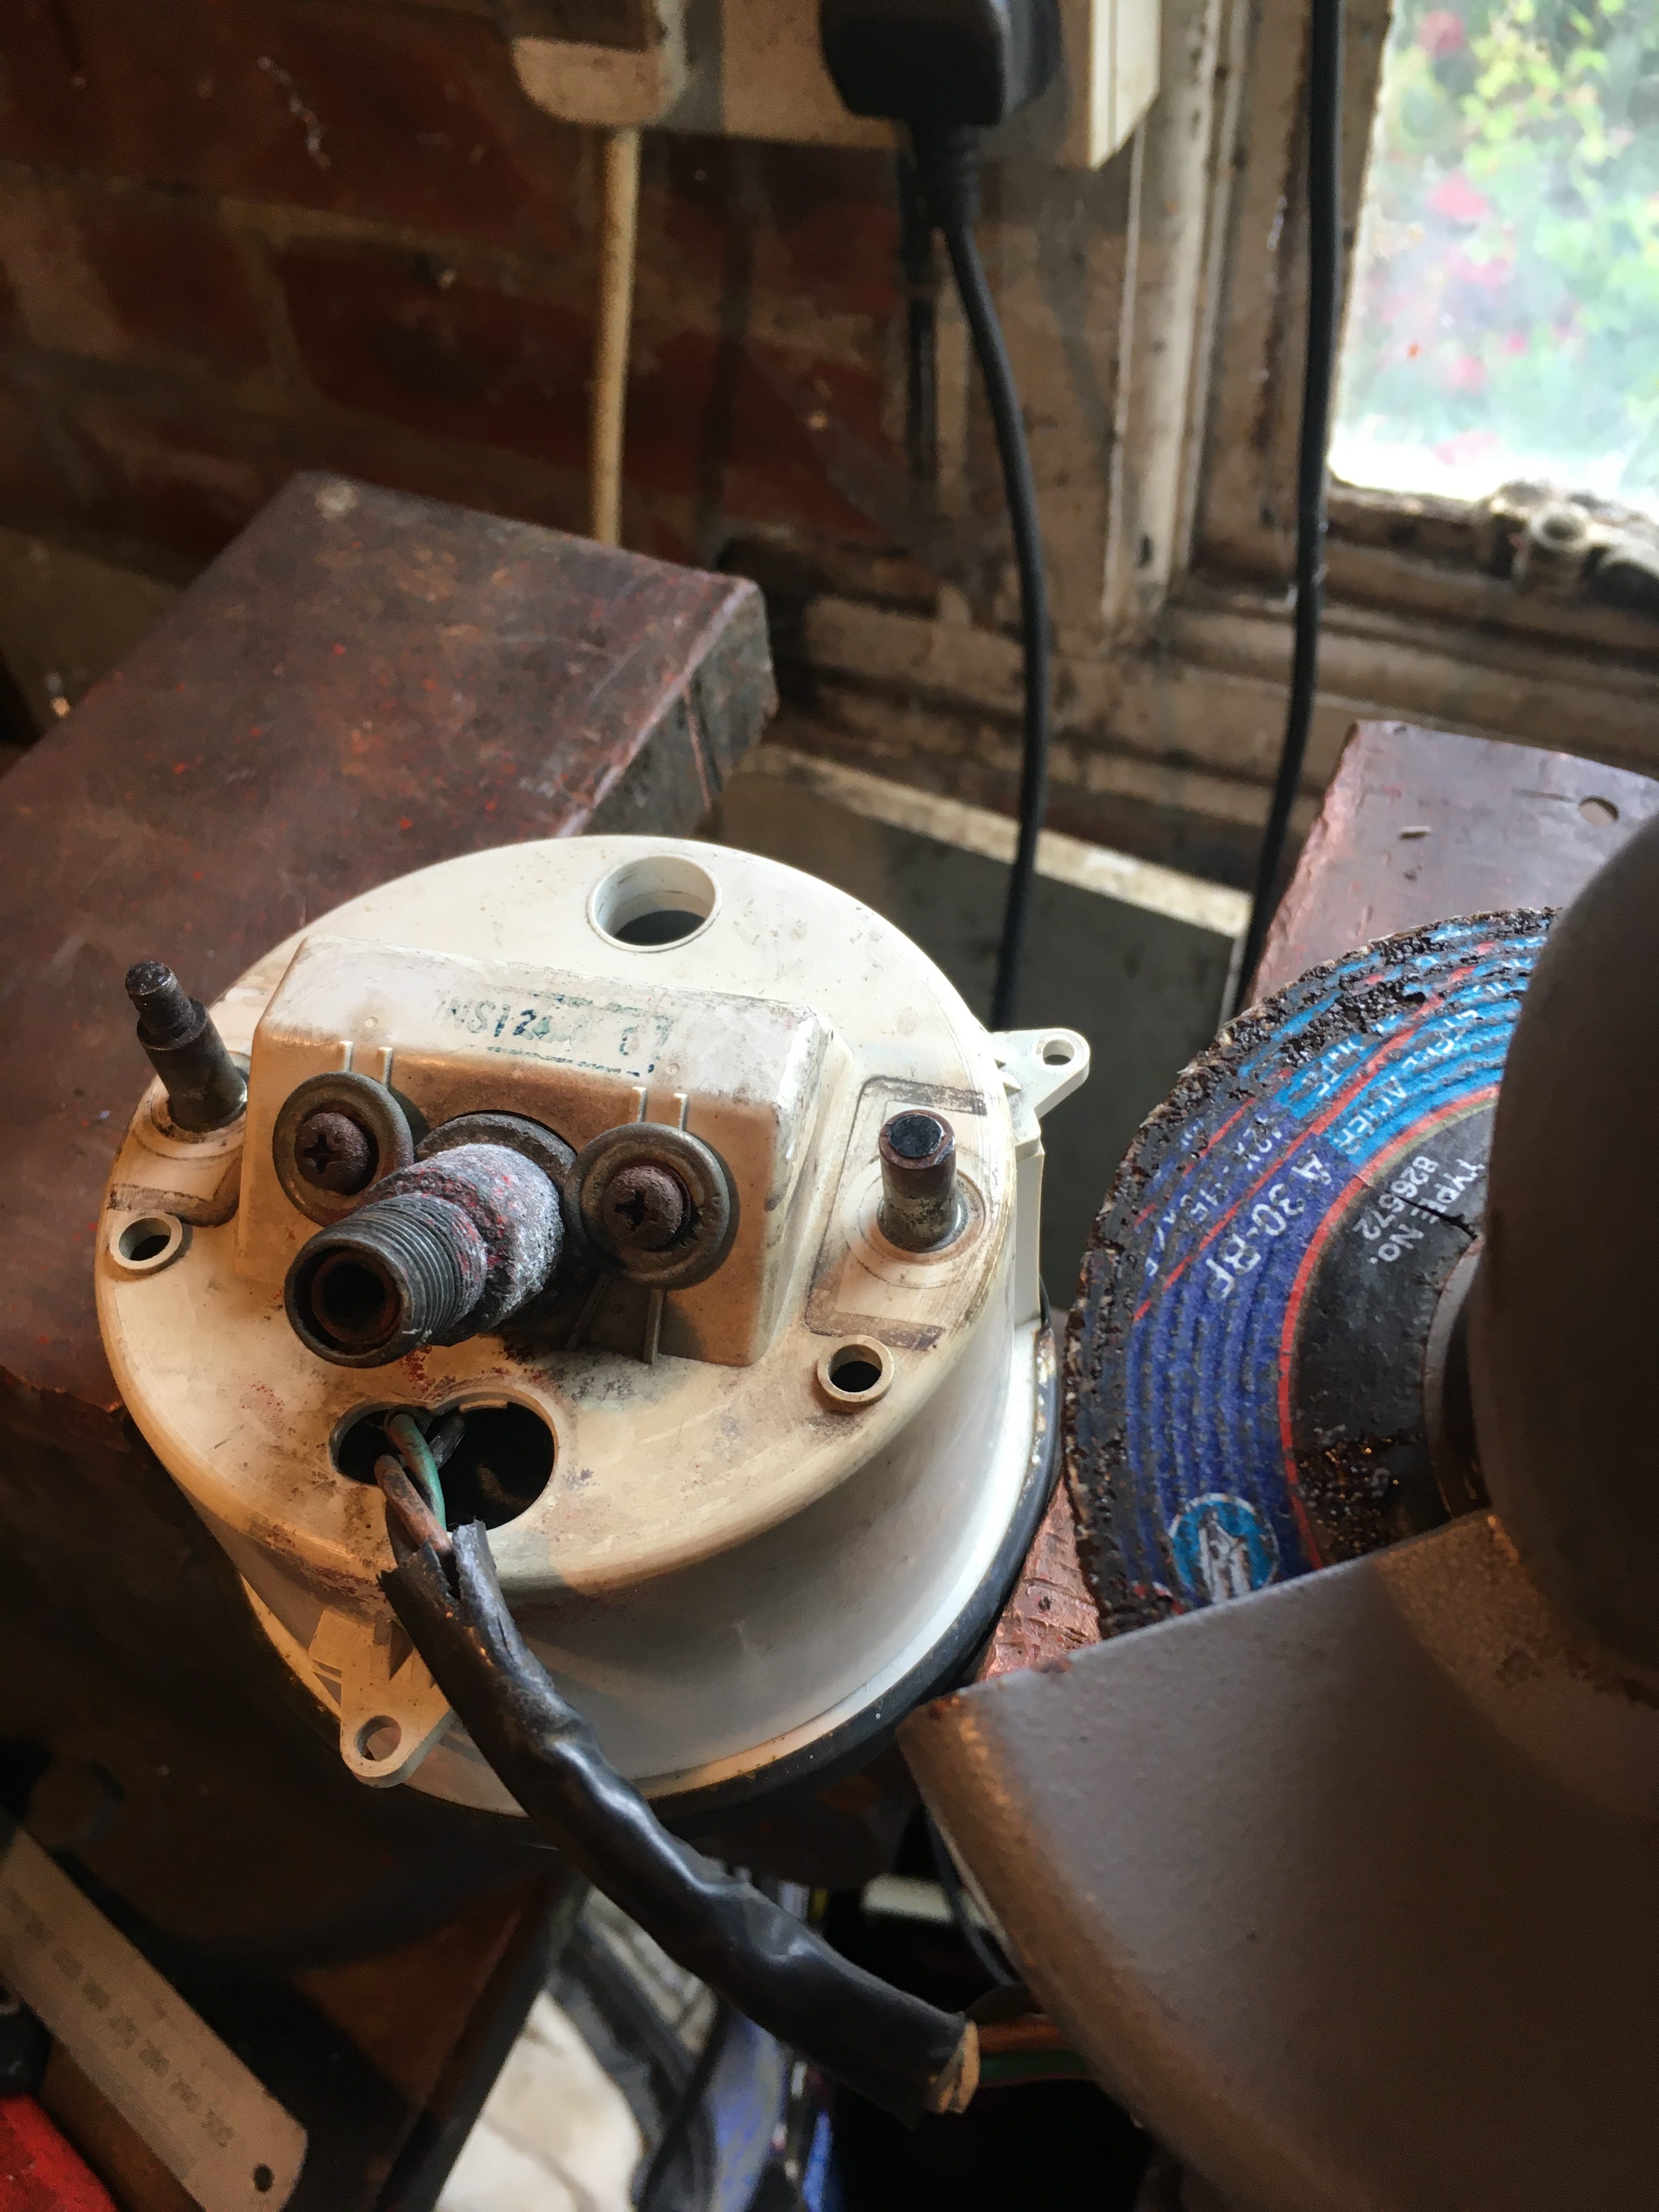
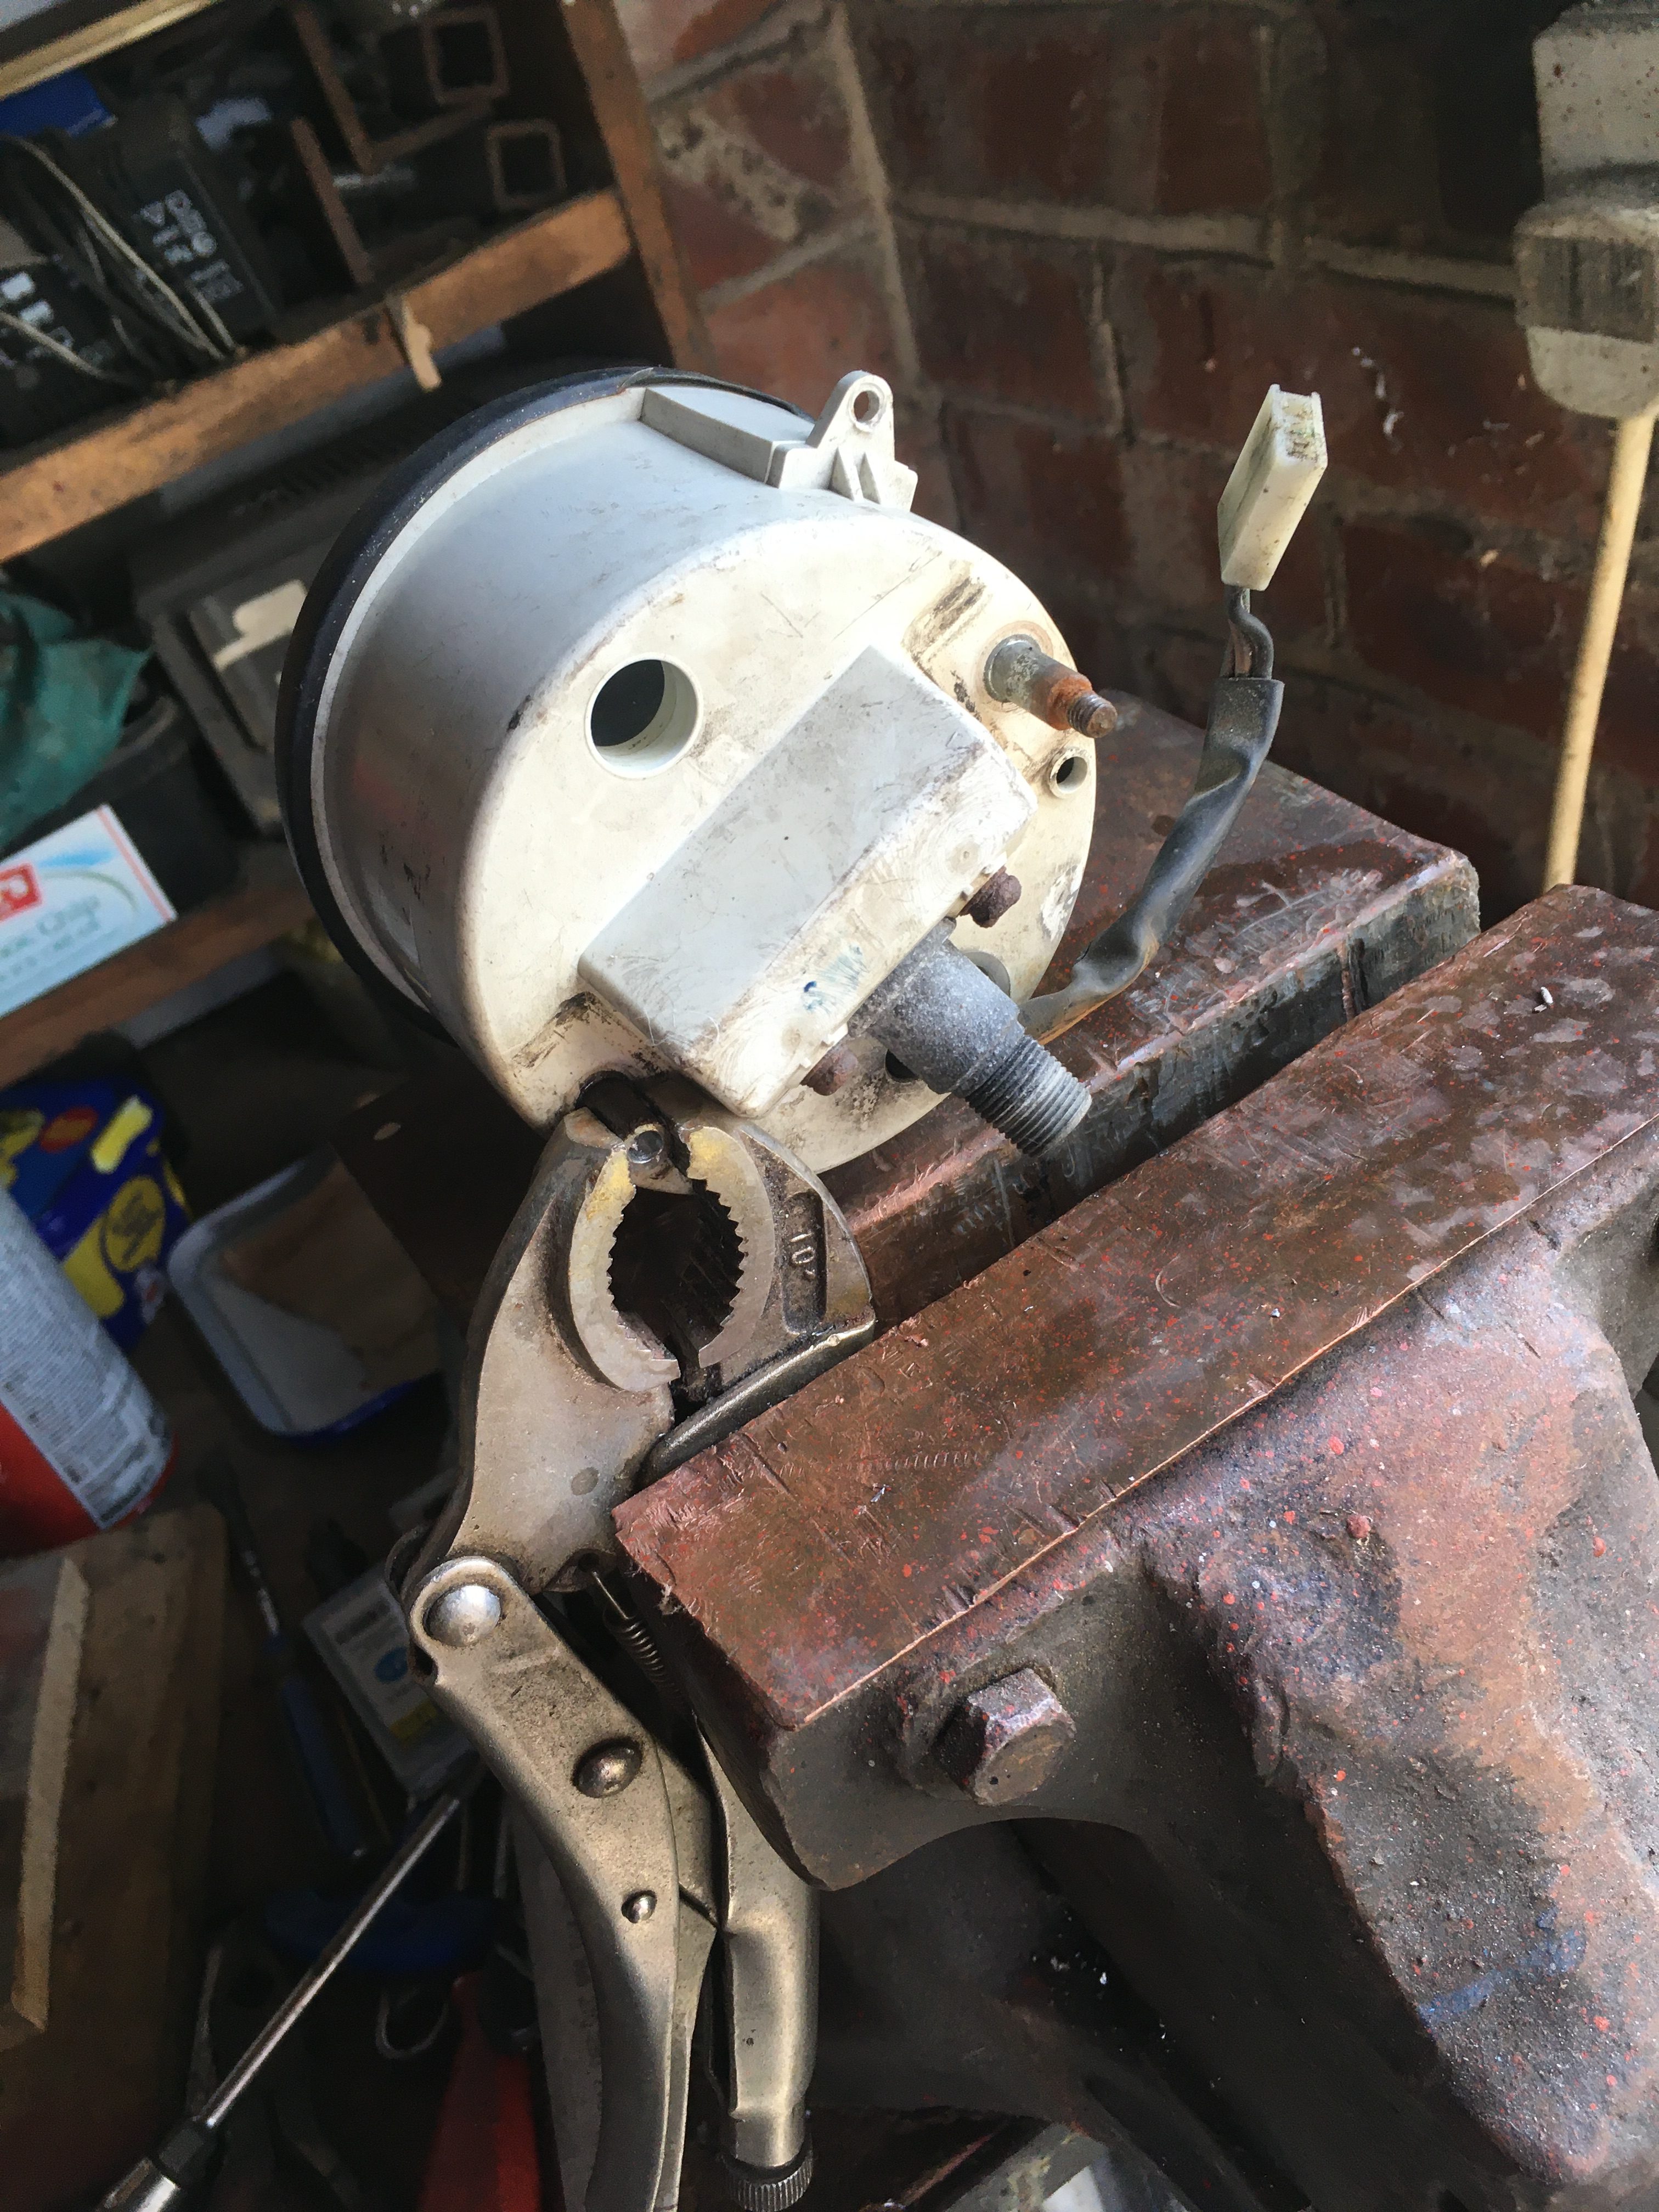
Nonetheless, I don’t want to stress to repair, so I’ve rigged up a way of holding the stub and have sufficient access to drill the 4mm hole that need.
This bit of Heath Robinson chicanery proved solid enough to center punch the stub and get the drill more or less central. (Less rather than more as it turned out.)
I’ll do both of the rev-counters at the same time so I have a choice when done.
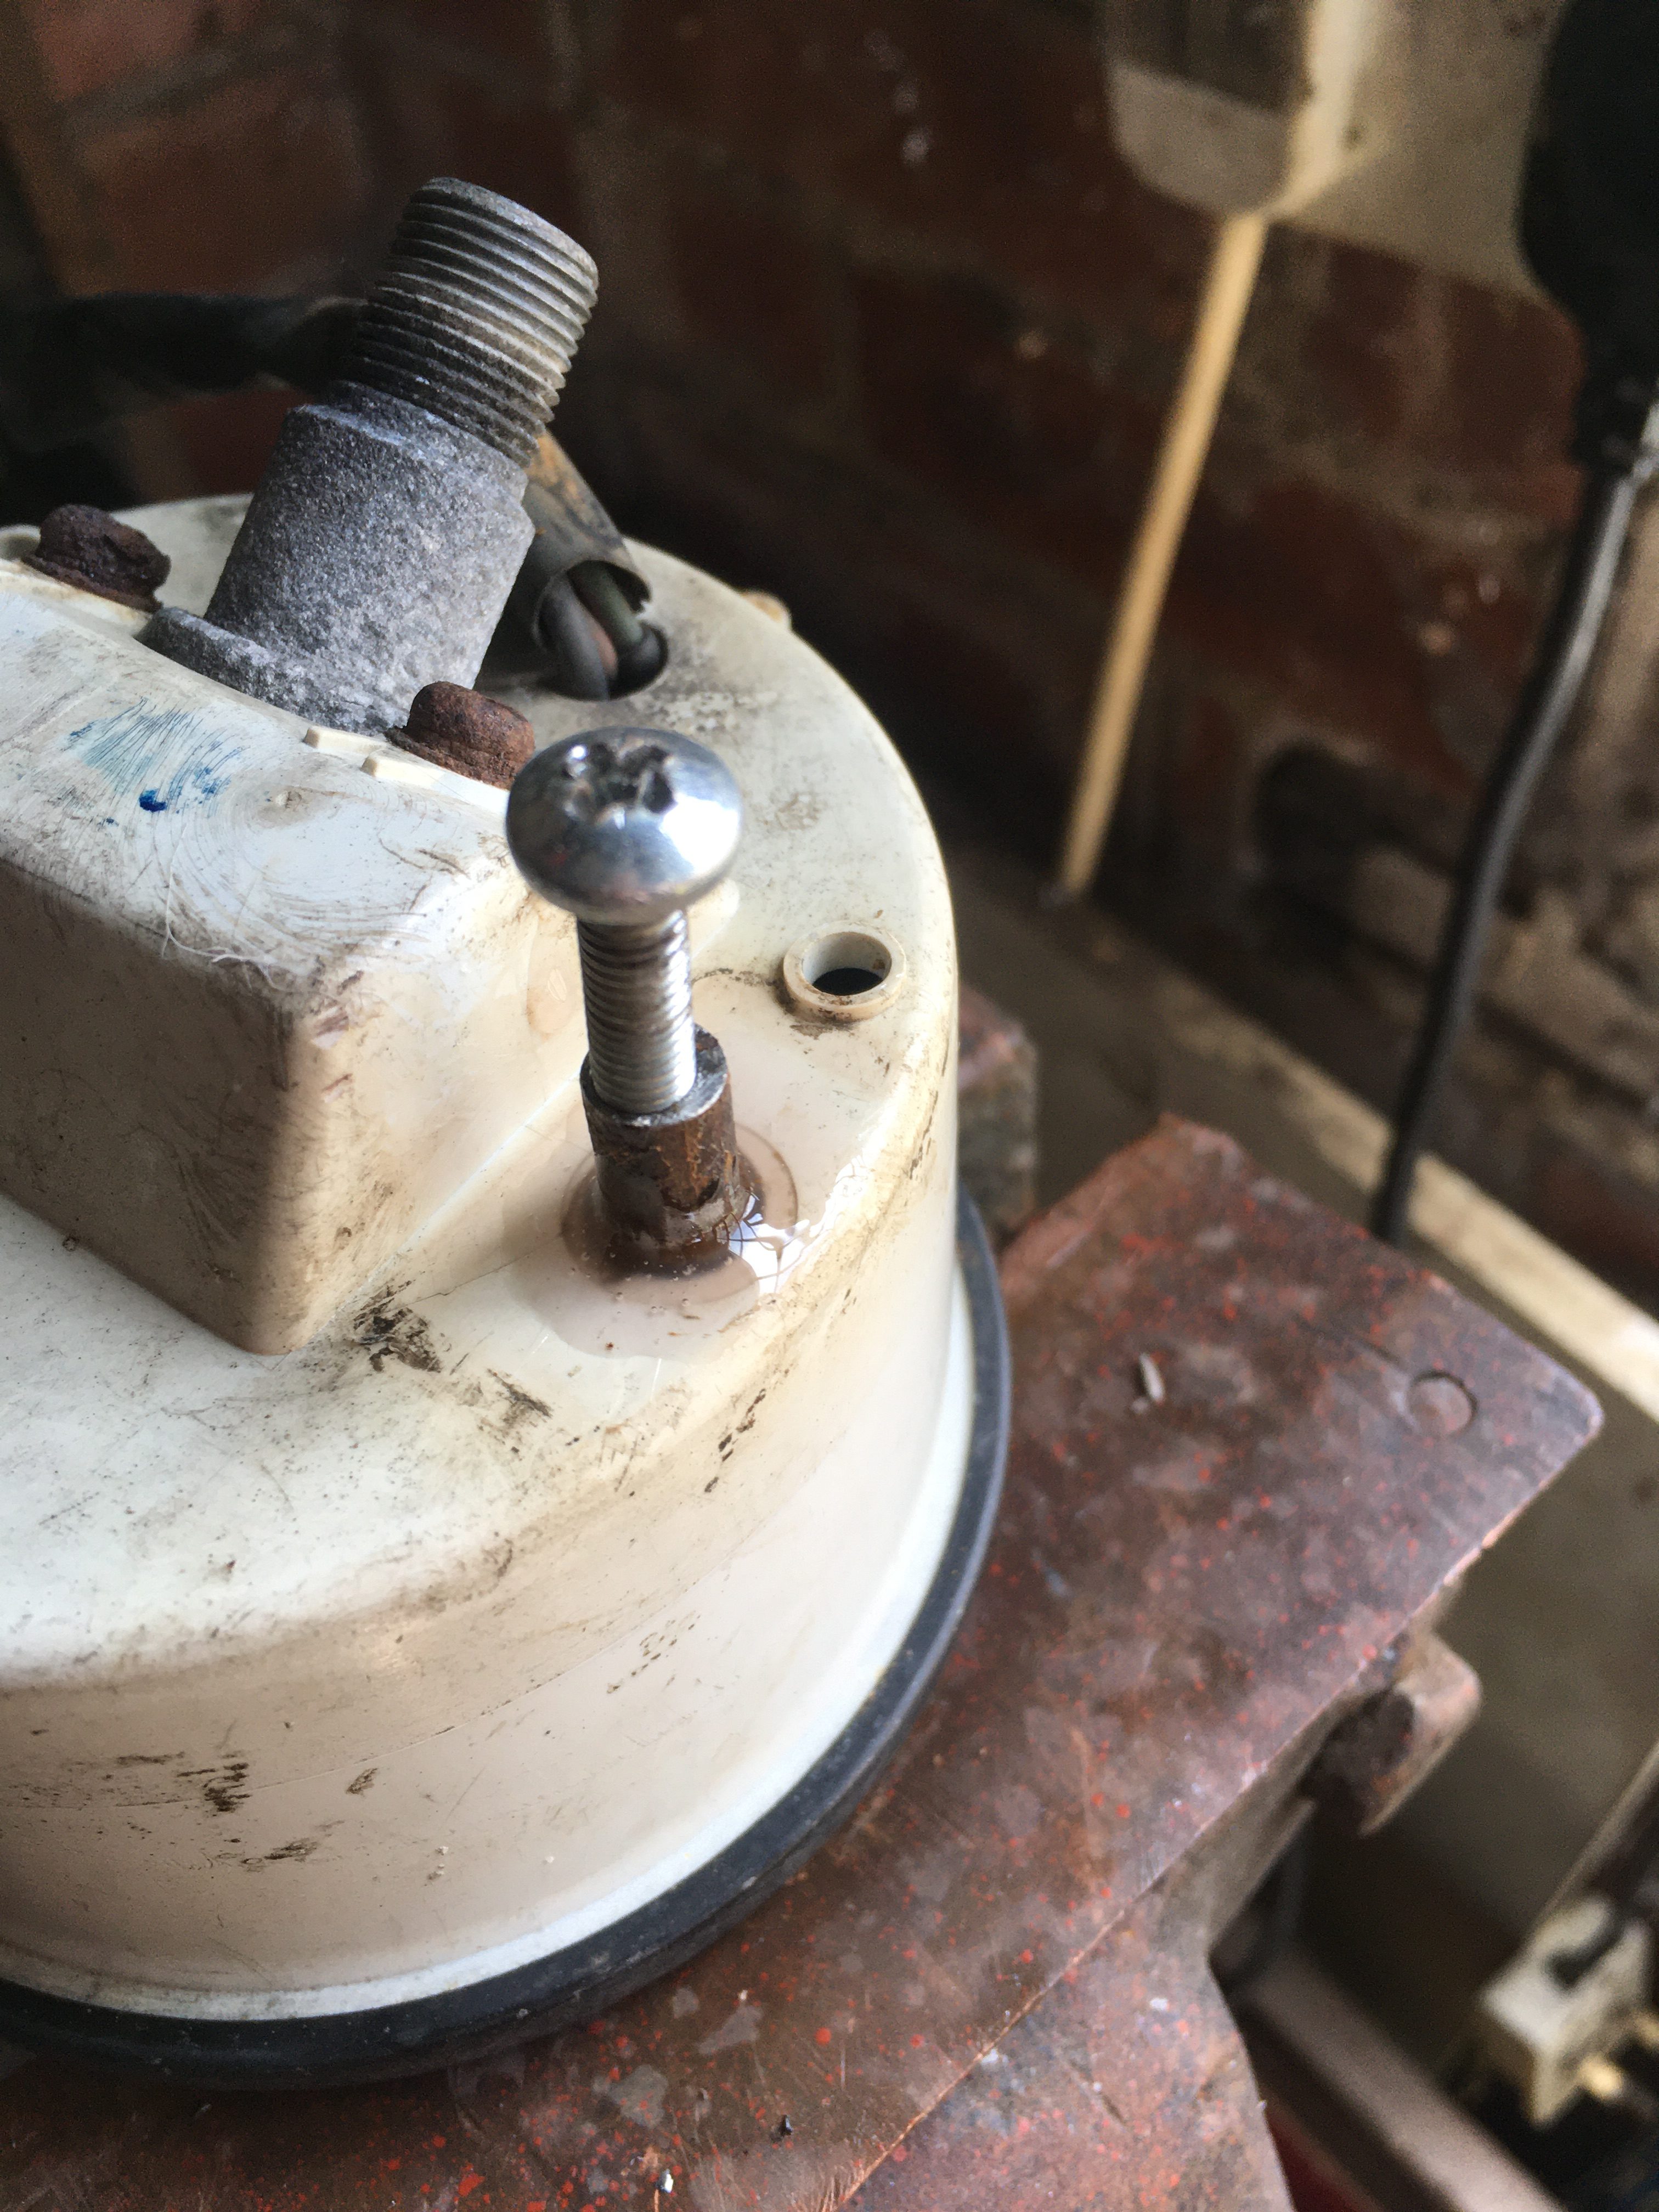
With a bit of threadlock, a screw is inserted and tightened down. A bit of epoxy is smoothed around the stub in an attempt to give it a bit more strength, so i’ll wait another 24 hours before Dremmeling off the threads to the same length as the other side, and assembling the clocks into the case.
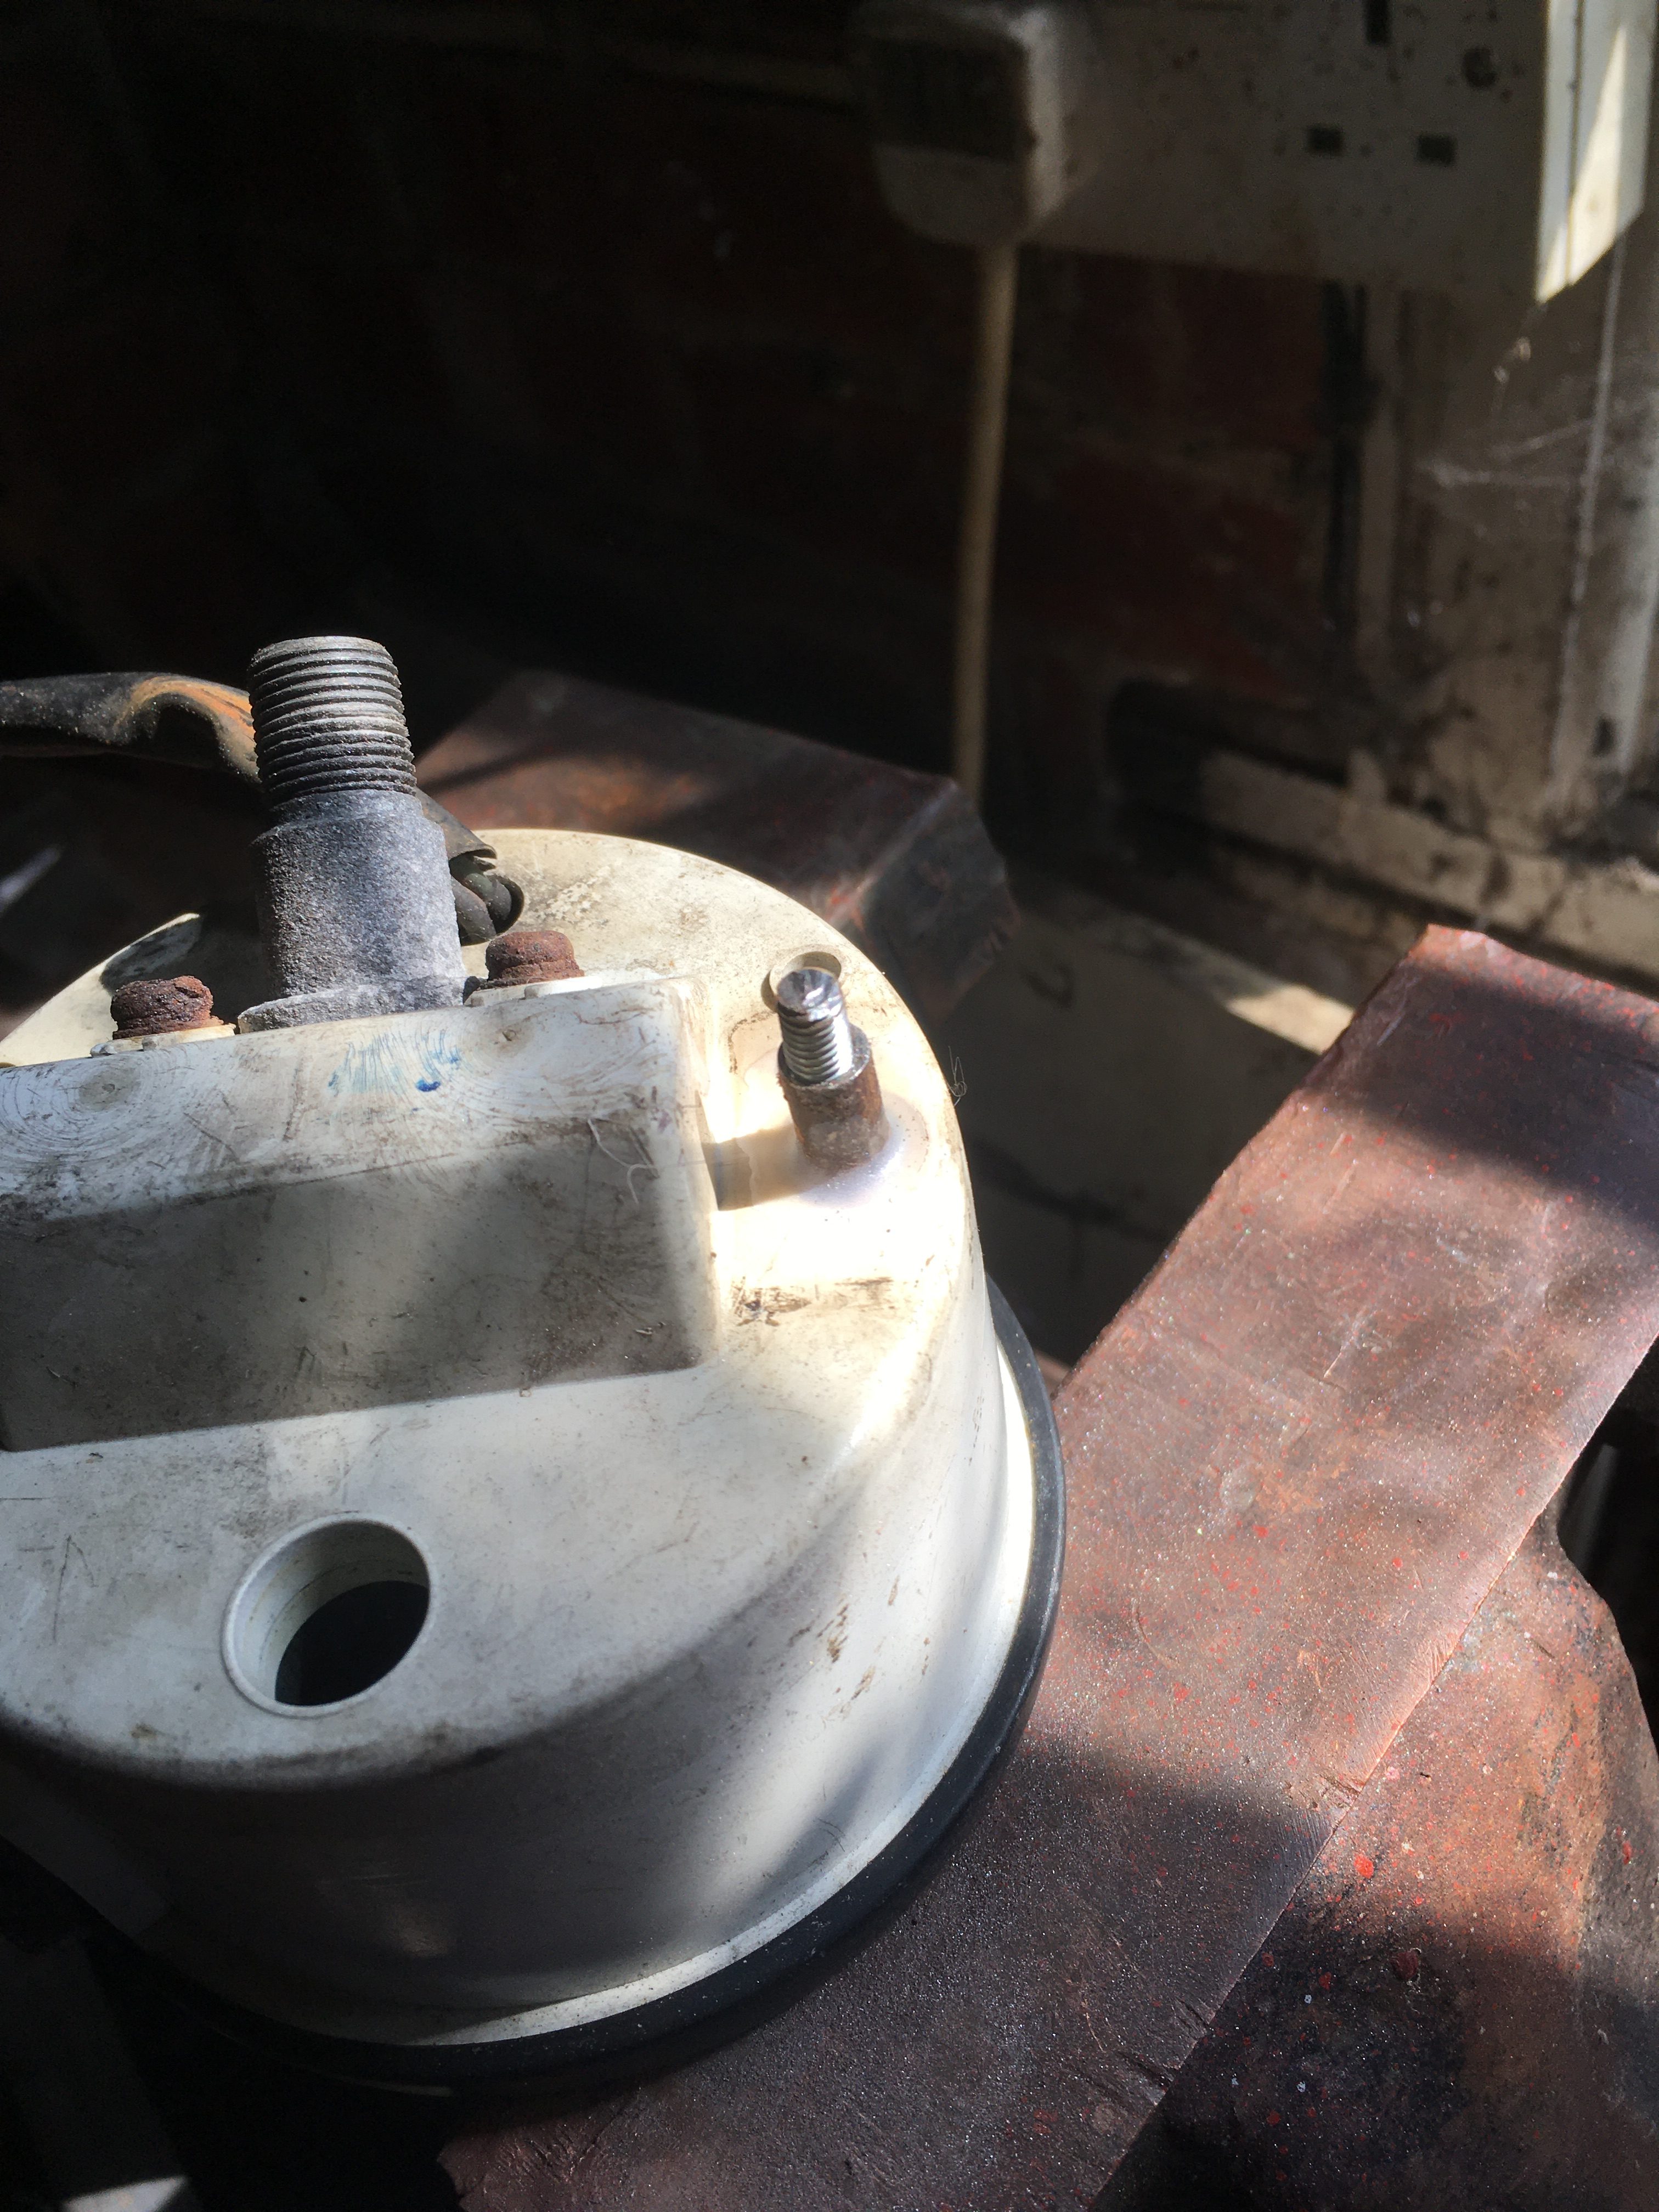
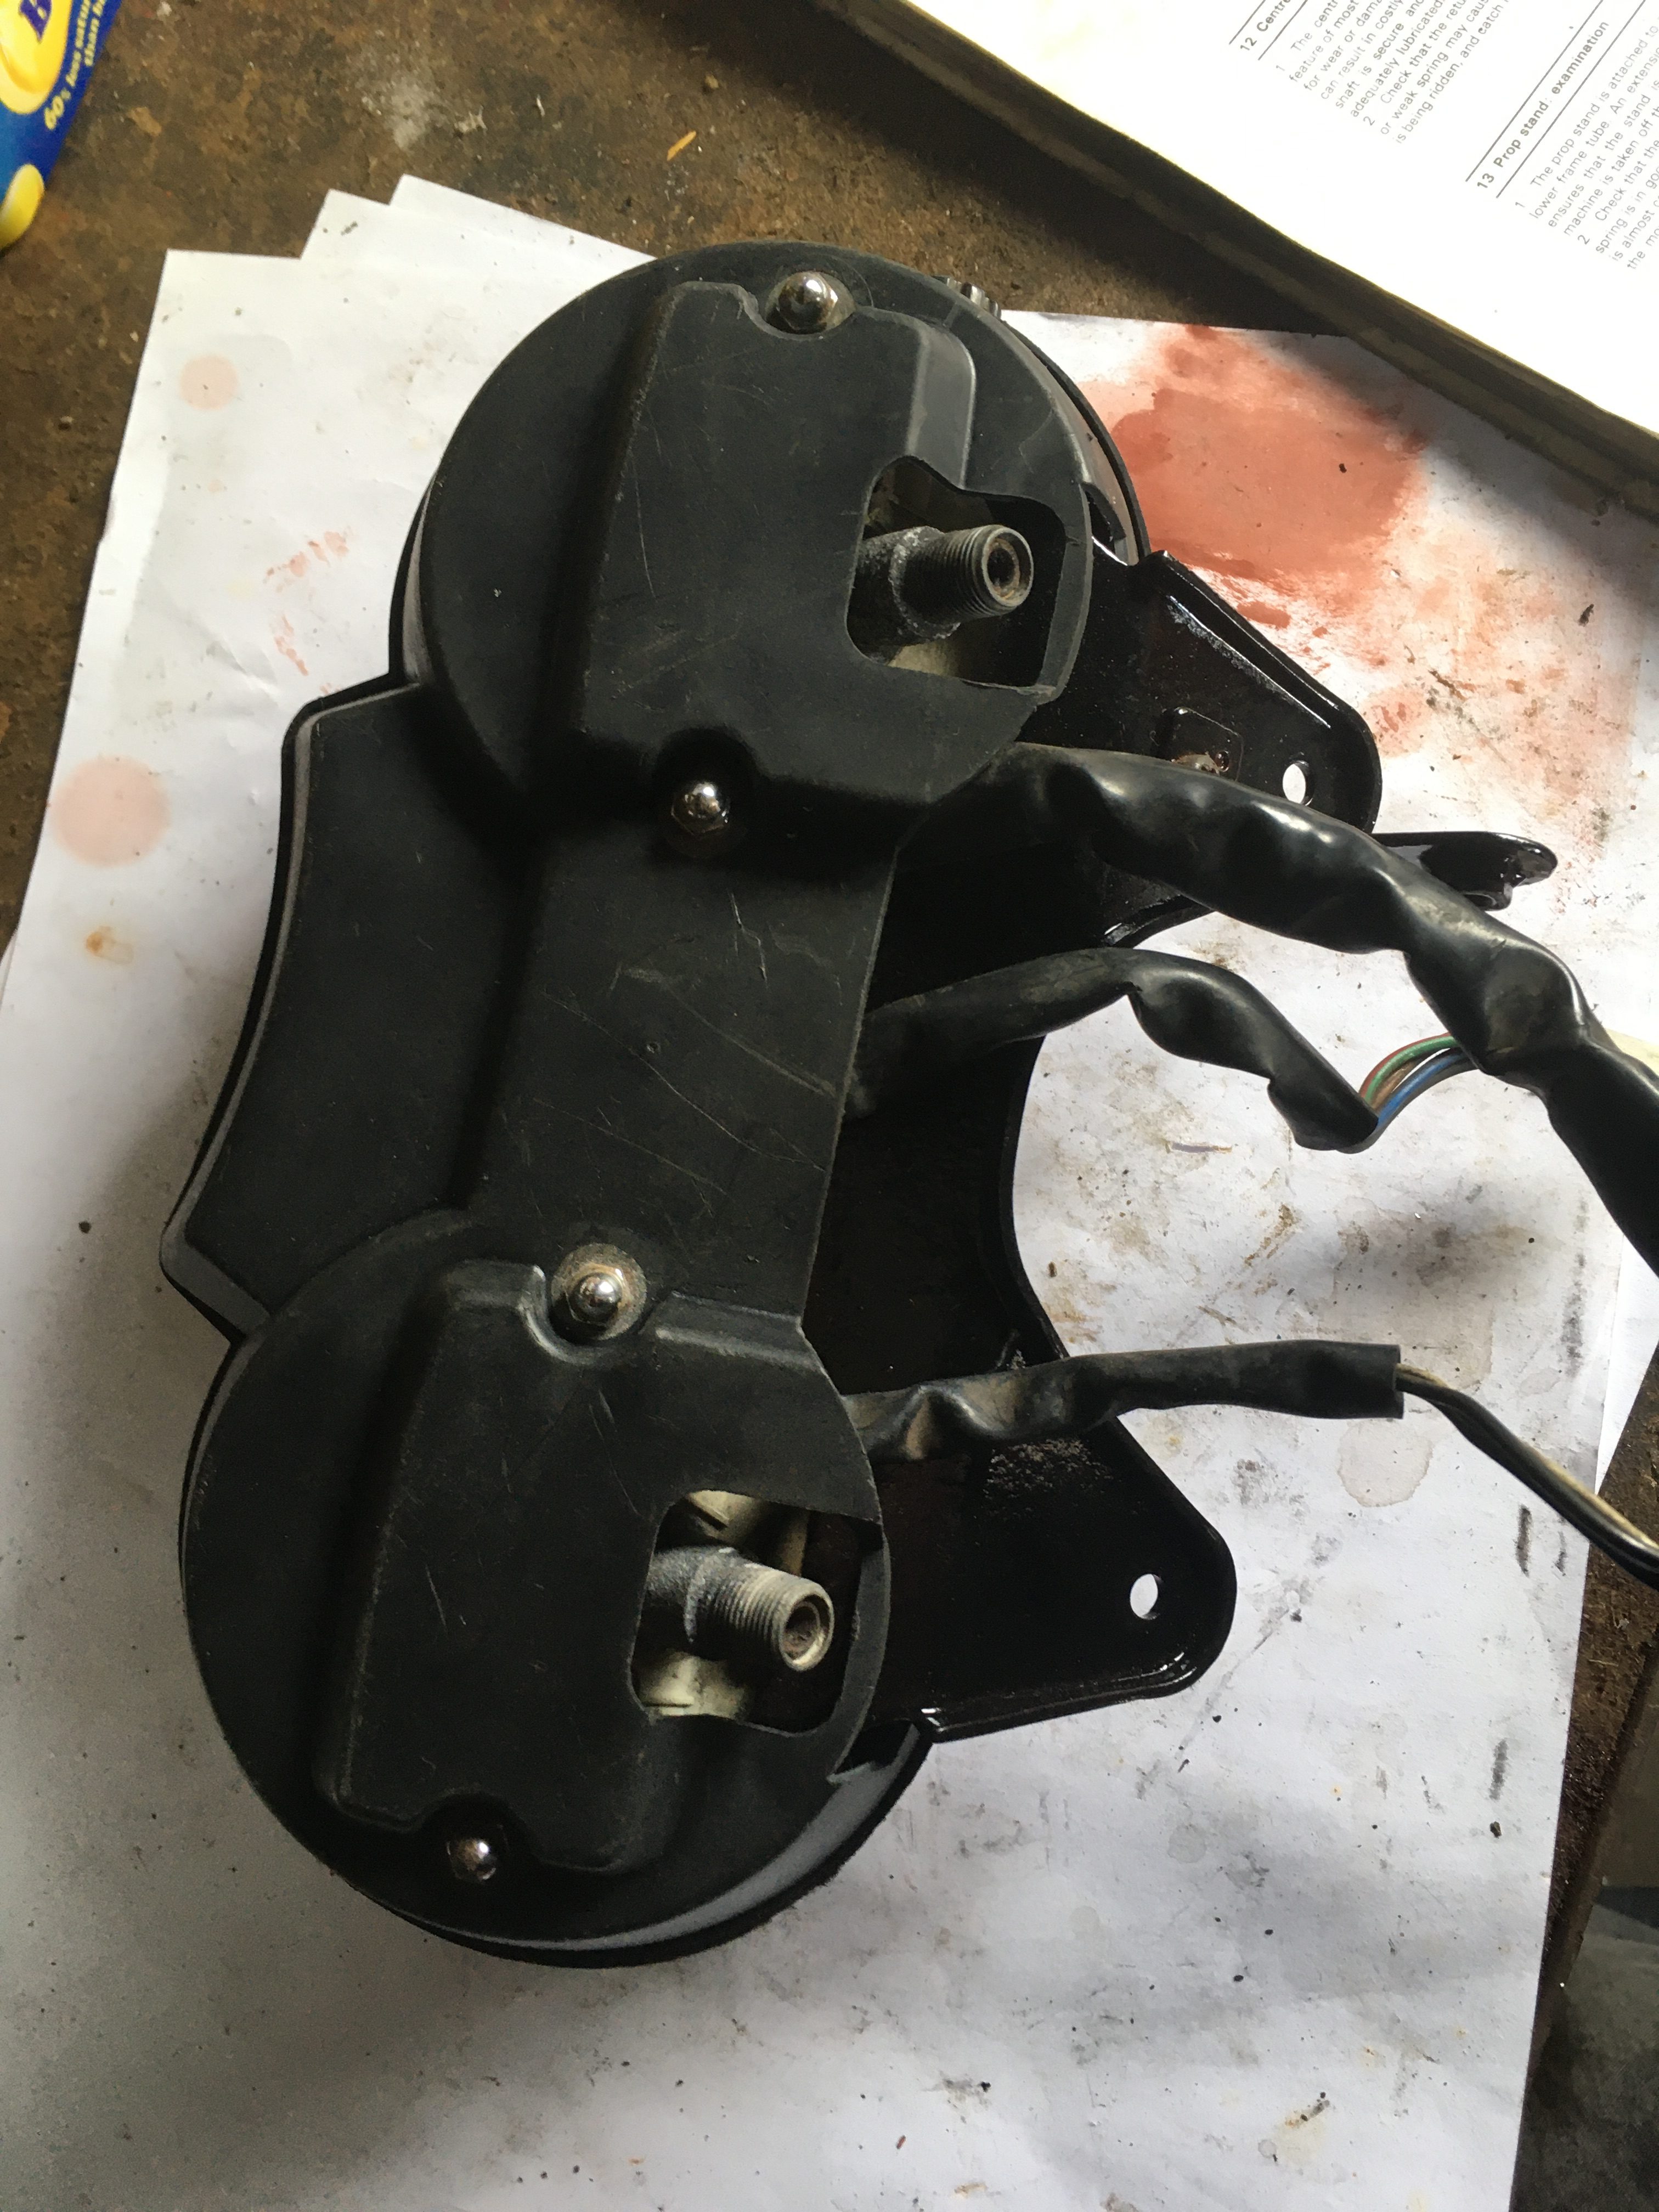

Thread dremmeled off to the same length as the other side, and the clock binnacle reassembled.
Routing the wiring inside proved problematic. there is a photo in the Haynes manual, but i had trouble routing the wires that way, primarily because the plastic shrouding on the wires has become extremely stiff over time, and hard to route where you want it to go.
There doesn’t seem to be any way of routing the wires where they don’t cross and create a hump under the lower half of the casing when assembled.
After an hour of messing around with pictures, a heat gun to soften the plastic, and a great deal of patience, it was all back together, and fitted to the bike.