Success!
Carefully increasing the jack pressure by a few millimeters at a time and then slackening off, I crept up on the correct width for the rear frame rails.
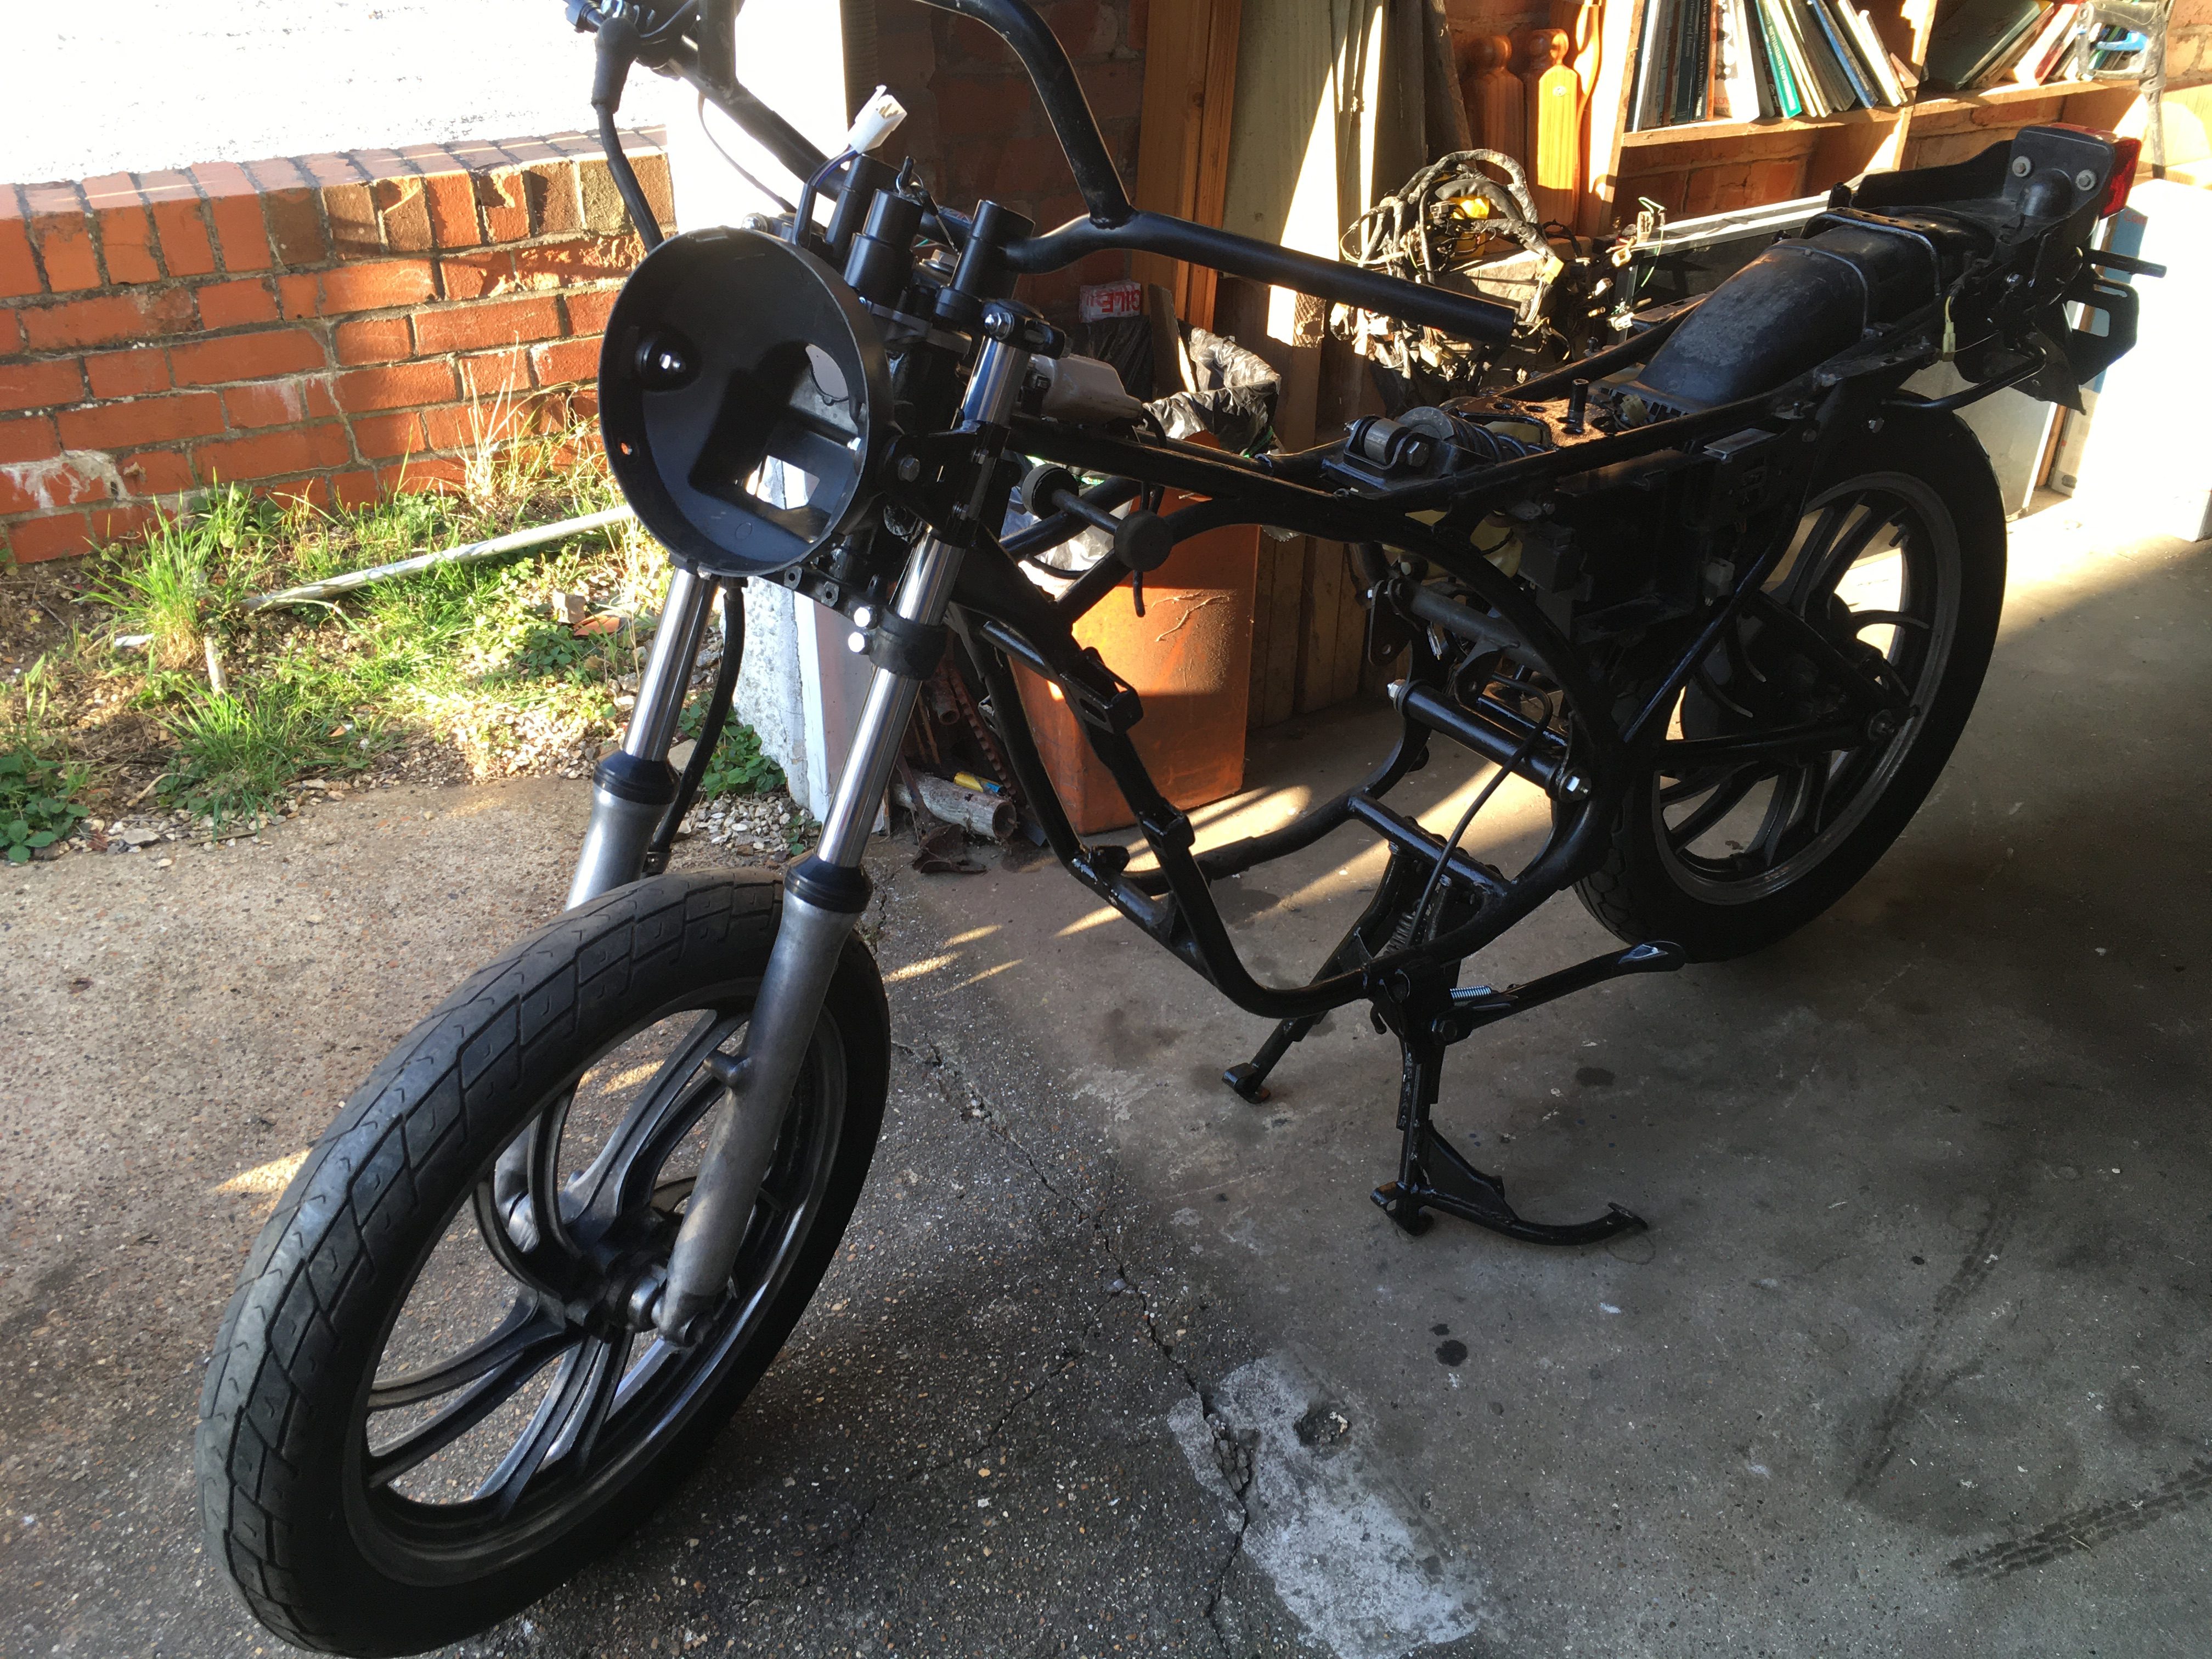
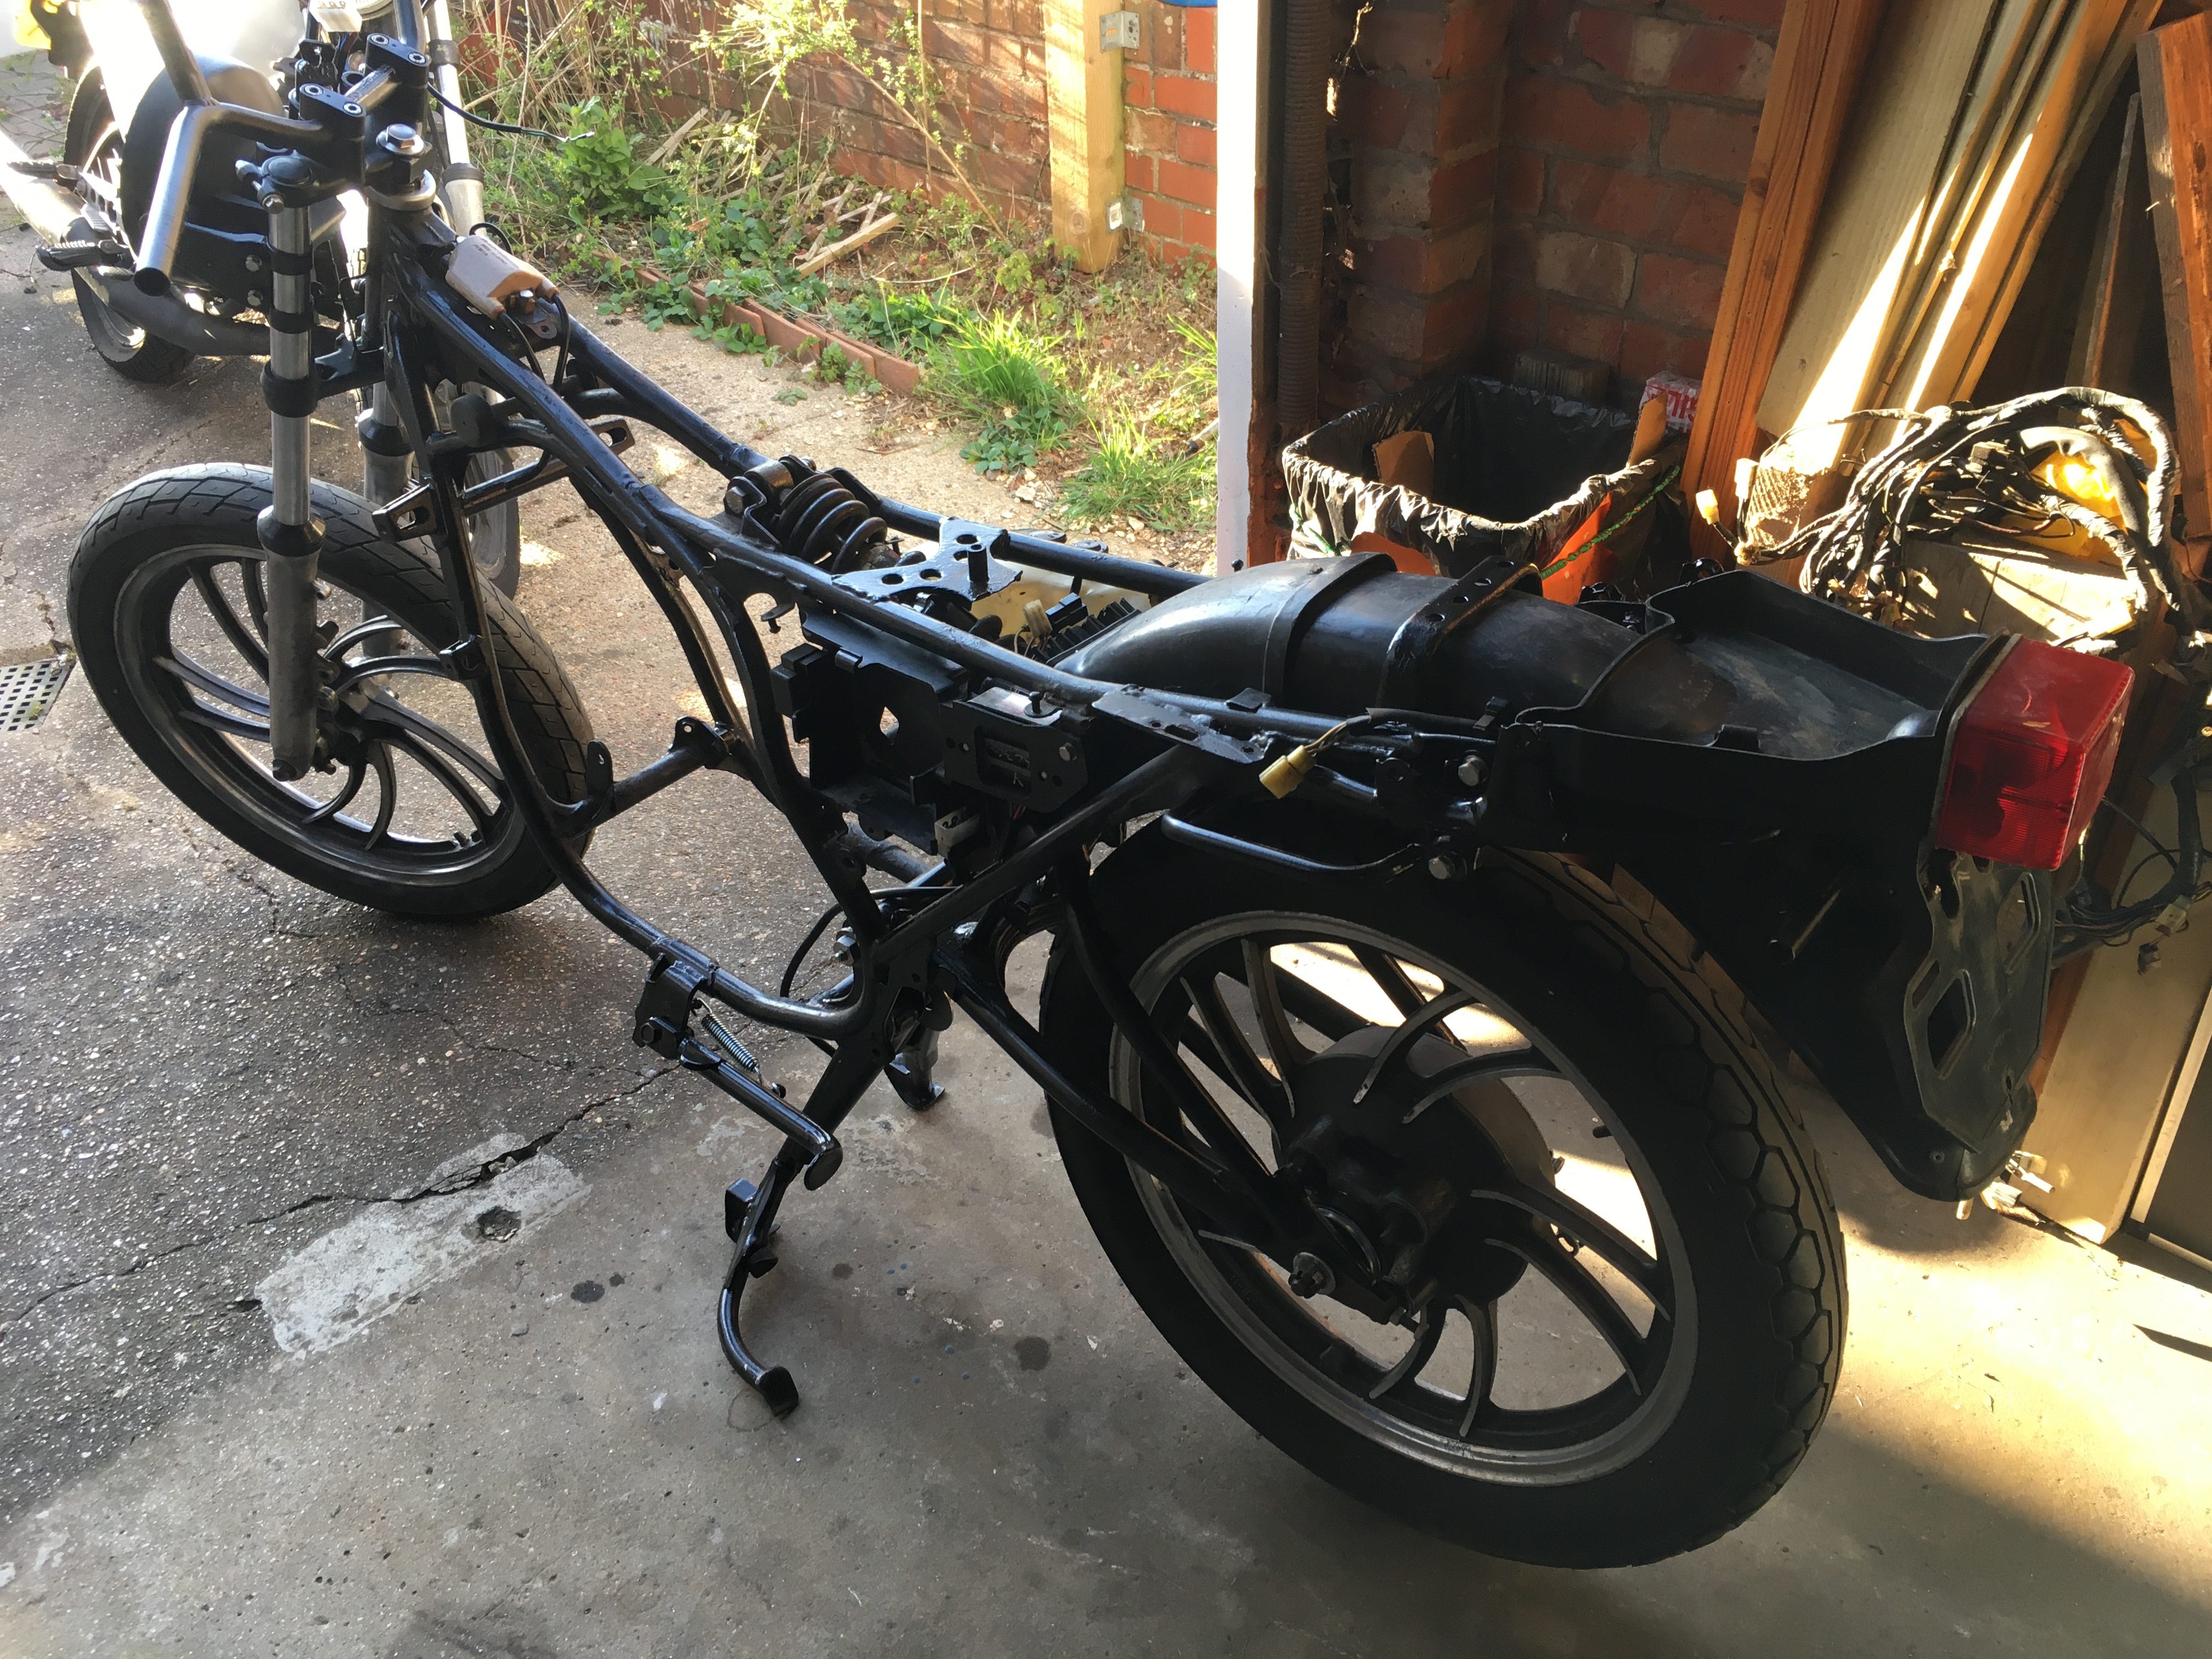
Now i can fit the rear sub-frame… and refit all the other items which I had already fitted, replace some items which needed the correct connectors, and continue with the other electricals.
While doing this, I also did yet more cleaning.
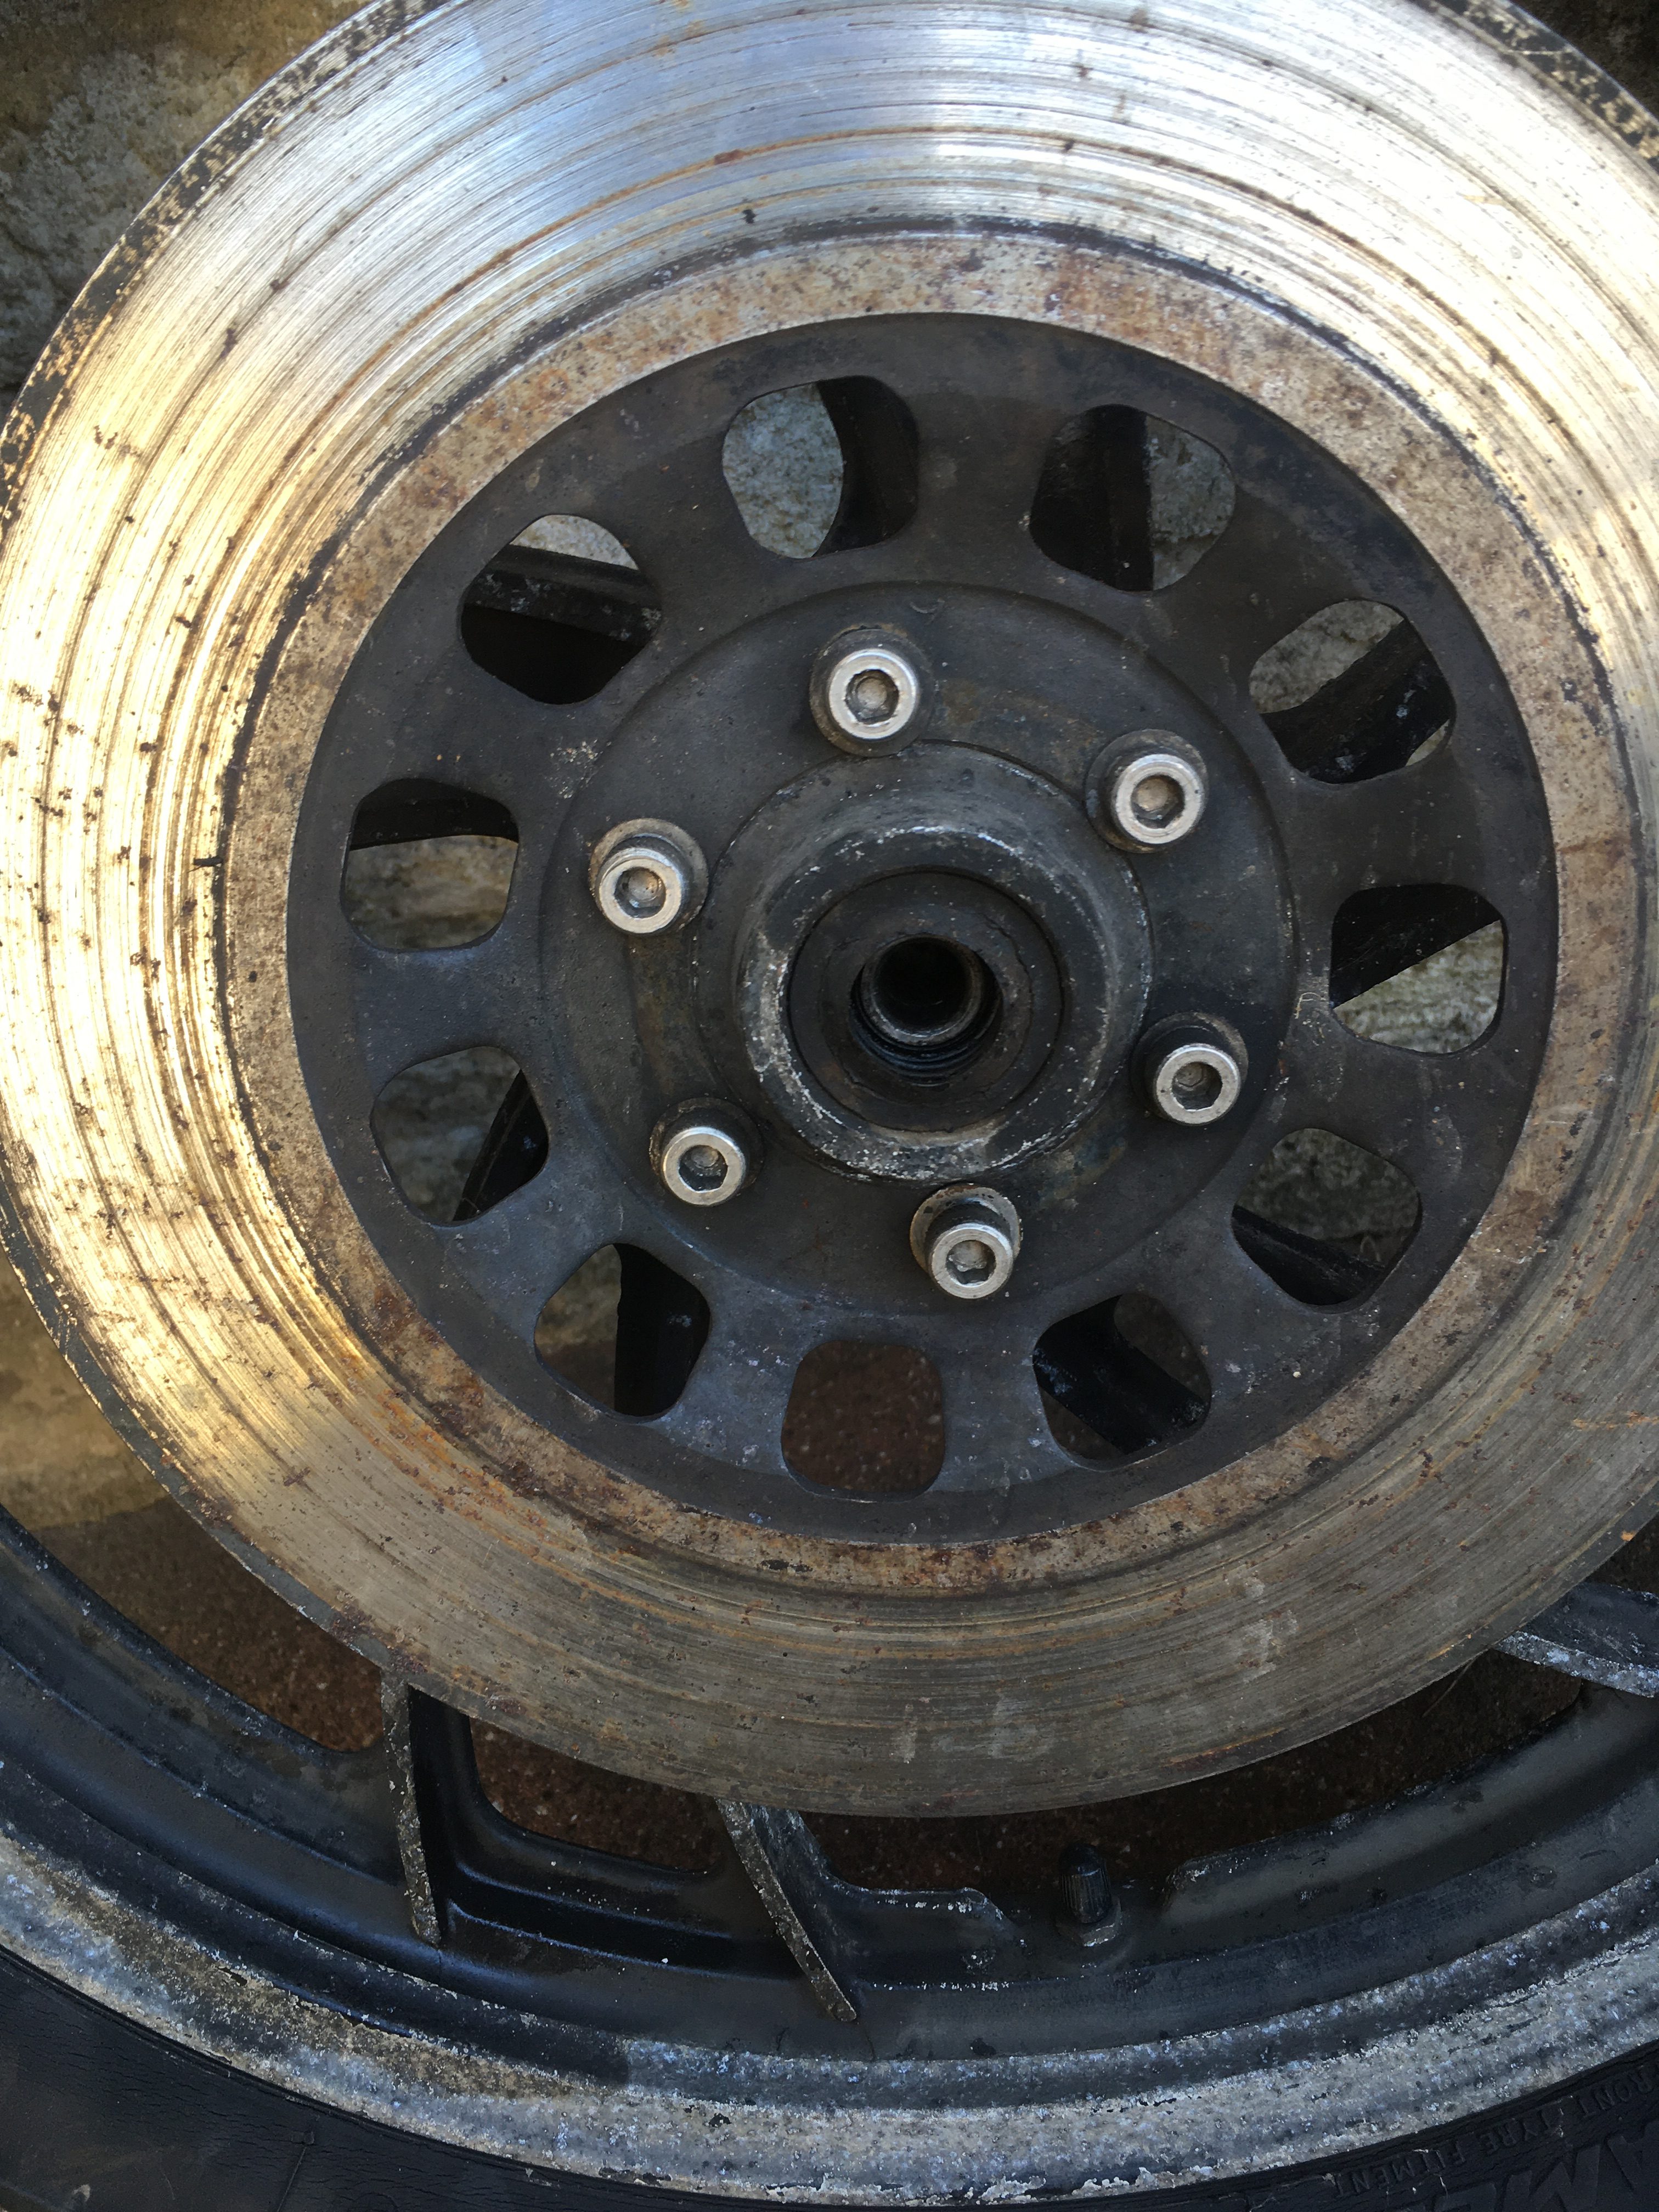
Recalling that I had not managed to remove the disk from the front wheel, I had sourced a forged steel Allen key which did the job and removed the offending item.
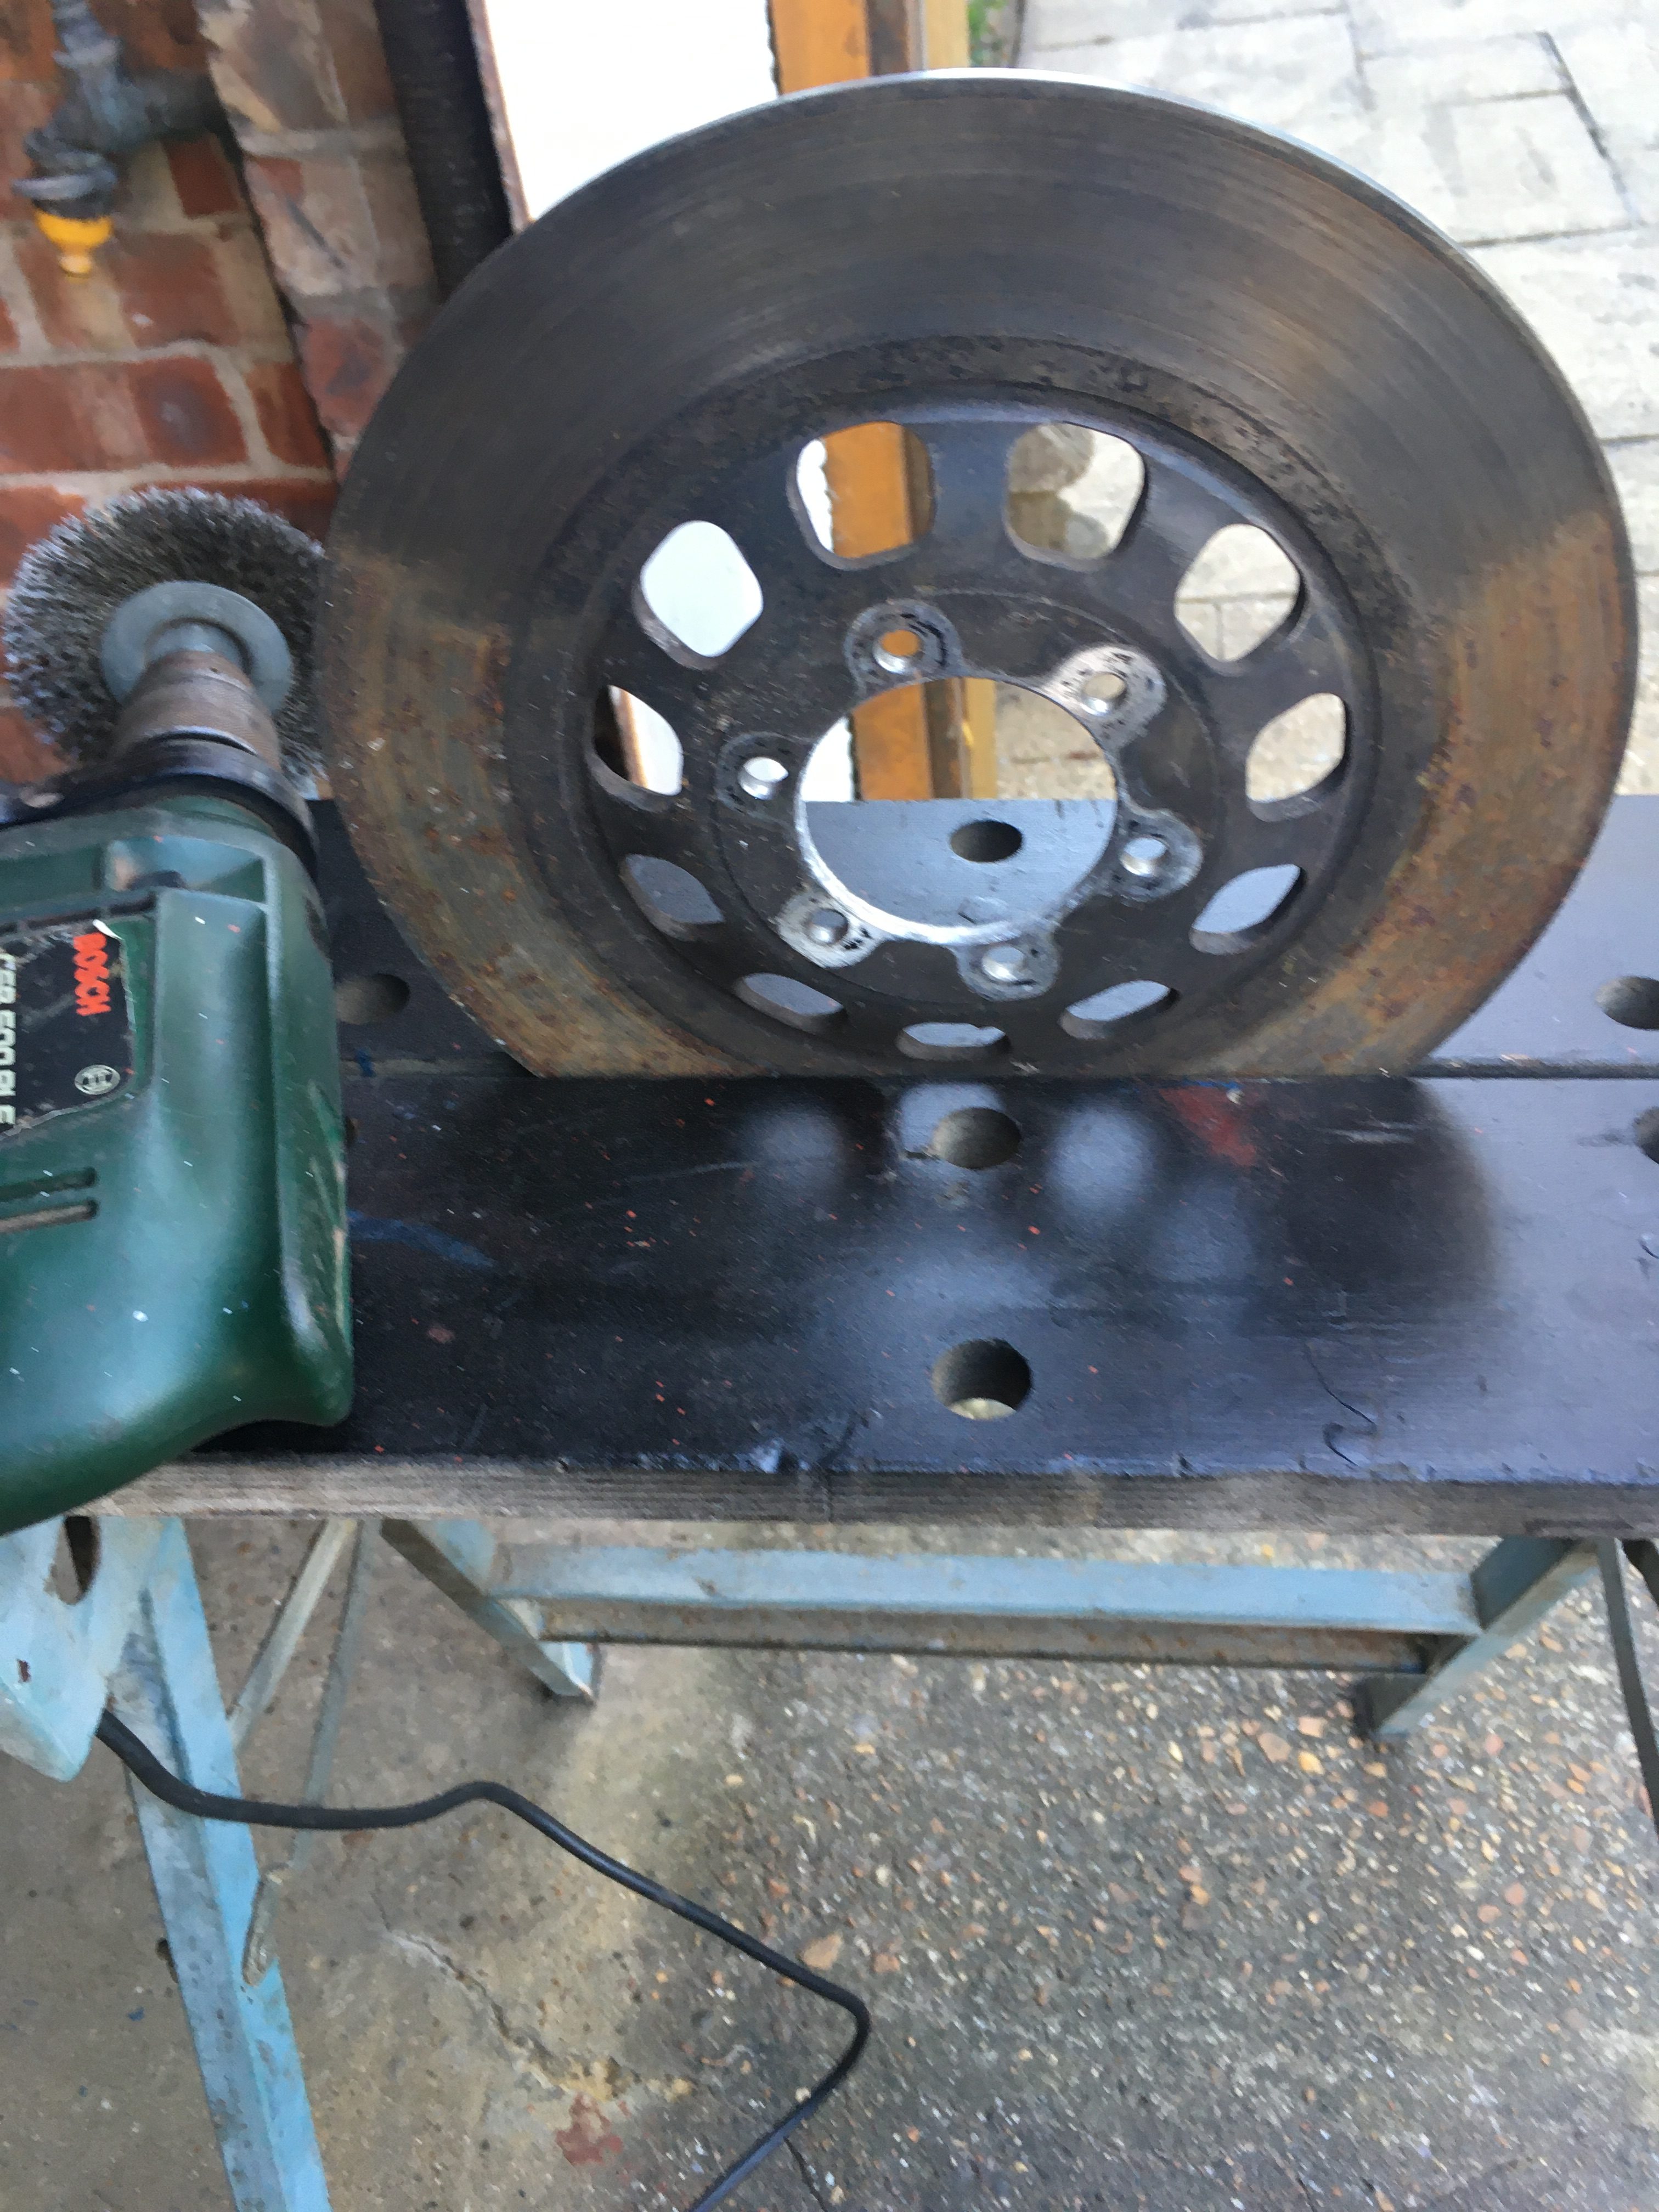
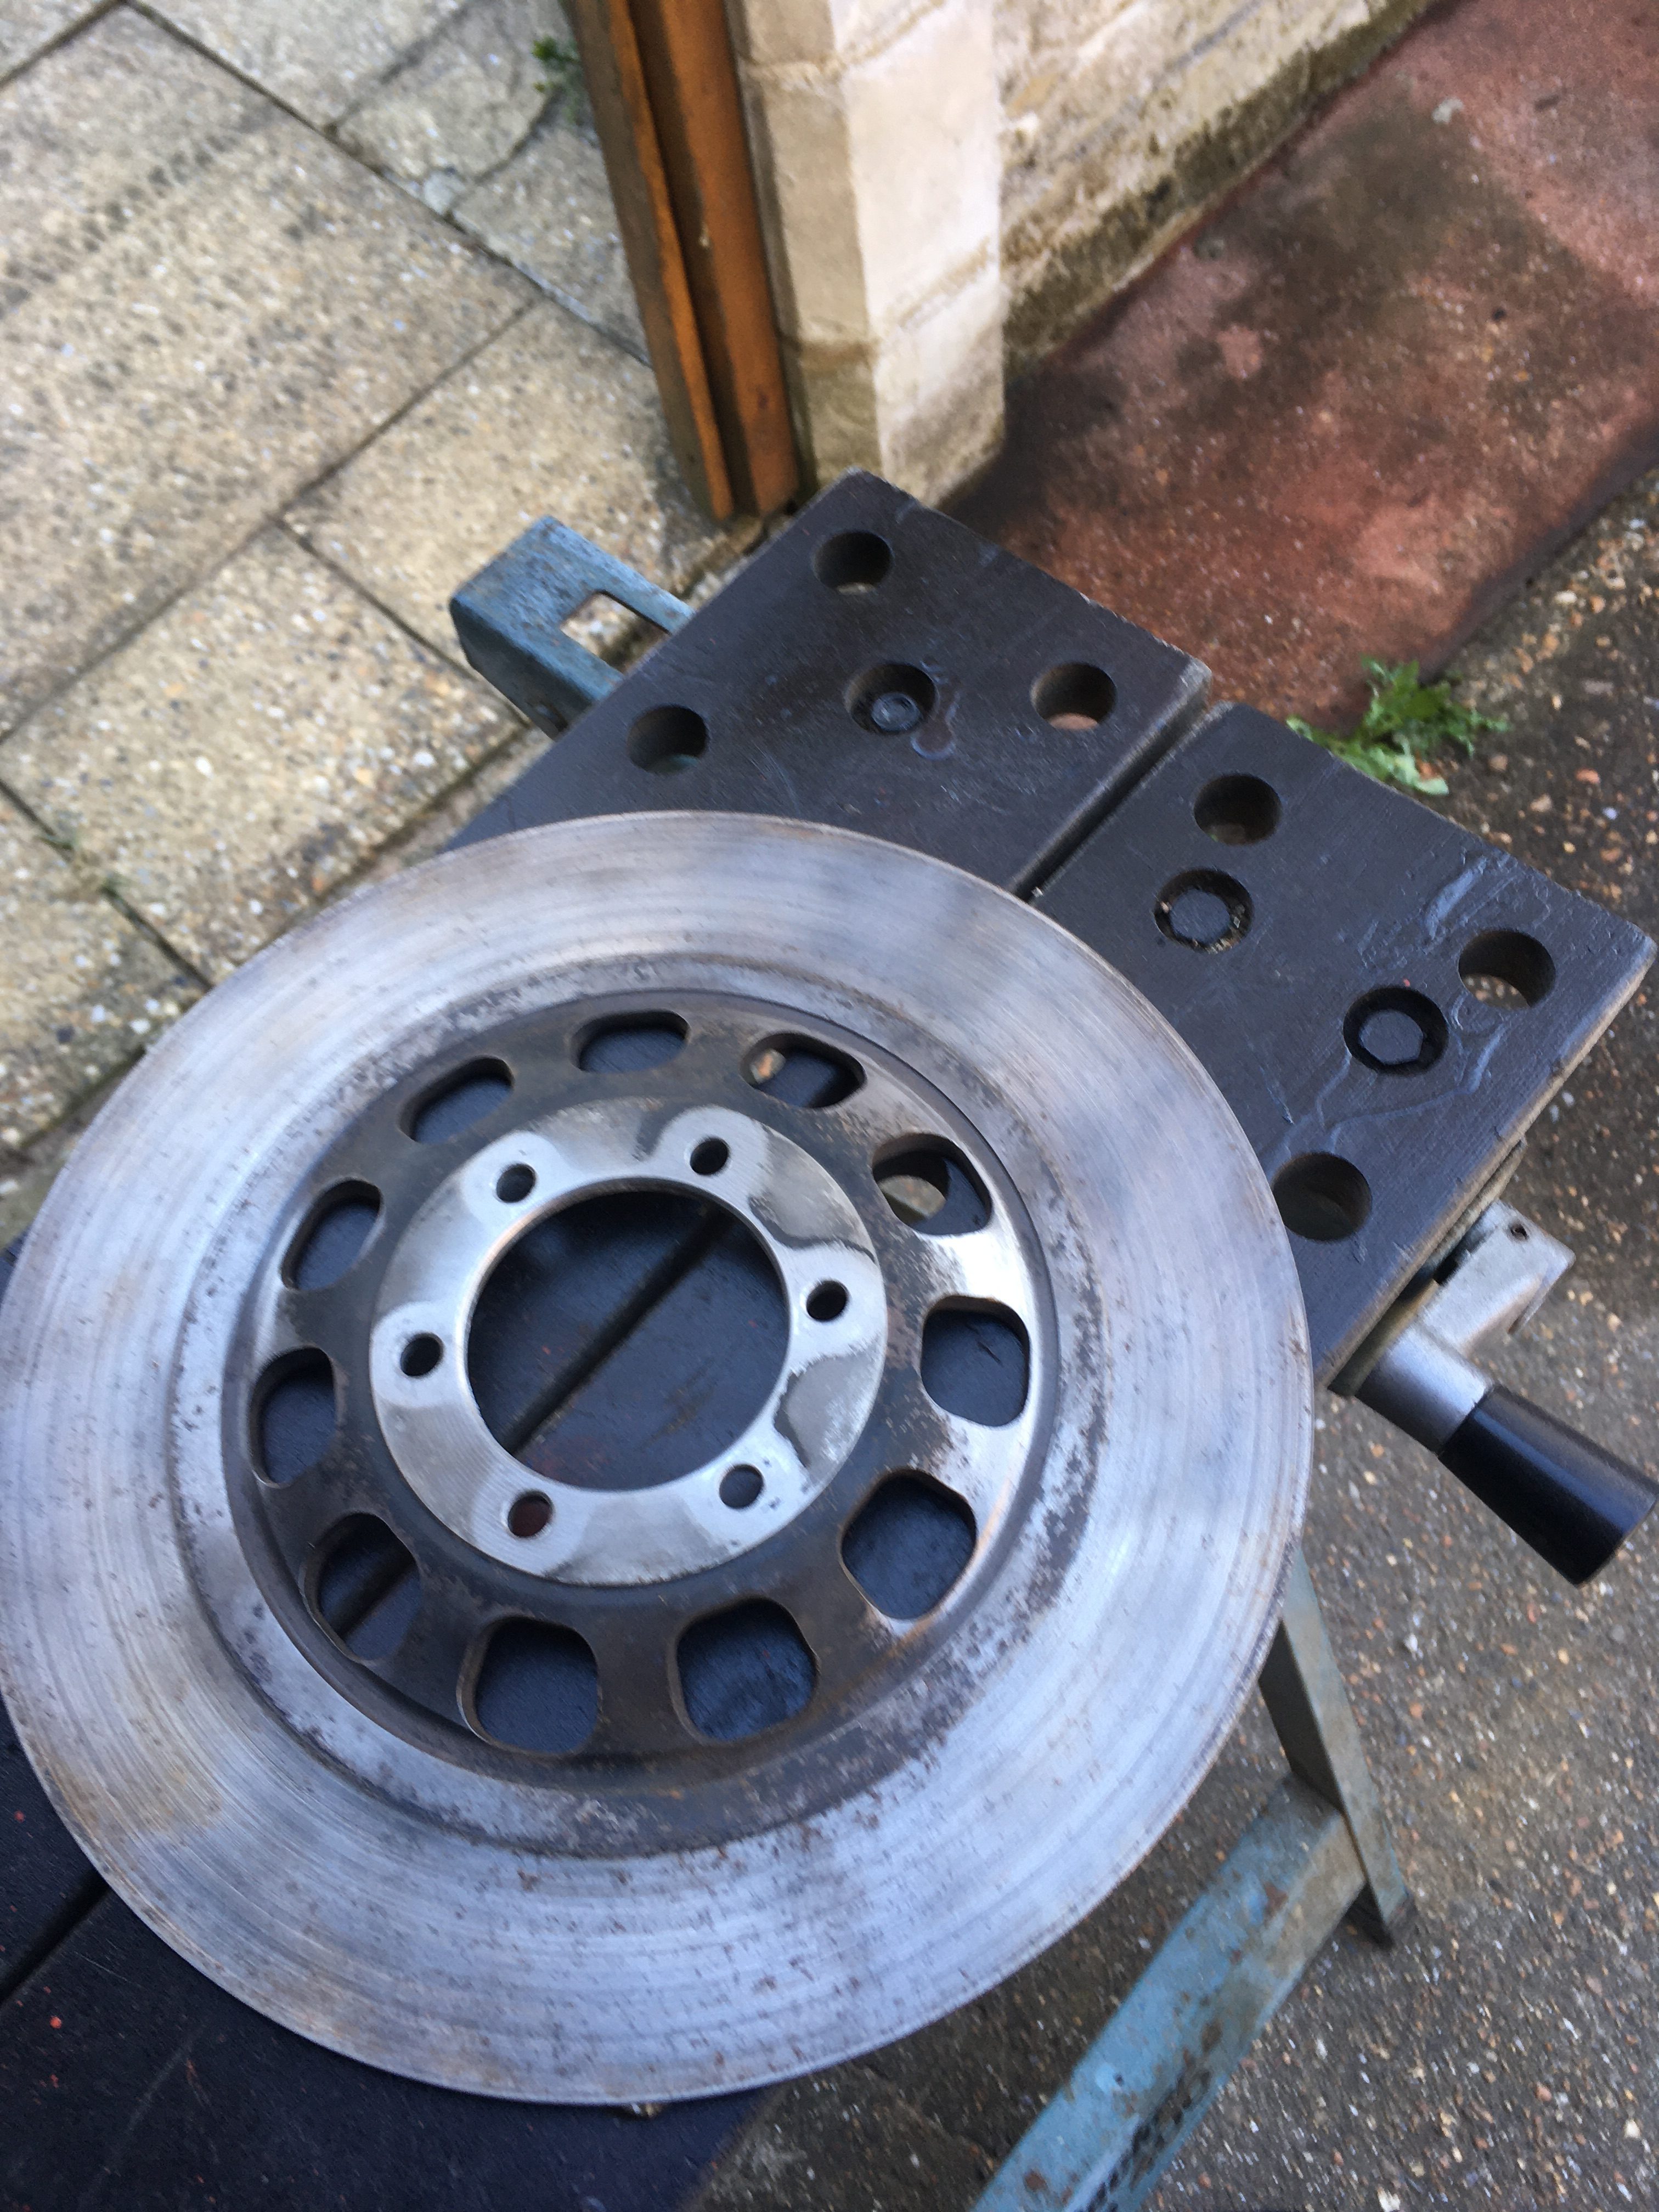
Now I could clean the wheel and the disk, first with lots of soap and water to get rid of the worst of the oil and grime, when buffed up with the now essential rotary wire brush.

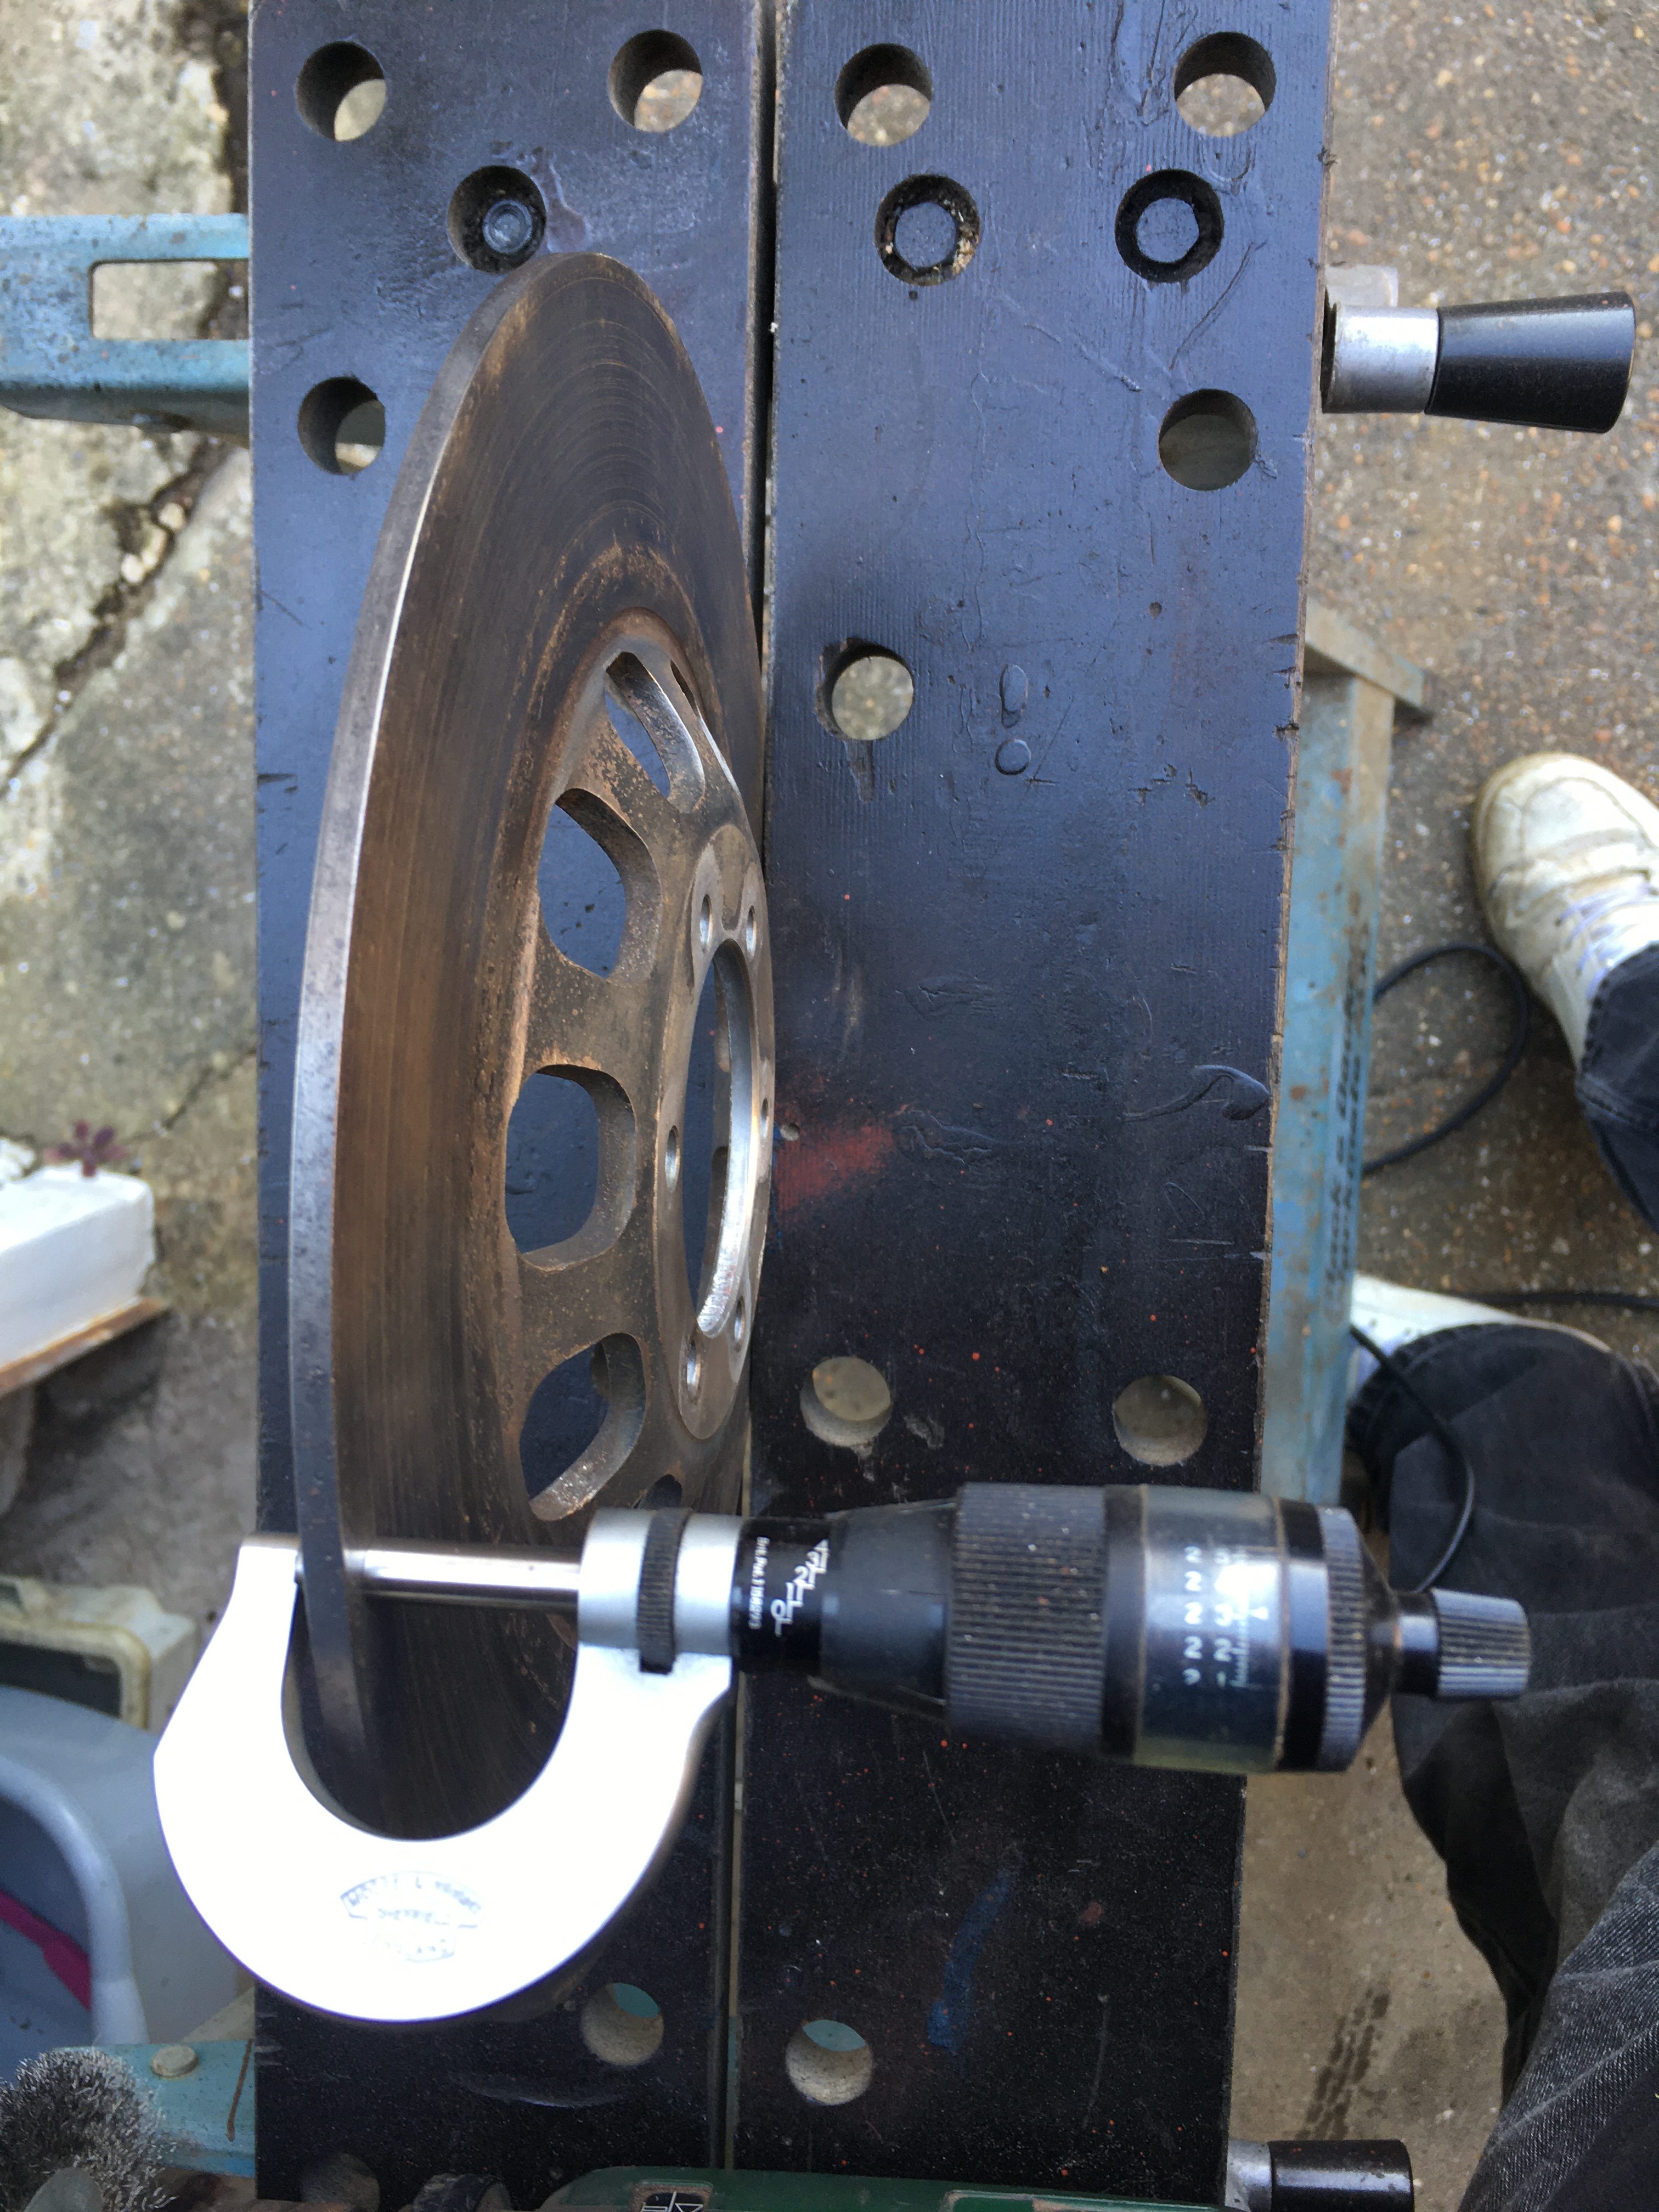
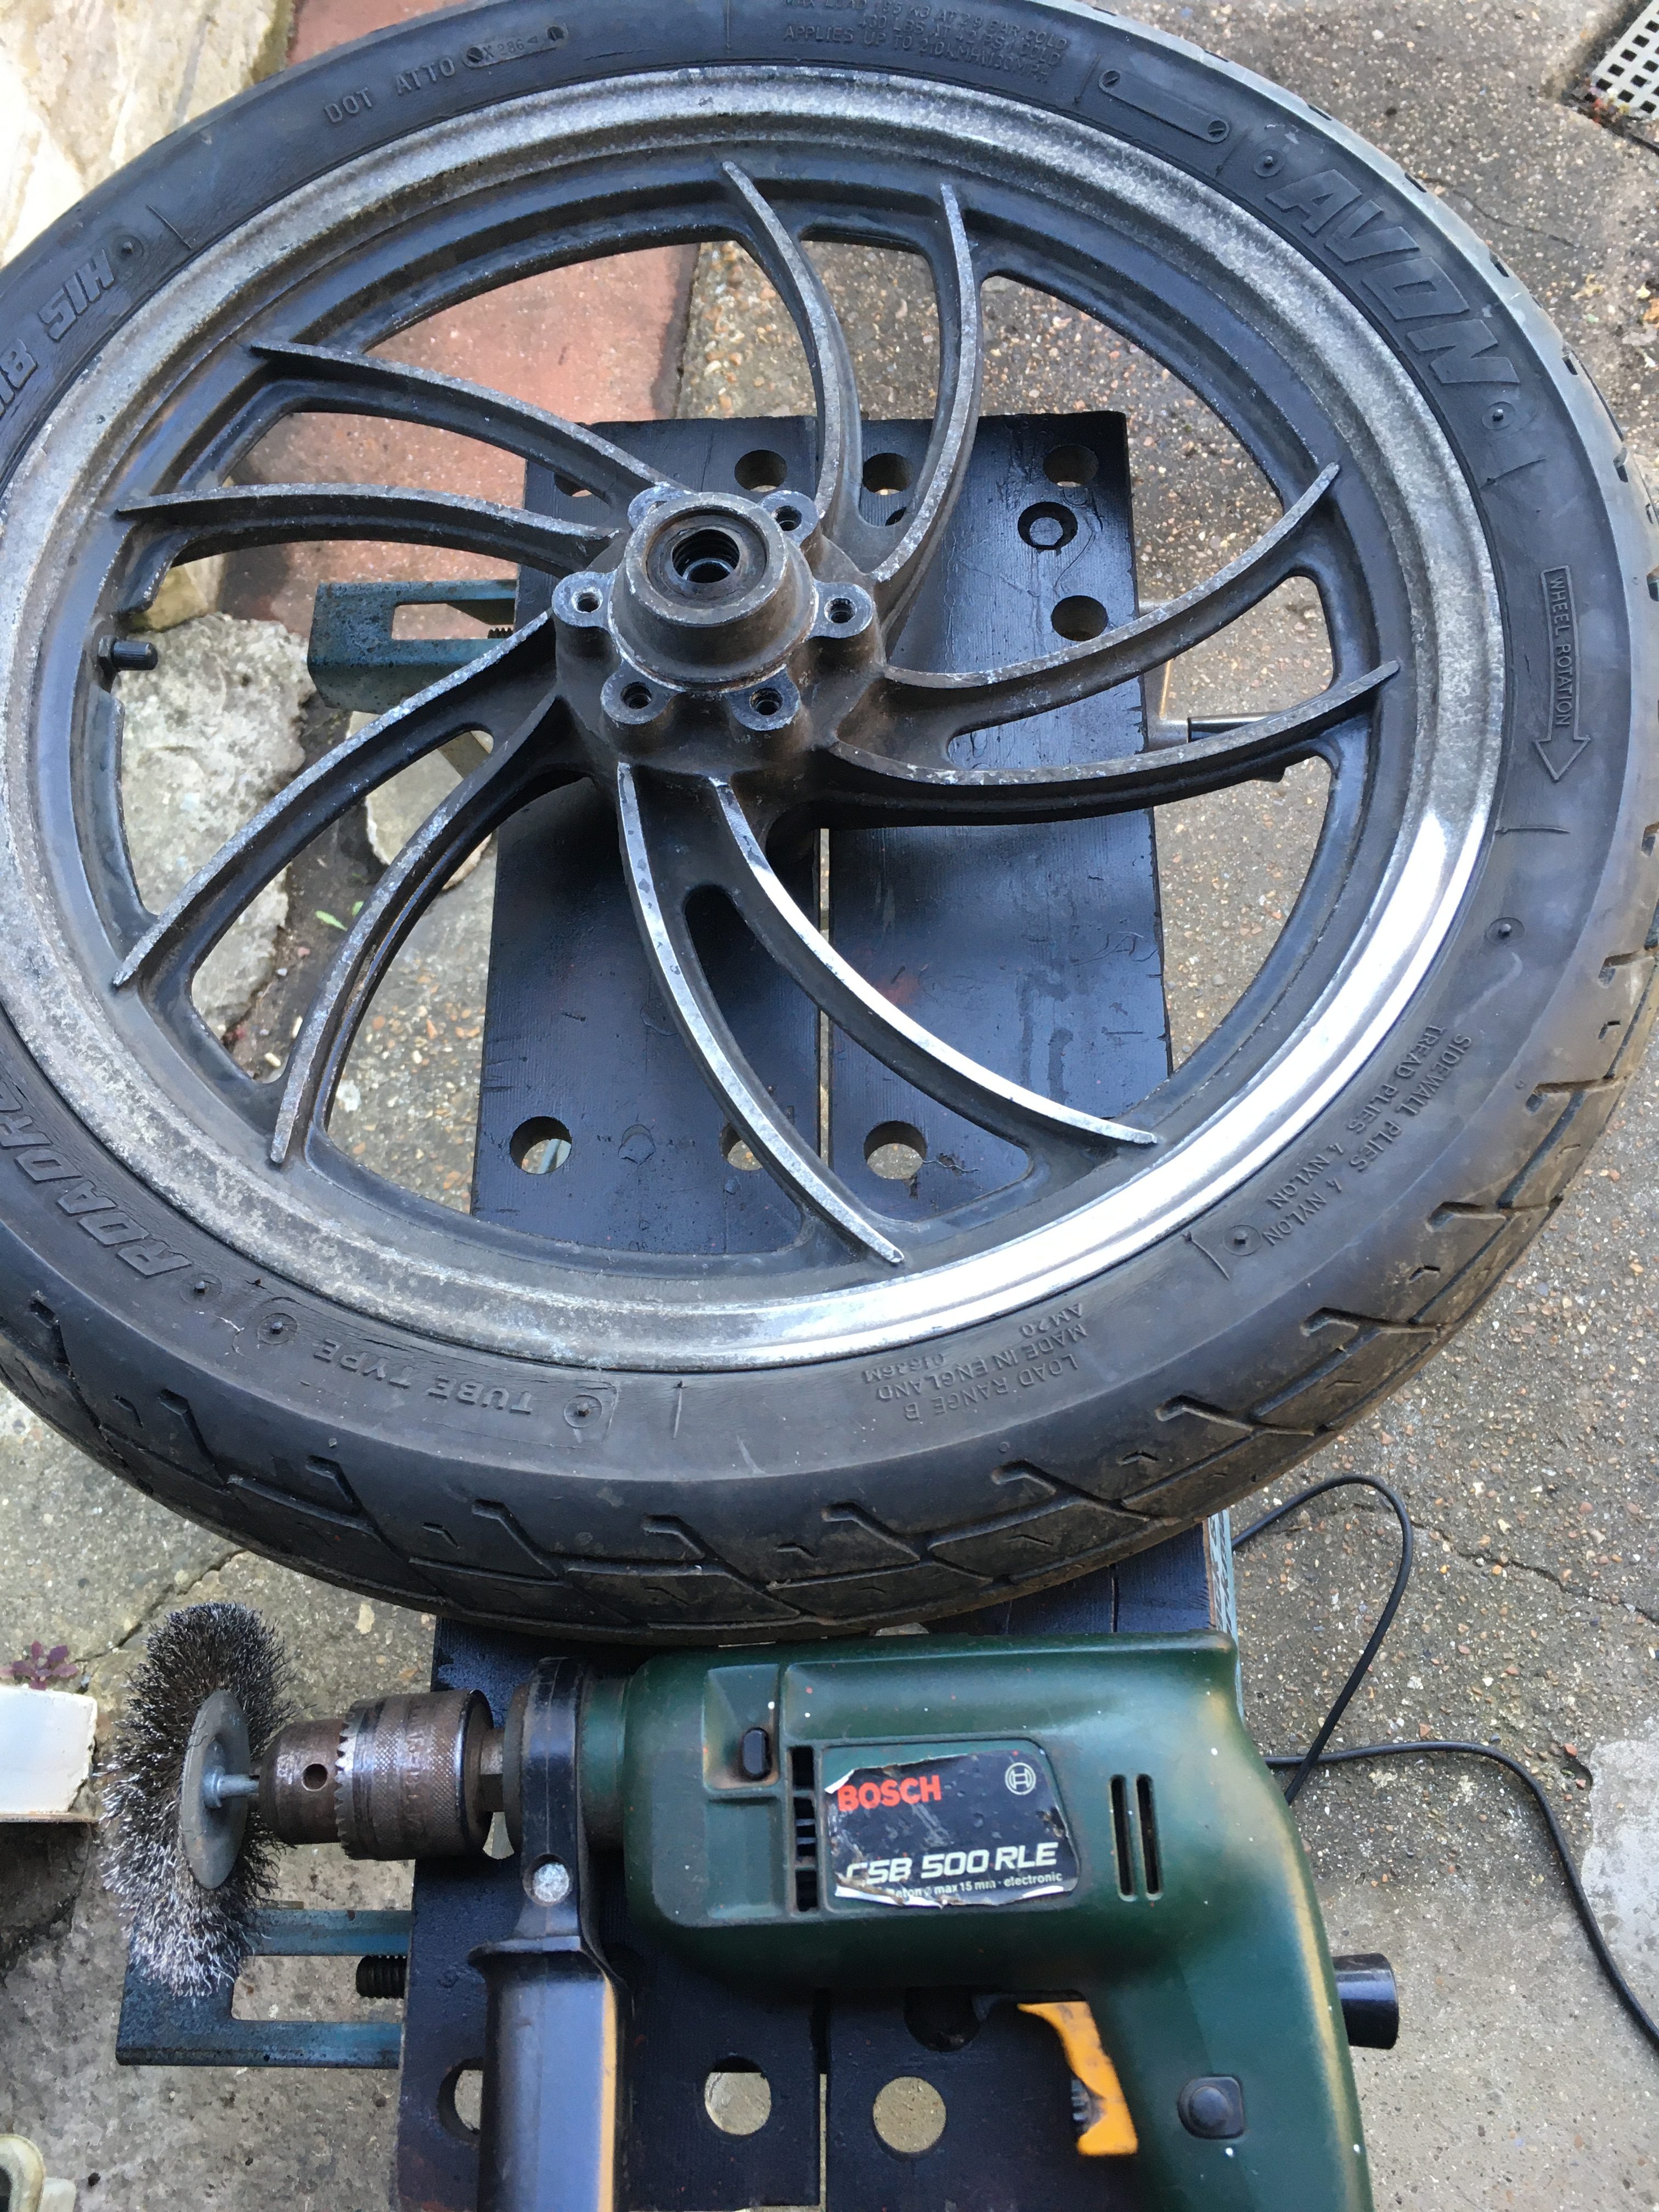
The disk measures 4.23mm, which is a little under the 4.5mm wear limit as mentioned in the Haynes manual, so in the fullness of time will need to be replaced.
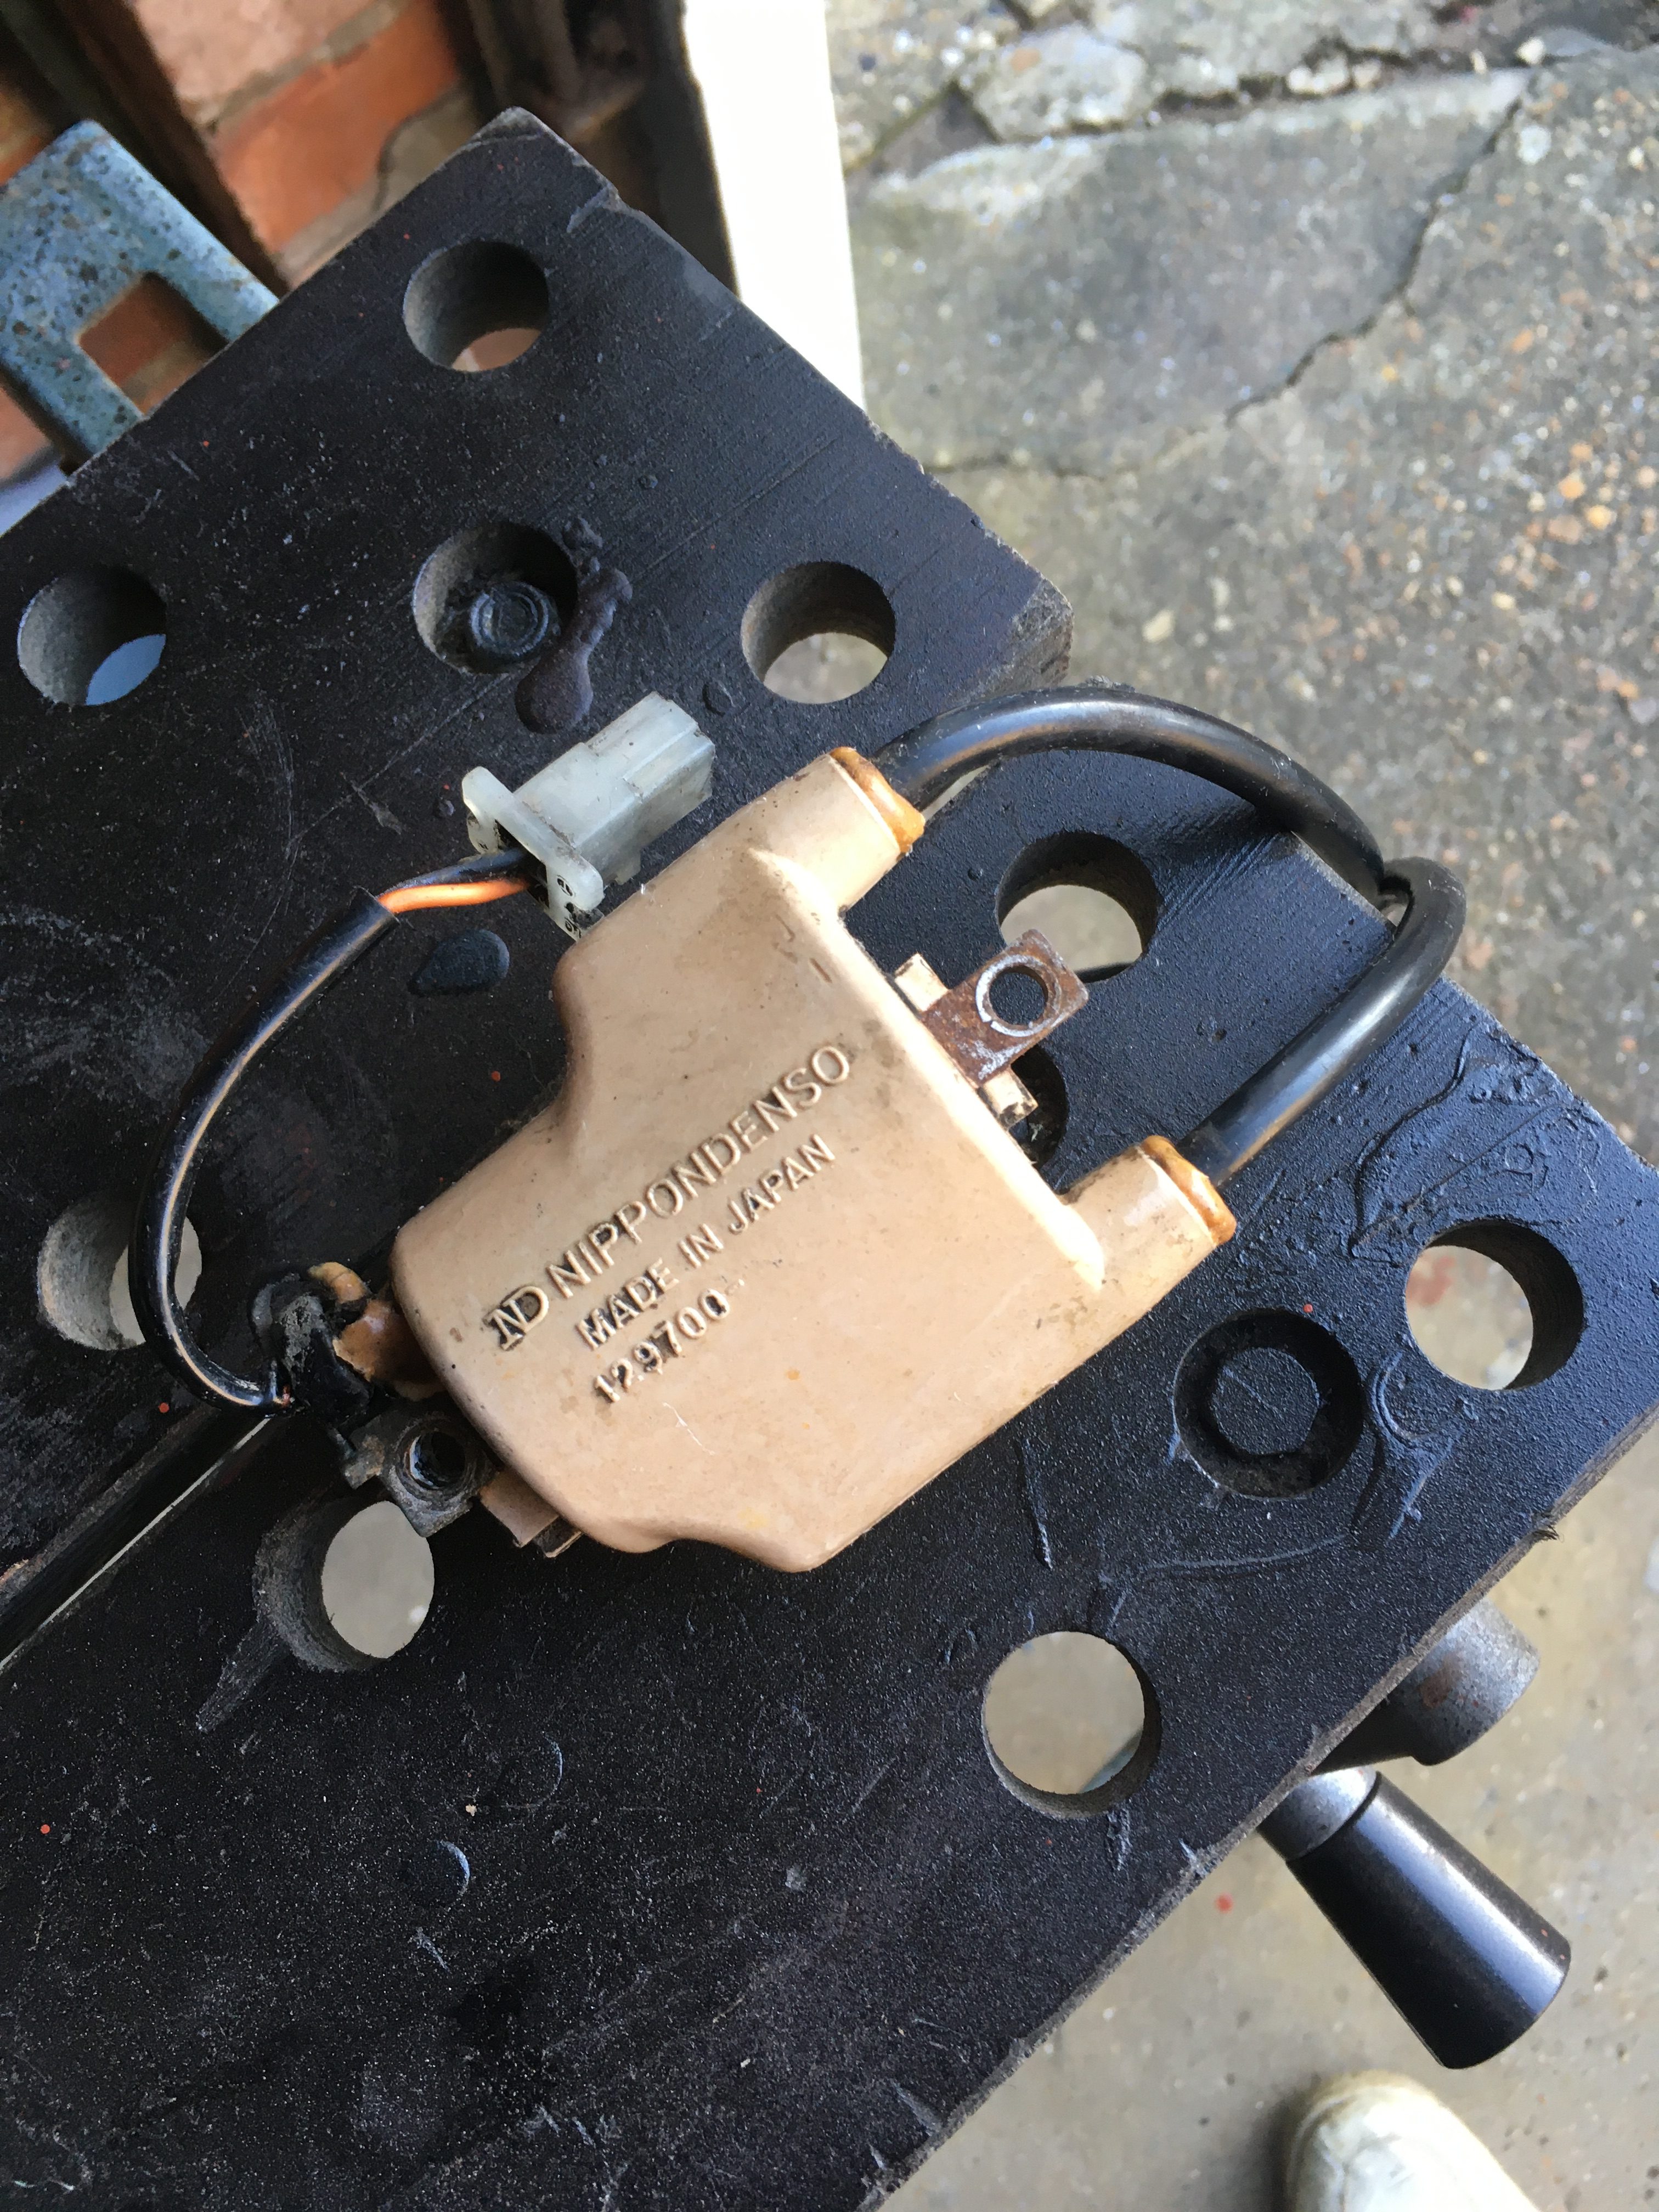
I found and cleaned up another coil, which still had its correct connector.
…and then bolted everything onto the rolling chassis.
Almost there. I need to mount the indicators, for which I need to order a few parts, and then there is more cleaning of the indicator shells and internals to do.
while selecting the spare parts, I also ordered new tyres for the wheels. Once the tyres are fitted, I can finish the wheels with disk and sprockets bolted on with the right fasteners.